
Folded up three of the sides as the hinge will attached to the fourth. Have quite a buckle there. I ran the hinge edge through the shrinker to get rid of the excess material.
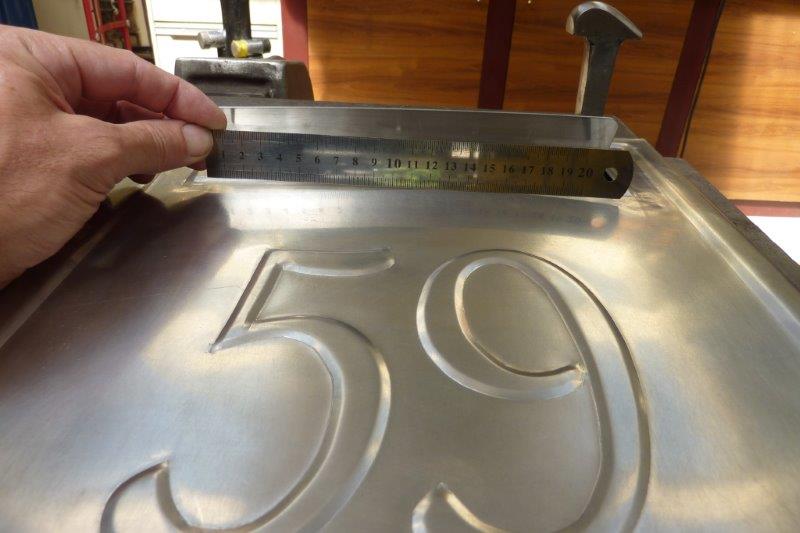
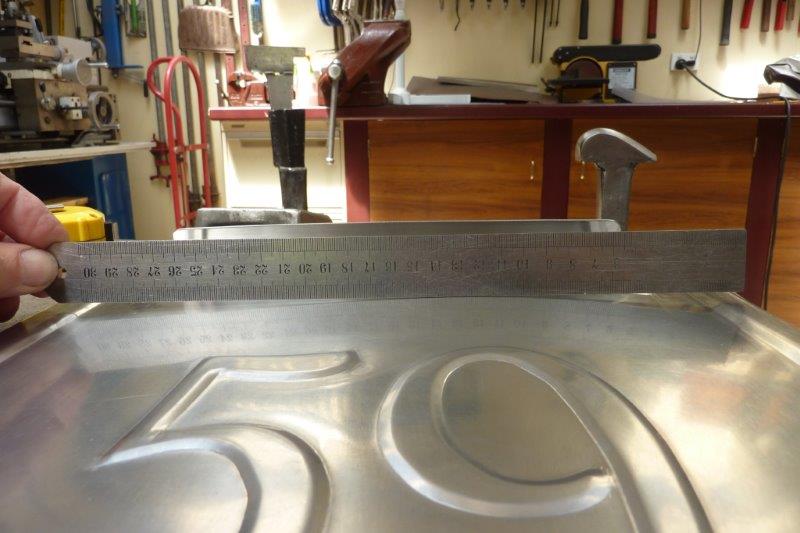
Do still have too much material around the embossing though. Can see it better with a longer ruler.
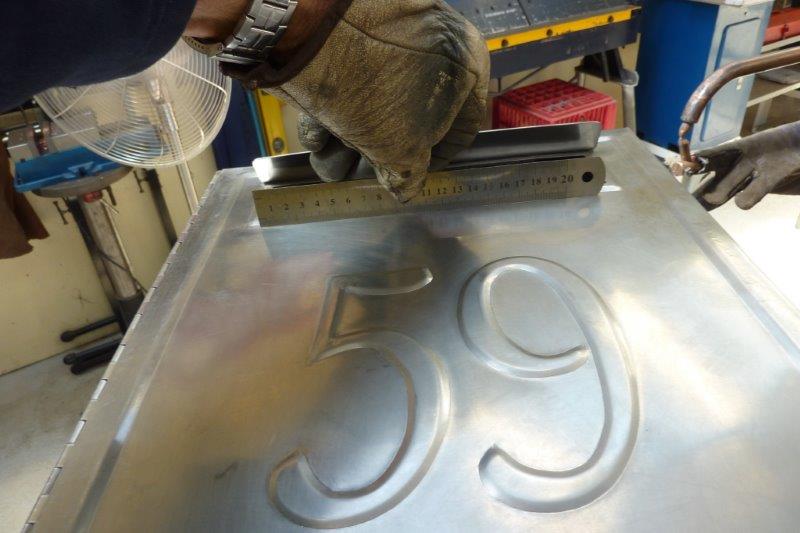
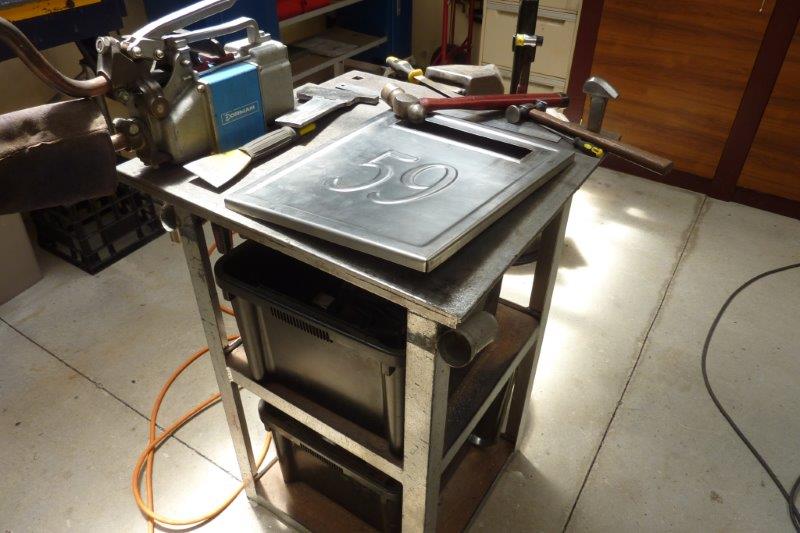
I used the 5" shrinking disc on the inside around the numbers. Didn't want to mark up the outside so always made sure to 'pop' the material to the inside while heating it up with the disc. Even placing a block underneath when needed and holding pressure down around it. No cooling with compressed air or water was done at any time to stop surface hardening. Ended up going right around the numbers and also manipulated the steel with the palm of my hand and using a very soft faced hammer over a sand bag to move the highs and lows around.
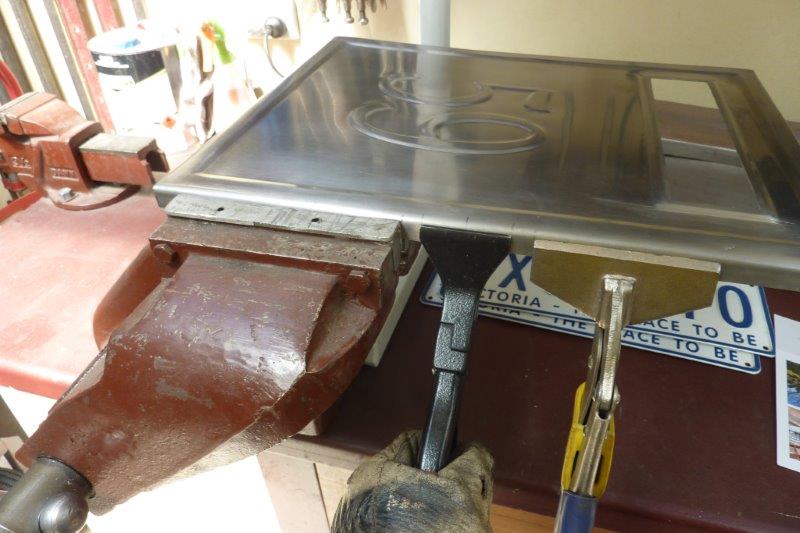
I didn't want to put a handle on the front so thought folding out the flange a bit would be better. The vice and the wide vice grips hold the rest of the flange still while the black flanging pliers are pulled. Left 1/2" each side to give the flange room to bend. Best also to stretch that area beforehand by hammering over a stake dolly or bench. That will do the job I think and look neater.
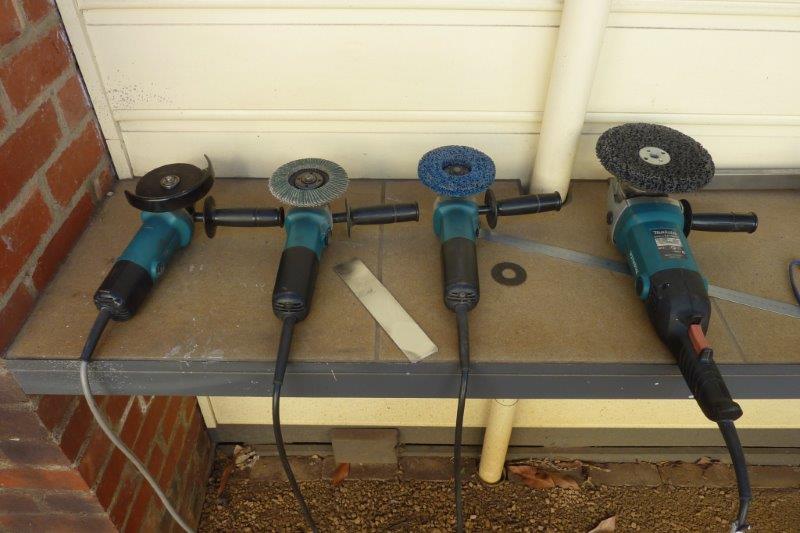
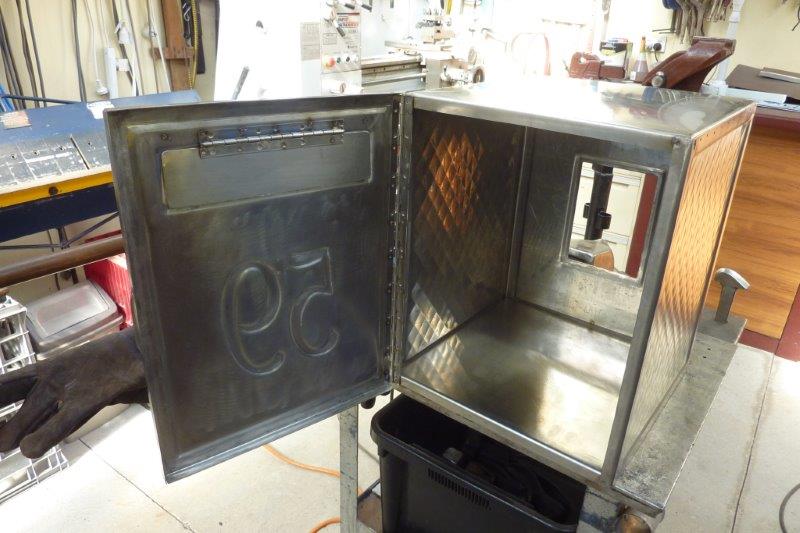
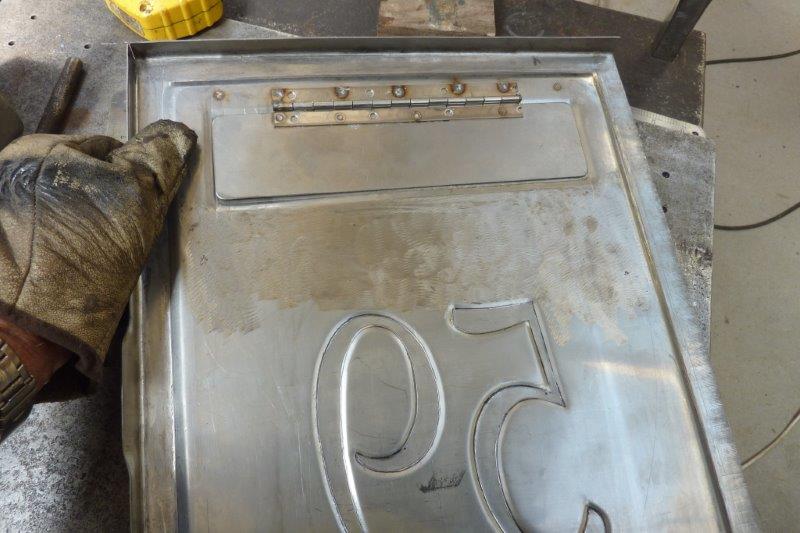
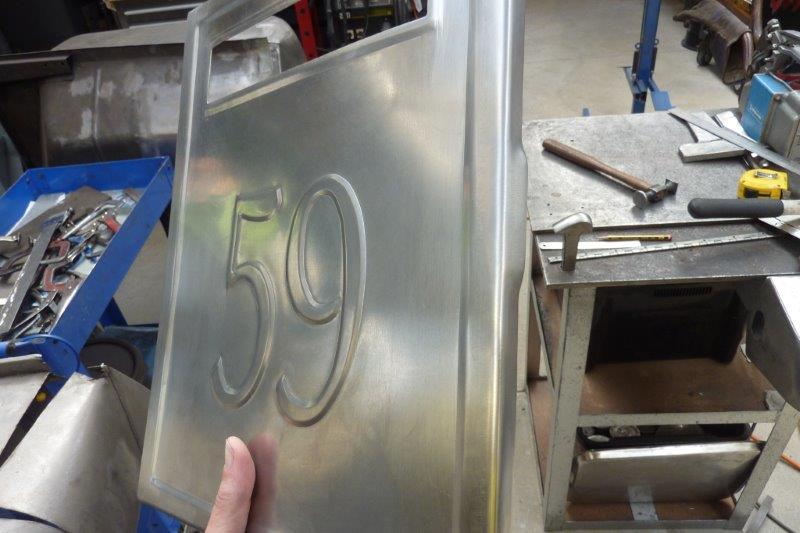
When removing marks from the shrinker/stretcher etc, I use a 80 grit flap disc, coarse paint stripping disc and then a 7" finer one. Then finish off with a kitchen Scotchbrite pad and paste used for scrubbing pots. Had my wife use the spot welder while I held the door in position on the full length stainless steel piano hinge. The slot is big enough for our largest magazines and the hinged flap behind it is to stop birds nesting inside which happened to the current one!
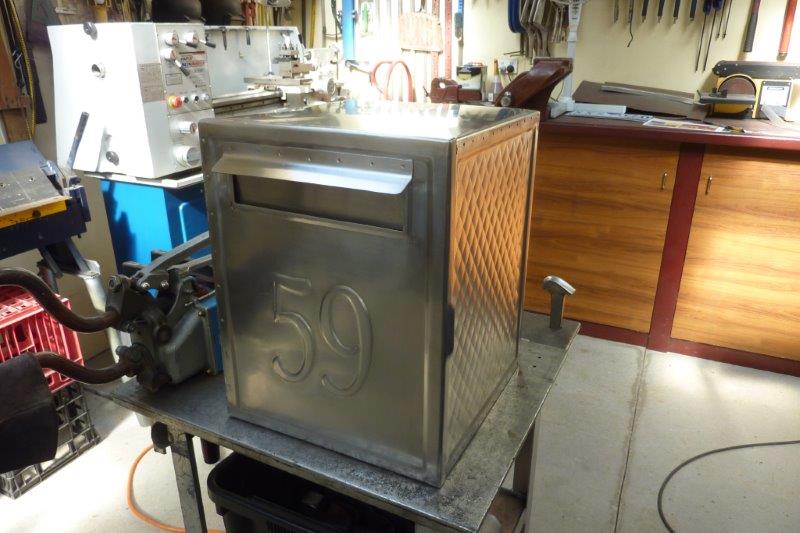
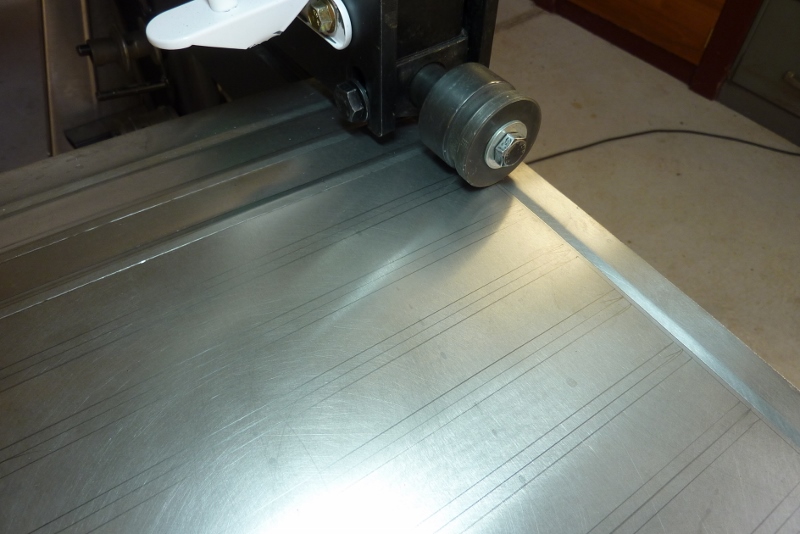
The box is large as well as we get parcels from our online buying. The delivery guys are too scared to come to the door due to Kuma our American Akita having the run of the whole block. Next will be a spot for the papers. Now to make the 'roof' panels. I prefer to use the female die at the top as easier to follow its edges than guessing the centre of the rounded male side. I had first marked where the centres were going to be and then each side of that to match the edges of the die. Don't have to remember which side of the line to be on that way.
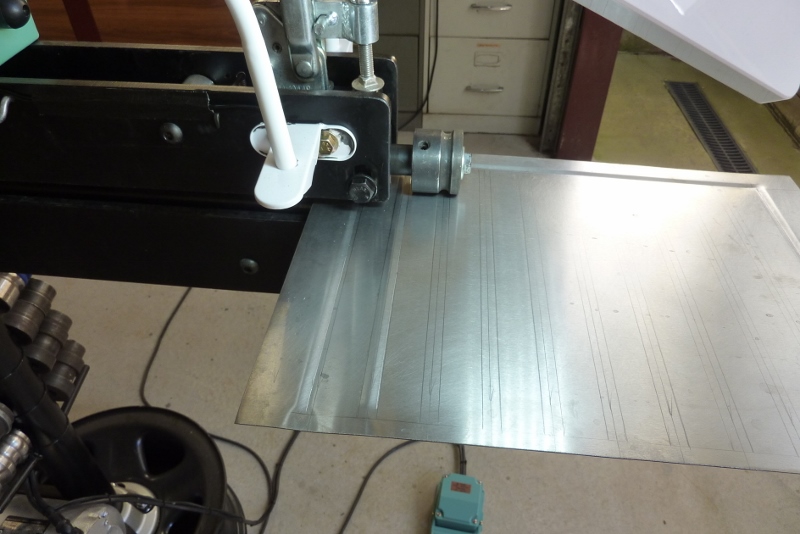
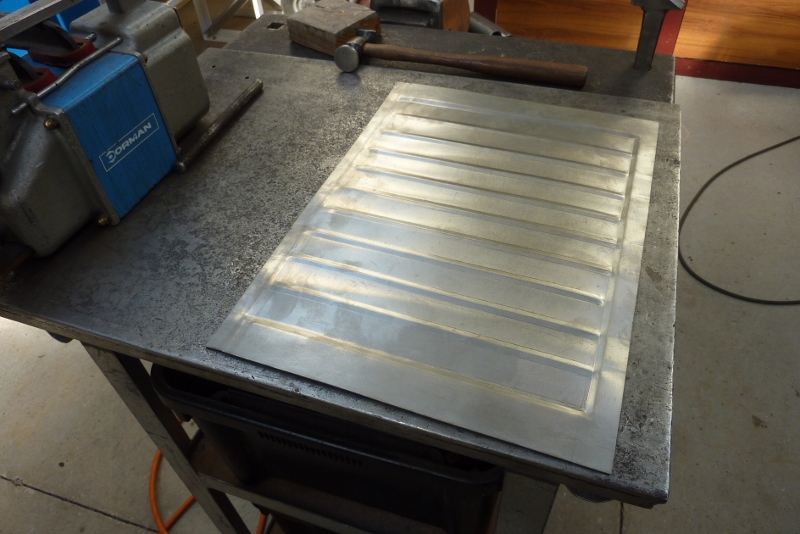
I had also run the step in first. This is so I can bring the die down until it just touches the surface and then pull the sheet against the step before clamping down the die the rest of the way. That way all of the starts will be in line. Beading done and now a flange will be folded on three sides. You will also notice the ruffling along the top and bottom ends where the round beads finished. This is because they shrink the sheet causing a gather. A bit like tuck shrinking before it is hammered down. The distance is less when compared to the flat straight line of the edge even though it would have stretched some putting the beads in. I will run those edges through the shrinker to even it out.
[INDEX]