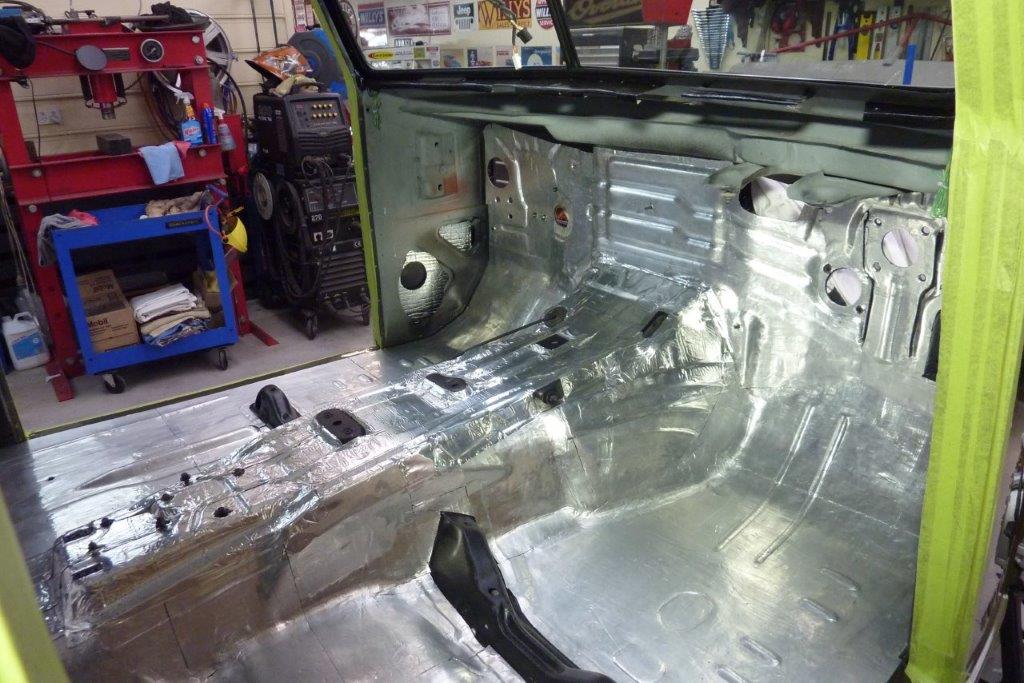
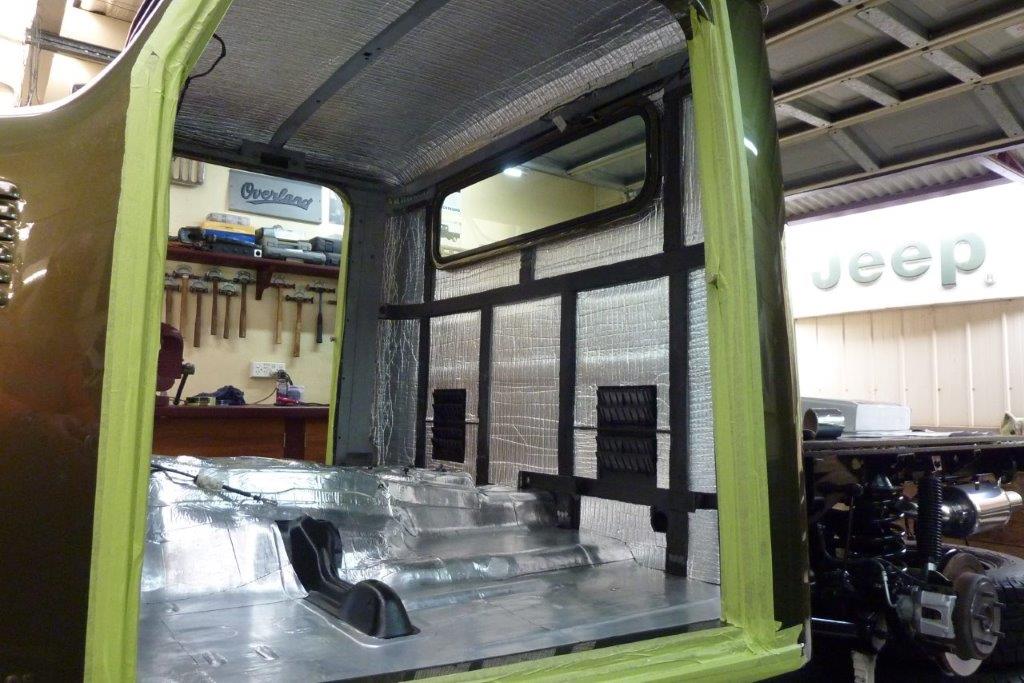
Something that is being added for the first time is the heat, sound and vibration layer. The floor is all done in Resomat which was even used in our Australian army vehicles and was locally made near me. A layer of loaded vinyl and aluminium and can even be pulled back and stuck back down if needed. Pity it is no longer made! Top of the tunnel is done in the more common butyl and aluminium layer and can be bought by the roll in different widths from the hardware store as I had run out of the Resomat. The whole rear wall and ceiling is layered in Formshield which is a sound and heat control substance which is also a moisture and fungi protection layer and is fire rated.
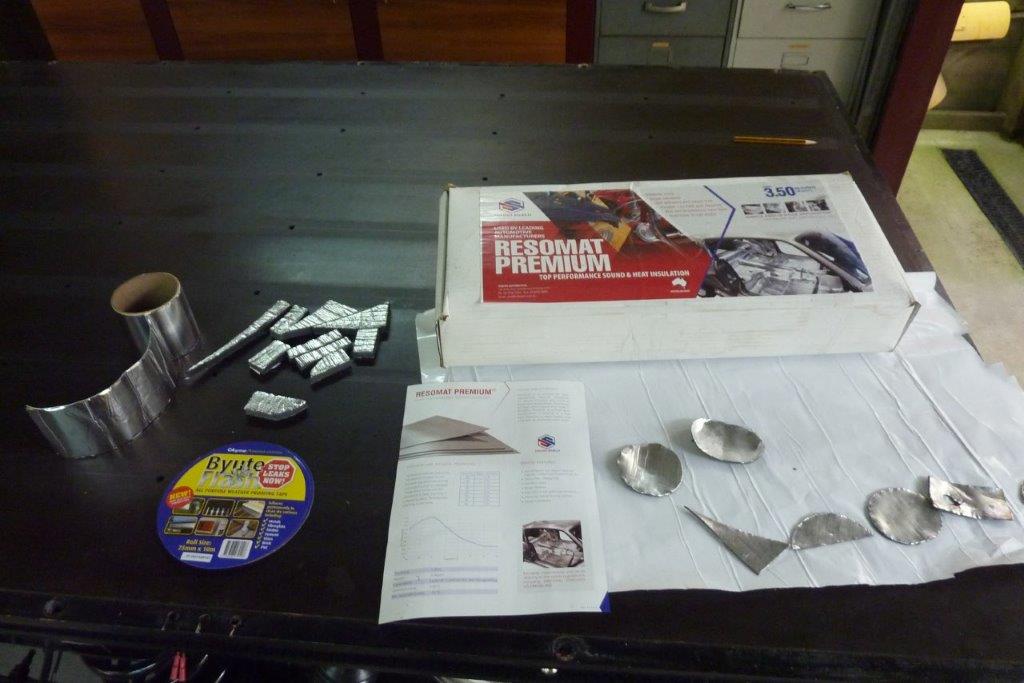
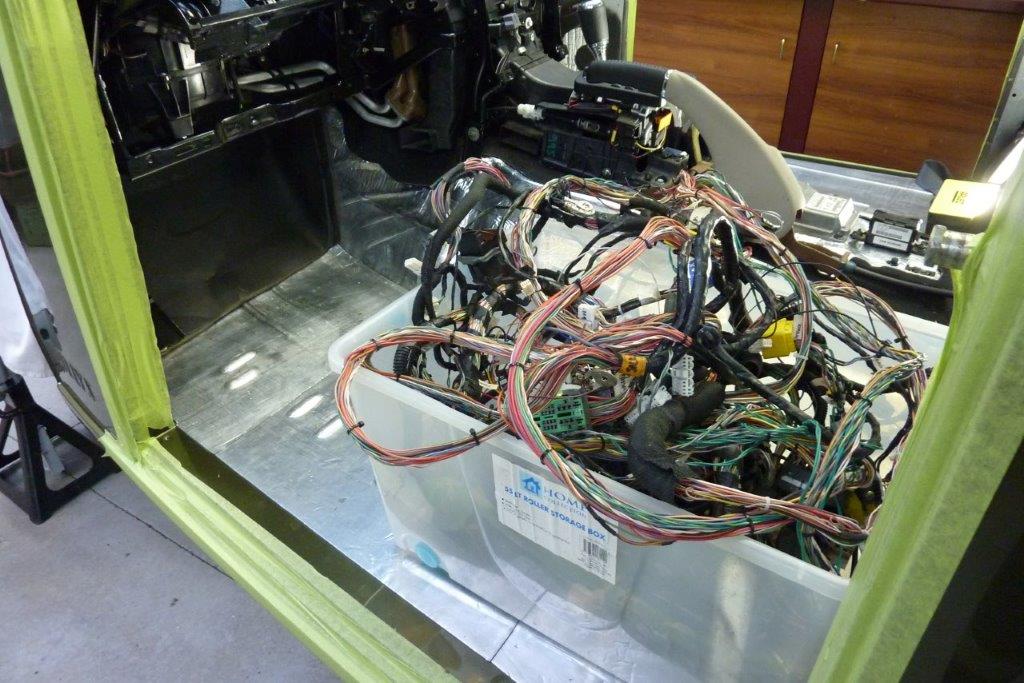
These little scraps are all I had left of the three products used! Now the last of the wiring harness can go back in as the upper cab and whole chassis is already fitted. This is just for the floor and behind the dash.

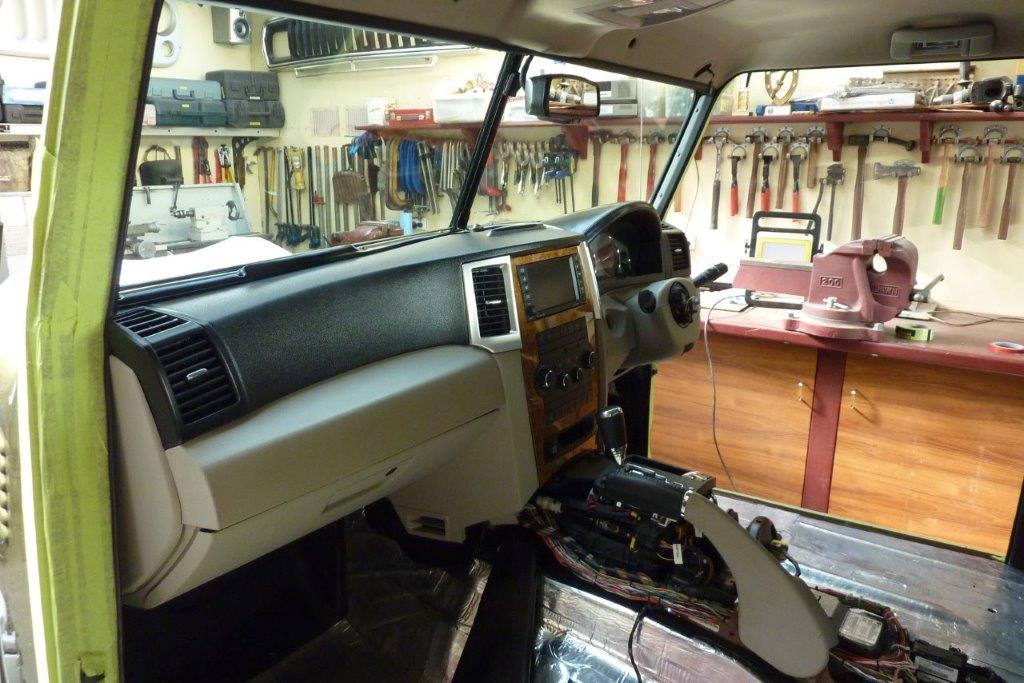
With wiring in place the rear wall can go back in and fortunately the holes I made for the rear vents while the cab was away being painted, fitted perfectly. Nice when the measurements taken months earlier work out. The one piece ceiling is also back place. Dash is back in after the A/C and all the ducting etc was added.
 `
`
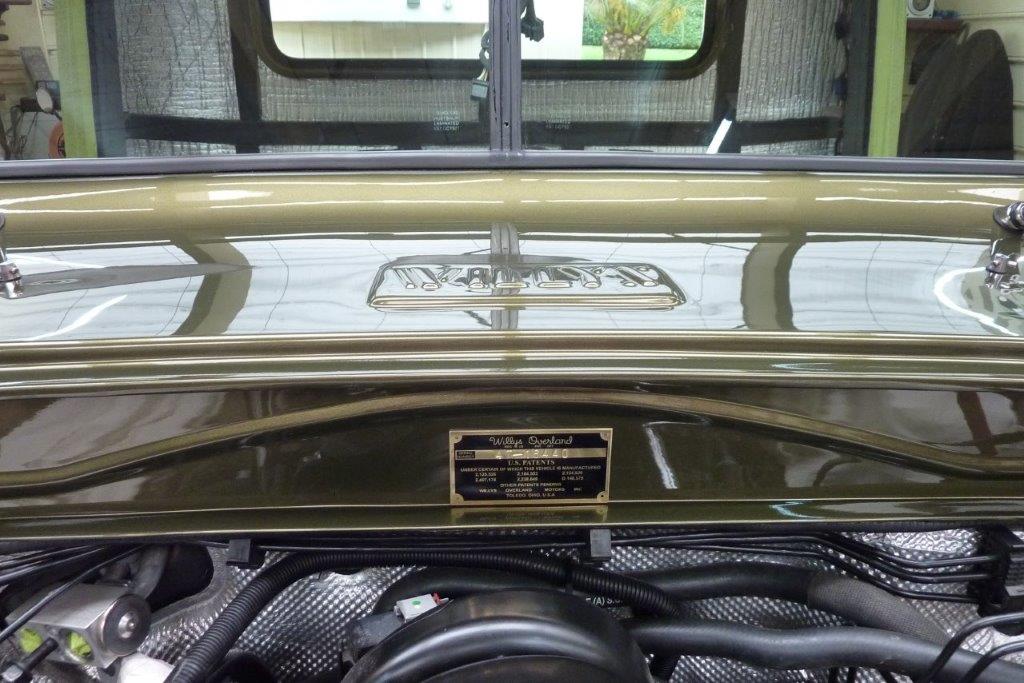
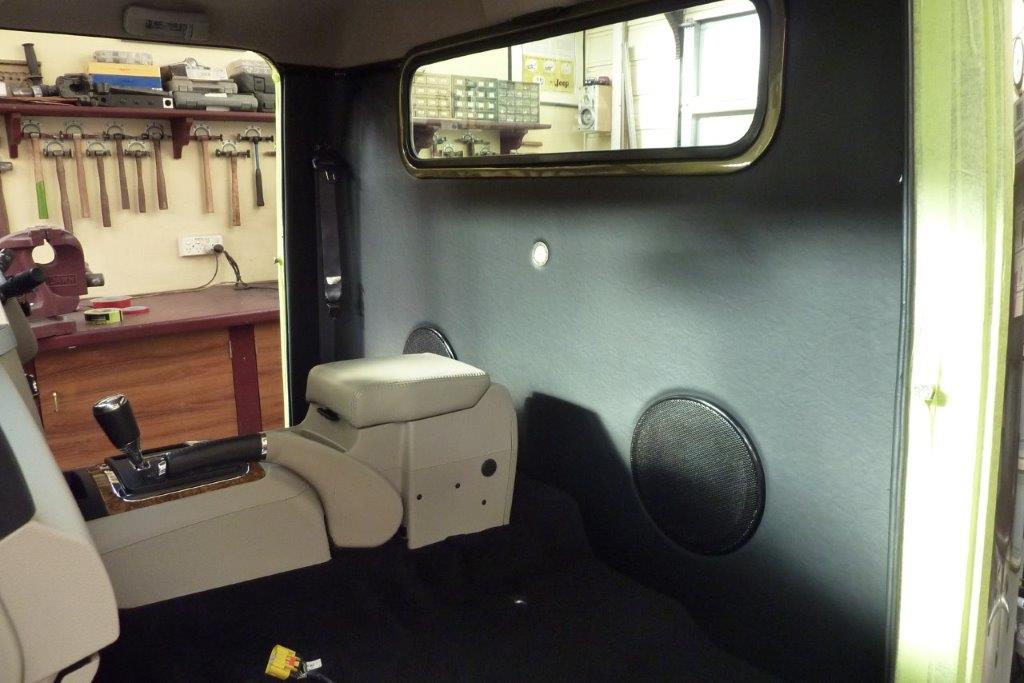
Console, carpet and subwoofer grilles to cover the vents in place. I fitted a filter layer behind the grilles to reduce sound and stop any stay dust coming through the control flaps. Got a really nice brass etched body tag that I stamped with the chassis number out the the UK too! Think the brass suits the gold pearl in the paint better than the standard aluminium one.
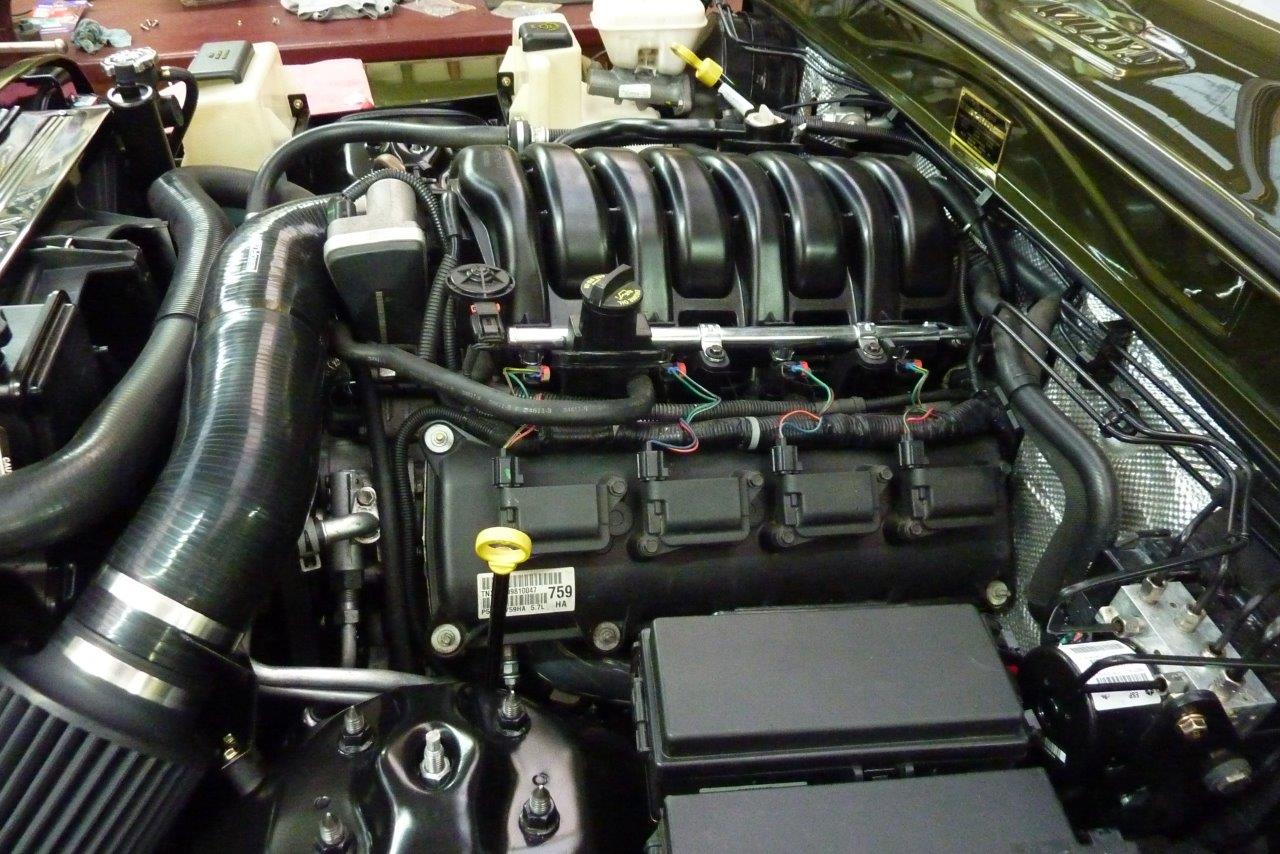
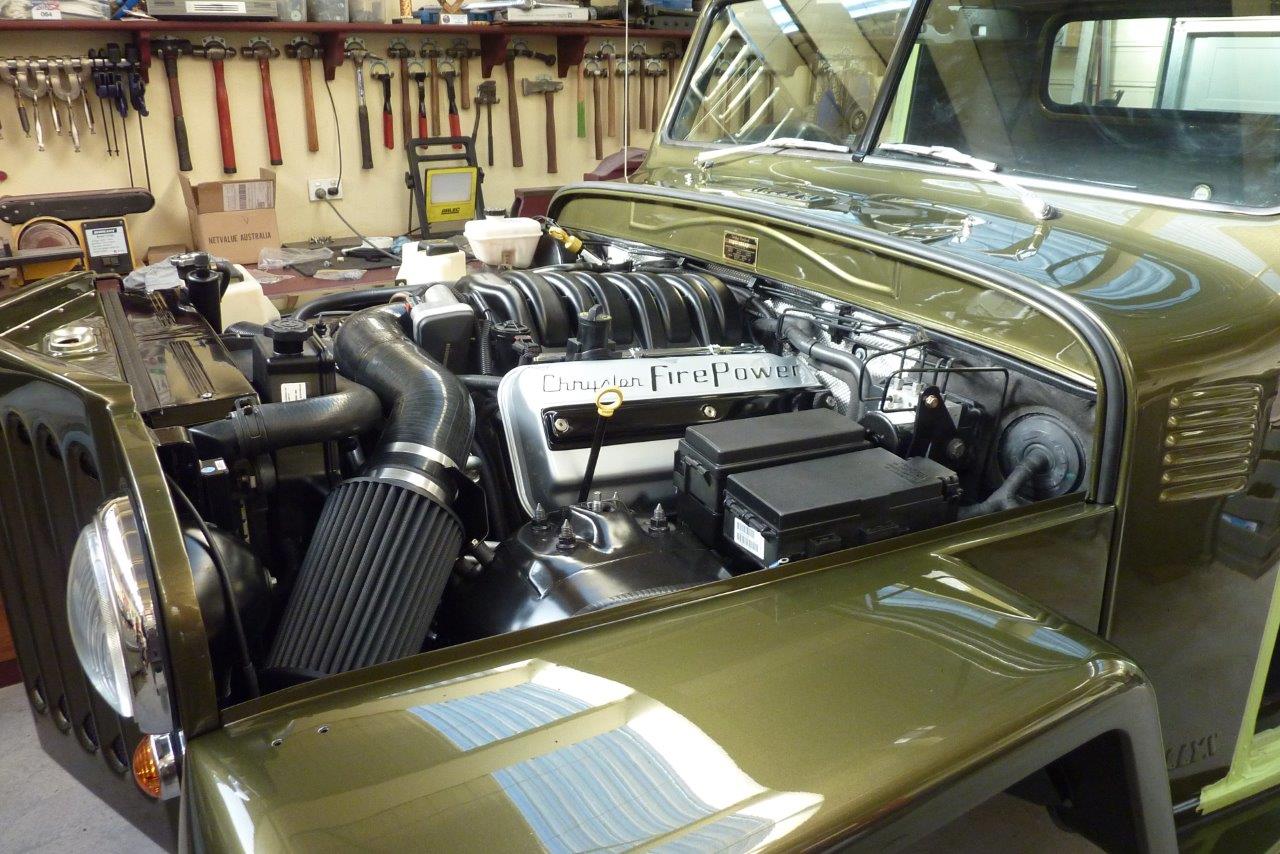
I now have nearly all the engine bay components fitted. Here the newly repainted coil covers are not yet fitted to show what it looks like. Now with the covers fitted that I made from some old GEN 1 Hemi rocker covers. I decided in the end to go with a tradition silver and black. Also got the lettering highlighted and they did a great job on it. First painting the cover black, then overlaying the silver before carefully rubbing over the lettering until the black underneath showed through!
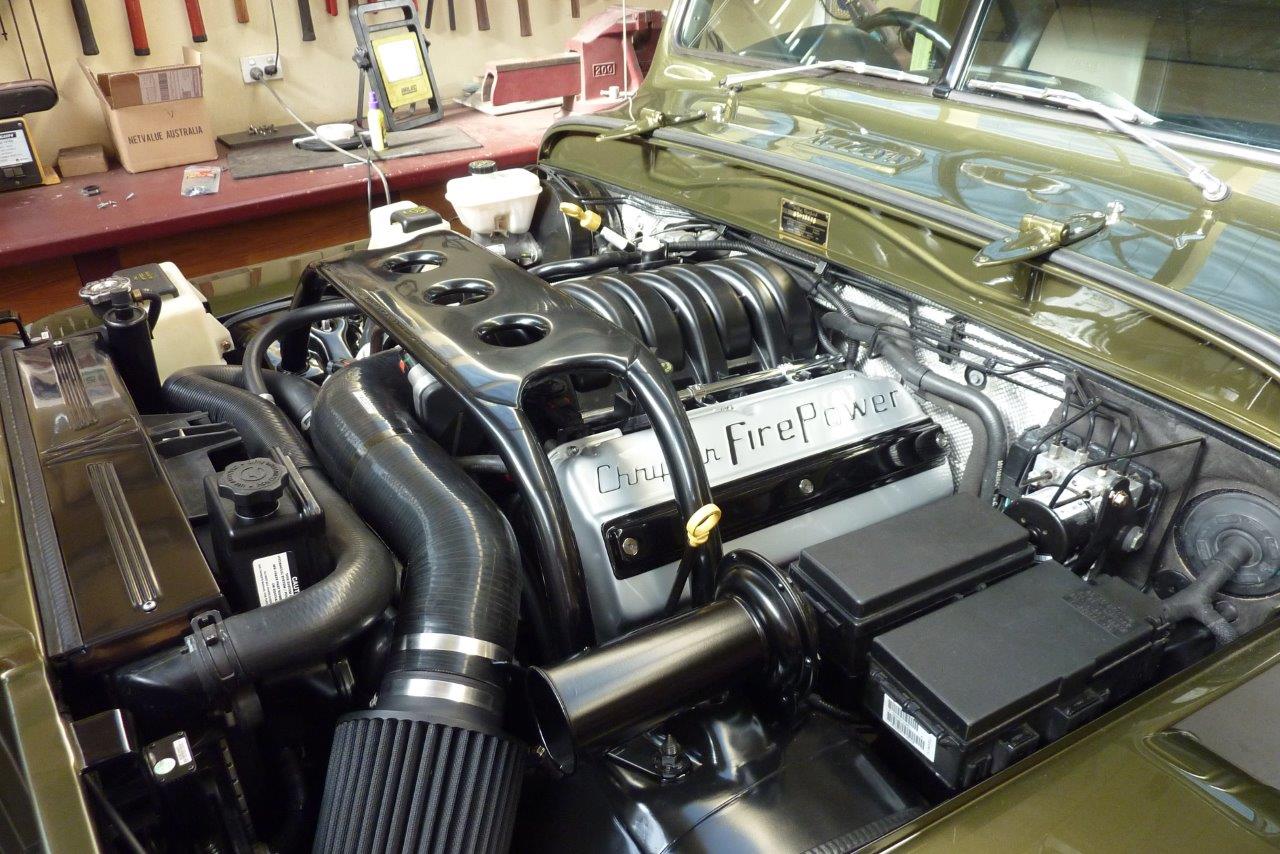
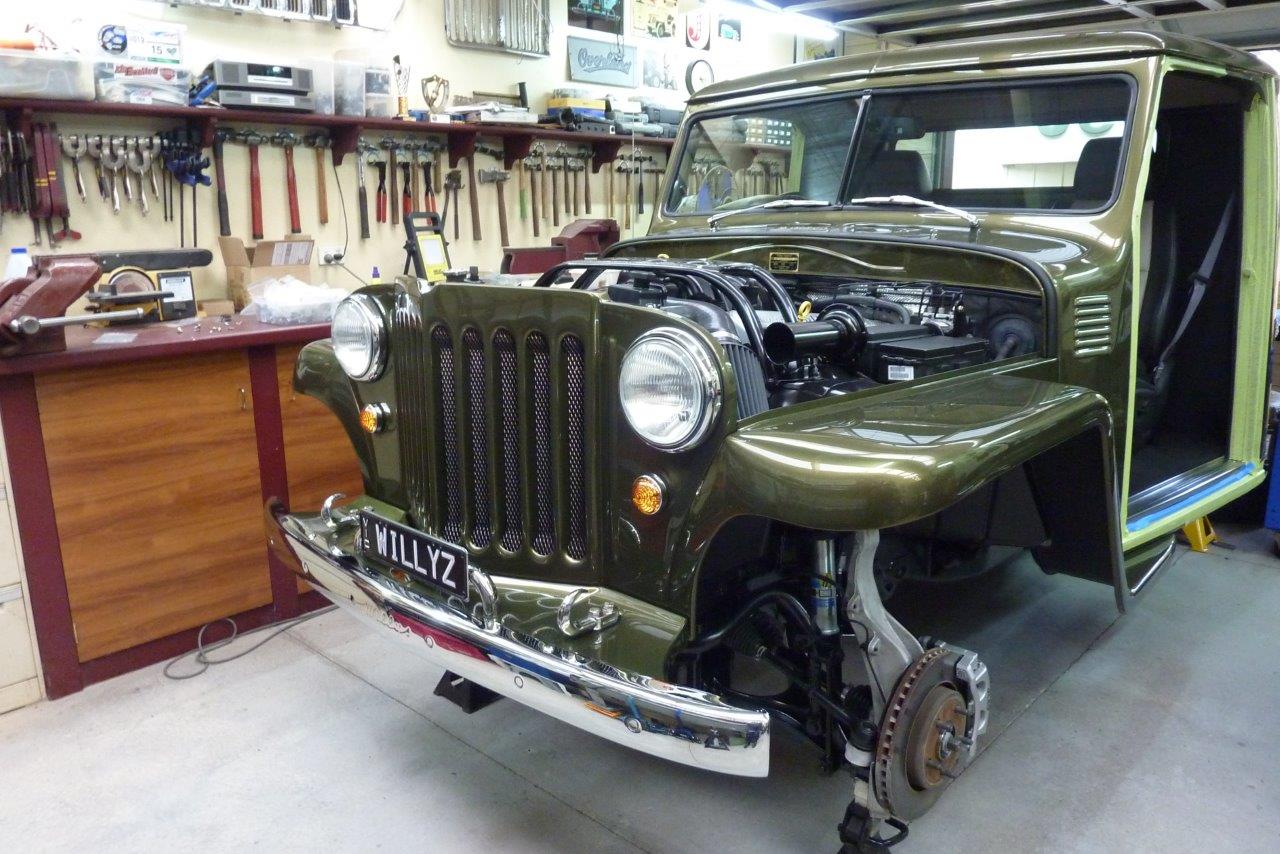
The last things can now go into place which is the suspension tower brace and the horn. Everything in semi gloss black to keep the focus on the engine and not what's around it. There is practically nowhere you would have seen the inner guards even if they were painted body colour anyway. The guards, grille, valance and the newly re-chromed bumper with the parking sensors are all back on.
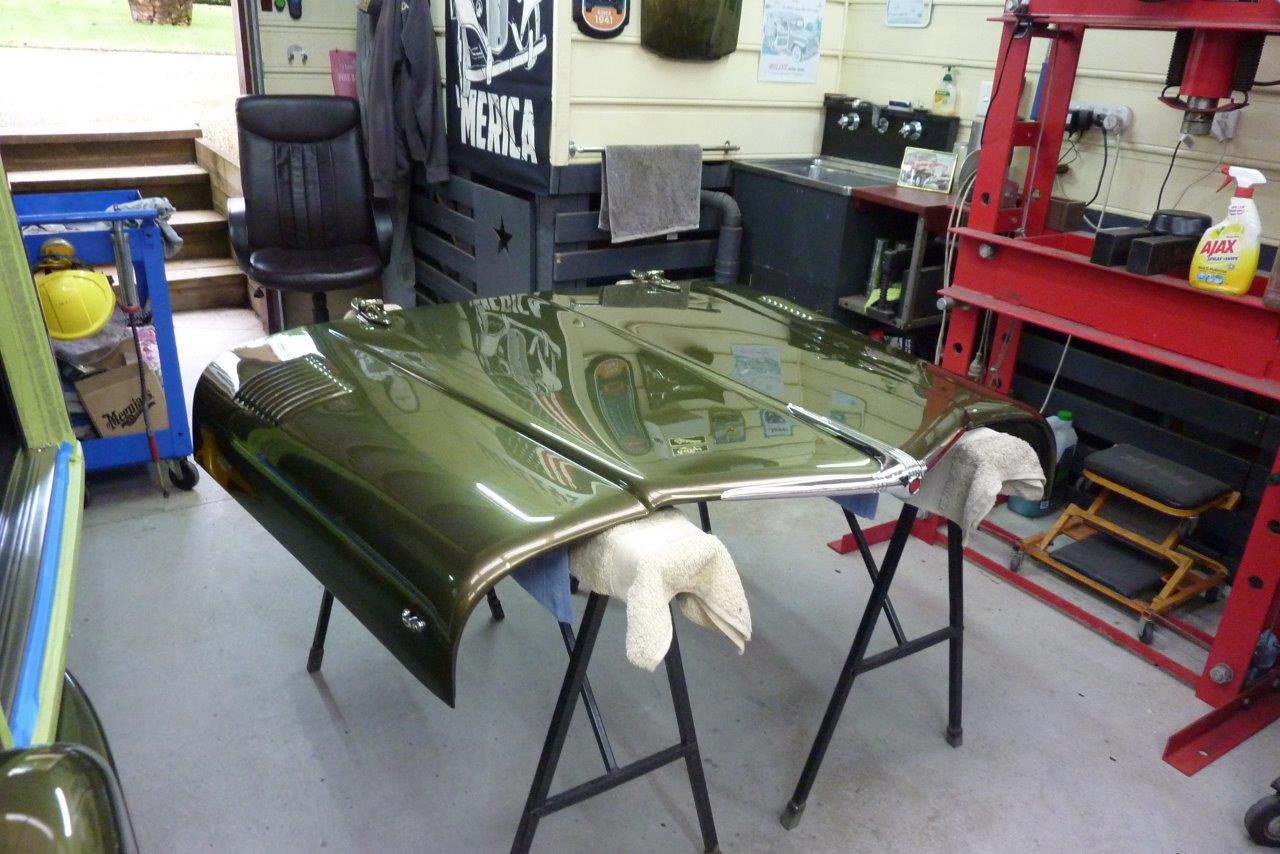
Bonnet ready to lifted on with the help of my wife. I had to bend the 'wings' of the front ornament back a little to have it sit properly, which was very nerve racking as it is cast from pot metal and could easily snap! Bonnet went back on easily without a scratch. Getting closer to being completed everyday. :)
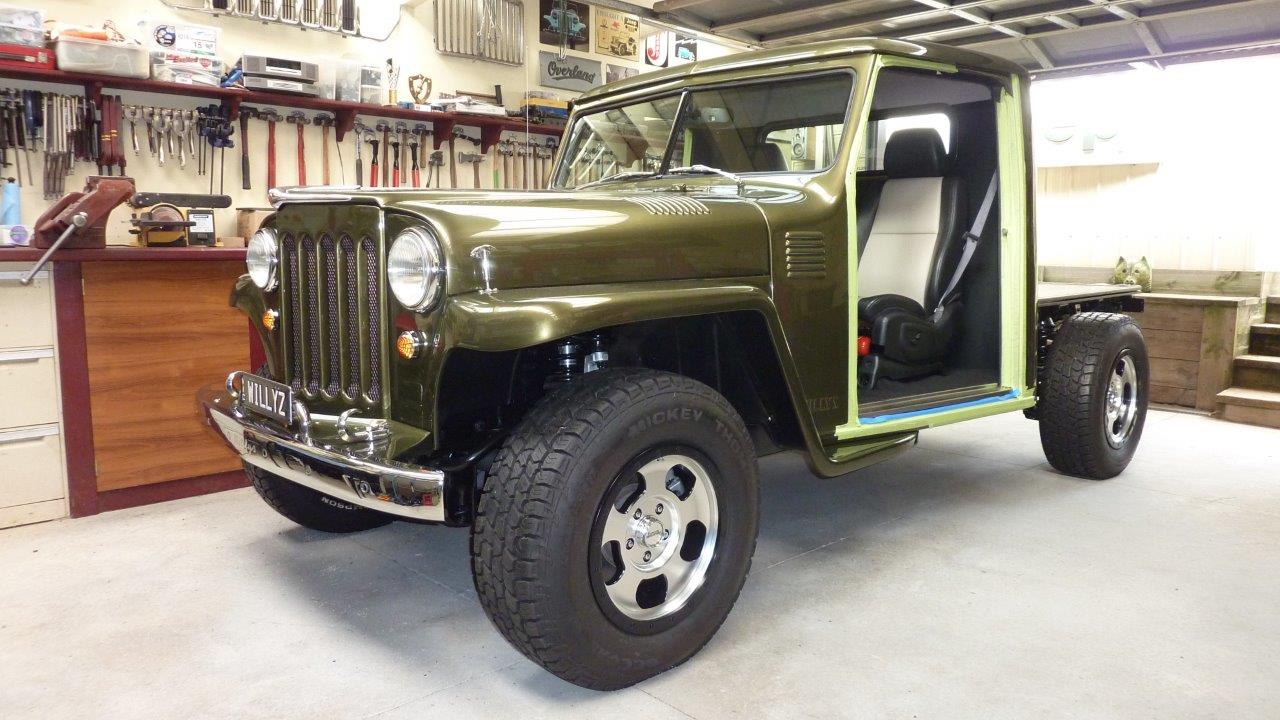

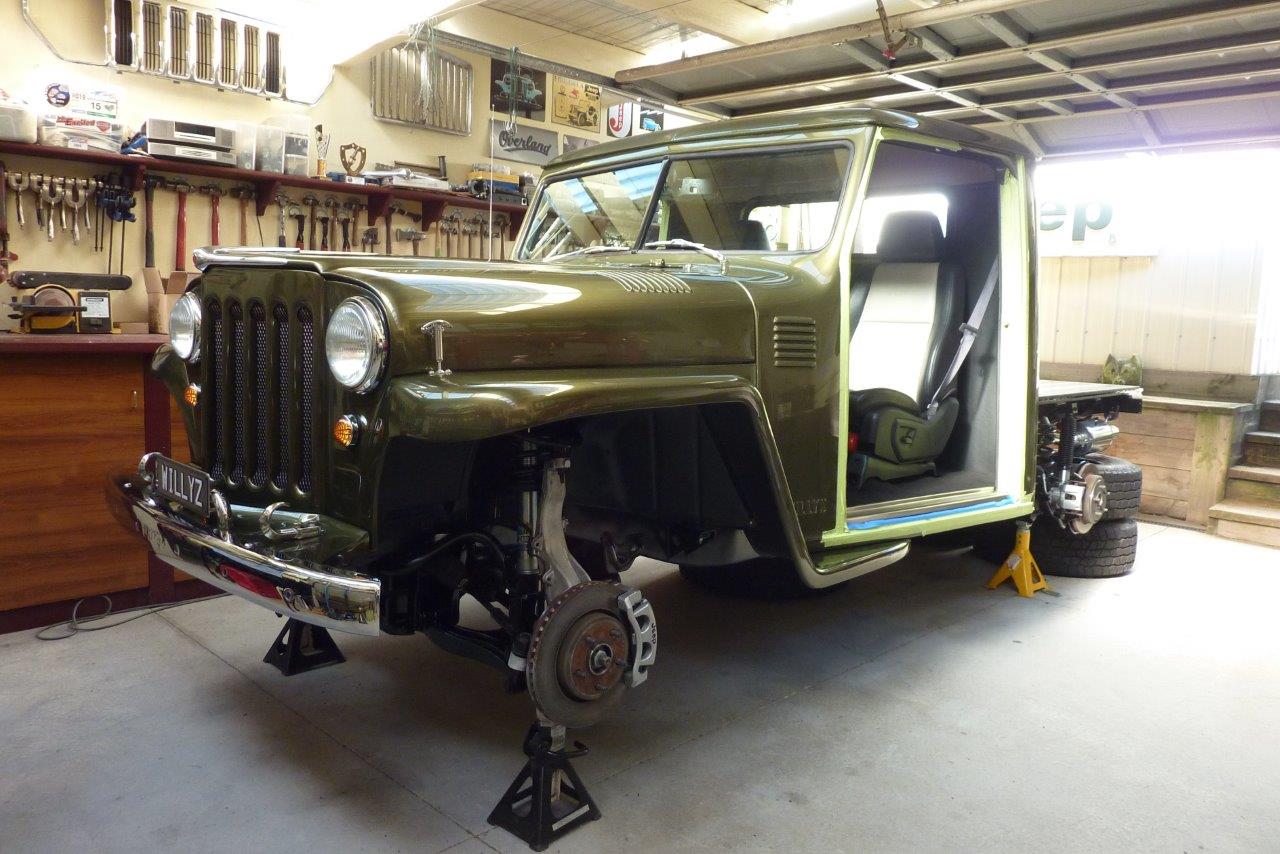
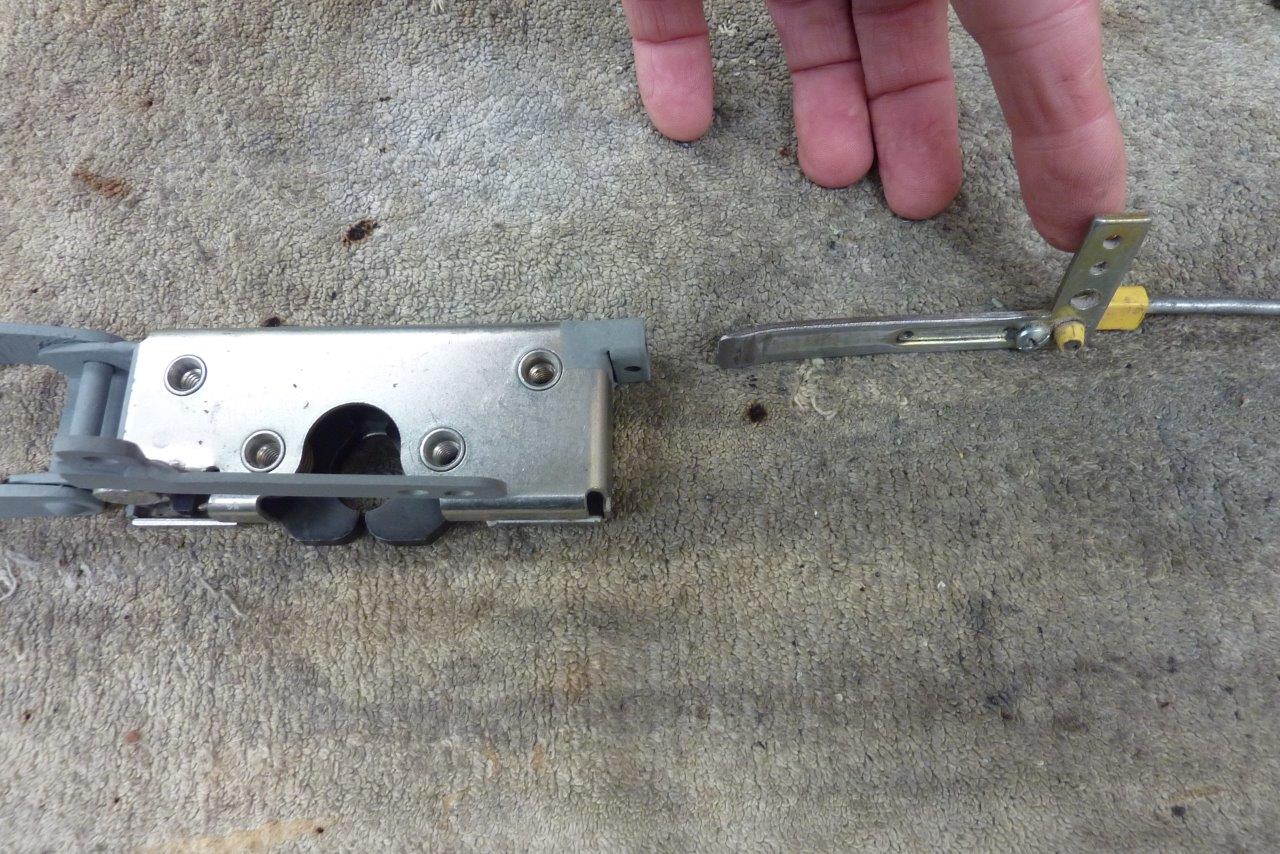
Brakes have been bled and the ABS pump bleed routine done via a programmer. Great to see it back on its wheels again. Next on the list was to improve the door locks I had used. You really had to slam the doors to close, and even worse if the windows were up!. The typical Chinese universal large "bearclaw" rotary latches are actually a knock off of ones made in the USA. Same bolt pattern and size etc. Only reason I didn't buy US made ones in the first place was that they are not lockable, so can't have a central locking system. But now I know how to fix that problem. The US ones are on the left and the Chinese ones on the right. I bought my latches from Hot Rod Latches.
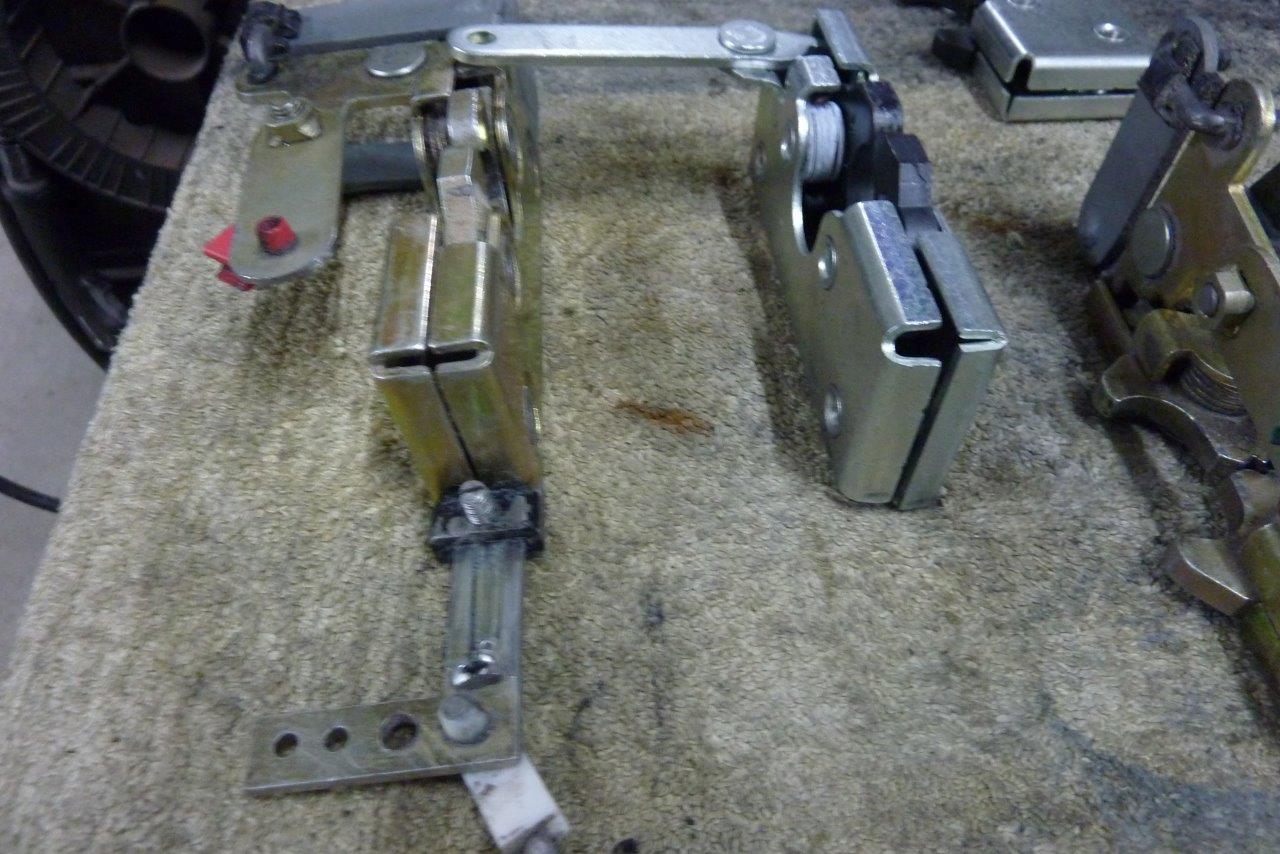
The L shaped piece coming out of the original one is what turns the standard latch into a locking one. It is just a square rectangle with a thread on one face to hold a grub screw to control how far the piece can move in the slot. I would just cut the slot right through if making one from scratch. Can see it was even added afterwards by the manufacturer as not zinc plated like the rest of the latch. The gray arms you see at the other end are what I had made and added to transfer the opening arm to the other side of the glass so I could have both an inner handle and a button push door handle to open from the outside, shown earlier in my write up.
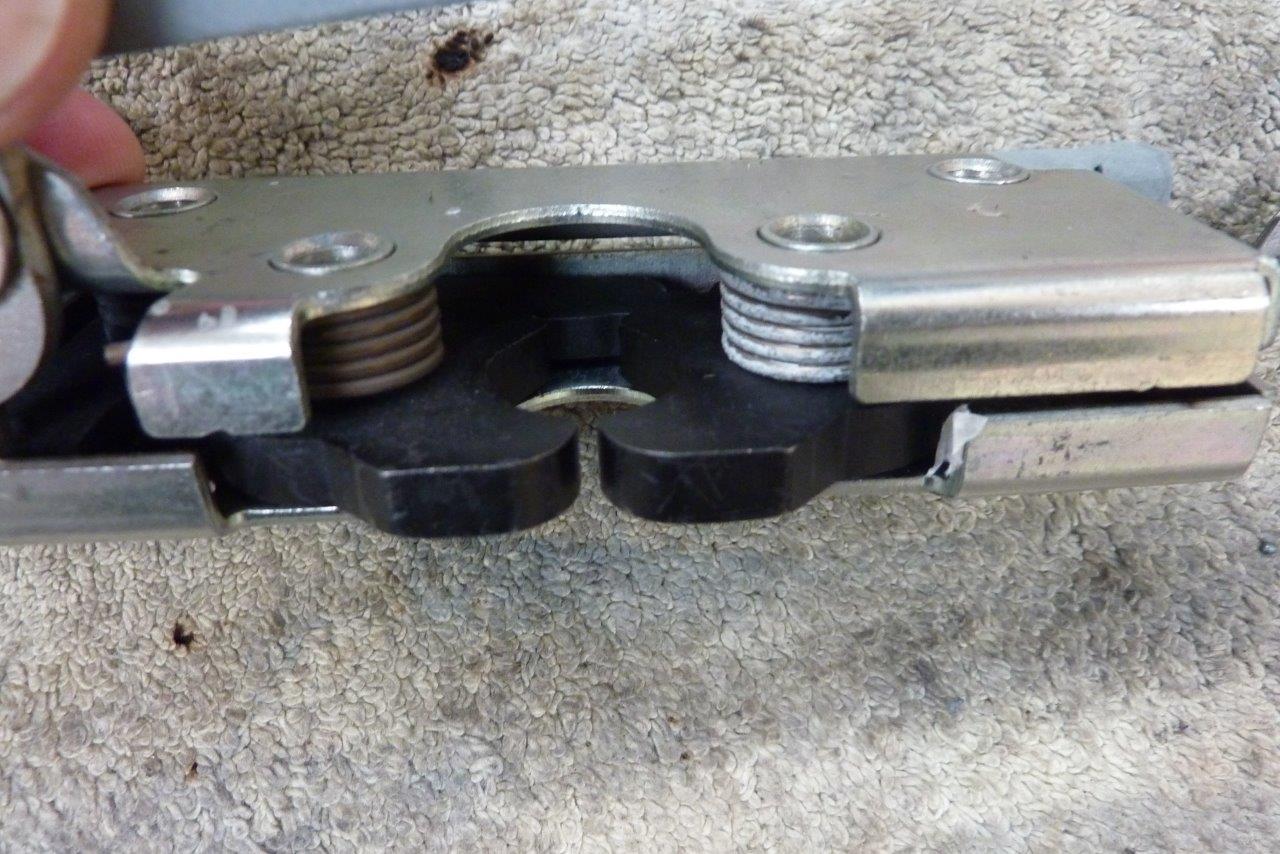
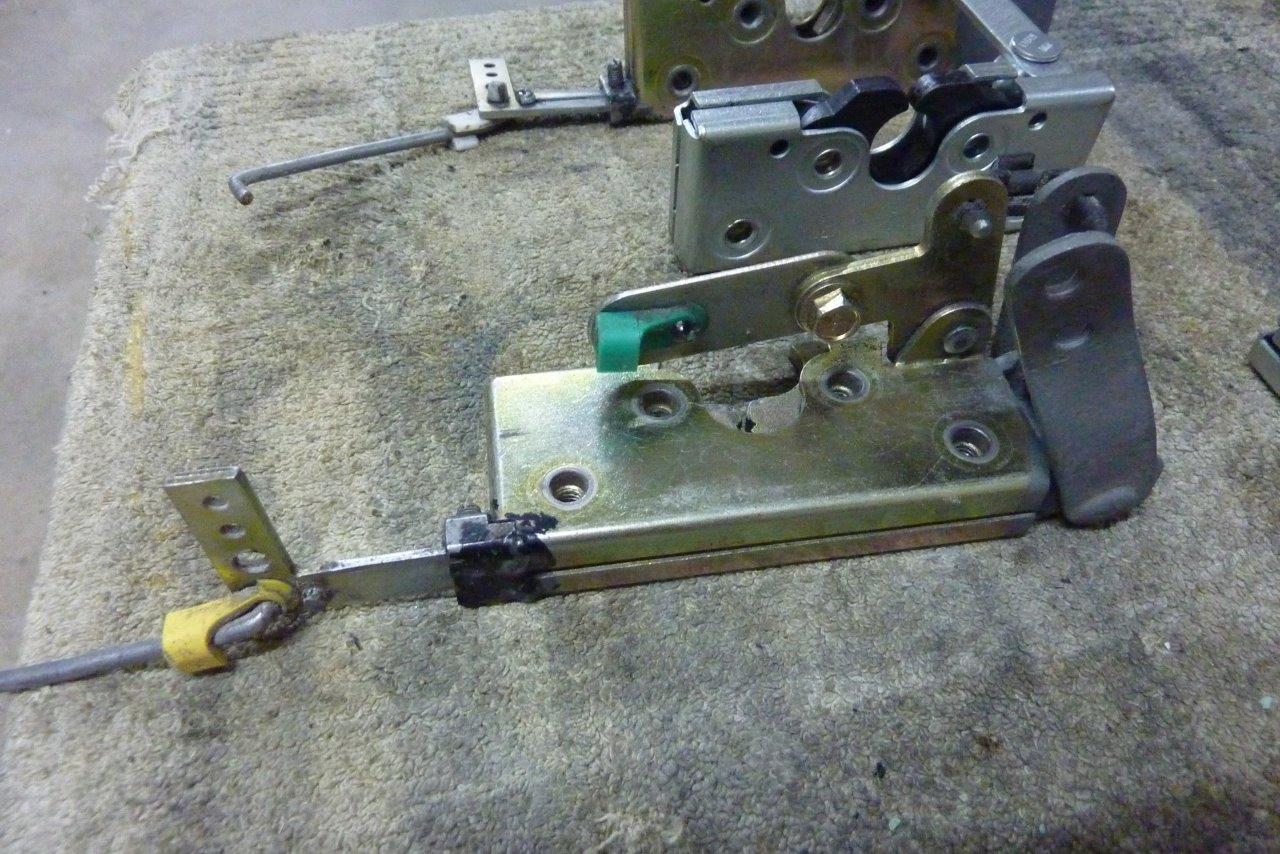
Here I have transferred over the opening arms as well as the little steel box to hold the locking L piece in place. The link connects to my central locking actuator that I got off a XJ Jeep Cherokee. There are three parts for the latch. The left and right C shape pieces, that wrap around the striker bolt, as well as a third L shaped arm that sits right at the bottom and holds the other two closed.
[Index]