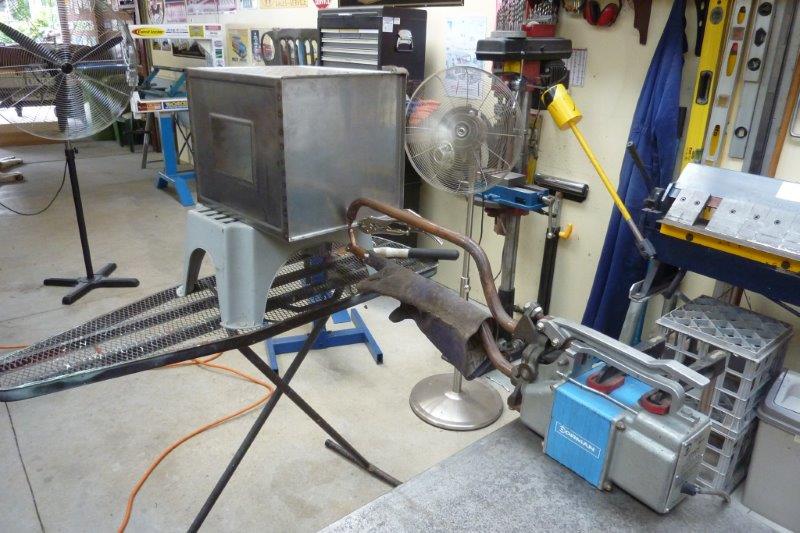
Glad I was only spot welding on the day as ended up peaking at 44*C/111*F in the workshop! I didn't get a shot of spot welding the top piece as didn't have enough hands! I did arc out on the arm a couple of times trying to hold everything in place and keep it balanced. So put an old welding glove over the arm to insulate it. Came up with a better way to support the box once I got to the bottom piece. ;)
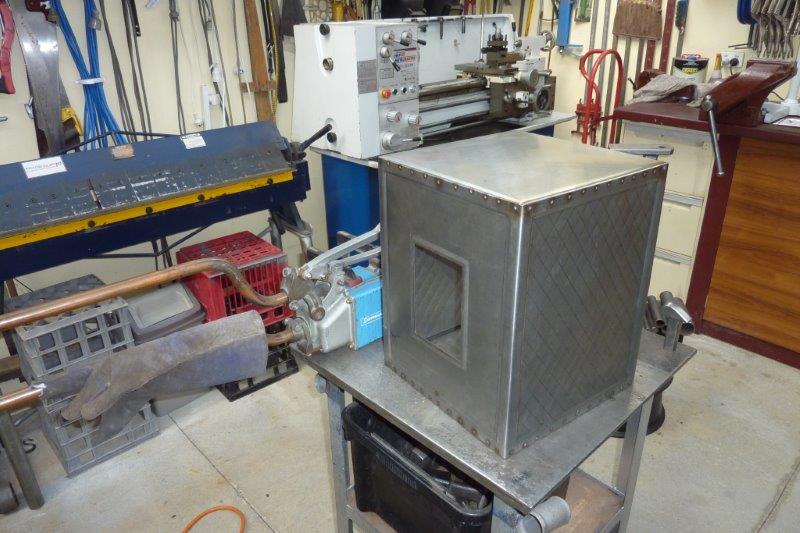
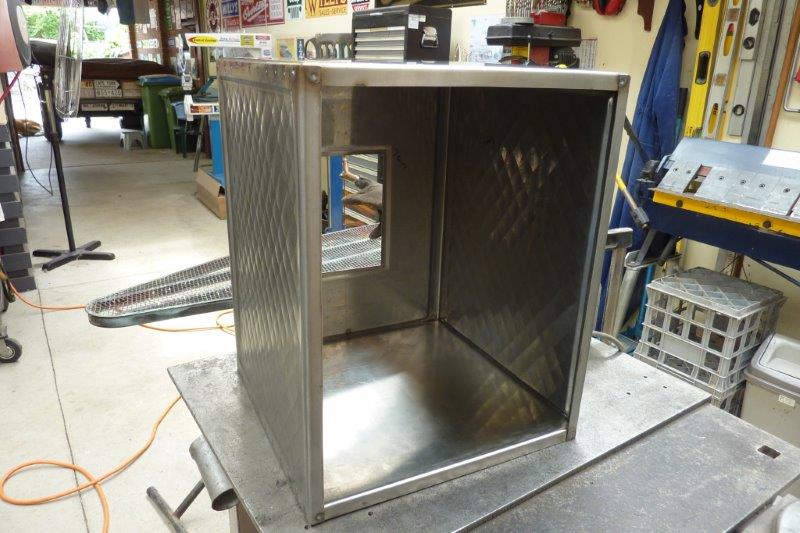
Distortion pulled out as hoped which was good. Put the polished side to the inside as wanted the satin side to the outside to better hide wear and tare. Front piece/door will be next.

I have always wanted to try embossing so thought this was the perfect project for it. I played around with the art dies following either inside or outside lines to see what worked best. Also top side or from underneath to see what would give the best results. Was having trouble around tight corners and intersections so switched the top die to the tipping one as shown. This did improve it and found doing it from the underside and following the inside line helped as well. This piece is what I practised the step and quilting on as well and is the side of a computer case. What I did also find is not starting right at the corner as the indent from the die will spread further. So started this far from the corner worked best for me.
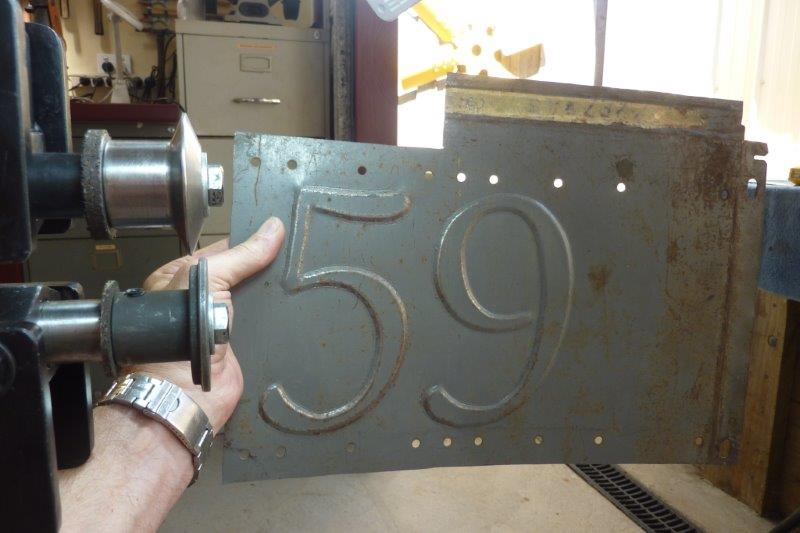
Trying different dies to see the effect. Steel lower for the 9 gave more height and definition.
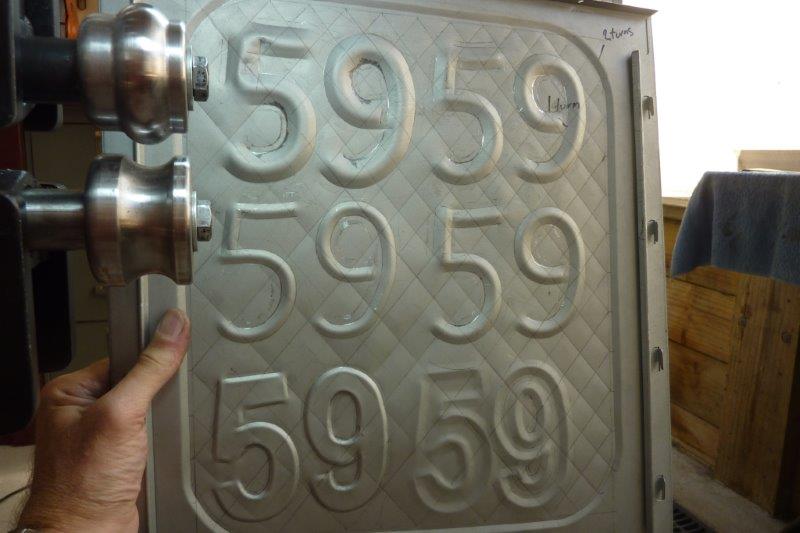
What is even easier is just a single pass from a bead die set. Went up through all my sizes to see the outcome. In the end I really wanted to do the harder full outline as could use different fonts that way.
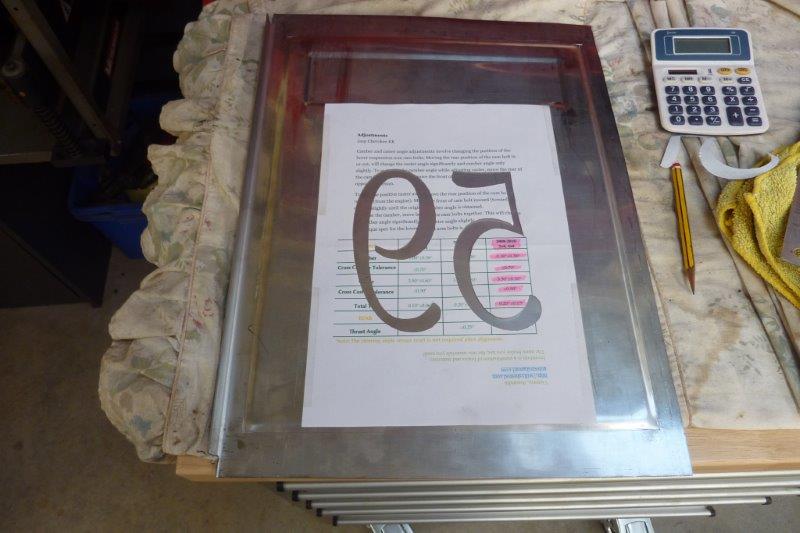
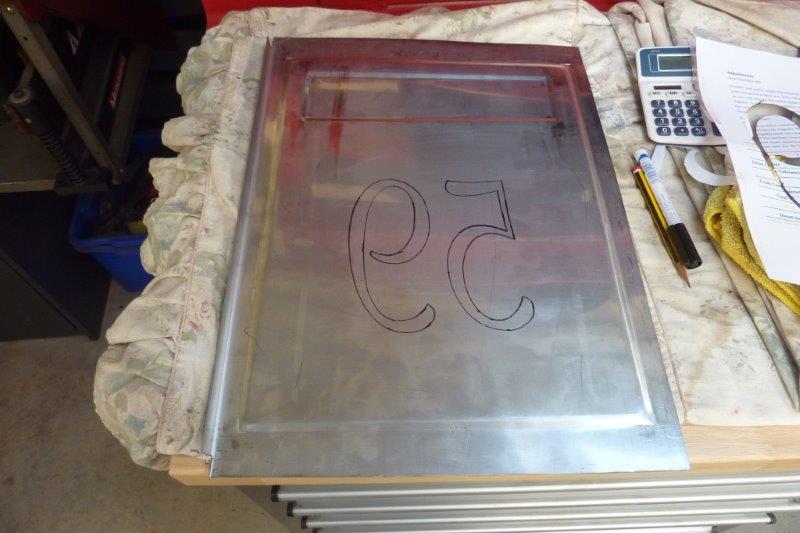
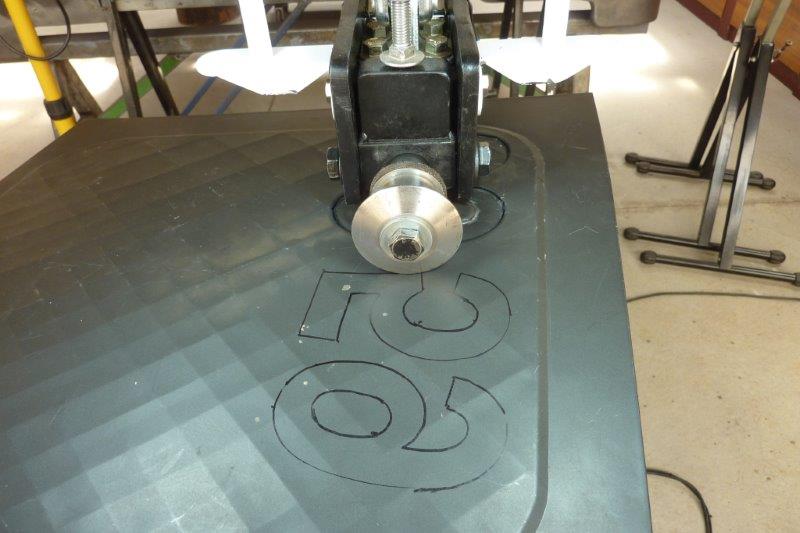
In CorelDraw I chose a font I liked and then altered the size and proportions to get the same spacing to the outside beading on all sides. Printed it out and cut the number out with a utility knife. Traced the cut out with a sharpie. I'm doing it from the backside so the numbers have to be mirrored.
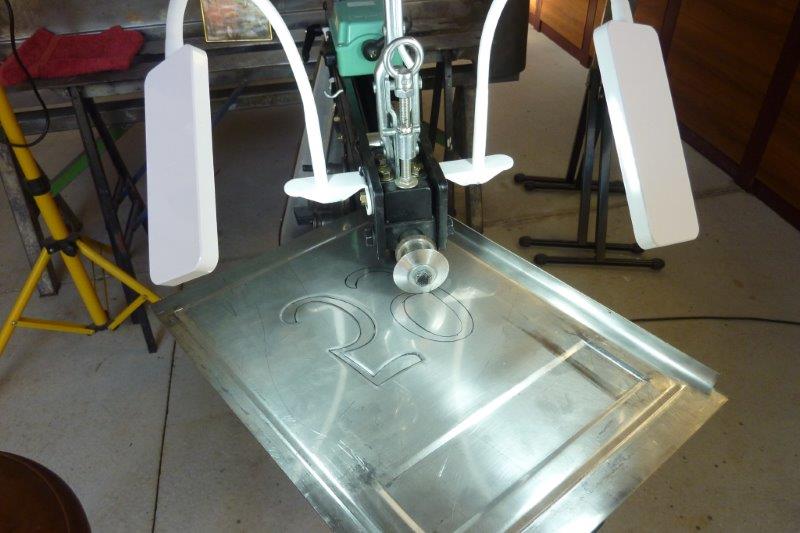
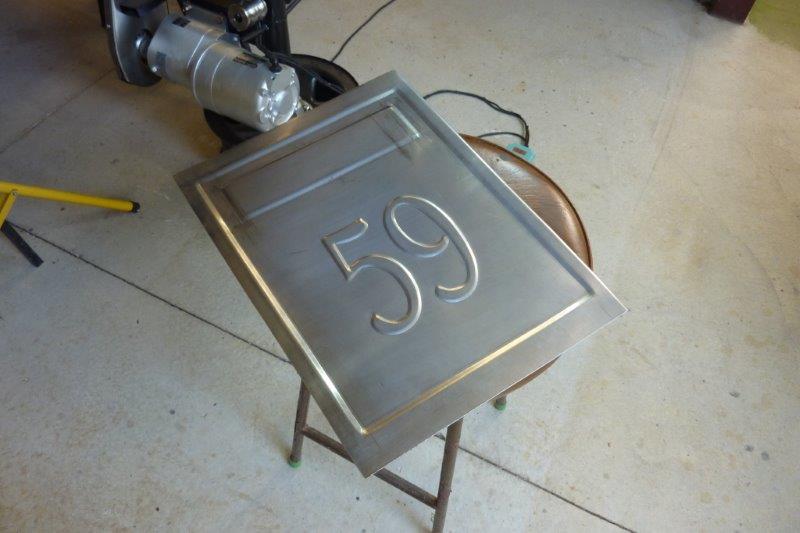
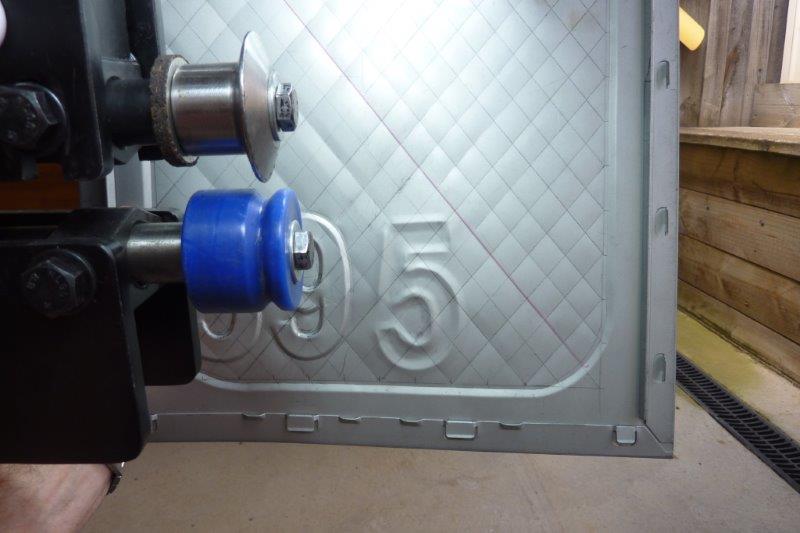
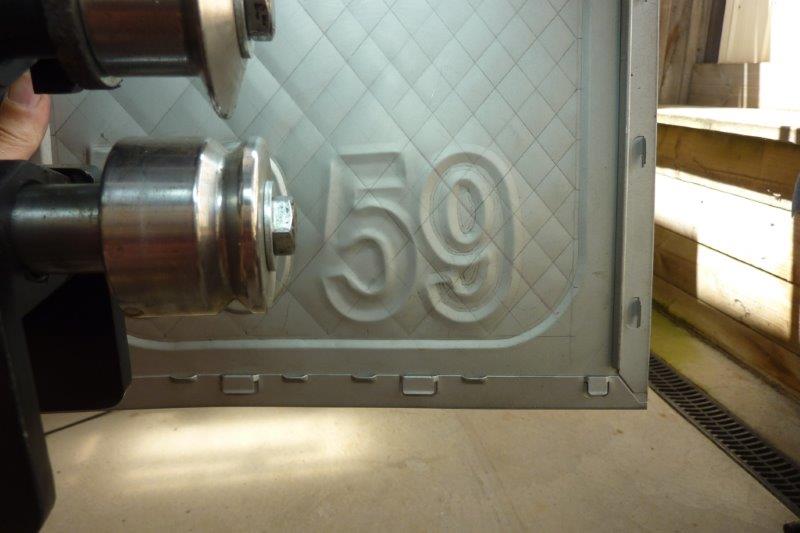
The new lighting present from my in-laws works a treat. :) I just had to remember that what was going to be raised always had to be towards the throat with the way I set it up. Came out every bit as good as I hoped! This is straight off the bead roller with nothing touched. Only a slight over run on the inside corner on the 5 to be fixed. Have to remember that inside corners have to start and stop earlier than outside corners.
[INDEX]