
This is the shorter of the two I made and quite like the proportions. It is the same height as the diametre of the base. Was not as keen on the longer version and worried it might vibrate more too.

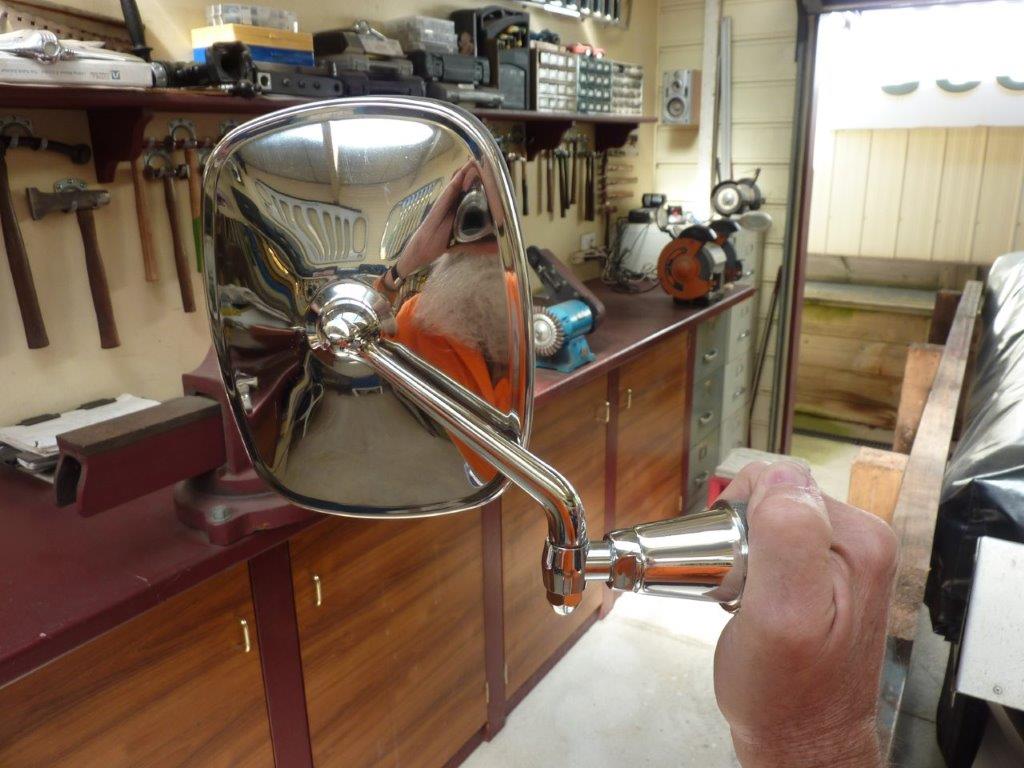
Next test was to make one out of some scrap aluminium bar stock that I picked up at the scrap yard the last time I was there. Happy with the shape and size of it. It is not just a straight taper as wanted to mimic the jam nut and make it look less like it was done on a lathe.

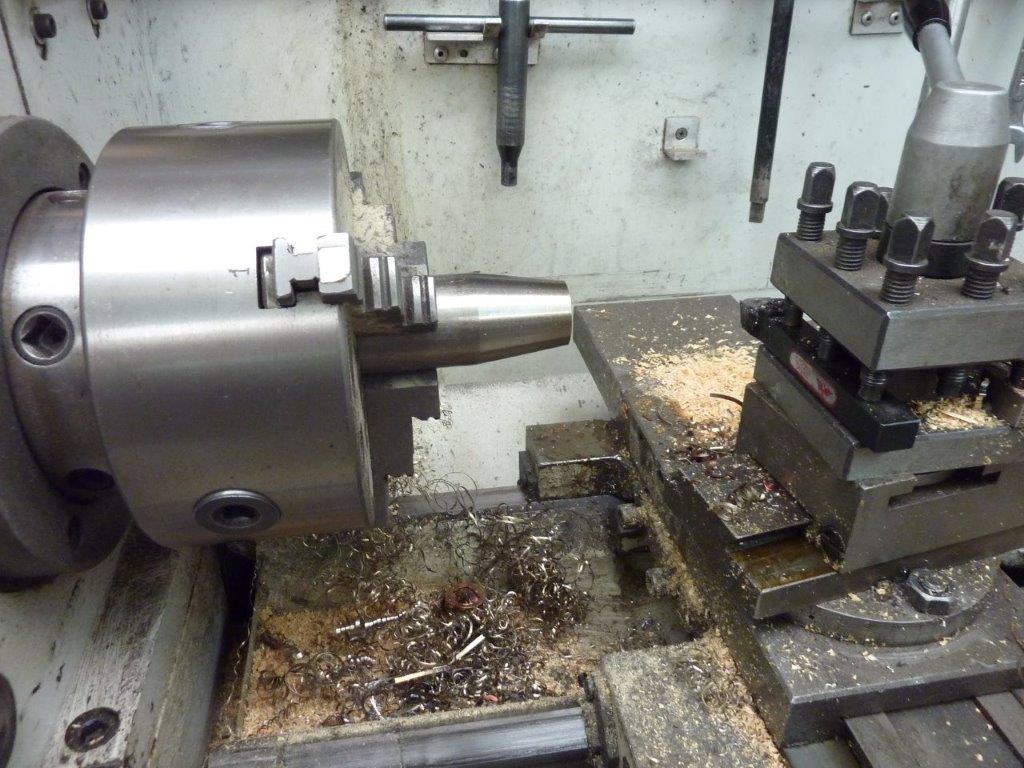
The aluminium was too soft to use and scratched easily. So had some solid 40mm 316 stainless bar stock to make some from. I machined both ends of the bar so could easily duplicate the settings and make them identical.

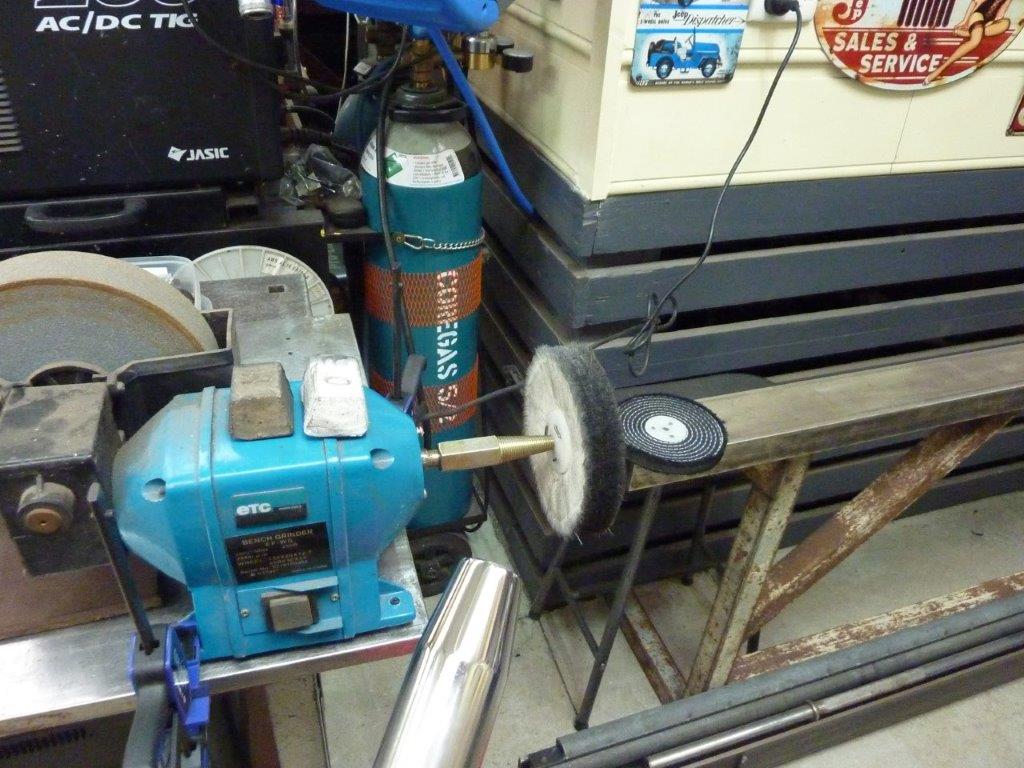
I went through the grades of sandpaper over it right up to 1200 grade which was the finest I had. Then onto the buffing wheels to give a better polish to it. Just wanted to match the mirror arm in sheen.

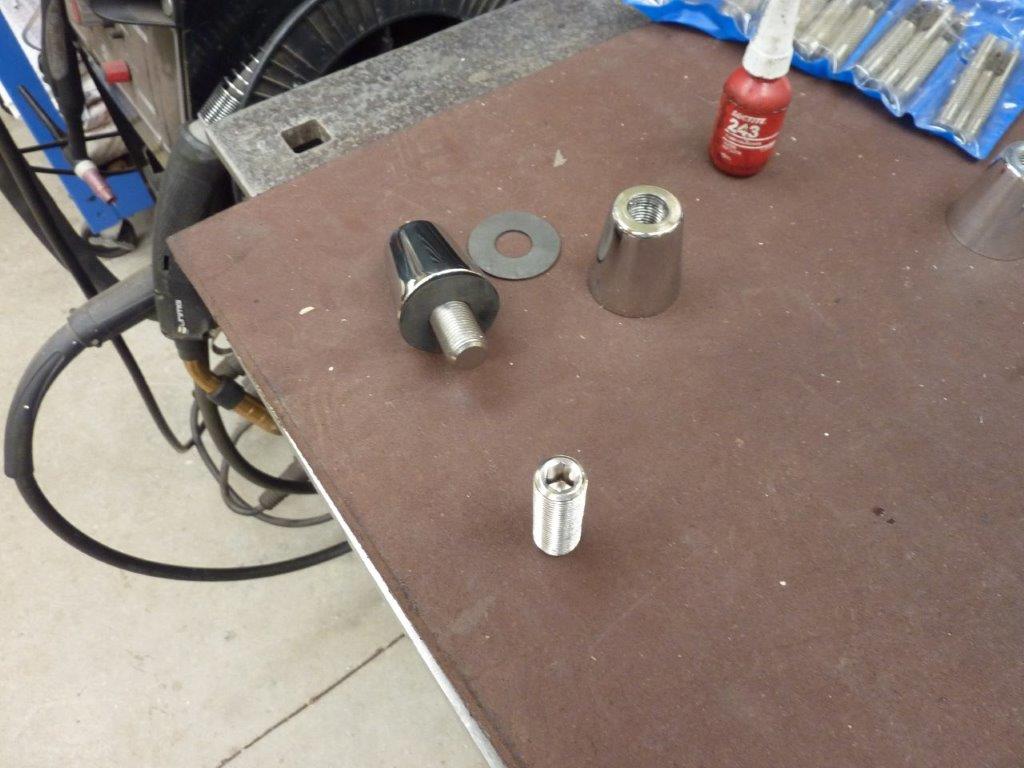
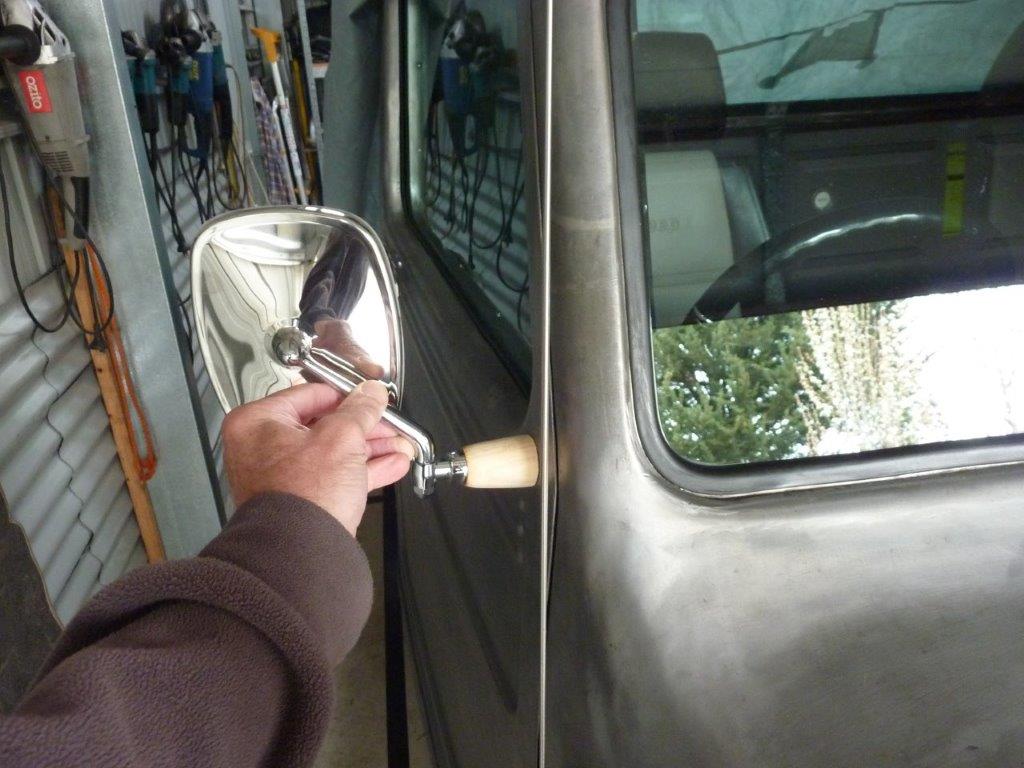
The centre was bored and then tapped 16x1.5mm to match that of the mirror and the mount I already had inside the door. Then the fun part of parting each end off without it flying off somewhere at the end and damaging the polished surface. Did the old pencil inside the piece to hold it when nearing the end to catch it. Made some gaskets for it and threaded in a set screw. I used loctite to hold them in place with the hex socket inside the spacer. This allows me to tighten the piece to the door before the mirror gets screwed on.
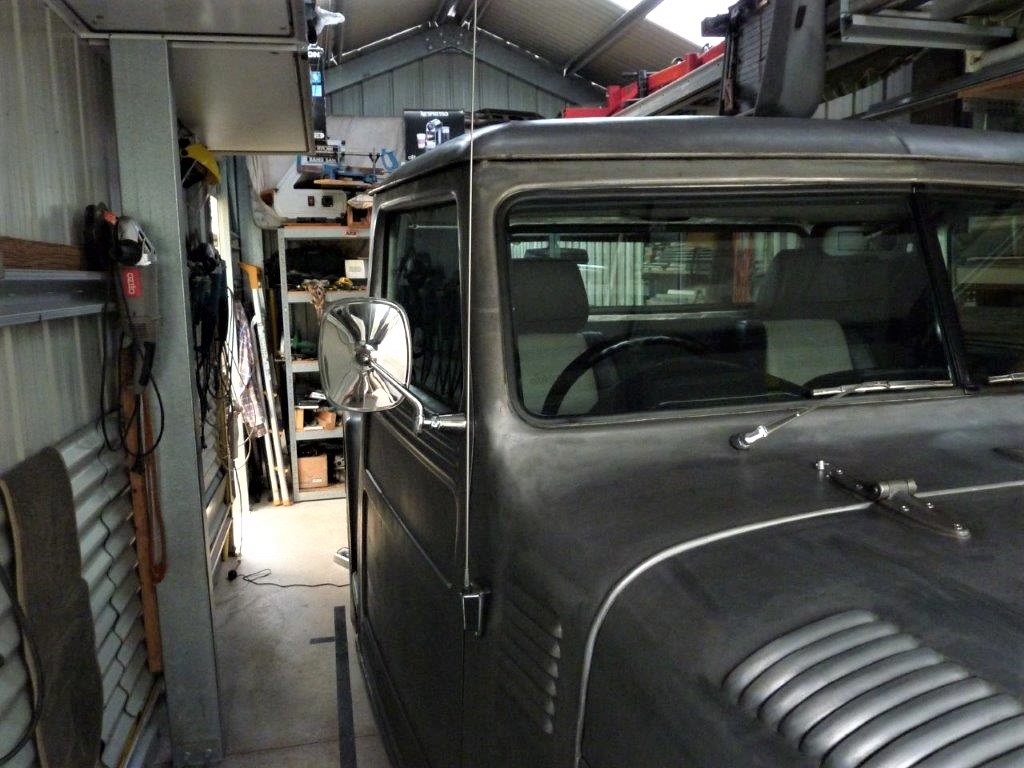

Think it looks fine fitted and can now see my rear wheel to help me reverse into the garage. Went for a Sunday drive and they are actually more stable than before with little to no vibration! The surface area of the mount is double of what it was before and there is less wind noise too as a bonus.
Video update.
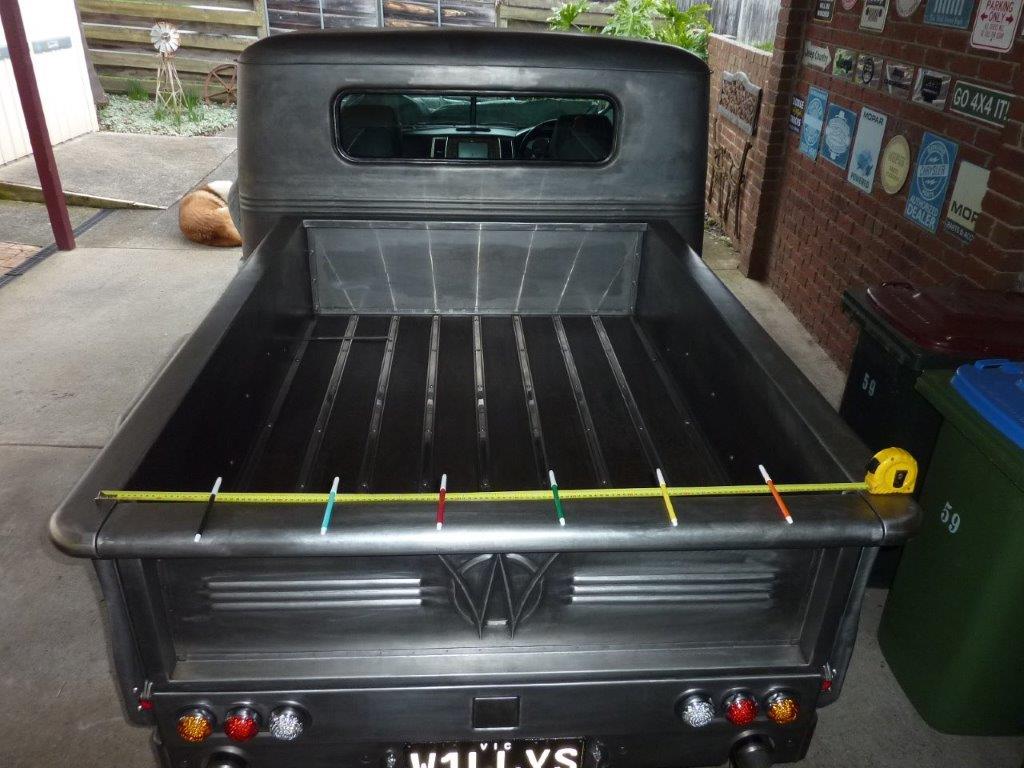
Last piece of the build to go, making the hard tonneau cover. Just visually looking at how many beads to run up the centre of the cover to stop fluttering at speed and also break up the large flat surface. The beads will be the same size as those on the cab and tailgate. This is the shape I have come up with for the edges of the cover. Has the same radius as the bed sides and also gives me the height I need to fit over my camping fridge. The shape also gives me the strength I need to make a 'frameless' cover.
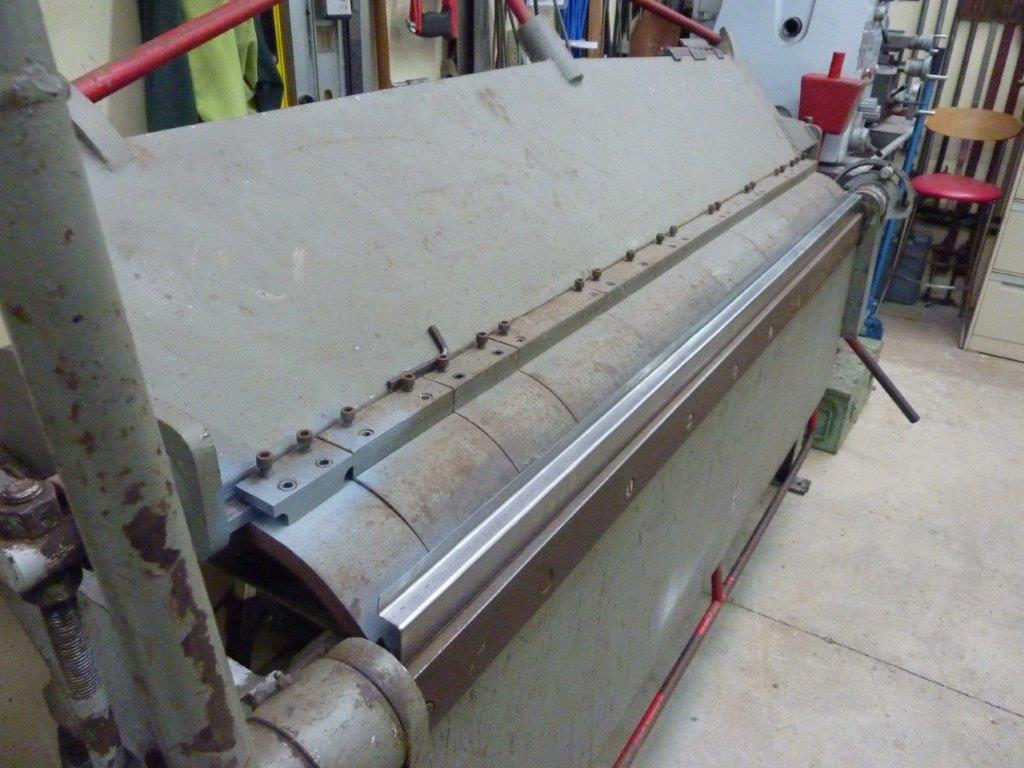
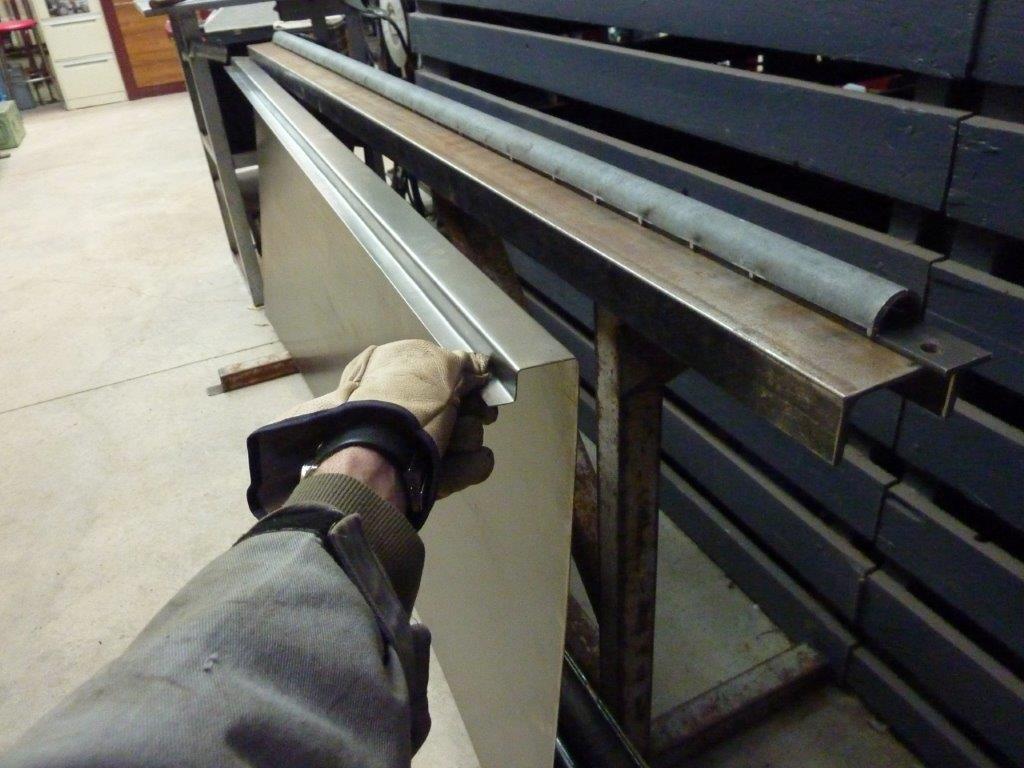
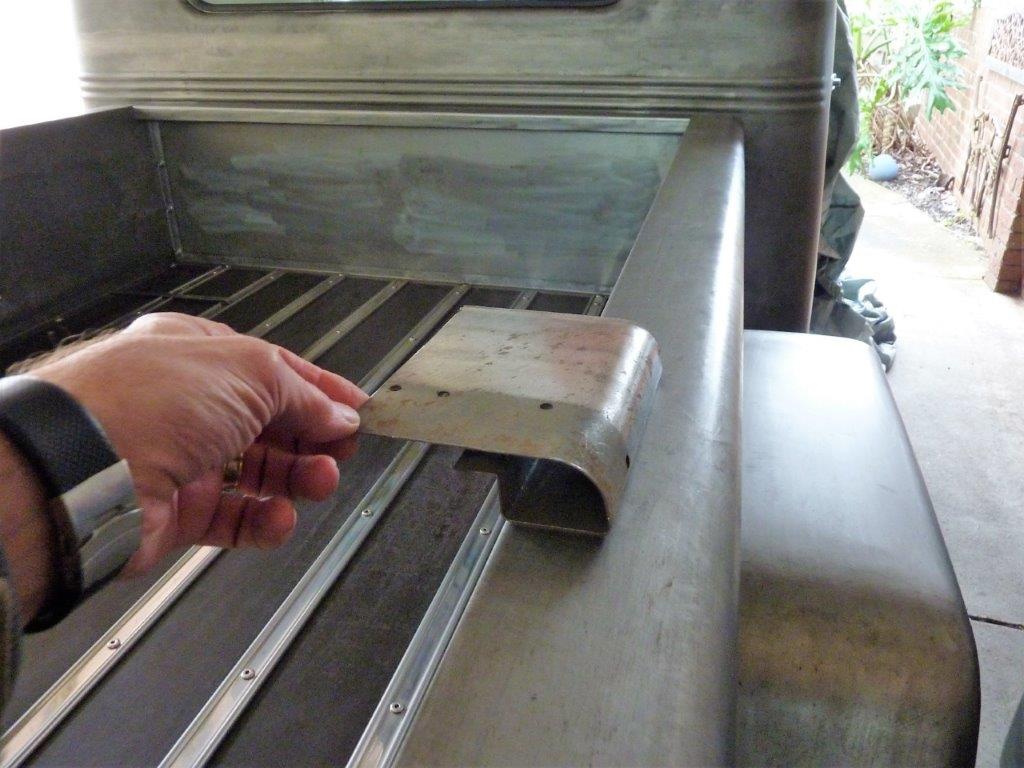
I used every millimetre of my 'new to me' folder. What used to take 20 minutes per fold by hand, now takes 20 seconds! :) I had to make sure I got the triple 'O' correct, (Order Of Operation), otherwise I could not have completed all the bends in the folder. The folds were planned out to give me the room I need for the half round form I will use later, as well as the amount of set back from the bed side top I wanted.
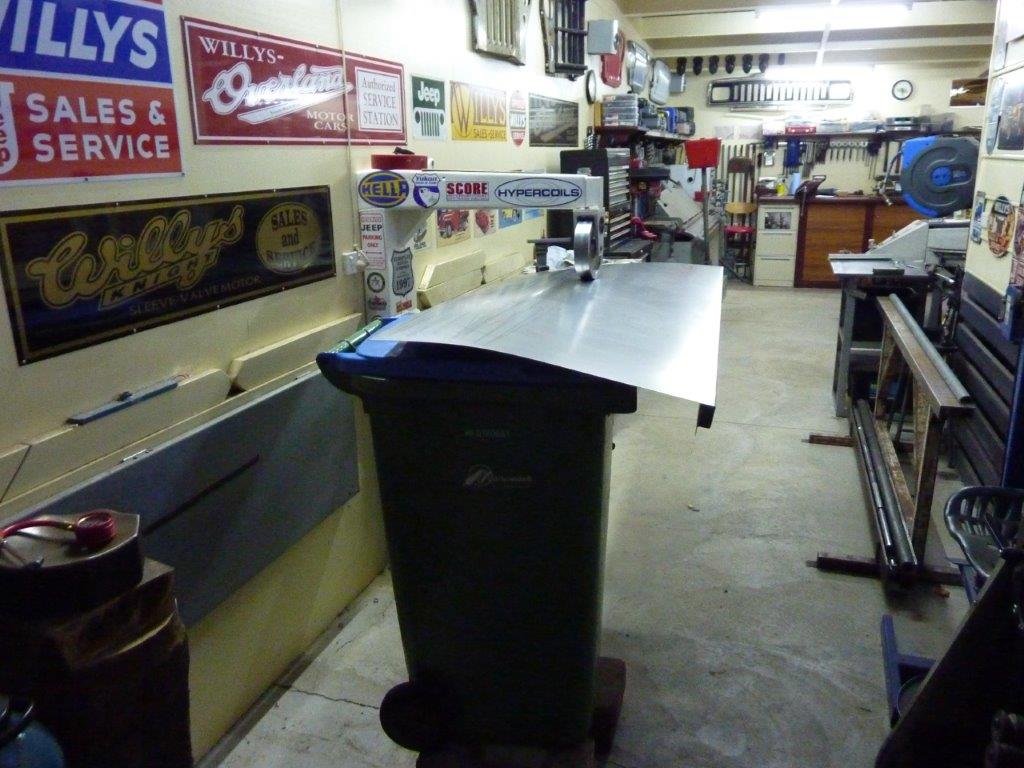
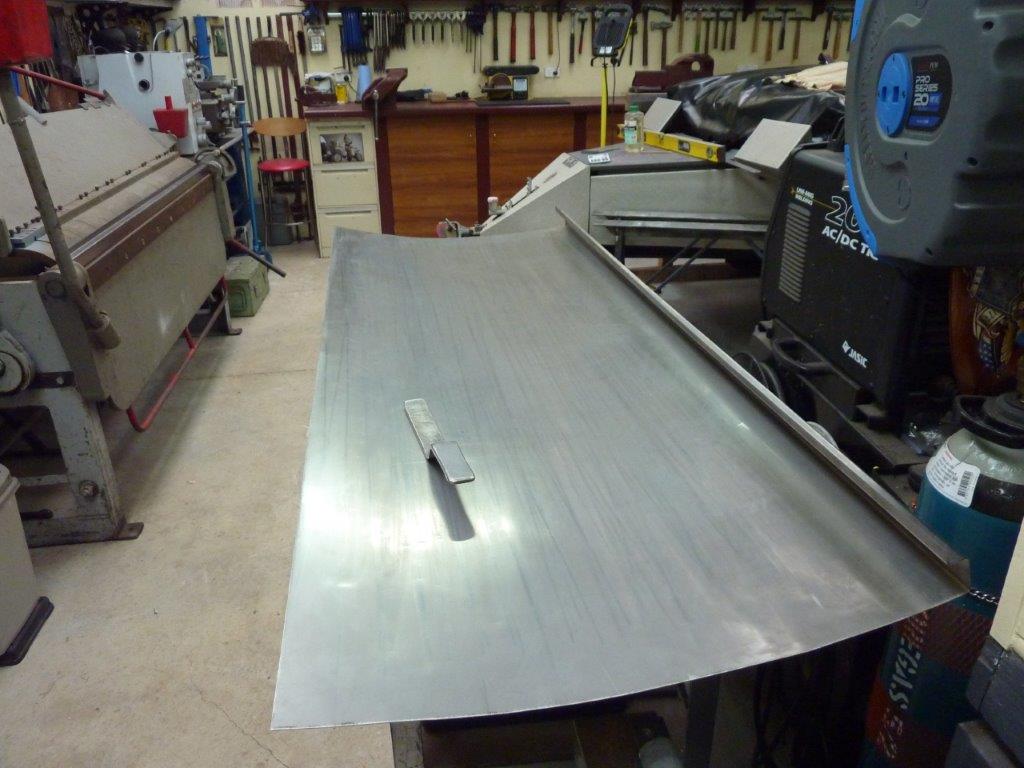
Now to put in a shallow crown in the half panel. I tried to do this by myself by having the panel supported on a couple of my rubbish bins. If you don't support it correctly, you will impart more bend with each pass than you want for a low crown. Unfortunately it didn't work out as well as I hoped and I created I lot of extra work for myself. I couldn't put in as many passes so then had to soften every line by hand to spread the crown out.
[Index]