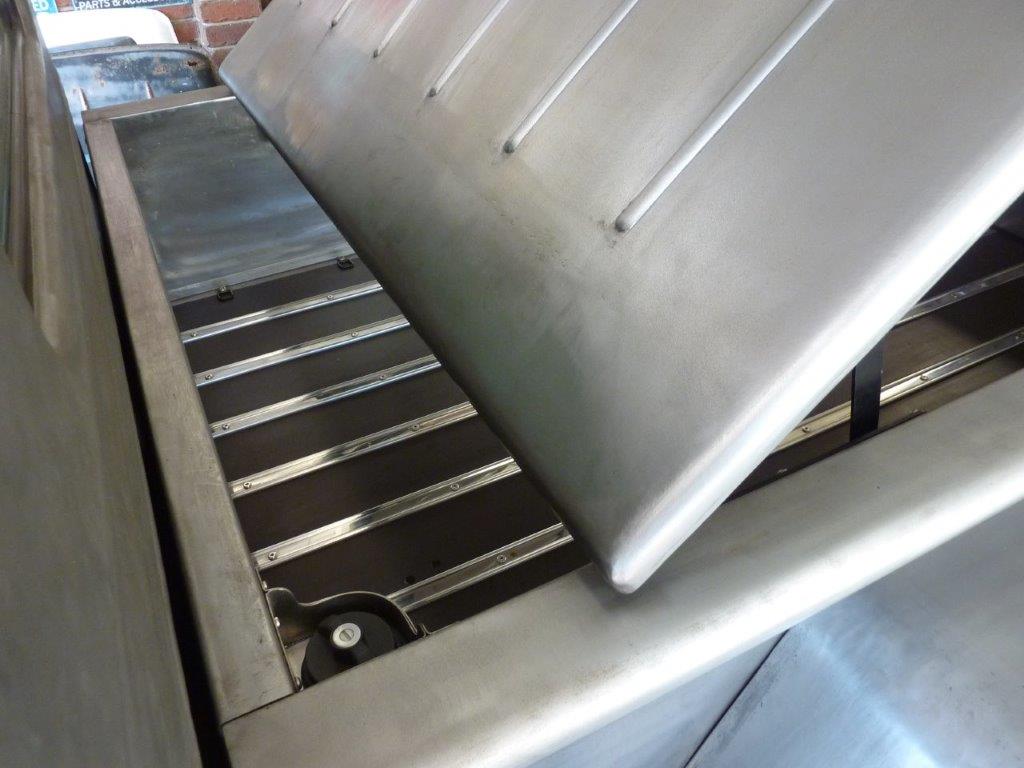
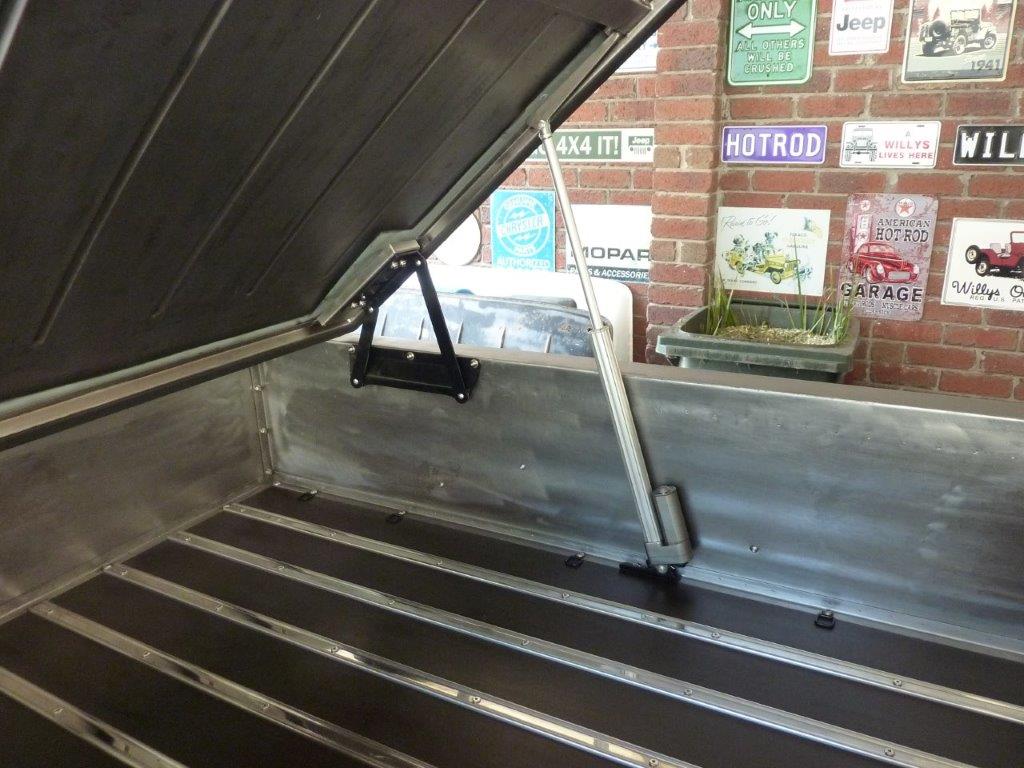
Now you can see too why I wanted the type of hinges I used. Look how easy it is to fill the tank and put things in and out at this end of the bed. Will build a custom box later to fit in there. I used this calculator to see how the different angles changed the load requirements on the actuator. You enter the size of the box and lid angle and weight, (mine came out to 24.8kg-55lbs), and work out the position and capacity of the actuators. Basically the further from the hinge and the more vertical the actuator is mounted, the less force you need. If you had a fixed pivot, (which I don't), you can plot the exact spot to mount it.
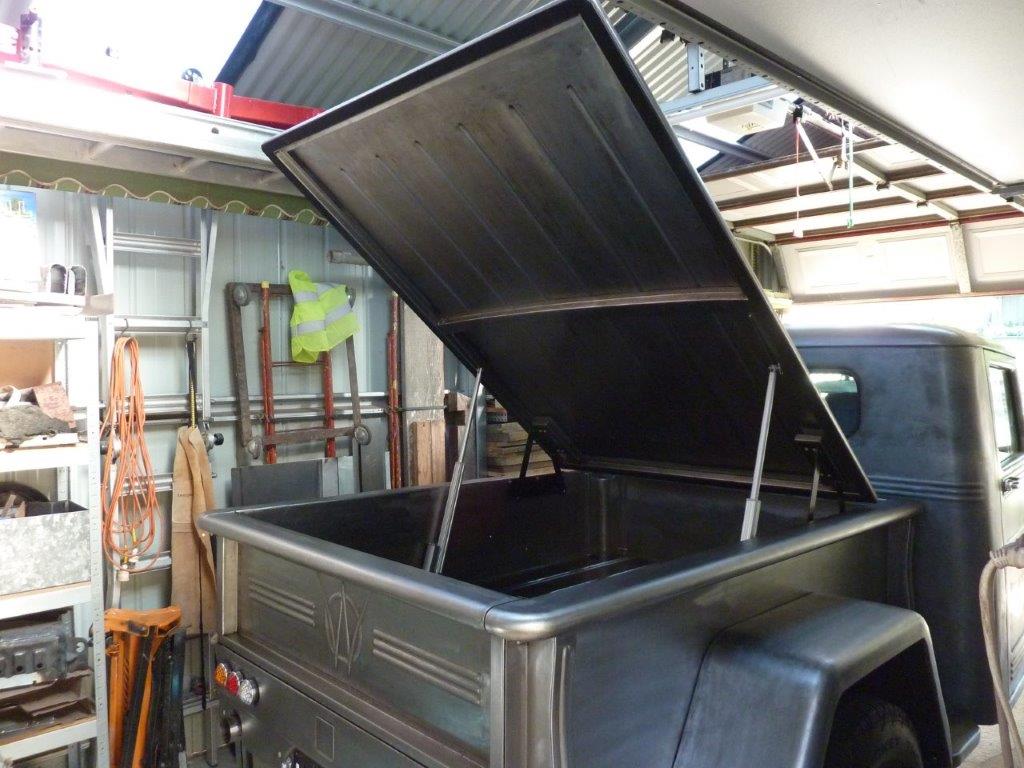
As you can see, 40* is more than enough. What is great using actuators over gas struts is it is not trying to push it upwards, breaking the seal against the bed, when closed. I adjusted it to put some tension on holding the lid down before it shuts off. A drive on poor roads into the country showed it didn't bang or flutter at all at speed, so really pleased with the outcome. No lift handle or locks penetrating the skin are also needed for a better, cleaner and more waterproof result. :) To fully raise it takes just 14 seconds and 10 seconds to go back down. Speed ratings are for unloaded and these came out at 45mm a second. Others I see are only between 3 and 8mm a second! So with 350mm of travel these have it would take over 2 minutes to raise it with the slower actuators.
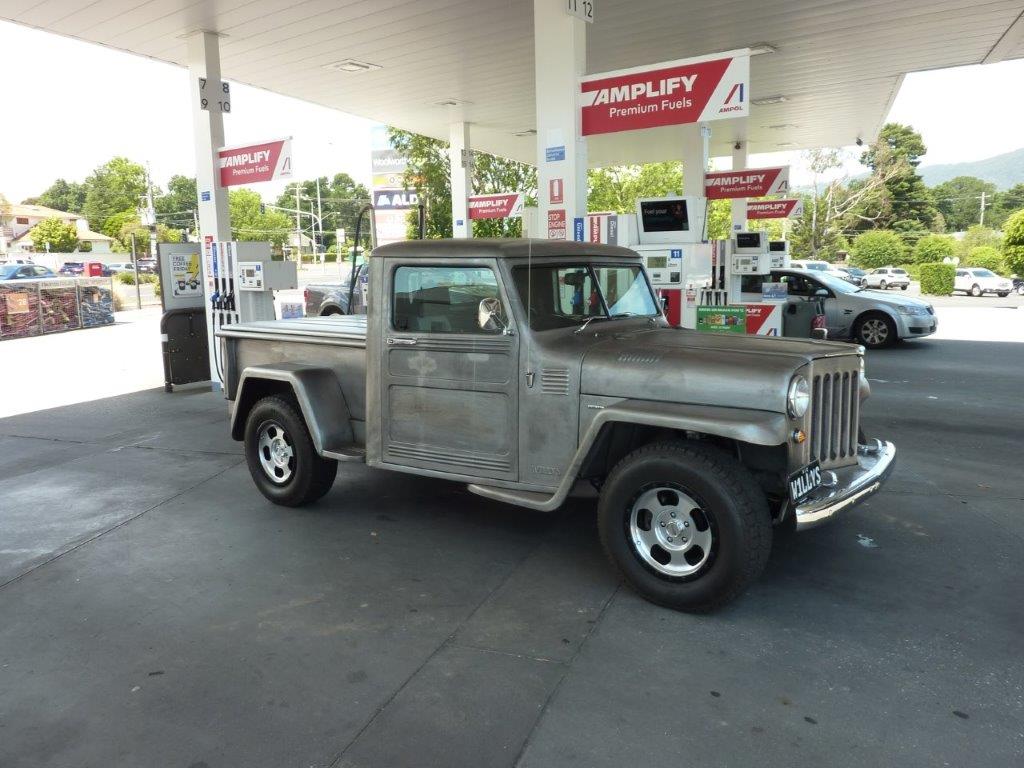
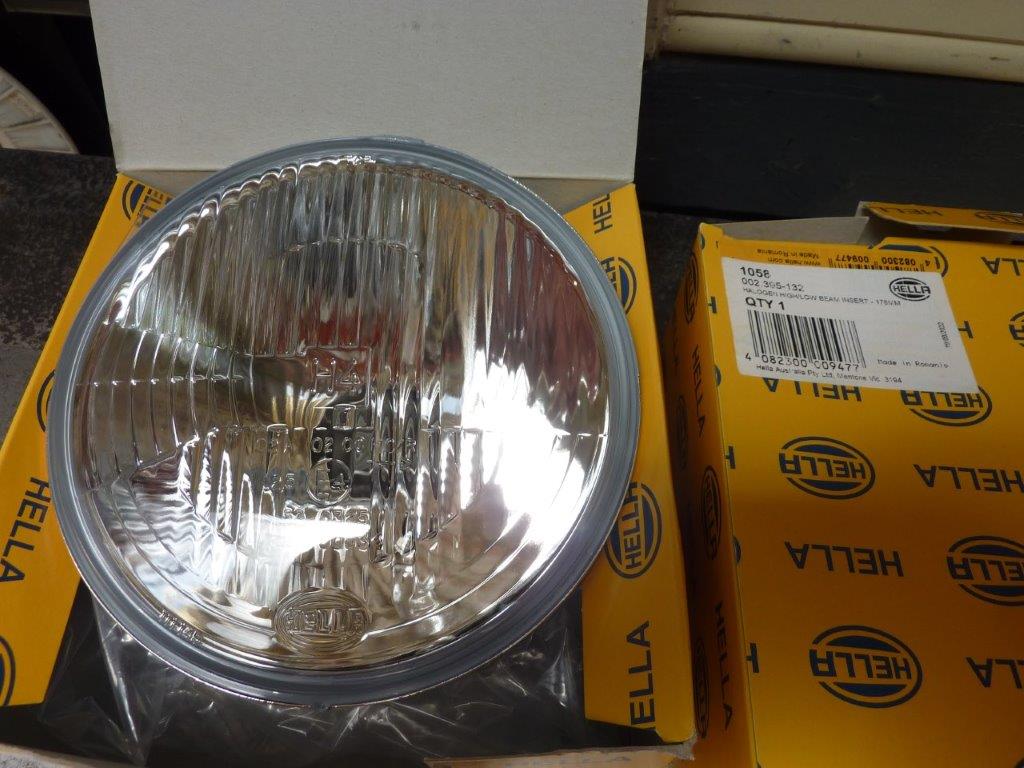
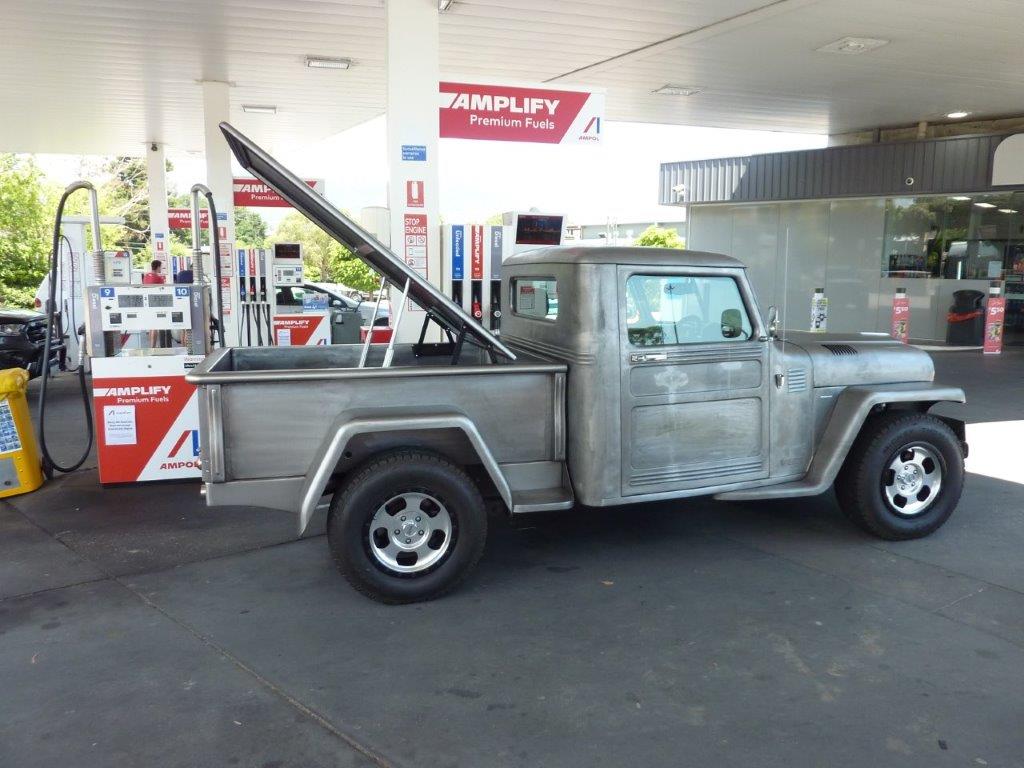
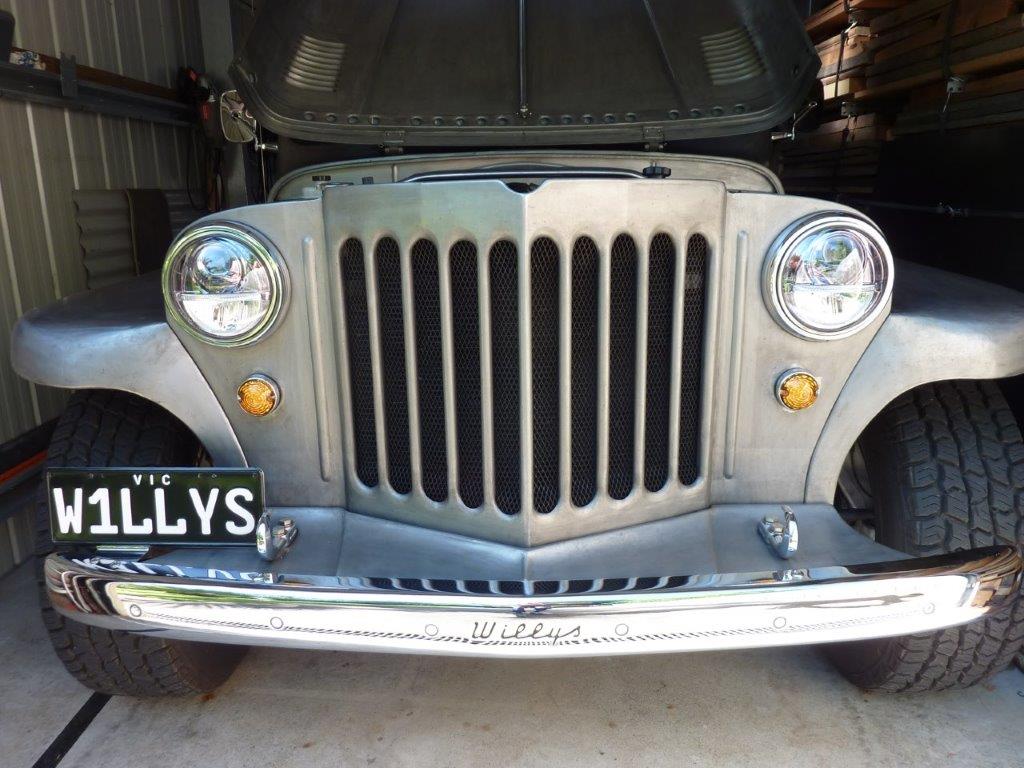
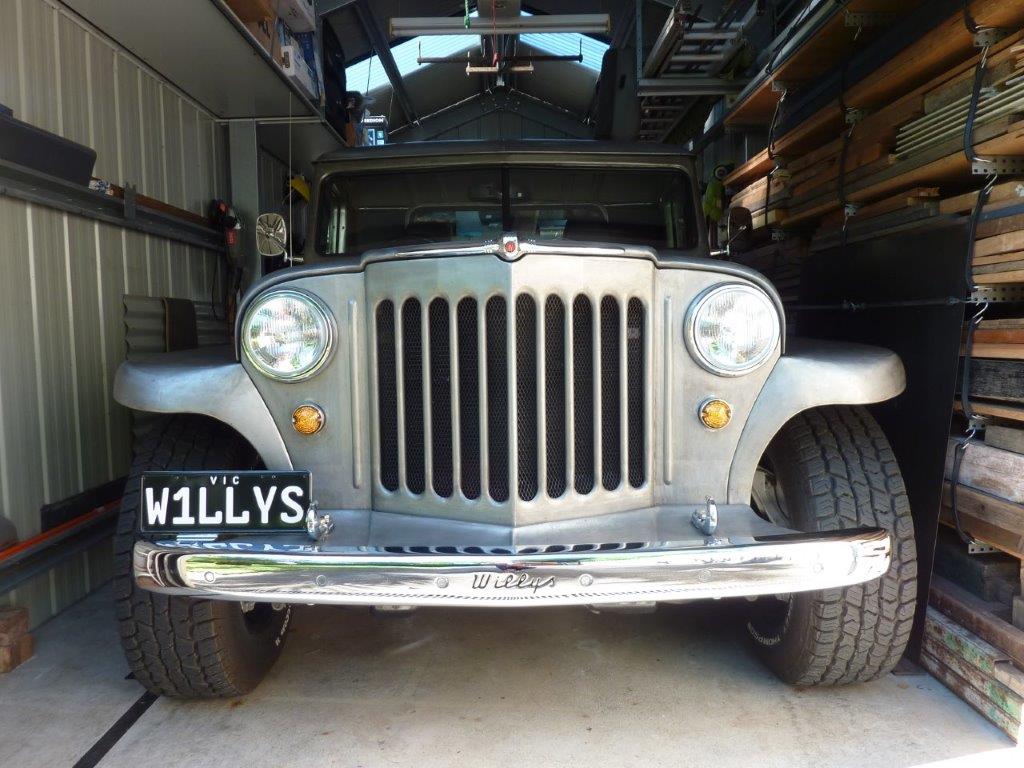
I just took it to the service station to fill the tank and it is up before you get around to taking the cap off. You just let it go down as you walk off to pay. Last thing I wanted to change on the build is swap out the Narva LED headlight for some Hella H4 inserts. I fitted these same ones to my Hilux 40 years ago! #1058. The singe headed arrow means it is for left hand traffic, or RHD vehicles. I need this so it is approved for use on our roads. No arrow is for LHD's and double headed arrow is for either side. You can see the lens fluting is asymmetrical to make it dip to the shoulder of the road away from oncoming drivers.
Video update on the hard tonneau finished and operating.
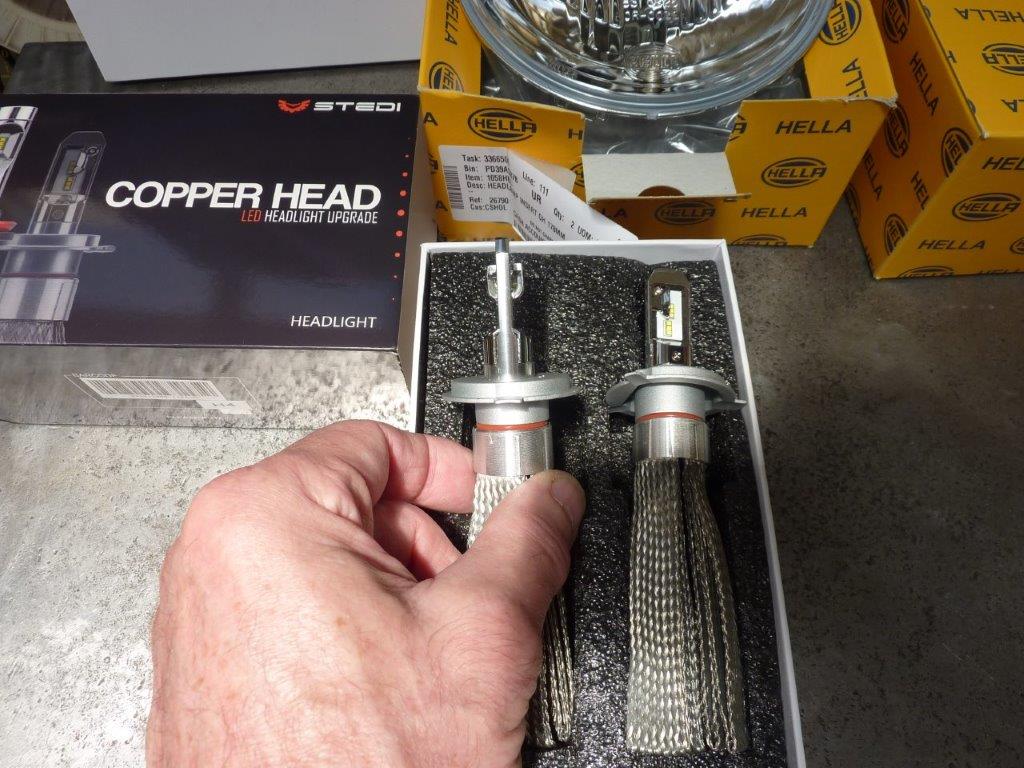
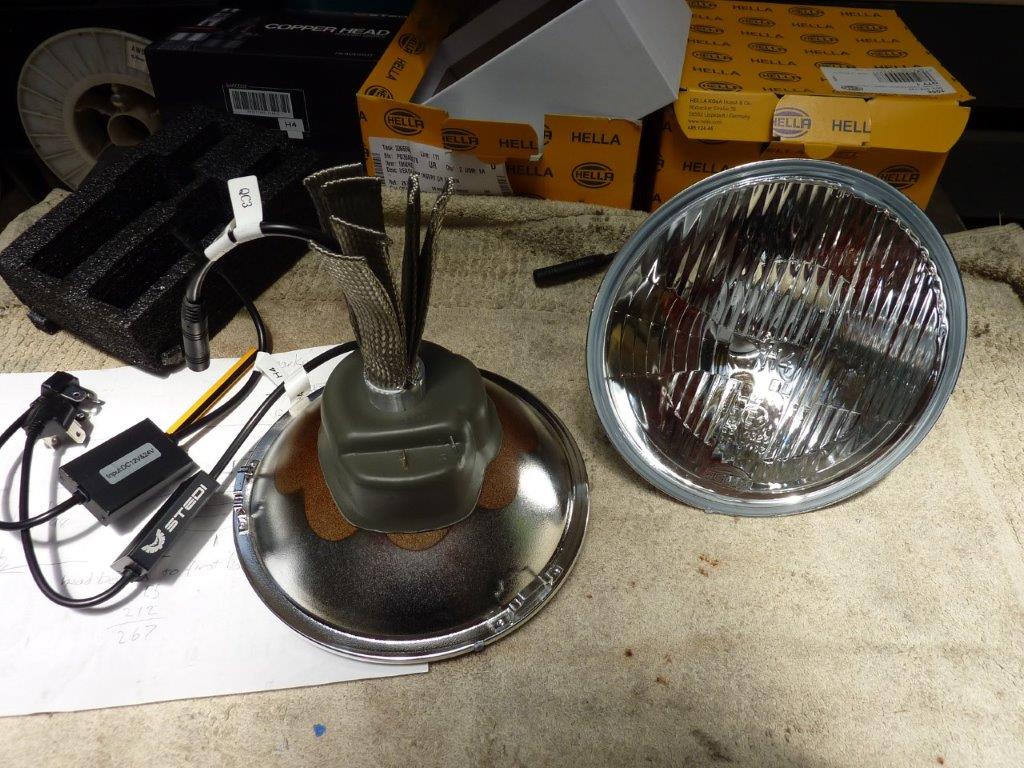
I have had good results fitting these particular LED replacement for halogen globes/bulbs in other vehicles including my Jeep Cherokee. They mimic the position of the halogen filament the best and even have the same chrome shroud over one set of them. I was also able to still use the dust boot by feeding the cable, with the driver disconnected, through the hole before spreading out the heatsink braid.
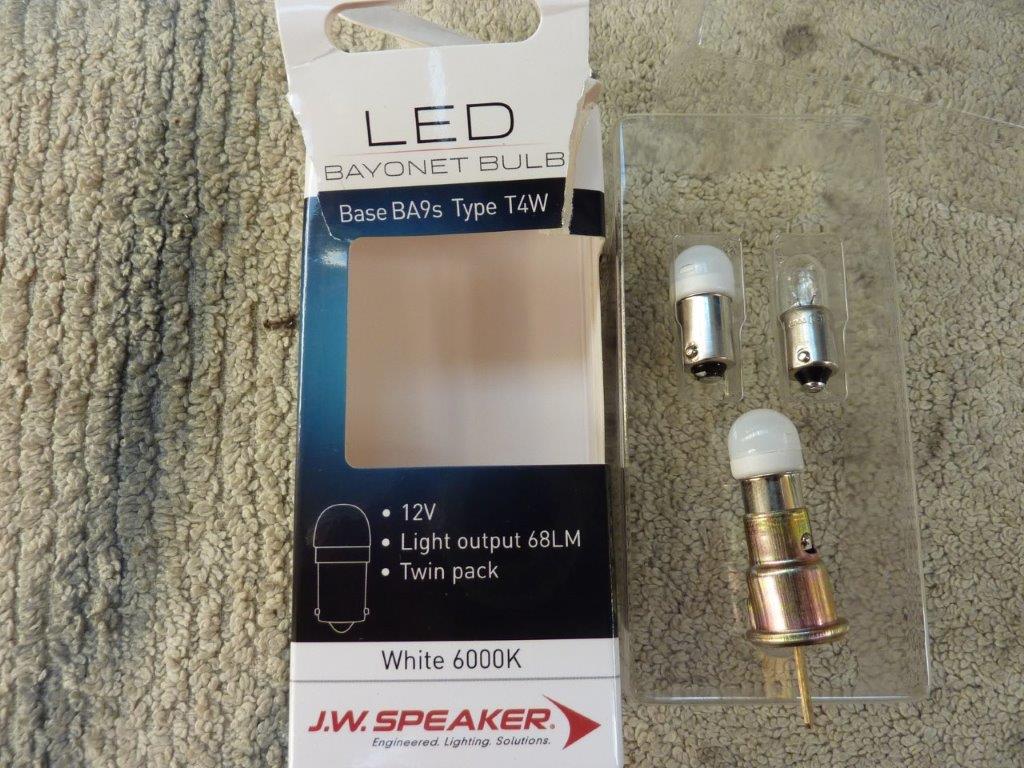
I also fitted a set of replacement LED's for the little parker/position light so they are nice and white too. So here are the Narva headlights which look too modern in my eyes and clash with the rest of the body looking more period.
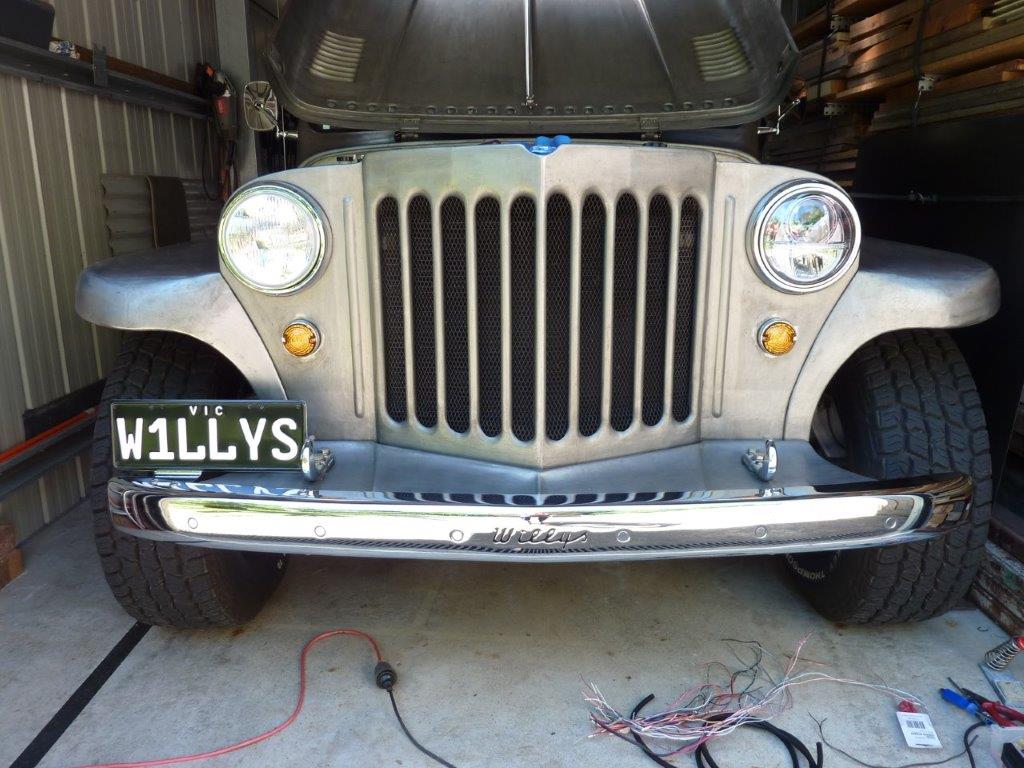
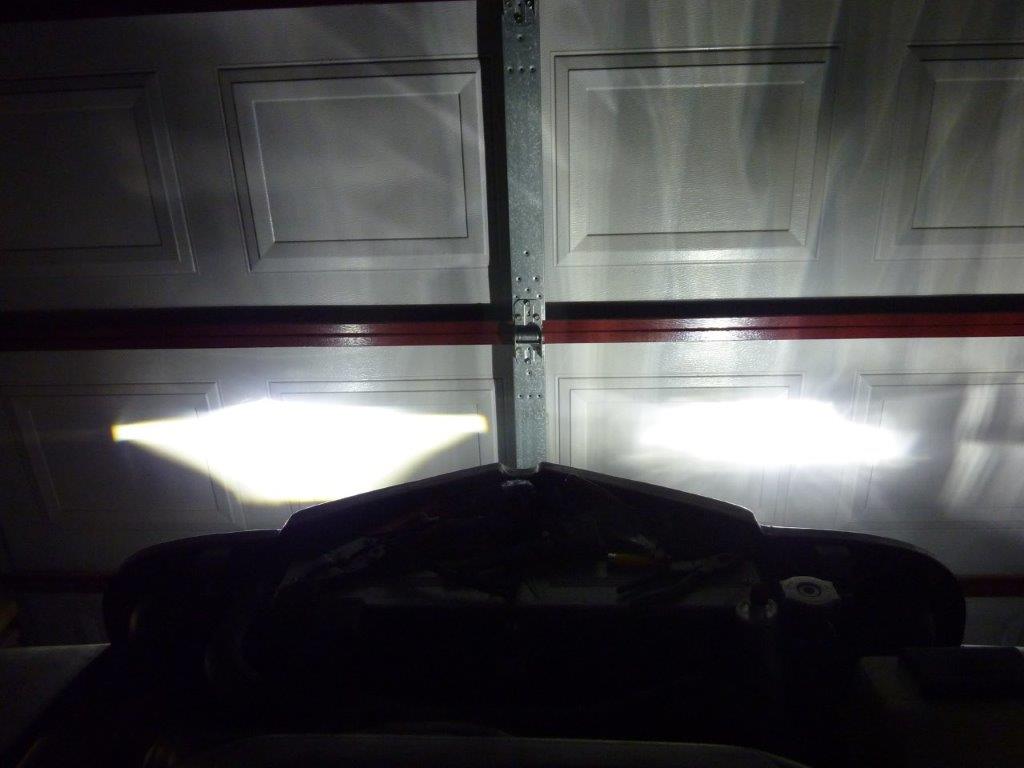
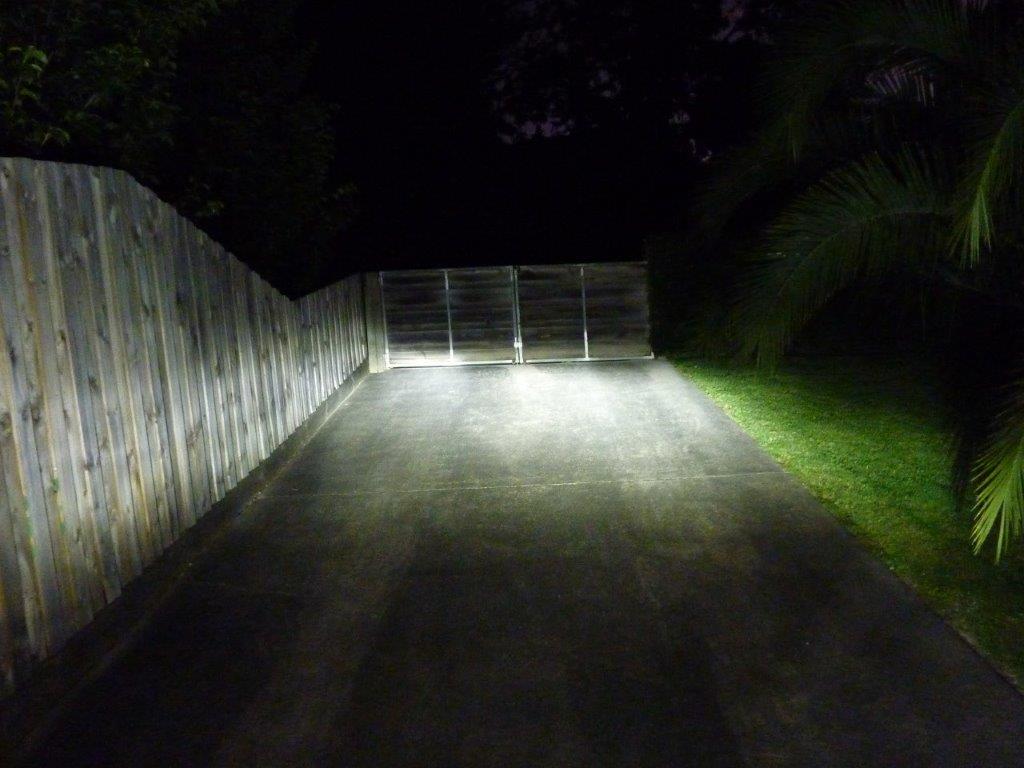
First new headlight fitted and can see the difference in the look. The beam pattern on the left is the Narva LED headlight and the right is the Hella with the Stedi LED globe/bulb fitted.

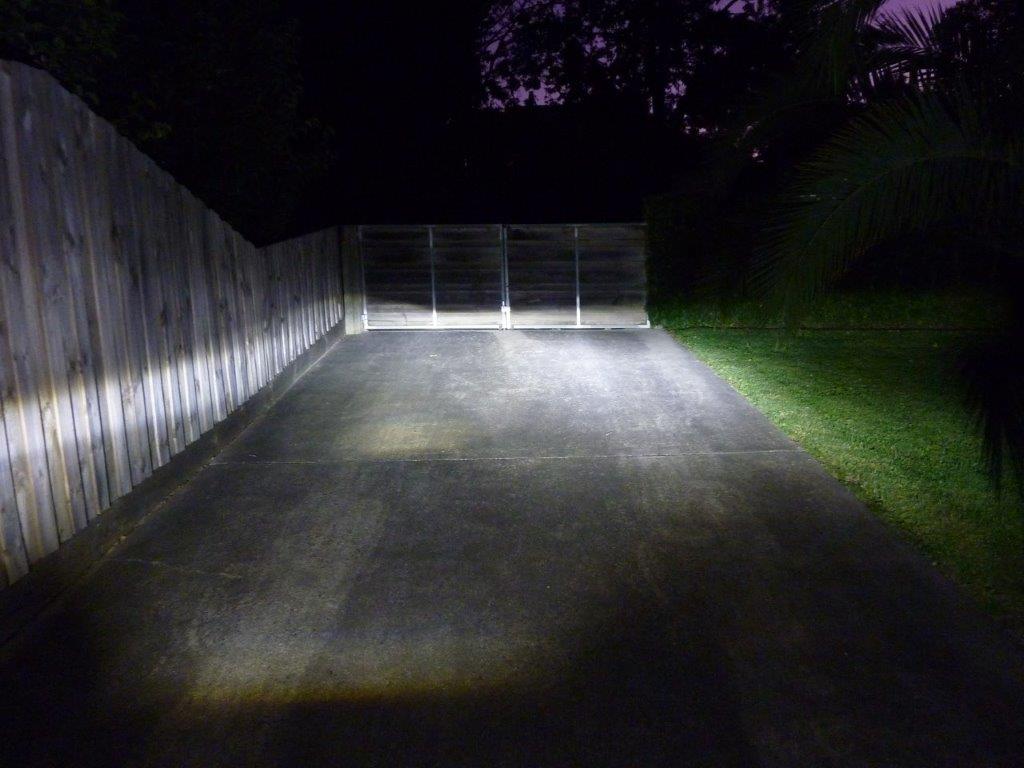
The biggest difference is that the high beam is actually higher and brighter than the Narva where there is little difference between high and low. With the upslope to the drive it is harder to see but the Hella on the right, even on low beam, looks brighter with little stray light.
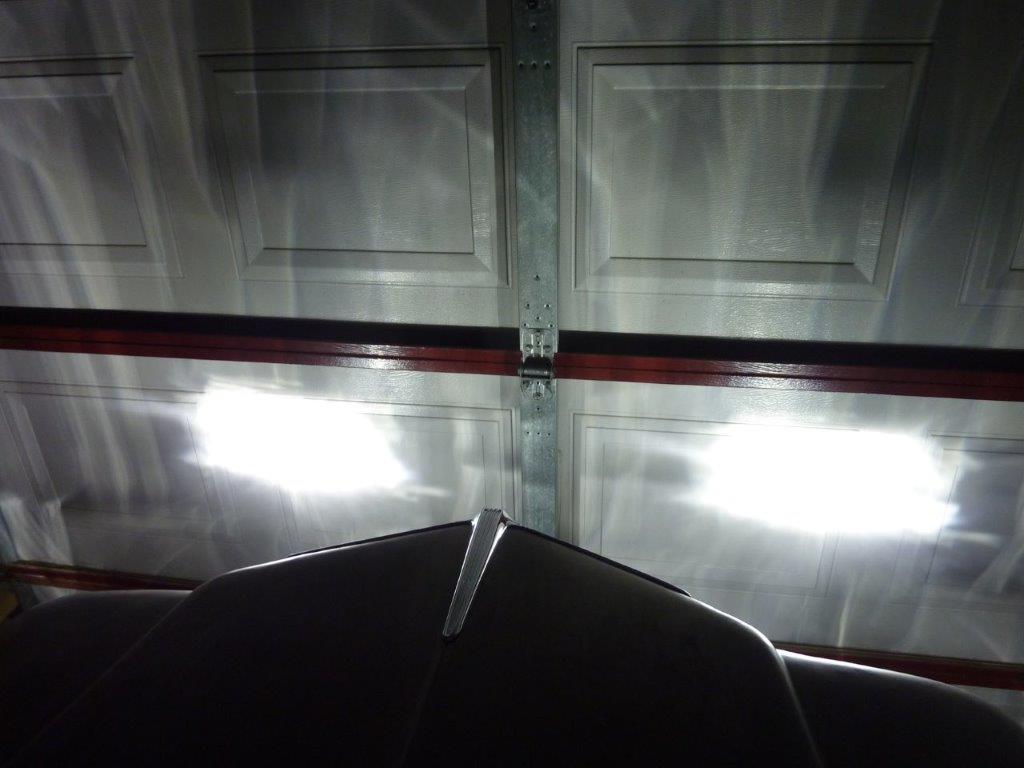
High beam with still the Narva on the left and the new Hella/Stedi combination on the right. Both lights now changed and looking more in harmony with the rest of the outward appearance of the Willys.

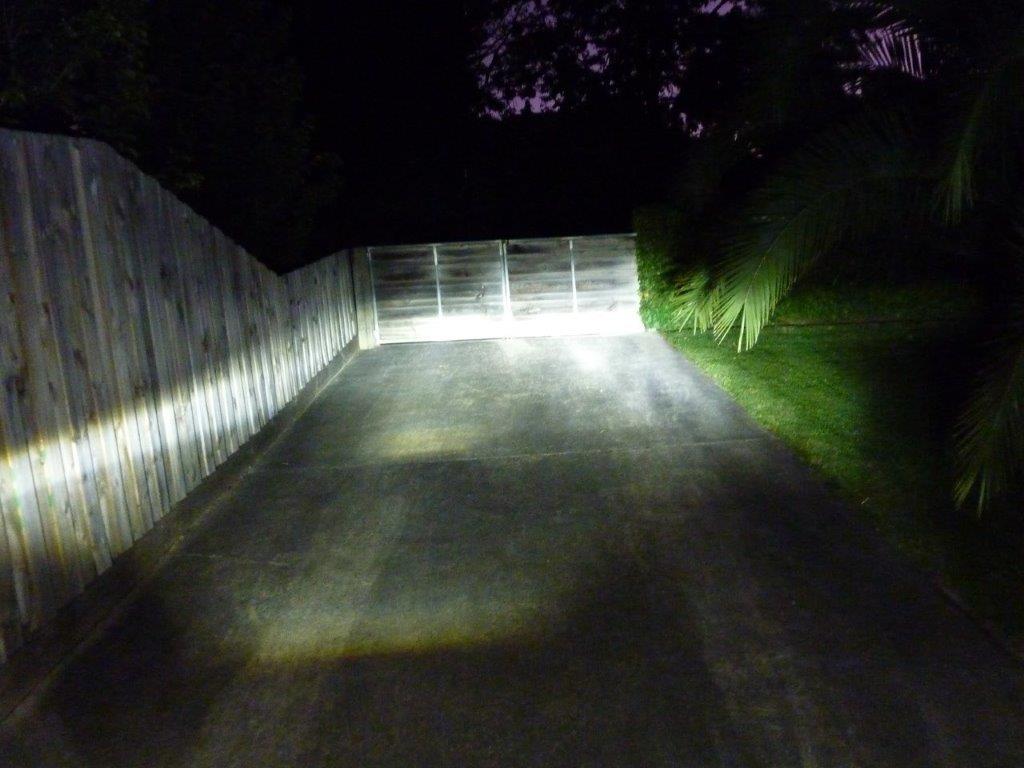
Both Hella/Stedi combination light patterns. Low beam on the left photo and high beam on the right.
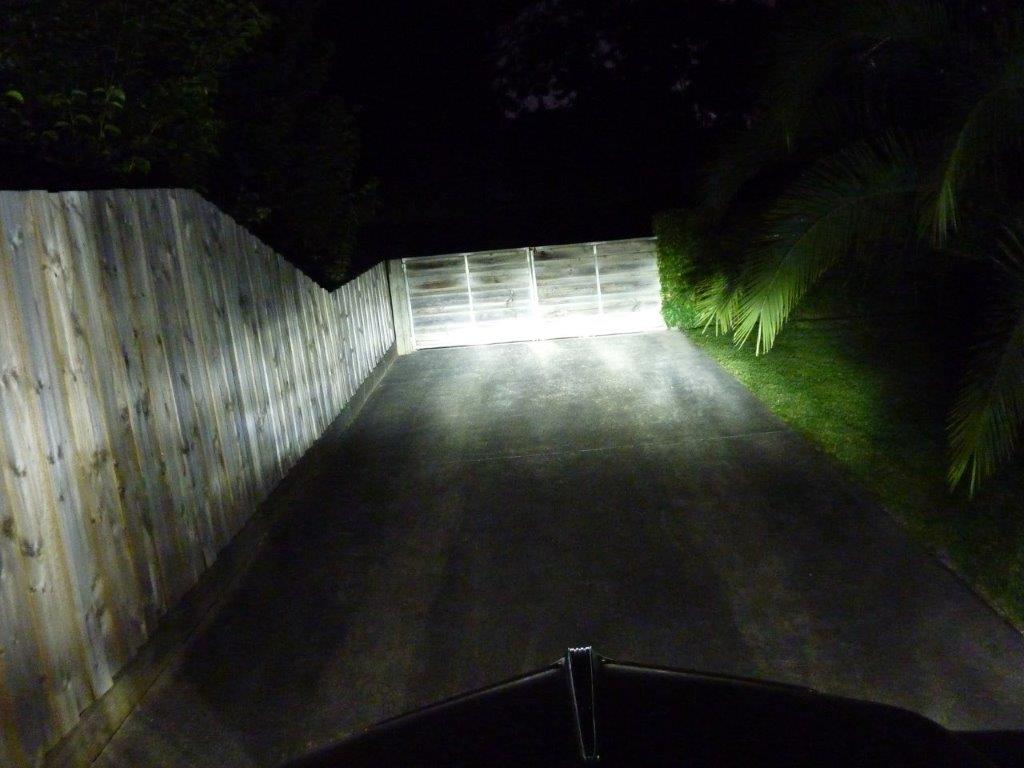
Getting a much bigger difference in distance between the high and low beams now. If I had a LHD I would have gone one of the Retrobright series LED headlamps.
[Index]