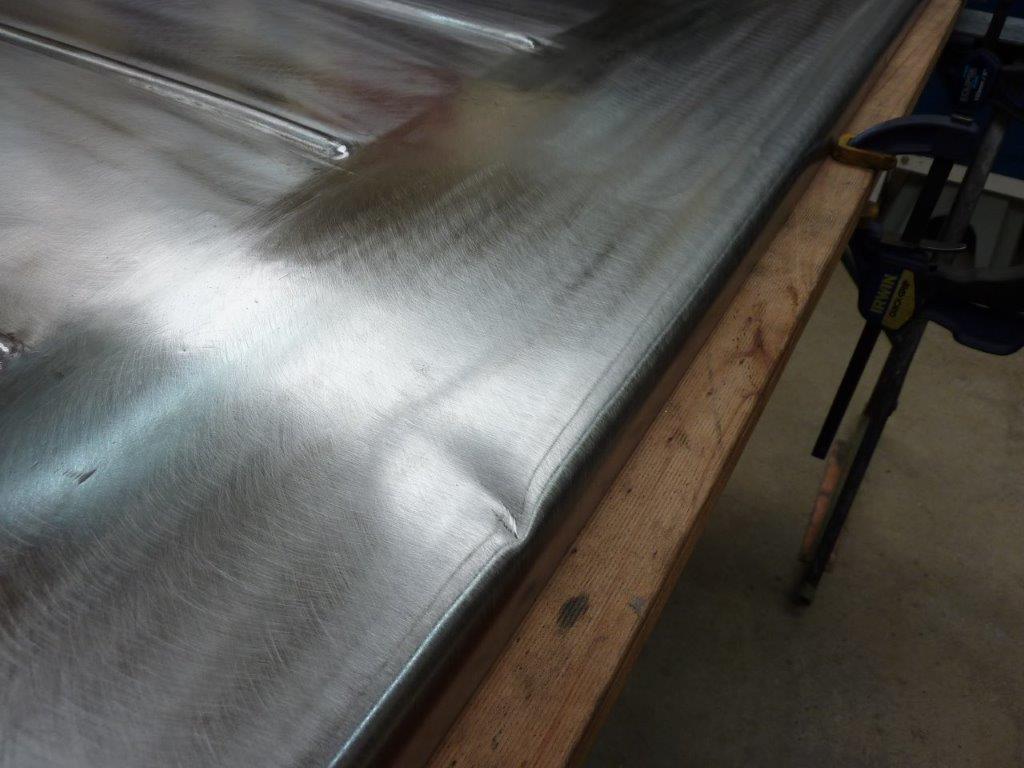
Upside down to the way it will mount, but you get the idea of how the pivot point raises and moves backwards. Well third time unlucky? Is that a thing? Turning it over to fit the new hinge mounts and it slipped right off the trestle again and put an even sharper dent this time on the new end piece. :(
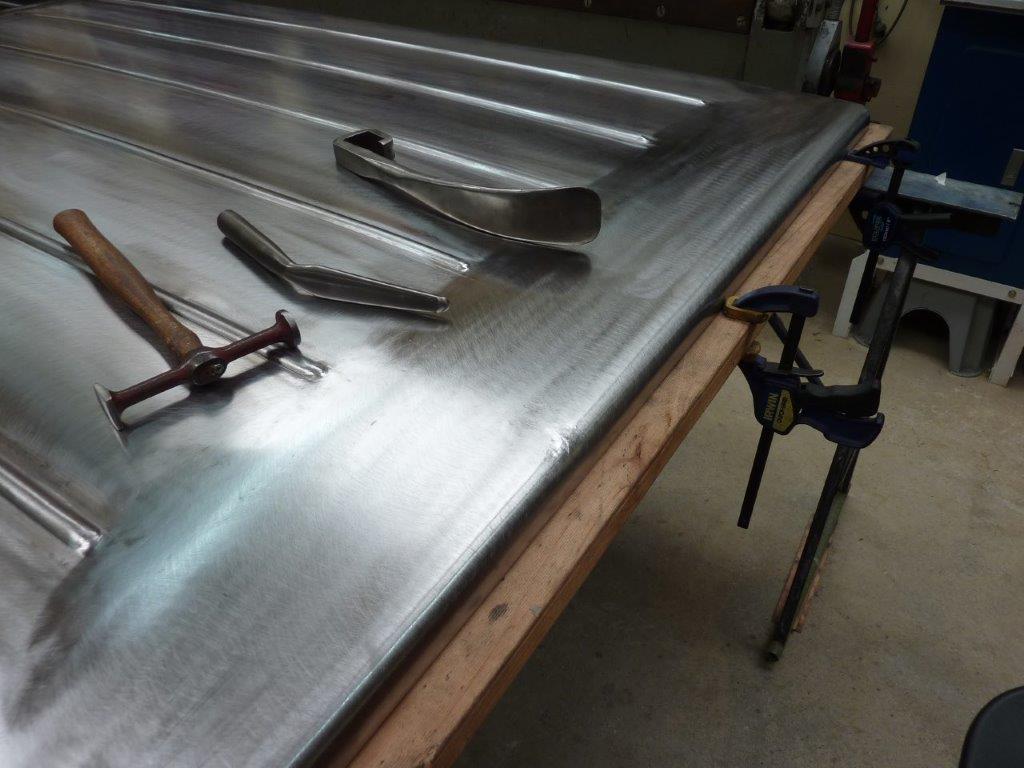
Hurts more as I thought I was done with the panel work! Couldn't use the same spoons as last time as it was higher up in the radius. Shaped the end of the small one to do 95% of the work. No hitting from the underside as inside the frame area. Getting most of it out levering and tapping down the high spots at the same time.
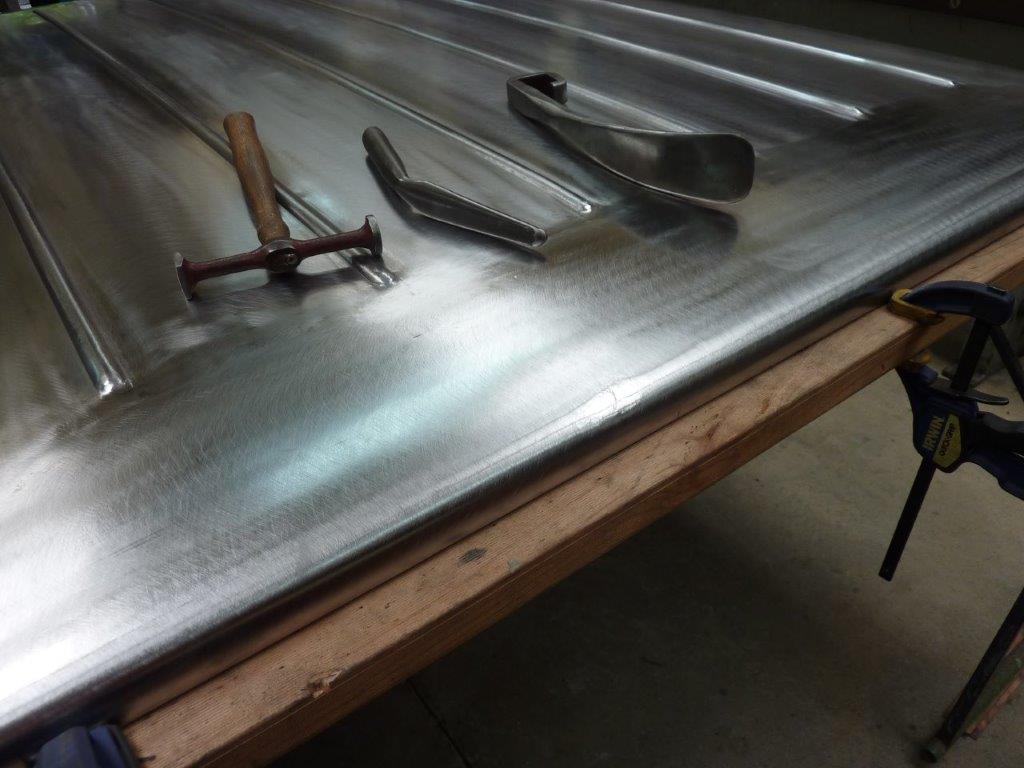
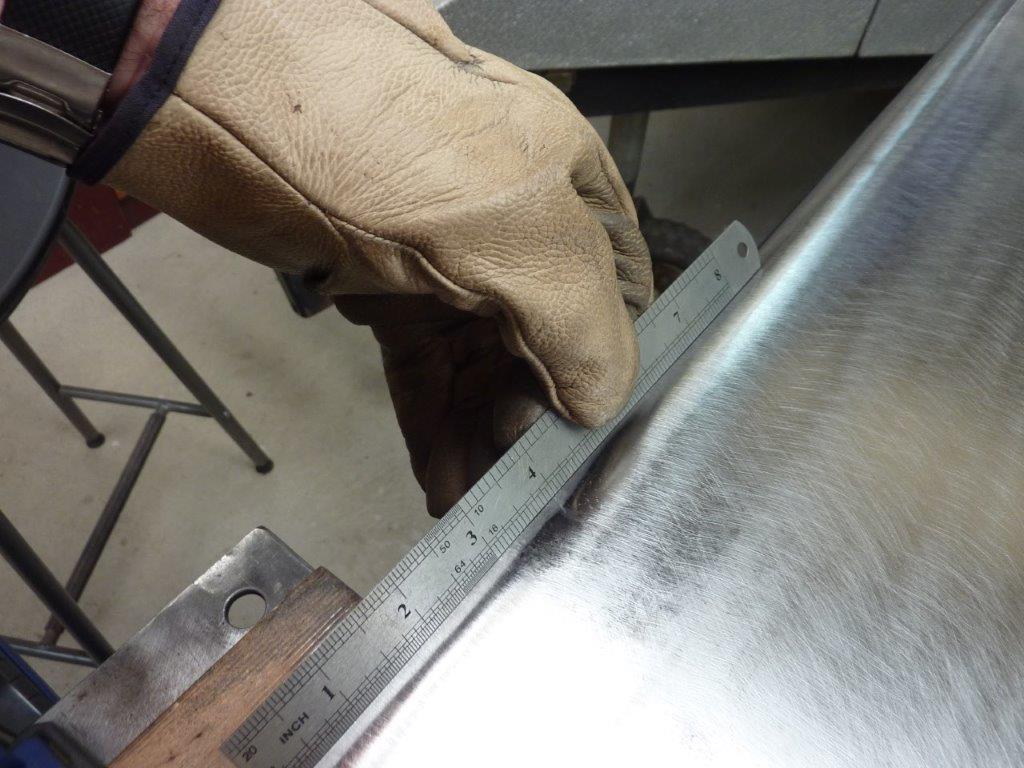
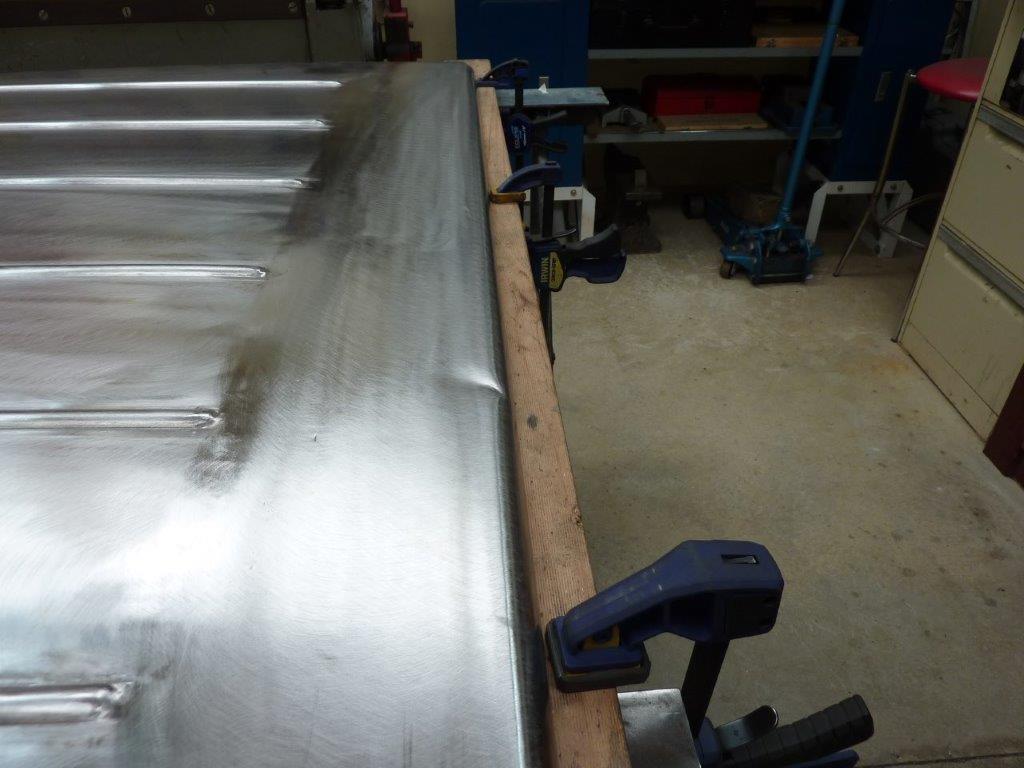
Almost there now and no filing, sanding done at all. Just the three tools above and taken about 30 minutes. Got it raised and the polished area is just from the hammering and nothing else. The crease is right by the 4" mark.
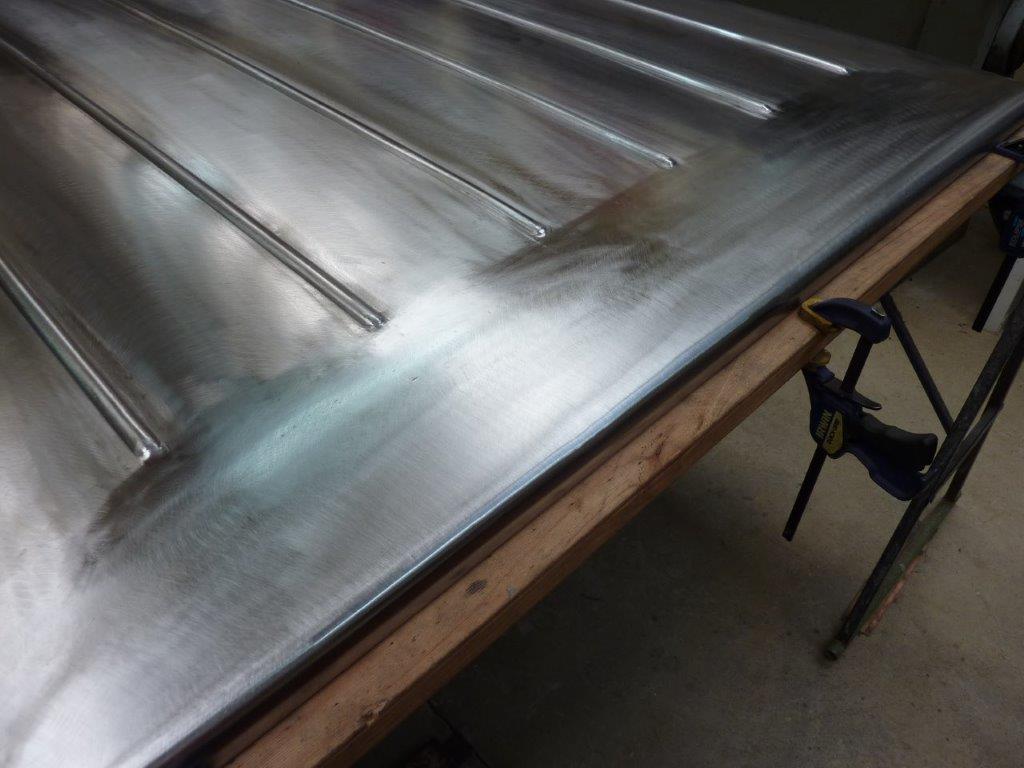
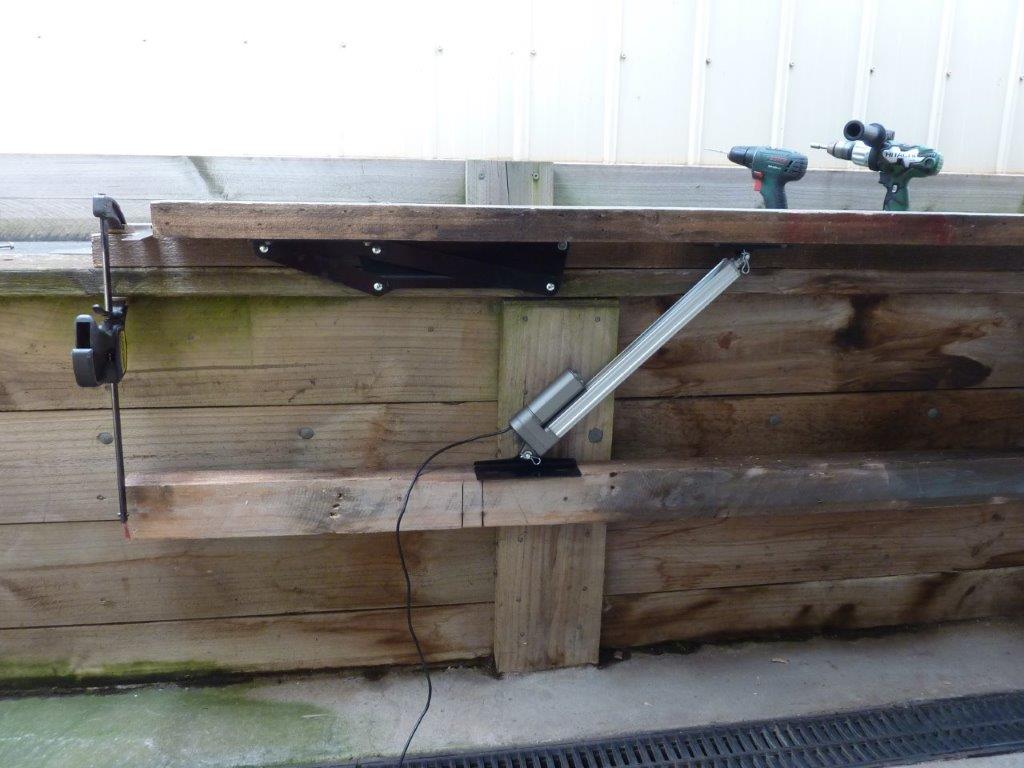
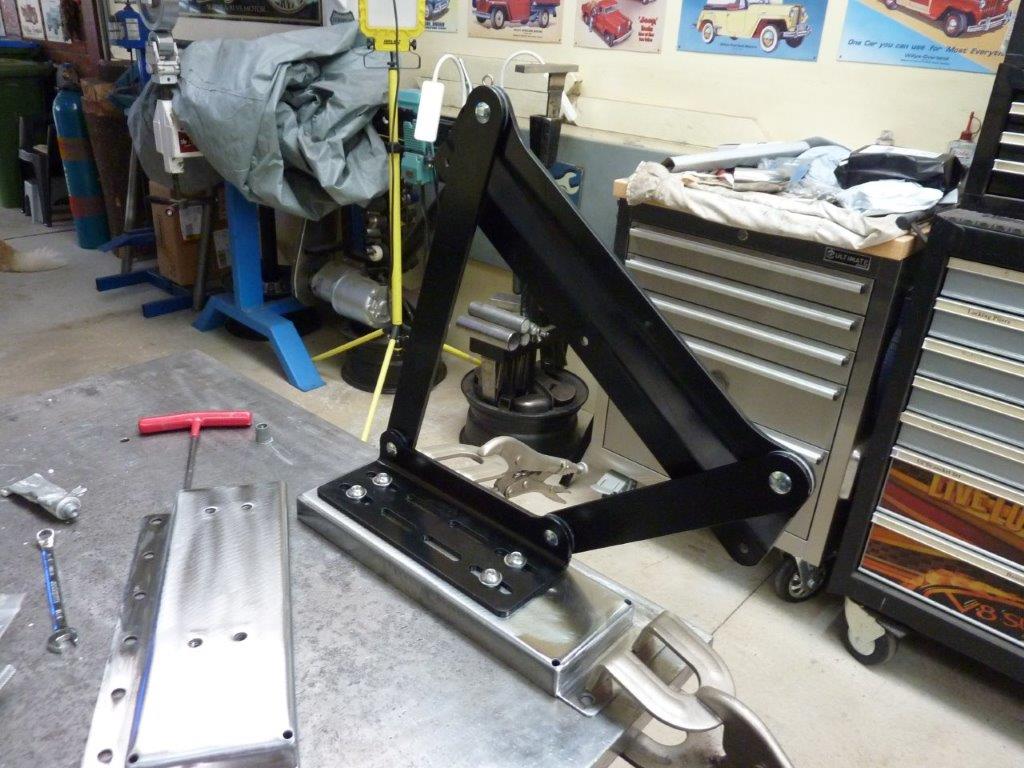
There was a little bit of stretch from the impact so a quick pass over it with the shrinking disc and then a light sand and strip disc. Barely tell it ever happened. Well I had given up hope of using electric actuators to lift the cover as all I had seen were so slow! Then we saw a setup on a Ford XR6 Ute at the Sandown show we had taken the Truck too. Asked him if he could demonstrate it and it was so much faster! Not only that but had the hinges I had been looking for as well! So doing setup trials here to see how to mount the actuators and still get the lift angle we were after. Turns out this didn't work well as it used a lot of the travel as the hinge pivot moved forward with the actuator extending. So flipped it to work with the actuator base away from the hinge so the hinge pivot is getting closer to the actuator as it raises.
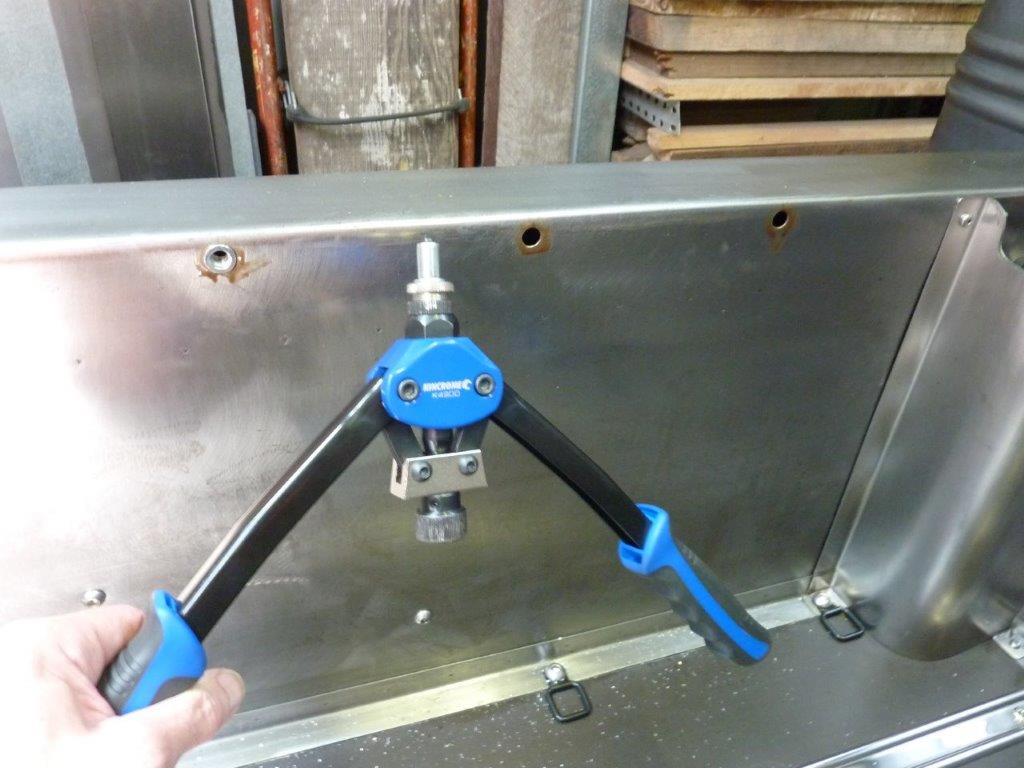
So now have plugged welded the hinge supports in as well as the actuator pivots. To attach the hinges to the bed sides I'm using 8mm Nutserts. Notice a good deal of wax to help stop rust in the hole and under the head.
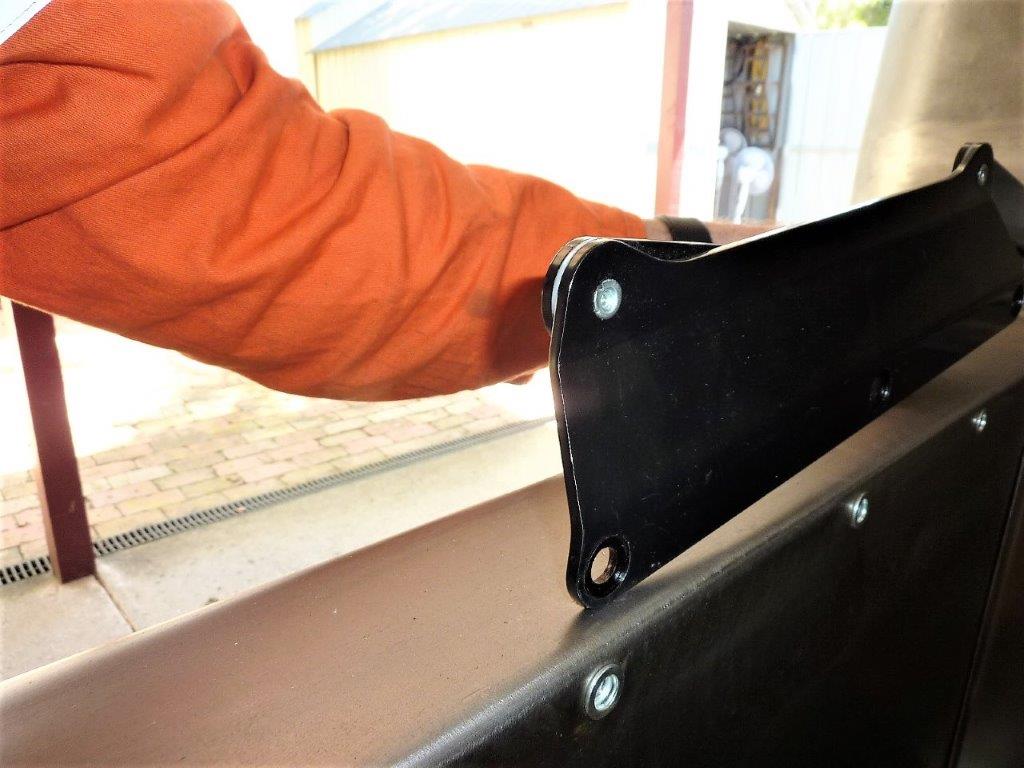
I stepped the back of the hinge holes in for the Nutsert flange to sit in. I have placed the hinge just back from the the fuel filler so I don't have to alter that.
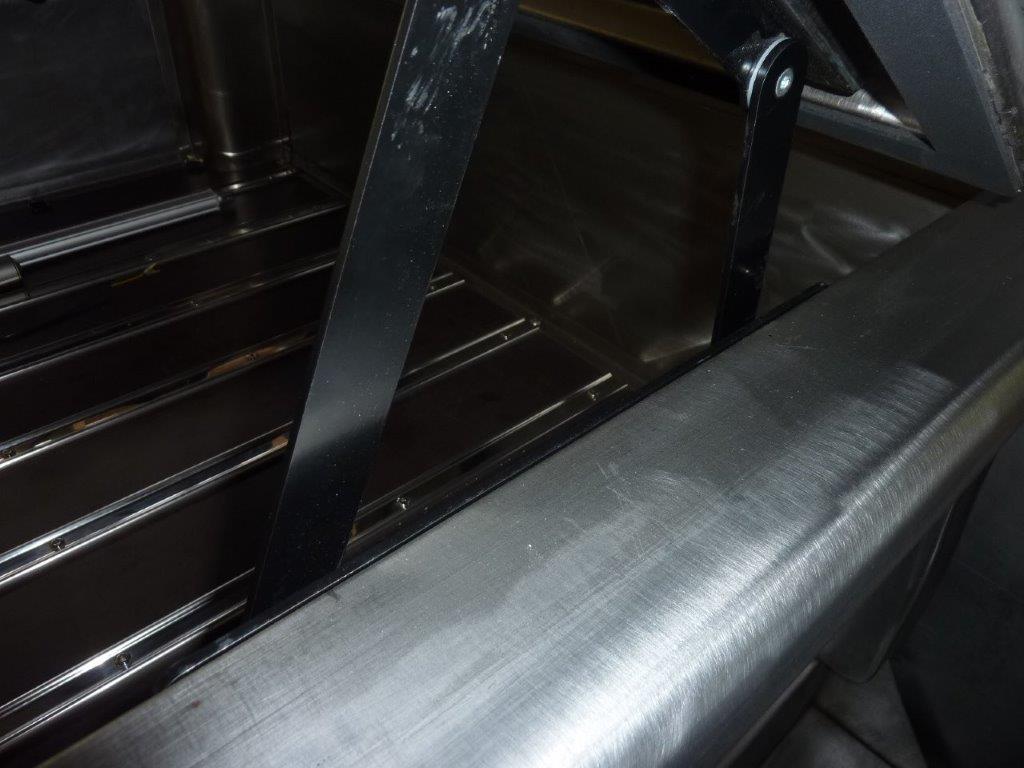
Can see here how it bolts up flush against the sides. This is the company I bought the hinges, actuators, remote controller and harness from Flat Top Products So using neoprene self adhesive seals to keep the water and dust out along with setting the same 4mm-5/32" gap I have for all my panels. Got the protective wax on too ready for fitment.
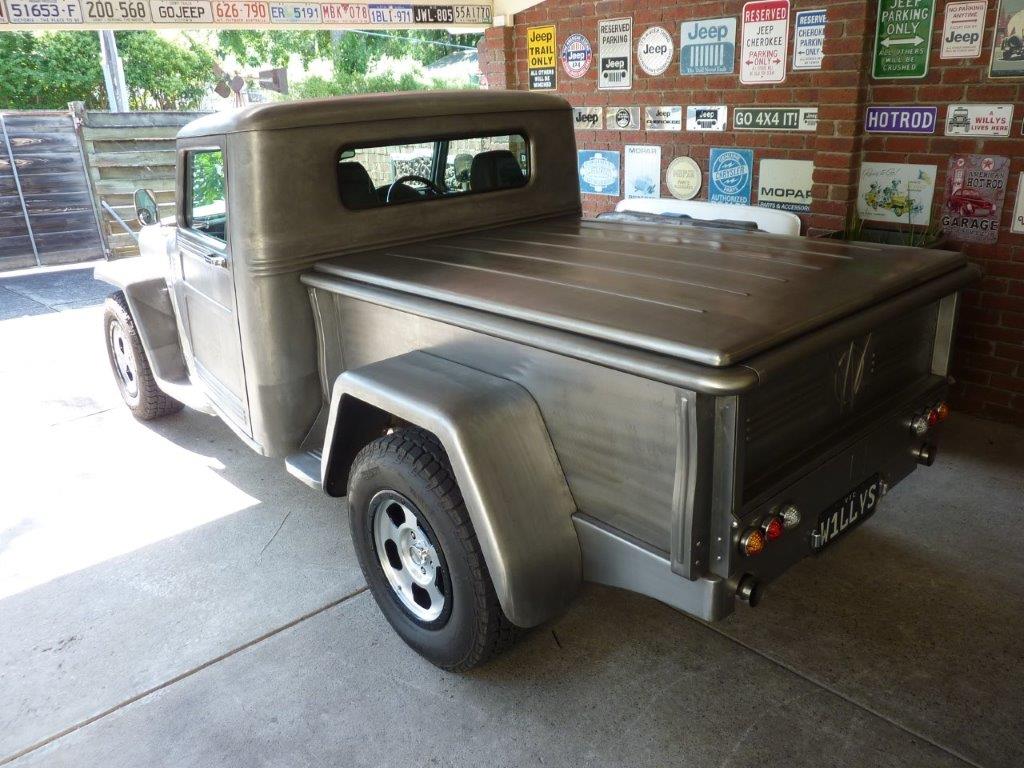
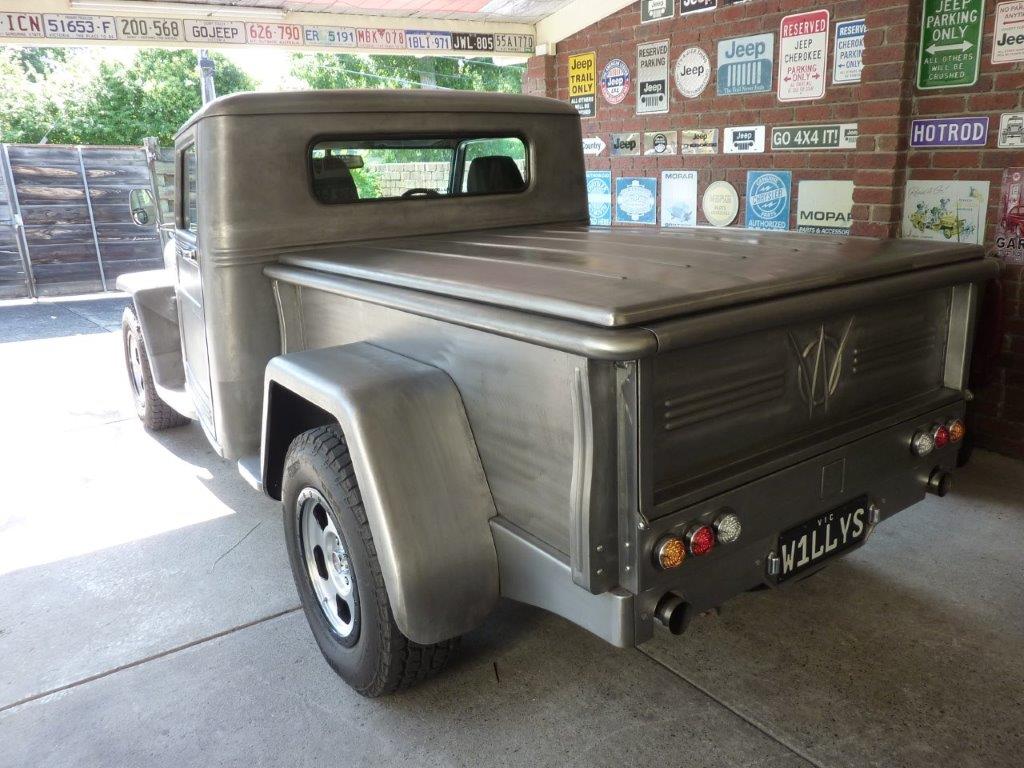
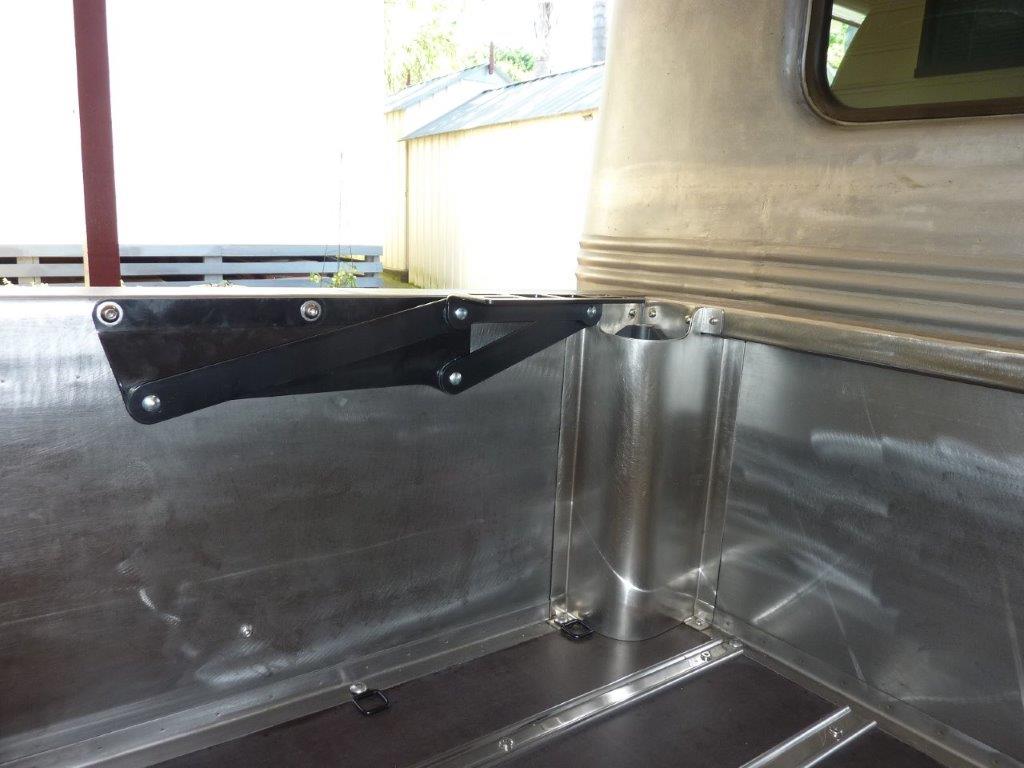
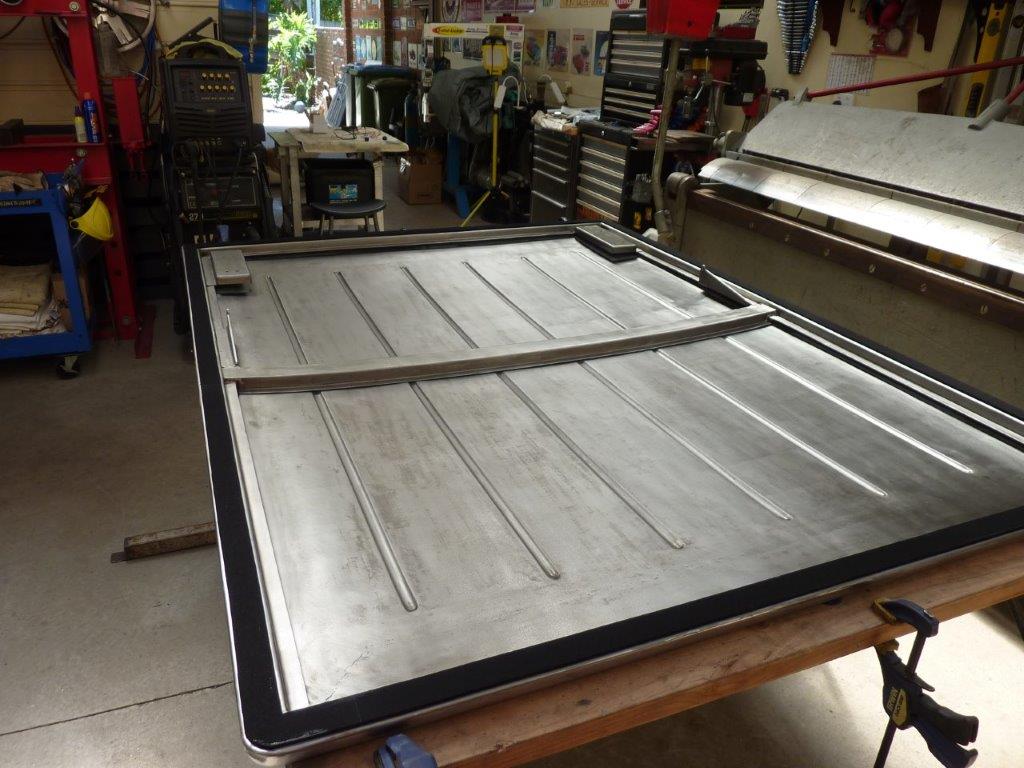
First time on there so finally get a chance to see what it looks like. Not once was the cover on until finished! Very happy with the profile and it's everything I hoped it would be. :) Suits the proportions of the whole truck.
[Index]