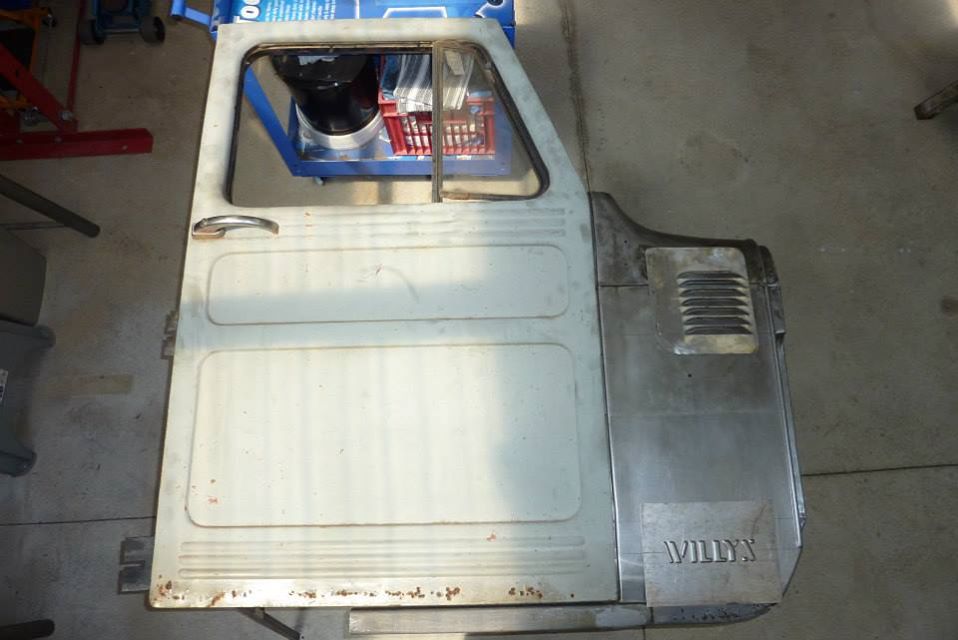
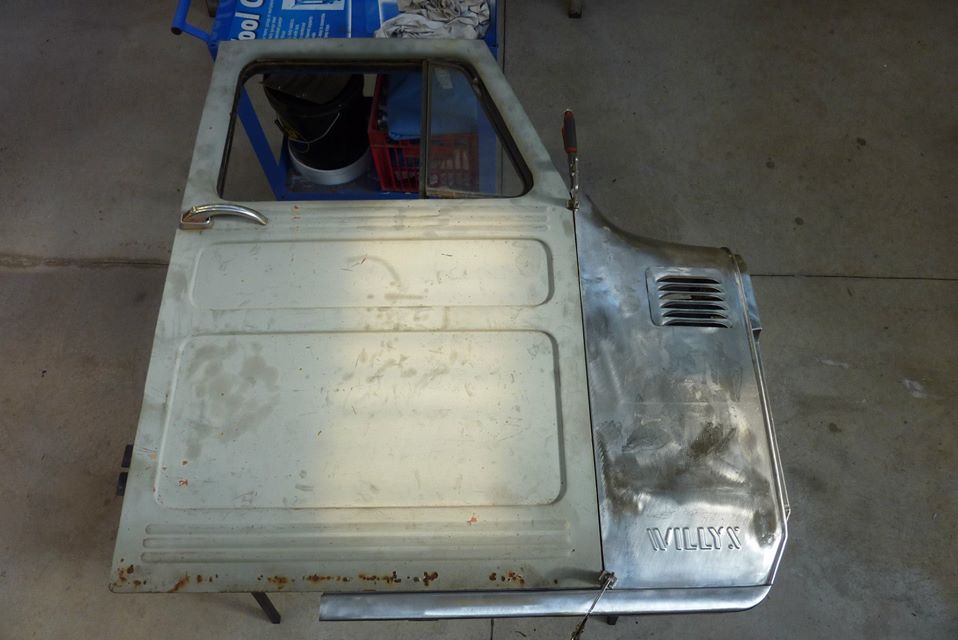
Starting on the cowl section next. It is very plain compared to the detail in the door so wanted to add some extra detail to it. I thought the Willys pressing to be a nice addition in the same spot as the Jeep pressing on the CJ5 and onwards. I also require a way to get the fresh air inside for the A/C unit so going to use the vent from a FJ Landcruiser. This bad repair will be fixed as well.
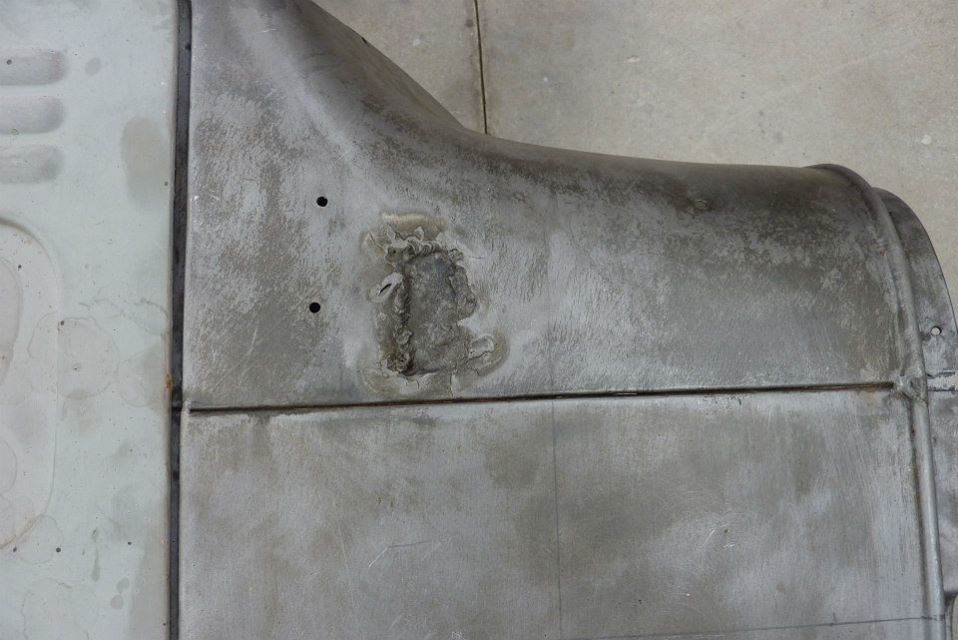
There was a lot of distortion from the repair and it was no wonder looking at how it was done with an arc welder and a thick piece of steel for backing! Want to do a better job of the factory join too at the front of the cowl.
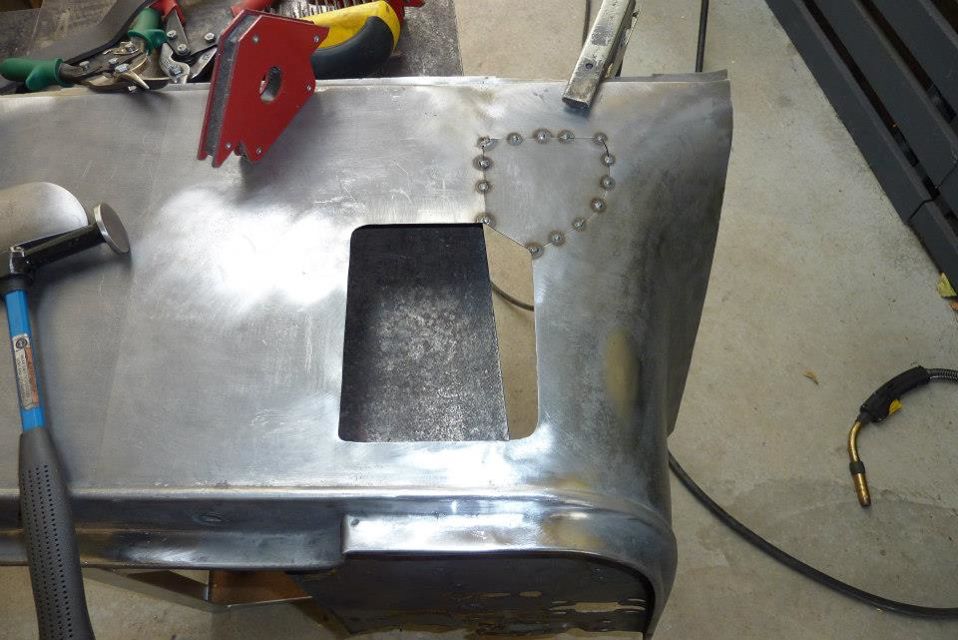
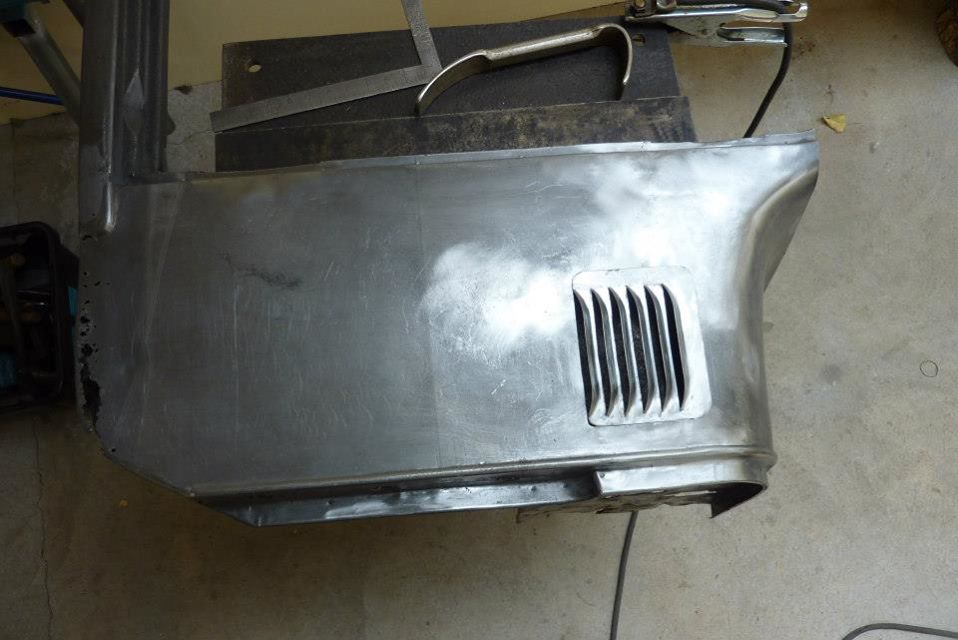
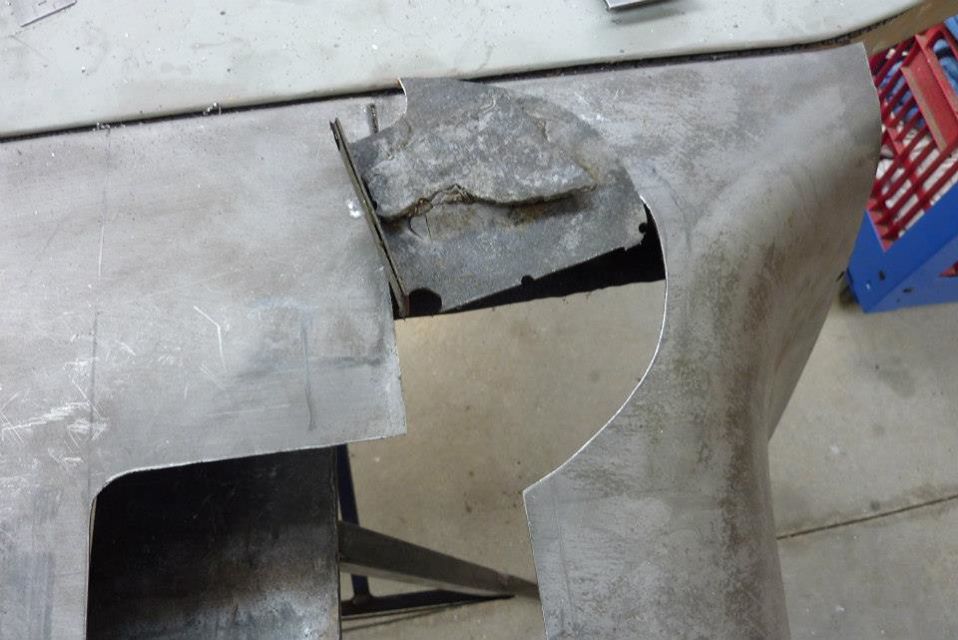
A new patch panel was made from the metal cut out for the vent after some shaping was done to it. The whole cowl seam was also fully welded and the flange then cut off the back so it could be plashed flat. The vents is just sitting there for now and has been redused in size by one louver as well.

I noticed that the other side of the cowling was flat but this side was distorted from the ugly repair near the top before I had even started the repair work. I mainly used a shrinking disc to heat it and then cool with compressed air to get rid of the bulge.

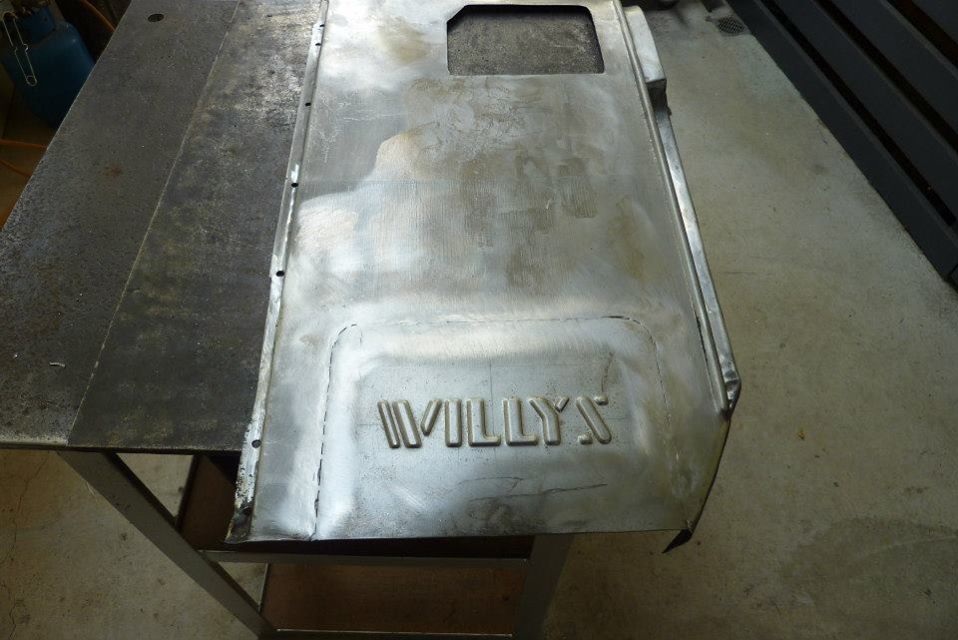
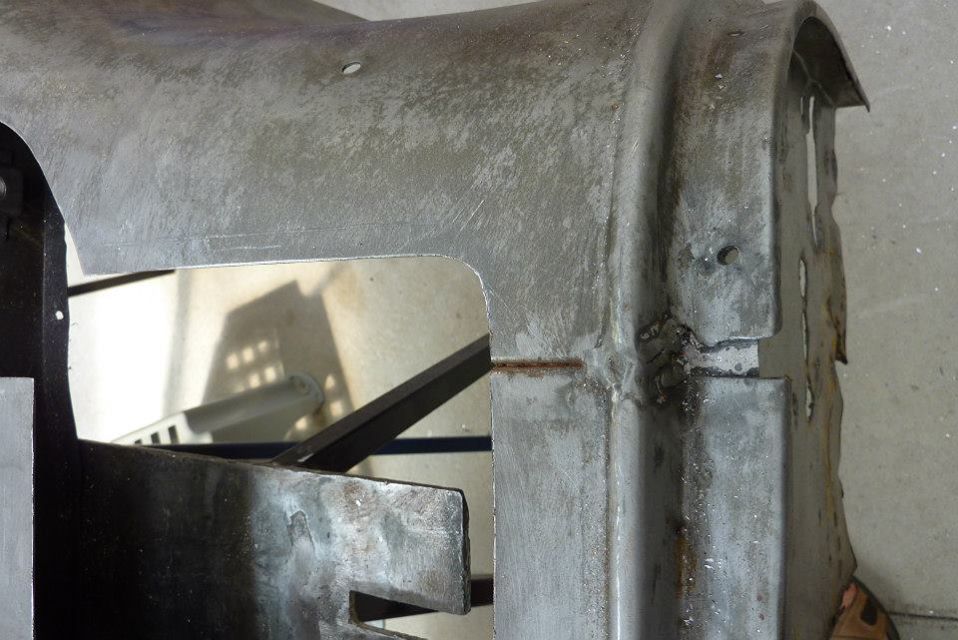
The whole bottom will need to be replaced. I am going to extend that door sill shape all the way across the bottom of the cowling to add more shape to the area. I started by cutting the bottom away and have tacked in the Willys pressing to start the repair off.


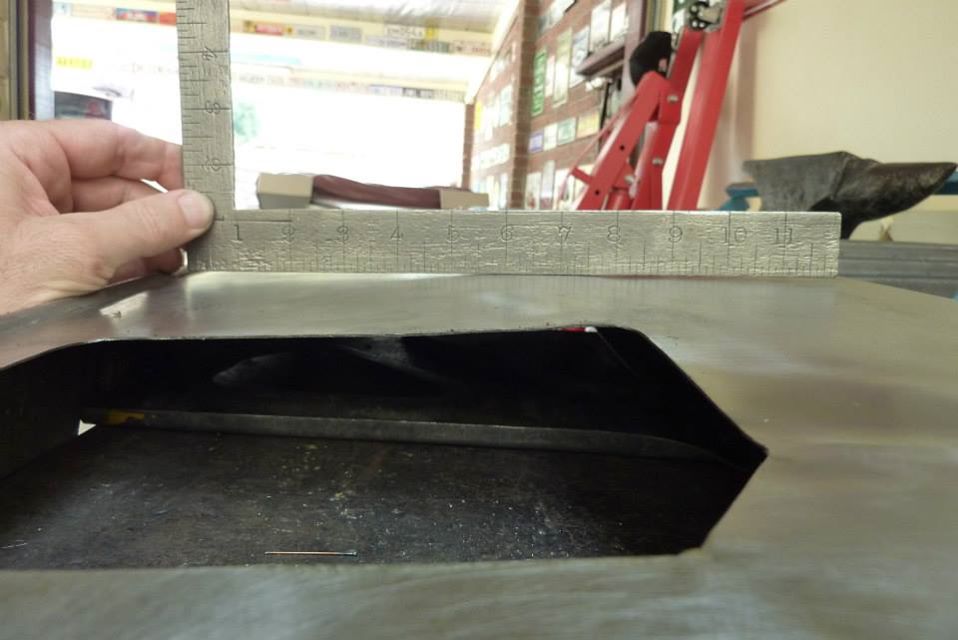
Need to repair the inner structure to make sure I had the right shape for the outer panel. The area was a bit thin higher up as well so that was removed.

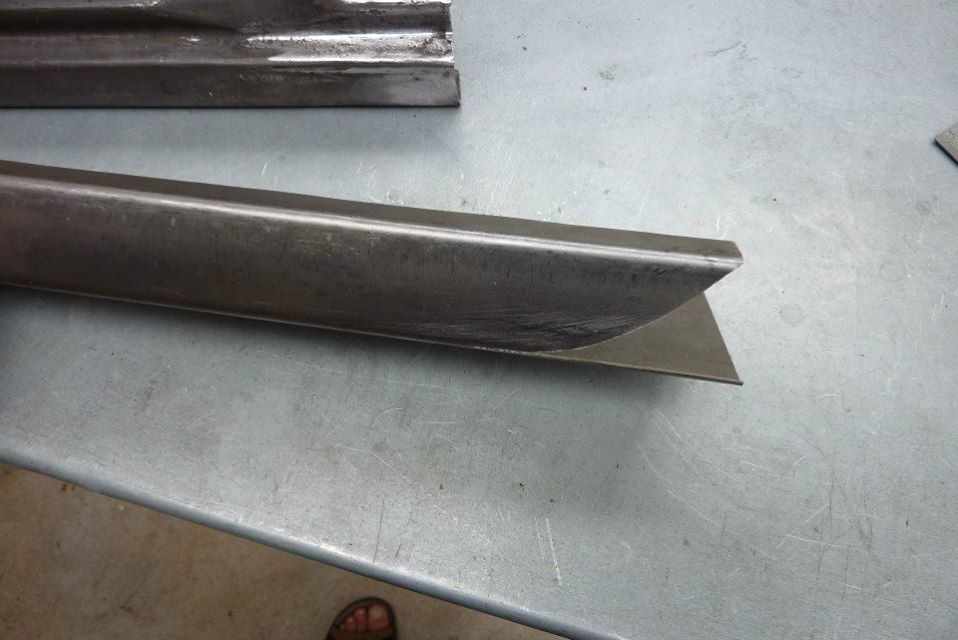
All welded in and can see the pitted area that was cut out. The sill extension was folded up was the same radius bends to match in with the rest of the sill including the crown in the piece. The end was cut away to match the pattern taken before hand so it could be bent to match.
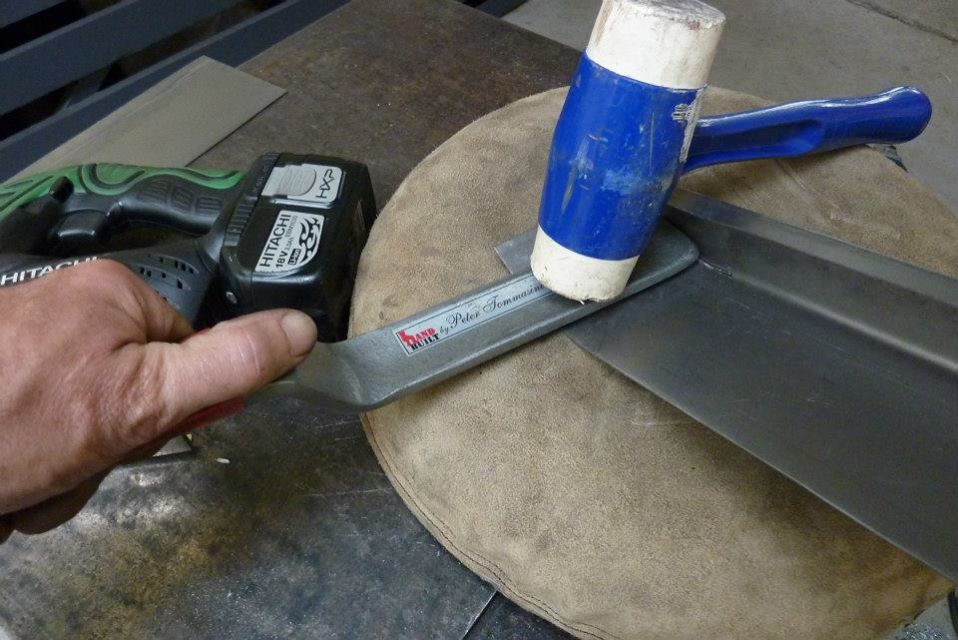

With the little lip in the way, it was easier to place the curved flipper where it needed to be bent and hit down on it with the mallet. This was repeated until is matched the curve.
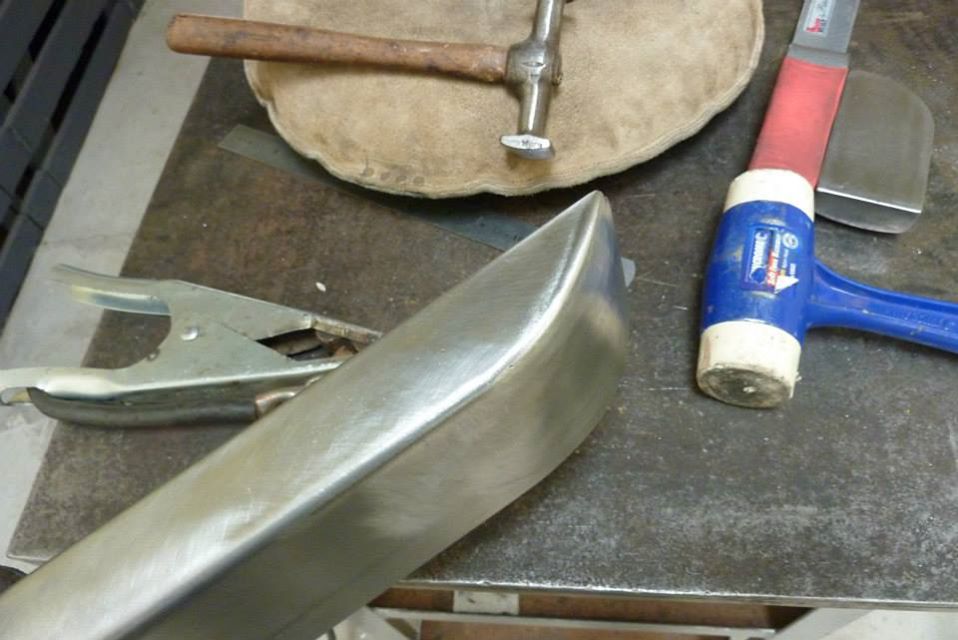
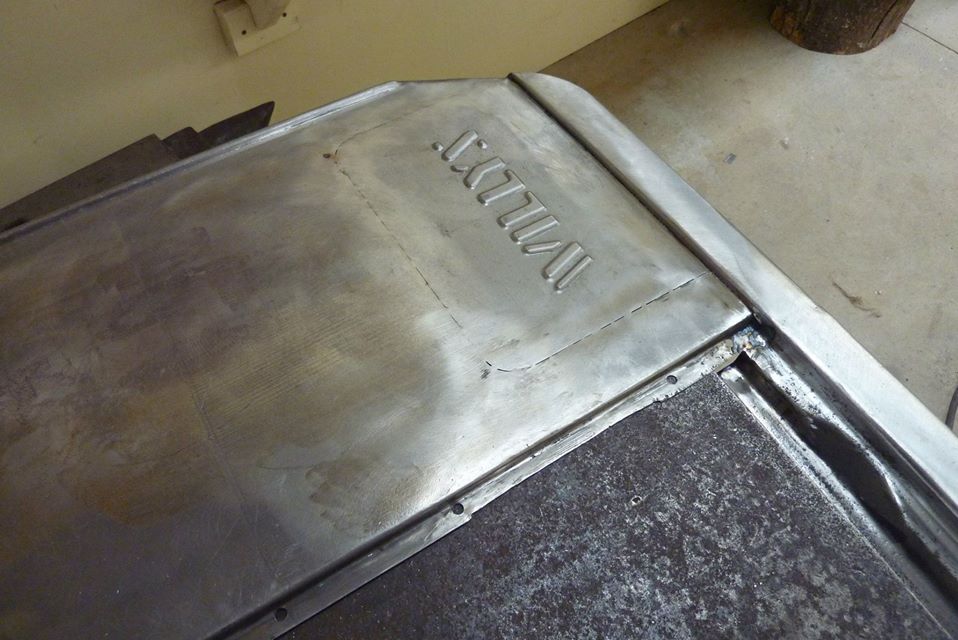
Welded closed and sanded smooth it has come up nicely. This was then welded to the bottom of the cowl and the door sill welded back in place. Looks much better I feel now with the sill flowing to the end. Just think the vertical bead along the edge should do the same.
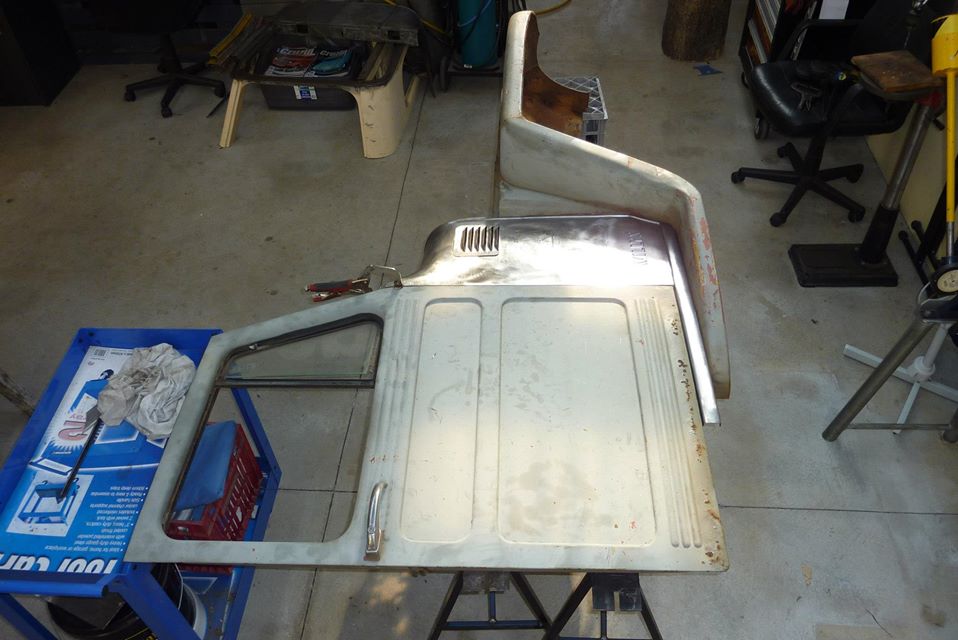
Now with the bead extended it looks more 'framed' and finished than before. A lot of work was also put into the door end of the cowl to get a good door gap. It was much wider where the old repair had been made so has all stretched and hammered back into line with the door edge. With the vent just lying in place you can see how I have placed the bottom of it to line up with the top of the guard.
[Index]