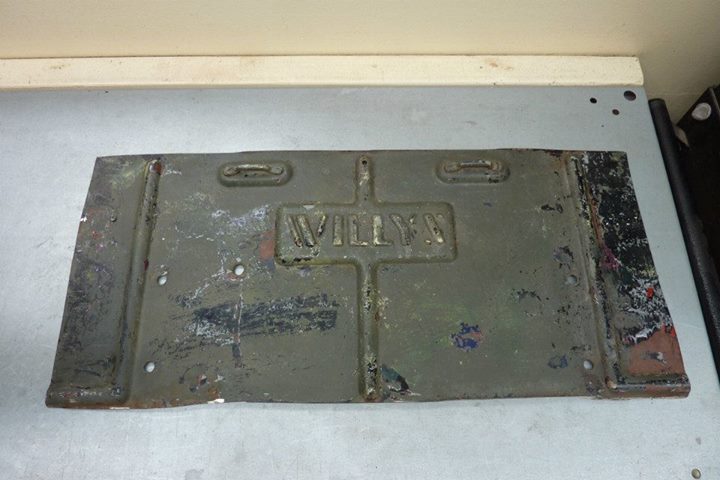
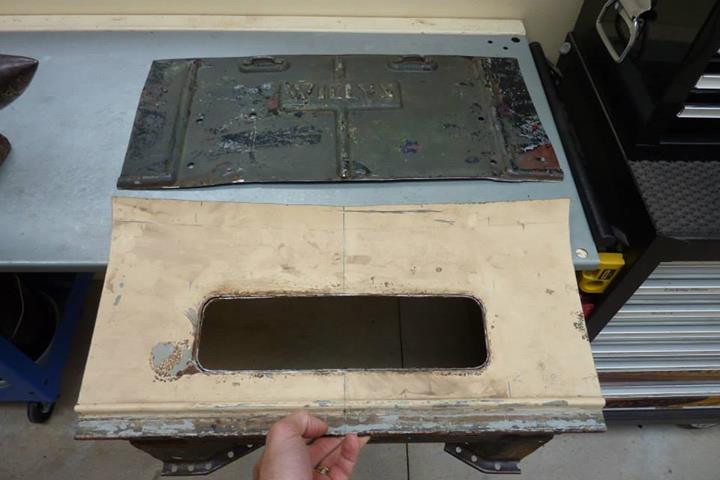
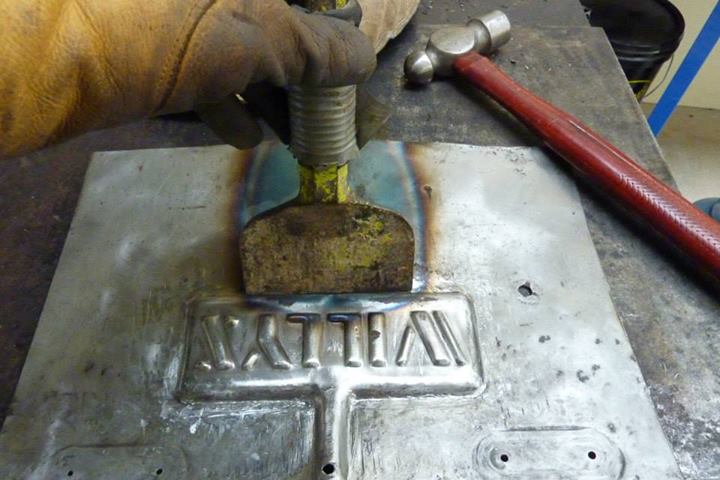
I was fortunate enough to buy a old 1946 Willys CJ2a tailgate in the US and had just the centre part cut out for me and sent over. I was after the centre Willys stamping to fill the area where the cowl vent once was. I wanted something in its place rather than just deleting it with a piece of steel to keep the character in the cowl.
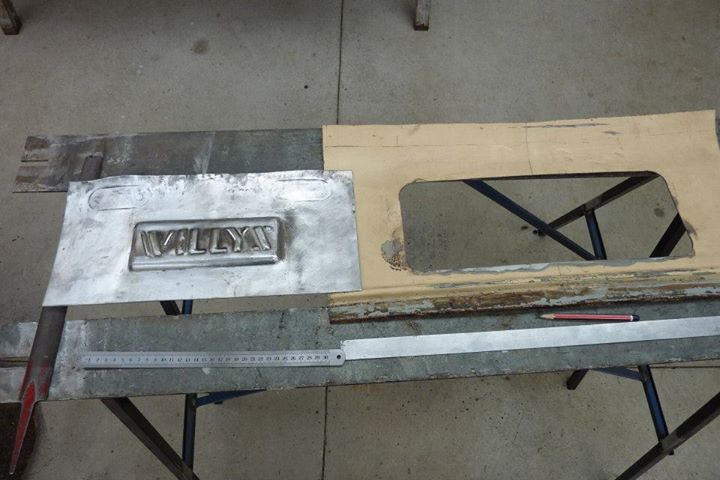
I started off heating and hamming out the pressing the old tie down loops were sitting on. Then hammering out the bead coming below the main pressing as well. I had actually started to shape the whole piece to replace this part of the cowl, but didn't like the look of it in the end. So now had extra work getting it flatter again as well.

Used a brickies bolster to straighten the edge from above. Hammer out the bead above as well and then used the bolster again from below after clamping it along the edge of the bench.
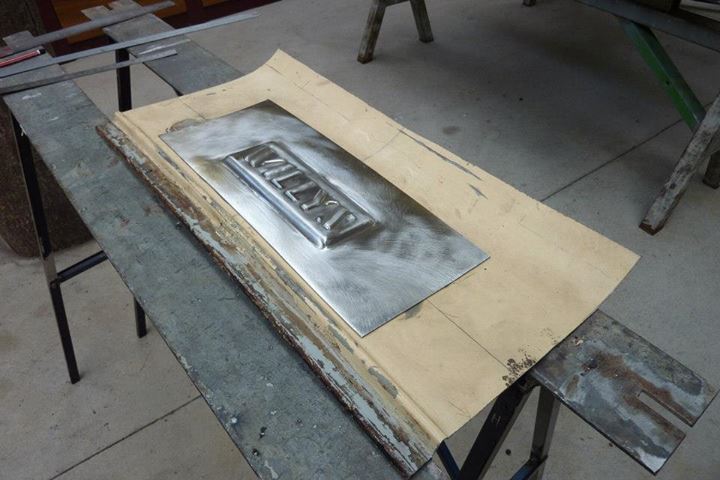
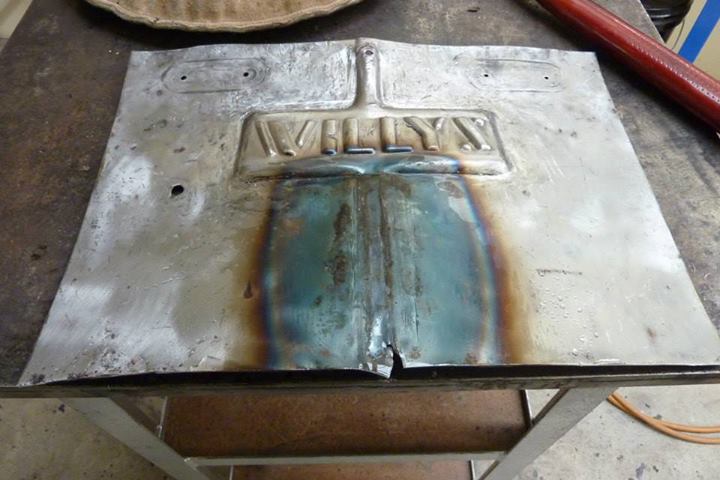
I cut out the hole from the vent bigger to get rid of the welded in reinforcement that was around the hole as well as take out so rust that was along the top edge. Then I could start on final shaping to get it to match the curves of the cowl both front the rear and left to right.
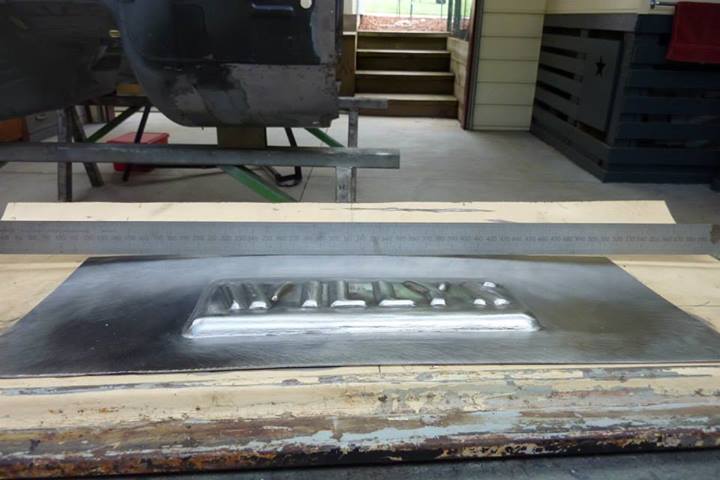

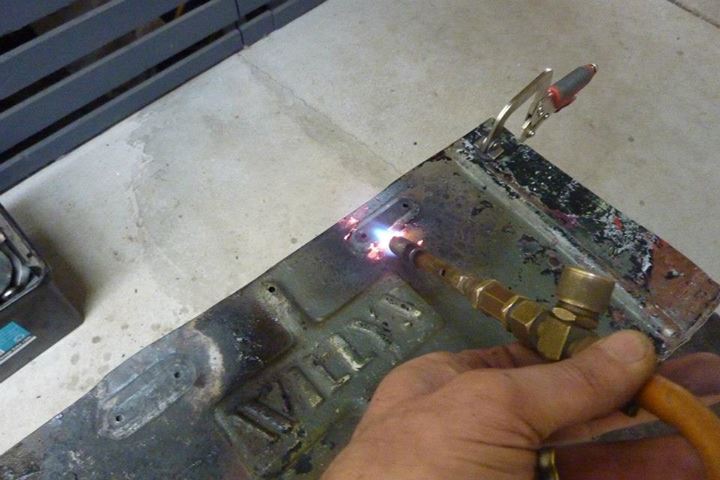
After some plenishing over the beater bag I was happy it followed the curvature. Placed it under the hole and marked it out so it could be cut to fit and tacked in. Have decided to buy a tig welder and learn how to use one for fully welding this panel in and all the other panel work needed on the build.
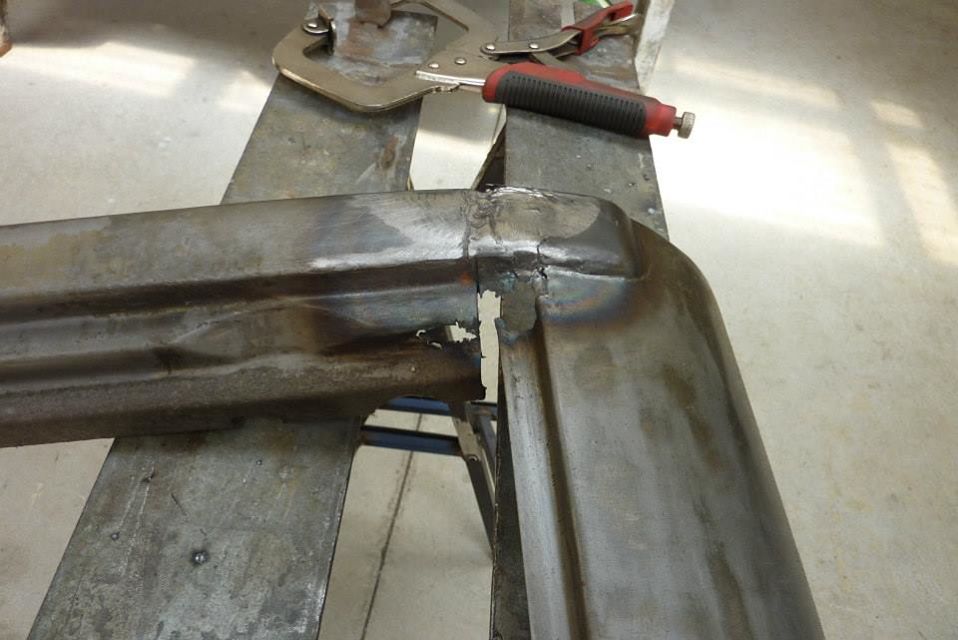
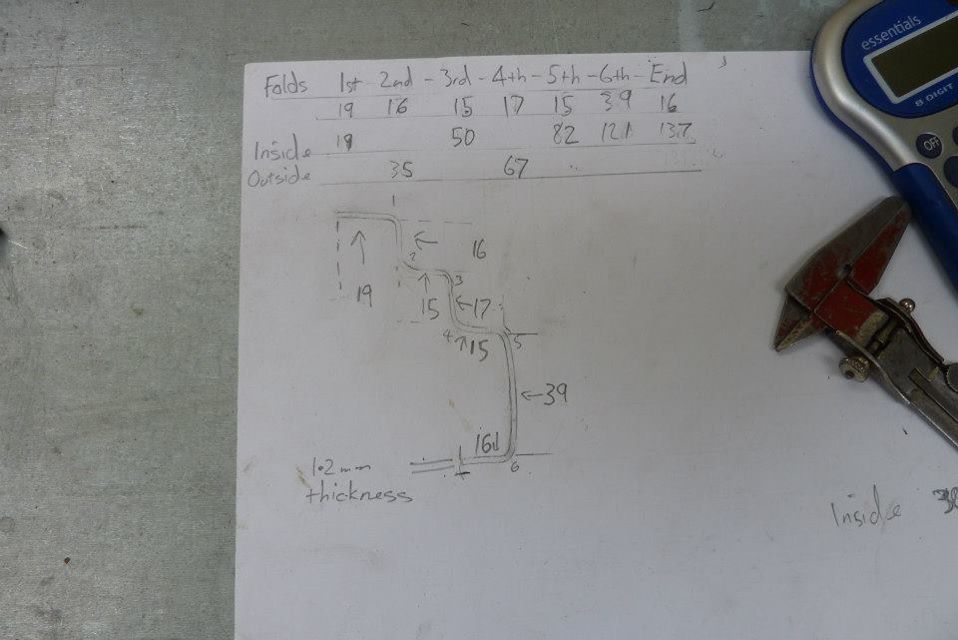
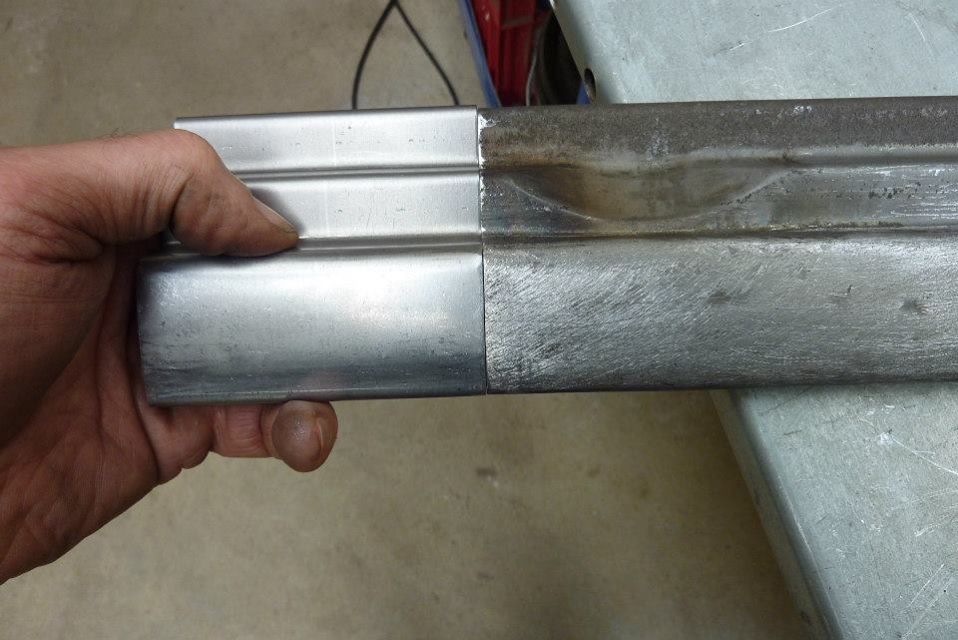
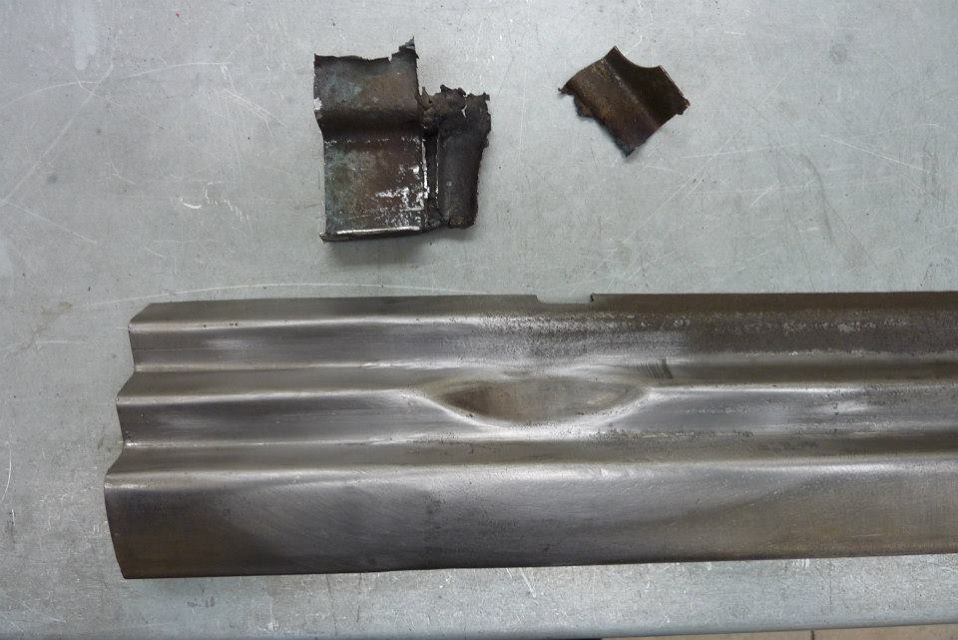
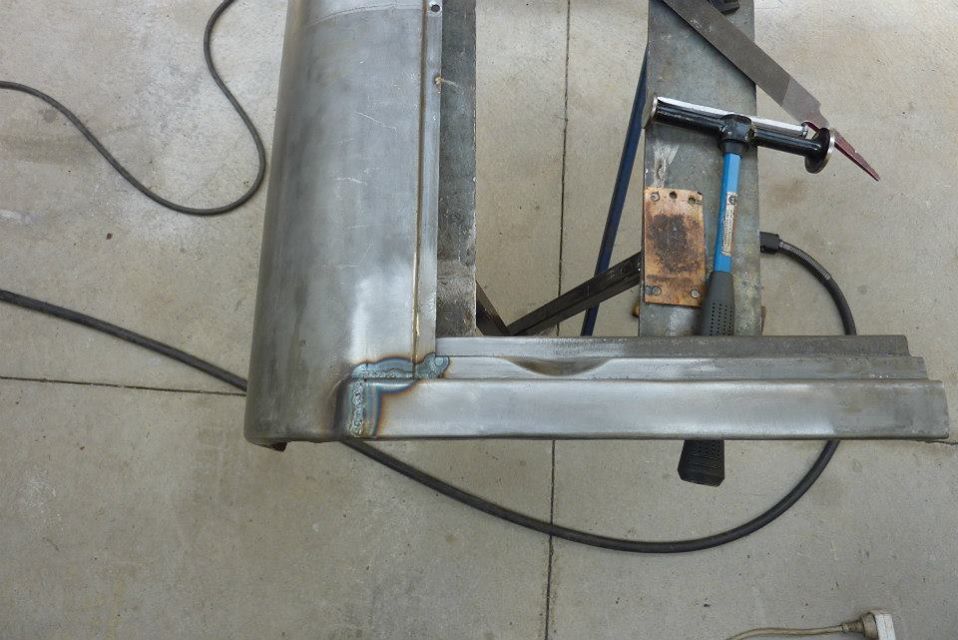
Needed to repair the rusted out corner and the bad factory join where the B pillar meets the bottom door sill. After recording all the angles it was cut free and a tracing made of the sill profile. Need to take off the material thickness at each fold otherwise you wont be accurate. This 1.2mm steel would have been 7.2mm out by the end if I had not.
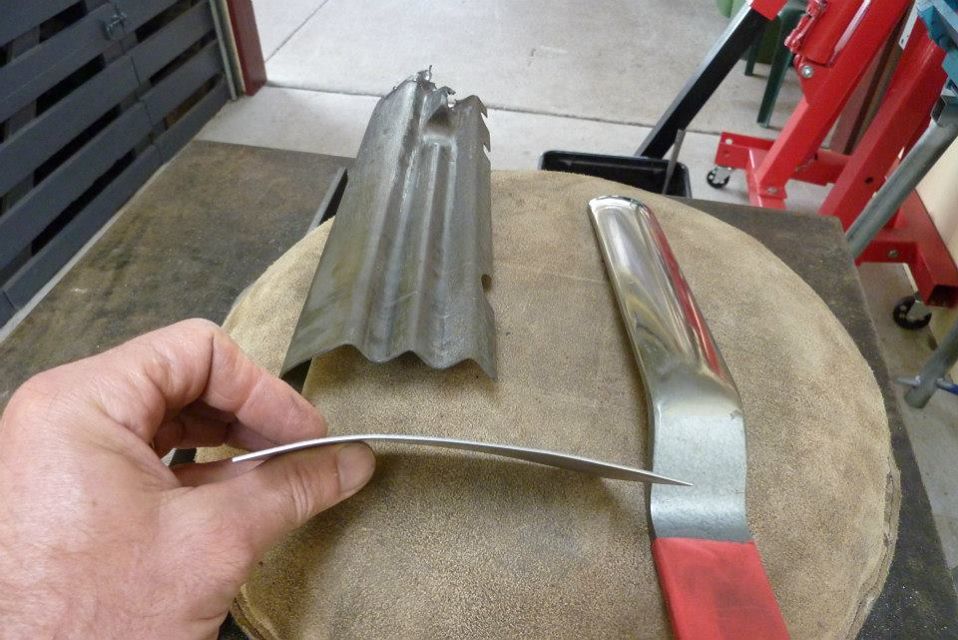
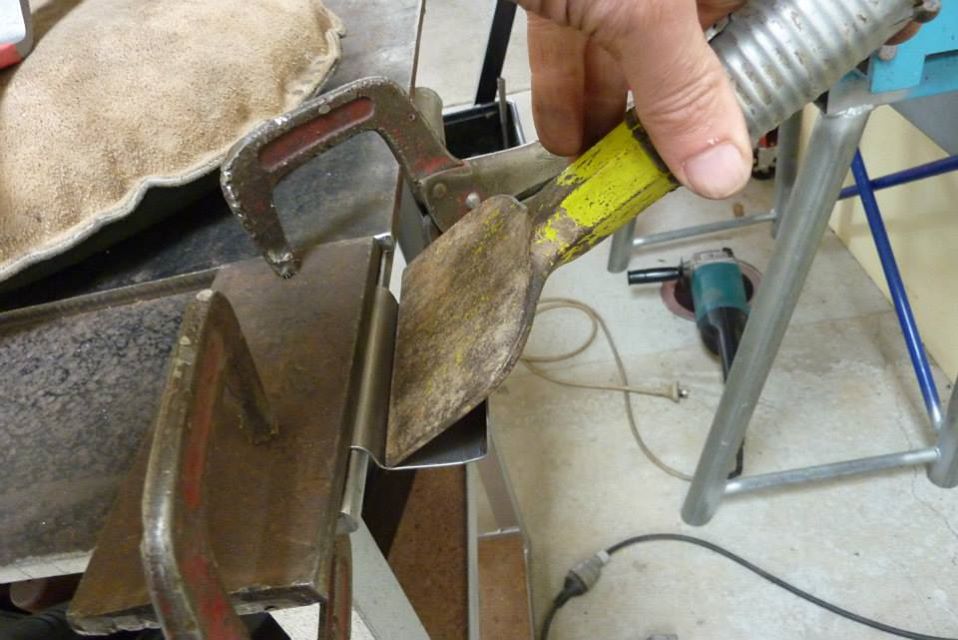
The steel is not flat between the folds so easier to put some shape in to match it before any folding takes place. I used the curved flipper on the beater bag to get it. Just made the folds over the edge of my table after rounding it. After the first fold used the bolster to knock over the rest.
Came out with quite a good match. It was mig welded before being smoothed. The gets rid of the lead filled factory join.
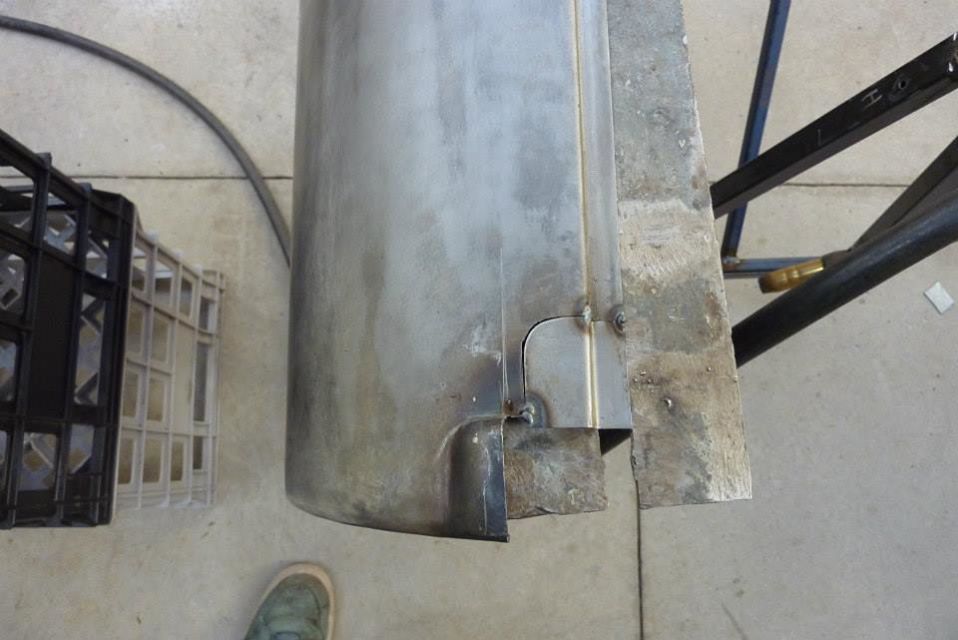
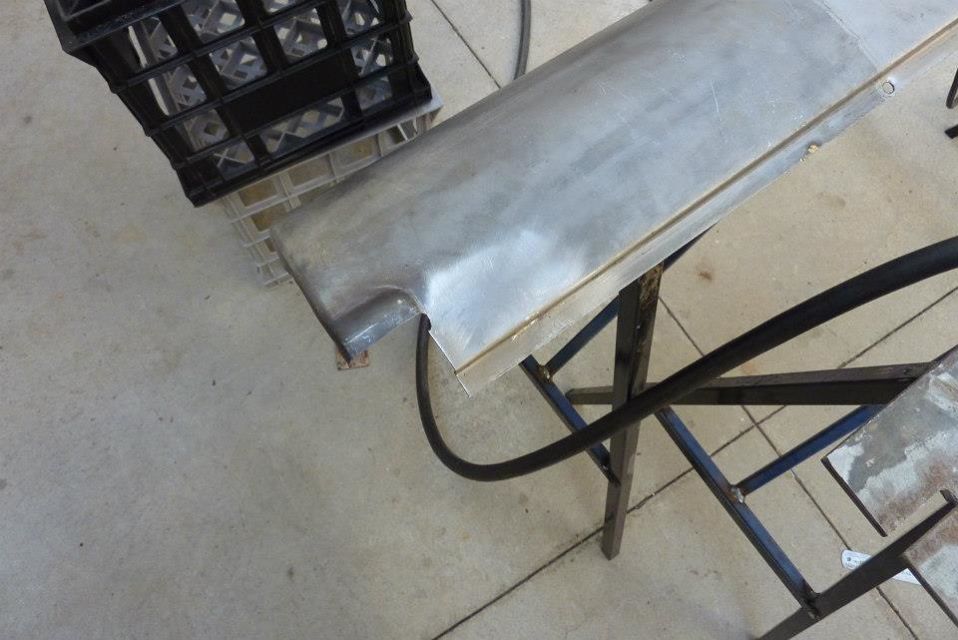
The rust hole was next patched up and time taken to make sure the edge stayed straight as the door will show up any variance.
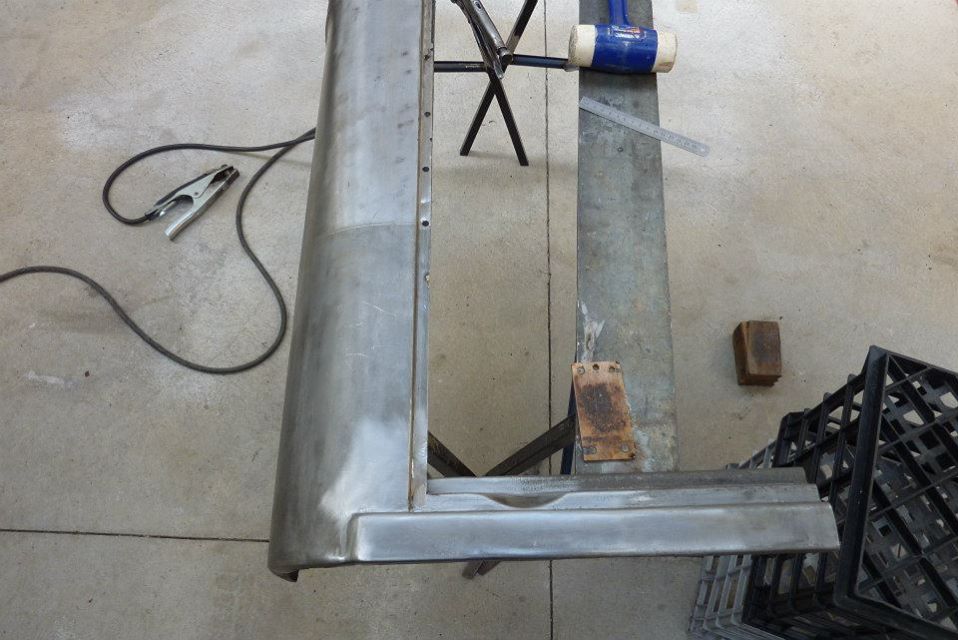
Welded the sill back in from the inside so there was less grinding to be done in the inside edges. Alignment to match the door was kept and that it also pointed towards the A pillar.
[Index]