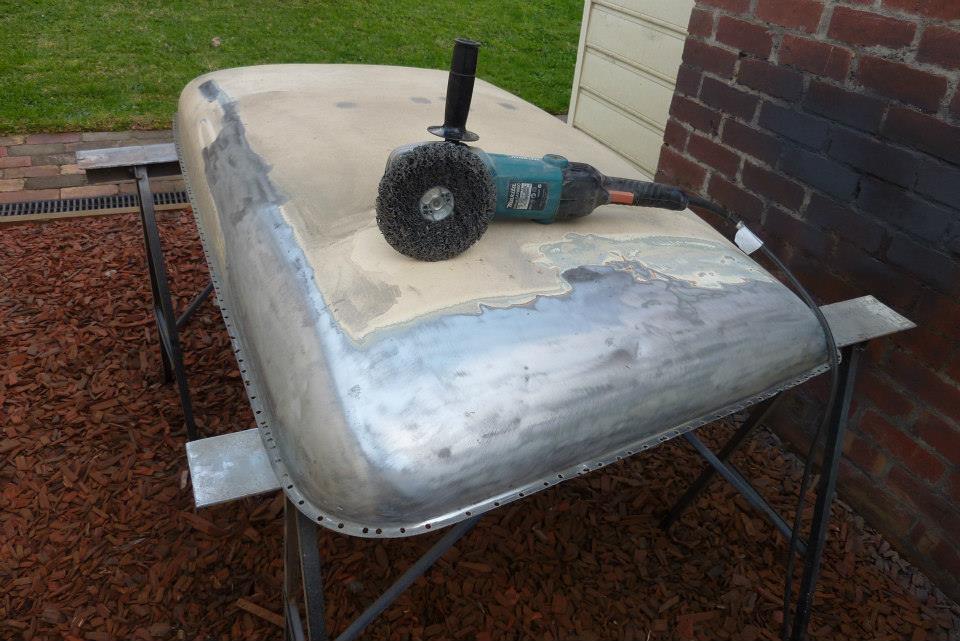
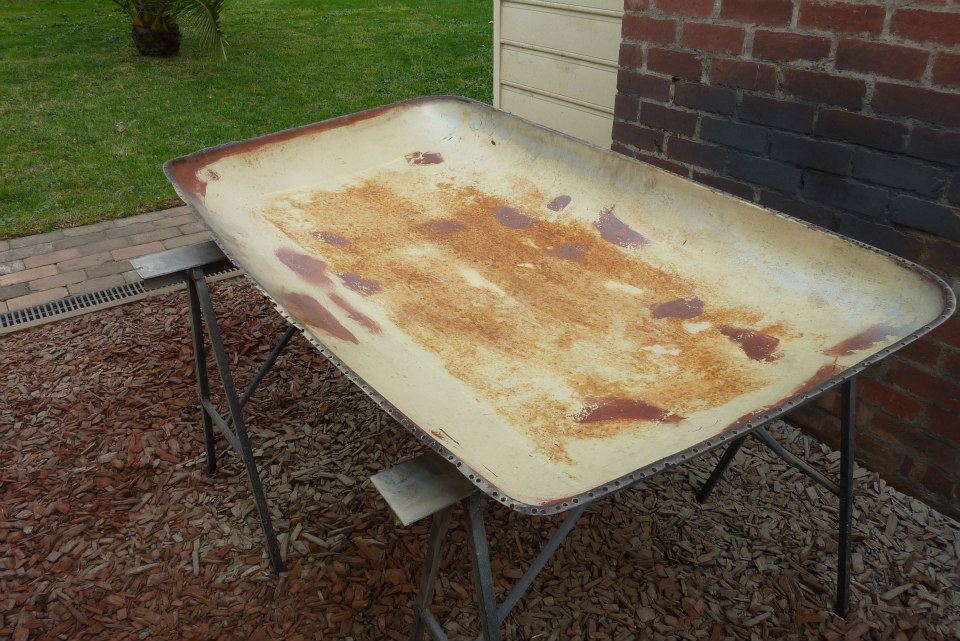
A start has been made for the upper section of the cab. Using a 7" stripping disc I have had to go through 7 layers including primers and a skim coat of filler some where in the middle. Grey originally and been repainted into cream twice. I felt like an archaeologist! Grey primer, grey top coat, red oxide primer, cream top coat, filler skim coat, grey primer, cream top coat. No surprises were found and very little rust pitting, but a heap of dents and flat spots. Looks like it had been stood on a number of times and caved in before being popped up again.
Underside not too bad with some surface rust showing through. Only 4 layers of paint on the underside so literary took half the time to strip. 2 hours for the topside and 1 hour for the underside. Took one whole strip disc to do it all.
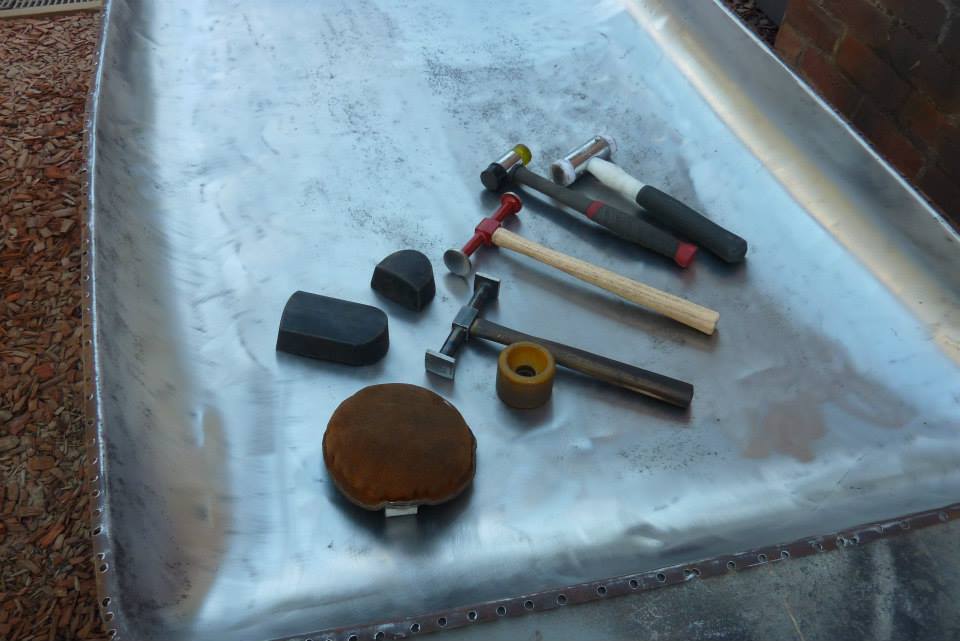

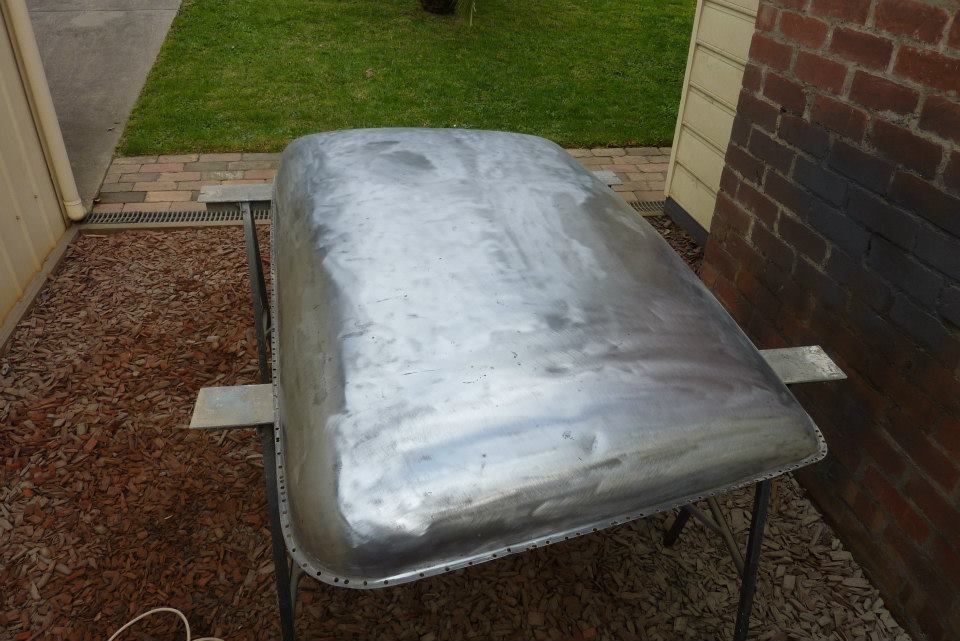
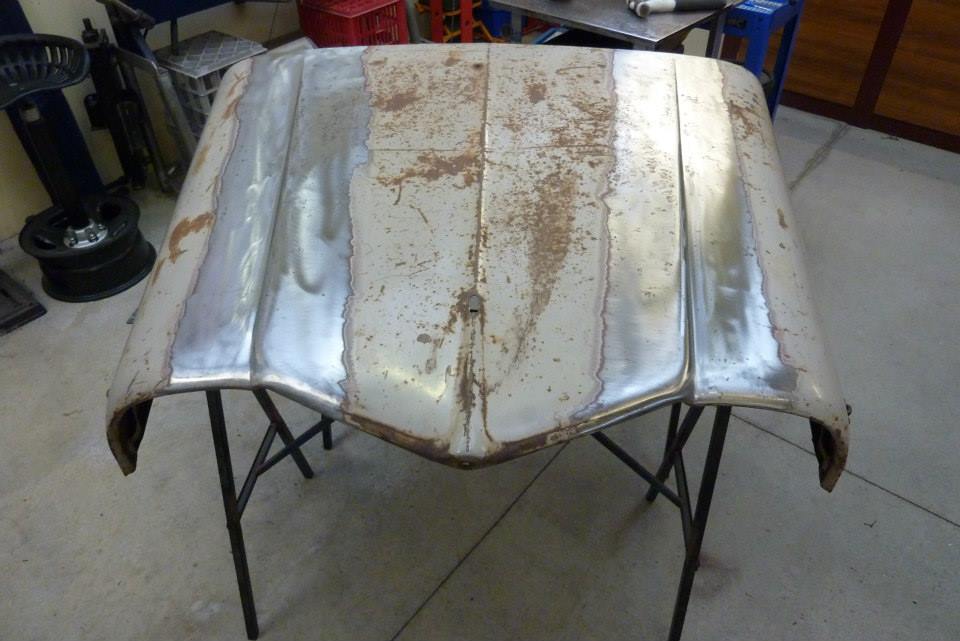
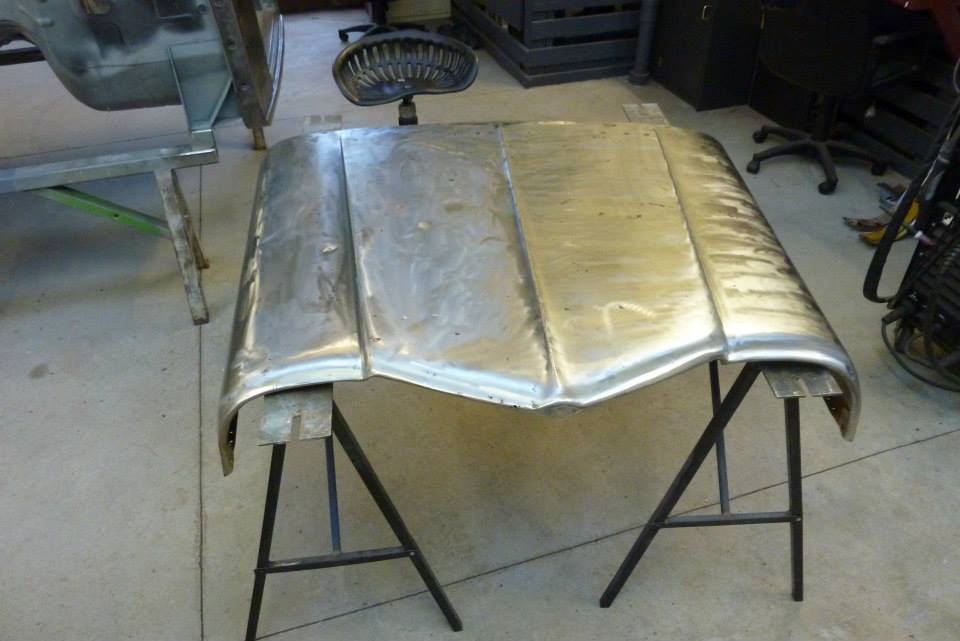
The long flat areas I took out mainly with the bigger mallet hammering into the hand sized sand bag. At no time was a metal hammer on metal dolly used directly as don't want to stretch the metal at all. The rubber dollies with lead inside came in handy for this too. The photo is from before I started. Right photo I'm doing some final dressing using a lead bossing stick. This and another one was given to me by a old plumber and can still be bought today under lead working tools. I used the hand beater bag on the outside and worked out any remaining high spots and shape that was needed.
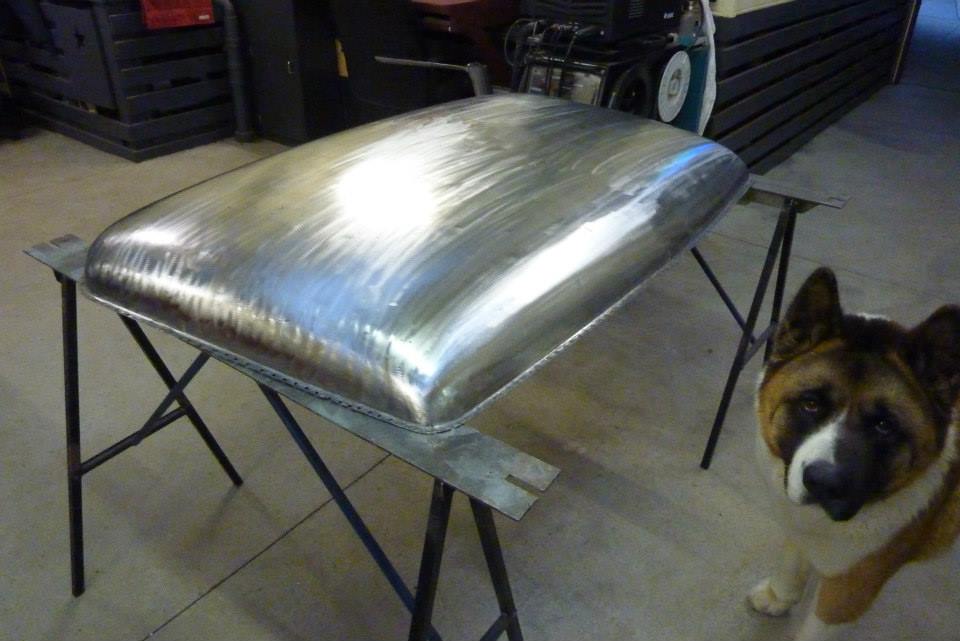
All the flat areas, dents and creases are pretty well gone now. Now to divide it into 4 equal pieces.
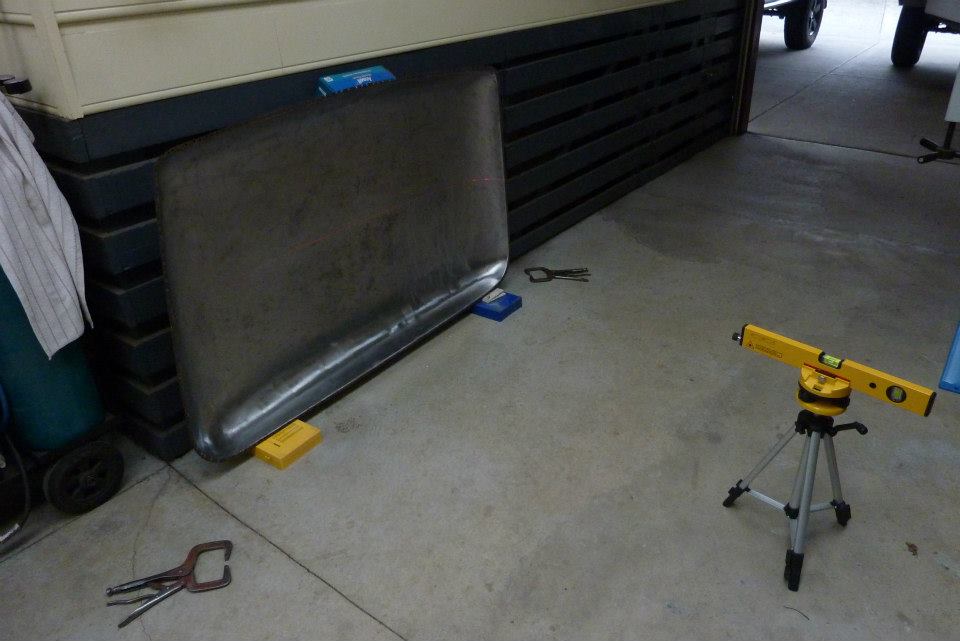
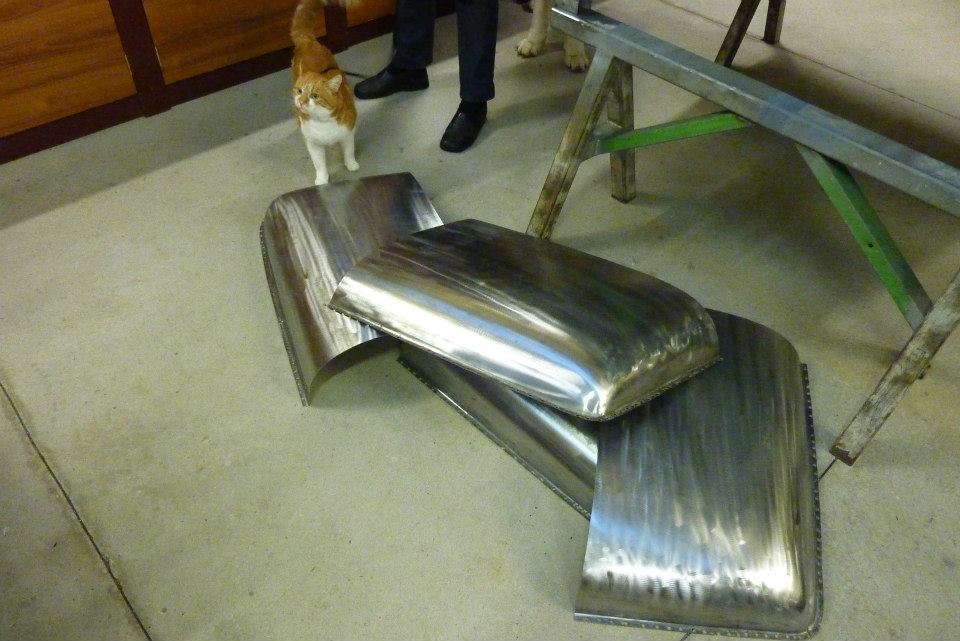
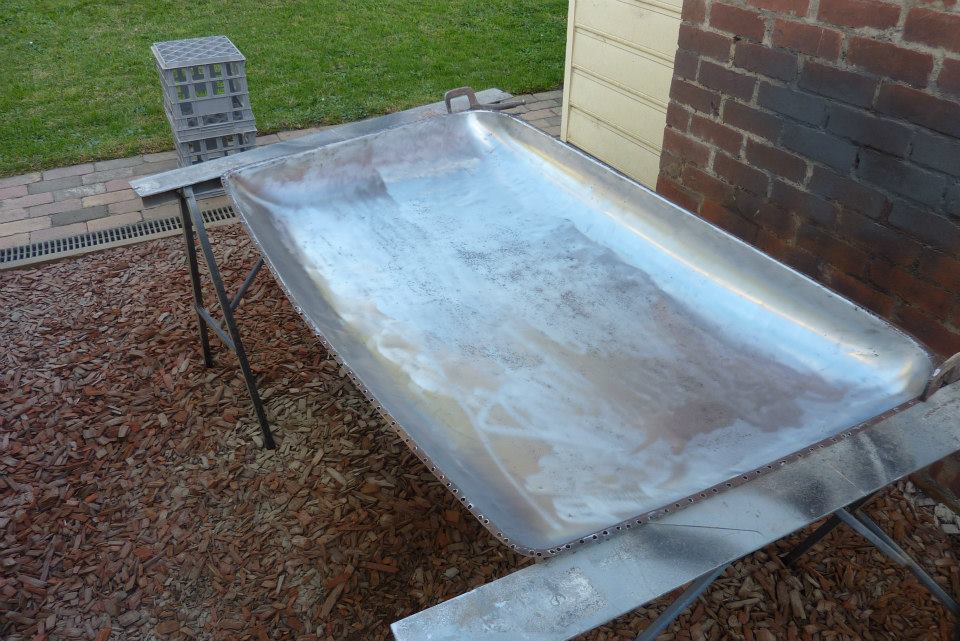
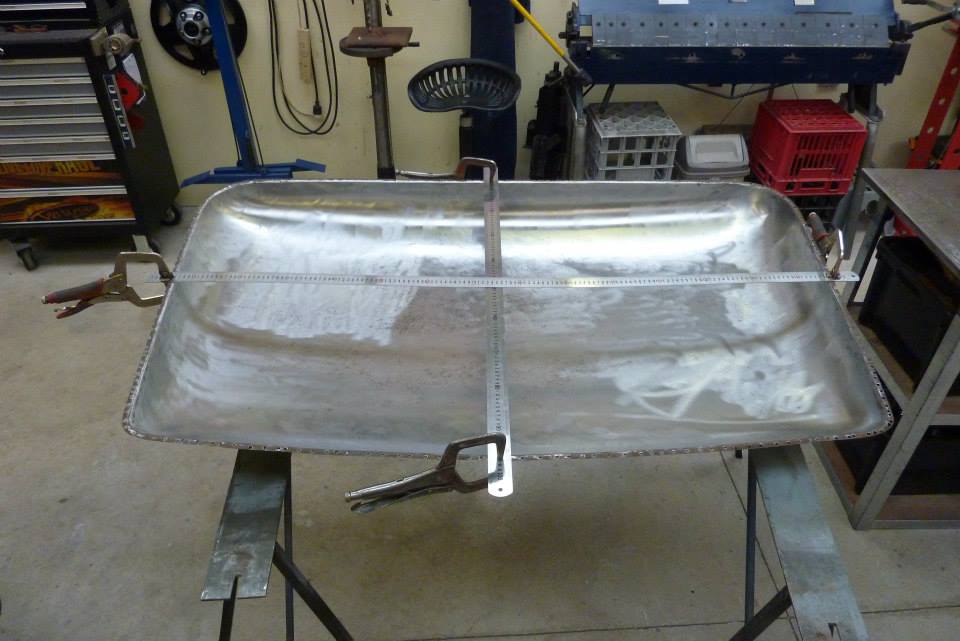
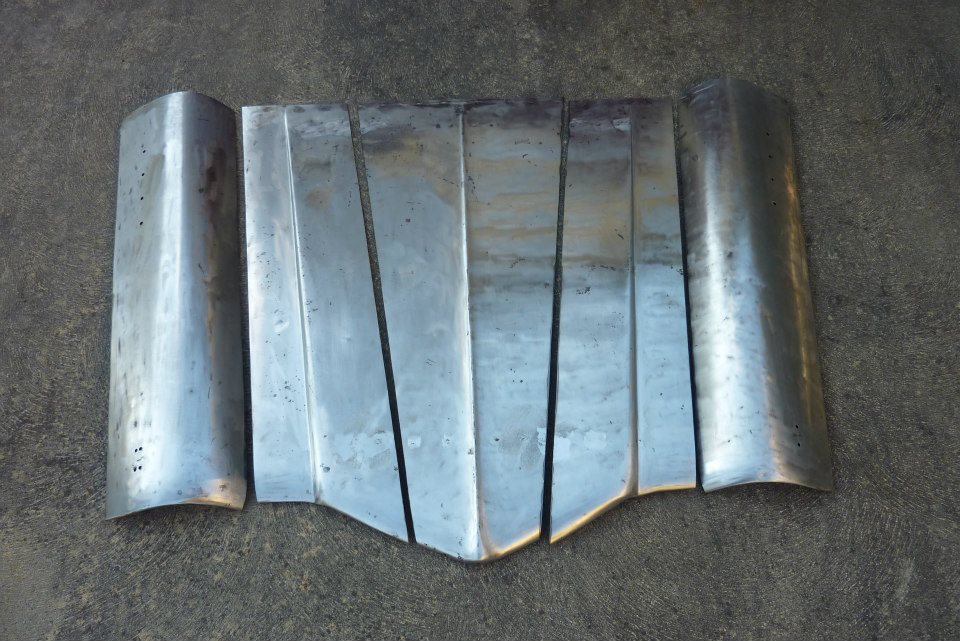
Wasn't sure how to get nice straight lines when dealing with the surface being a compound curve. So set the roof up vertically and level in both directions and used a cheap laser level to get my lines. Then cut it into 4 with a jigsaw ready to go into the citrus bath later on to rid it of any remaining rust. Will be mainly using only the perimeter of the these pieces and a whole new centre part of the roof will be welded in to make it longer and wider to suit the bigger cab.

Time to start on the bonnets. This one looked like it had been walked on and was bowing downwards and full of small dents although not obvious in the photo. Had to remove the supports at each end to get to the damage.
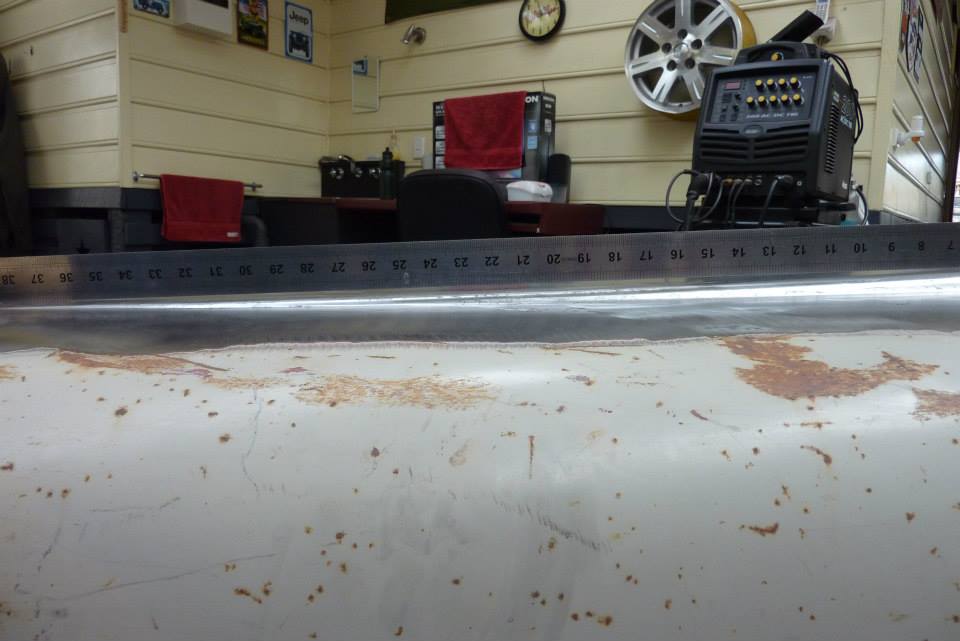
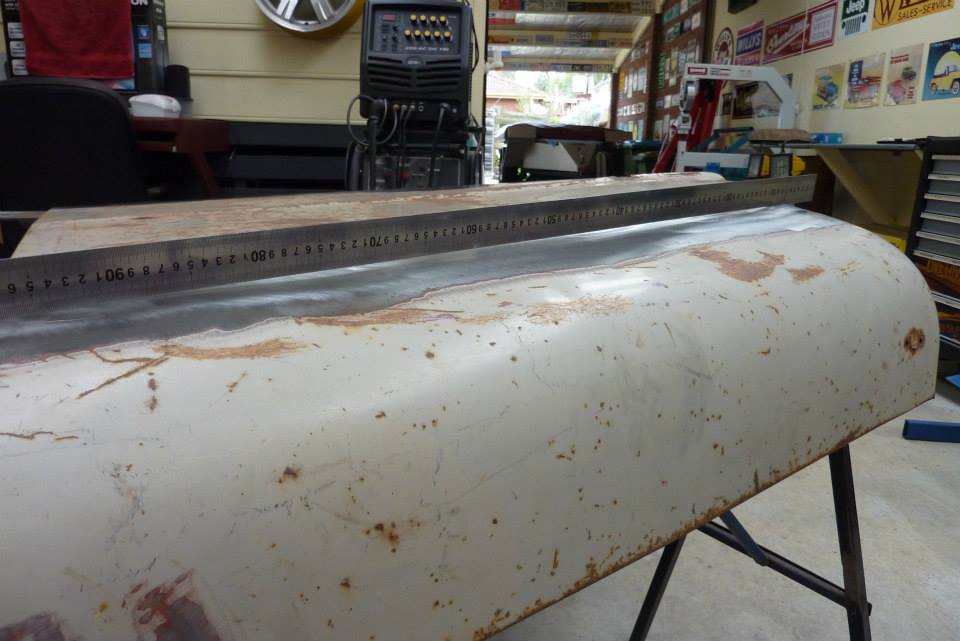
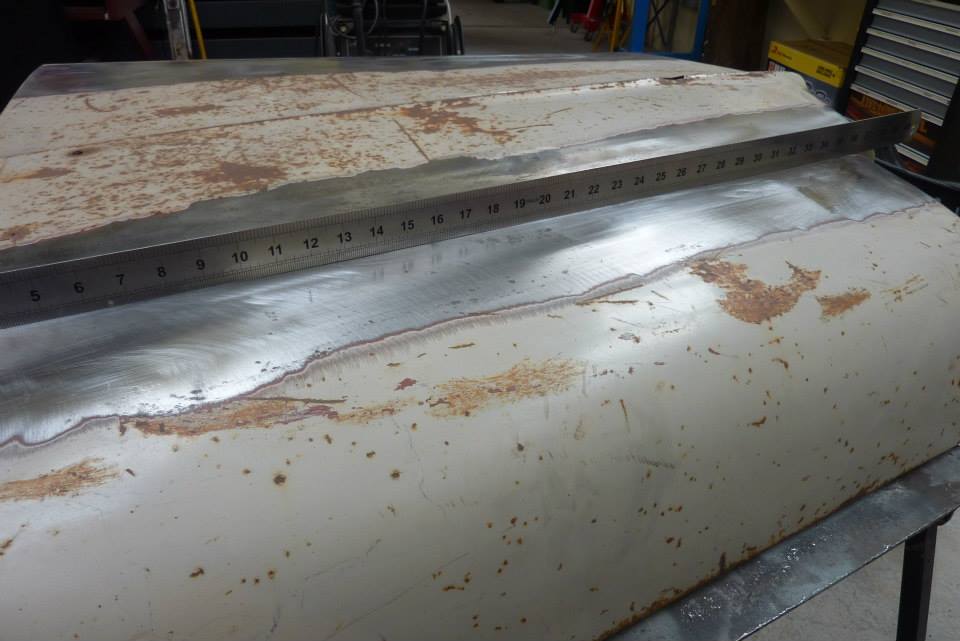
Really hard to show but you might be able to see the big gap under the ruler edge that you can easily fit you fingers underneath in the middle of the bow. I worked up the creases and dents along the pressing and is looking a lot better, but still not good enough. You might spot also the middle of the bonnet also still sags down.
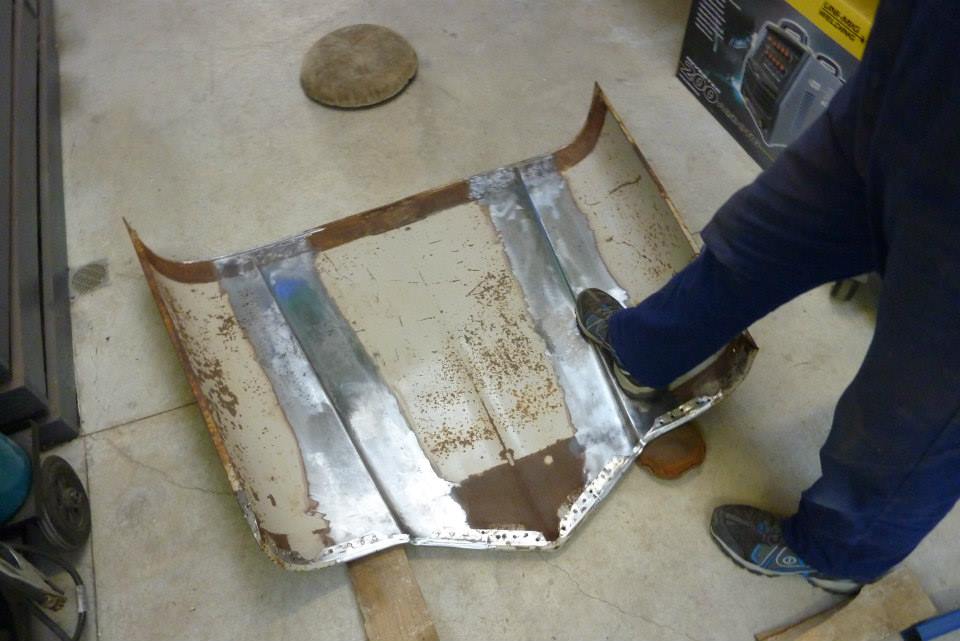
Time to get creative. If walking around on put the bow in, it should get it out! Supported the front with my small beater bag and gently pressed down on the worse spot. Wore sneakers rather than my steel capped boots to get more feel and less hard edges. Would do a bit and then check with the straight edge noting where more was still needed. Just about there now and a few shrinks with the shrinking disc should get the last millimetre.
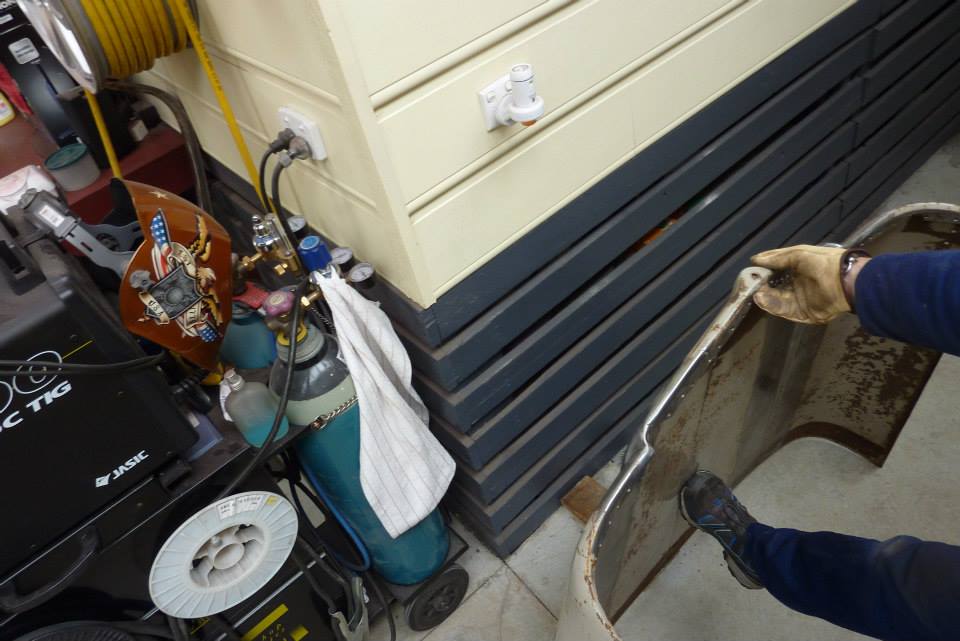
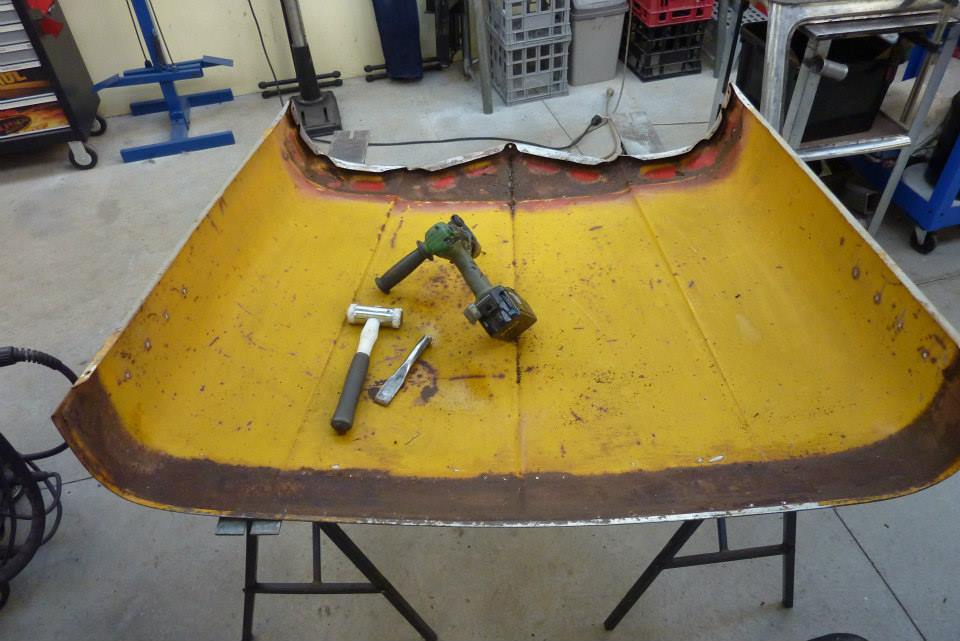
For the middle I placed a block against the side of the house and tilted the bonnet until it was only just being held against the block. While holding the top and ran my foot right down the middle with even pressure and it came out rather well. I put these techniques under 'primitive but effective'! :) On to the 58 bonnet now. I stripped out the supports ready to take the dents out of this one. Noticed this later one the that it had more spot welds on inner edges of both supports which seems strange as that is usually not done.
Once I have the dents out I will decide which pieces to use from each bonnet. This needs to be made 220 mm-9" wider over all. It is not just a matter of adding a section from the other one up the middle as the centre higher part sits over the grille and this is only going to be 120 mm-5" wider by adding 2 extra grille slots. The other 100mm-4" are over the headlight area, 50 mm-2" each side, which is the lower part of the sides. Took the dents out and welded up holes etc from the 58 bonnet. I will only be using the piece each side of the centre one to make the other bonnet wider. Wanted to make those pieces a bit wider up to the centre ridge, but the leading edge had rust holes right through in that area.
[Index]