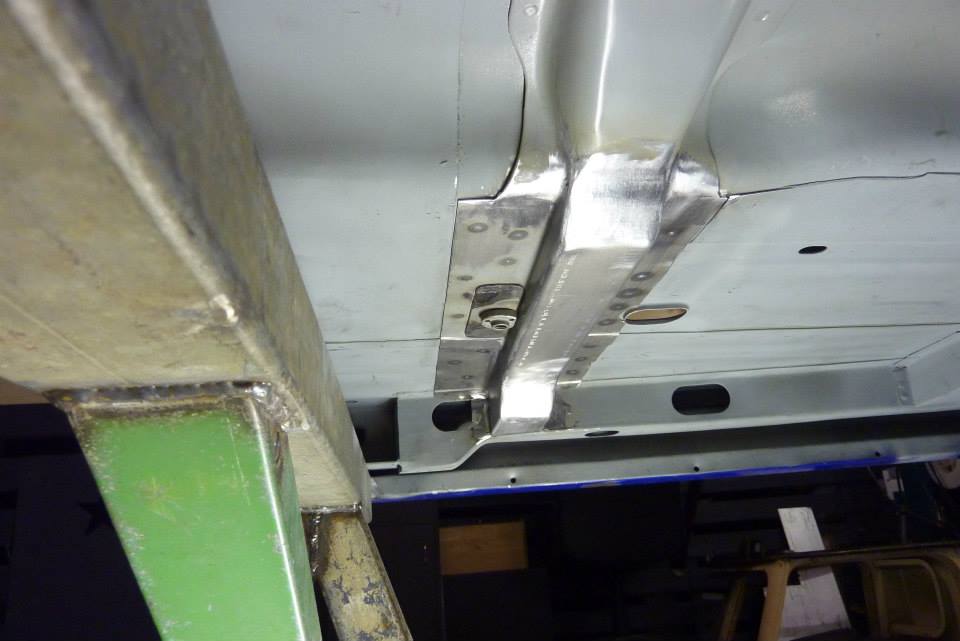

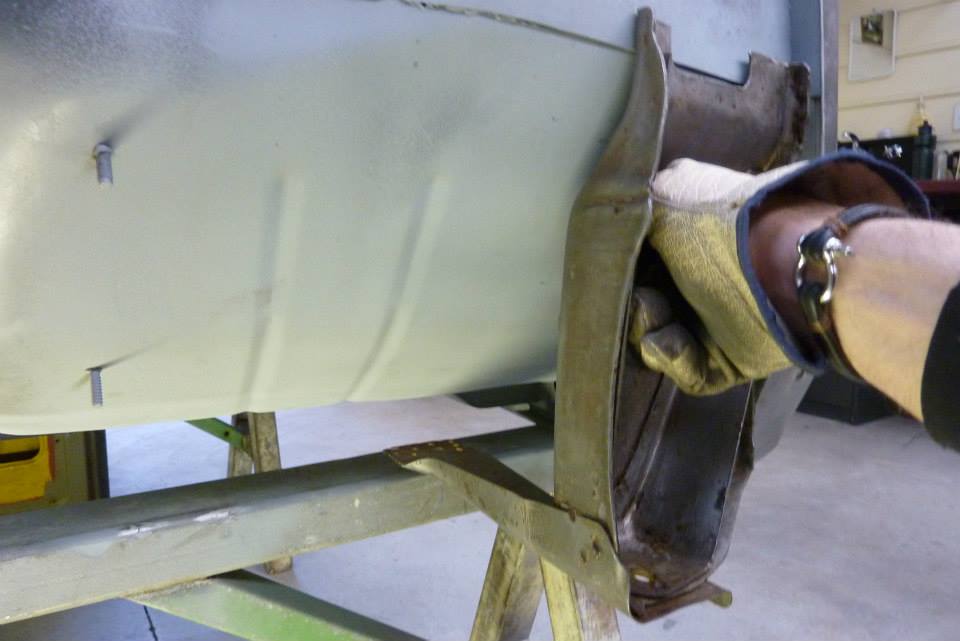
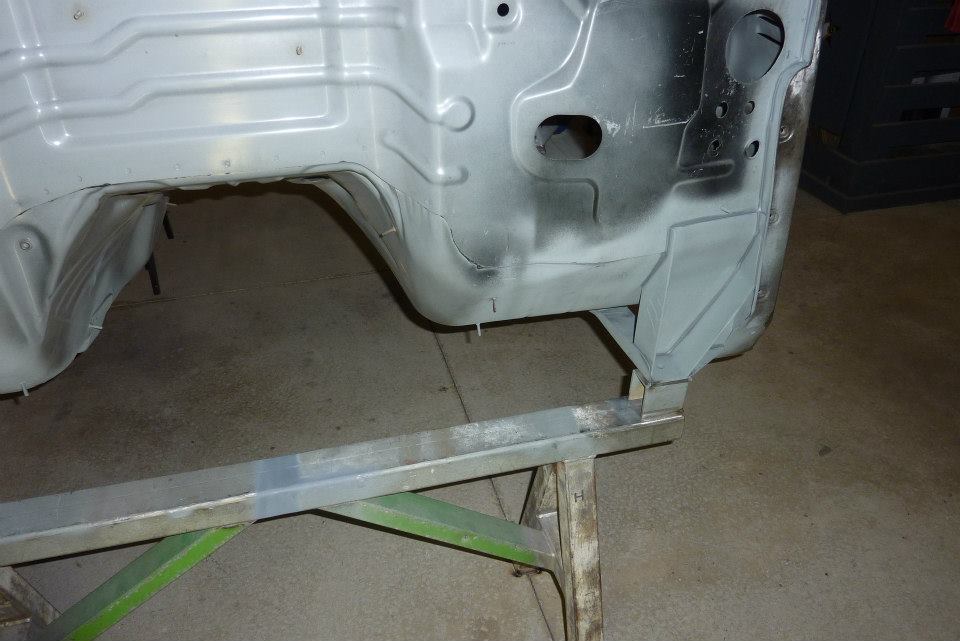
Can see the seat mount right next to the raised section of the support giving it greater strength. I left as much as I could of the original reinforcement it was welded too, so it now has three layers of steel above it. The pocket you see at the end of the sill support is the bottom of the B pillar and what I made into the rear body mount. This new support should help with that as well.
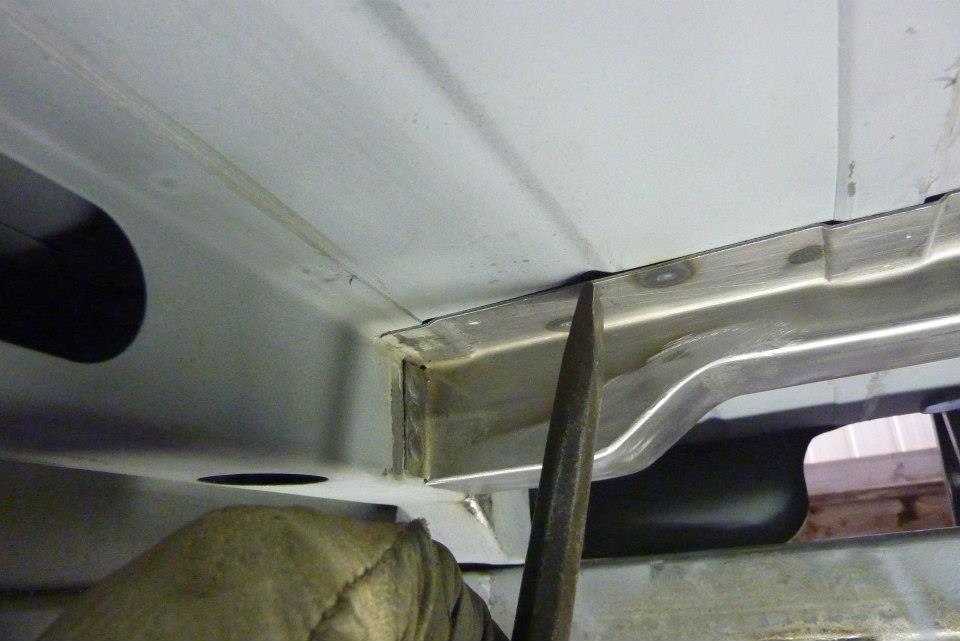
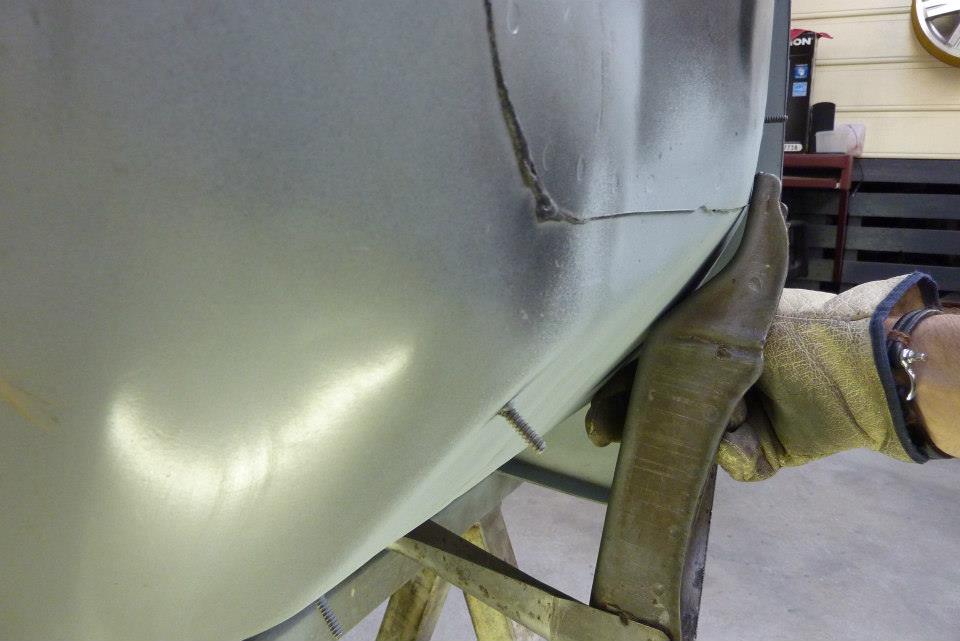
So this I think should be adequate for supporting the longer and wider floor. At the top left of the photo, where the rear support is in the middle of the transmission tunnel, you can see what was the outer mount for the fuel tank. That is now mounted off a chassis cross member and I will use this mount now as an additional body mount in the middle of the rear part of the cab. On the right photo, just thought I would show this simple mod that worked so well. Rather than fill the void above support flange where the rib in the floor is with sealant, thought I would try bend the flange instead. Started with a rounded end on a cold chisel. Lined it up directly in the middle of the gap with the chisel on the edge of the flange and angled back.

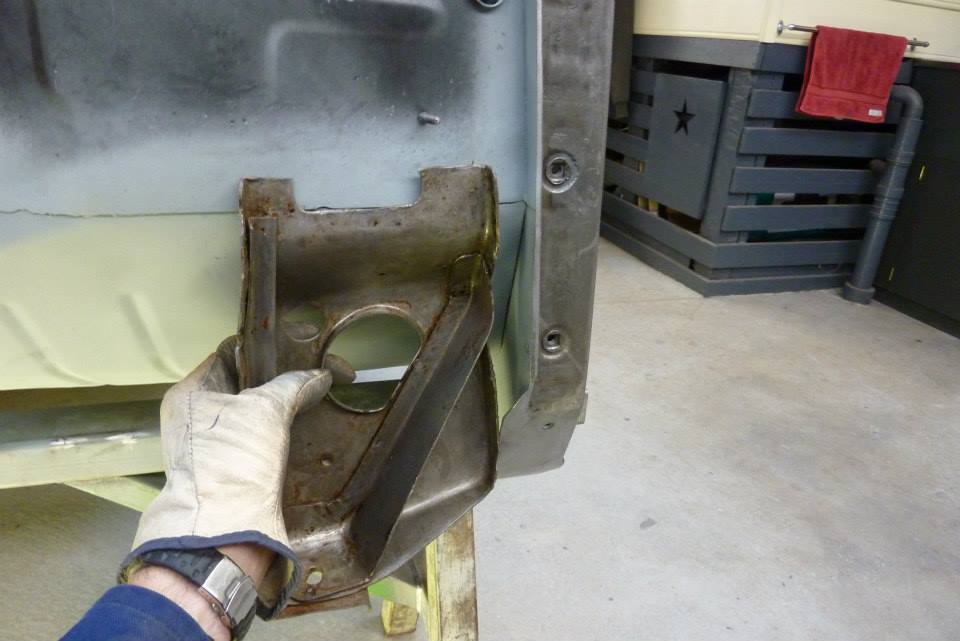
One hit with a mallet and done! Time to move onto the front cab mounts. I had a good pair of original Willys front cab mounts that were rust free after cleaning them up in the citric acid bath. Was hoping to use them on the donor firewall.
But the fold on the donor firewall sits a lot lower than it was on the Willys. That rear brace support is supposed to touching the floor showing how low the whole mount is. The angle is different as the Willys had two 45* bends in the toe board to firewall where the donor has three 30* ones.
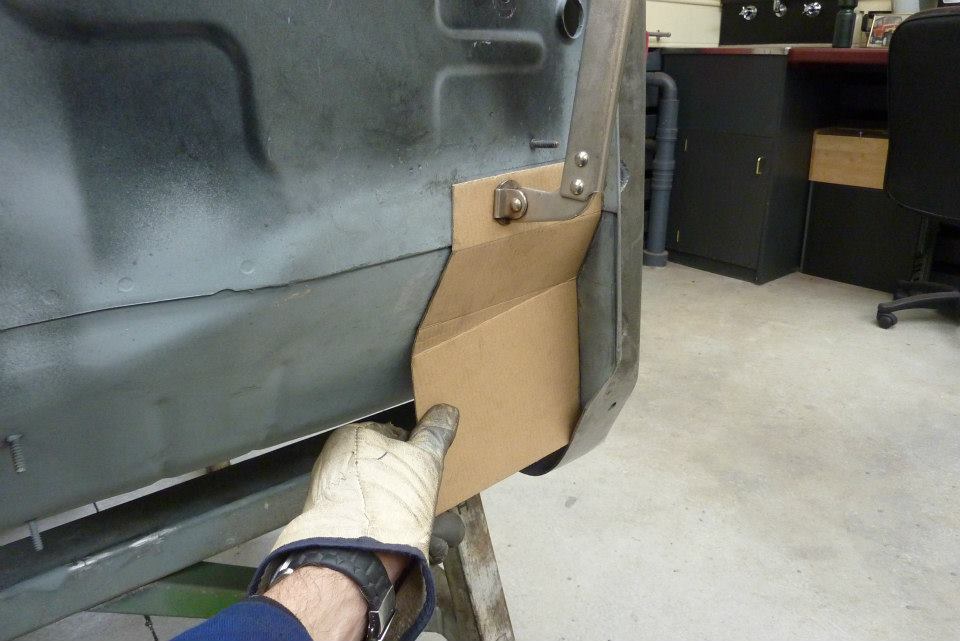
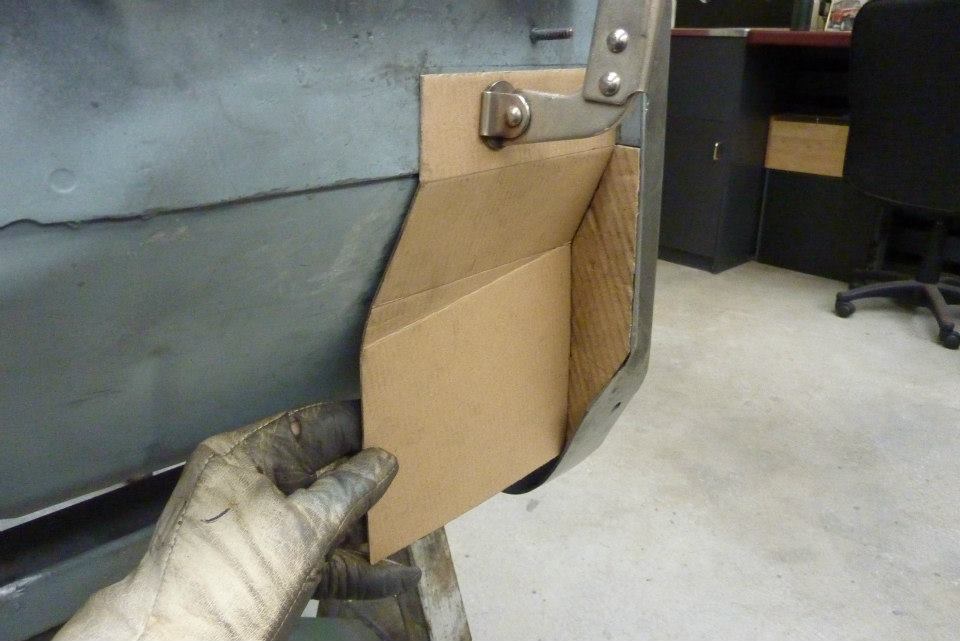
Looked at modifying the originals a lot to fit but thought it would be better just to start from scratch. First need to workout how far back I need to go to get the bottom of the mount level with the bottom of the floor while still being behind that lip. You might noticed too that the second fold is down on an angle. That is because the donor firewall is not flat straight across like the Willys was. I wanted the lower part to still be like that. I had to continue down the firewall until the lower part was vertical and square.
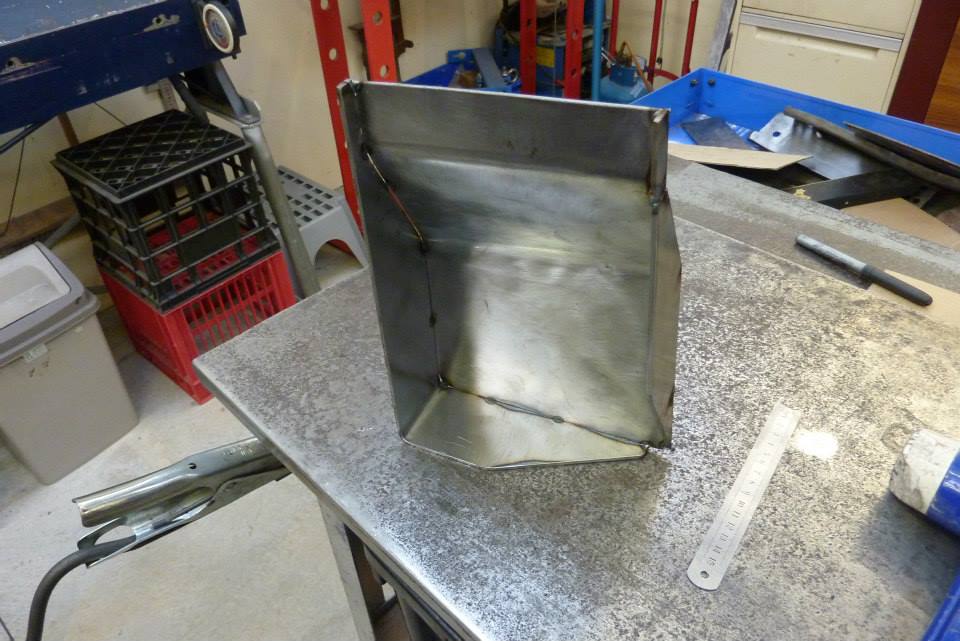

Time to start converting cardboard into metal. I made it out of 3 mm instead of the original 2 mm so the extra stiffener on the outside edge could be left out. The main stiffener which transfers the load to the stronger side of the cowl was still put in.

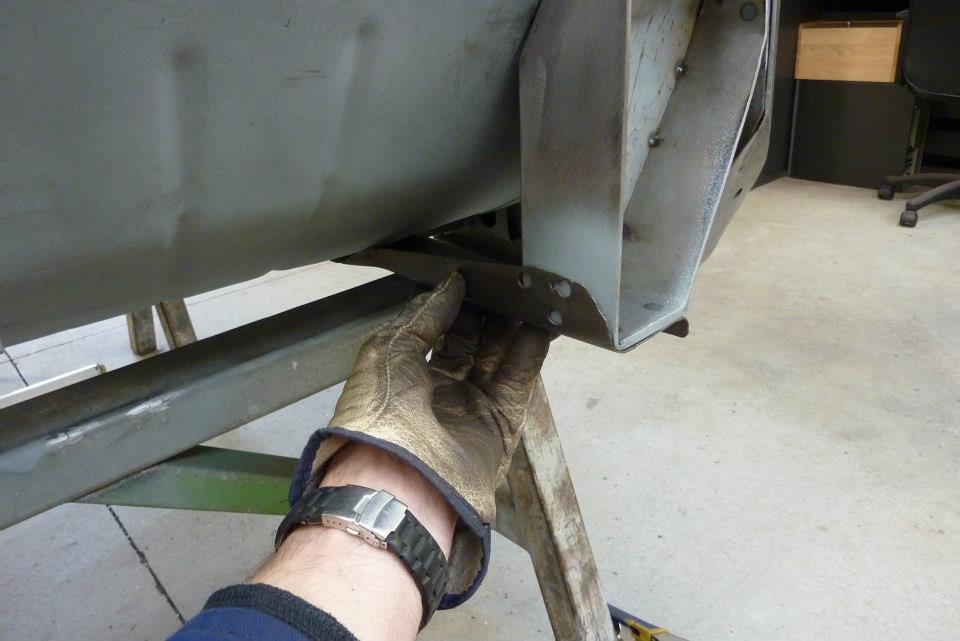
With the body mount sitting back it gives more room in the engine bay, but more importantly, centres the load under the firewall which is much stronger than in front of it. Had another set of original floor to mount braces and thought I might as well reuse those.
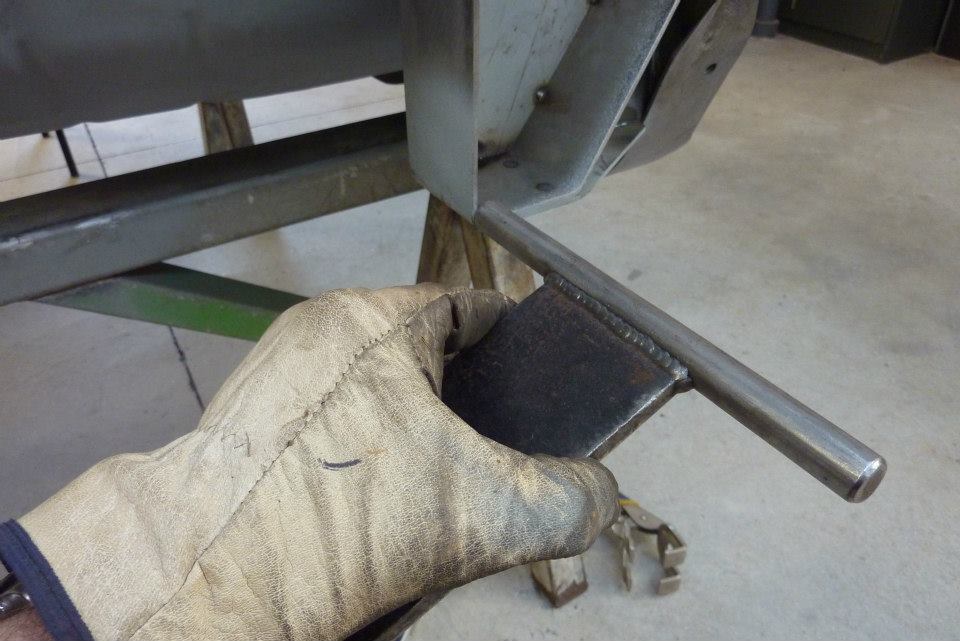
The radius just needs to be tightened up in the corner to match the new mount. Used a T dolly that I had made a while ago that had the same radius.

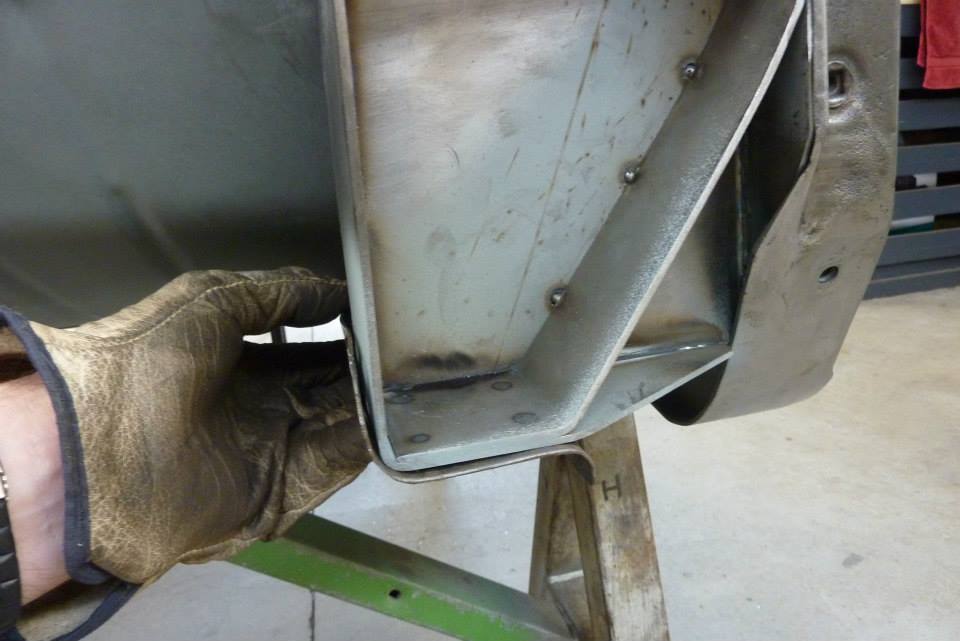
Hammered the brace over it and now it is ready to be welded on. Made the mount for the other side before welding on the first one. This way I can make sure they are perfectly level as can adjust them in opposite directions a few millimetres each if needed. I did a total of 23 plug welds to attach each one to the floor, firewall and cowl sides. The cowl sides were already double thickness so increased the plug weld holes from 5.5 mm, (7/32), to 8 mm, (5/16), to get the needed penetration.

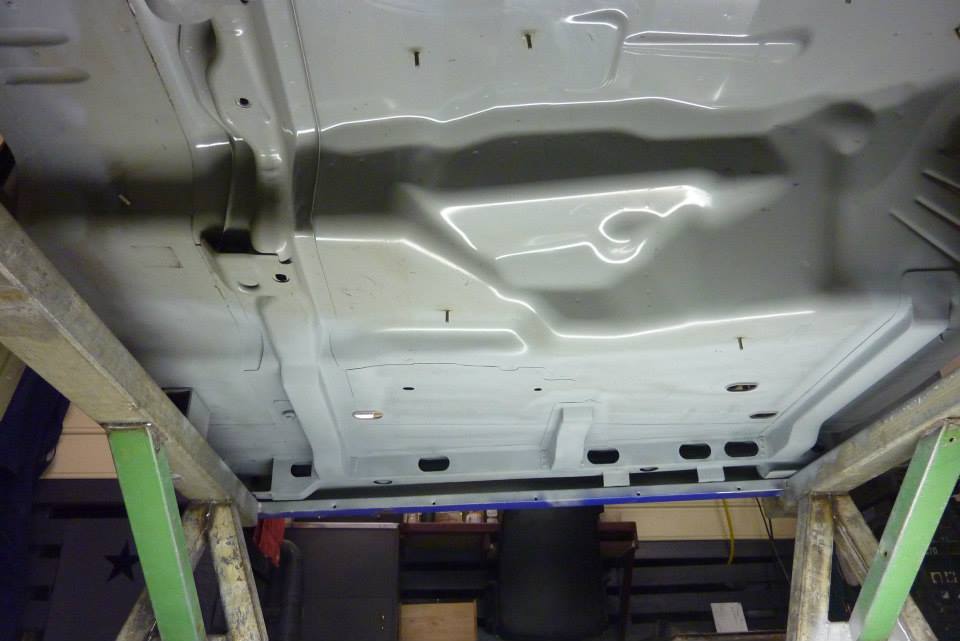
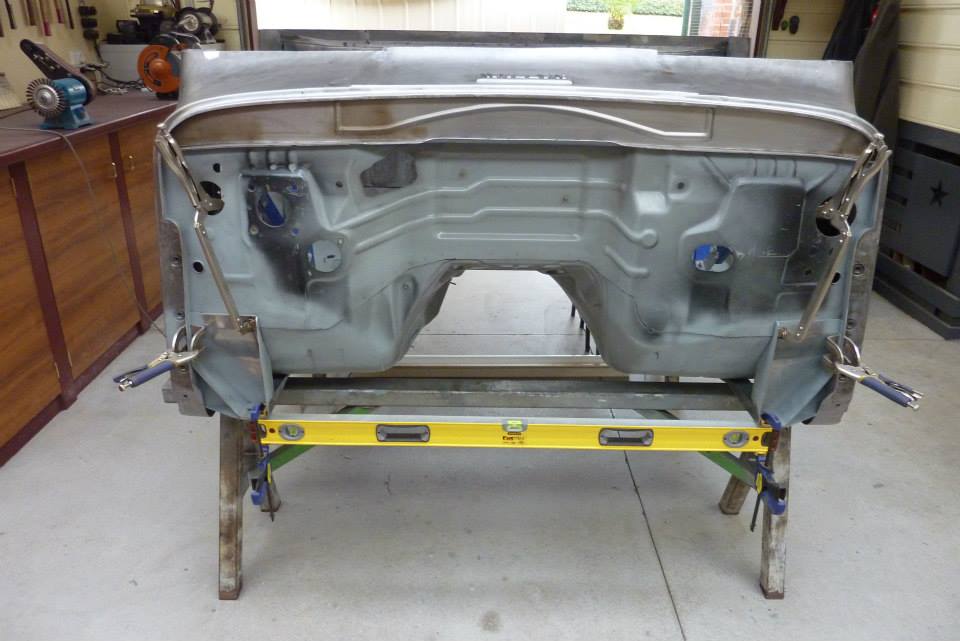
I have run sealant around all the joints to keep water out after coating with zinc. Will top coat this with edge primer and that should take care of it until the cab is finished. So that is the lower half done for now. I have shortened my trestle at the front so that it could be tack welded directly to the mounts. The rear is also on the mounts and is not supported anywhere else. I feel this gives me the best chance of simulating its position once it is bolted to the chassis and so door gaps etc stay the same. Will also allow me to bolt on the front guards too when the time comes.
[Index]