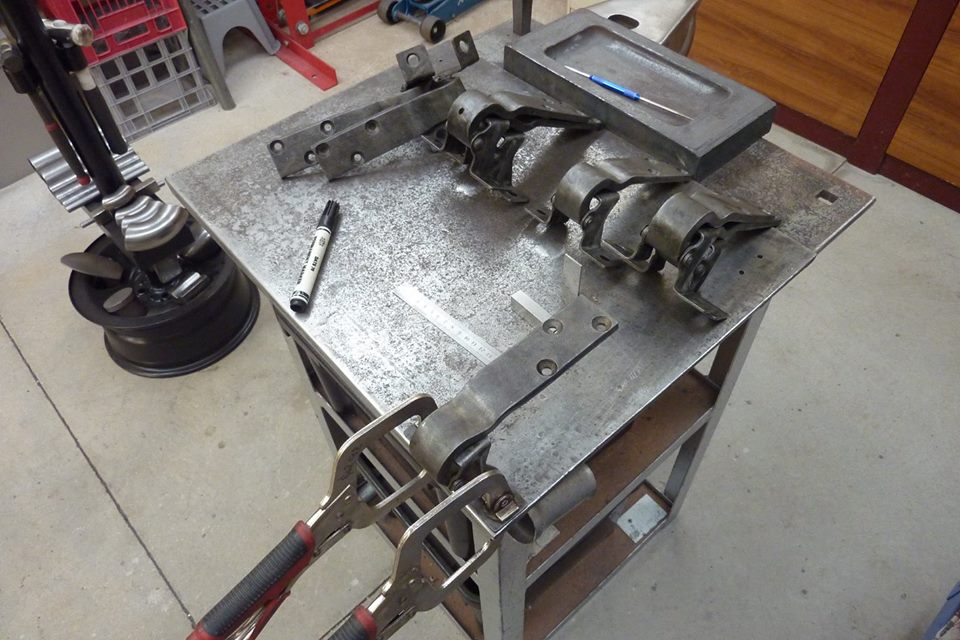
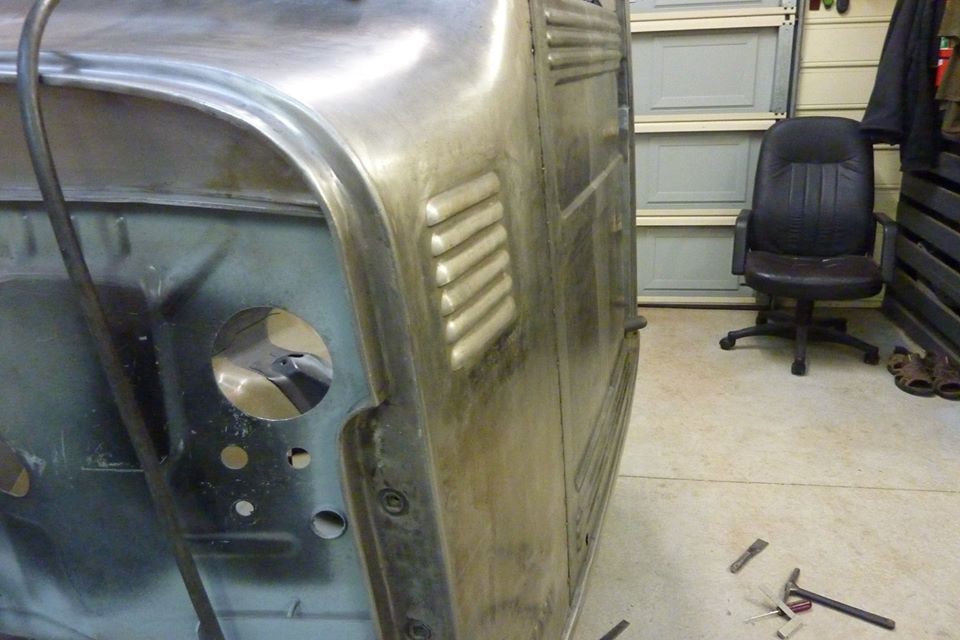
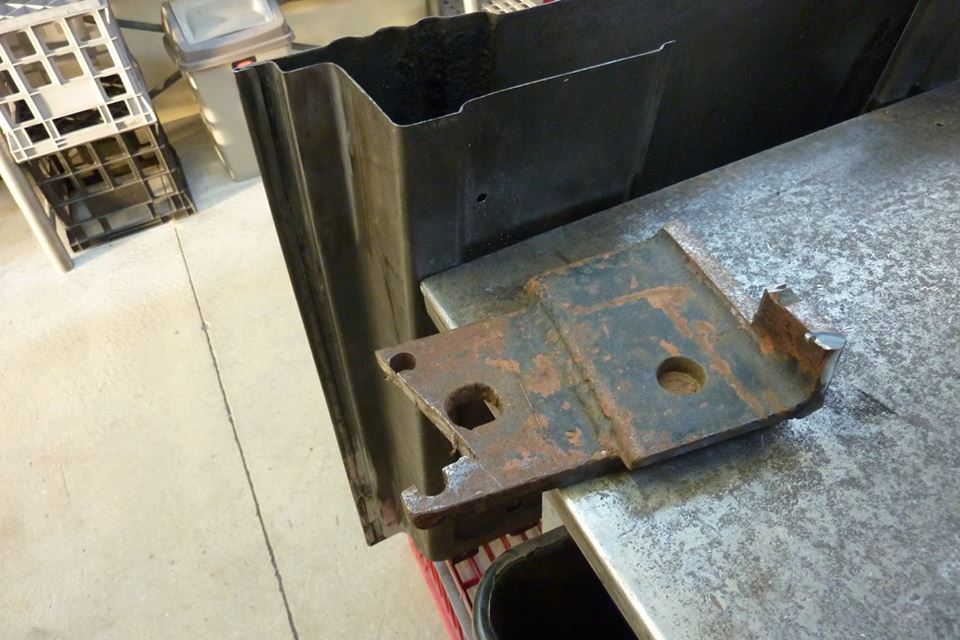
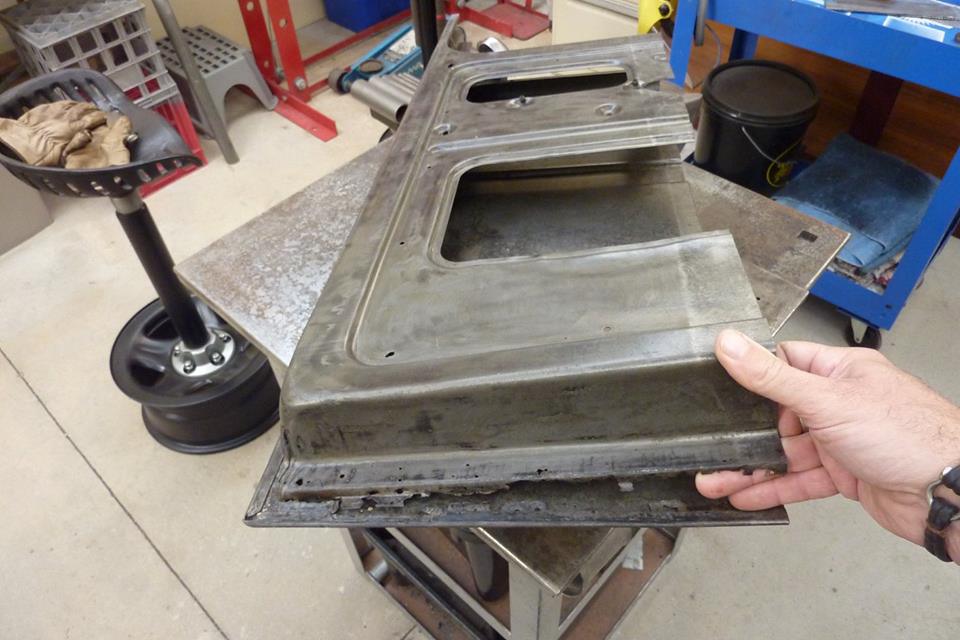
To find the best hinges I clamped them to the table and pushed hard one way and then setting the square in place. Then pulled away from the square and measured any gap. Got two pairs that were only 1mm to 1.5mm total movement at the far end away from the pivot point. I had a problem that the front gap, even at maximum adjustment, was too tight as only 1.5mm-1/16" before primers and paints. It is not like a 50's on vehicle where you can move the front guard/fender forward to set the forward edge gap.
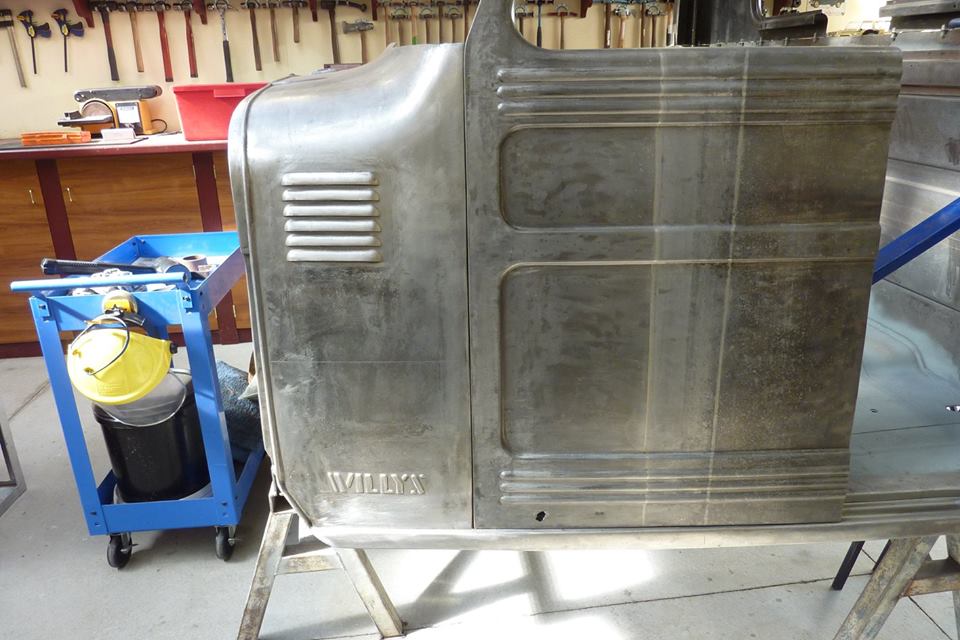
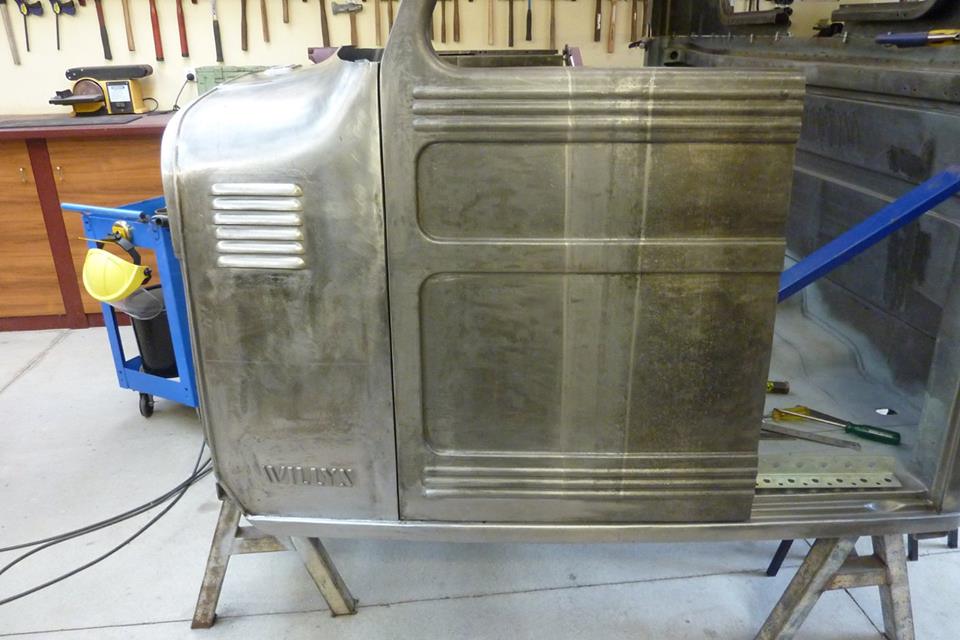
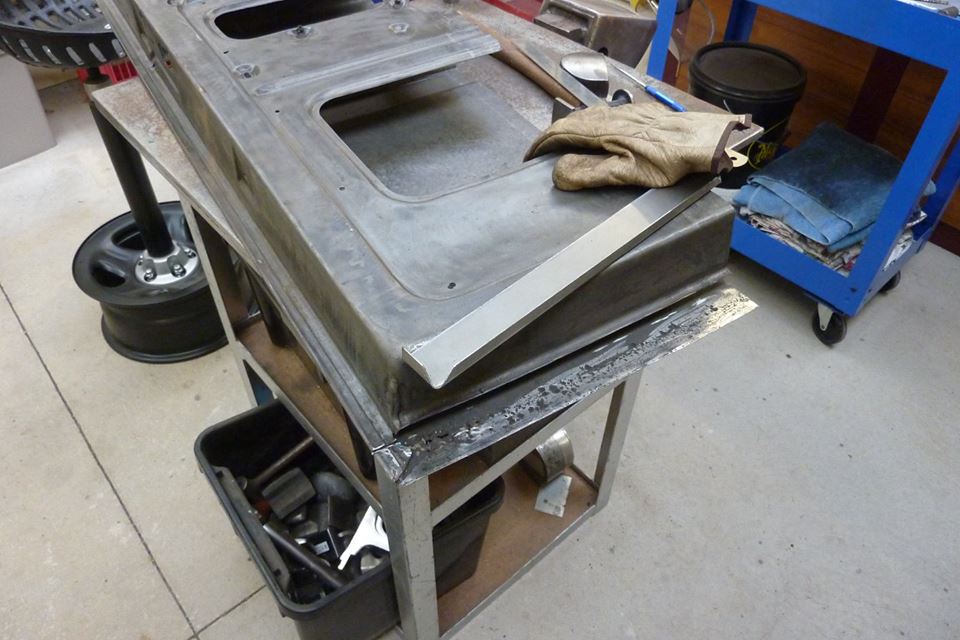
Another thing I noticed there were low and high spots stopping the door from being perfectly flush along its entire length. So I cut all the way down the edge of the panel so I could solve both problems at the same time. I lifted the low spots until perfectly flush with the door.
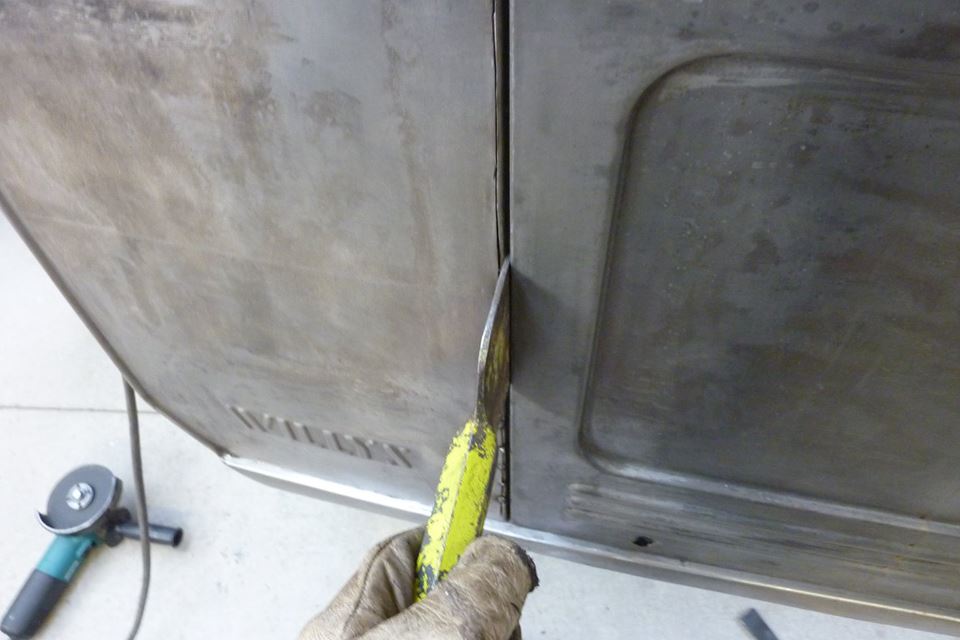

Also set the door gap to 3mm-1/8" which is the minimum recommended on bare steel. Continue to set the gap and make sure it was flush all the way to the top.
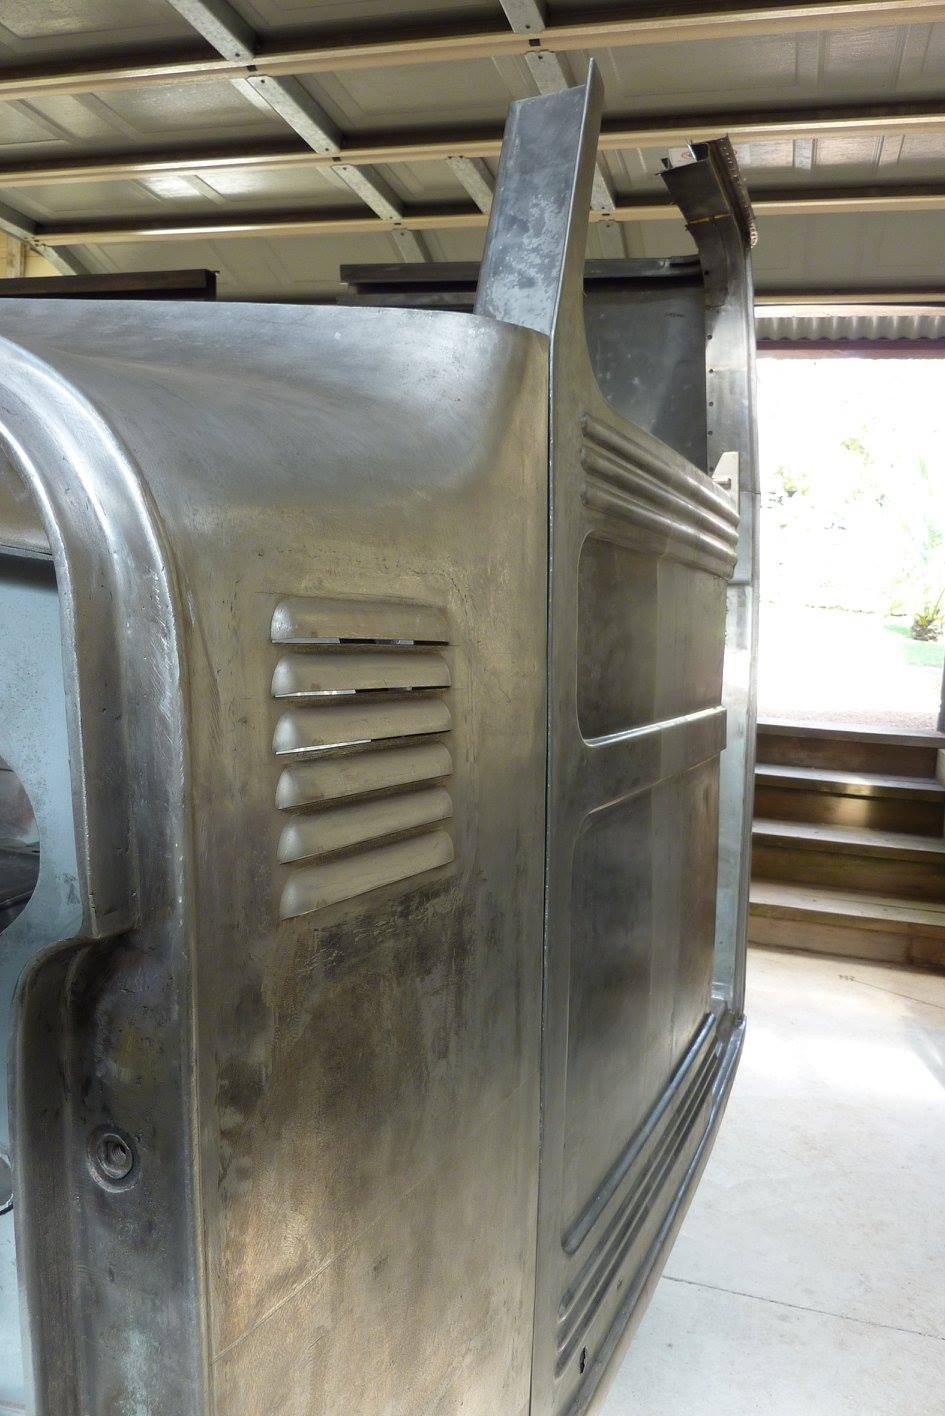
Made sure it was flush after tacking before fully welding it. Welded it by 'tack stacking' all the way in one hit without stopping. Very little distortion as the HAZ was kept small and even. Let it cool naturally as using a air gun or water only hardens the metal leading to cracking and uneven shrinkage.

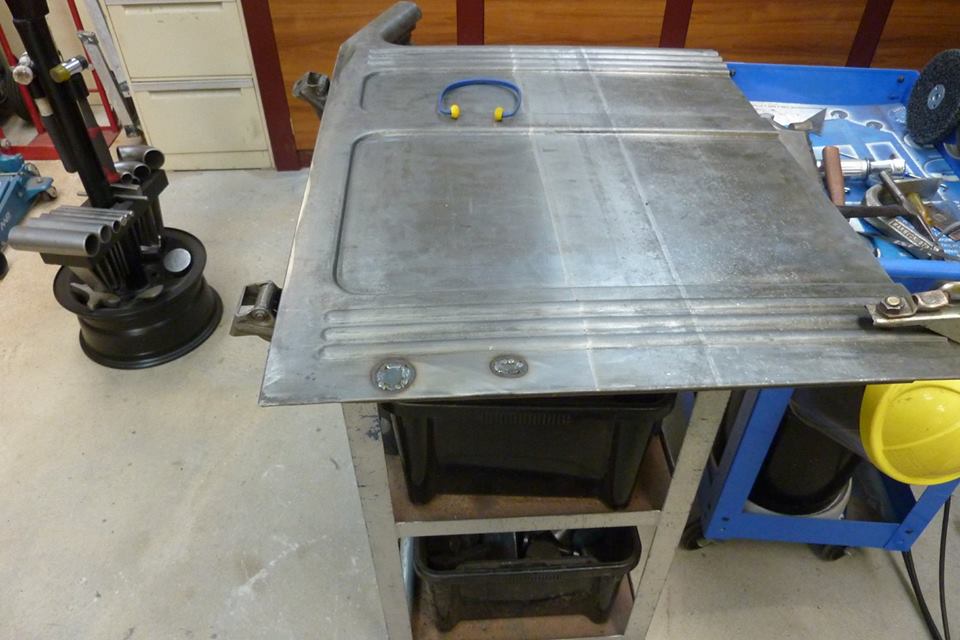
This section of door is the best out of all 4 parts that are going to be used. Had some small spots that I opened up with the die grinder until I could feel and see uniform thickness all the way around. Cut out pieces one gauge thicker than the door to give some sanding room afterwards and welded them in.
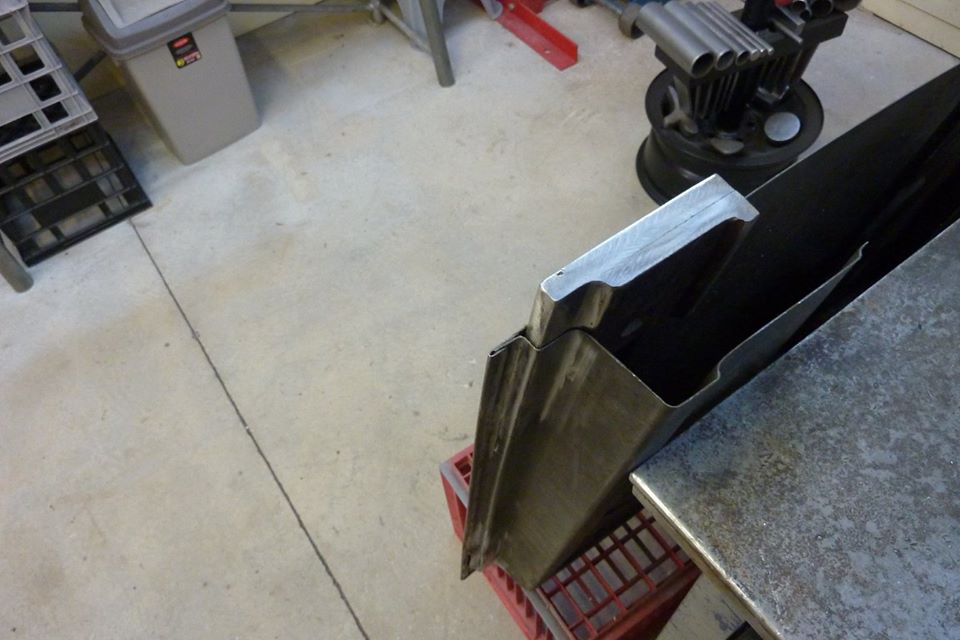
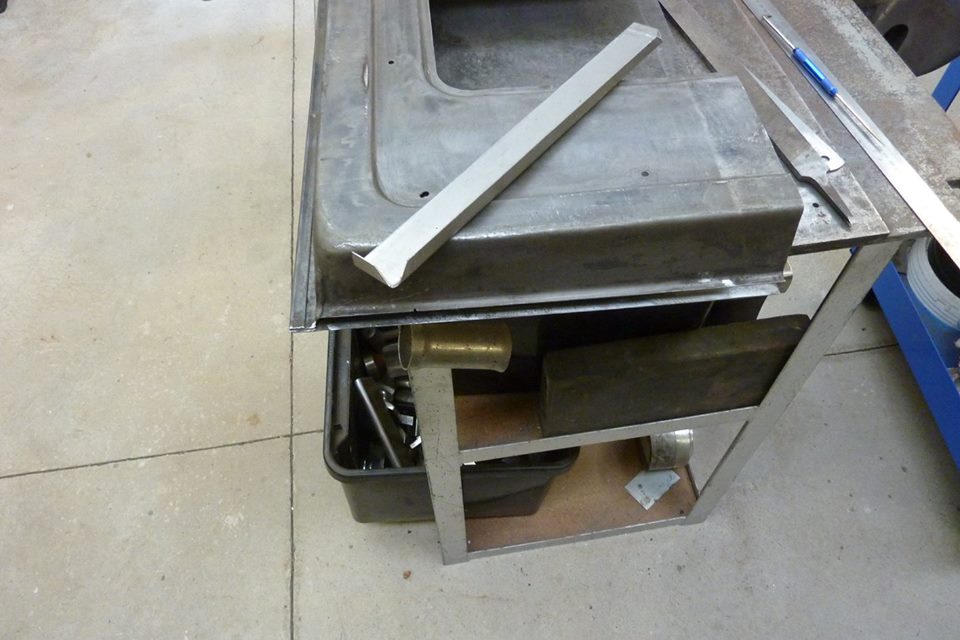
Need to make a dolly to fit in the narrow space behind the patch so I could planish it. Could only find this scrap piece the right thickness. A bit of shaping later and it fits well. Can slide it now down to the other end behind the patches.

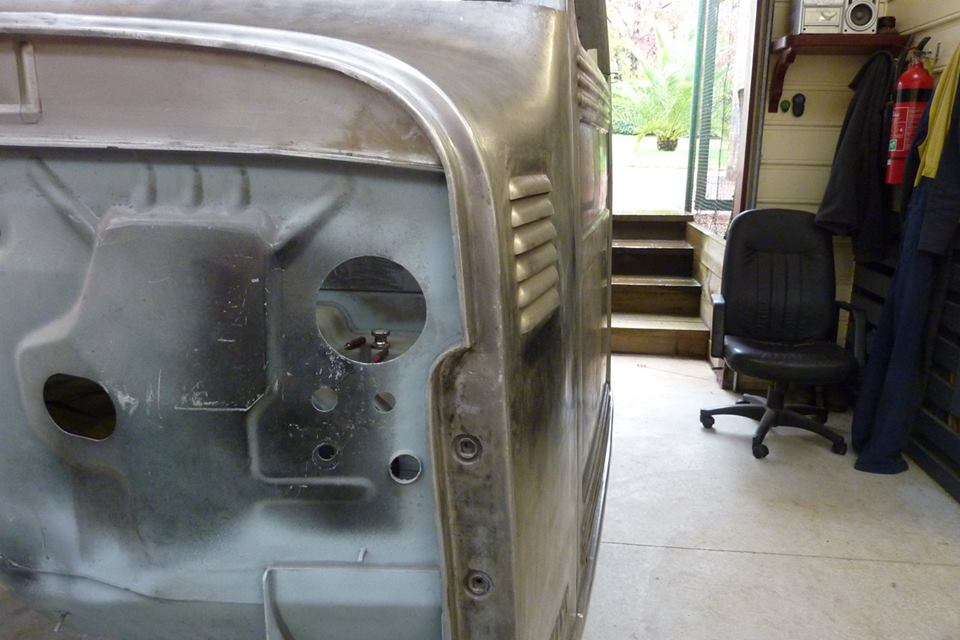
Came out well enough, and most importantly, the little bit of distortion I had was removed. Gaps looks better on the front edge now.
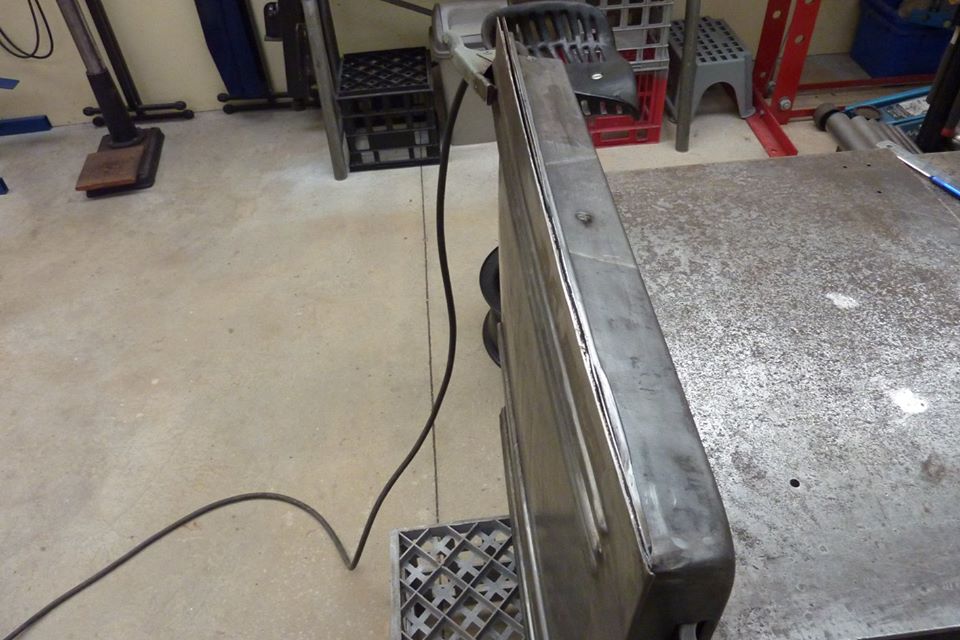

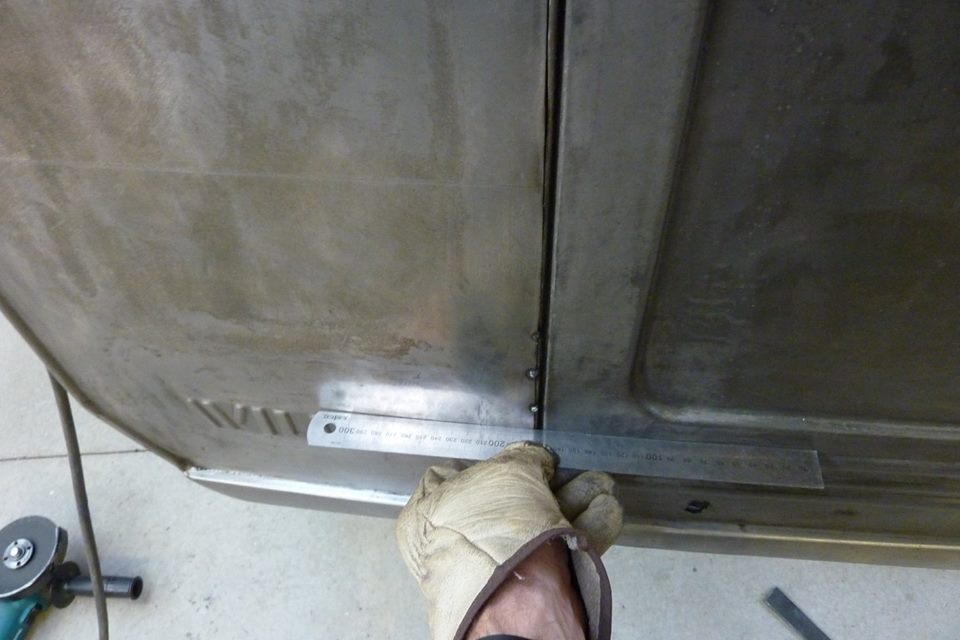
I will address the bottom door gap. I could only get 2mm and needed 3mm! So I cut off 2mm so I could then leave 1mm of weld plus penetration after smoothing it. Welded up and now have the right door gap. Funny thing is that it now matches the door on the other side which was factory folded slightly different.
The part of the door I am using to extend the door has some rust issues! Outer skin looked alright but the backside showed heavy pitting, so folded up a new piece to replace it.
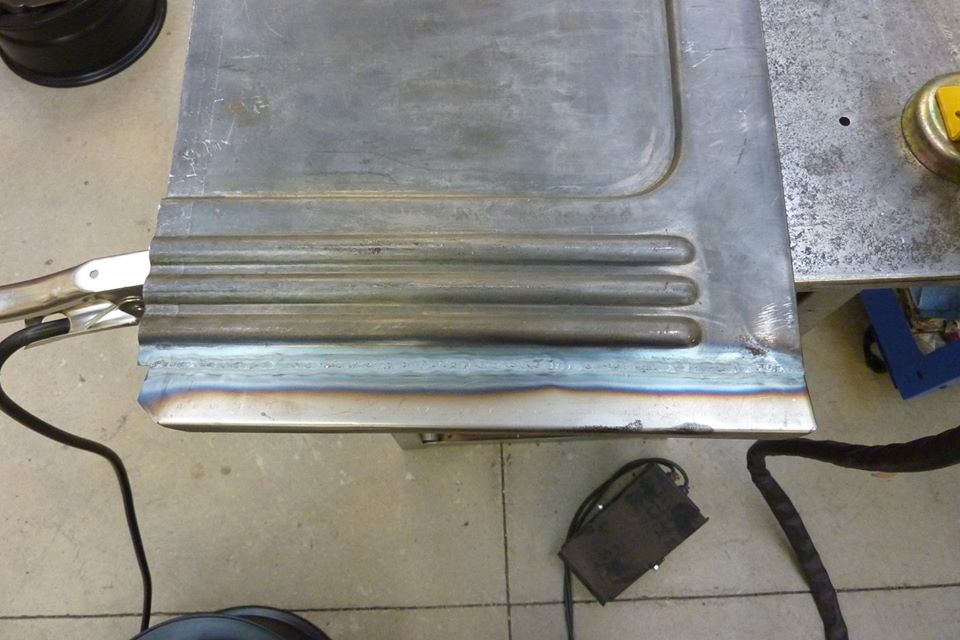
So the whole bottom was cut off to replace it. Hadn't used the tig all year so had to get my hand back into it. Can see it pulled up on the weld line more than normal as went too slow with not enough amps.
[Index]