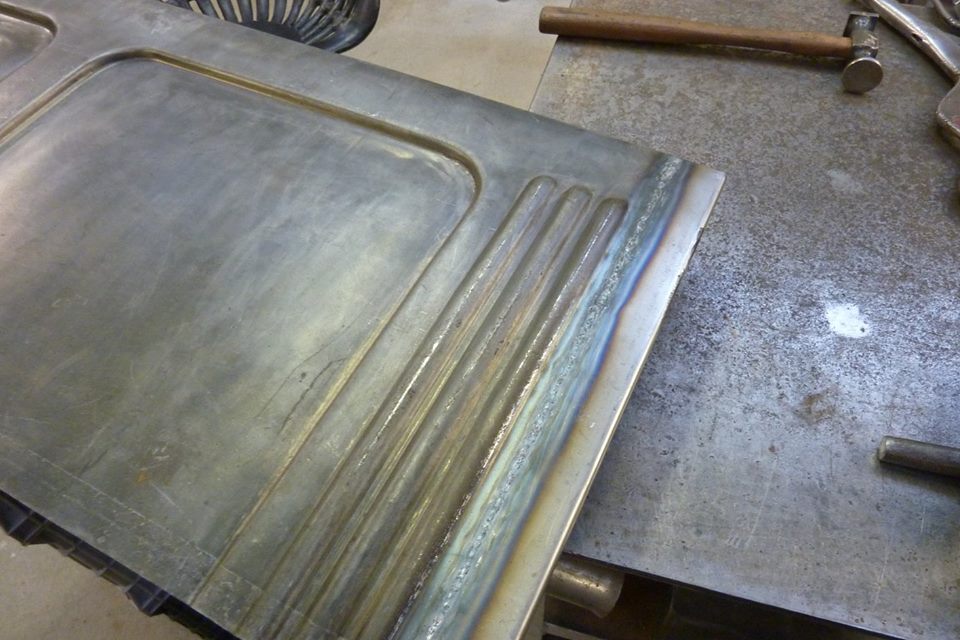
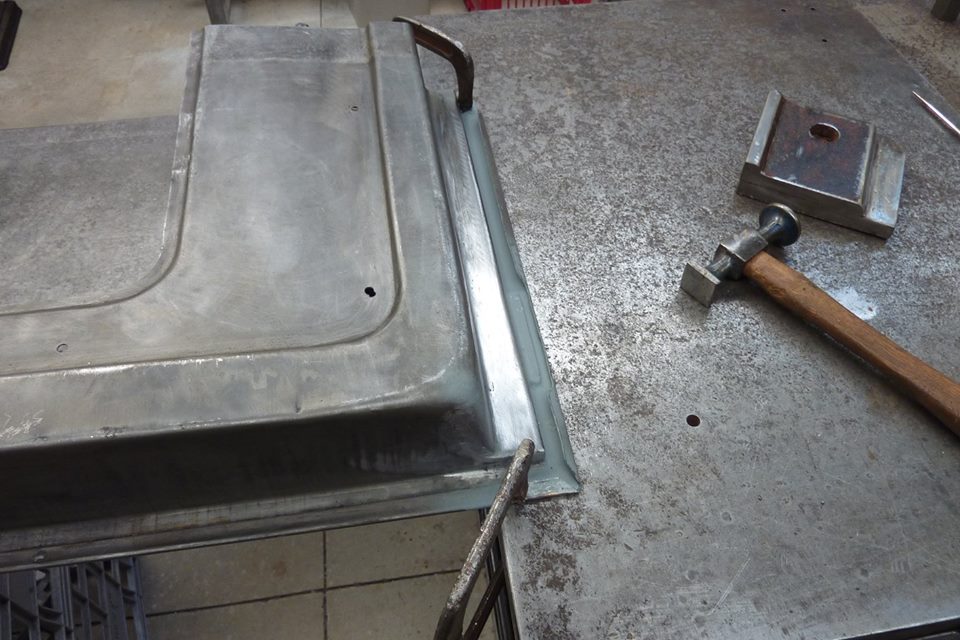
Fortunately this end of the door is pretty flat so clamped it to the table to stretch the weld out flat. Bit tricky under the lip so just slid my hammer along while hitting it with the mallet. Nice and flat now without any distortion left.


Cleaned up ready for the next stage. Folded up a new piece for the replacement frame. Made from a single piece but welded where the end folds came together.

Checking for fitment. Need to put the drain back in again otherwise this repair wont last long. Using a 1mm cutting disc I cut into the corner and along the front edge.
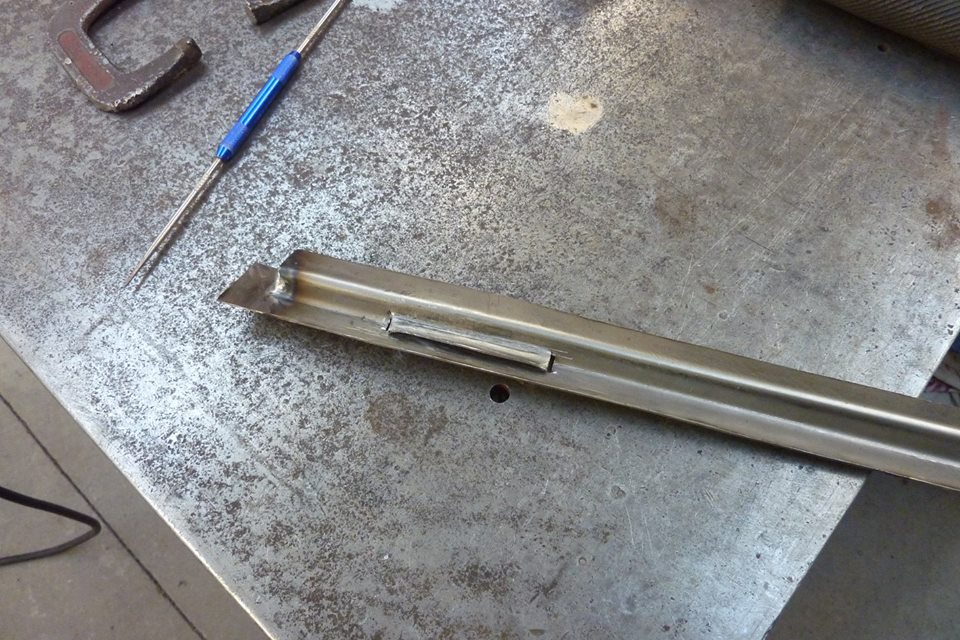
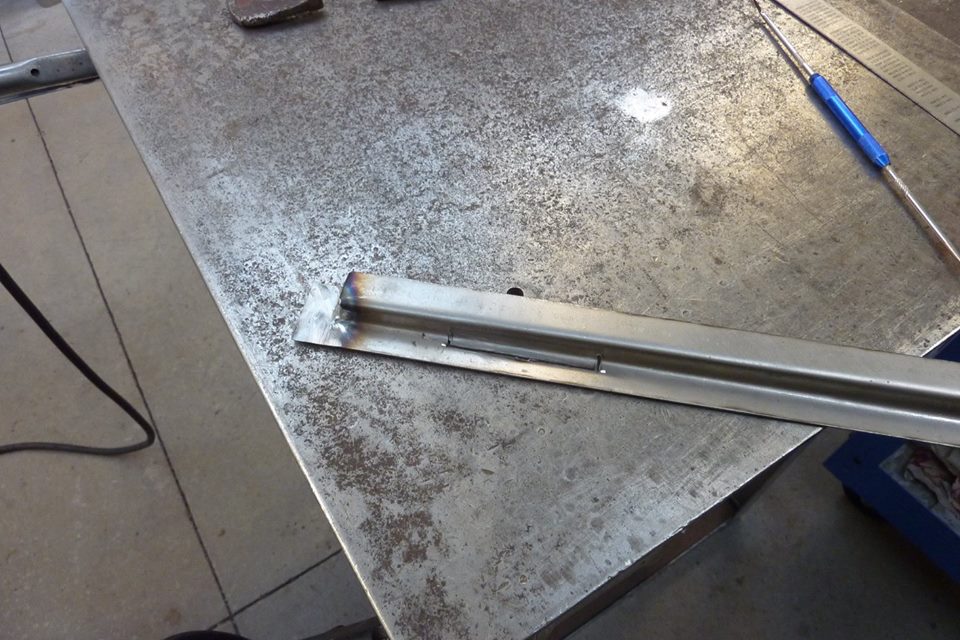
Positioned my stake dolly on the edge where I wanted the fold to go and hammered it over just using a small square faced hammer. The ends just need a bit of weld which I did with some copper in the slot to stop it filling the front.
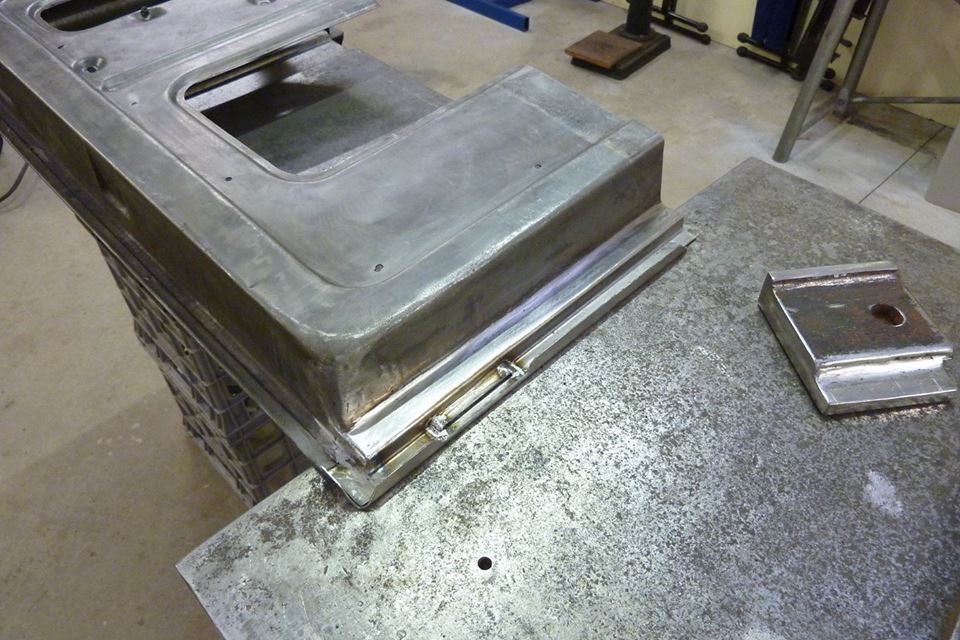
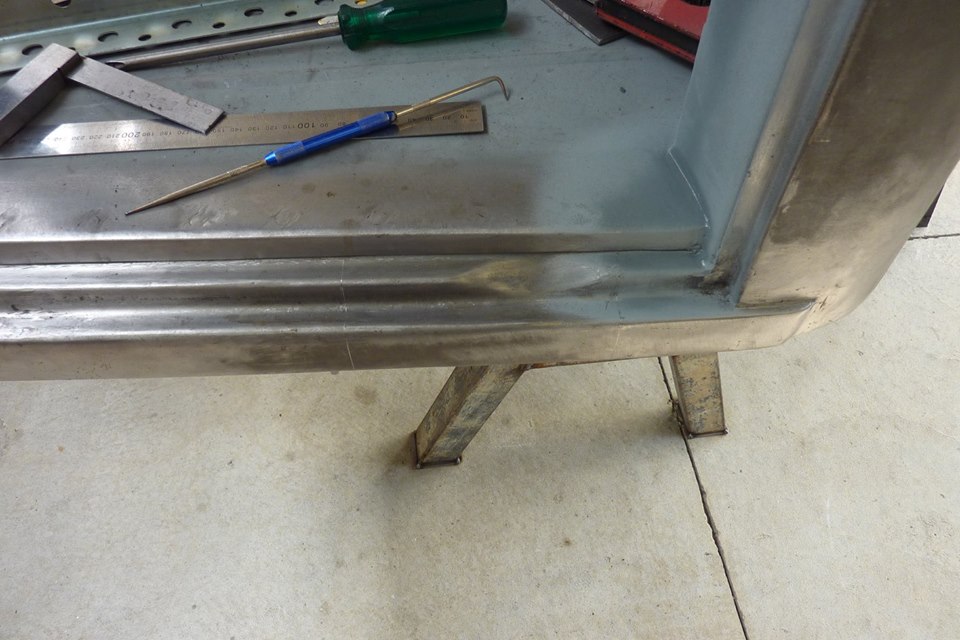
The door skin and the back of the new piece was zinc coated before fully welding it in and planishing it flat. Front face gets coated and backside of the flange to be folded.
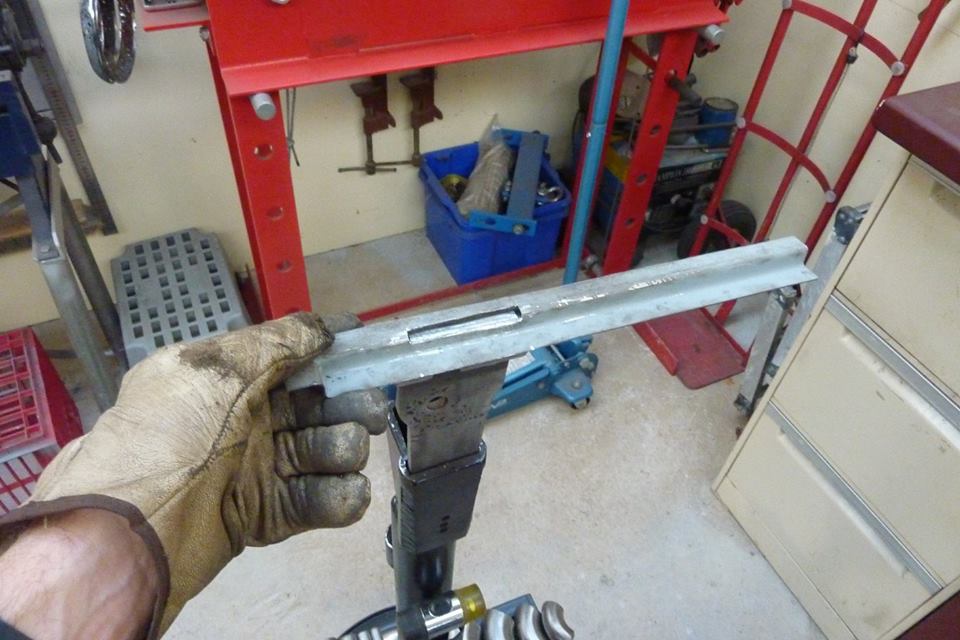
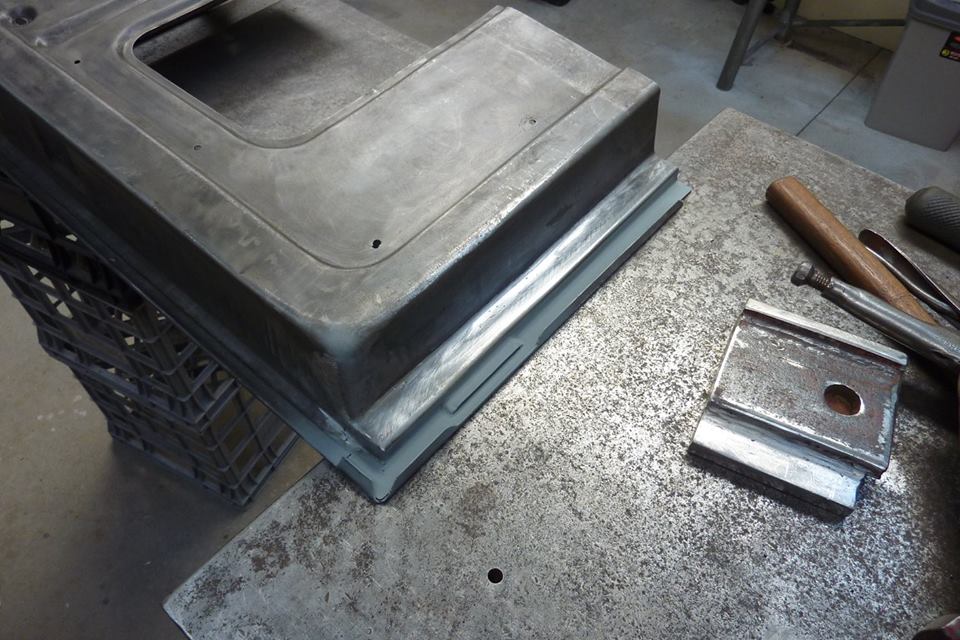
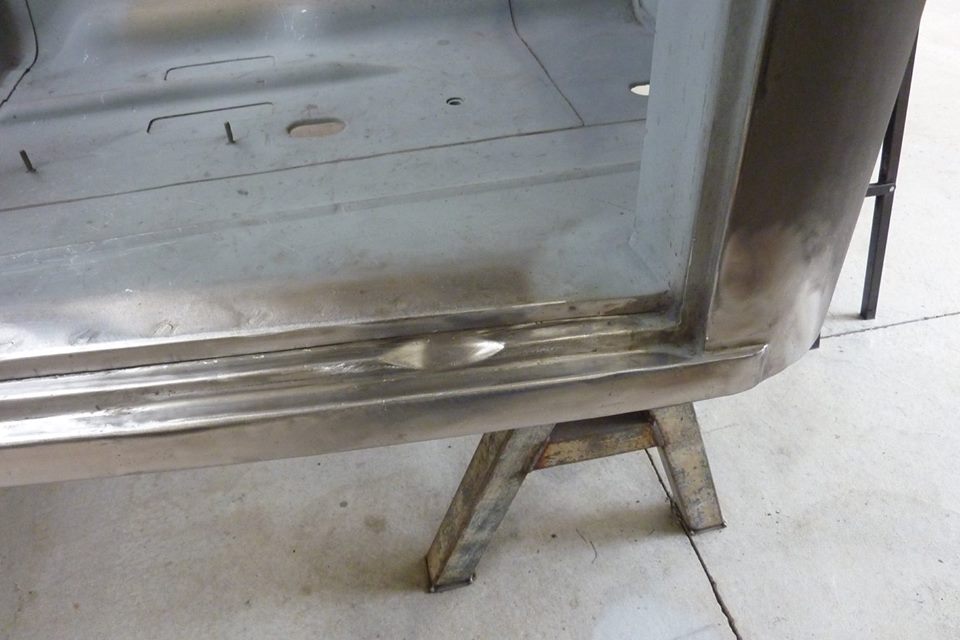
Just tapped the flange over slowly working my way along using the bench as the backup dolly. Repair complete ready to be joined onto the front part of the door once the new B pillar and skin piece is in place and I can cut this to the right width.
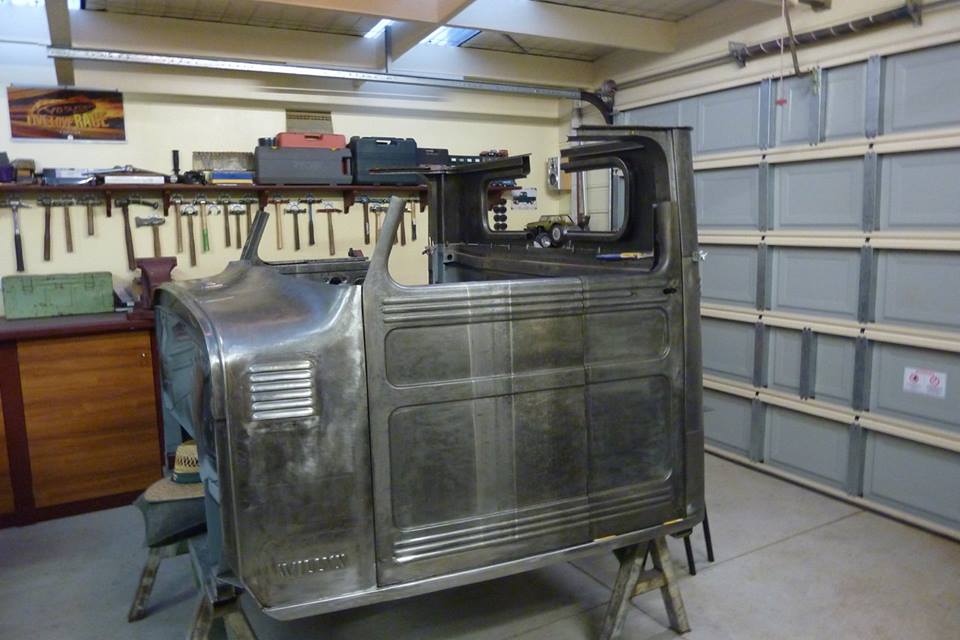
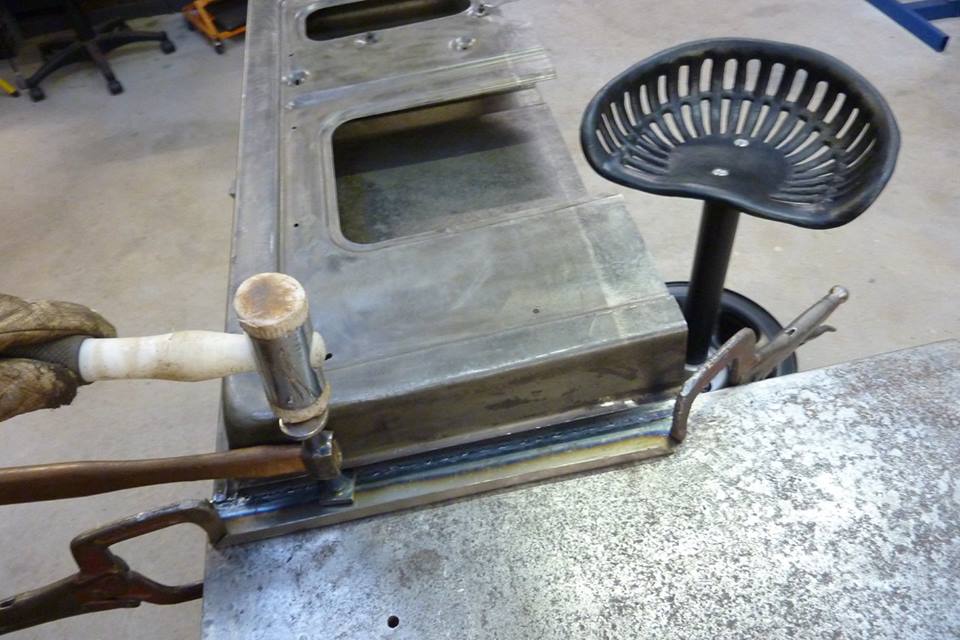
Just placed the door extension into place and worried it looks too long compared to the the B pillar area behind it. This has been something I thought could be the case since I first photoshopped the 7" longer cab. Always had a backup plan in case I didn't like it at this stage. To shorten the door by 2-3" and double up the B pillar rather than cutting it out and moving it. This will make it much stronger too. Then make a new fill in piece.

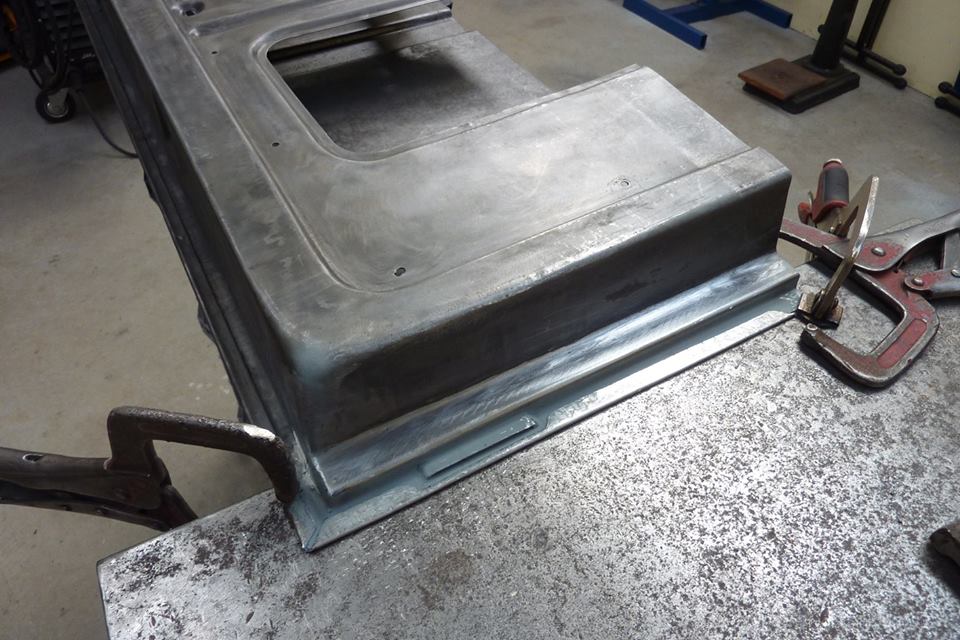
This is a rough photo chop of a cab I have made similar cab changes too to what I have done, but have also shortened the door and added the length back into the B pillar. Because I am shortening the door opening by 60mm-2.5", I also have to move the scallop in the door sill the same amount. This scallop lines up with the door drain so water inside the door can exit.
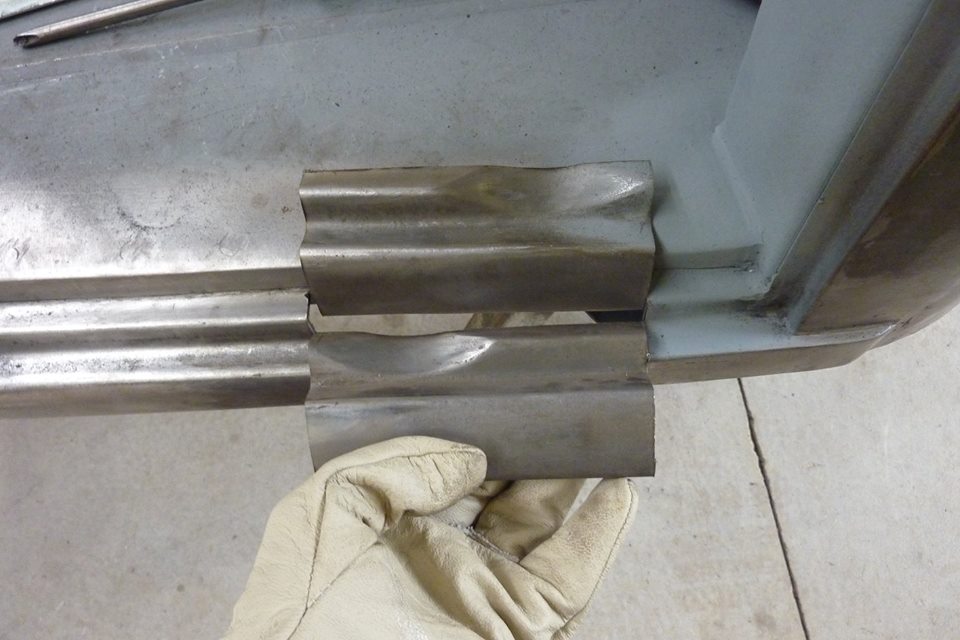
Could have beaten the scallop out and hammered in a new one in the new position. Access to the back was limited so decided to cut it out. Left 60mm in front of it, original is the top one, and did the same on the other side. Then just swapped them left to right. So the right side one is now welded in on this side moving the scallop forward. Thought this was quicker and less welding than cutting just the scallop out and then welding in an angle piece to fill the spot, and then cut a new hole to weld a new scallop in place!
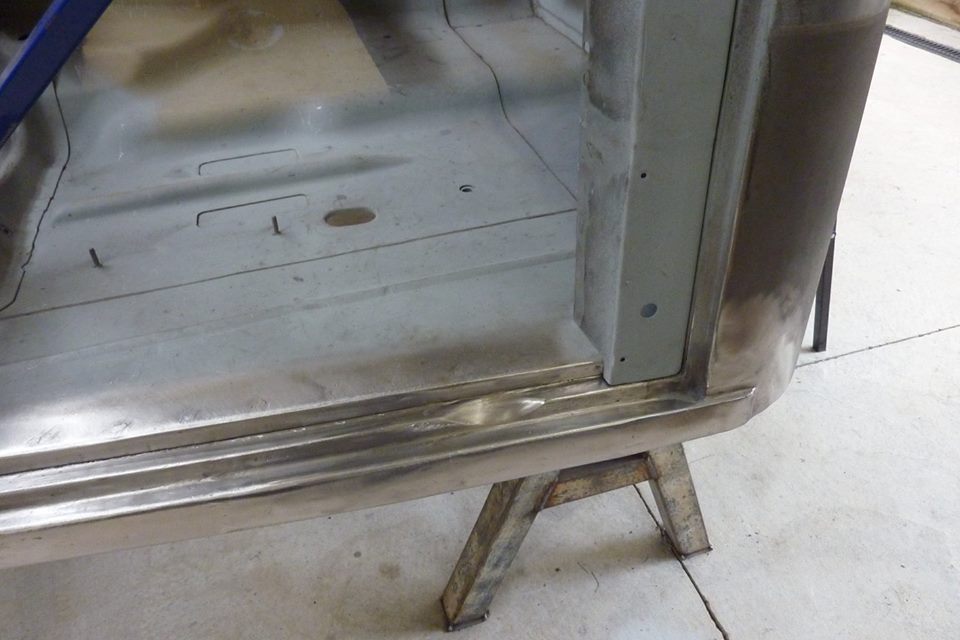

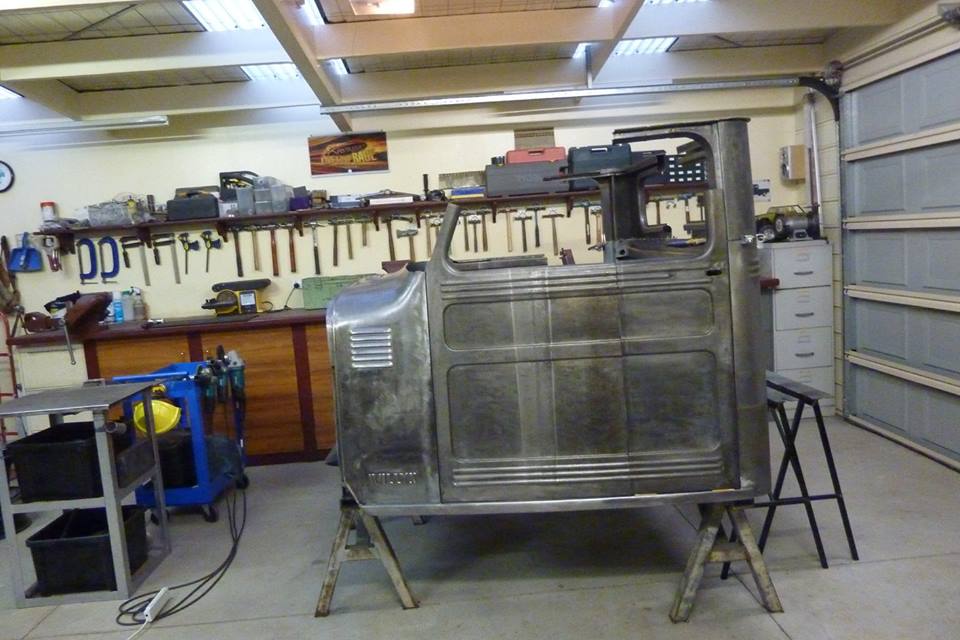
Second B pillar clamped into place to show distance is the same in front of it as before. The end of the panel where it dog legged onto the B pillar has been cut off.
[Index]