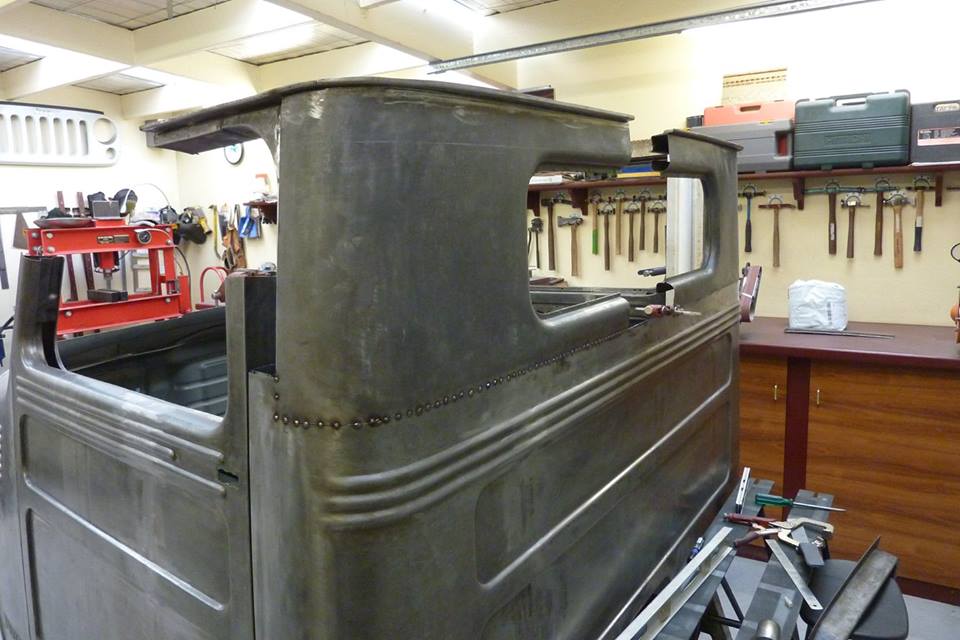
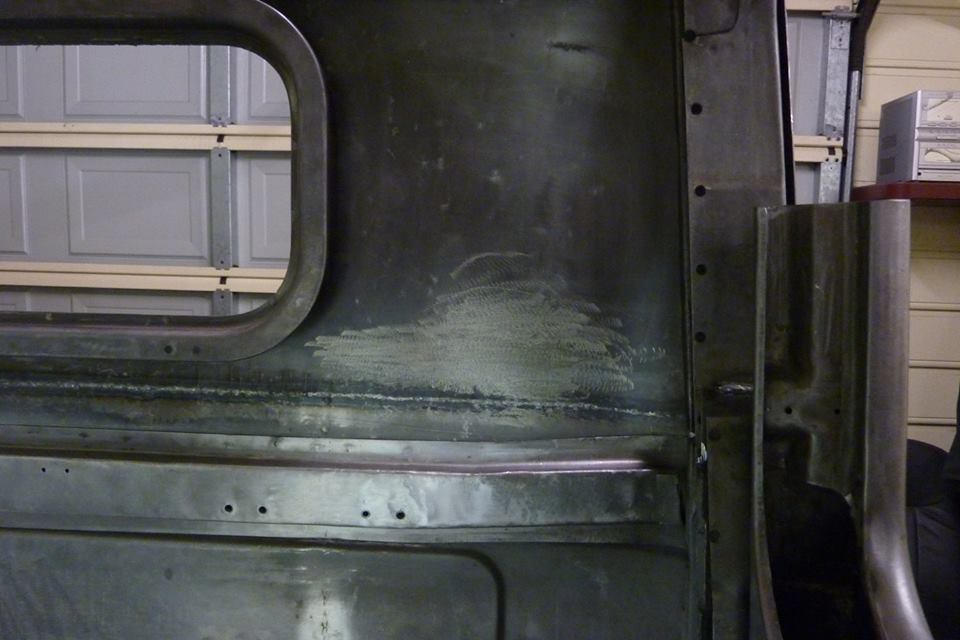
Both parts of the door all repaired and welded together. Inside I have all the beads etc lining up as well. Made the door to match the other side exactly and will make the door opening to suit it.
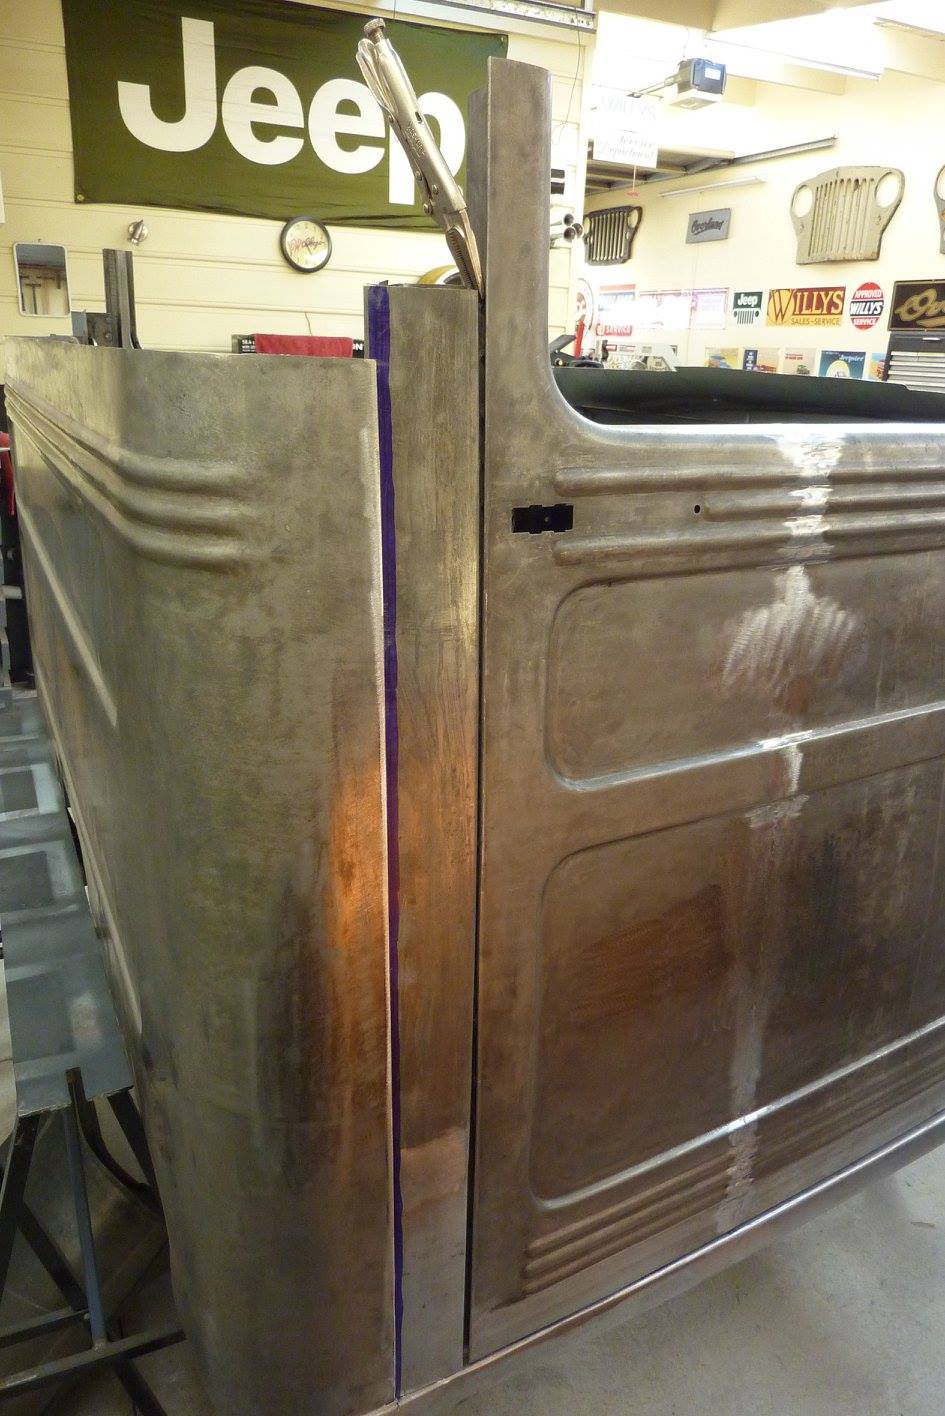
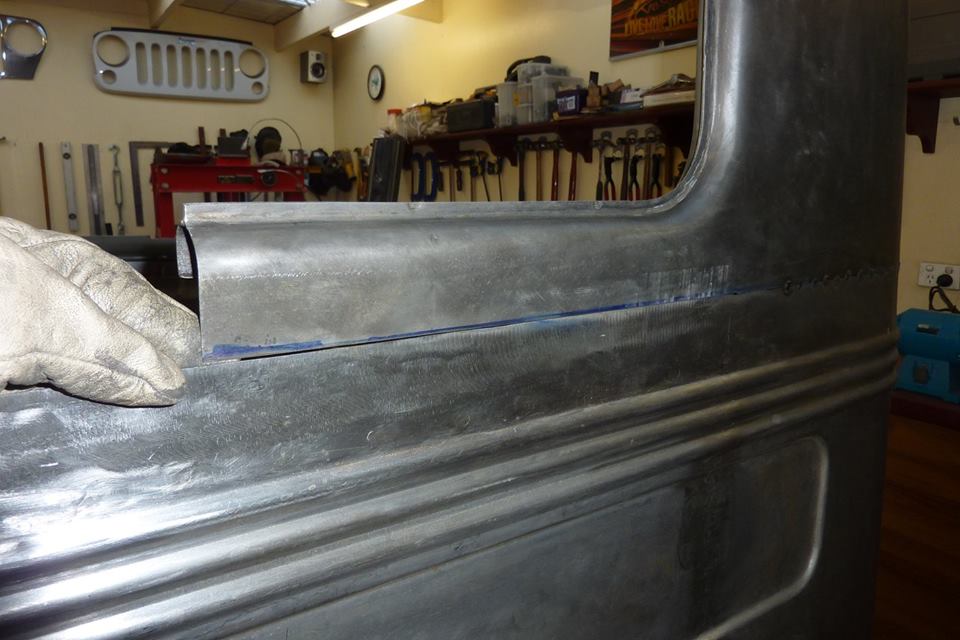
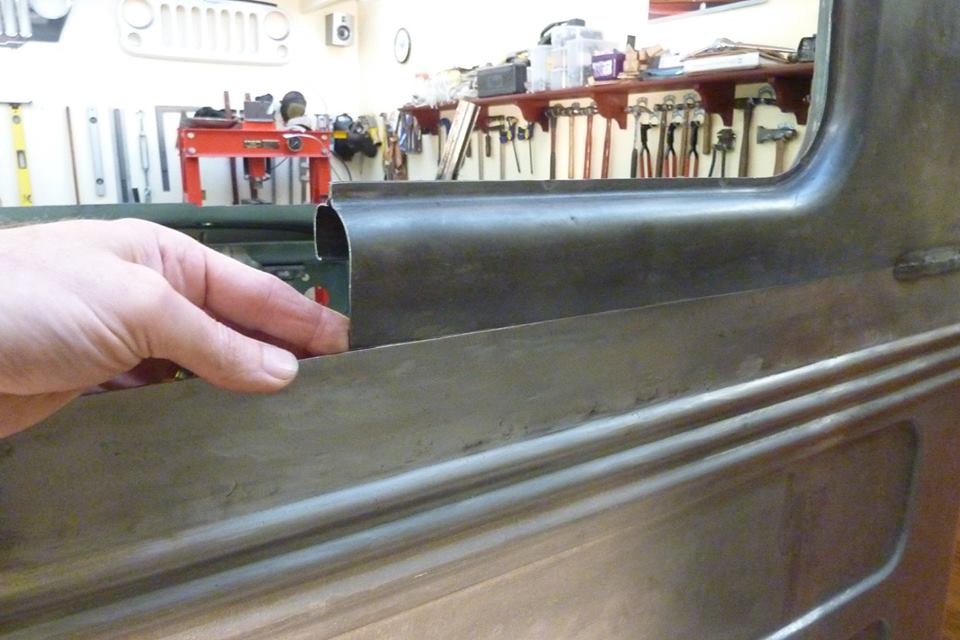
It pulled a bit straighter than I wanted after welding and folding the skin over. So just supported the door on the outside edges and hammered down along the end to get the curve back. Worked fine. Then it was time to extend the body work up to the wider door on the other side now. I tucked the panel in behind the the original B pillar with a line drawn with a marker where the cut will be. Then run my scriber down it to get an accurate easy to see line. With the darker winter days it is needed at the moment!


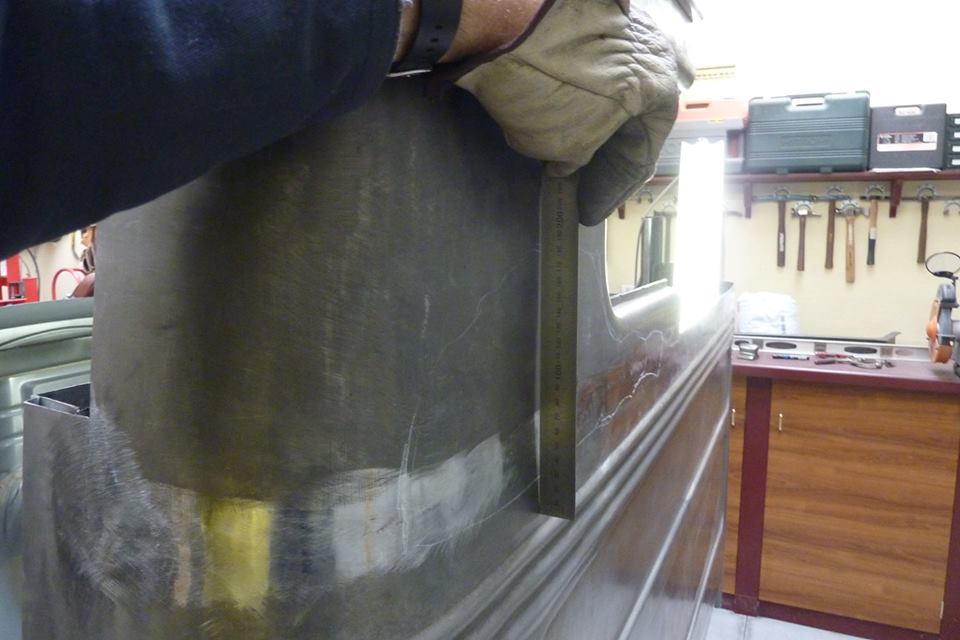
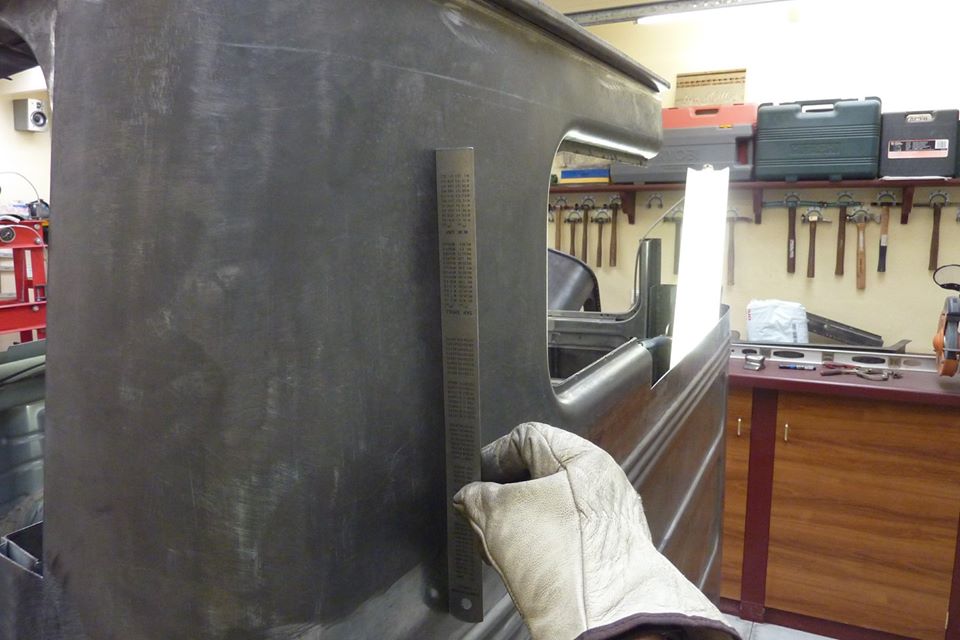
The extension piece was cut and tig welded into place. Having already made the custom dollies/spoons to go between the pillar and the body work, this side went a lot quicker. Time to try out the upper part of the wall to make sure they are exactly at the same height as each other. Had to take nearly 2 millimetres out of the right side to get it sitting perfectly level across the top of the window. This made the door height the same left to right as well.
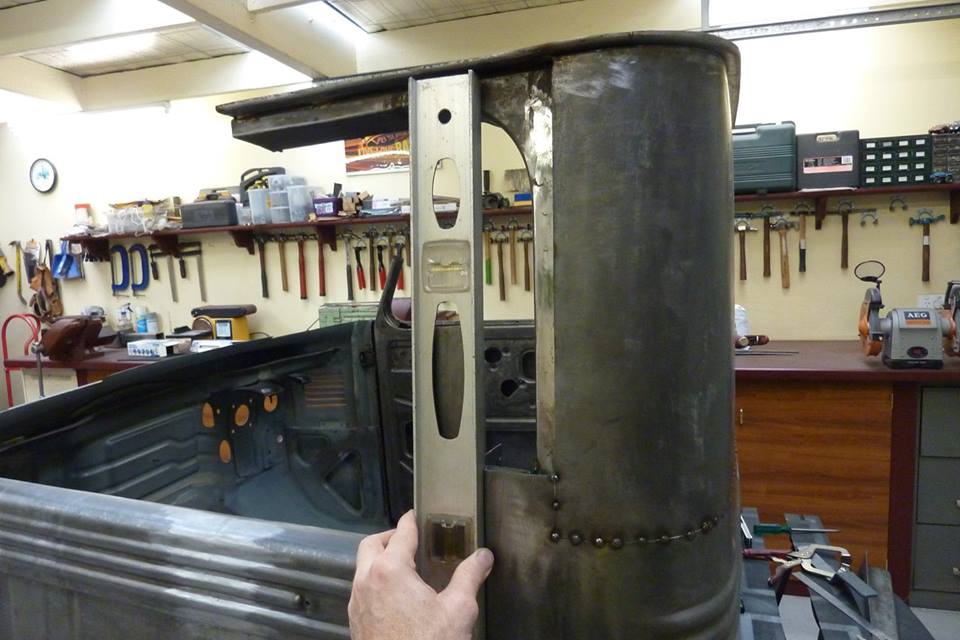
Strangely both sides of the lower part of the window angled up in the middle? To get it parallel with the top, I shrunk both sides at the corner of the bottom edge to pull it down. Then had to re-trim the bottom edge. I have the level hard against the edge of the door to make sure the door opening stays square to the door pillar. The back of the door is perfectly straight so can do this.
Tacked and ready to grind down the tack welds flush, inside and out, so I can run over them as I tig weld. If I don't do that I can feel the hard spots left during planishing, leaving uneven stretch. The tig weld pulled hard when shrinking during cooling, but easily fixed by plashing to stretch the weld back out again.
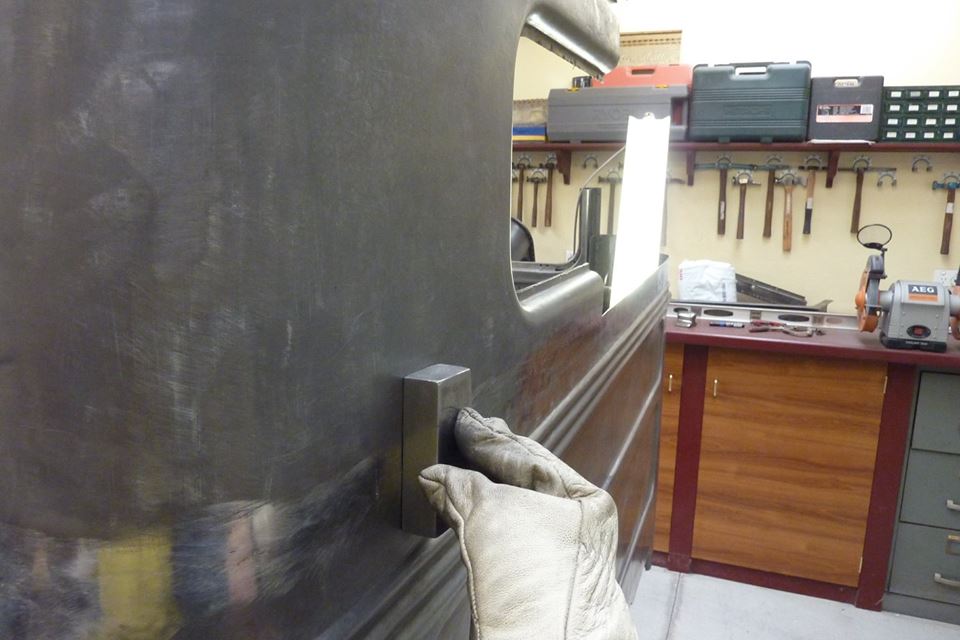
Had a section marked in chalk where it was still pulled in a bit. Hammering from the inside out against this steel block got all but a section above the weld area flush.
Used the shrinking disc on the inside along with compressed air to cool it to push the low spot outwards. Nice and flat right across now.
As I was tacking the other side, this end lifted even after planishing the tacks as I went along. So stopped to rectify it. Fully tig welded the section tacked and then planished only the area around the side to raise that part which brought this end down back to perfect.
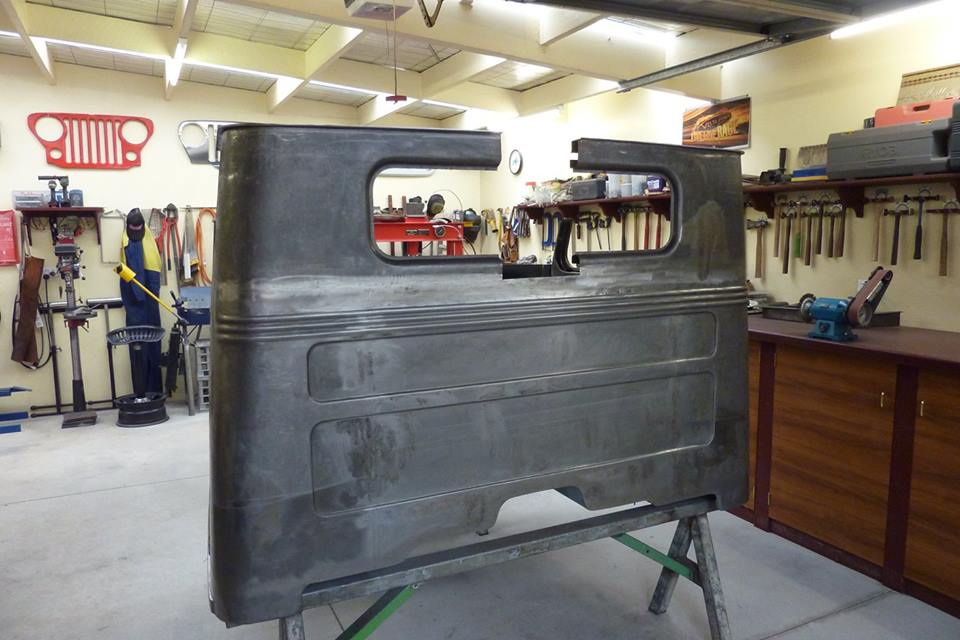
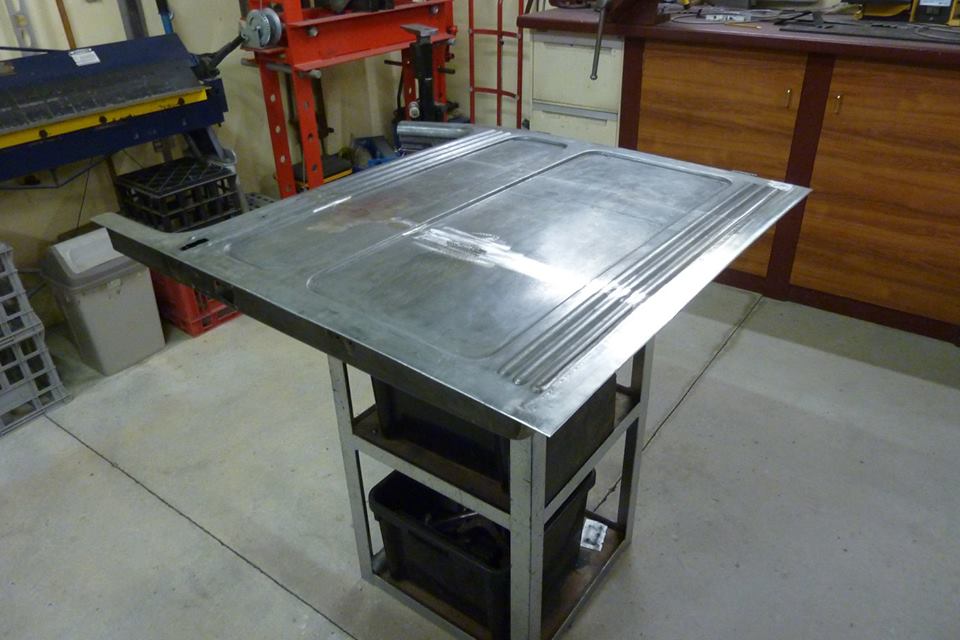
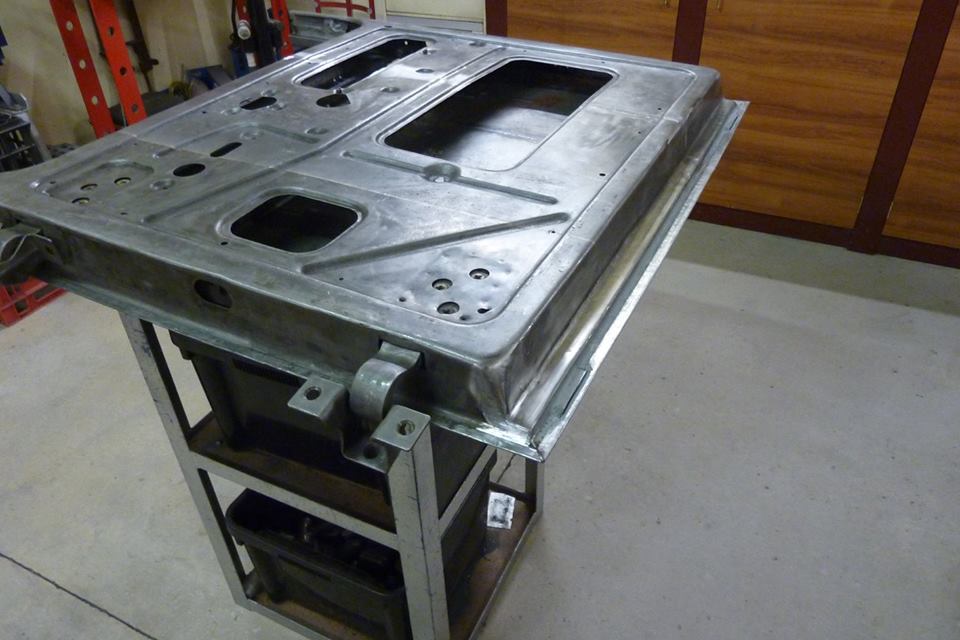
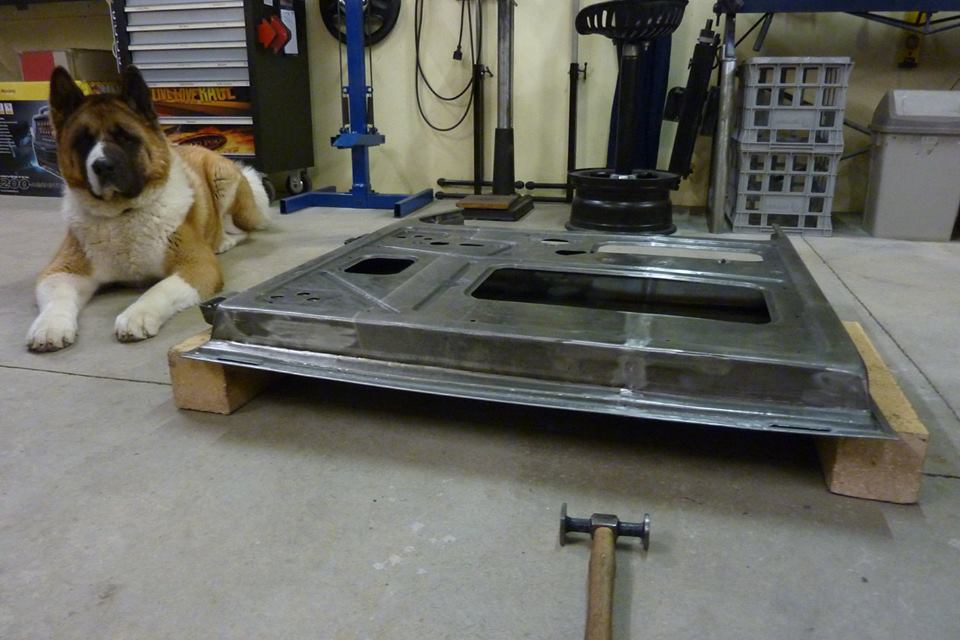
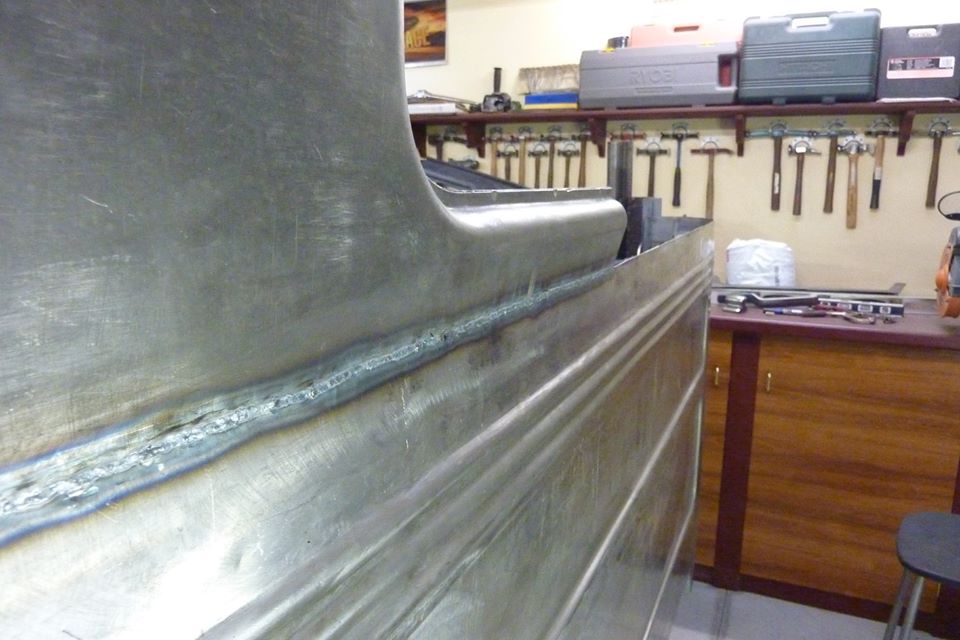
Finished the other side off so getting there. Have to make the pieces in between now. The curves outside the window frame are different to the ones on the inside. Two pieces make up the bottom and four pieces for the top.
[Index]