
One of the stake dollies I made fits quite well so will use this to form the outer window curve. Just marked where I wanted the curve to start and used a lead working bat to quickly form the bend. Leaves no hammer marks and less than 2 minutes work.
Quick fold at the top and tacked into place. Will trim the excess later at the top once the inside flange is attached. Tig welded into place.
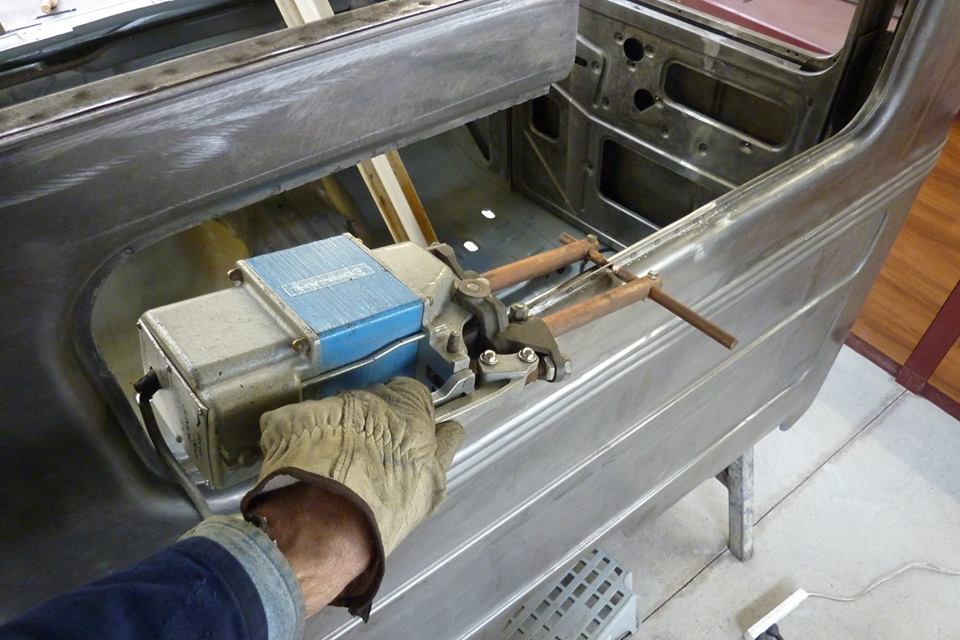
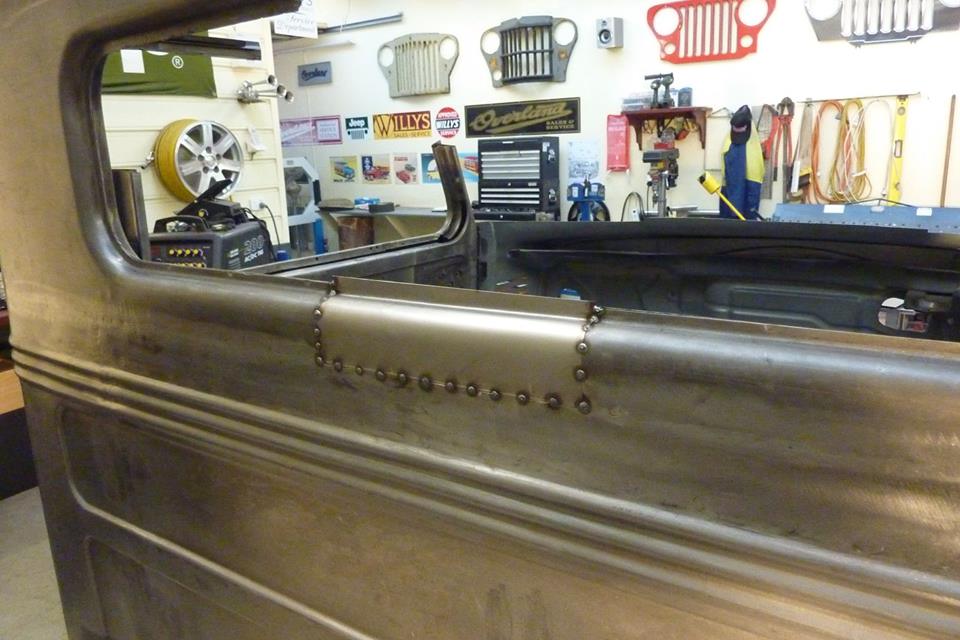
Inside window flange taking shape. Bottom flange just needs to be trimmed off to length. My wife bought me this old Australian made spot welder as a gift. Thinks I will get plenty of use out of it when I build her a custom car next! Thing weigh a ton but works really well. Came from a business that was closing down making stretched funeral cars!
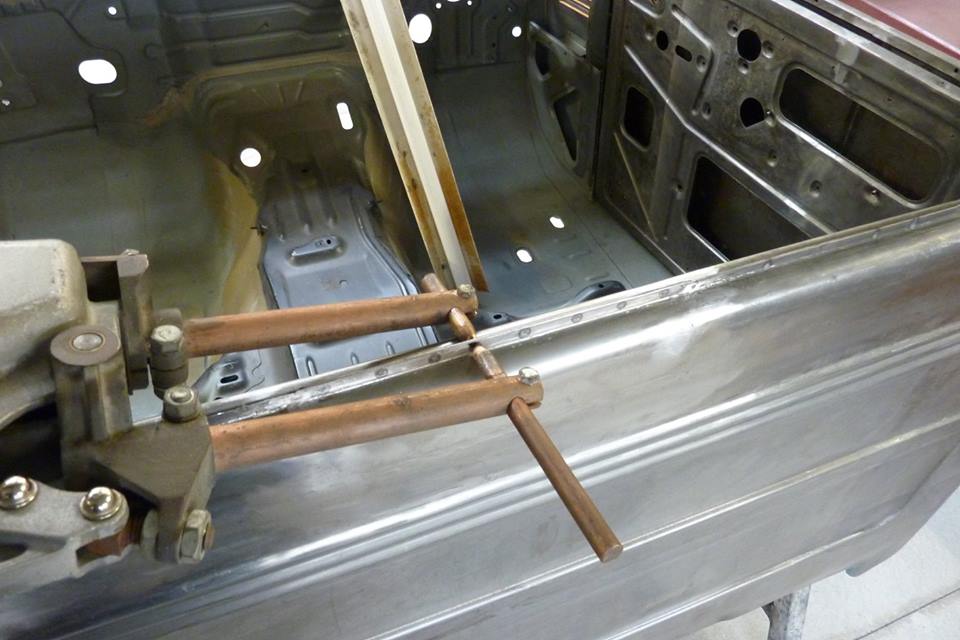

Feels like cheating as does it so quick and easy. No timer so have to keep a close eye on it as will burn holes right through both layers otherwise! The upper frame work has an extra strap that runs underneath everything. So I first welded this to each side to make sure I could get to it. Level is clamped in to keep everything straight as the glass wont bend!
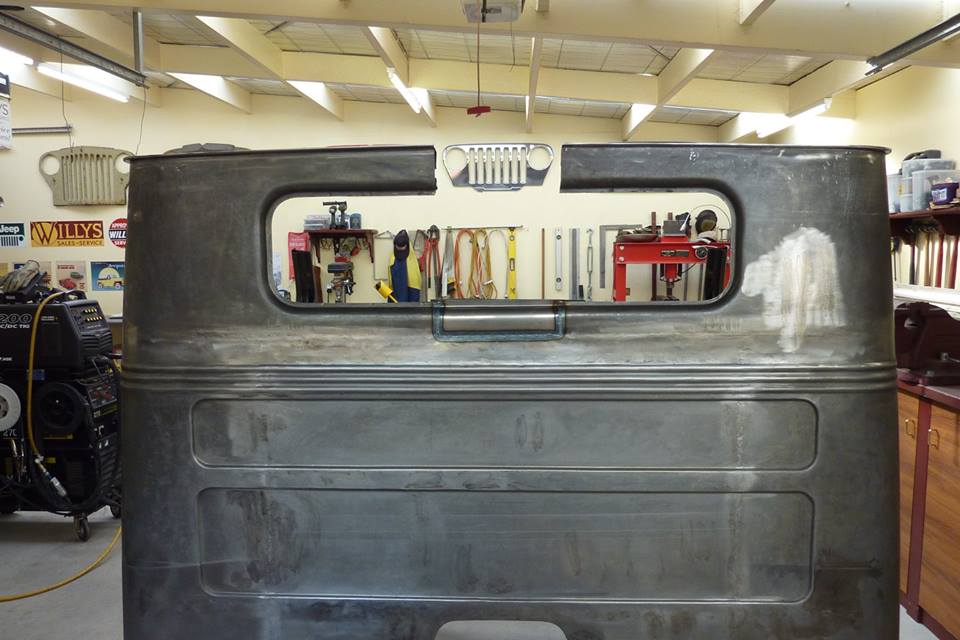
Made a new upper piece for the window and this was folded over the strap and spot welded to it like factory. Next was the very top piece that is also part of the gutter that the roof skin sits in. It sits in a channel so I made one for it.
Added the other folds it needed and hammered over the gutter edge over my smallest diameter T dolly. All three layers are spot welded together and did both rows with the same spacing as factory. I spot welded it in before the inner window frame was finished to be able to get to it.
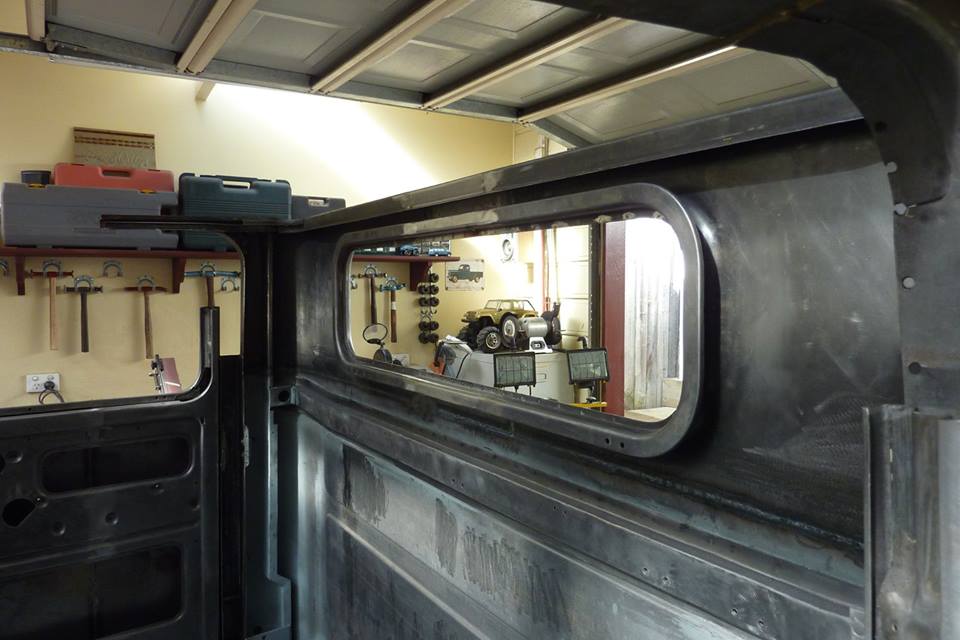
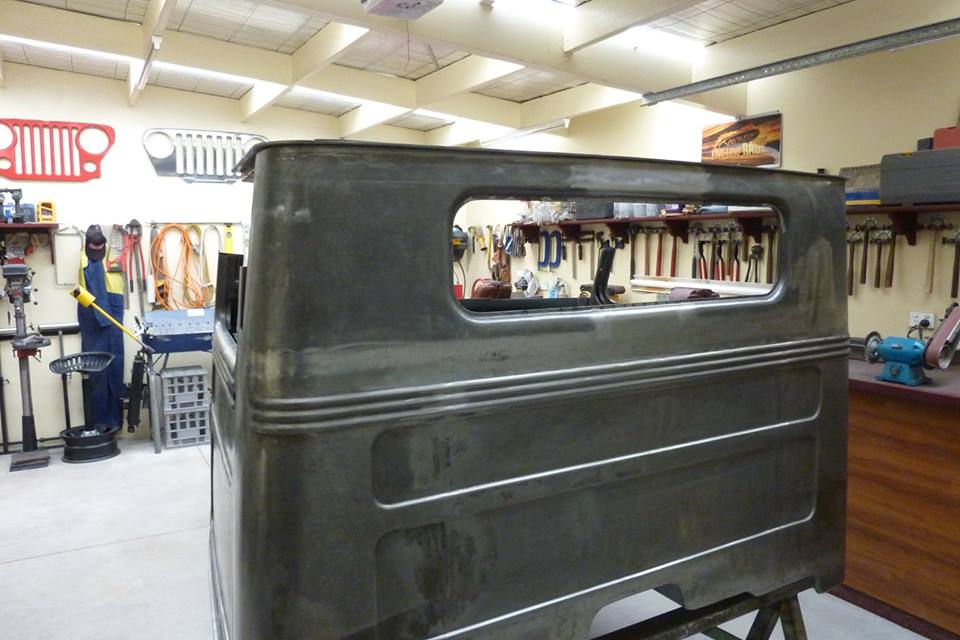
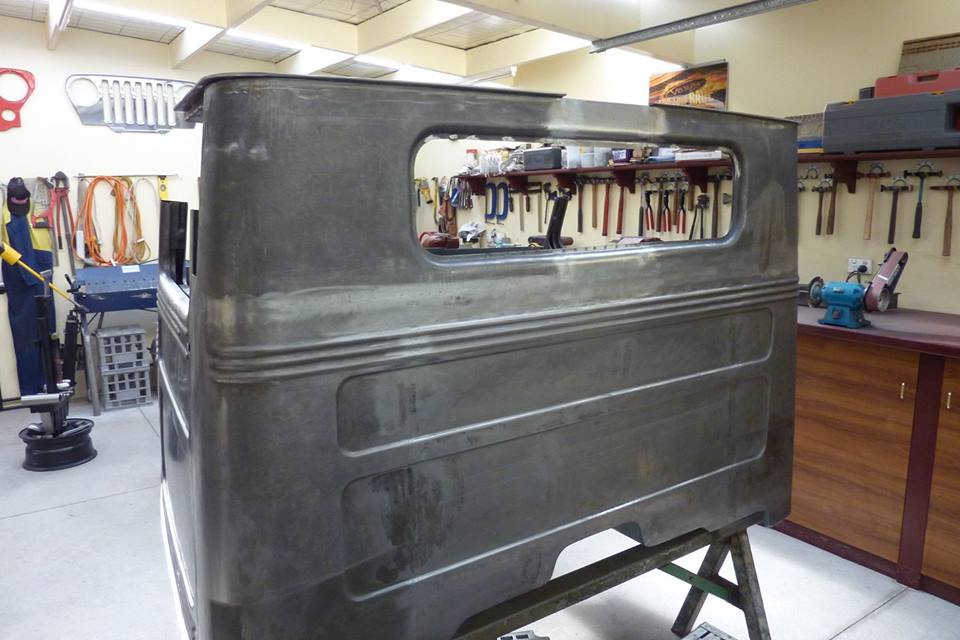
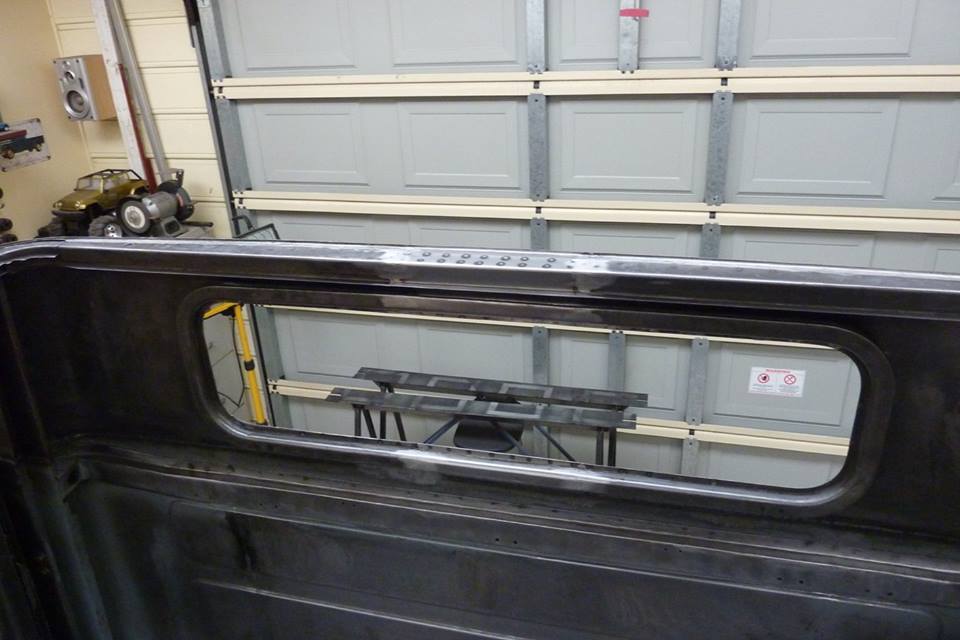
Inner window frame pieces are all welded in as well now. Actually drilled out the upper factory spot welds and rewelded it as it hadn't been put on level at the factory. Rear window and wall all finished for now. I'm glad I made the window wider and did not shorten the height at all. Looks nice and chopped as it is and actually have more window area than stock!
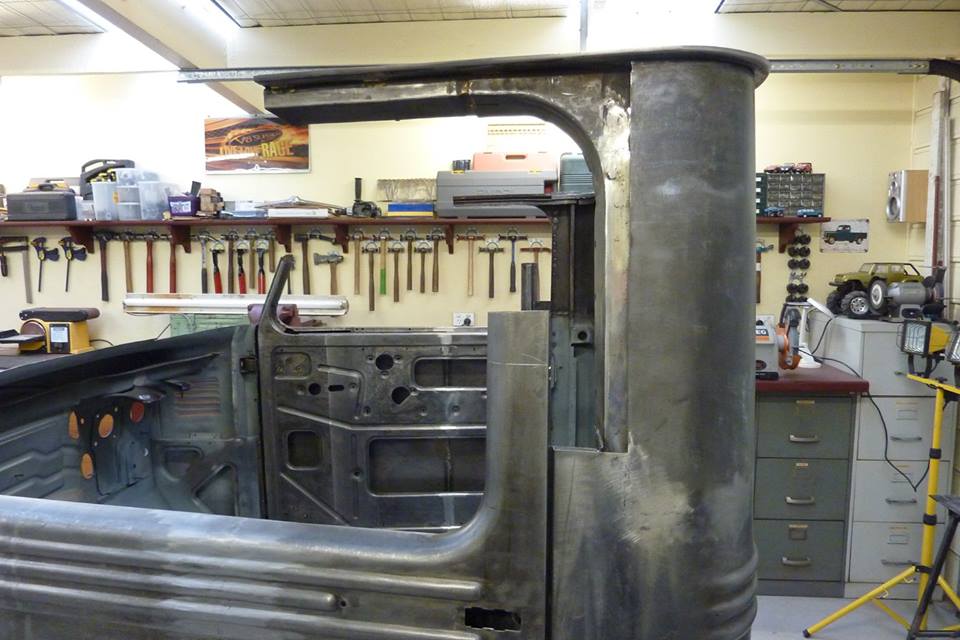
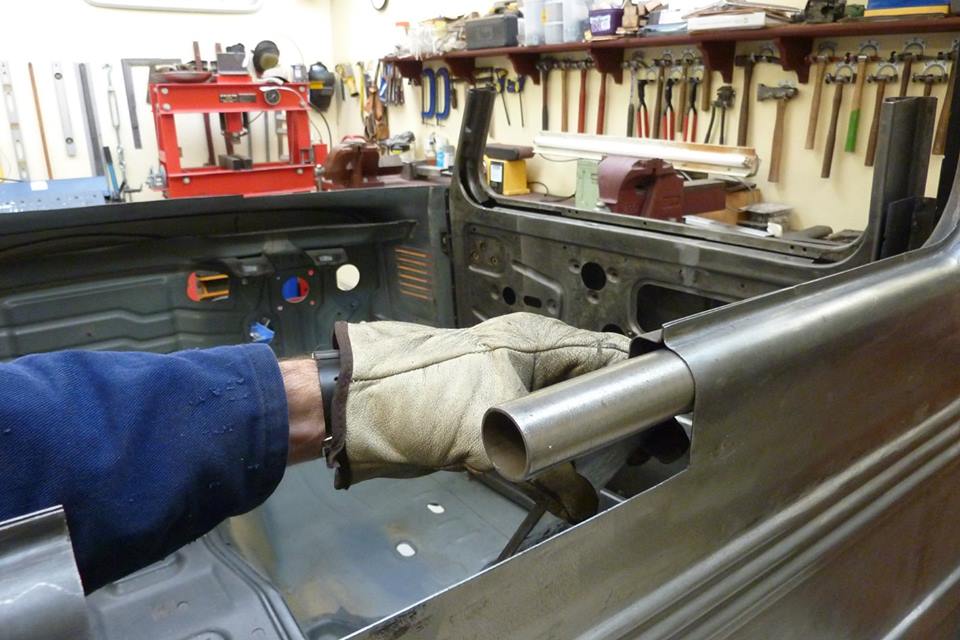
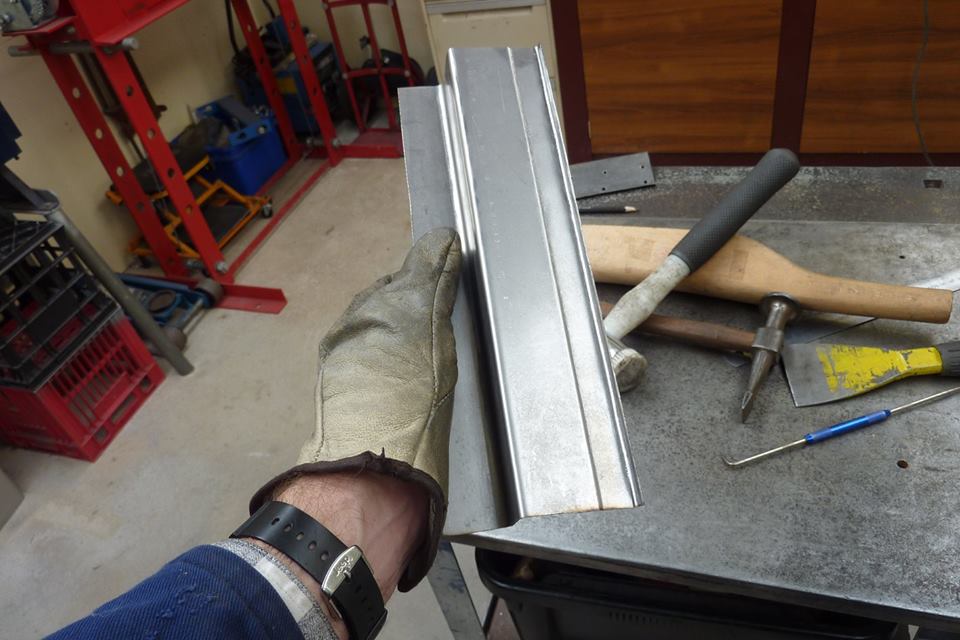
Time to start chopping 2" out of the door window frames. With the rear wall cut lower down than the cut in the window frame, I will have to address the angle so it bends in the same spot. If I should ever do one again, I will line the cuts up from the start.
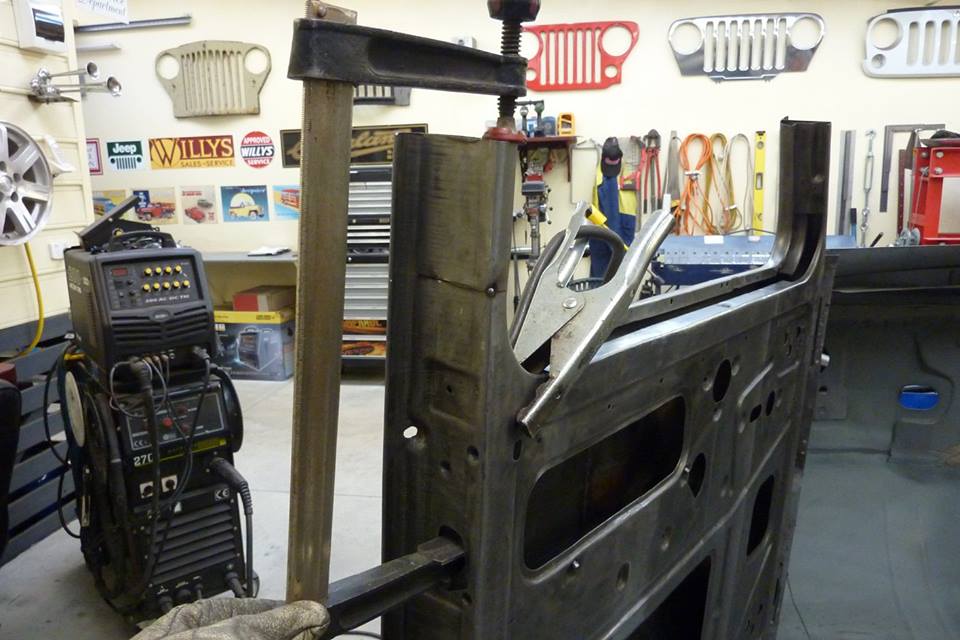
At the same height as where the rear wall was sectioned, I cut into the window frame. Didn't go all the way through so I would get a smoother bend. Now the window frame lines up perfectly.

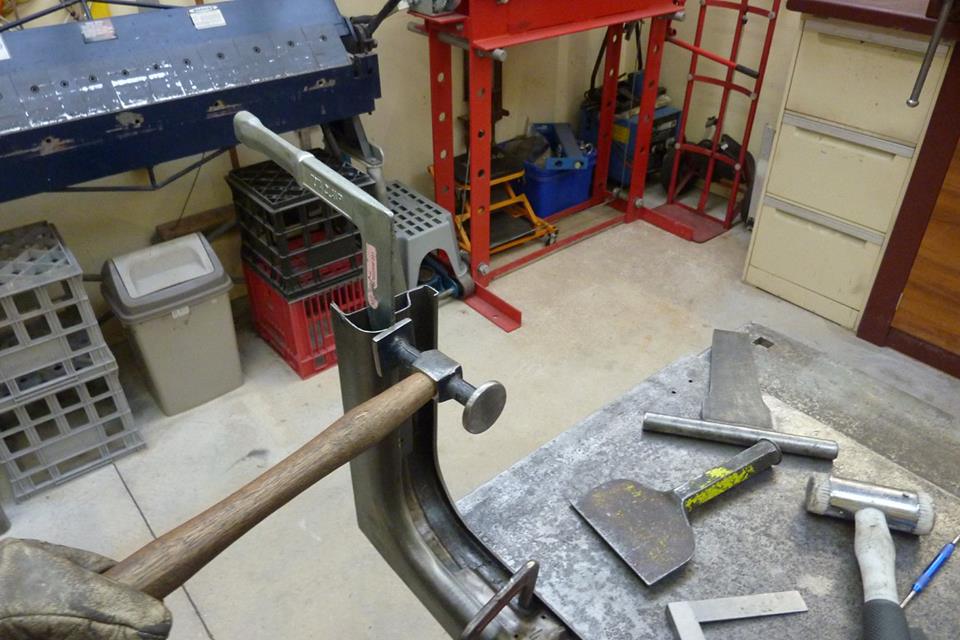
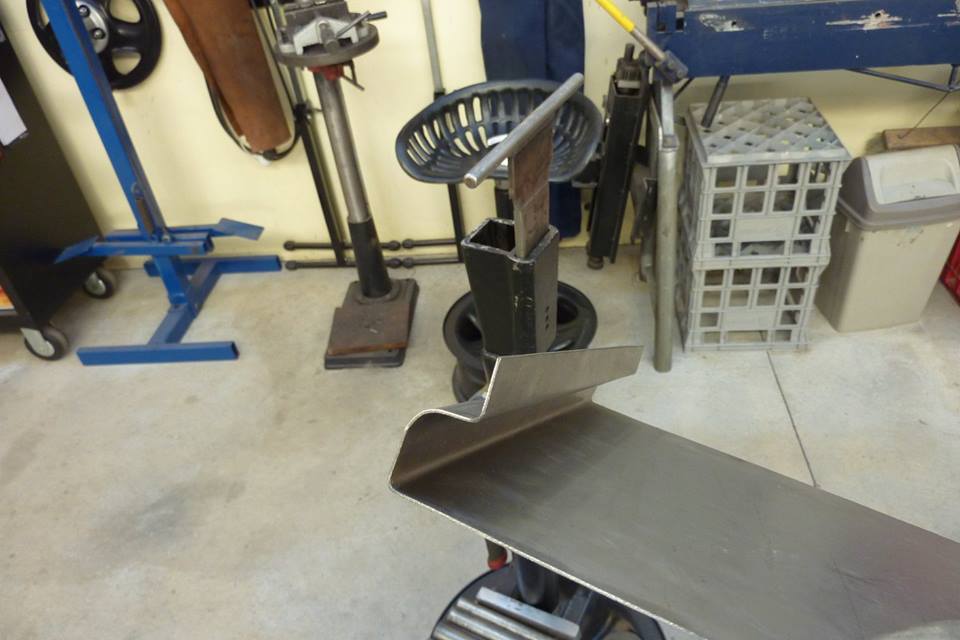
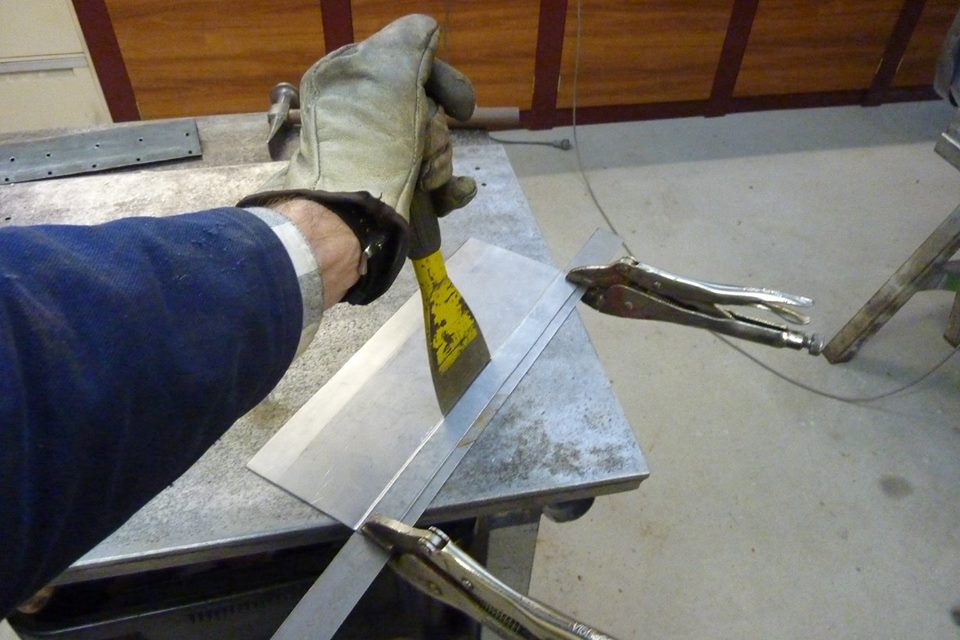
There was a slight taper to the window frame, so rather than cut slots to shrink the wider section, I stretched out the upper narrow section to match by hammering against the T dolly. Used a offset bolster to move the fold to match and stretch the corners as well.
[Index]