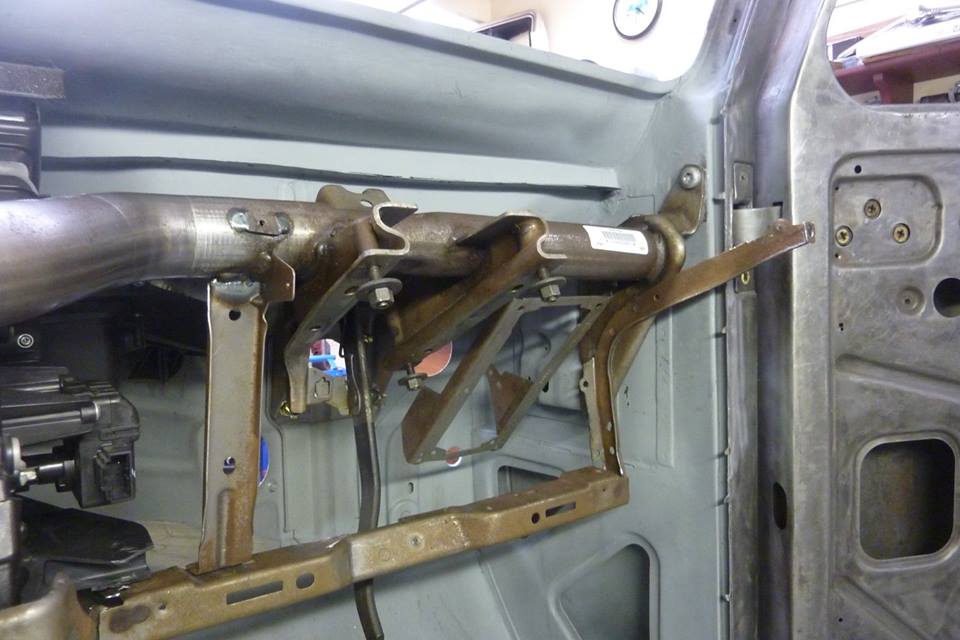
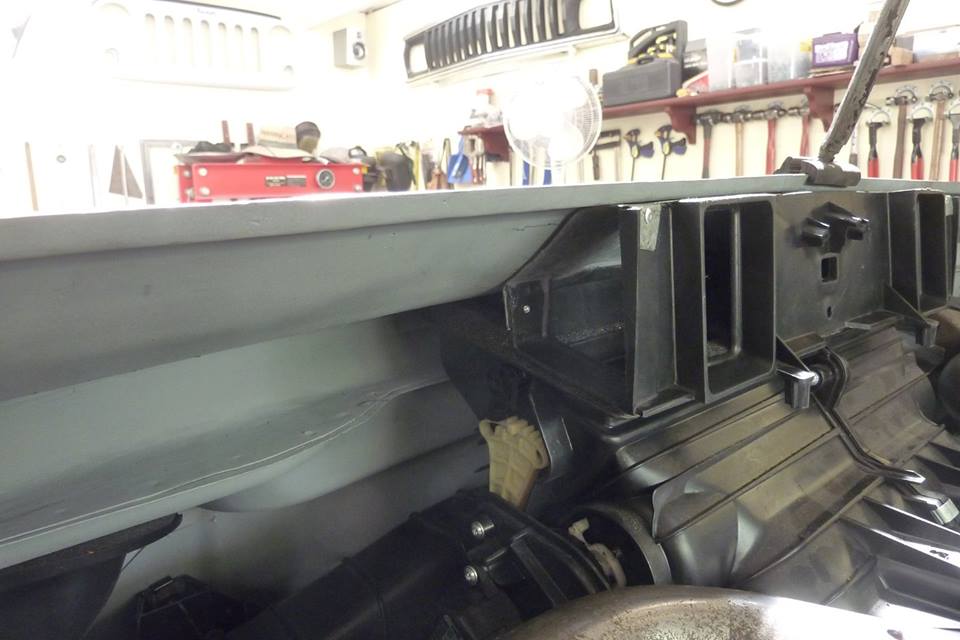
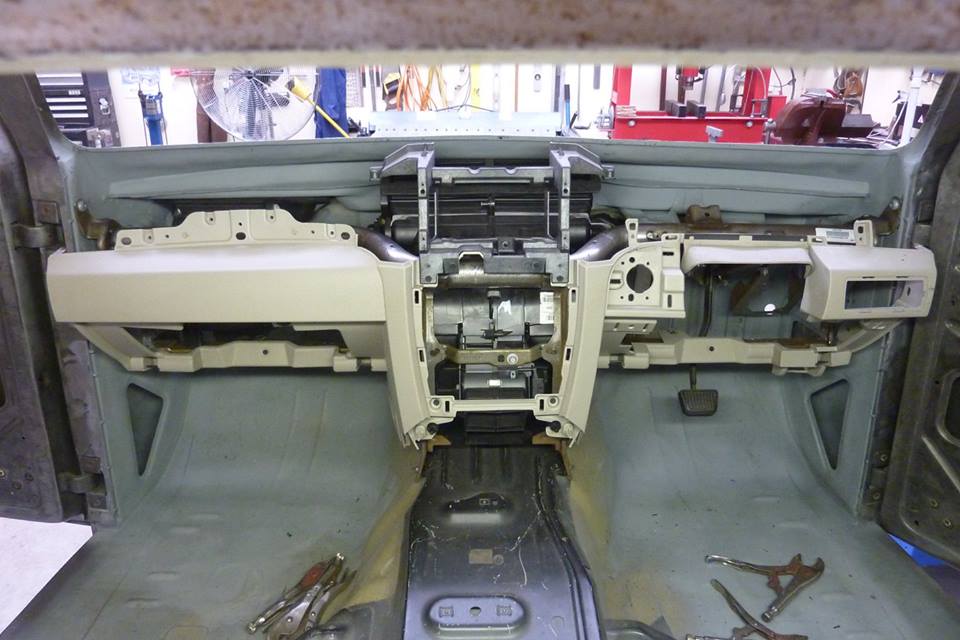
Can now see how the frame bolts into the new mounts I made above the kick panels. Also the extra ones into the A pillars. They brace the pillars left to right very well now.
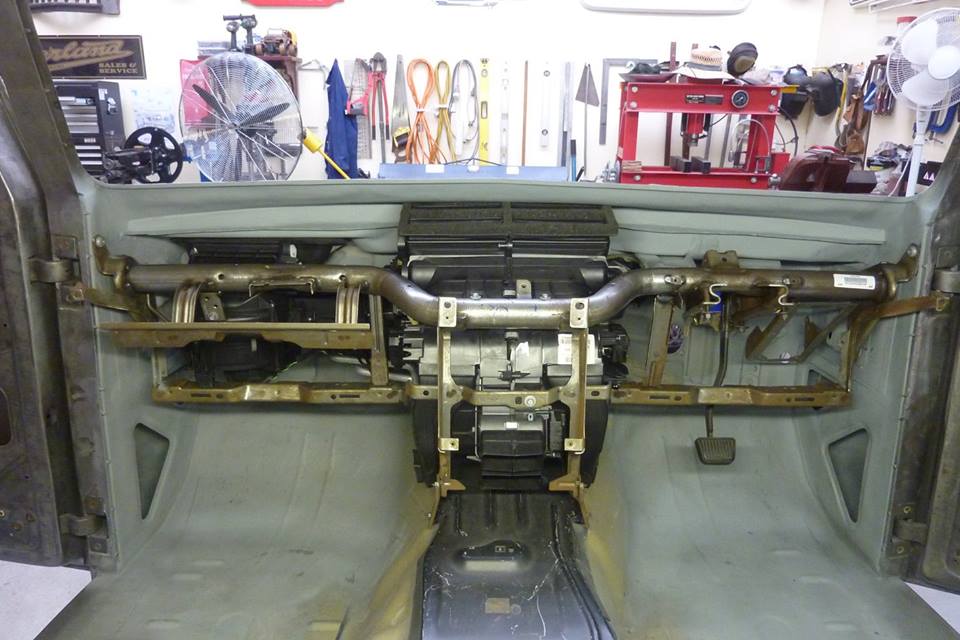
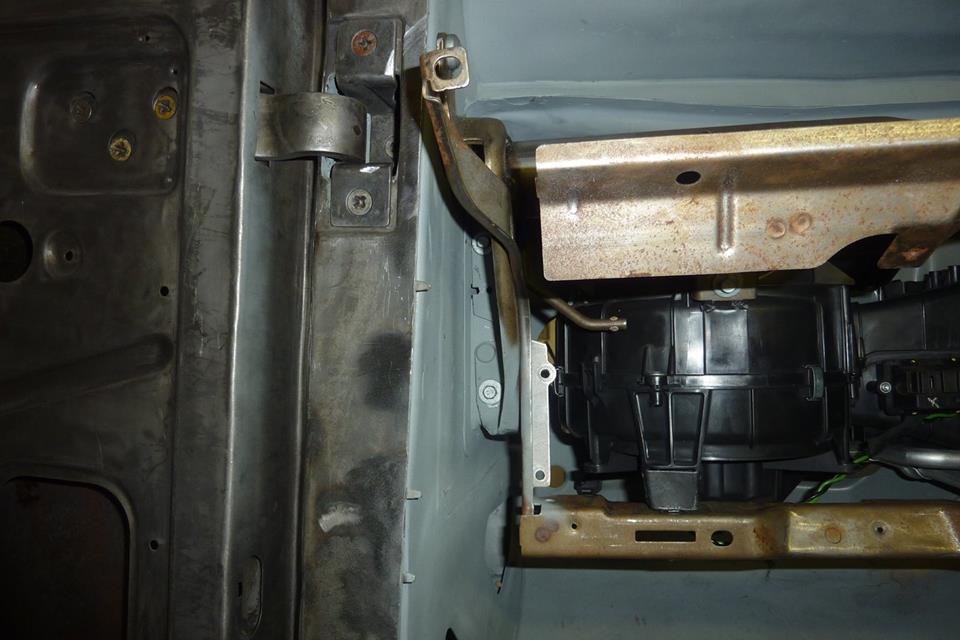
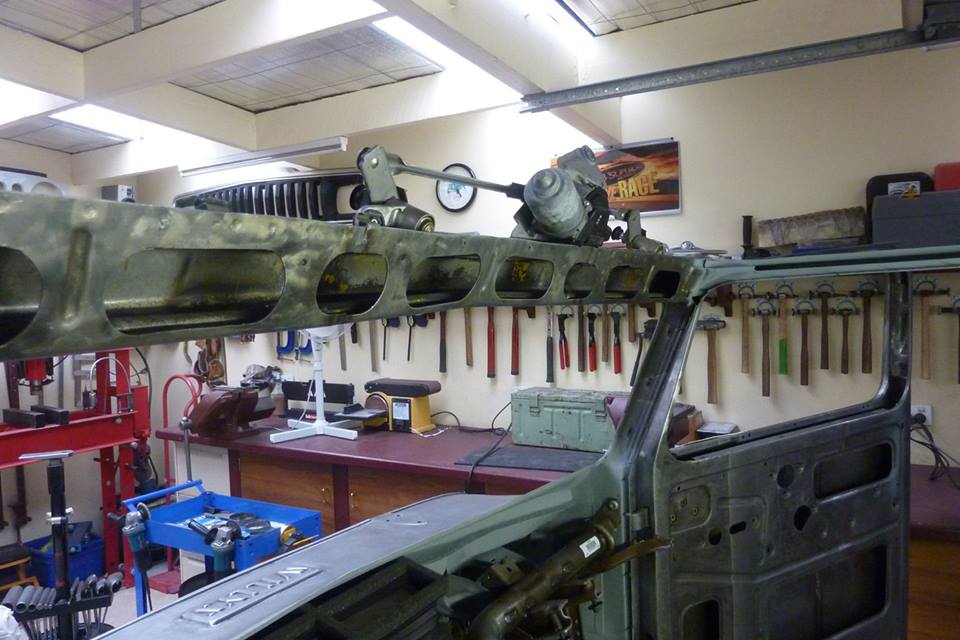
All original mounts are used between the firewall, and the frame for the heater-A/C unit and the frame to the lower cowl, upper kick panels, transmission hump and the extras in the A pillars! While things are getting laid out and still are accessible, I looked at where the wipers can go. There is just no room for them in the cowl area like I suspected.
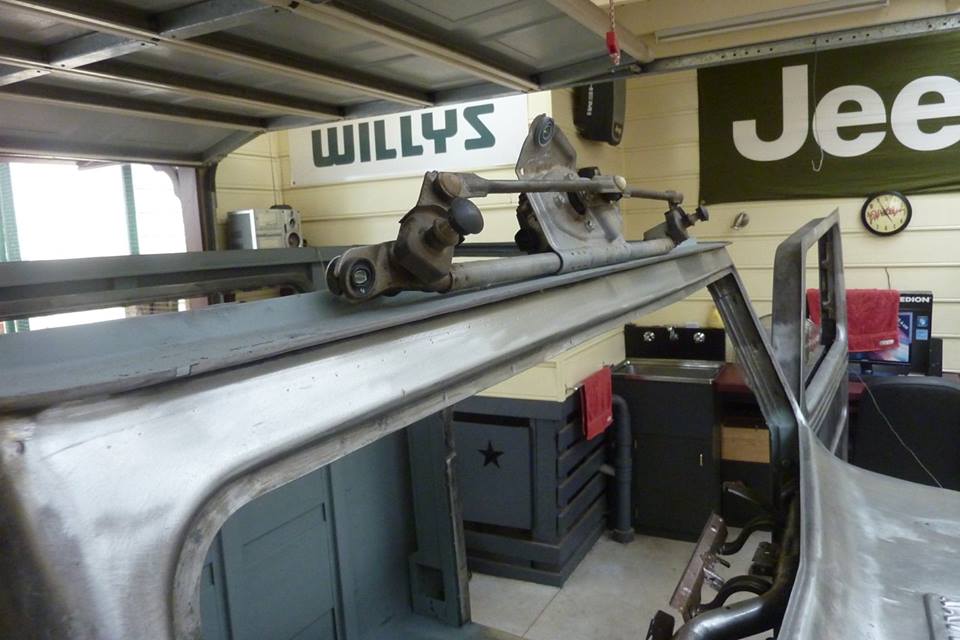
I could maybe flip it upside down and put the donor unit into the header panel. Have the pivot points come in below the gutter in the middle of the panel above the windscreen. I would have to cut a lot away to fit it into the header panel and then make a new frame over it to put the strength back. Even sunk all the way the motor would still sit up about 50mm-2" above the header. I checked the roof panel height and it would still clear it though.
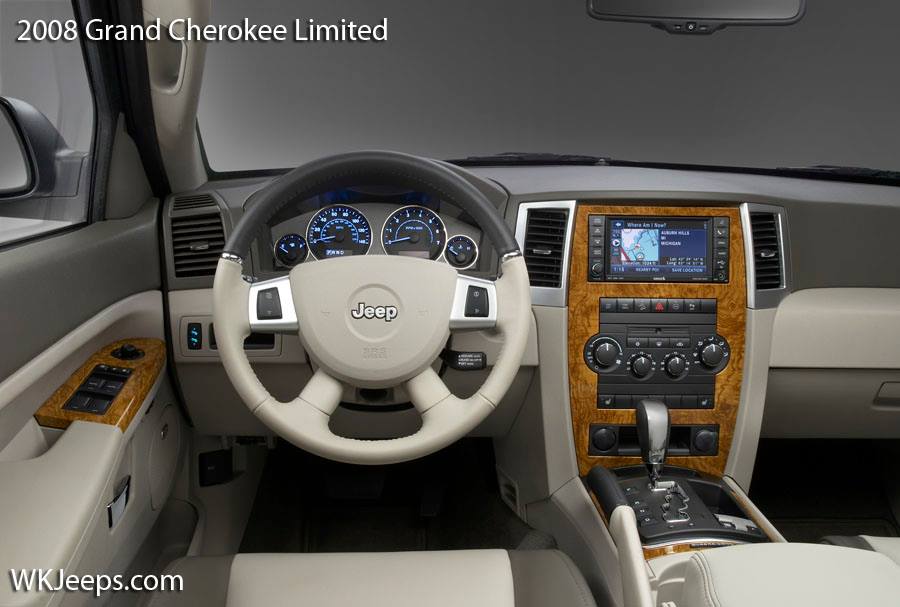
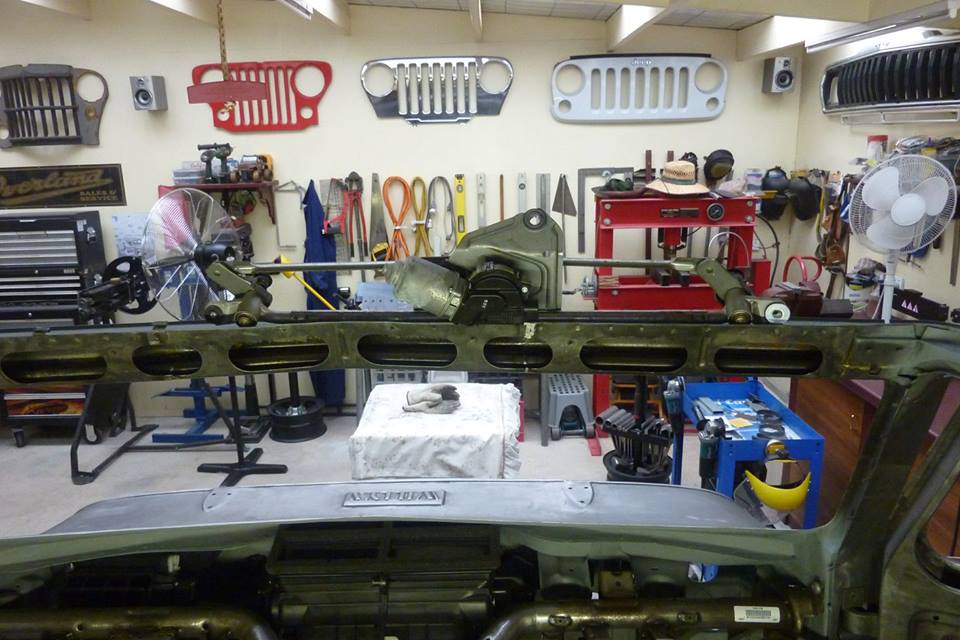
The only problem is that the wipers would now park vertically which I don't want. Reversing the polarity only works if the housing is not grounded, so would have to check that. Some gear boxes have a parking plate that can be turned 180* to alter the park position, otherwise a LHD one would work as they rotate in the opposite direction and are a mirror image of this one. A universal cable driven wiper unit might work but heard they are not as good as a OEM linkage arrangement. I don't actually have a photo of my donor dash as it had been partially pulled apart for some reason after it was written off. So here is a picture of what I hope to fit, but mirror image, of a 2008 Jeep Grand Cherokee Limited. No classic gauges on this build as going for the 1948 outside but 2008 inside theme to keep things cohesive
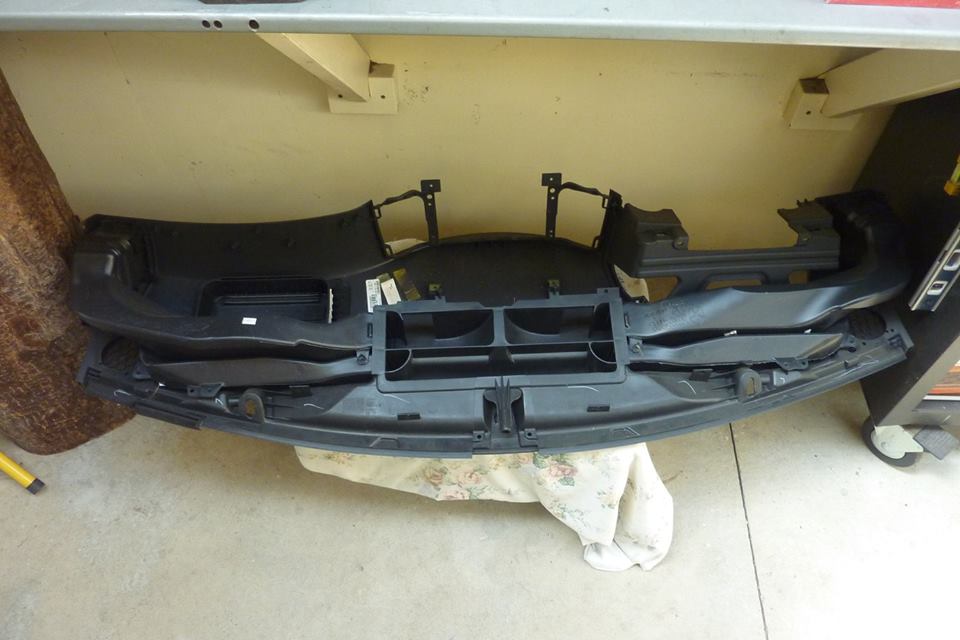
The underside has all the ducting but wont actually fit in due to the shape of the cowl and that the defrost is at the wrong end of the dash. With my wife armed with the heat gun and me using a stiff spatula, was able to break the plastic welds holding this to the top half.
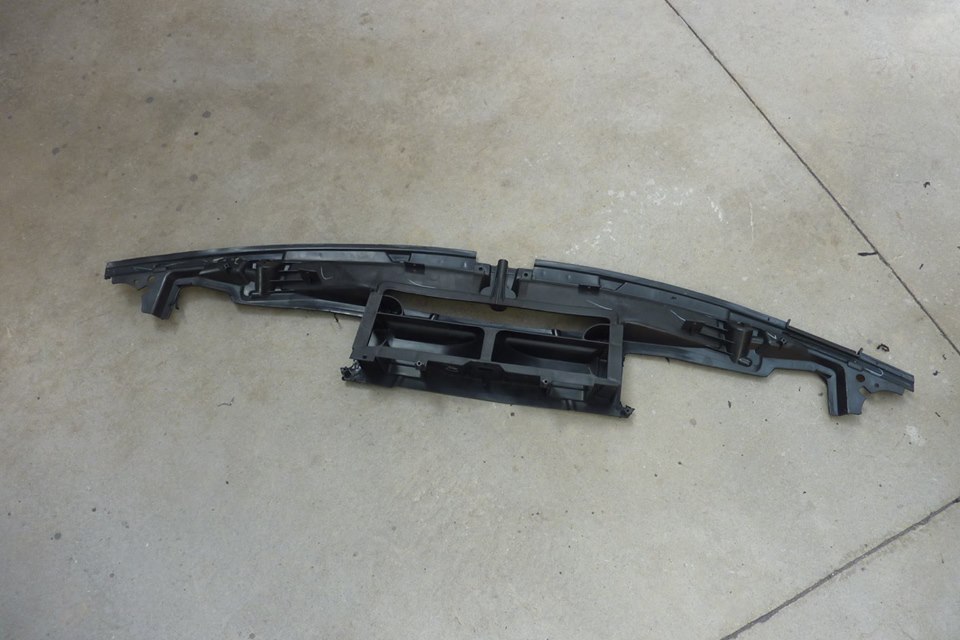
Cut out just want I needed and then shaped it to fit under the cowl. Will have to make a new top cover for it to direct the airflow. As the cowl is curved, shaped up some thin sheet to match.
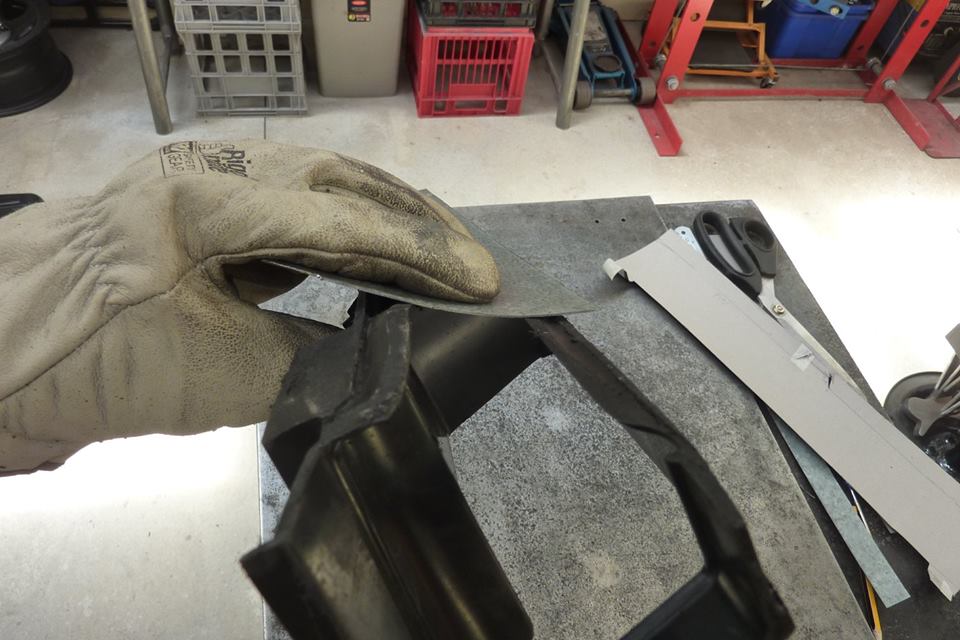
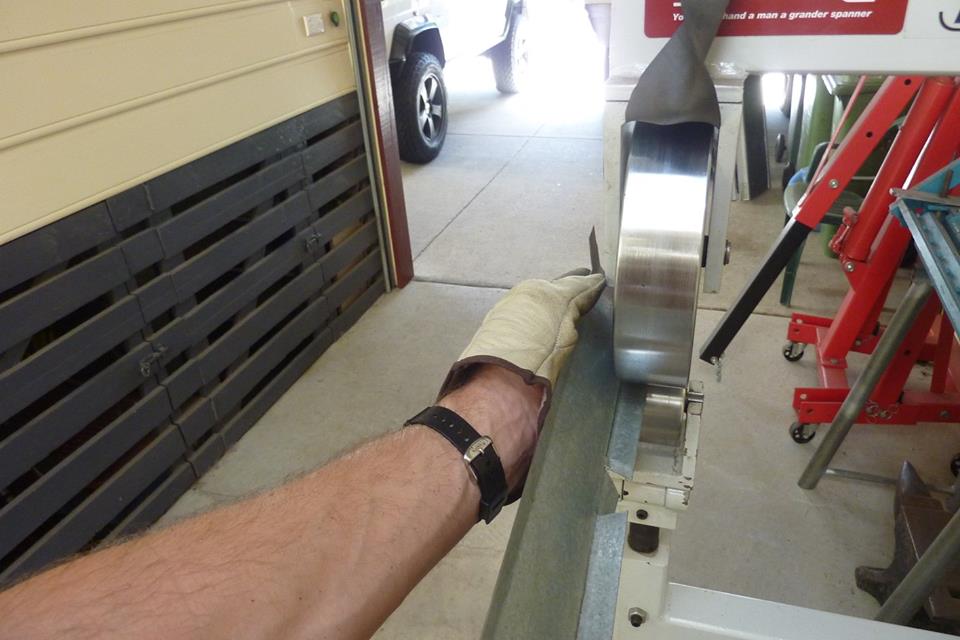
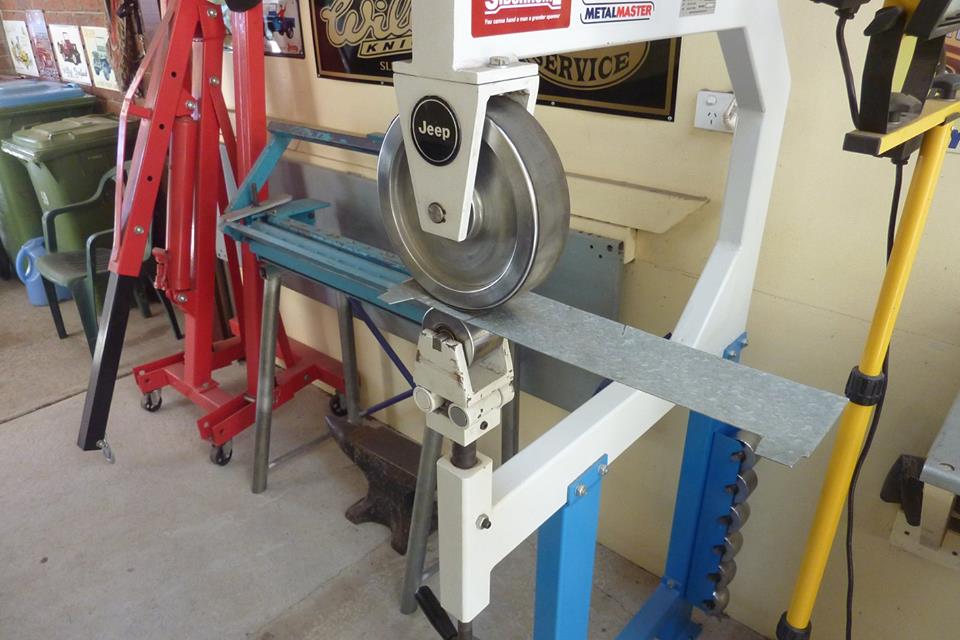
Testing to see how it was coming along. Just good bit of practise on the English Wheel. Used a trick Peter Tommasini taught me and tipped the fold on the wheel.

Run sealer under it before adding the rivets as well to hold it in place. That should do the trick.
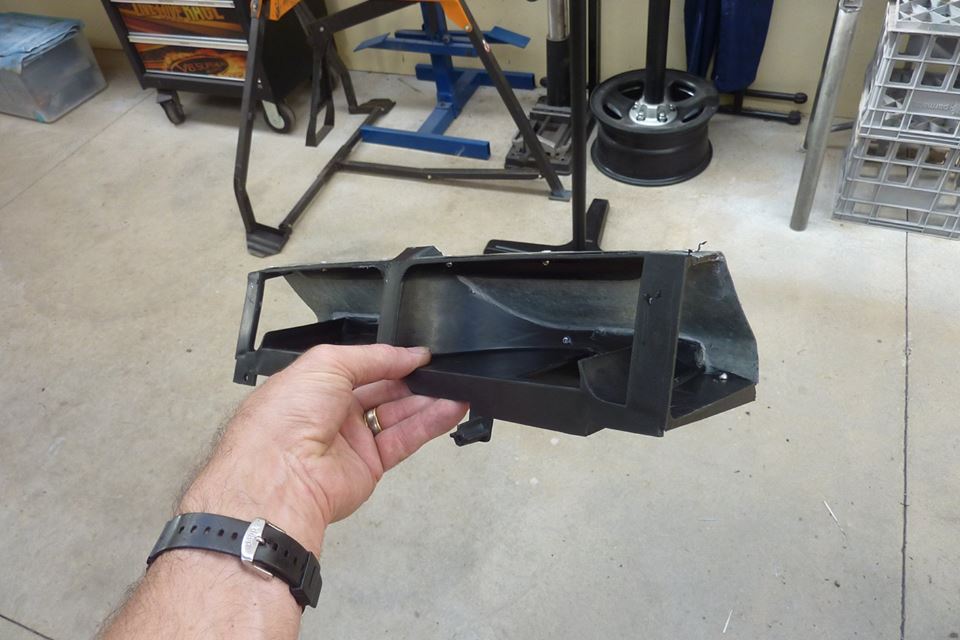
Fitted in under the cowl matching the curve. This has the four outlets for the cabin heat and A/C. One each side of the SatNav/Media screen and the other two to go to each end of the dash. Cardboard template made of the area from the A pillars to the windscreen flange. Now to work out how much to cut off the top of the dash!
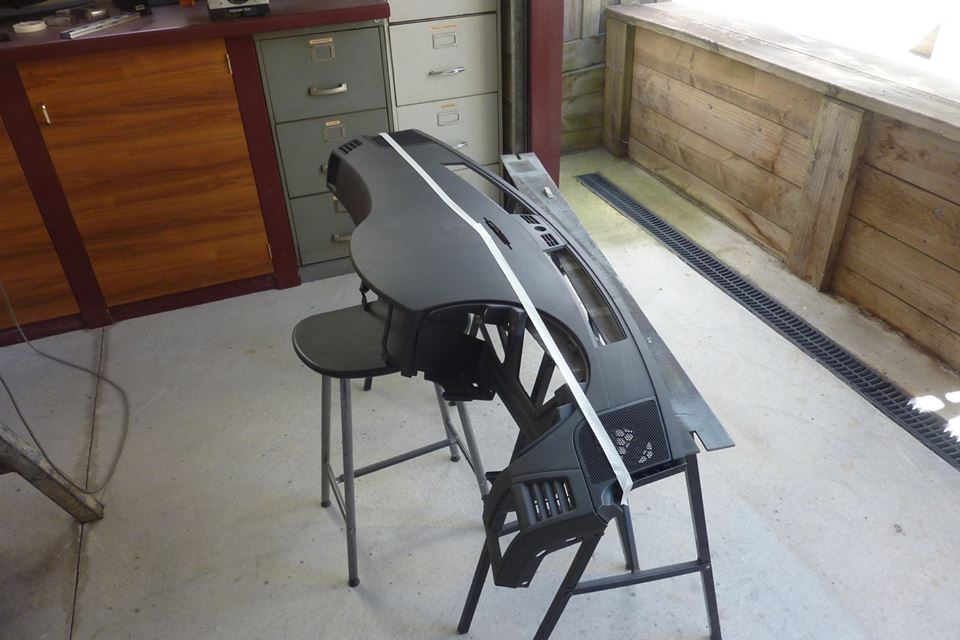
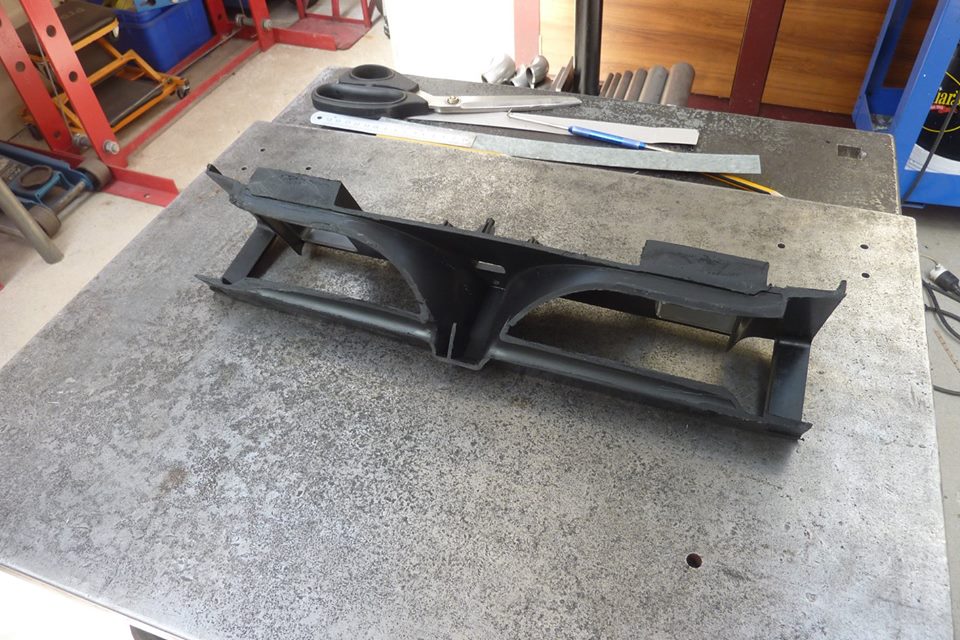
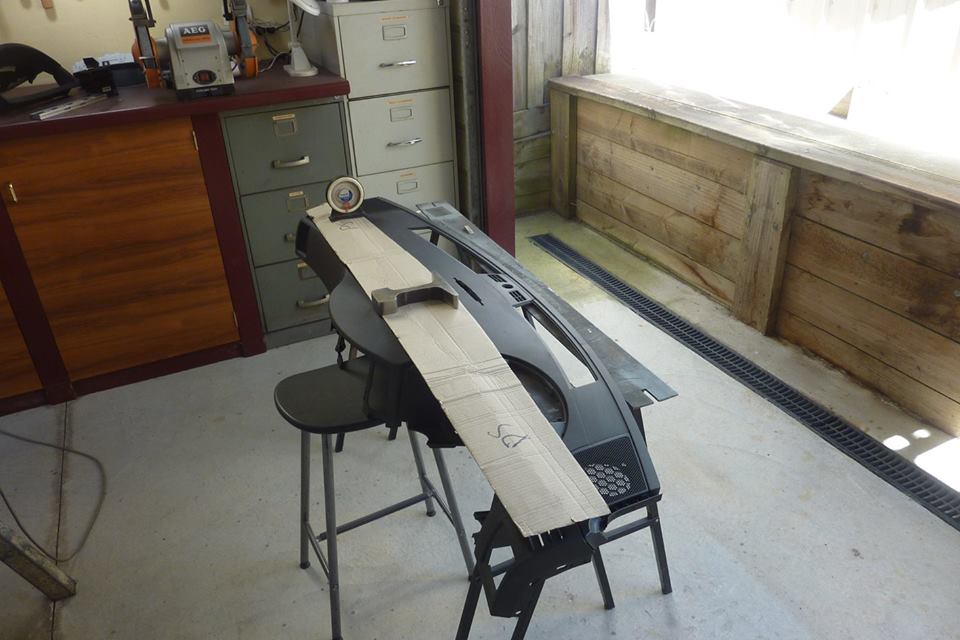
Tape to mark where to cut with the jigsaw and a fine tooth metal cutting blade. Can see about half of it will be gone which will suit the Willys better too I think. Fitted the lower half first which just screwed straight into the tubular frames mounts without modification.
[Index]