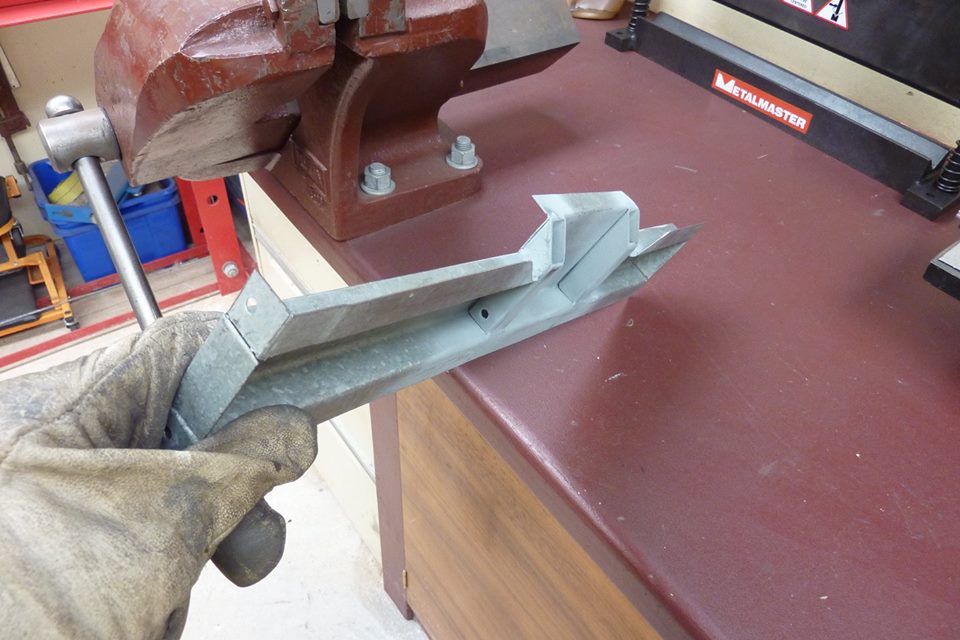
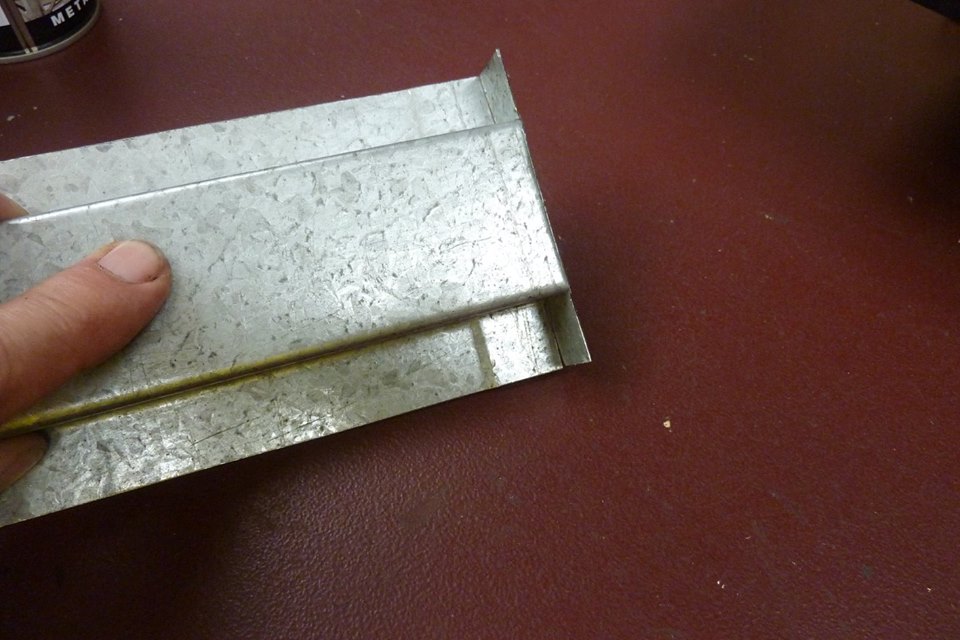
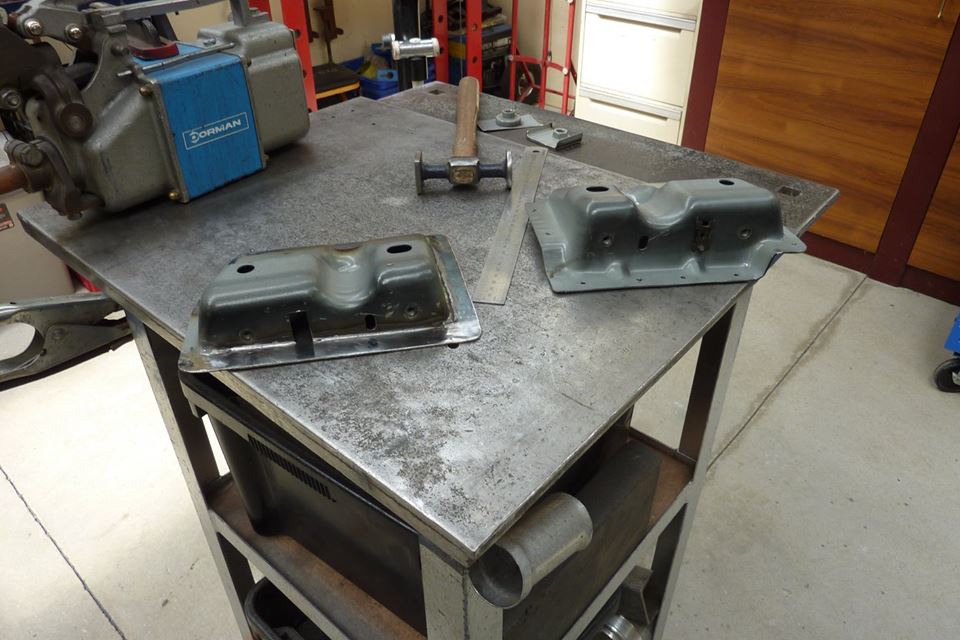
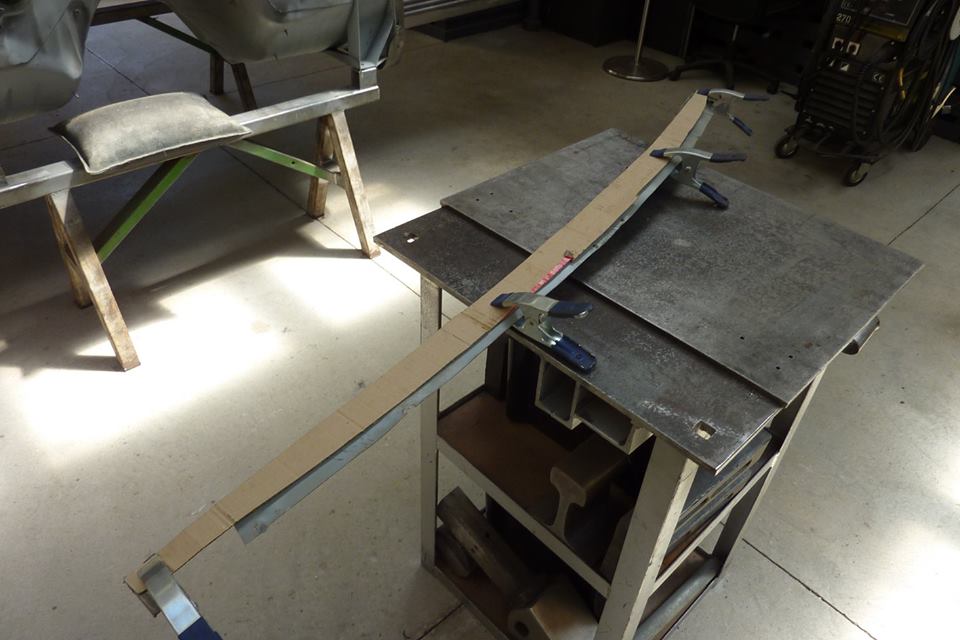
Clamped it hard in the vice and it created the step. I gave a quick extra hit with a bolster on the scrap piece to define the step a little more. One little step formed. The other side will be done as well.

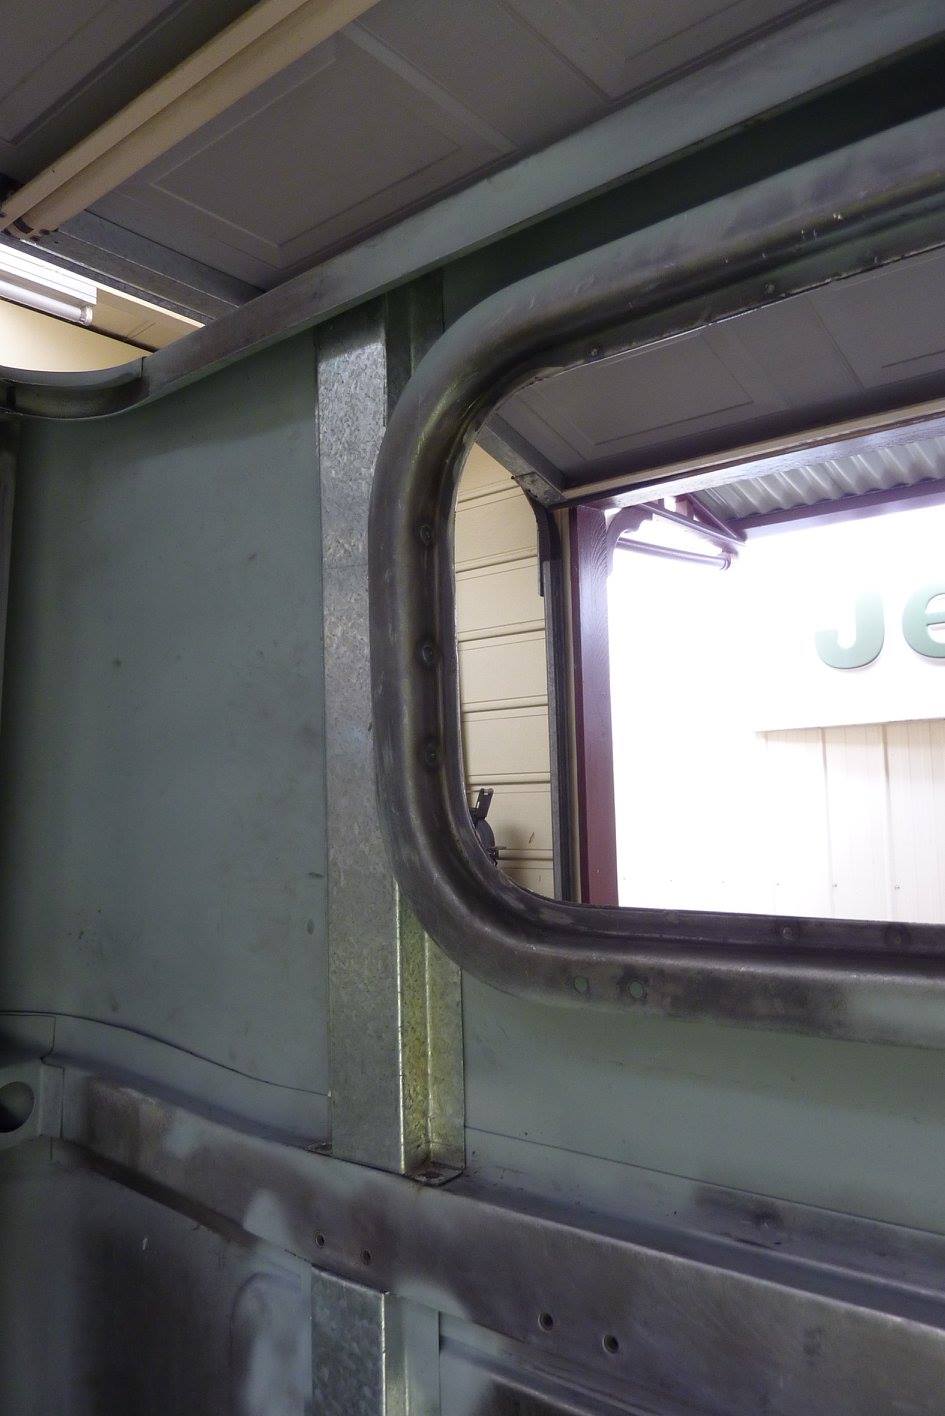
As any plug or spot welds would be visible in the upper section of the cab, because temperature changes would pull on them, I built the brace so it can be welded to the inside window flange instead. The extra bracing on the underside is to stop any flex as the radius around the window pressing stops me getting right up close. The brace is plug welded on the inside of the window frame and will be sanded smooth. It is also plug welded the the main brace and the top roof frame. A automotive adhesive and sealer was also added under the brace flanges.
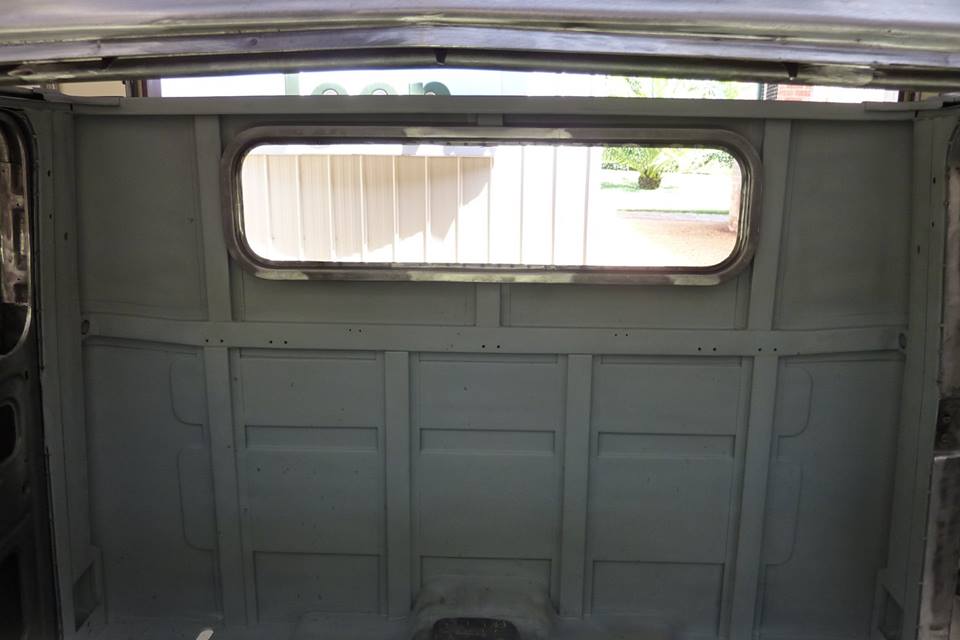
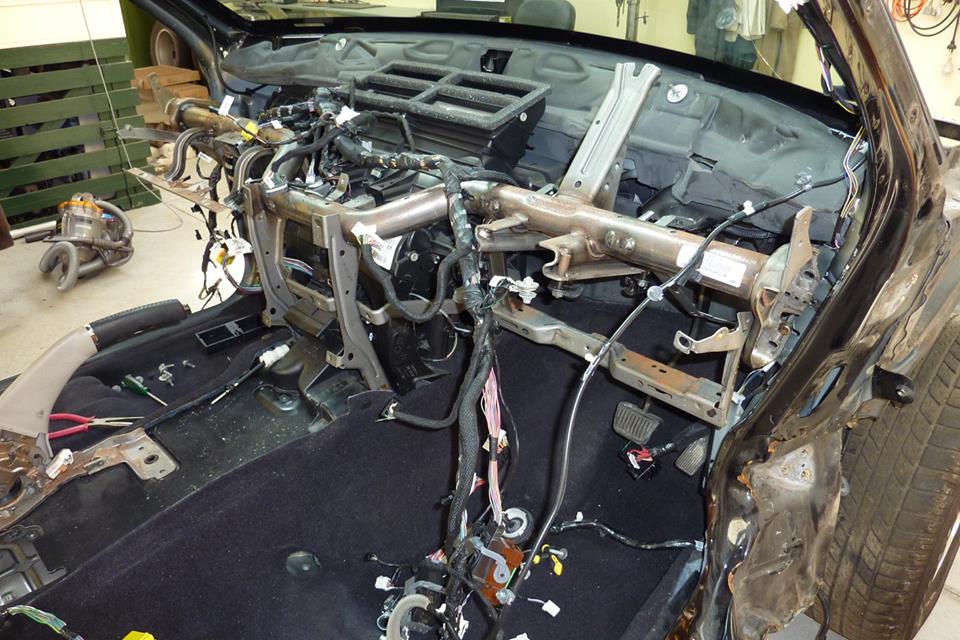
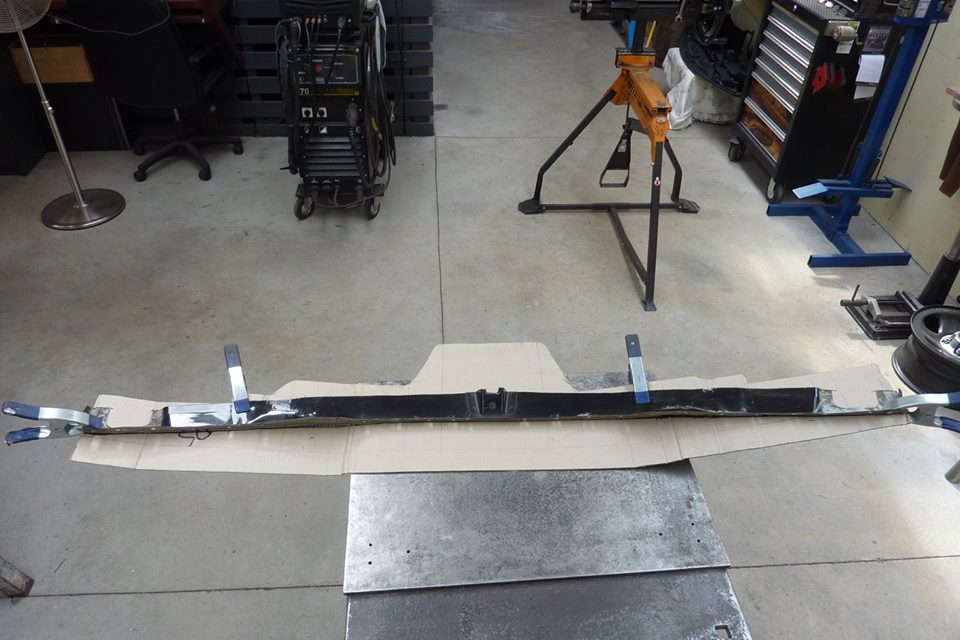
I can tell you this is one stiff rear wall now. Originally these were never upholstered and just painted body colour. I will be fully covering it with a heat and sound barrier and then fully lining it in matching upholstery to the rest of the cab. The inside will not be the utilitarian theme of the outside, but of the 2008 Jeep Grand Cherokee donor instead. As I will be using as much from the interior as possible from the donor, I will be adding this support frame that goes from A pillar to A pillar. It took some of the impact from the Harley hitting it side on at 100mph, so needed some straightening first on the end bracket and lower frame.
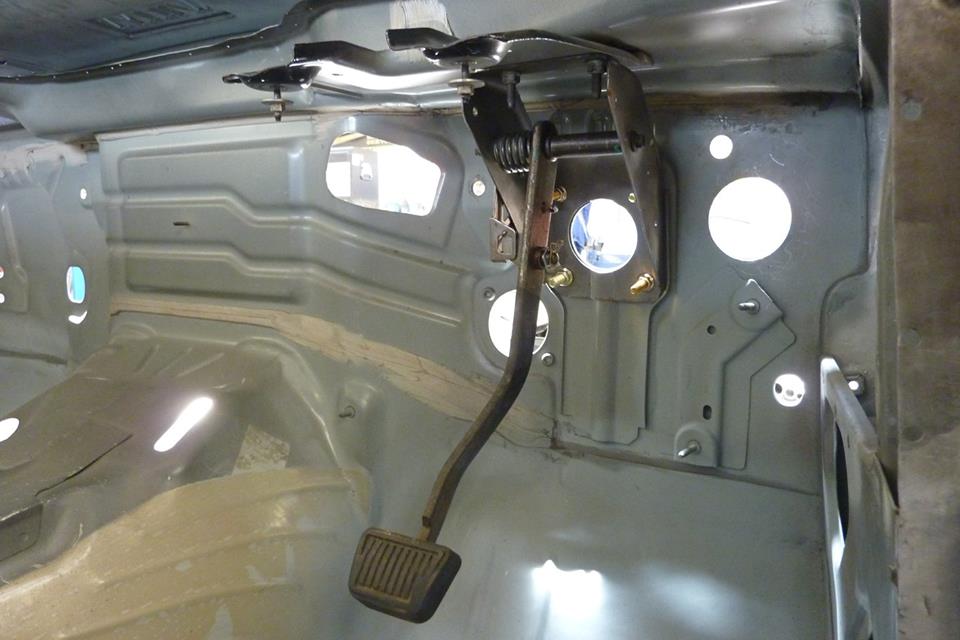
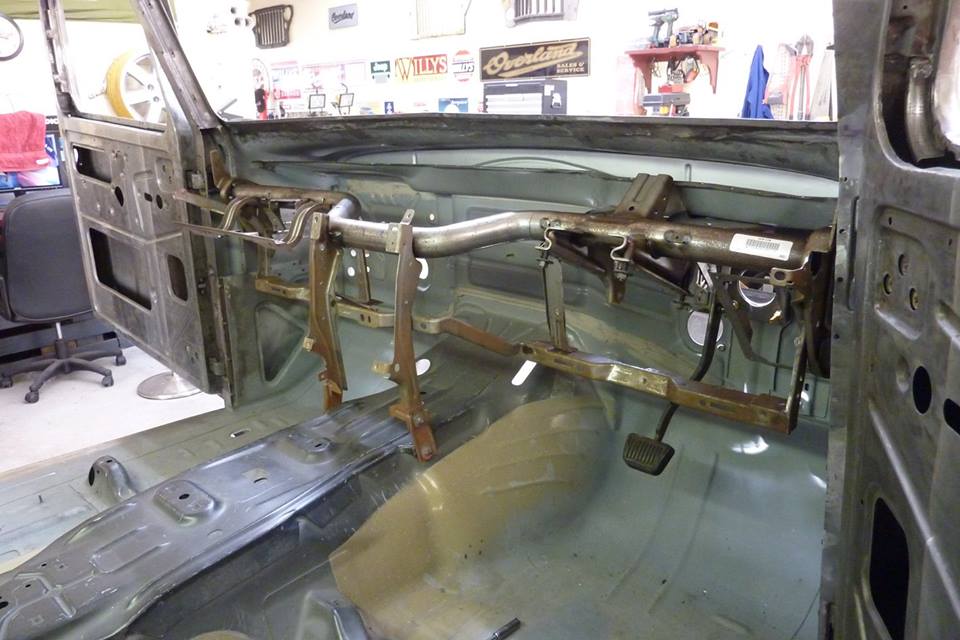
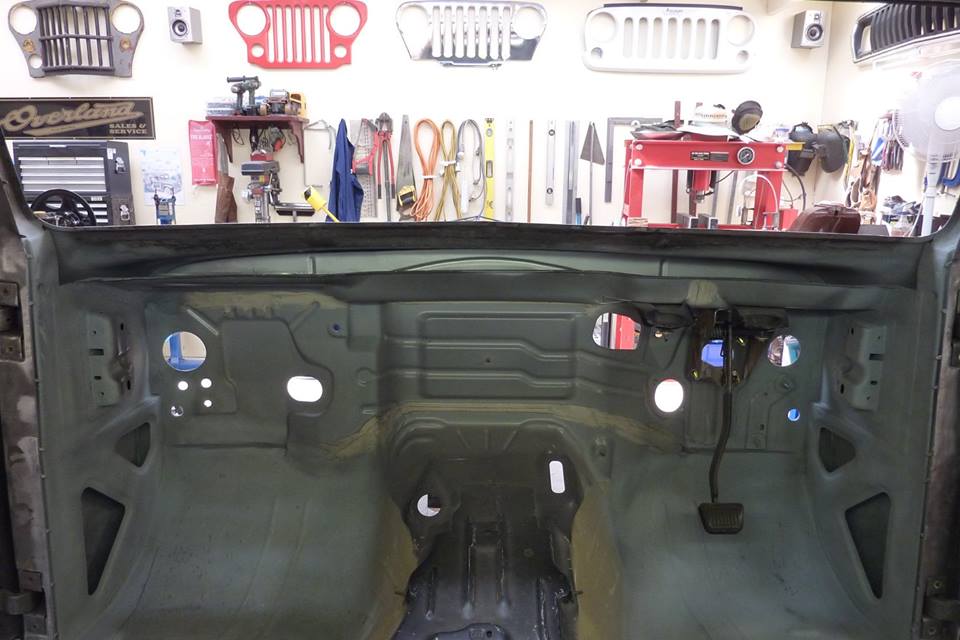
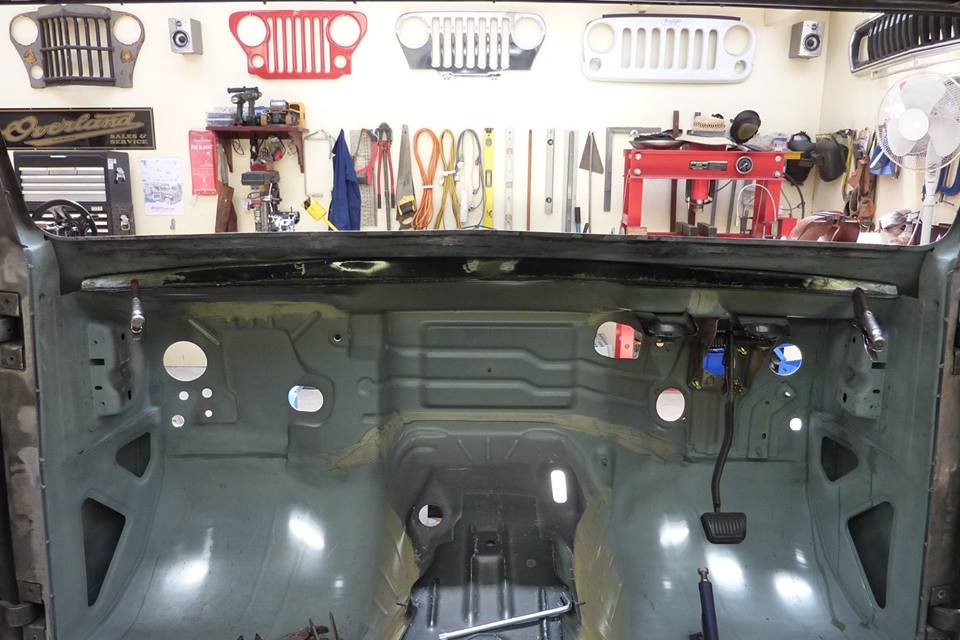
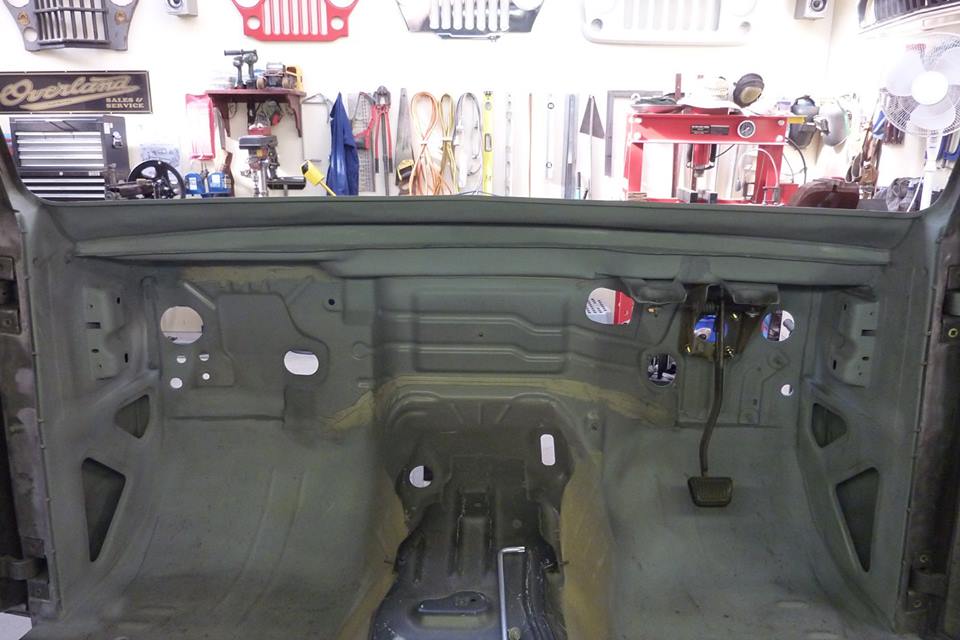
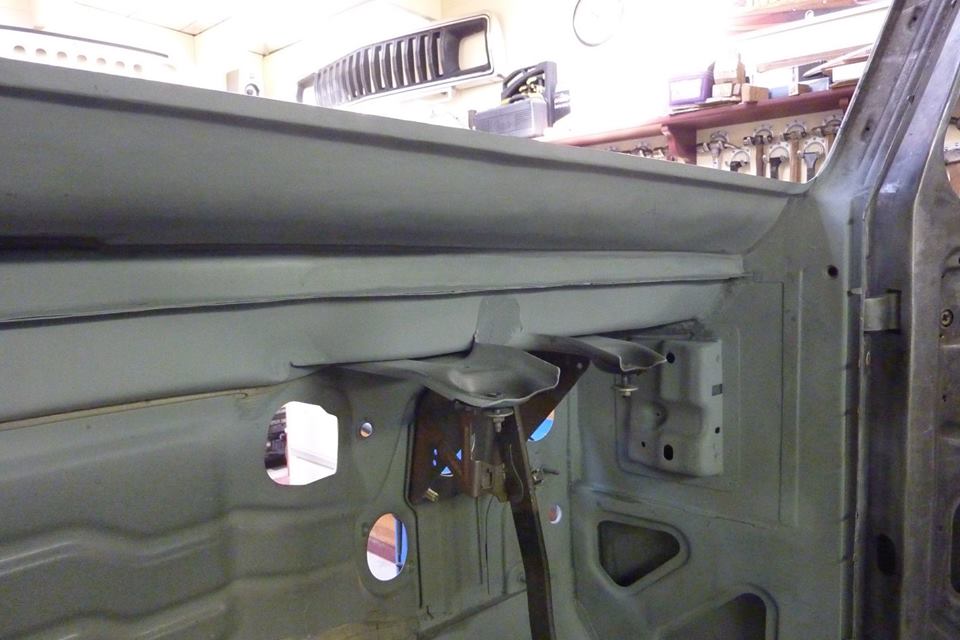
I fitted the brake pedal as it bolts between the firewall and the lower cowl as I wanted that to be at the correct height. Can also see the two studs that the support frame I am adding next bolts to. After straightening the frame I could bolt it into the lower cowl and also the studs on the transmission hump. The tube is very strong and did not bend in the impact. It is 52x5mm-2"x5/16" mandrel bent tubing. The frame holds the steering column, satnav, climate controlled air-conditioning, glove and fuse box etc.
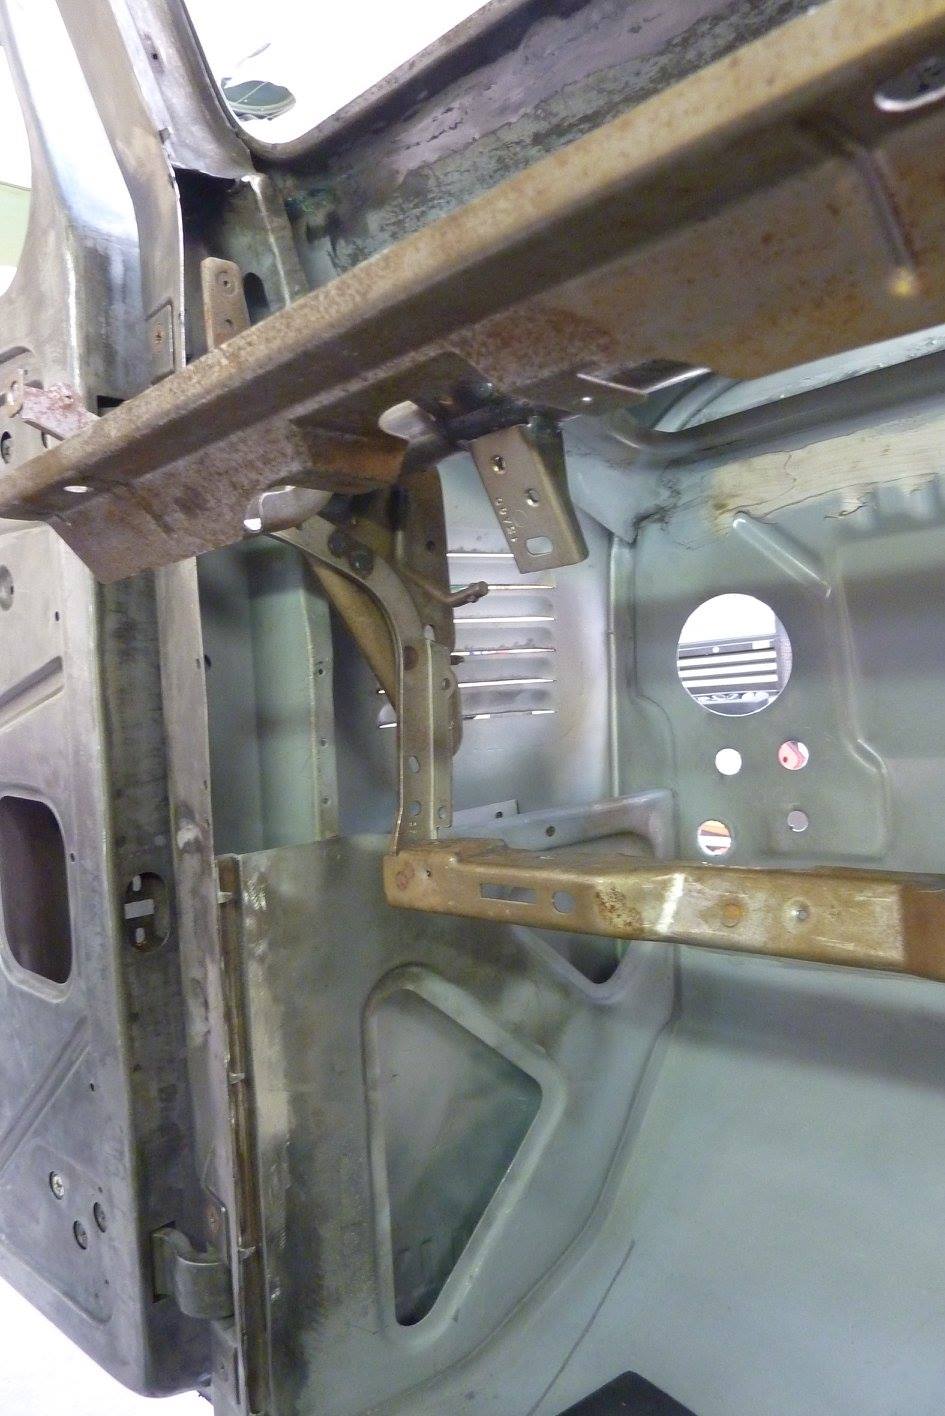
Can just make out the vertical face of the main mount for the frame over by the louvers. I will have to add something to stretch from the A pillar right to the firewall. Going to utilise the tag that is in the middle of the A pillar as well for an extra mount. I had kept the original donor mounts for this purpose but have to modify them to suit my setup. Can see the stock one on the right and how I have altered the other one.
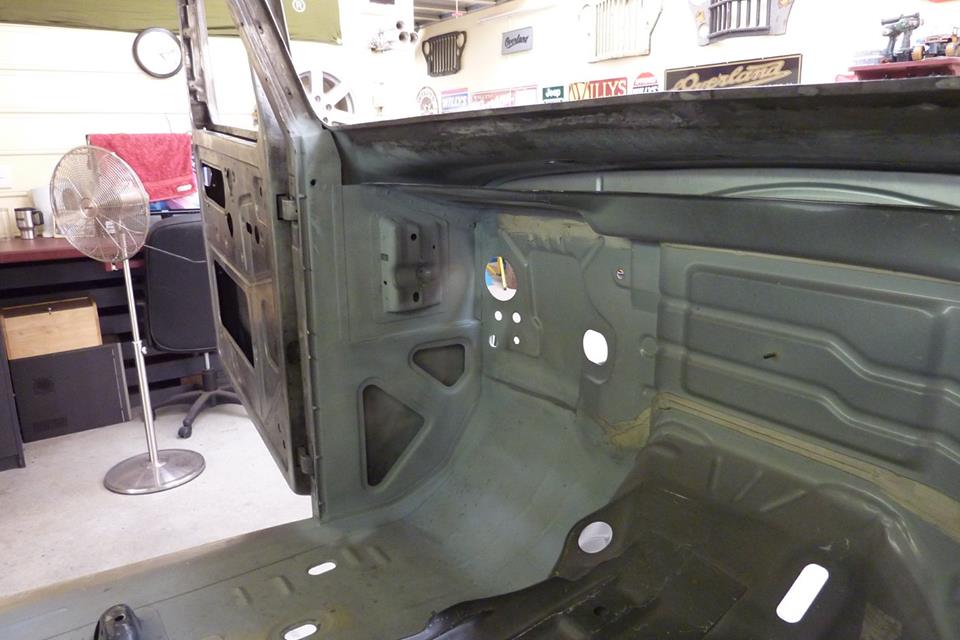
I have bent up a new upper panel out of 1.2mm-18g sheet to take the mount. Spot welded it to the original A pillar piece from the Willys. Decided to add an extra mount also for the frame and the captive nut will get welded behind the hole which will be inside the A pillar itself. This adds a lot of strength to the A pillar to take the weight of the longer doors I have. The panel is plug welded to both sides of the A pillar and also to the firewall and lower cowl and kick panel.
Both sides now done. Next will be to make a filler panel between the lower cowl and the upper one as all has to be sealed off for my fresh air intake which draws fresh air in from the louvers I cut into both cowl sides. I had only this piece left from the donor cowl that attached to the lower and think it will be just enough. I traced its outline onto some cardboard so I would have somewhere to start.
My CAD, cardboard aided design, will give me a line on which to tip a flange across the top under the Willys cowl. It is getting there. That thick white sealant is not my work BTW. It is factory Jeep work from 2008!
The piece has now been spot welded again to the lower cowl and glued with panel adhesive to the underside of the Willys cowl. The ends have also had patches shaped and welded into the new piece of the cowl and the A pillar.
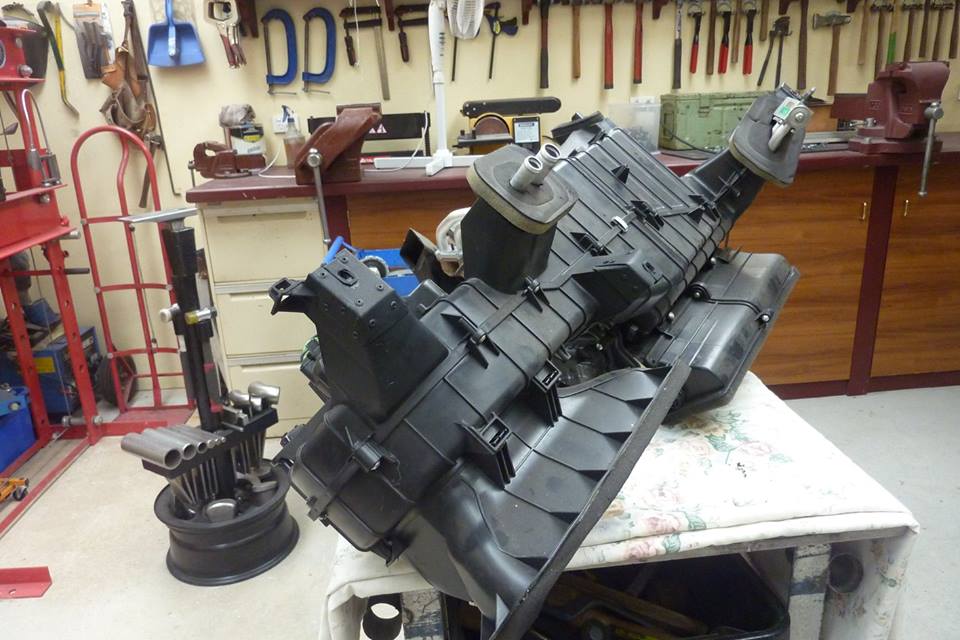
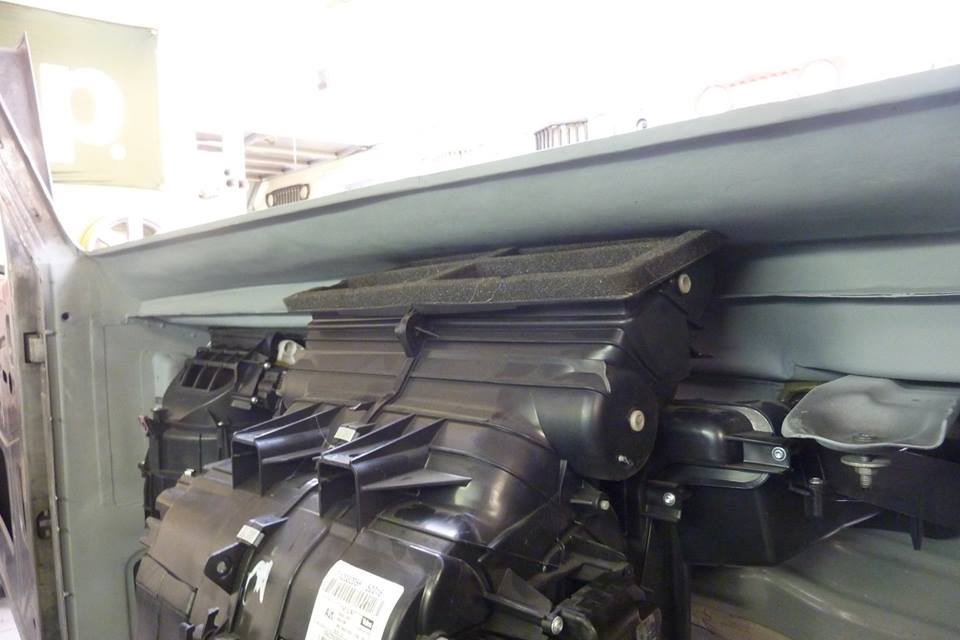
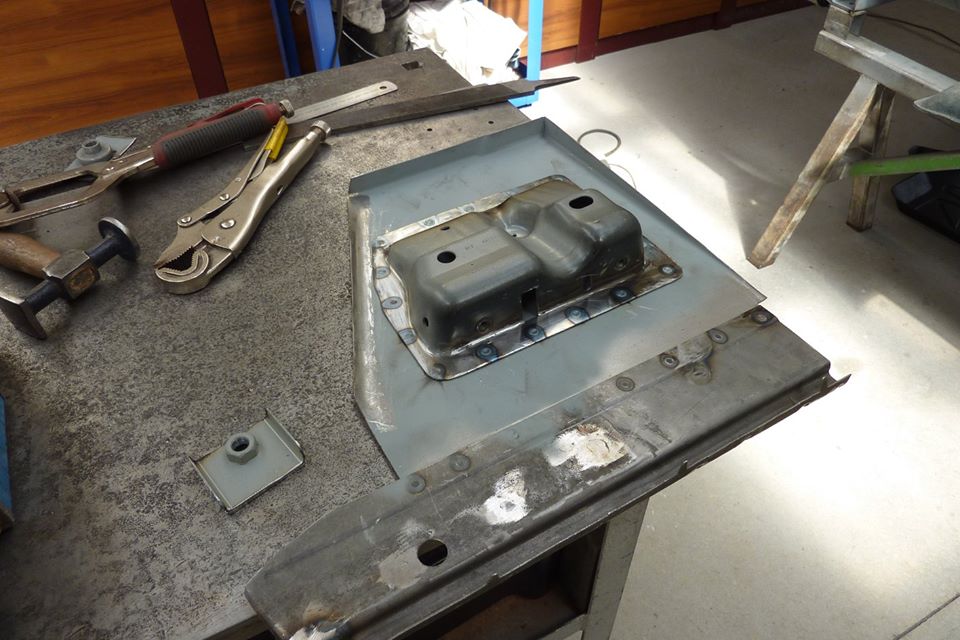
The heater-A/C unit took some damage in the accident. It is attached to both the firewall, in three points, as well as the inner frame in 4 places. The side impact moved the frame and broke all the firewall mounts and one on the frame itself. I made inner and outer sheet metal reinforcements that were riveted on, sandwiching the original plastic in between. The unit only just clears the cowl which will make the ducting a bit difficult.
[Index]