
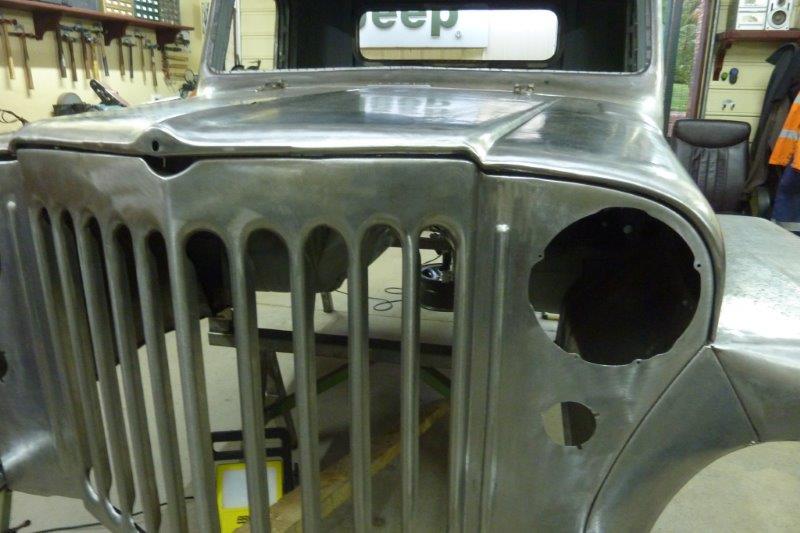
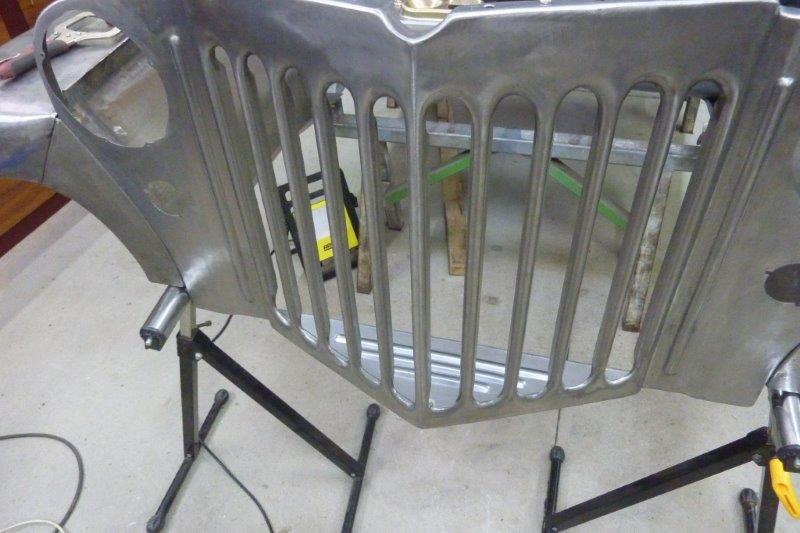
Even reused the original pin by re-flaring the end after cutting and trimming down the nylon bush to fit each side of the arm. I made a new upper plate for the grille from a single piece. Apart from the fold to sit in front of the radiator seal, it was all folded by hand as has a gentle curve to it. Also bead rolled in a raised section for the lower catch to sit under. This will add more stiffness for it.
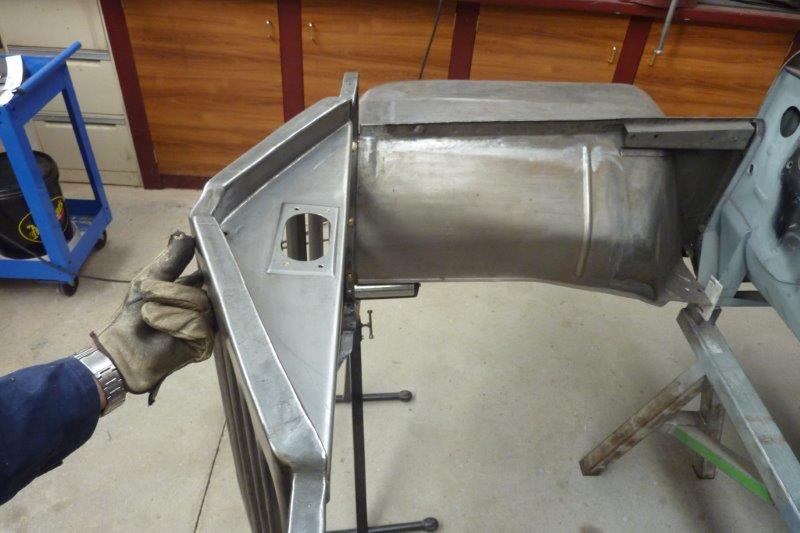
The factory setup on the older grille had the plate attached directly to the front face of the grille which means you would see the spot welds. The later ones had an extra fold come back under the top flange where it was spot welded to it. I brought the fold up earlier and then forward under the upper flange where it will be plug welded. I think it looks neater and means the fold is closer to the lower latch removing flex. Got some temporary screws holding it in place until it gets plug welded later. Latch looks good too I think. No dimple holes here as it keeps the air from travelling over the top of the radiator.
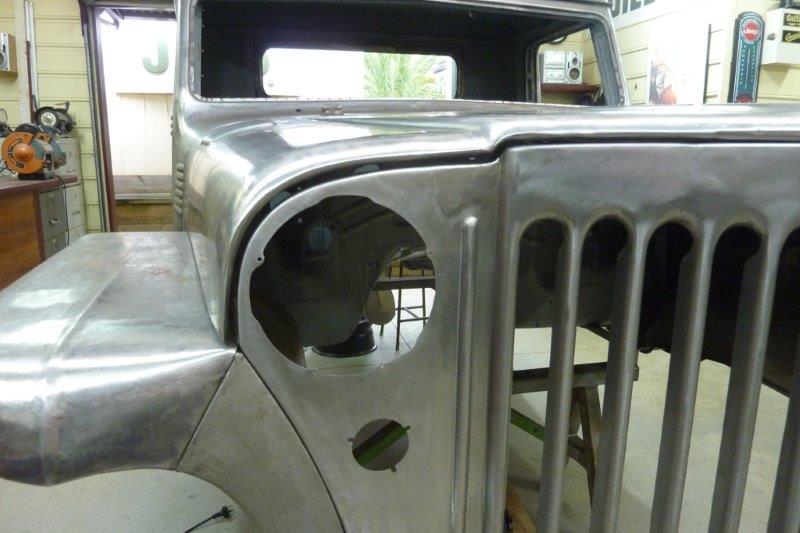
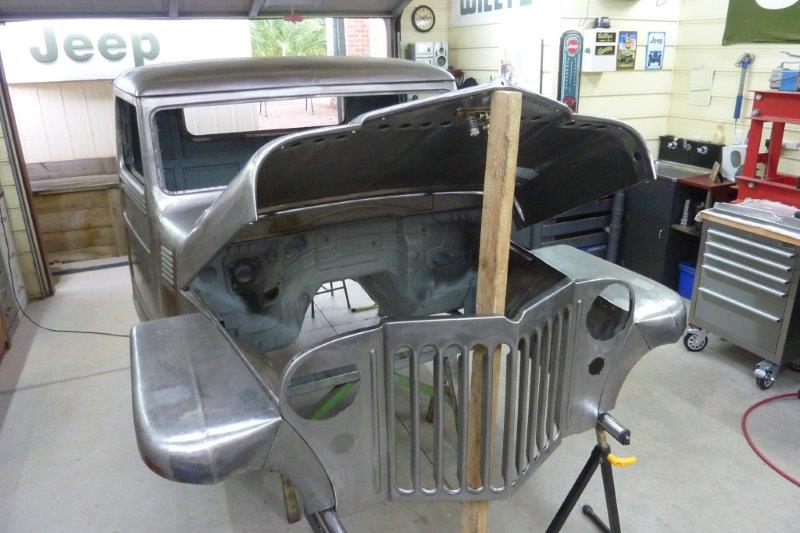
Another thing I did this week was lower the grille and guards down creating more angle on the front guards and bonnet. Was only 1.5 degrees but flows better than dead level. It has pulled the guard away from the firewall, but I have to rebuild that anyway.

I used my sand bag to weigh down the other side while I lifted this side up leaving my hand under the step while pushing down with all my weight on the raised corner. The middle had to come up a touch too so supported it while hanging down on each side.
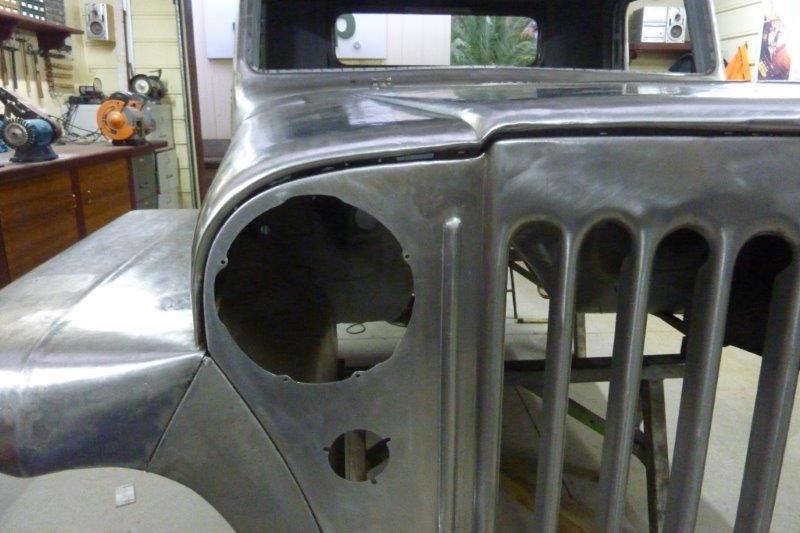
The left side has come up well. Right side has the right profile on the outside, but one section on the inside near the outer headlight hole is too close.
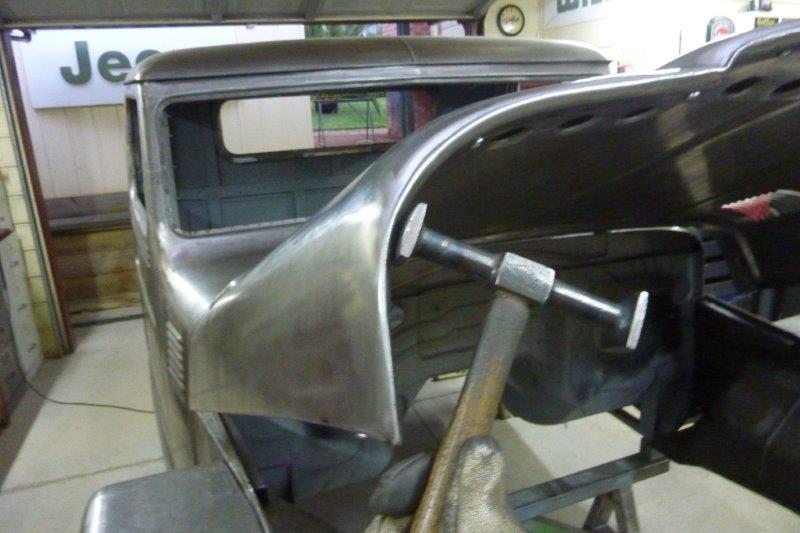

A bit of hammering with the right shaped hammer to fix it. Much better.
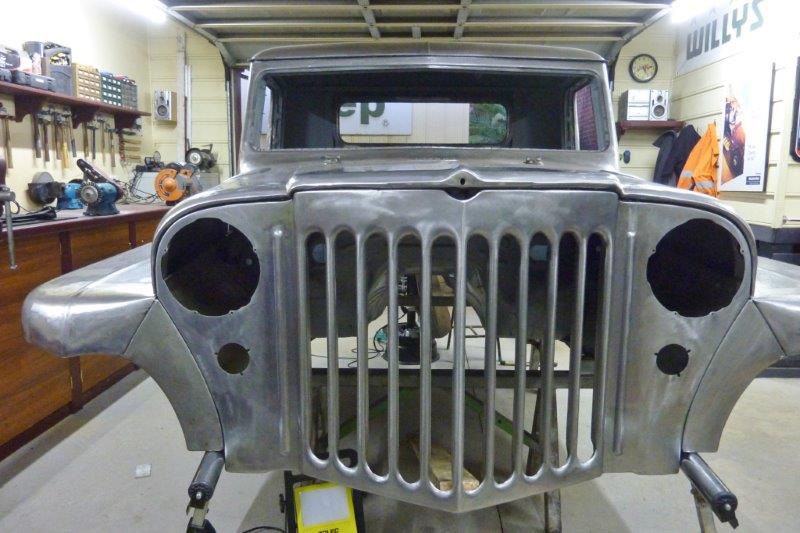

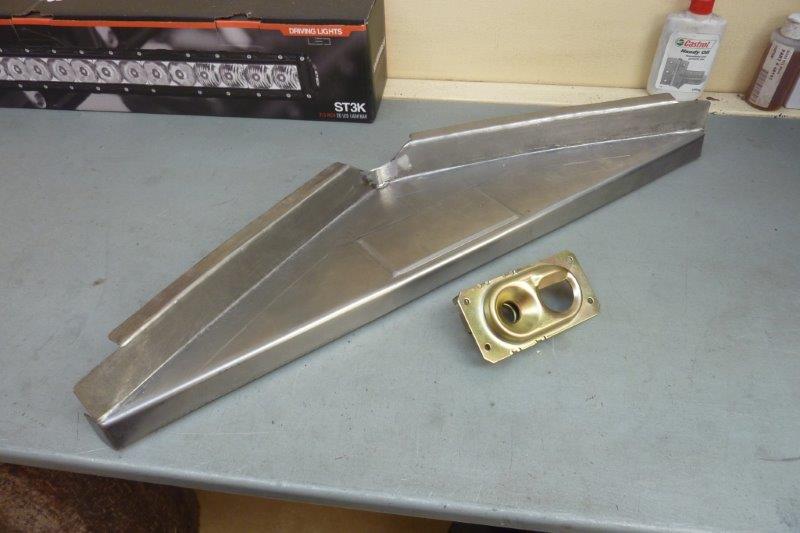
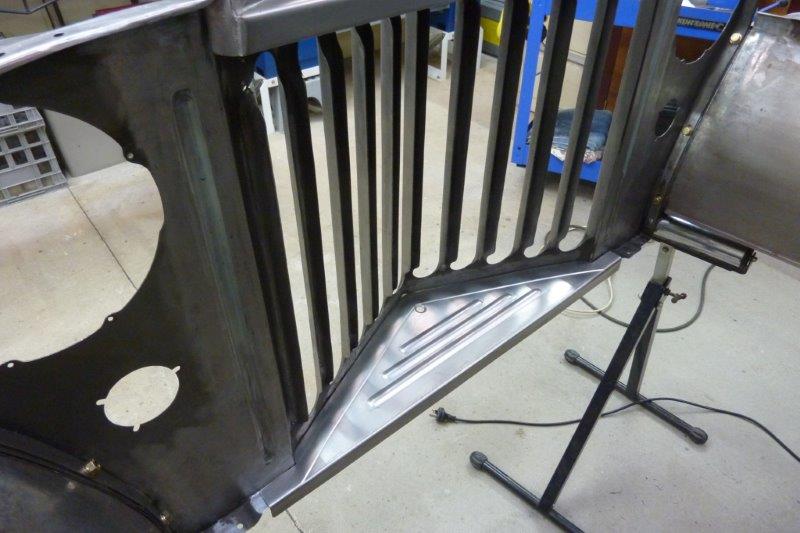
About as good as I can get it right now. A bit of CAD work to get a template for the lower grille reinforcement panel.

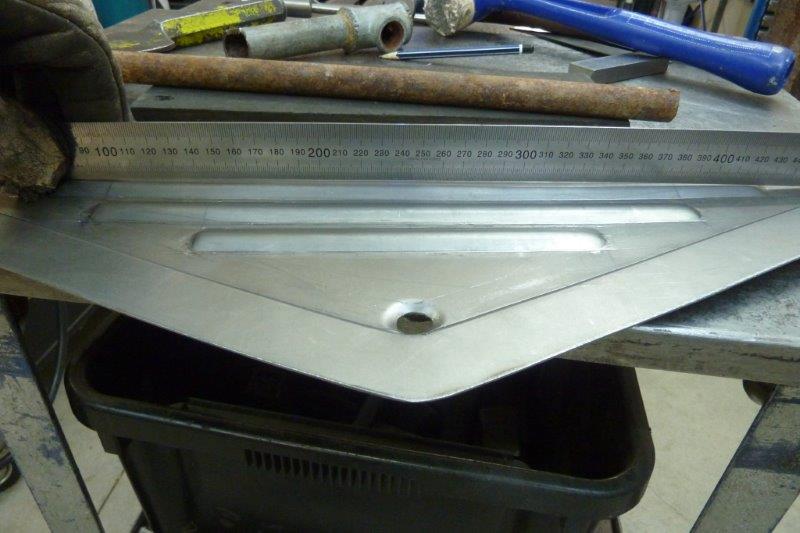
I put a step around the edge so it sits flush with the grille flange underneath and sits down from the top. Having the main part lower means I could put a drain in the panel that didn't need to go through the grille flange as well. Even though I stretched the bead area first on the English Wheel, it is still bowing down in the middle. This tells me the top of the bead needs more stretch to level it.

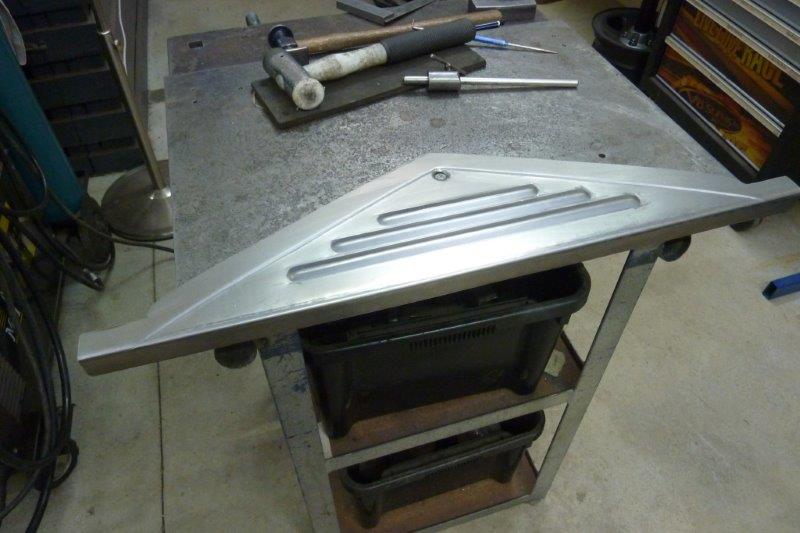
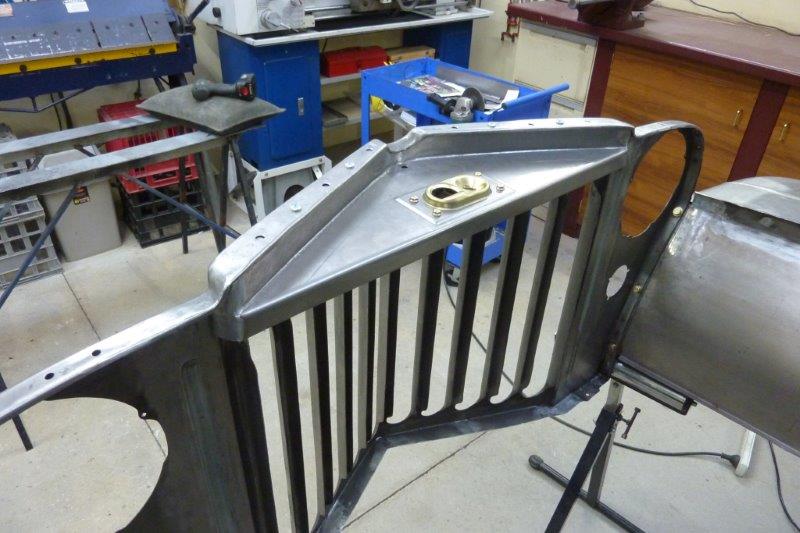
So I made up this T bar from some rusty bar that fitted the bead. Hammered down into the hollow of the bead directly over the table. Lots of little hits working back and forth and it straightened right up. Might work well as a post bead stretch even if you have not wheeled it first. Certainly will improve it. I had also rounded the ends of the beads as usual with some pipe with half of it notched out of the end.
I was worried the beads were a little bold but they match the ones in the doors and went with that. Once behind the grille they don't look too bad. This can now be spot welded in place. Will just add some sealer over the gal coat beforehand around the edges to keep water out.
[Index]