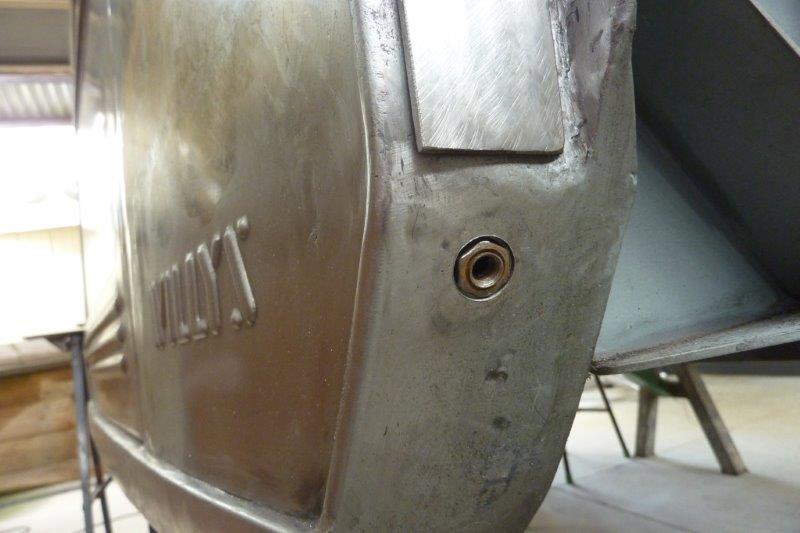

One of the guard mounting nuts was partially stripped. So I drilled it out just big enough so a nut could be tapped into place. To stop the thread from getting weld splatter onto it, I use a small piece of tubing to protect the thread of the bolt so they can't be welded to each other. Then weld around it, screw the bolt out and then cut the tube and the weld flush. Used copper here but even steel will work as just cutting straight through it after it is done.
I also noticed that the grille wasn't following the angle of the bonnet. It must have moved at some point and I didn't notice until now. Each side of the grille it was level but the centre showed it was leaning back 8mm-5/16", the same it was off following the edge of the bonnet exactly.
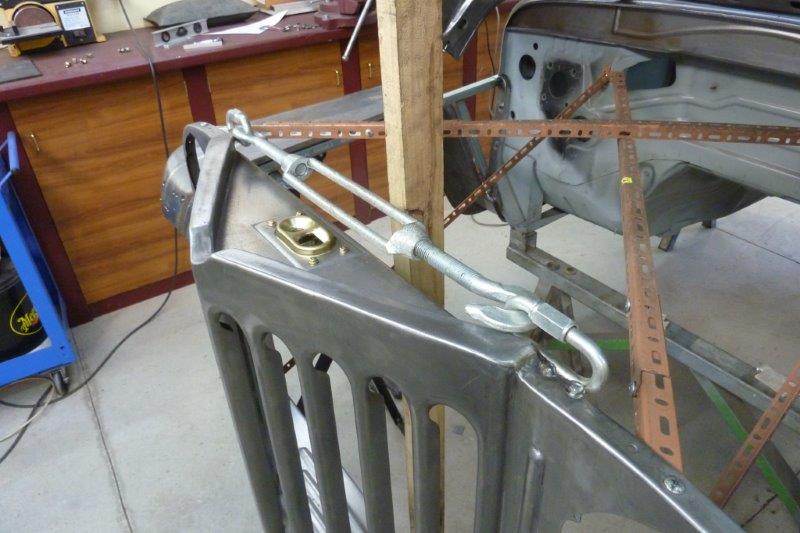
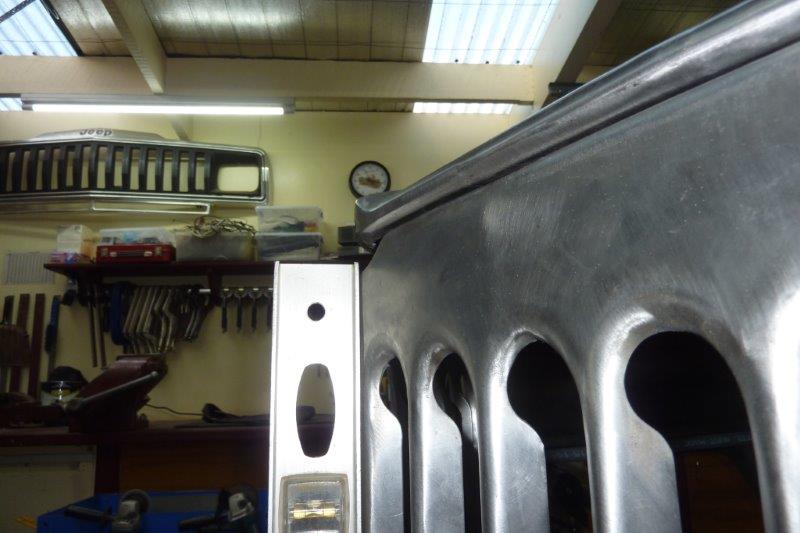
As the top was already fully welded in I wanted to fix the problem another way. So tack welded in some joining links and simply tightened the turn buckle to shorten the back distance, therefore pushing the centre forward. A few adjustments for spring back and got it right on. :)
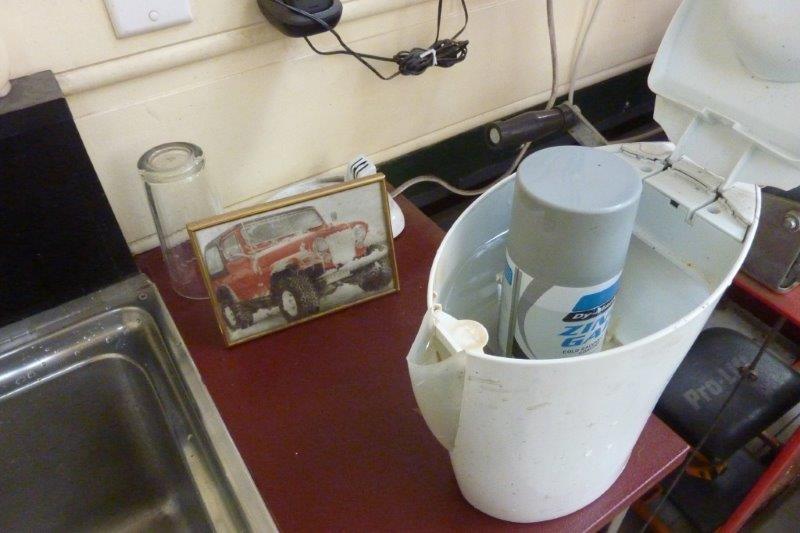

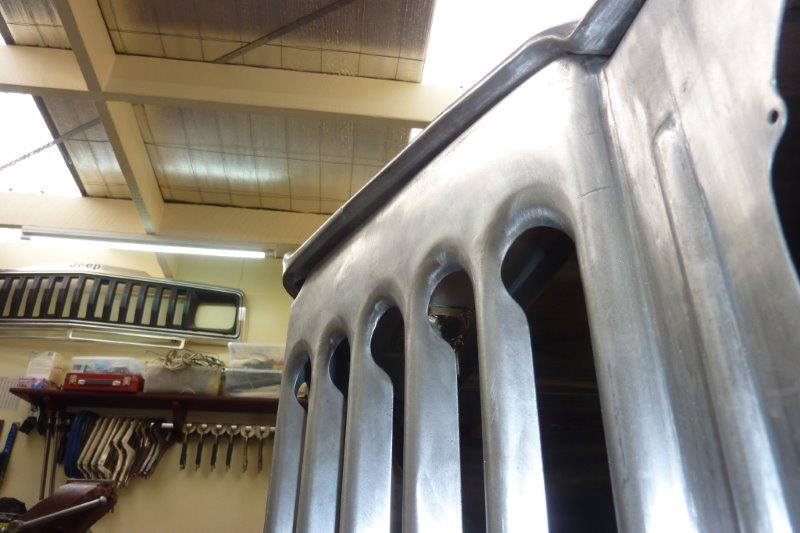
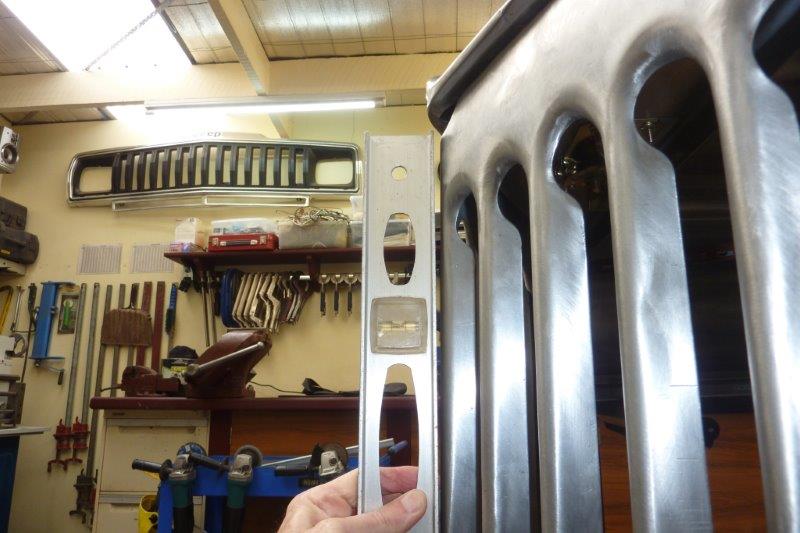
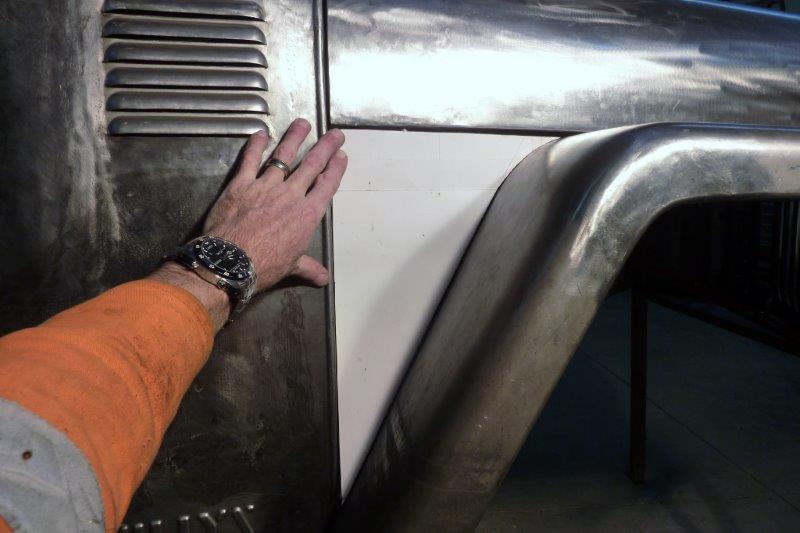
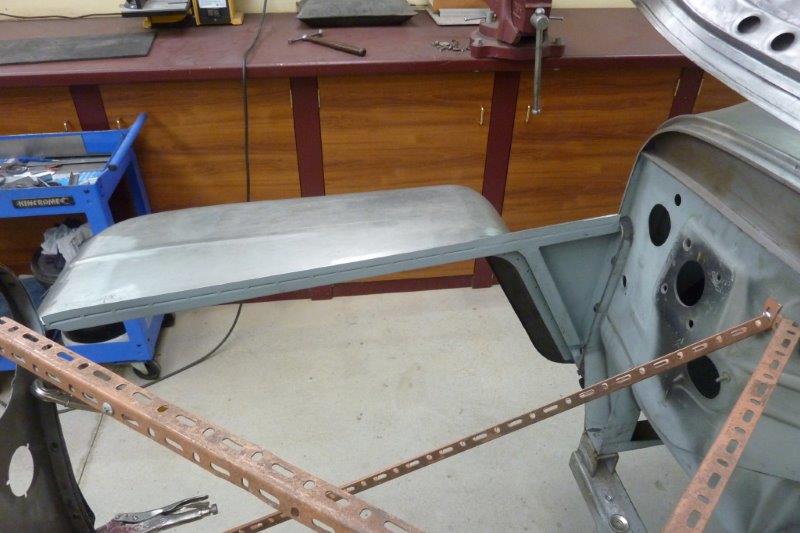
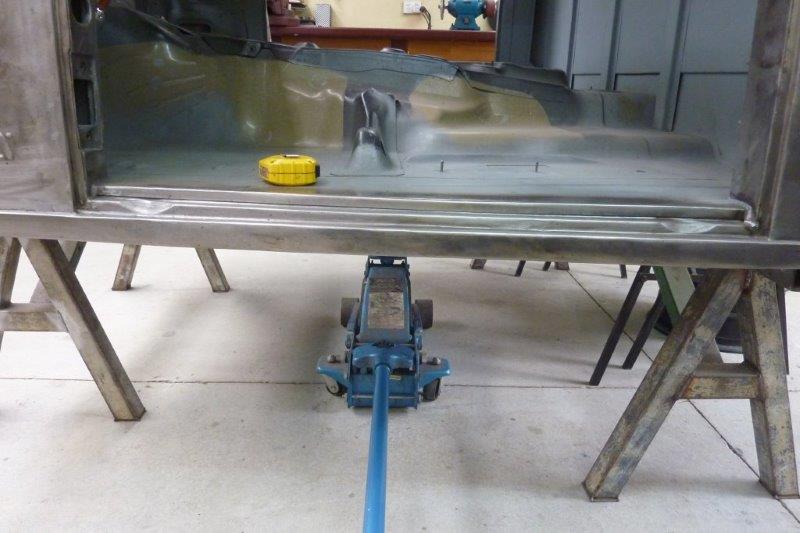
Can tell winter has started here as have to place the spray cans into hot water so it sprays correctly. Works a treat when the sun is not out to warm the cans up instead. Just showing how the top box section was bent due to welding in the angled brace. Look closely at the gap on the left side under the ruler.

As the weld cannot be stretched back out I simply use more weld opposite it to pull it back straight again. Done this for many years when welding brackets on to axle tubes etc. I ran two welds on top of each other, letting it cool in between, to pull it straight to add up to the welds that went across underneath as well. I keep the heat straightening welds on the edge only as welding across the box will just create a hollow. So I have 3mm plate against the firewall spaced out with the same sheet metal thickness as the piece that will fill in this area. Then have the brace supporting the top box section so the outer guard does not take the weight.
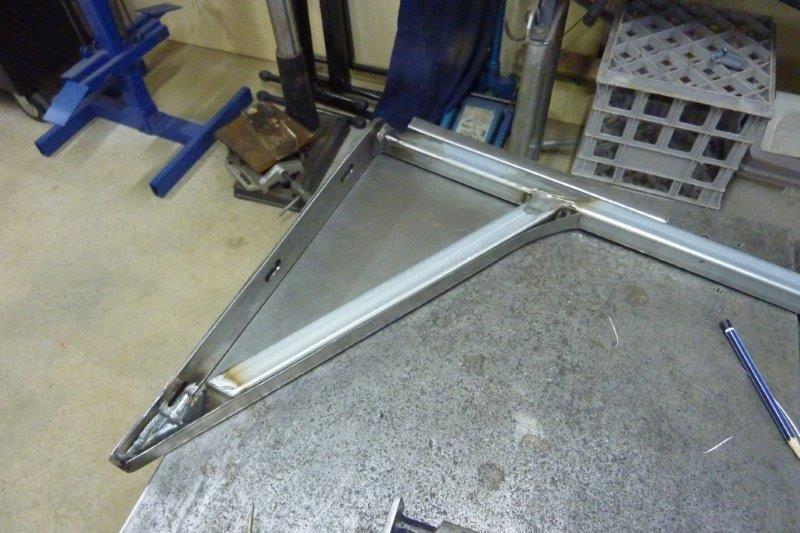
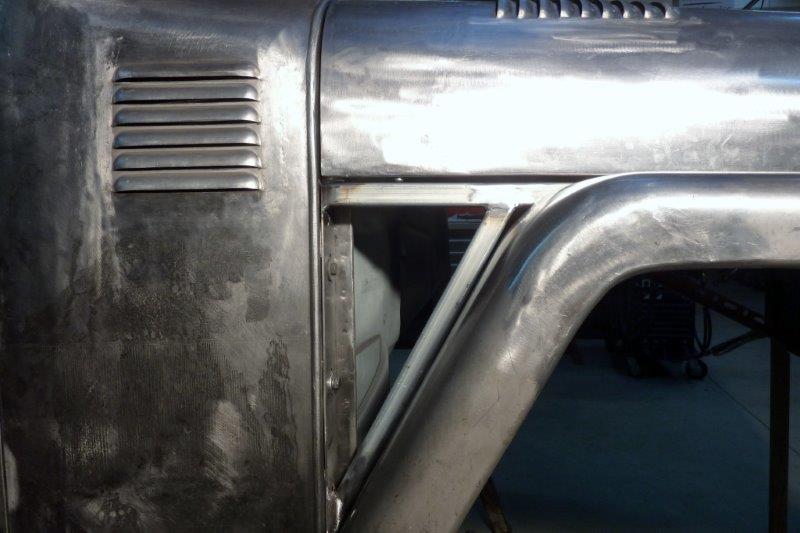
This is the template I made for the other side and it fits here too, always a good sign. From the other side this is the finished fill in piece wrapped around the firewall plate as well is the angled brace.
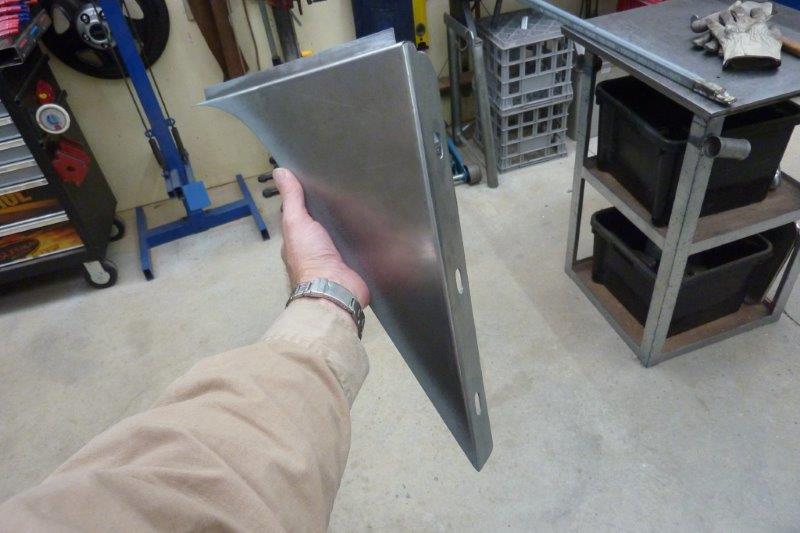
Also stepped in at the top to line up with the rest of the up turned flange of the guard. Here it is in place before the inner guard goes back on.
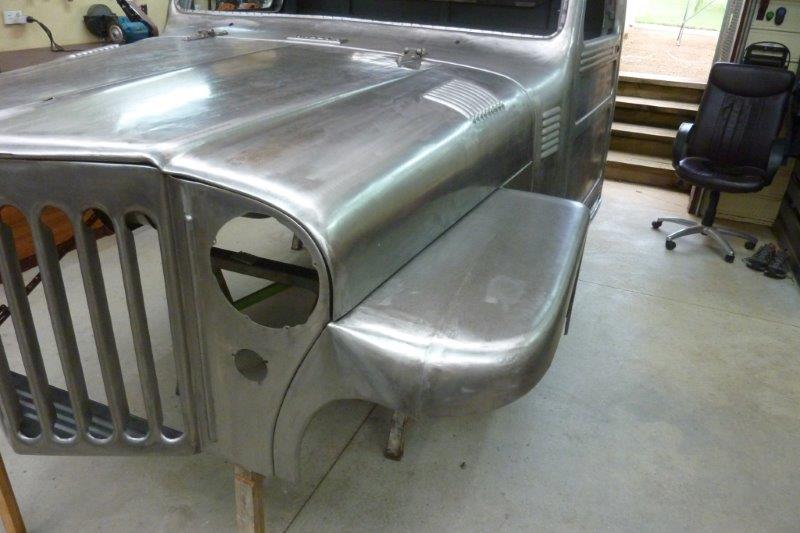

Looks much better having the triangular piece inline with the bonnet edge rather than angled 10mm-3/8" in.
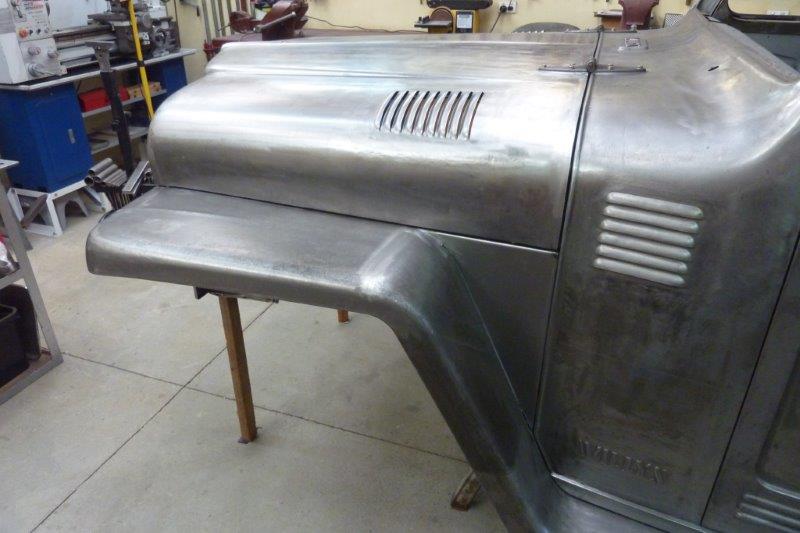
Now have a nice even gap along the top of the guard right to the firewall as well. I have also been adding a few millimetres of weld along the back bonnet edge in places to even that up some more.
Video update.

Big step in the build. Need to lift the cab off the trestles they have been tack welded too all this time. Just seeing where it balances. Balance point lines up just behind the front seat mounting bosses.
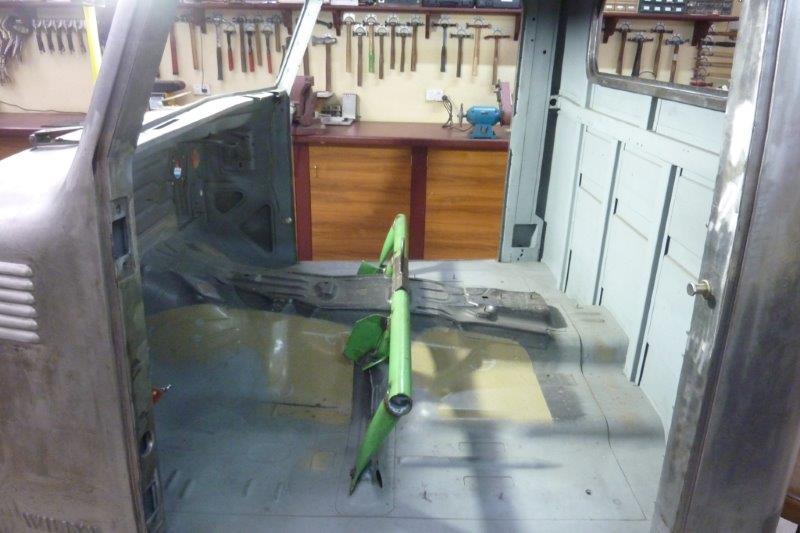
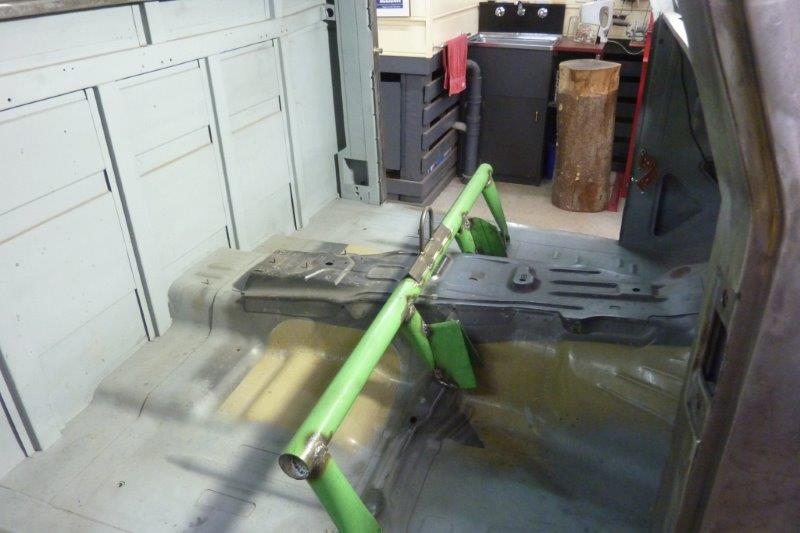
Neighbours had thrown out their children's swing set, so cut that up to use. I have spread the load over all four seat mounts just to be sure. I have added braces to the two mounts closest to the tunnel to stop the thin walled tubing bending forwards with the load.
[Index]