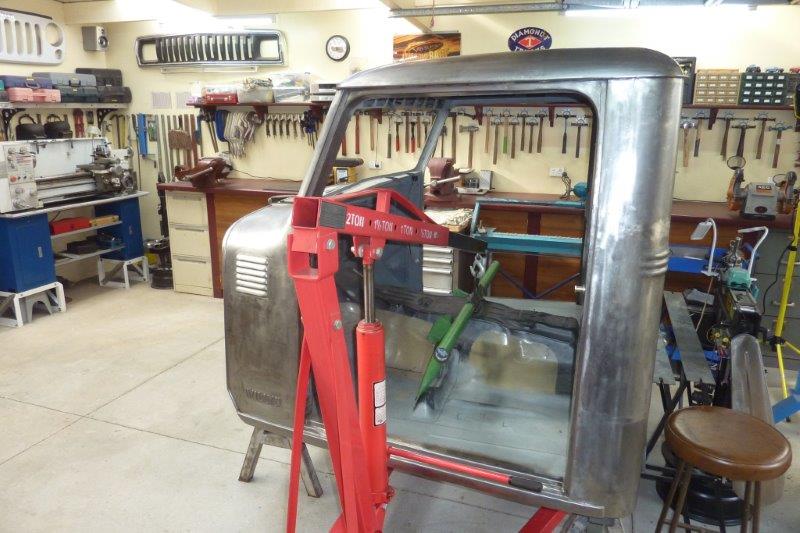
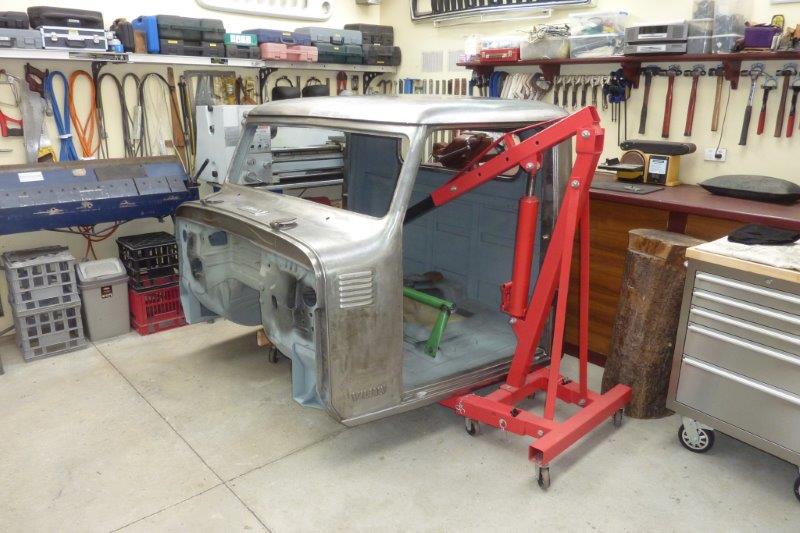
Lifting up from floor height gives the possibility for lifting up over the engine if needed with ease. Also no strain on the roof supports like lifting from above. Also will use this once fully painted as no risk to the paint work. Once off the trestles, I easily balanced the cab with one hand while moving them out of the way with the other. Then lowered it down to the cranes base with some timber on it. Could then just push it over to the corner of the workshop.
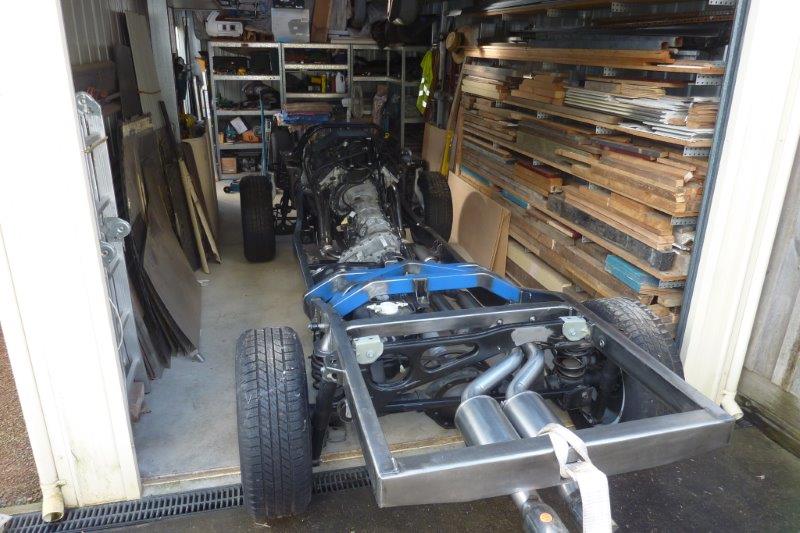
Look what is coming out of the garage! Been sitting in there since I finished it back in October 2013! Only had it coated with lanolin and then old sheets over it. No plastic as that would cause a nice wet environment from condensation and I also had water occasionally flood in here too during bad storms!
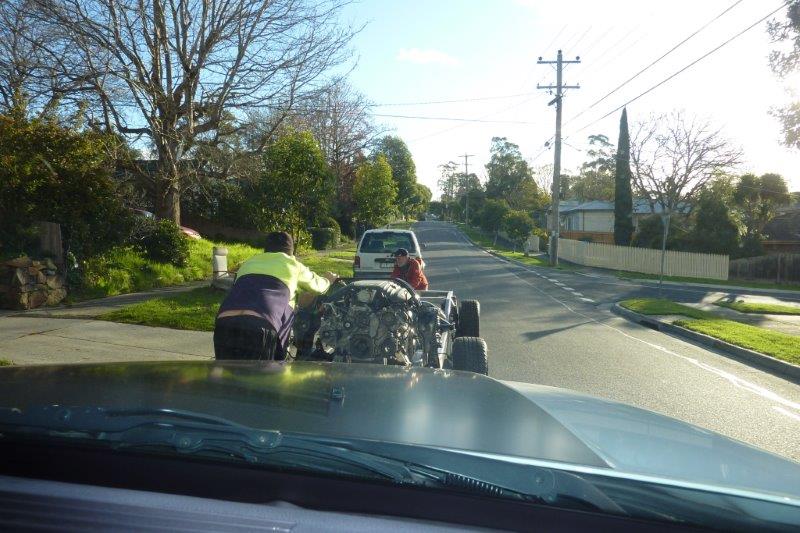
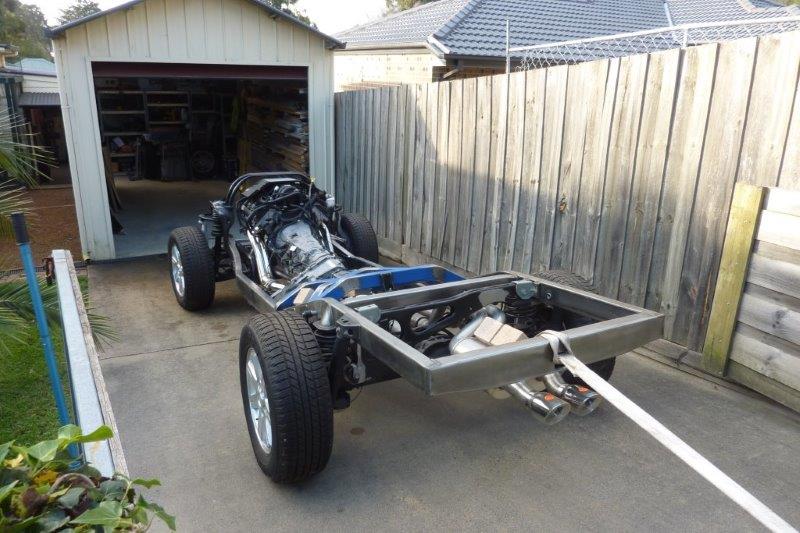
To get to my workshop I actually have to take a trip down the road and then into the side street entrance. Neighbours helping by pushing it. I got the father to drive the Jeep after this shot as I had it attached to it to stop a runaway once we got around the corner. Pretty tight in here! Even on my own I just dragged the rear end around on a trolley jack to save dropping it onto my wheel dollies.

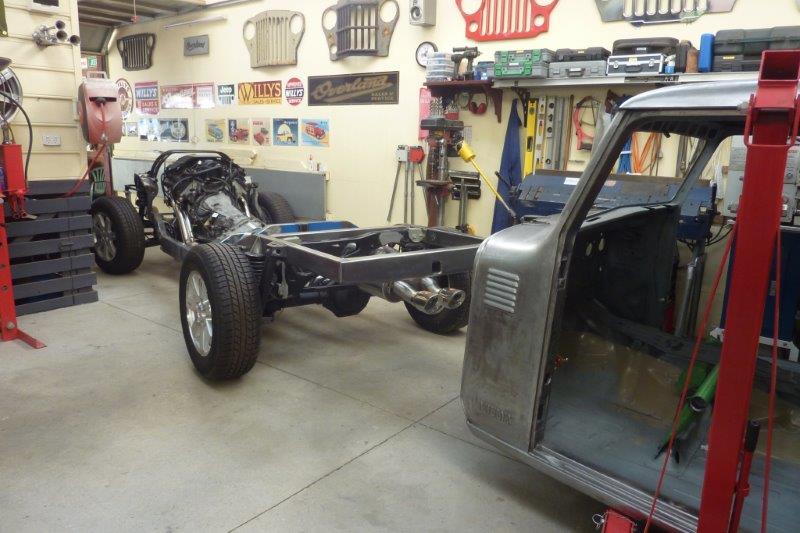
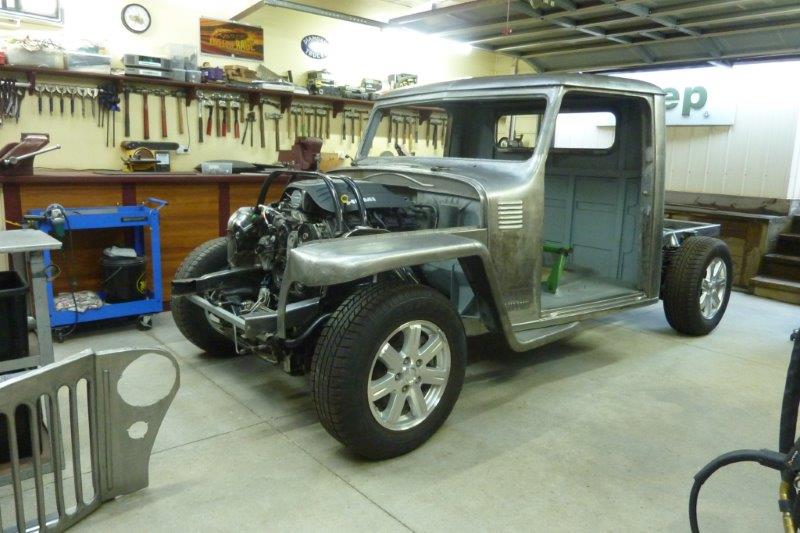
Had no problem on my own lifting the cab onto the chassis using the crane. I have it sitting on some 12mm plastic spacers to give me the clearance I want under the floor supports. This will reduce a bit once I build the chassis to cab mounts and it rests on rubber mounts and then tightened down. I had already one chassis mount made all those years ago in the centre of the back wall. This is already bolted in with the rubber mount but not tightened down. That will happen after the rest are made so they are all at the same tension.
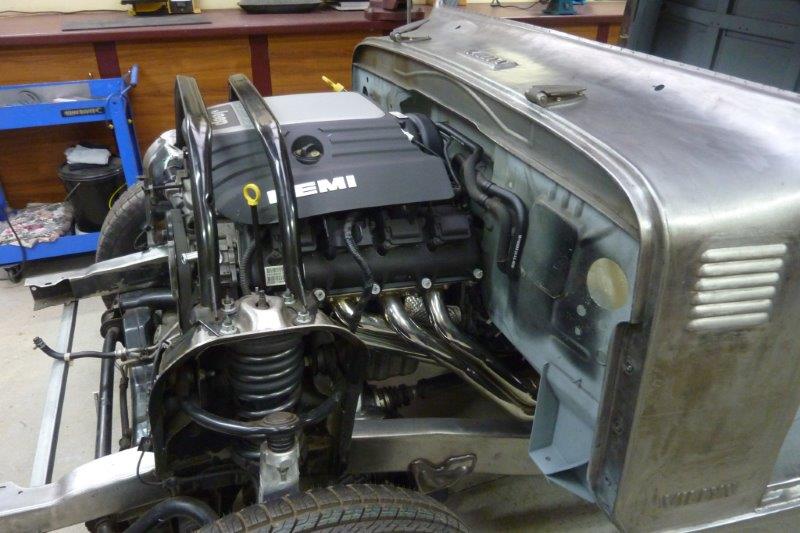
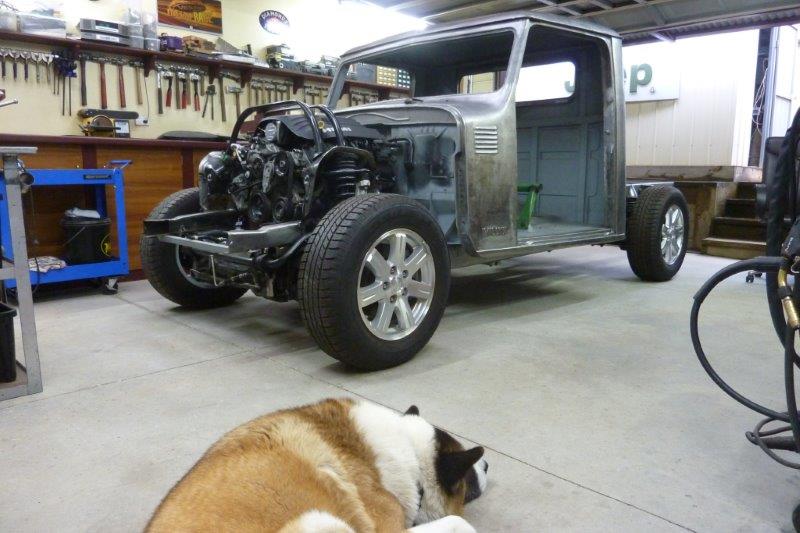
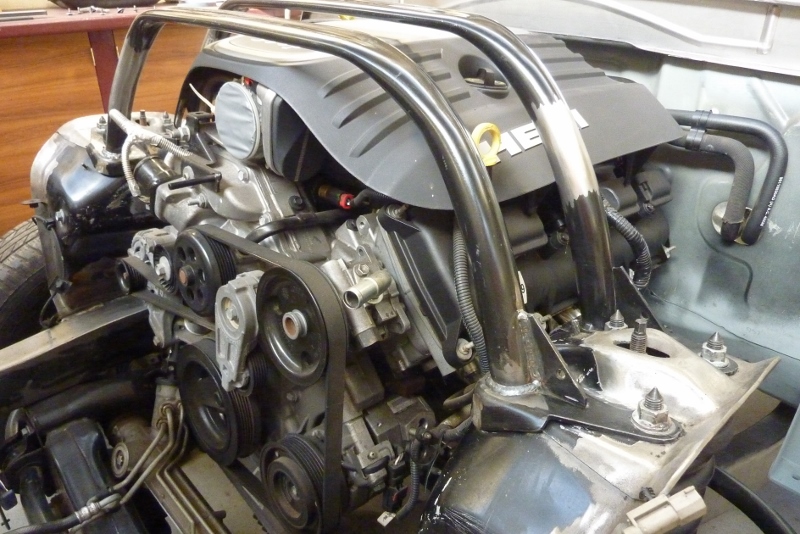
Engine to donor firewall distance is exactly the same as when mounted in the donor. Was great to stand back and see what it looked like for the first time together.
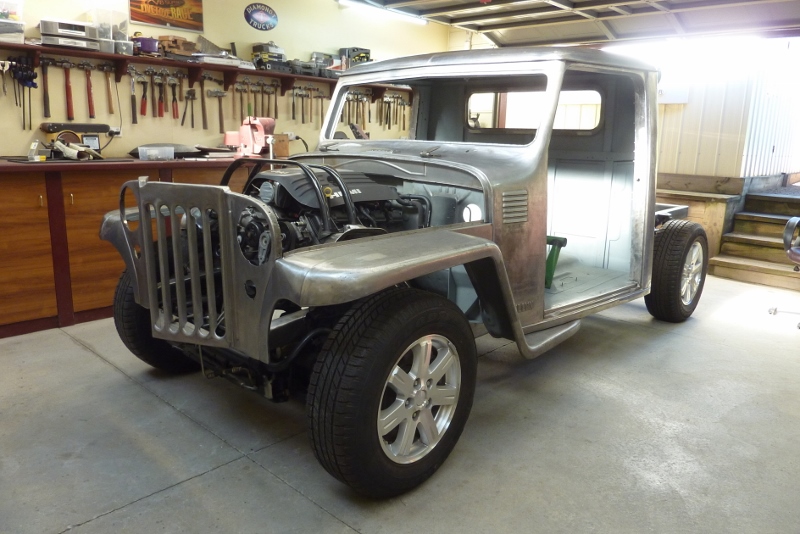
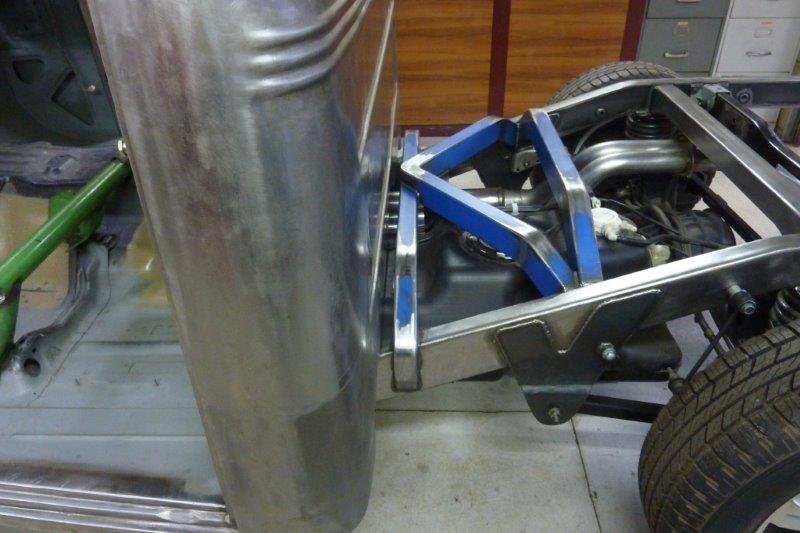
I have got the other guard on and hung the grille. As some have noticed, the front tower brace is not going to clear. Angling down the front by nearly 2 degrees dropped the grille 50mm-1" and lost 14mm-9/16"of clearance over the front brace. So wouldn't have cleared anyway.
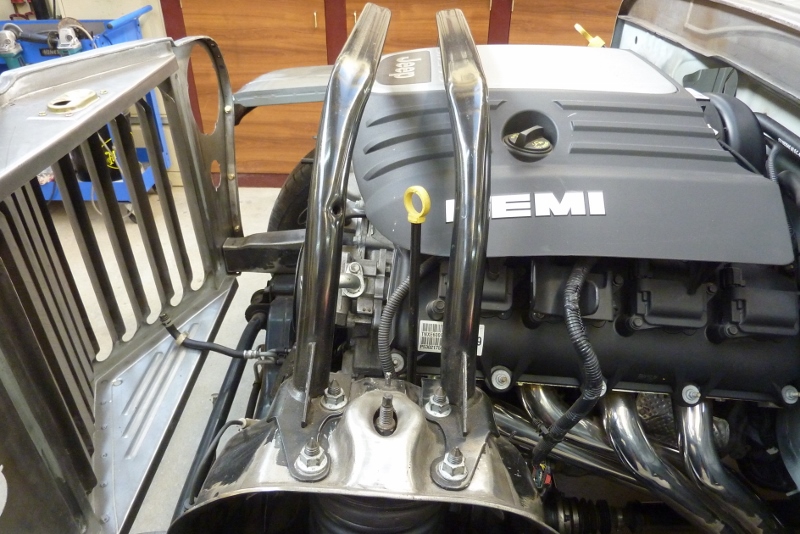
The rear is the factory placement and the top was angled downward to clear the donor bonnet. Can see placing another rear one on the front, by turning it backwards, made that angle worse. With the front one off it actually clears due to the thickness of the leading edge of the bonnet over the grille.
Thought I might as well gain a bit more by leaning back the brace to make it parallel with the bonnet line. I made a cut behind the some mounting holes, as I want to weld those up anyway along with two others, and pulled the brace back.
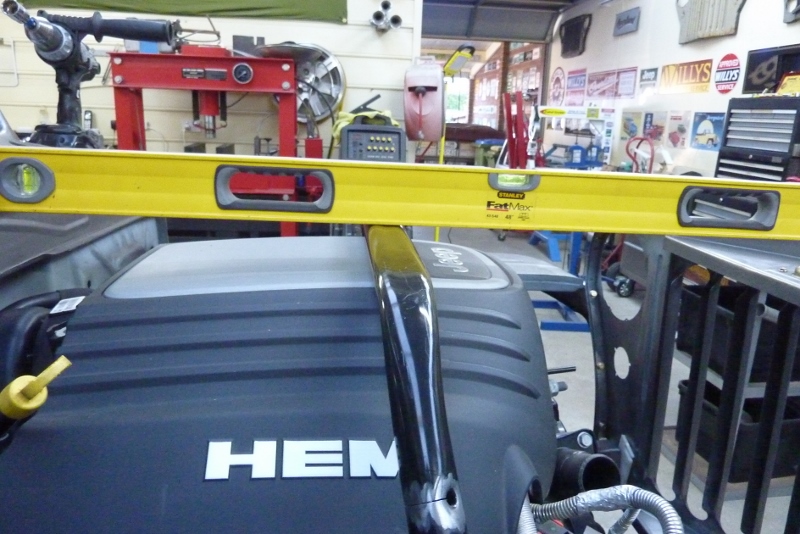
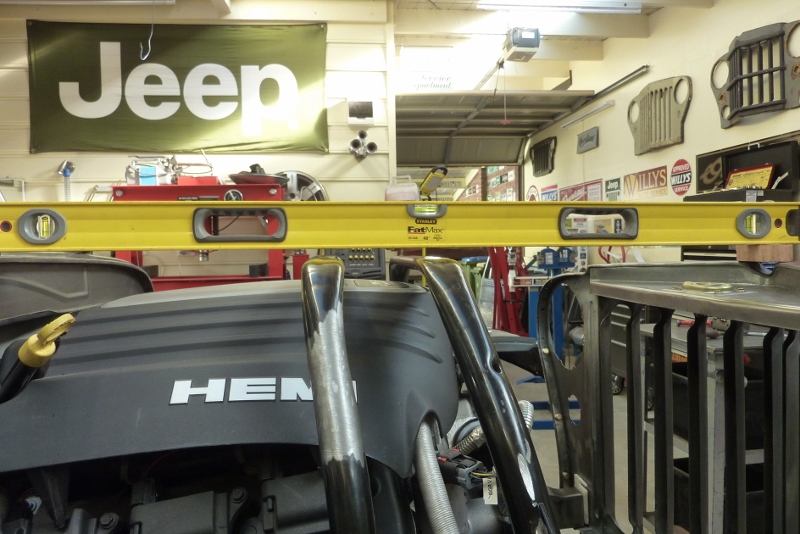
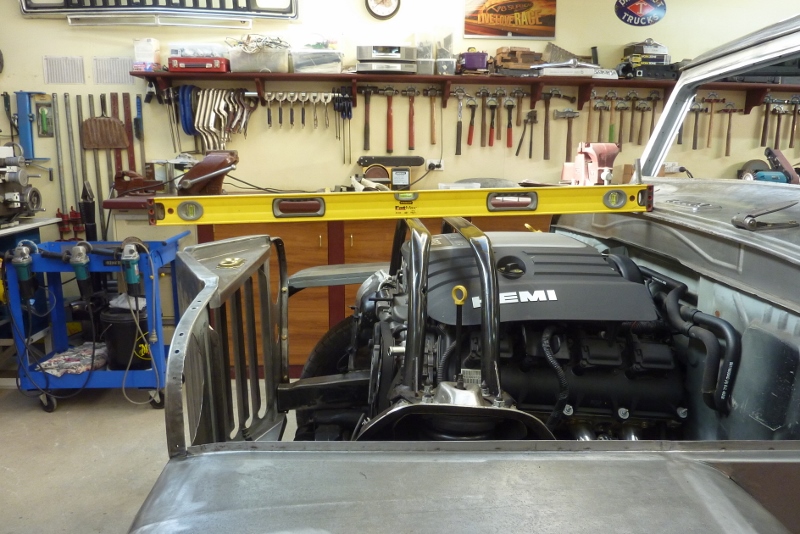
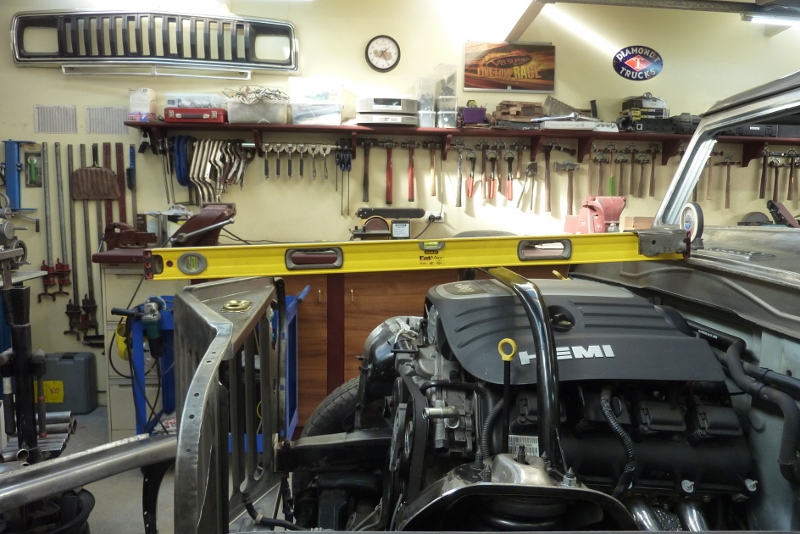
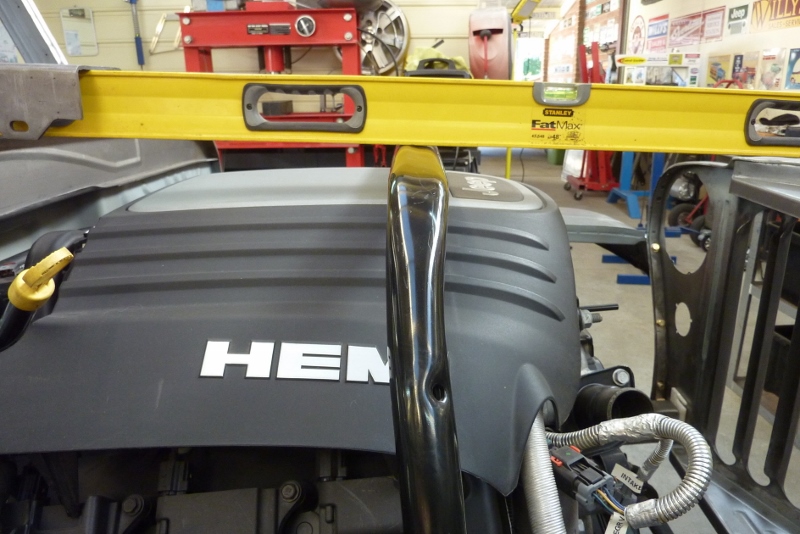
I then cut the front one off its mounting plates and turned it around. Then lowered it and lent it back until it was parallel with the rear one. The level is sitting at the same angle and height as the bonnet will be. Clears by 17mm-5/8". I lowered the front brace 19mm-3/4" in total and spread it out so it sat in the same spot as before on the mounting plates. The front brace does help as I had 1mm of deflection in the towers from fully loaded to unloaded, with the weight of the suspension and wheels and tyres pulling down on them, with the rear one only fitted. Once I added the front one there was no defection at all. I may still add a brace under both of them and will link them also with a dimple holed sheet metal piece across the top.

We are assembled! I even got out the Willys stamped front bumper out to checkout the look. I will still run it under the grille even though the grille is 50mm-2" deeper than stock and also the front guard rake giving another 25mm-1". I will bolt it directly to the subframe.
[Index]