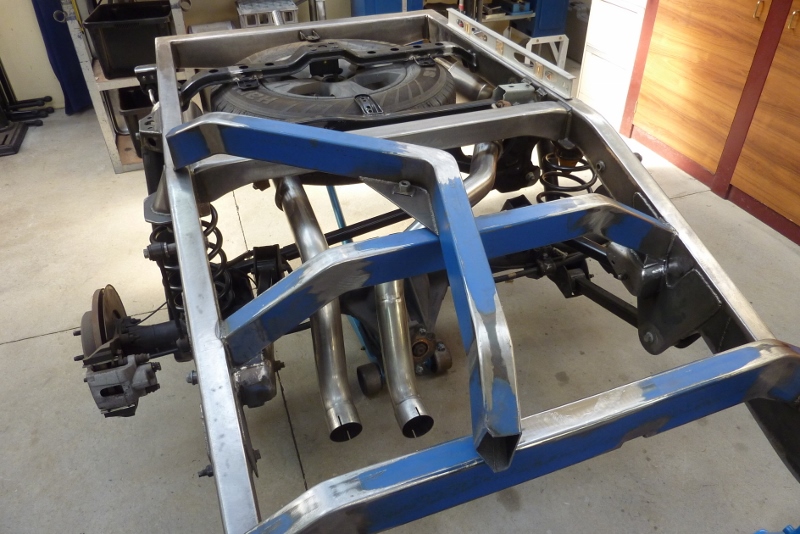
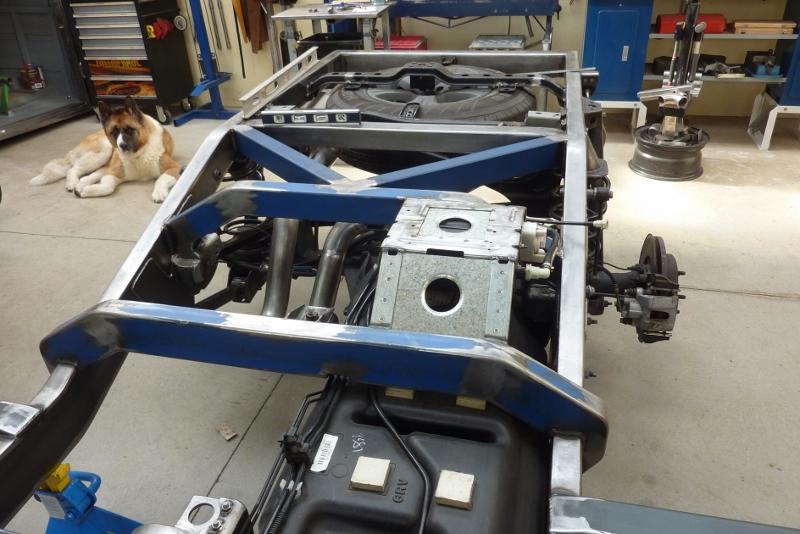
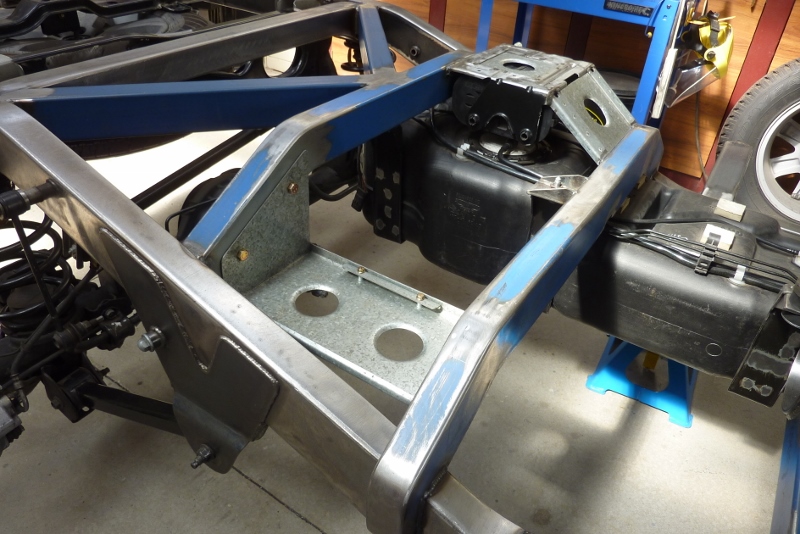
But before I went any further, I thought where am I going to fit the battery which I had planned to be where the spare is now too? It was too close to the exhaust if I put it opposite the canister, so out came my lovely K member to make room for it! Whipped up another less elaborate K member one bay further back.
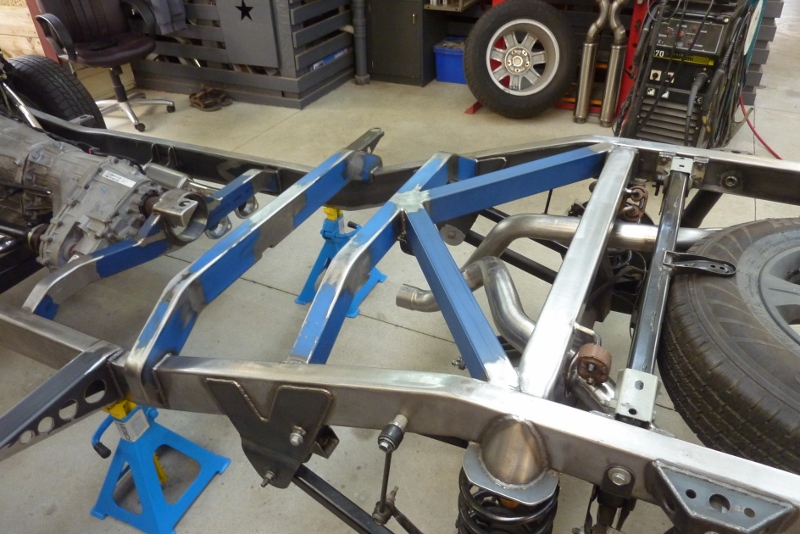
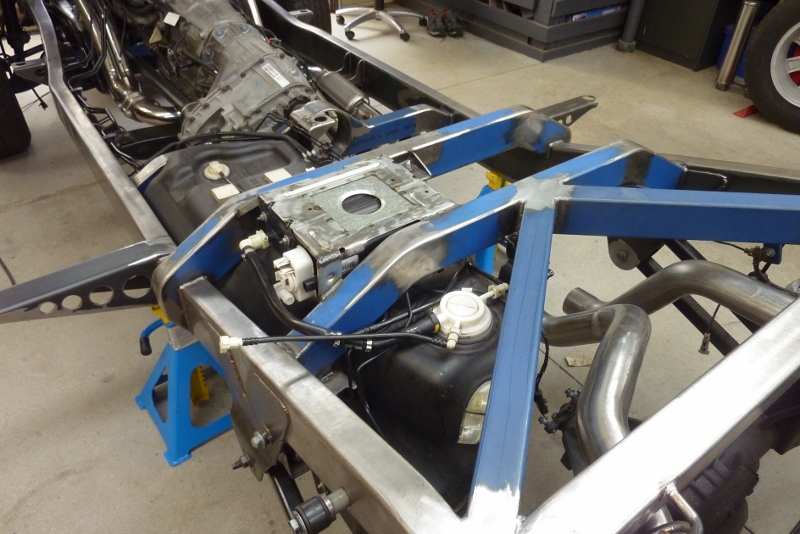
Can see where the term K member comes from. It works just as well back here as it will stop the chassis trying to turn into a parallelogram anywhere along the rails. There was more room above the fuel tank here too as it drops down at the top. Plumbing worked out better here as was actually too close before. The small left over line connects to the fuel filler vent port and the vent control valve to a vent filter also mounted there. That won't be done until after the bed is made.
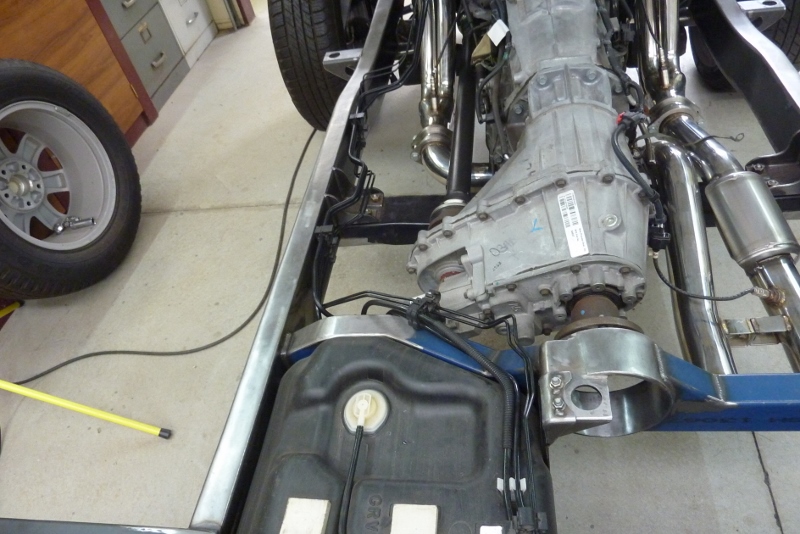
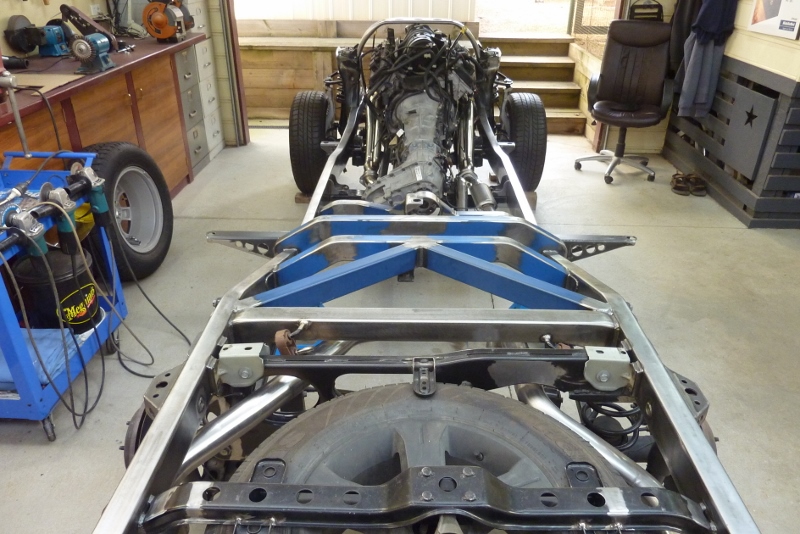
I have also run the fuel and vent lines which just clicked back into place without change. The brake lines were also run. All lines were just clipped into the donor factory holders in the same positions along the frame too. No bending was even needed!
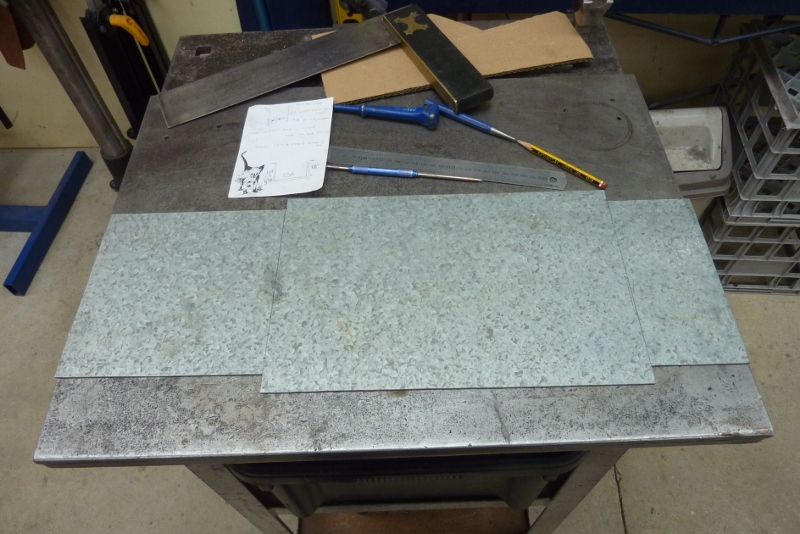
From this 2mm-14g cold rolled galvanised steel, I am going to make a battery tray. My folder has trouble folding a narrow edge as there is not enough leverage against it, so did it by hand over the edge of the bench. I sometimes start with a wider piece and cut it back after folding.
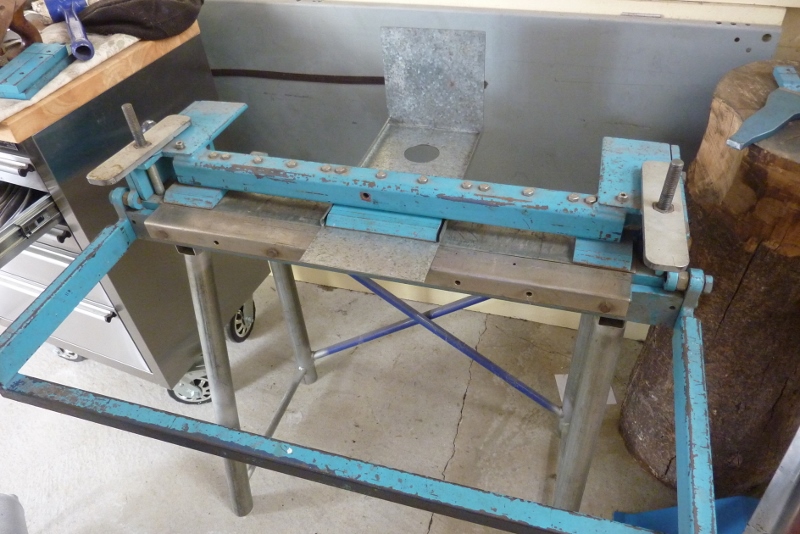
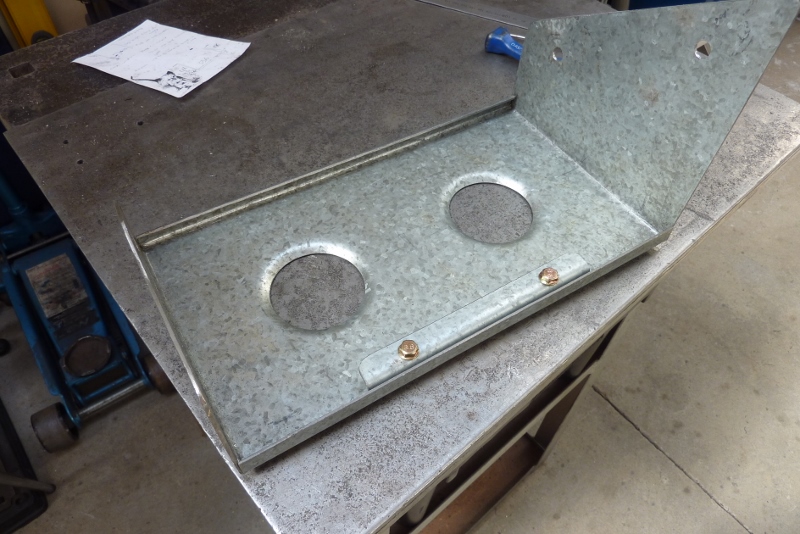
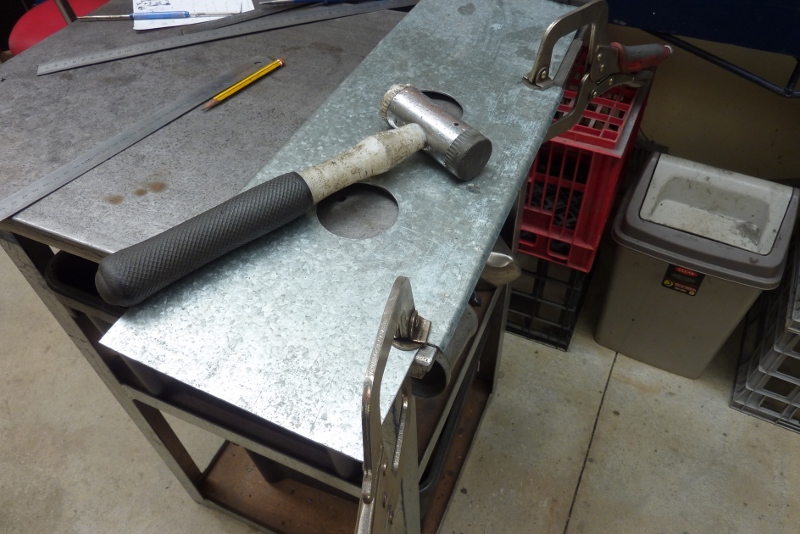
My Chinese made folder can't handle this at all so back to my old home built one. Still use it for things like this. I am using a DIN75 case battery, DIN75LH MF battery, as it exceeds the original stock donor specifications for the HEMI V8. They have a ledge running around the bottom of the case which the double fold at the back of the tray will sit over.
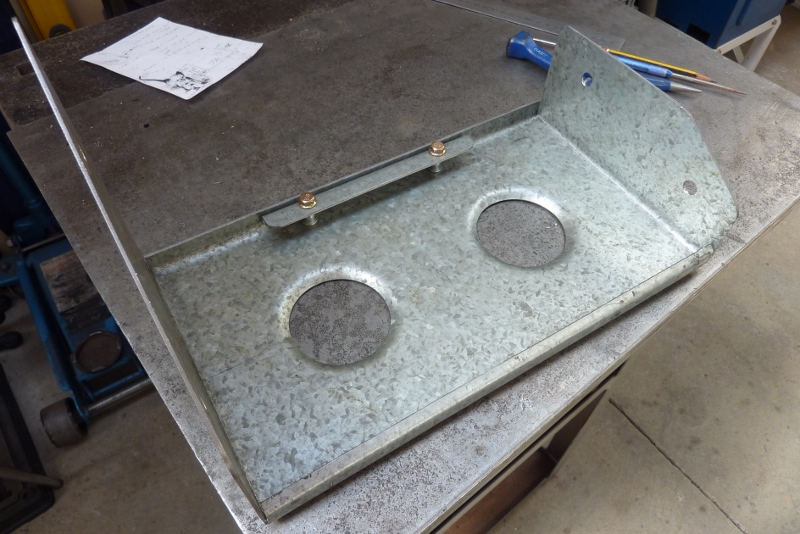
I put two nut inserts in so that the angle piece will press down on the front ledge of the battery case holding it down. This is the way DIN batteries are most often held in place. I installed the inserts from the bottom as thought it would be neater. The two flared holes reduce the weight while adding stiffness to the bottom and giving drainage.
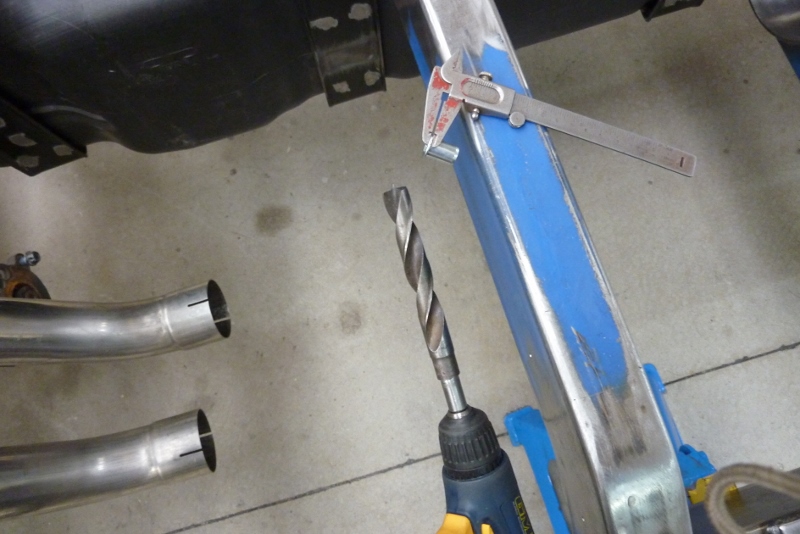
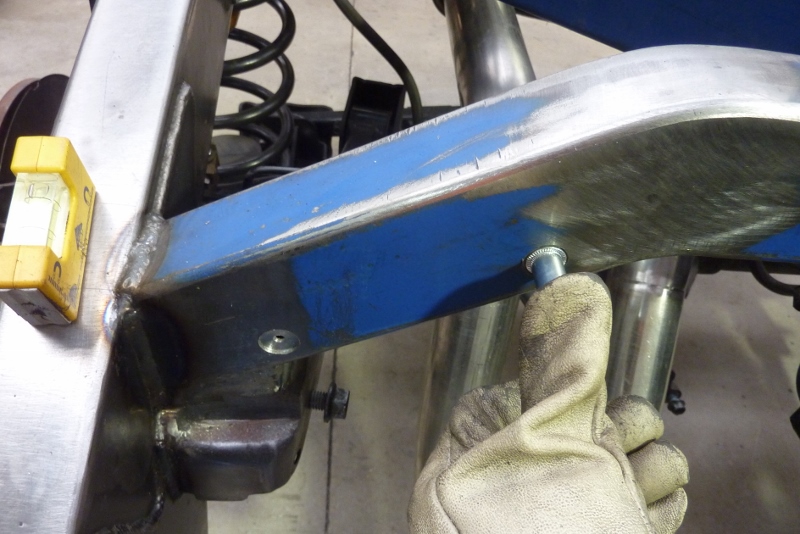
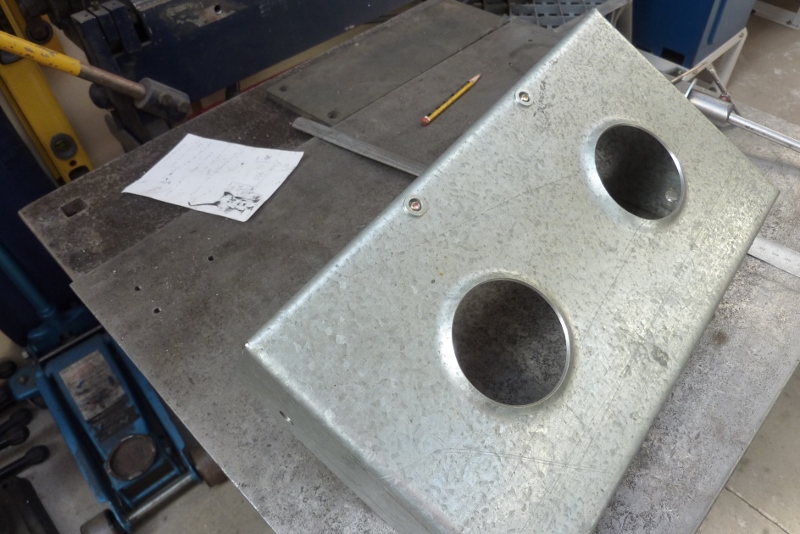
Also going to use nut inserts to hold the battery tray in place on the cross members. Normally the collar around the insert sits proud, but I want it flush so you don't get a build up of dirt between the tray sides and the cross member. So I re-ground a drill bit that matched the outside diameter of the insert with flat cutting edges like used when drilling sheet metal. Only drilled just enough so that the collar sat flush.
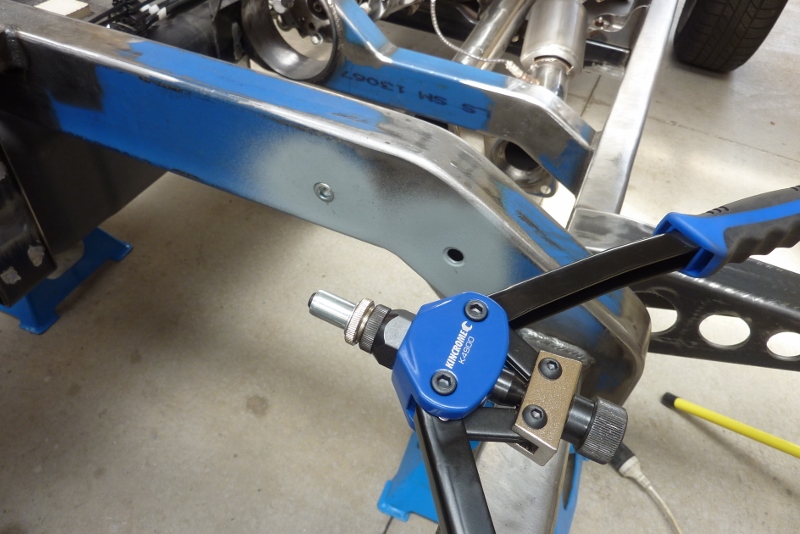
Drilled the centre out to suit the insert. You can also buy special bits to do this exact job of creating the recess for the insert. The nut inserts work like a heavy duty rivet except the mandrel doesn't stay in the rivet once finished. You actually screw the mandrel into the insert and thread it back out again afterwards.

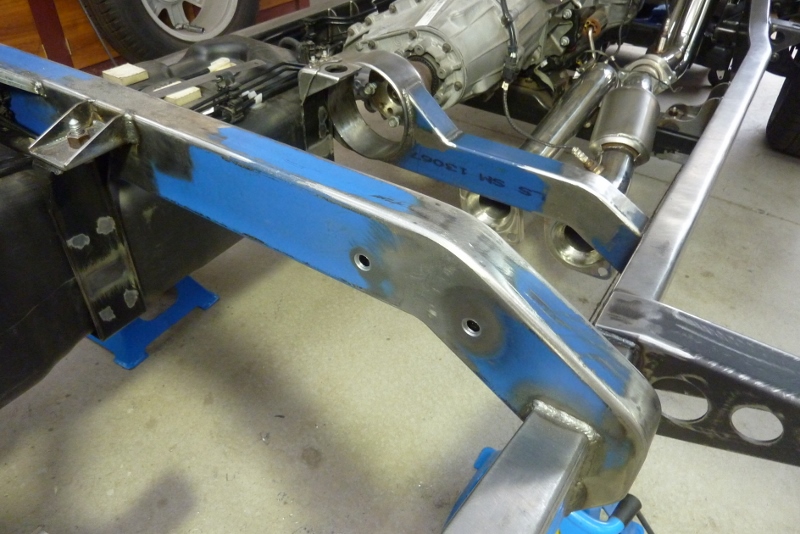
I used four M10 inserts to hold the tray in place. It has to hold a 20kg-44lb battery. The underside of the bed floor will be level with the cross members on the left of picture. I have 30mm-1.25" clearance above the battery. Gives me enough height to clear the 15mm-5/8" front lip of the tray when fitting and removing the battery. The mufflers run under the tray but are 125mm-5" away from the bottom of the tray.
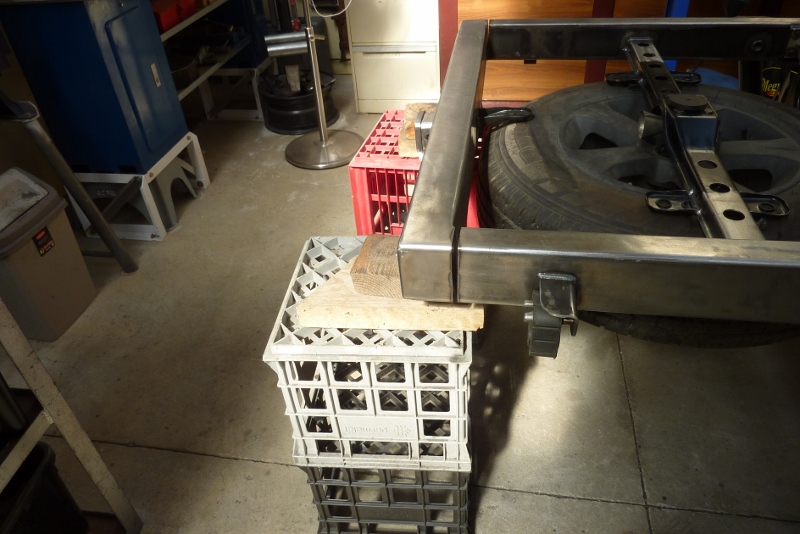

Still more frame changes! I lowered the spare tyre winch cross member down so that the top was flush with the chassis after coming up with a better idea to make the bed floor sit flat on the chassis later on. Then I saw an opportunity to reduce the rear overhang as well, so off comes the cross member. Making a brand new one from 100x50x5mm, (4"x2"x3/16"), RHS. I like to include the end caps for the frame ends at the same time. It increases the weld area of the cross member itself while reducing the total welds needed to adding a separate cap later on.
[Index]