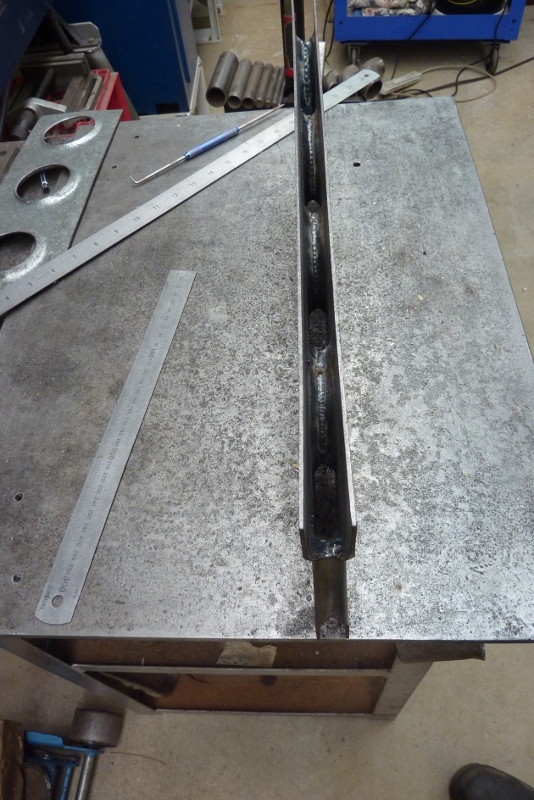
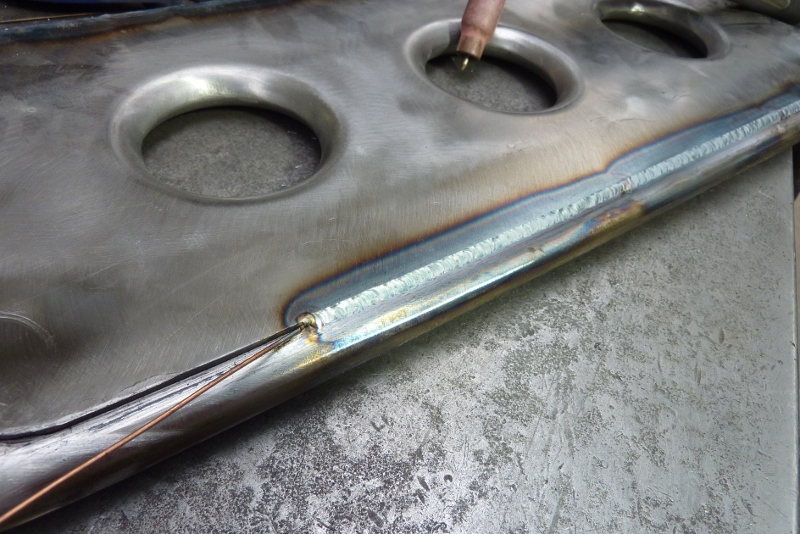
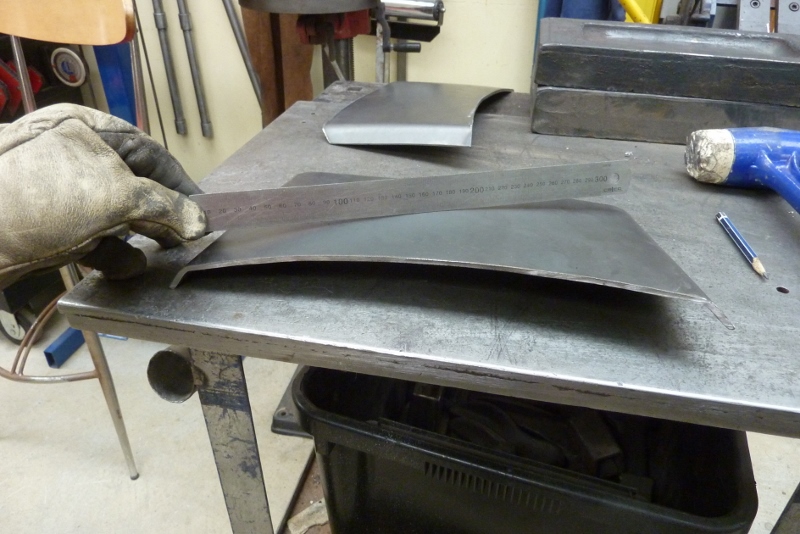
Welded the two halves together and ground the welds smooth. Used a die grinder and then hand filed them with a half moon file before using a flap wheel in a drill. Can see the penetration coming through to the inside.
Ready to fit. I welded as much as I could in situ to keep correct alignment. For some practice on thicker metal I just used the tig without a filler rod to fuse the join.
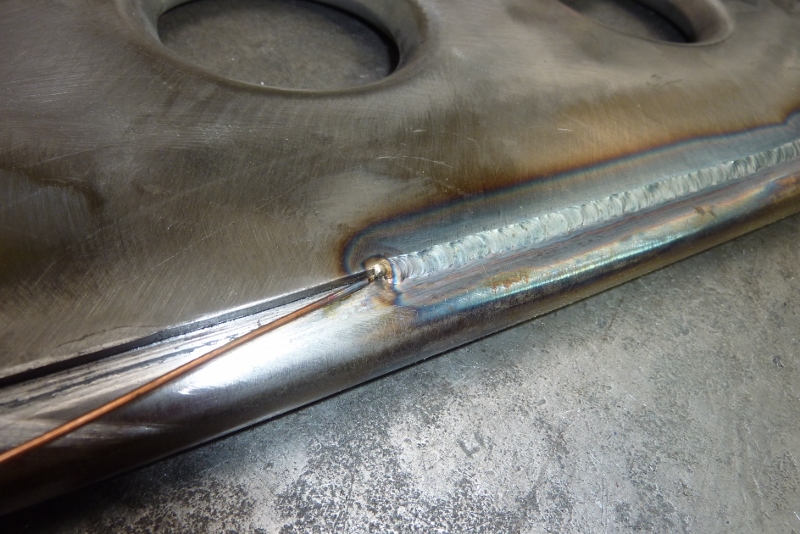
On the backside I thought I would try using some 1.2mm, (0.45), mig wire as a filler. Went a lot quicker and easier. I used the lay wire technique where you leave the wire in the join and run over it with the torch rather than feeding the wire in. Gives good consistency. Remember to have your filler wire and torch at 90* to each other.
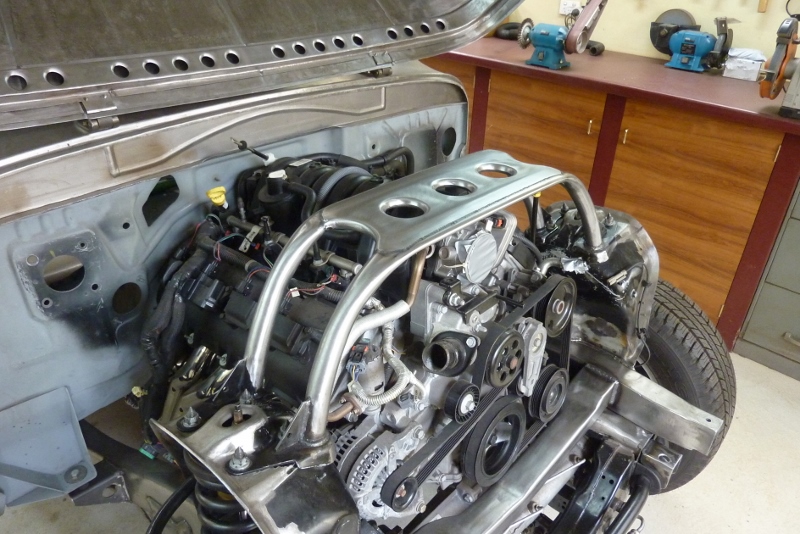

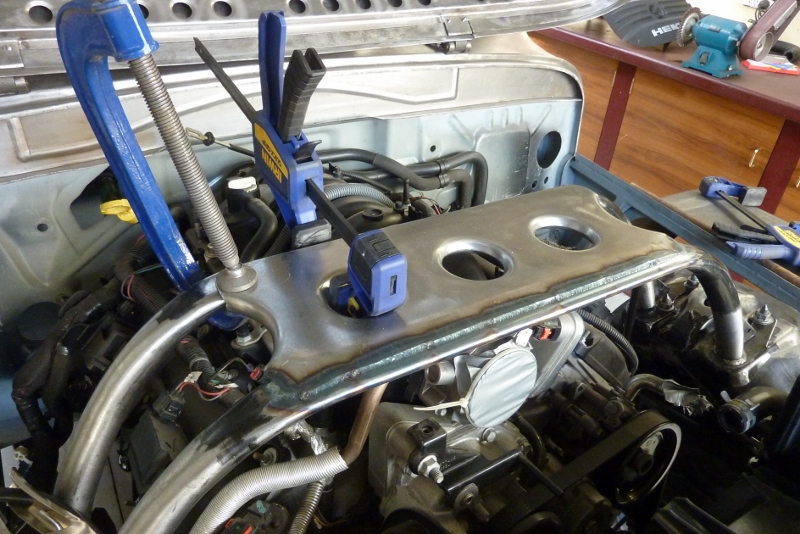
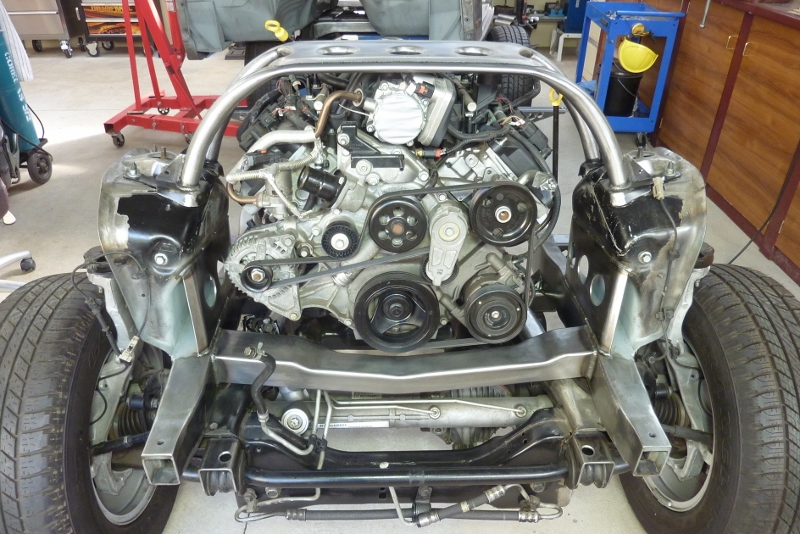
I had also lowered the brace some more as I am not going to be running the stock engine cover. Most likely none at all. It made a lot of difference to the overall stiffness as had to use the press to make some adjustments to get it to sit on perfectly. Before I could just force some movement by hand.
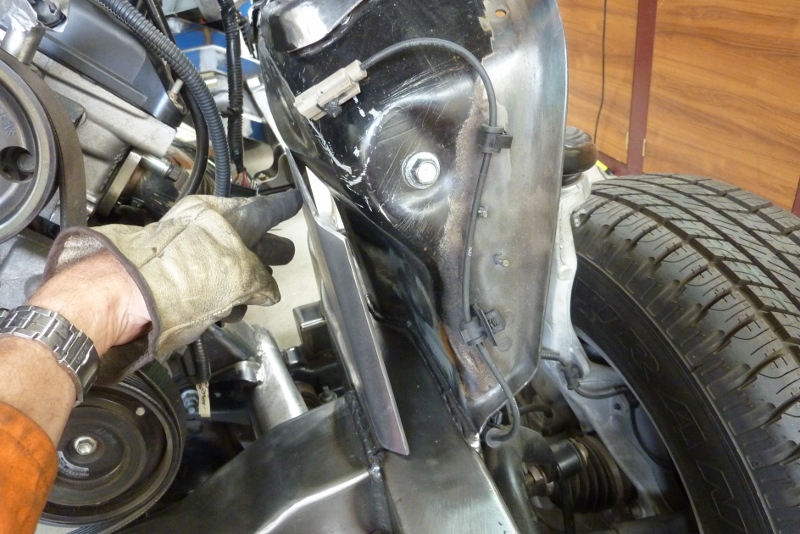

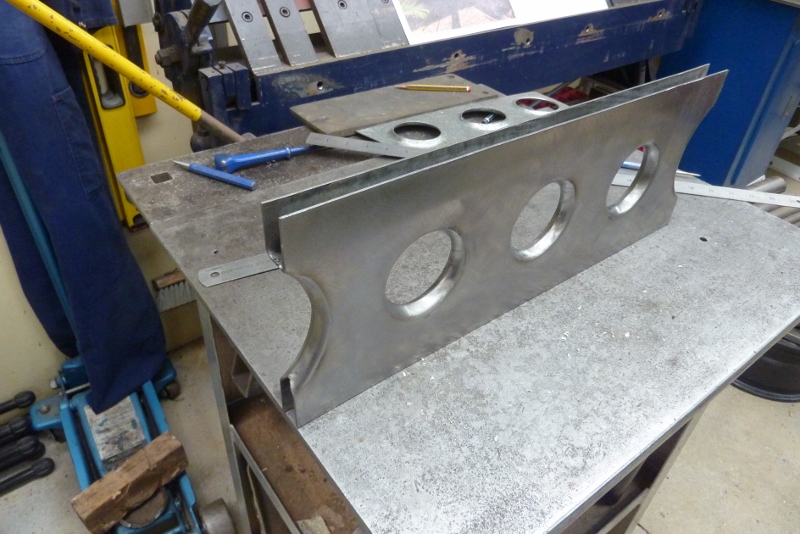
I have always planned more bracing of the suspension tower to frame connection. I waited until I made sure I had the clearance needed first. I want to plate down to the inside of the frame. Not going to be that simple as the tower is at a different angle to the inside edge of the frame which also starts to curve at the back edge. The gap at the top front is how much the plate has to twist to fit. I picked these cast forms up from a military collector I bought my trailer from. No idea what they were for but use them to shape steel over.

Using 4mm plate the same as the frame thickness. Being hot rolled as well makes it harder to shape. It now follows both the frame edge and the suspension tower.
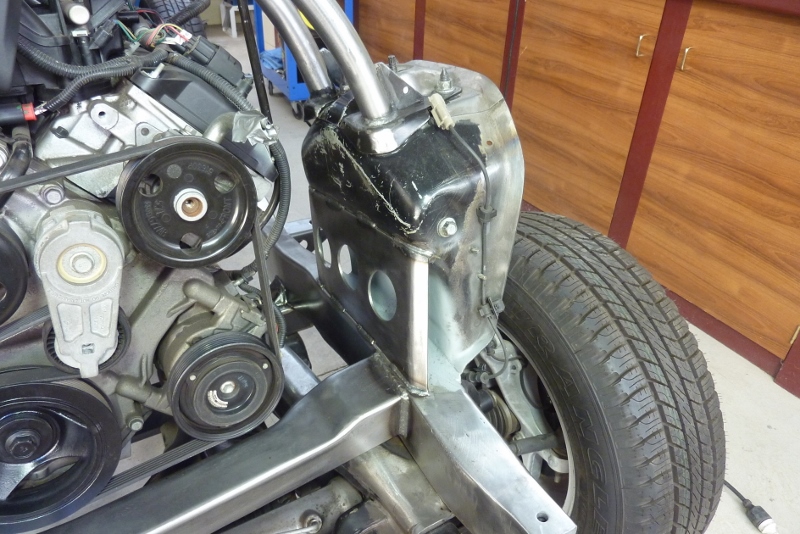
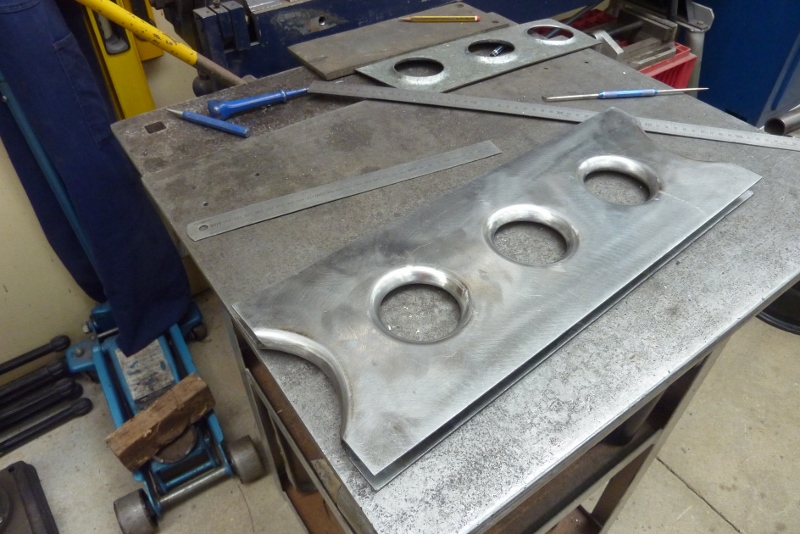
I drilled three holes like the tower brace above the engine. I left the ends open so I can still run any wiring and pipe work through.

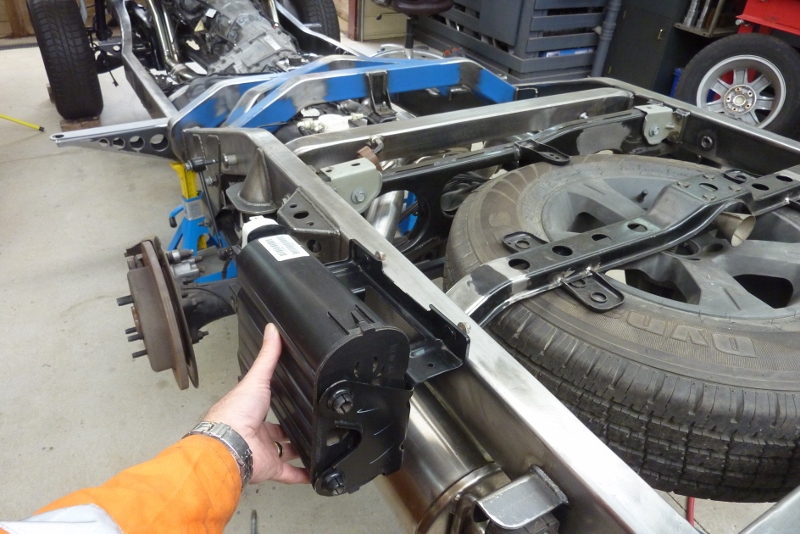
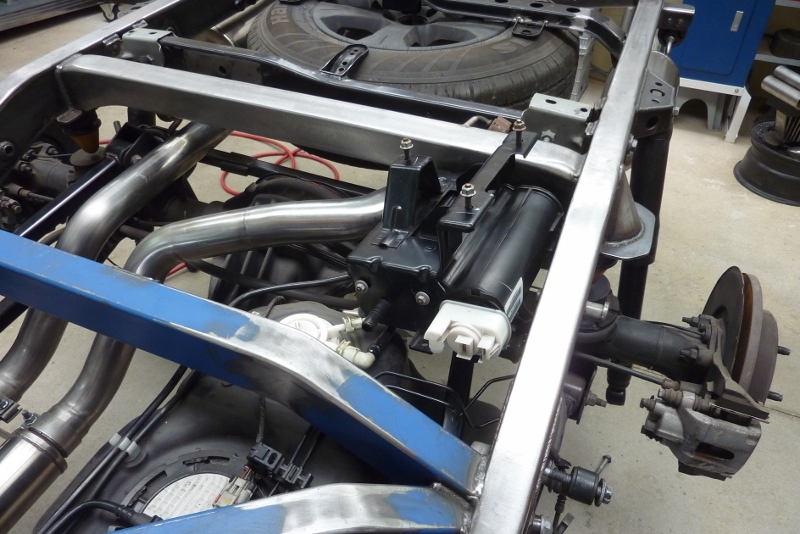
Should be all that is needed now to keep the towers from flexing. Suffering from the flow on effect of adding the spare tyre under the floor. Things I had planned to put there now have to find a new home. The charcoal canister on the donor went on the outside of the rail here. I was just going to swap it to the inside before the exhaust was run to this side to go around the spare.

I thought maybe here, but after taking out the rear springs to check clearance at full compression, it was not going to work. Laying it on its side would work but would have to change the orientation of the vent control valve.
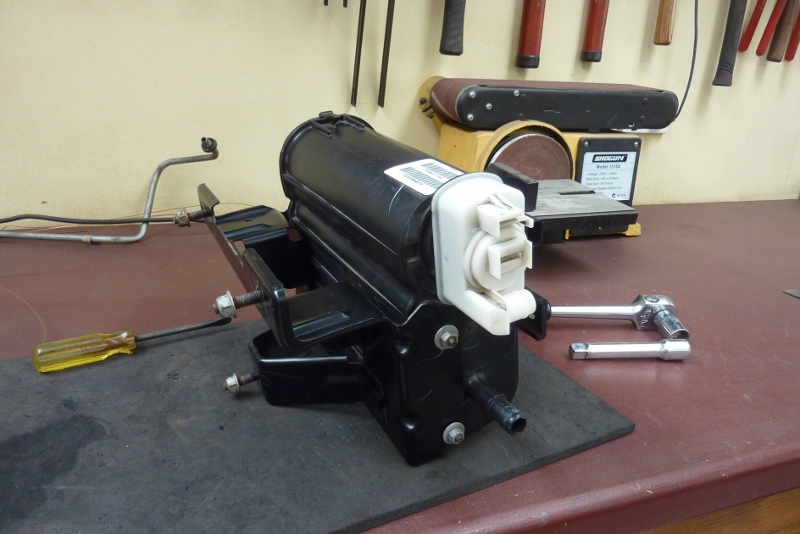
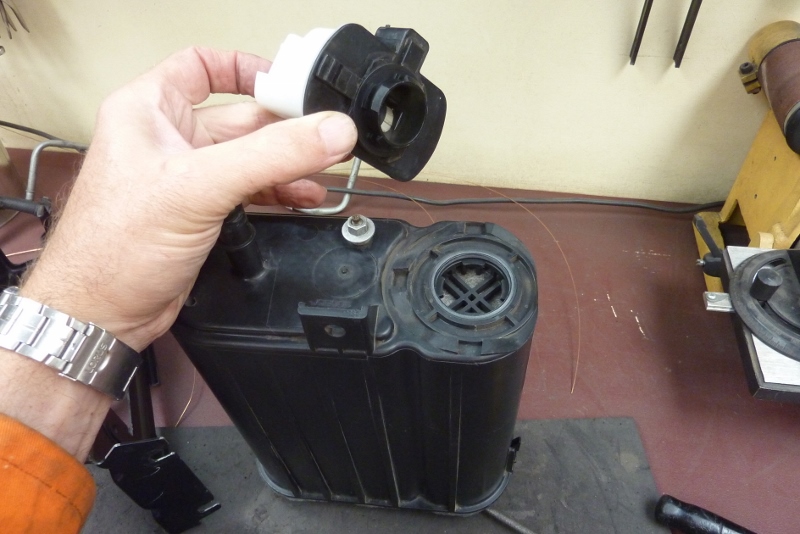
From the factory the vent control valve was like this. When the charcoal canister was laid over horizontally, like on a JK Jeep Wrangler, the valve was still positioned vertically. Well, I saw that it had different clocking positions possible, so only had to refit it 90* differently to make it work.
[Index]