
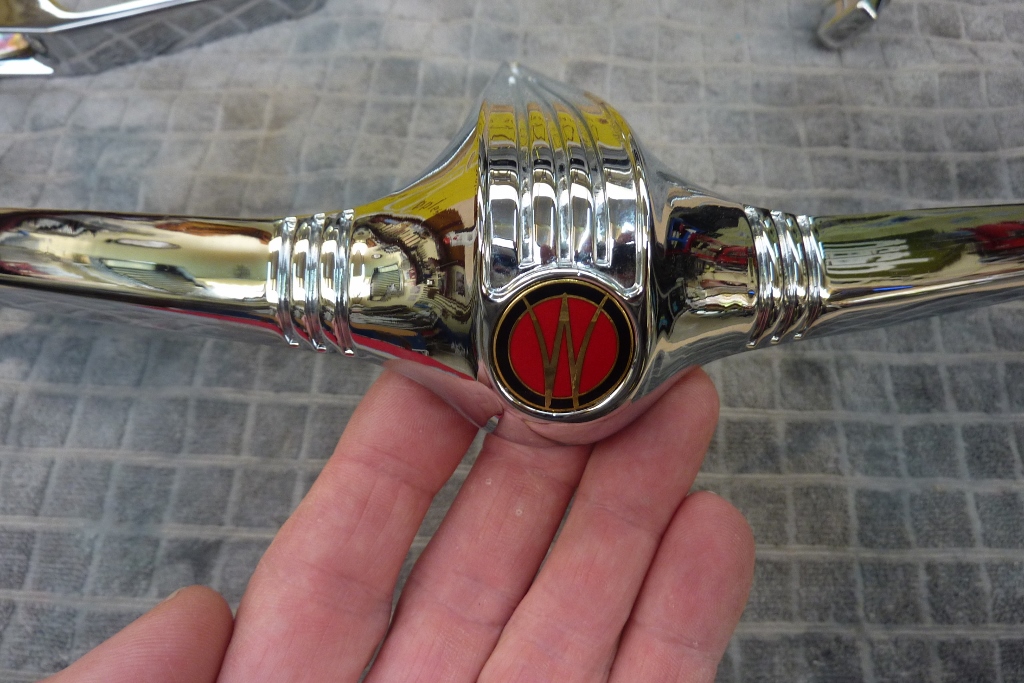
Just before going into lockdown for the COVID-19, I was able to pickup my rechromed pieces. I finally got to put in my emblem that I bought 10 years ago! Bought it directly from the maker back then, but now are sold through Willys suppliers. https://www.thejeepsterman.com/products/2117-willys-overland-center-glue-in-emblem-1953-1963-station-wagon/

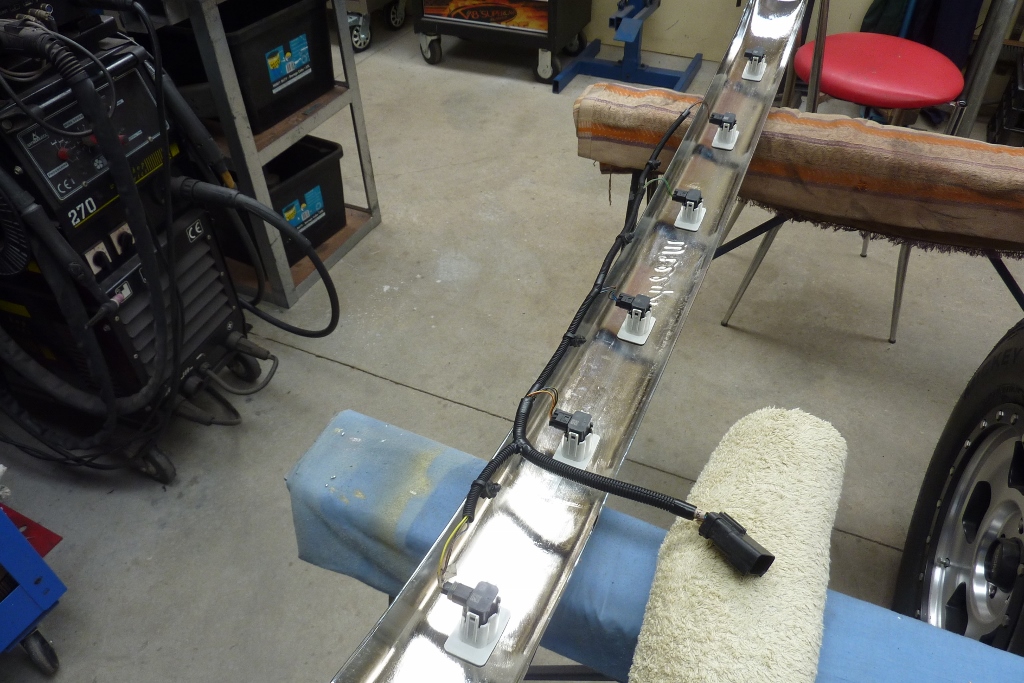
A few more pieces done. :) As I have my front bumper back from being rechromed, time to add the parking assist sensors. Have to make a harness for them so might as well be comfortable while doing it. So have a stool to save my back and my Dr. Who Tardis mug filled with 1/2 a litre of tea.
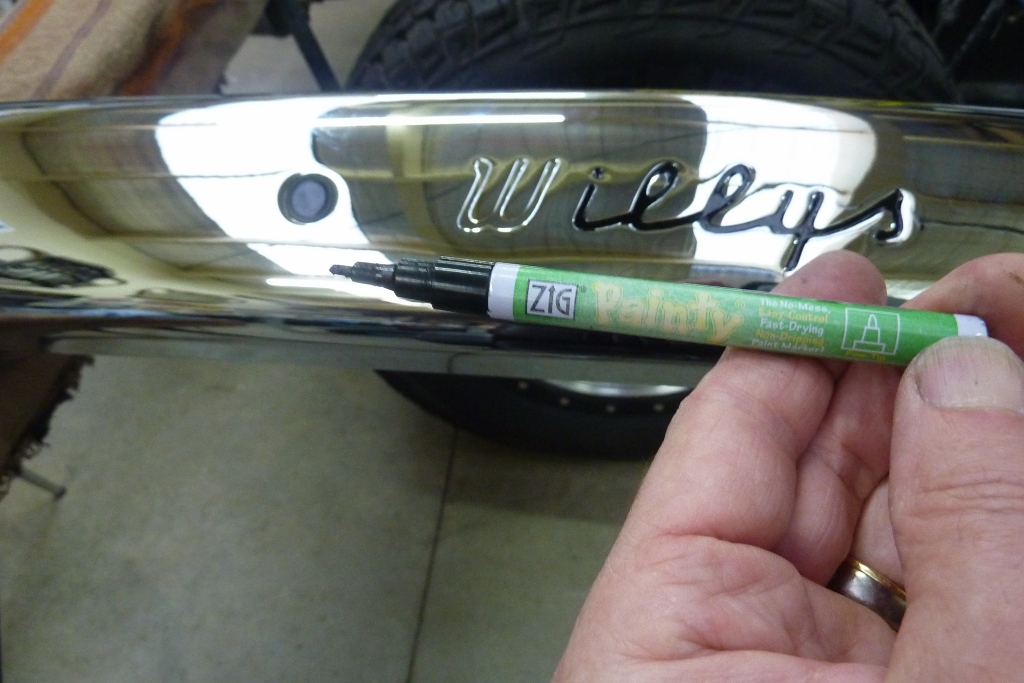
I was able to carefully remove the sensor holders from the damaged donor front bumper and put new automotive double sided tape on them to stick them back on this bumper. I'm still after another set for the rear sensors if anyone has some. Just painting the Willys stamped in script. I use these ZIG Painty enamel paint pens from Japan just bought at the local newsagent.
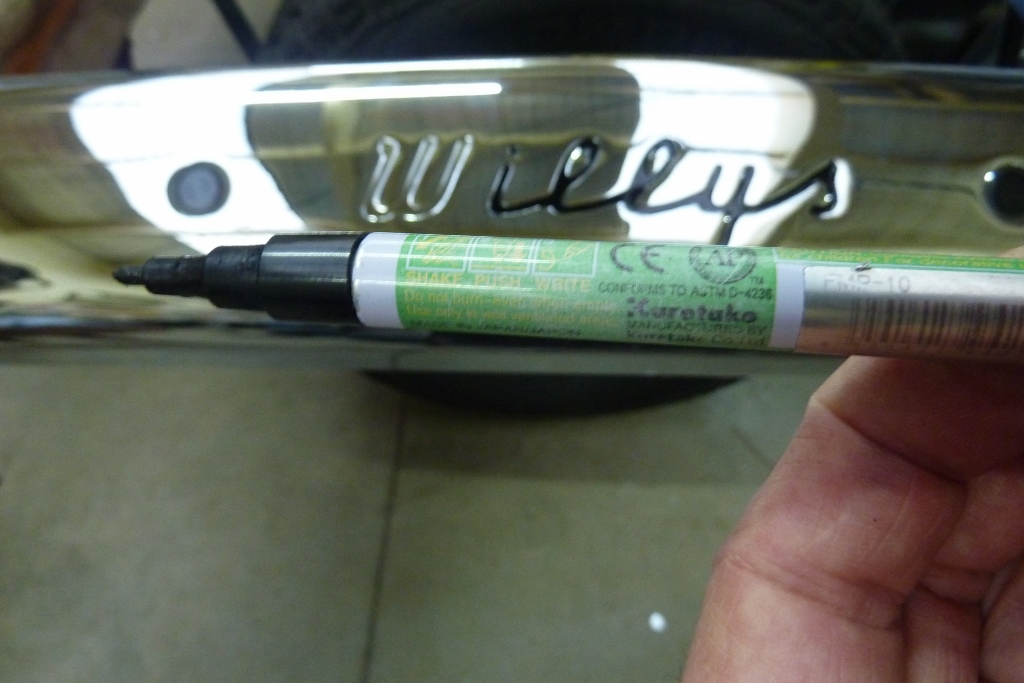
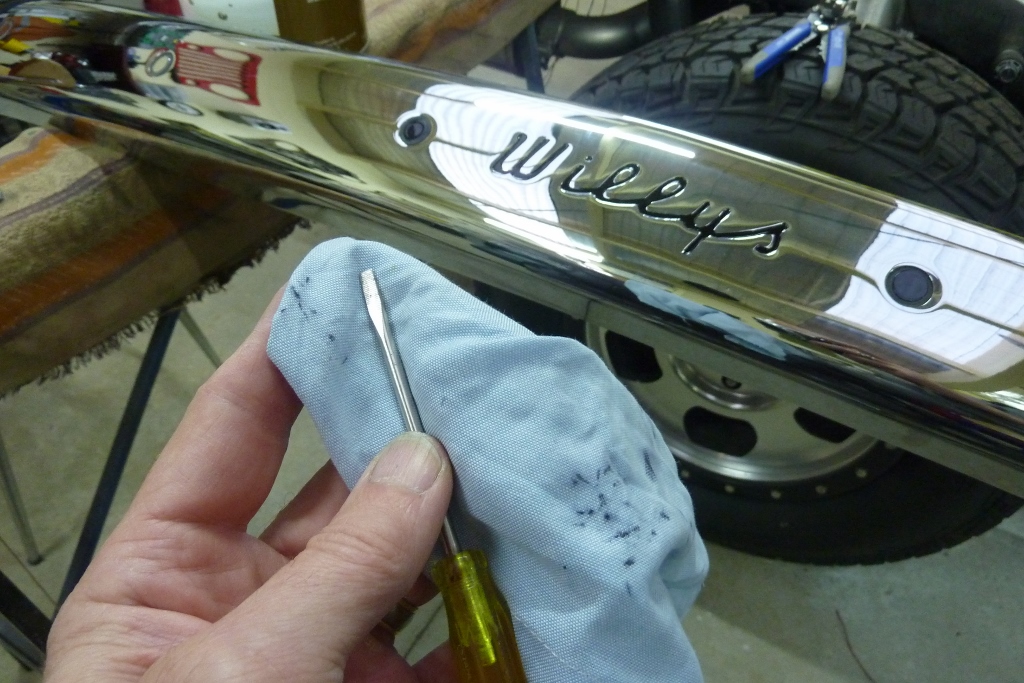
You shake the pen to mix the paint inside with a ball bearing just like a spray can. Then depress the tip to flow the paint into the tip. Keeps well if you keep them stored tip down. Any paint that goes outside the stamped script I just wipe off with a cotton rag dipped in acetone pulled tightly over a small screw driver.
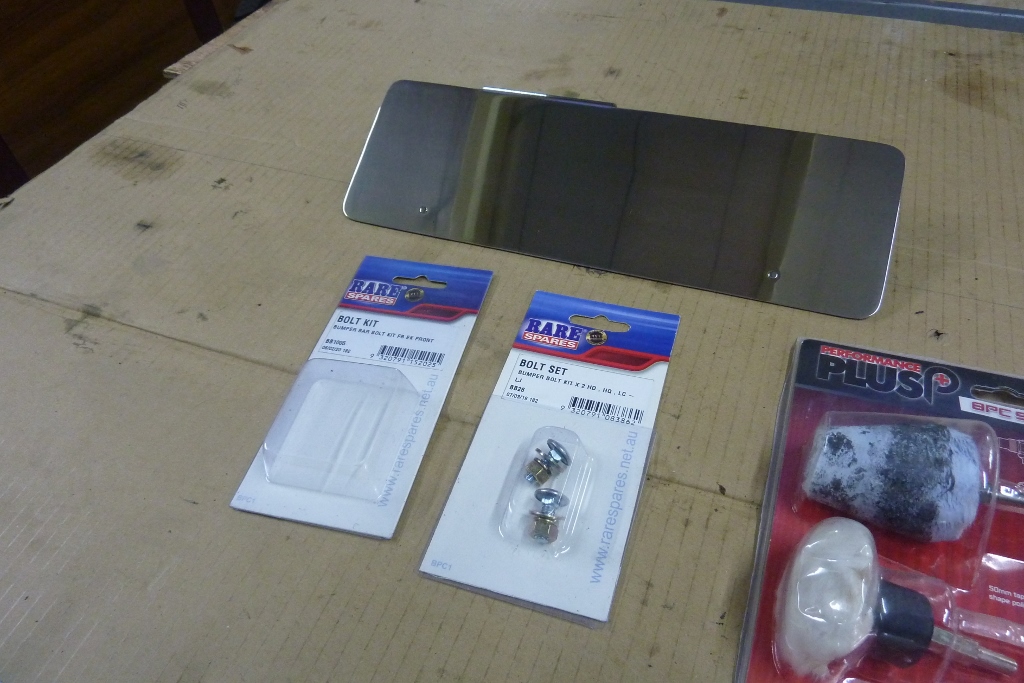
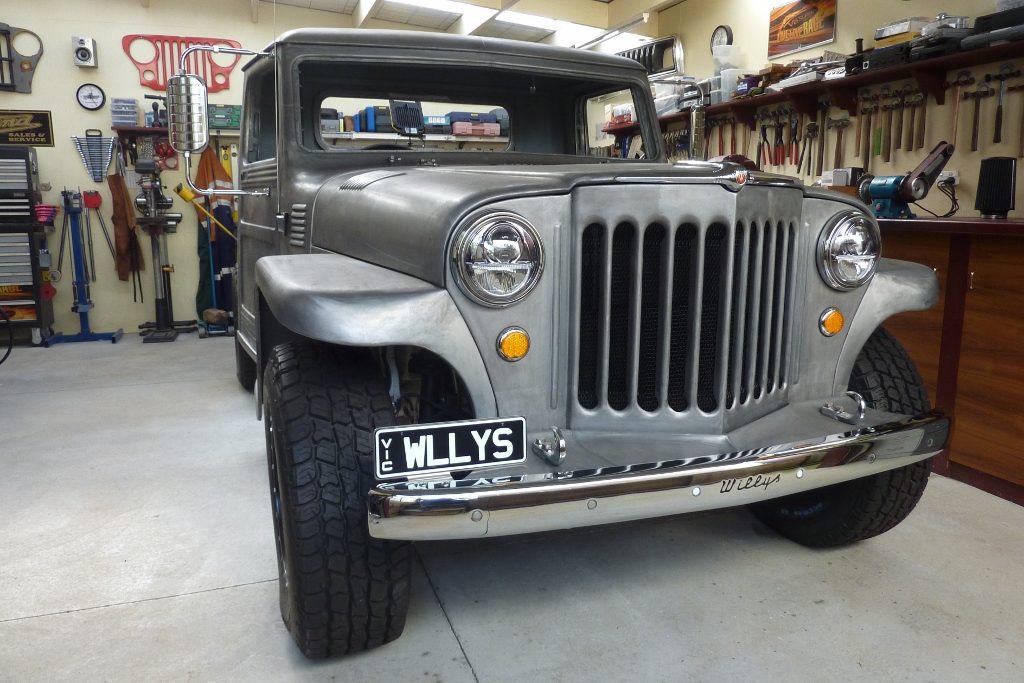
I made a new licence plate holder from some scrap stainless that had been power coated. Used a strip disc to remove the power coat and emery paper and a little polishing mop in the drill. Bumper is held on using Holden FB/EK bumper bolts and the licence plate holder with HD/HQ ones. Bumper back on again. :) Still trying to get two more OEM chrome 2006-2008 WK/WH rear parking sensors.Think they blend in well and look like the original bumper bolts from a distance.
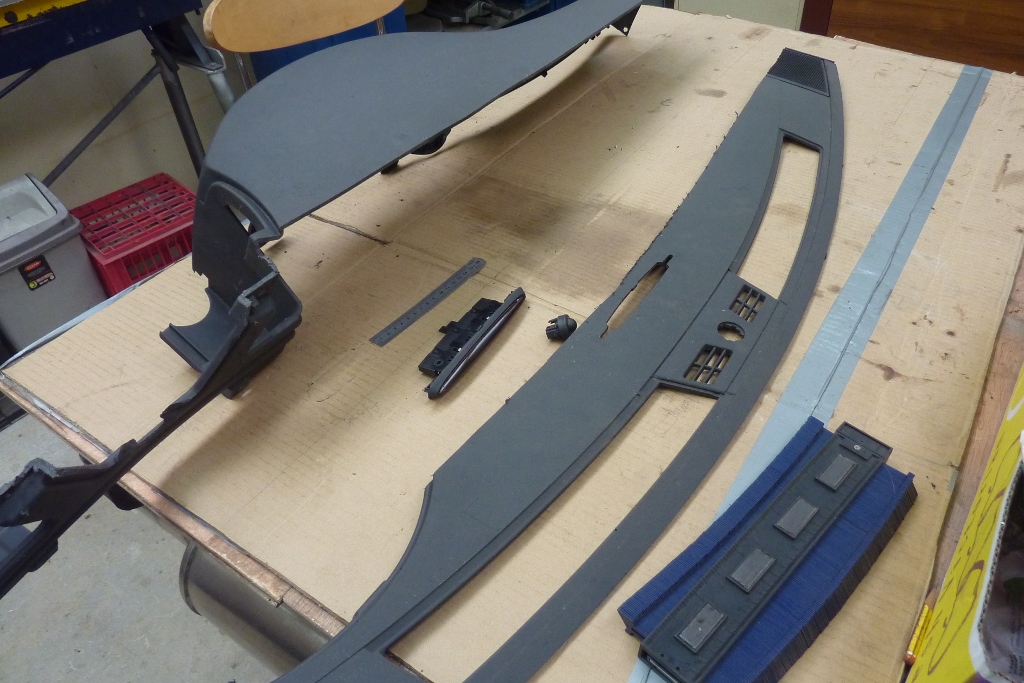

I kept the off cuts from the dash top. I will use them to get the hole templates for the parking assist display and the sun sensor. I have to move them back into the remainder of the dash pad. The parking sensor lights up leds from the outside in depending on how close you are. Only one side will light up on the side the obstacle is on if offset. The sun sensor has two inside so it knows which side the sun is shinning on to vary the A/C left to right. Also used to turn on the auto headlights.
I didn't make the cab quite wide enough to fit the dash pad in, even though the rest of the dash fits lower down. Was hard to calculate exactly where the A pillar and dash angles was going to end up in relation to each other when I was working out the width of the cab. I have cut out a small wedge to pull in a much as I can without cutting into the top vent for the side window defroster vent.

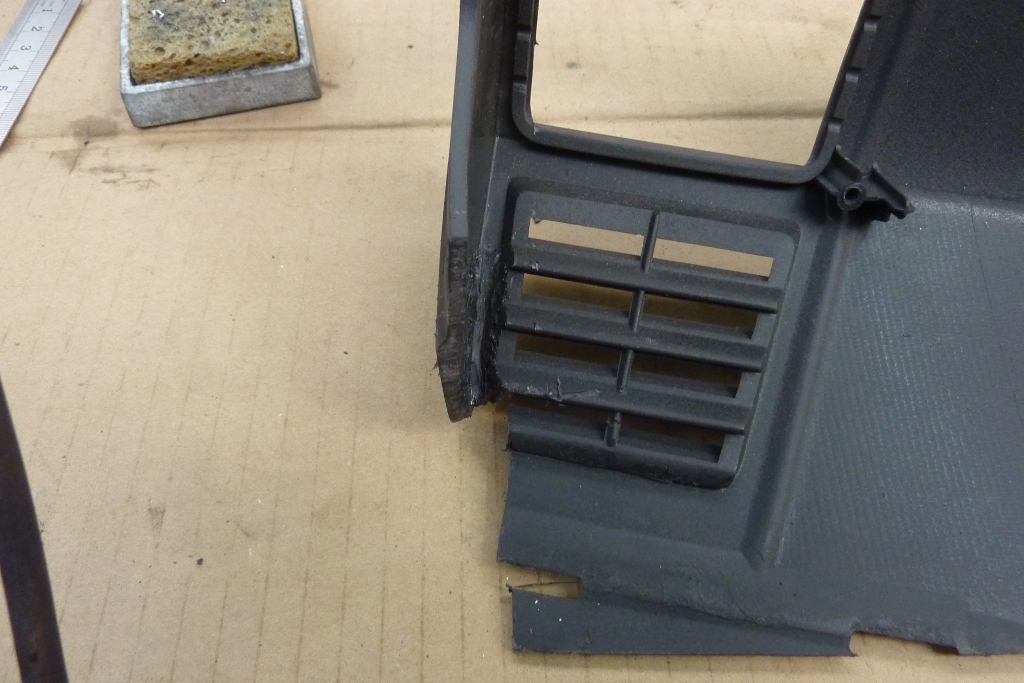
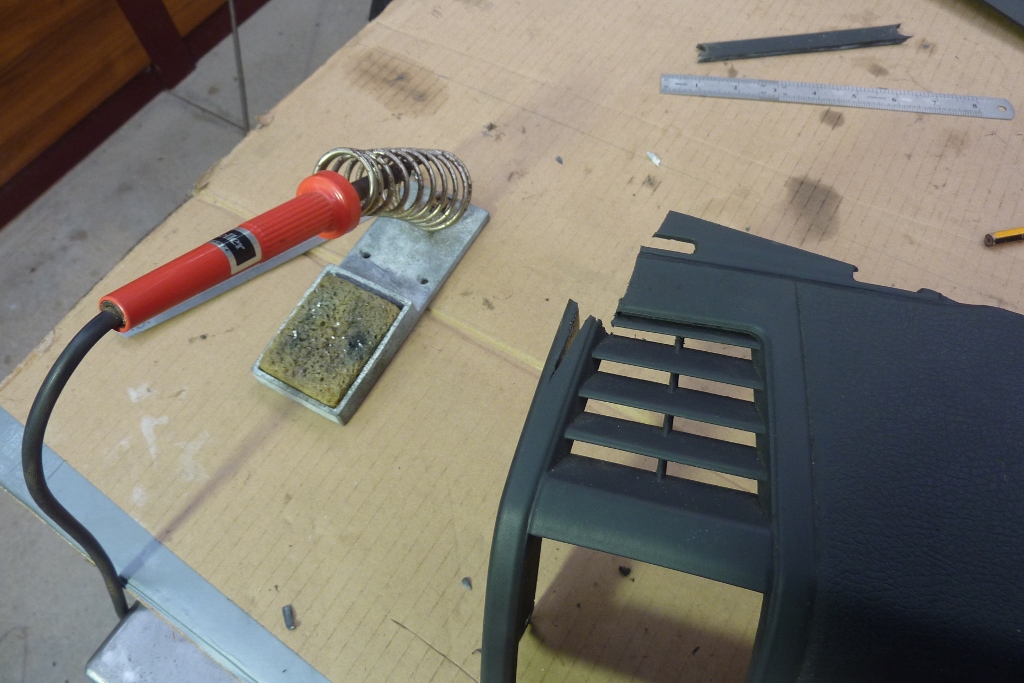
Using a soldering iron, I plastic welded it back together from the under side. I hold the iron at about 45* and push most of the way into the thickness of the material before pulling up and going back in directly behind the last dip. Need good strength here as the plastic was under tension. I cut that long piece from the scrap dash part to melt in over the top of the join. The extra piece has been melted into the back of the first weld to strengthen the join.
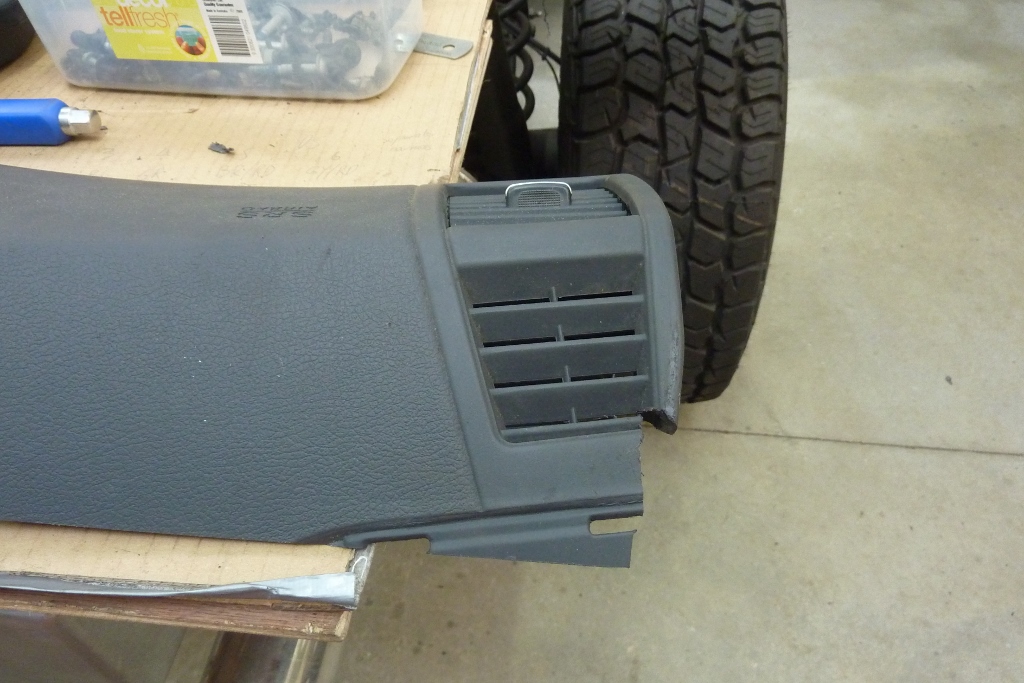

A very light pass over the top with the iron and you would not notice it very easily. The donor air ducts were a weird shape and there was not enough room to run them as is. So remoulded, shaped and plastic welded them to take flexible ducting instead.
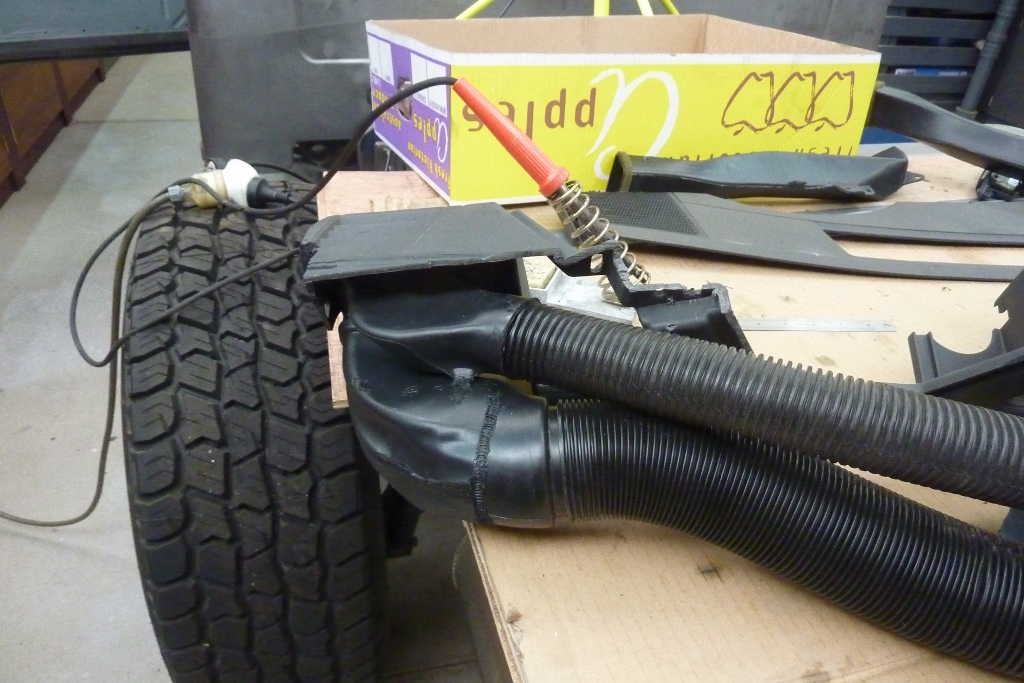
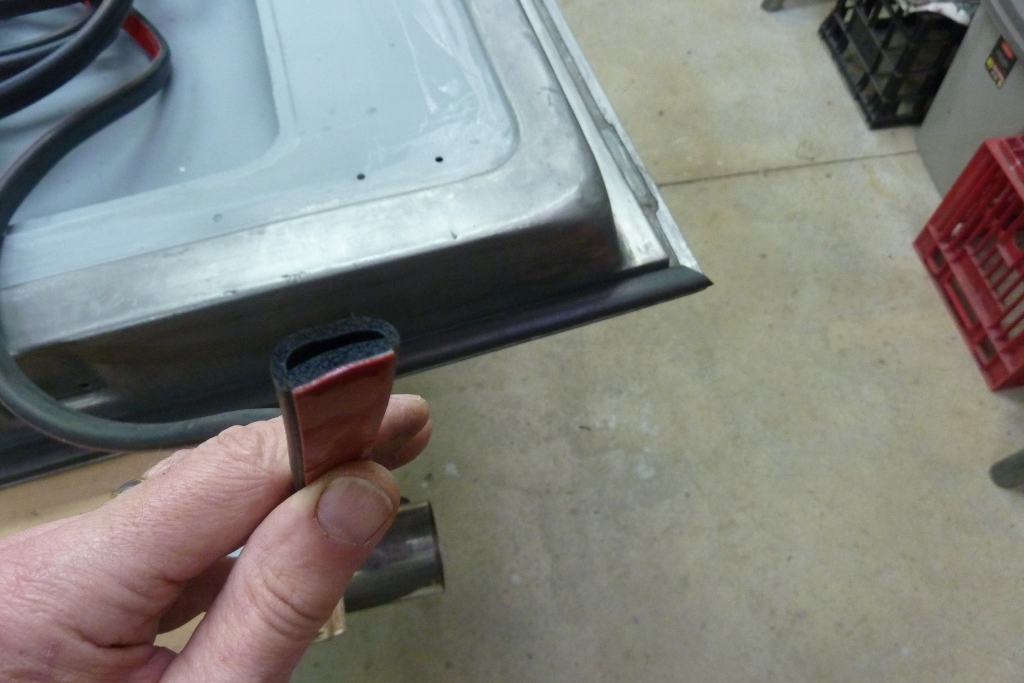
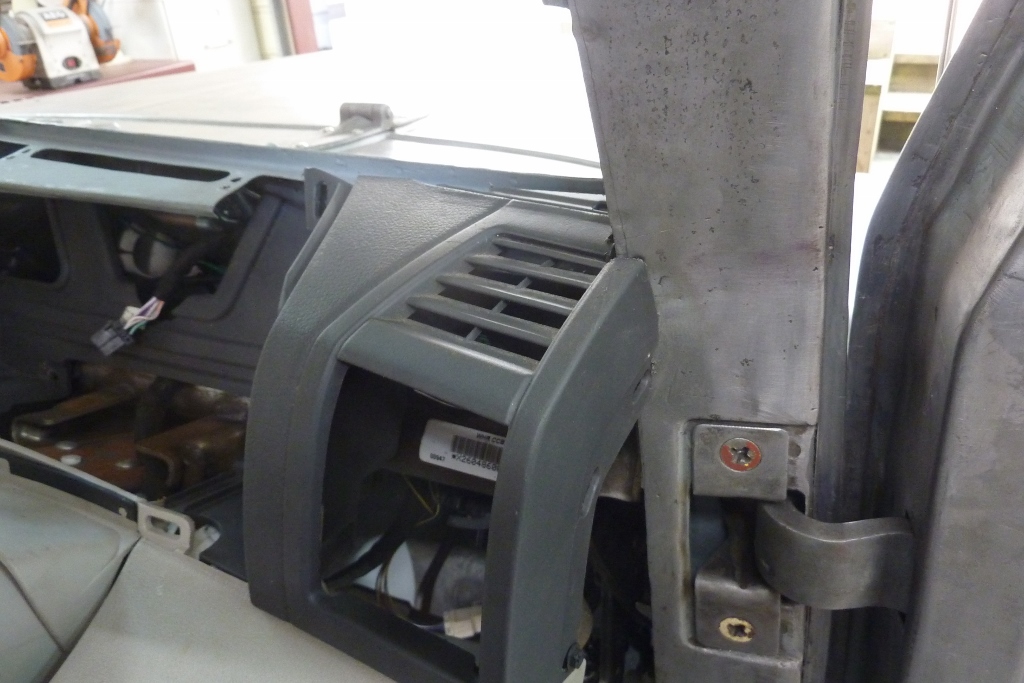
Top one is the side window defrost and the lower is the normal outlet. I have a new roll of the original door rubber profile, but want to keep that for after it is painted. It needs to be glued on so no way to remove it intact. But to get a roadworthy I have to have door rubber in place, so the local Clark Rubber store had some self adhesive auto rubber that I thought could work.
[Index]