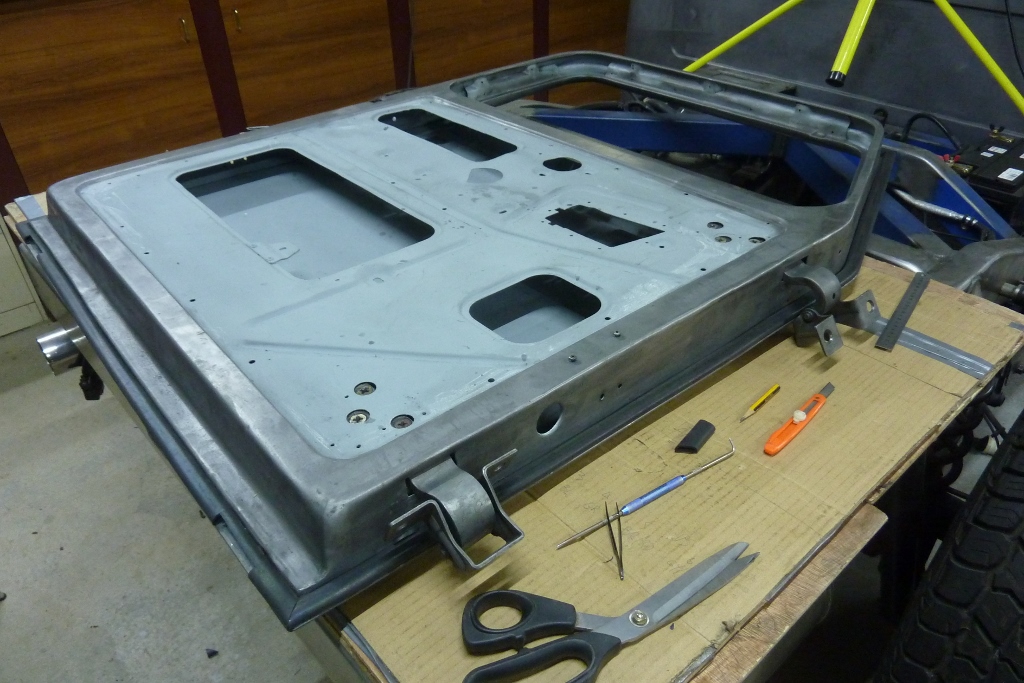

It fits really well and might even use some more after paint! The cut outs at the bottom are so the water drains are not blocked. I dropped the donor leather seats into place. Full electric with lumbar adjustment and heated etc. Easy job as they will just bolt into the donor floor I have used. Tested to see if the airbag light would go out and now it does. :)
Video update.


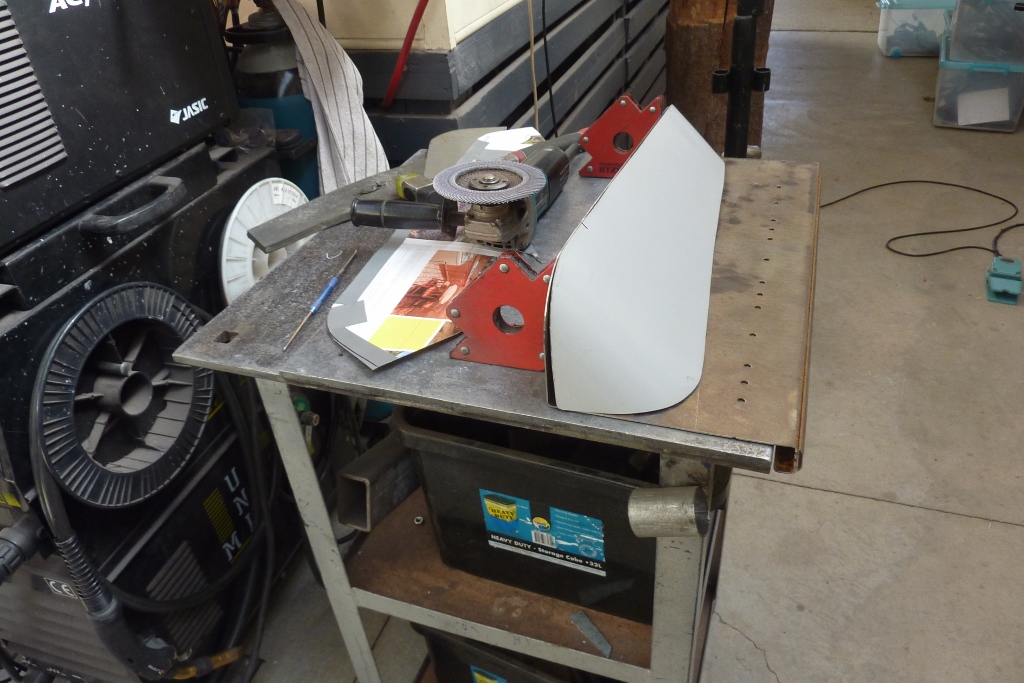
Fitted 'A' profile V belts to replace the rotted out tack strips. Fit perfectly and will take staples well too I read for the upholstery. Making some door armrests from scratch. I first started by coming up with a top shape that I liked. Then cut a template from some sheet steel. Held it 90* to the bench while I laid over some card to get the side template. With the curved part hanging over the bench, the card could be rolled over the edge and the excess marked and cut off to be flat with the bench top.

They are tapered to better suit the wedge shape of the cab as the back of the doors are further away from the seats than the front. Using steel that was once office shelves, I cut the top and back to be one piece after folding it. The sides were from another office shelf.
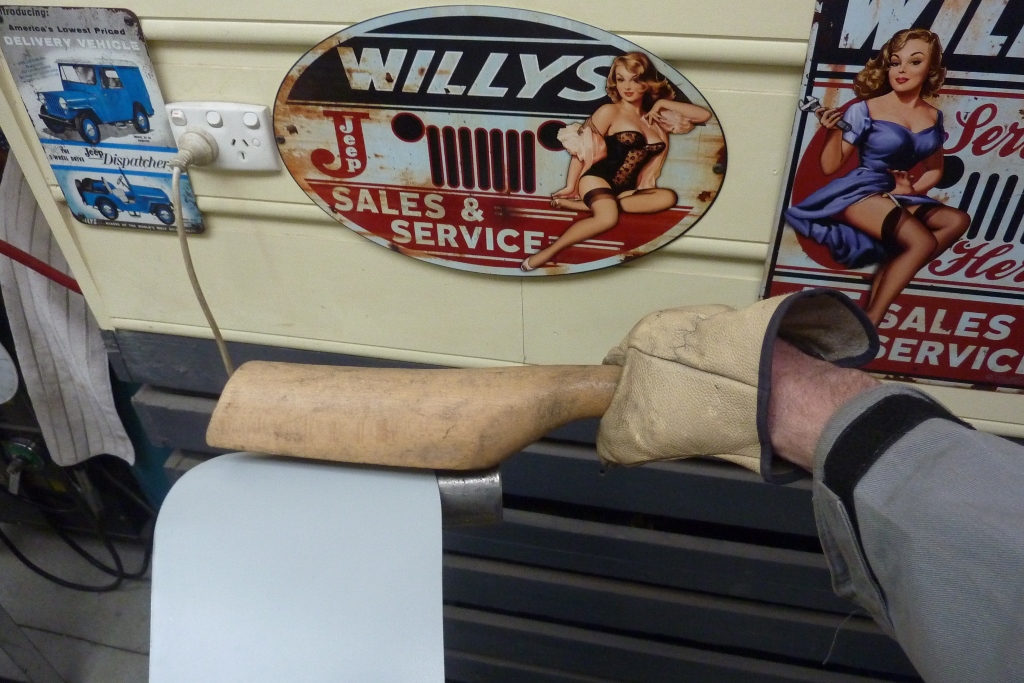
Rolled the ends over a pipe T dolly using a lead beating bat I bought while in England as a souvenir. I'm nothing but practical! No hammer marks this way and gives a nice even roll right across the piece. Just sitting there but fits up very well without gaps. I left the base long so it stays flat and square. After it is tack welded together, I can just cut the rest off.
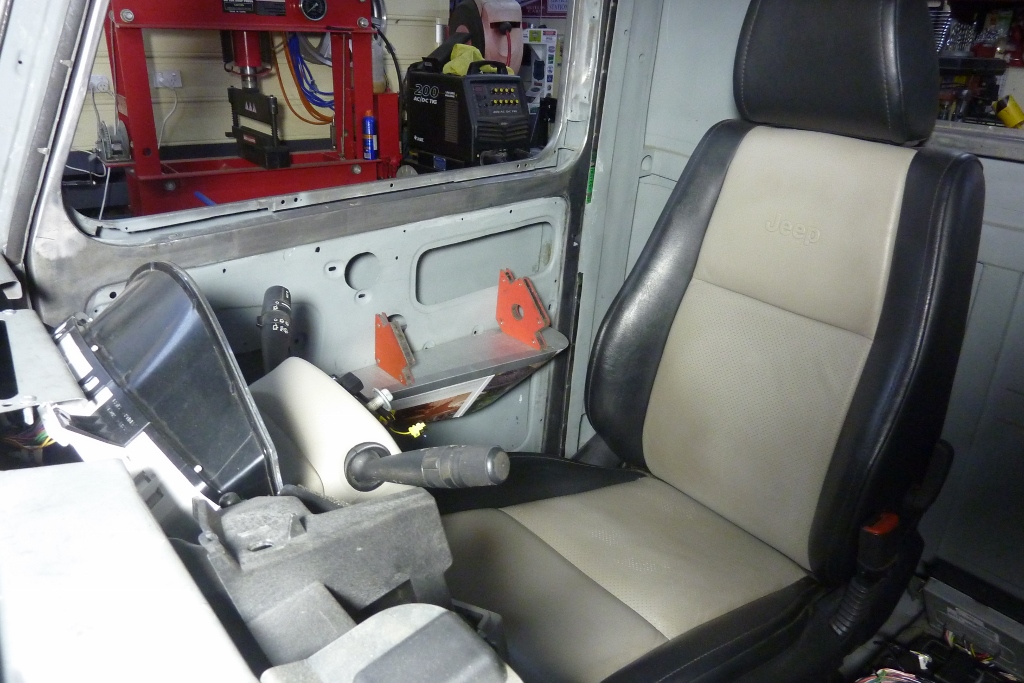
It will sit at the same height off the floor as the top of the console for good ergonomics. Making sure I have enough room for the speakers as well. I didn't like the generic window switches that came with the electric window kit, so using the donor Jeep ones to keep it all plug and play as well. It also has the central and window lock controls.

I fitting some laminated ply to the top so the switch plates could be recessed. I have the switch plates just shy of flush by the thickness of the leather that will be applied. More to come on these while I wait for the recessed pull handles to arrive and will make a leather padded piece that will cover the whole arm rest. It will have a cut out just for the front window and central locking switches, (hiding the rear pair), and another for the recessed handle.
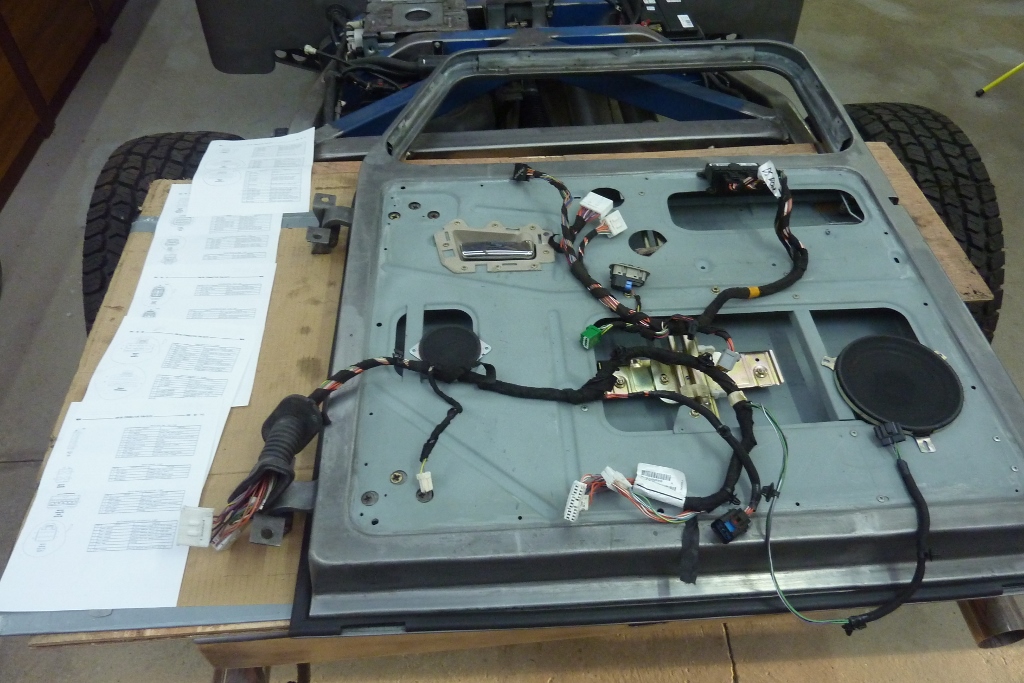
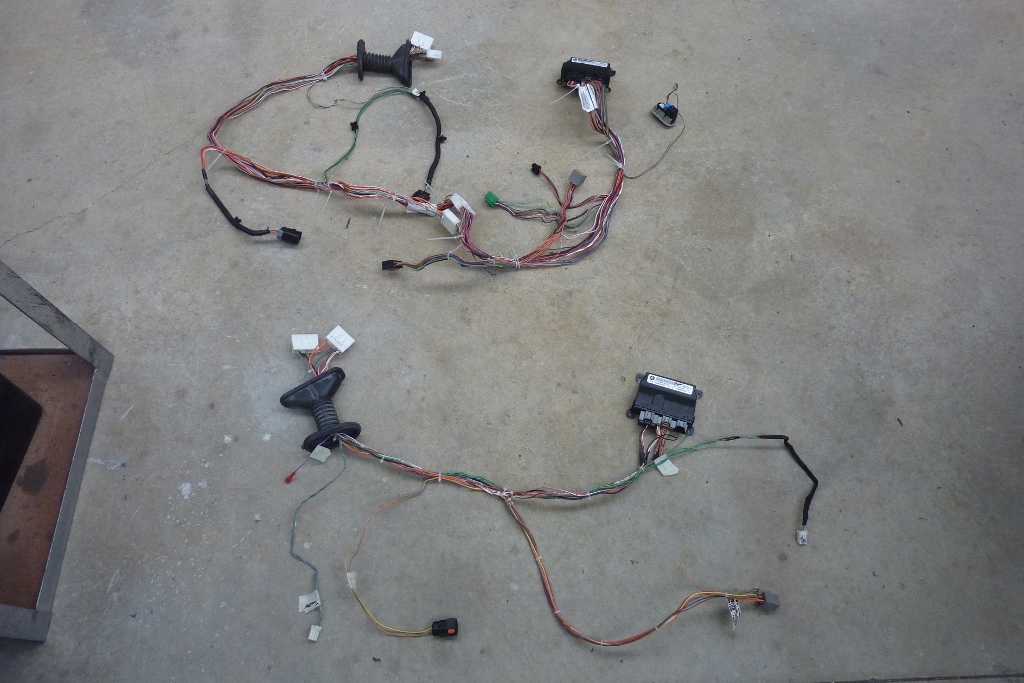
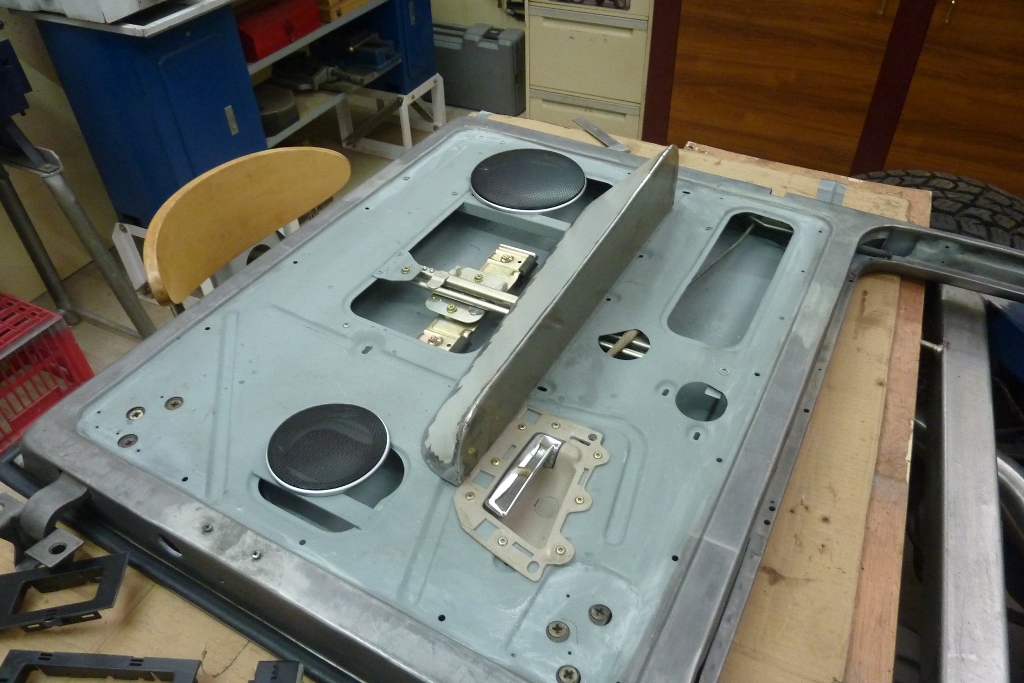
Time to sort out the door wiring. It is just as well I have a workshop manual with over 9000 pages to follow the circuits etc! Printed out 60 pages by the end of it just for the doors! Top is stock and the bottom is what I thinned it out to. Most of the wires removed were from the remote mirror adjustment as well as for the extra window circuits. Have to be very careful though because CANBUS systems can service more than one circuit.
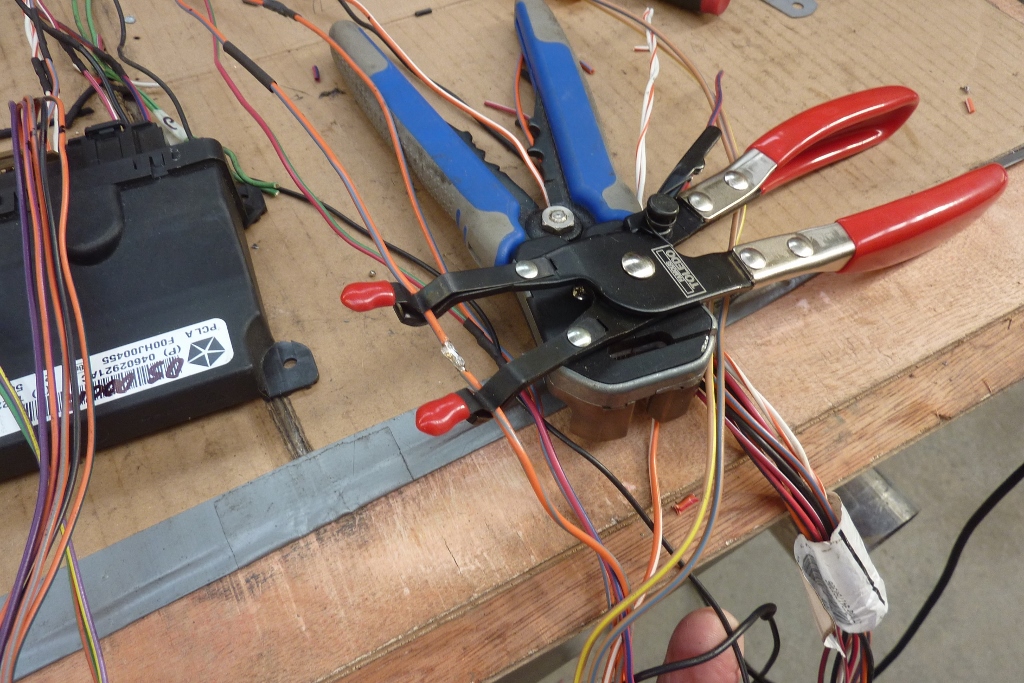
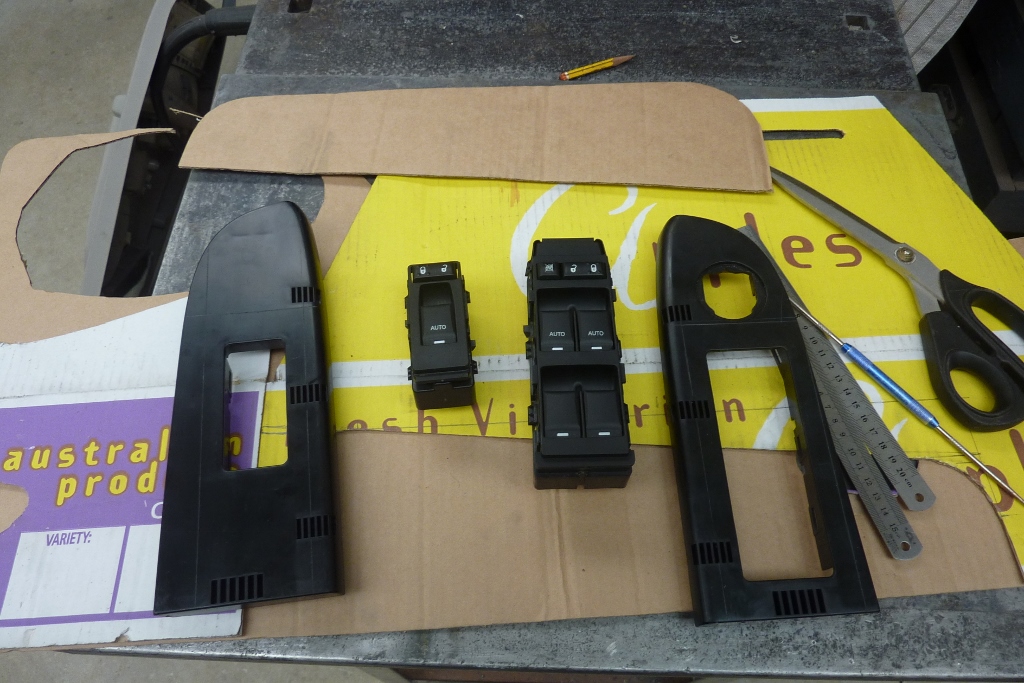
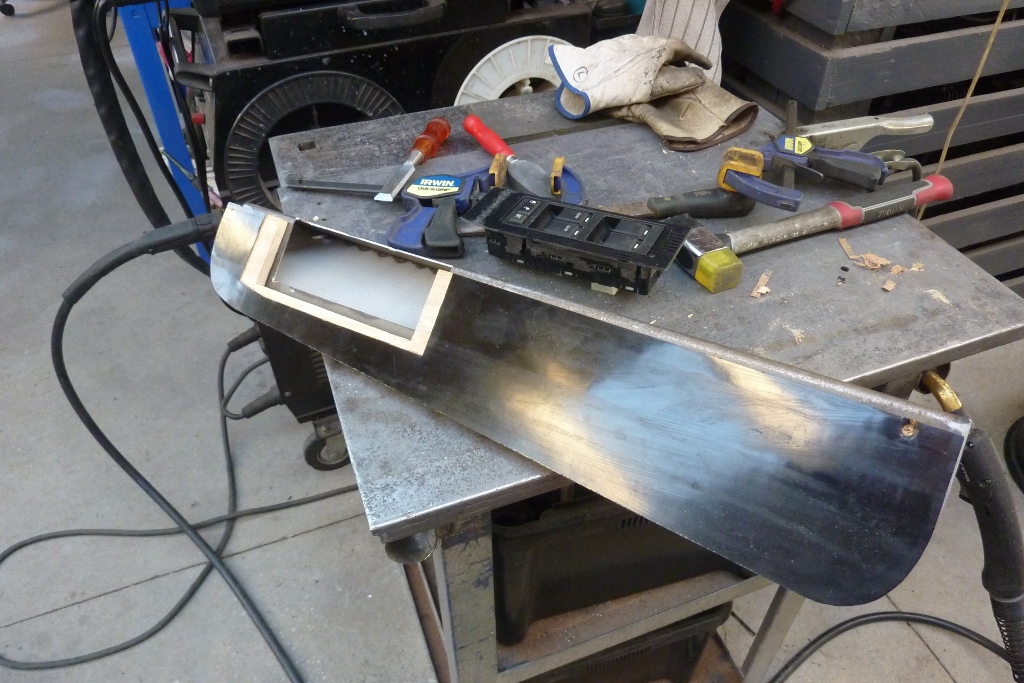
I found these soldering pliers to be quite useful. Each end of the wire sits under a spring clip to hold it in place. I unfortunately could not use the donor electric window motors or tracks. They just would not fit unless I made the whole door wider! Problem was though that the CANBUS wiring only works with the donor switches and motors as well. They use 6 wires where my aftermarket ones only use two. Days of trying to get the two wire motors running on that system failed in the end. Much studying later I thought I would try the same style of switch from a Dodge Dakota. They look the same and fit in the same holder I had made my armrests to suit.
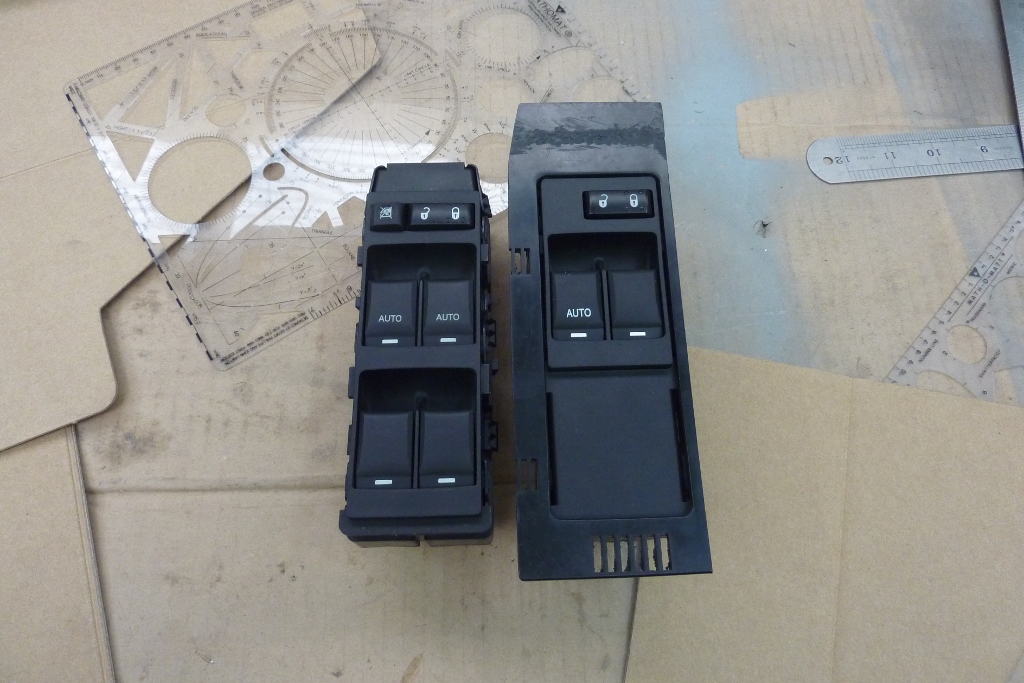
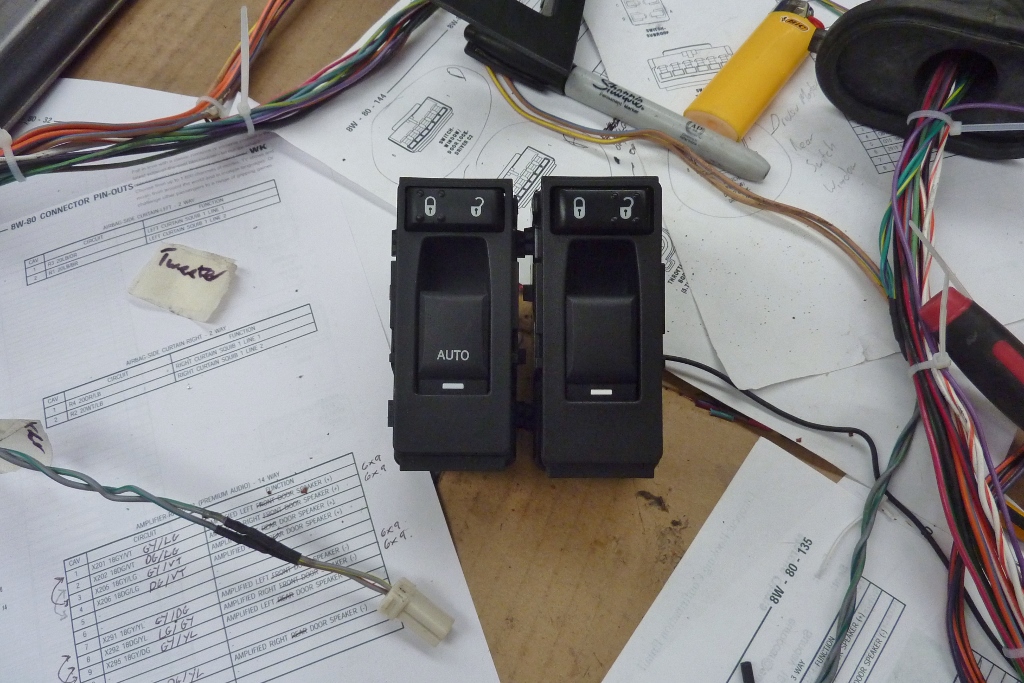
Why I thought these might work was the terminal pins are much larger unlike the small CANBUS ones. I didn't have a wiring diagram for the Dodge switch so worked out what wires go where by studying the circuit boards and using a meter to compare them. Got there in the end and even the central locking switch works and lights up etc. With the master switch I had the same problem but the rear window switches are not operated through the CANBUS. The motor also are only two wires. I could have covered the front set or left all 4 window switches visible and just wired the windows to the rear pair. After the success of the passenger side I thought I would buy the drivers master switch from a Dakota as well. It also fitted in the Jeep switch holder.
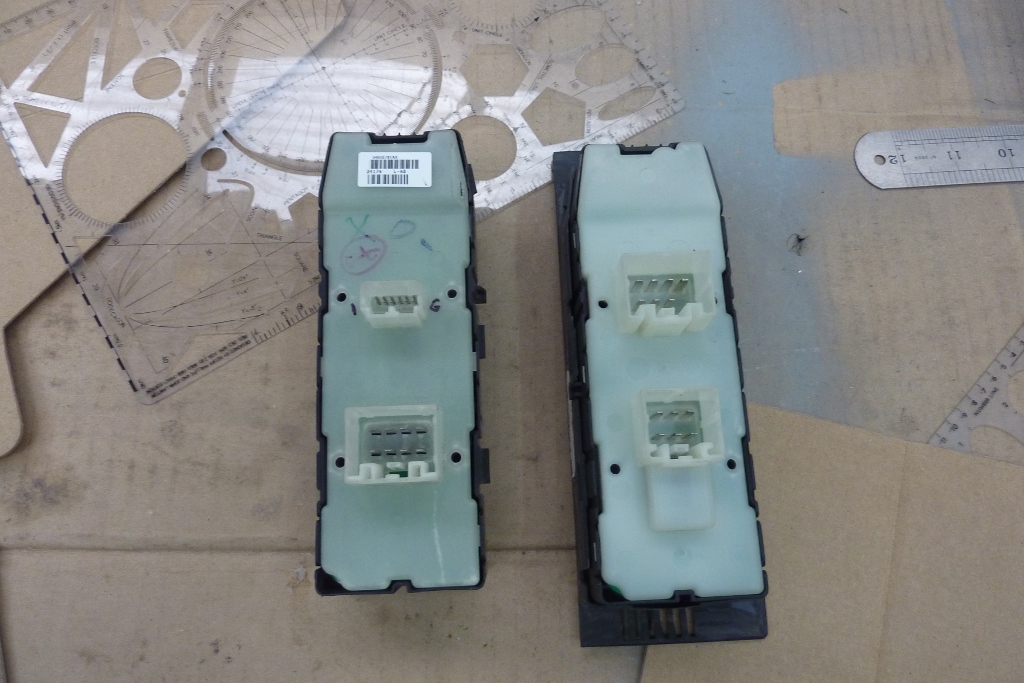
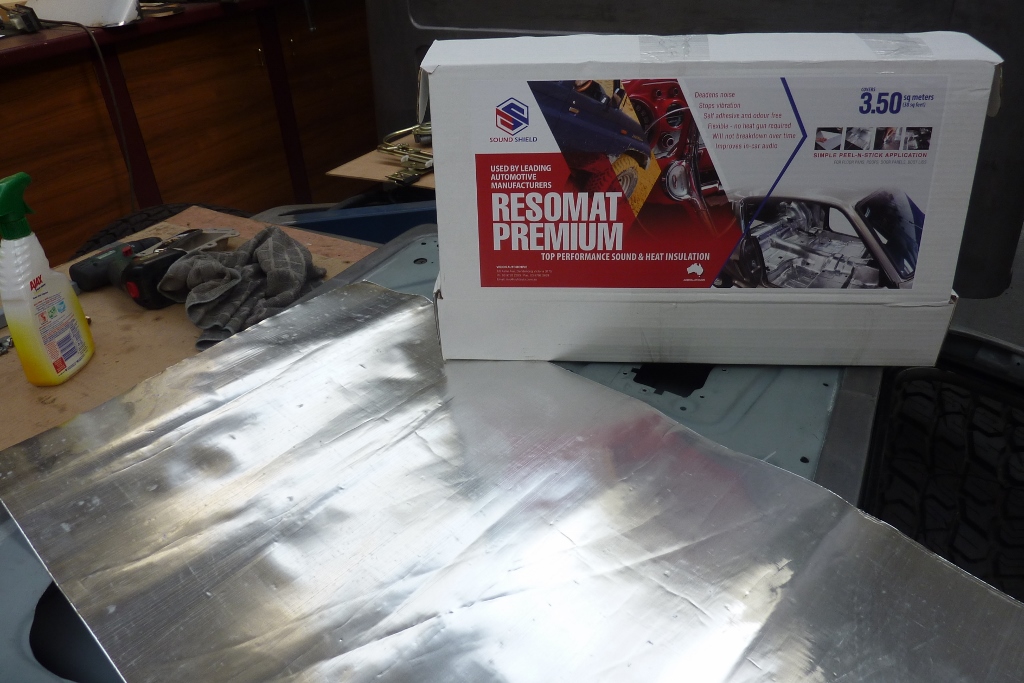
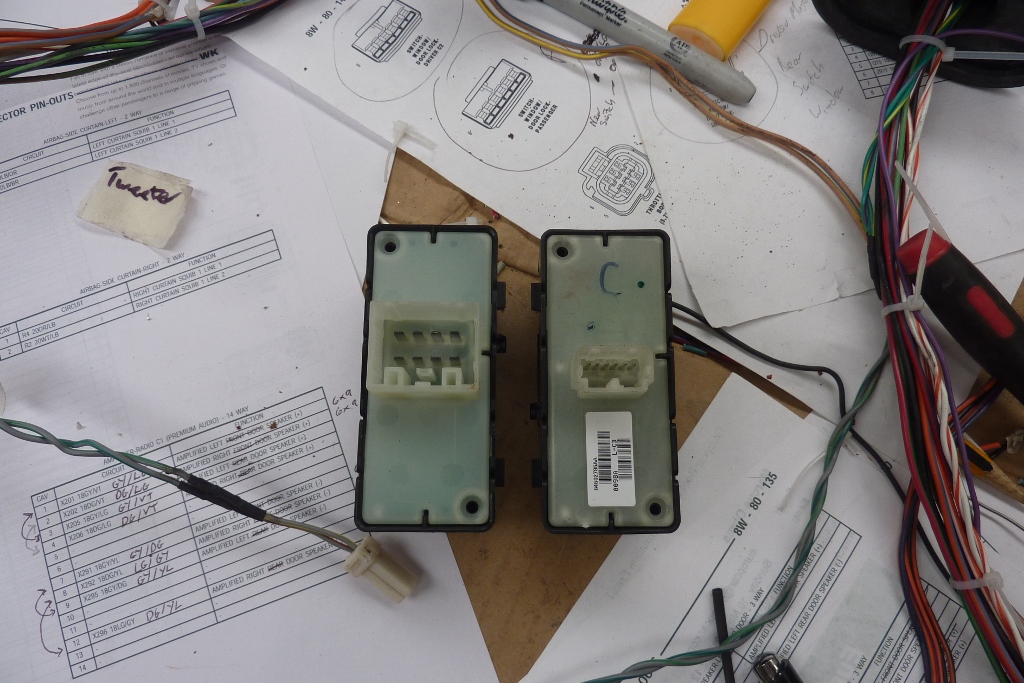
Can see how the larger pins for the rear windows are larger than the front CANBUS windows on the left one shown. All the pins are large on the Dakota one on the right. I was successful in working this out and even have auto down for the passenger side. Normally the drivers side on the LHD's these are made for. Even though this will be painted later, I thought I would add some sound deadening in the doors as the inside of them is already painted anyway. Nothing worse than a hollow sounding door when closing it, also when you have speakers mounted in them for the audio quality. This is RESOMAT brand made in Australia and used in our military vehicles and even in Audi, BMW and Mercedes Benz vehicles etc. https://trufitauto.com.au/category/resomat-premium
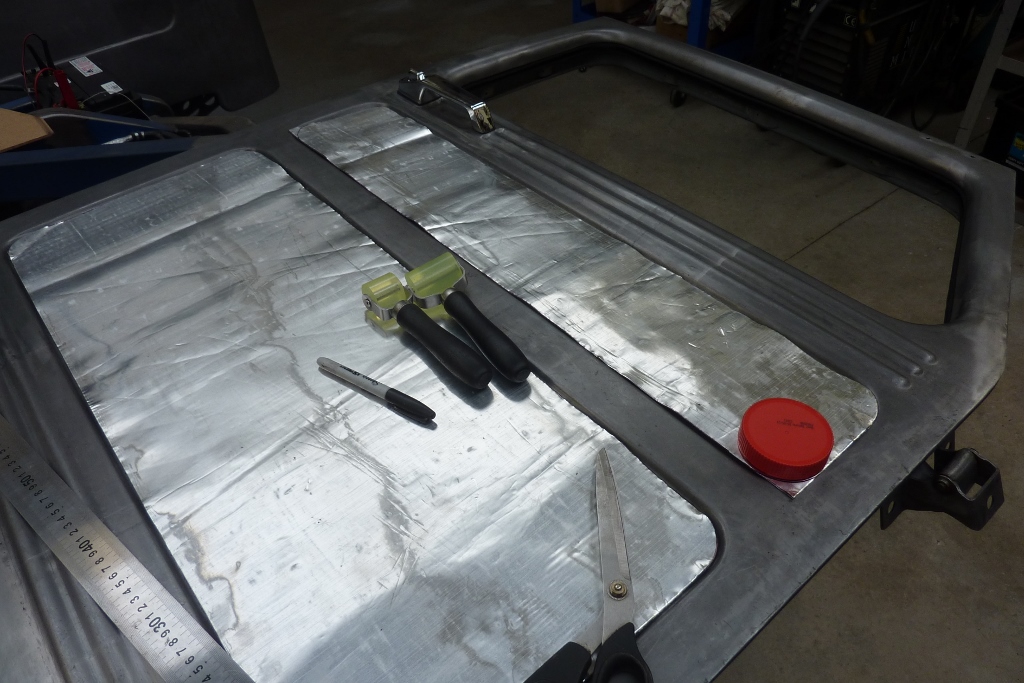
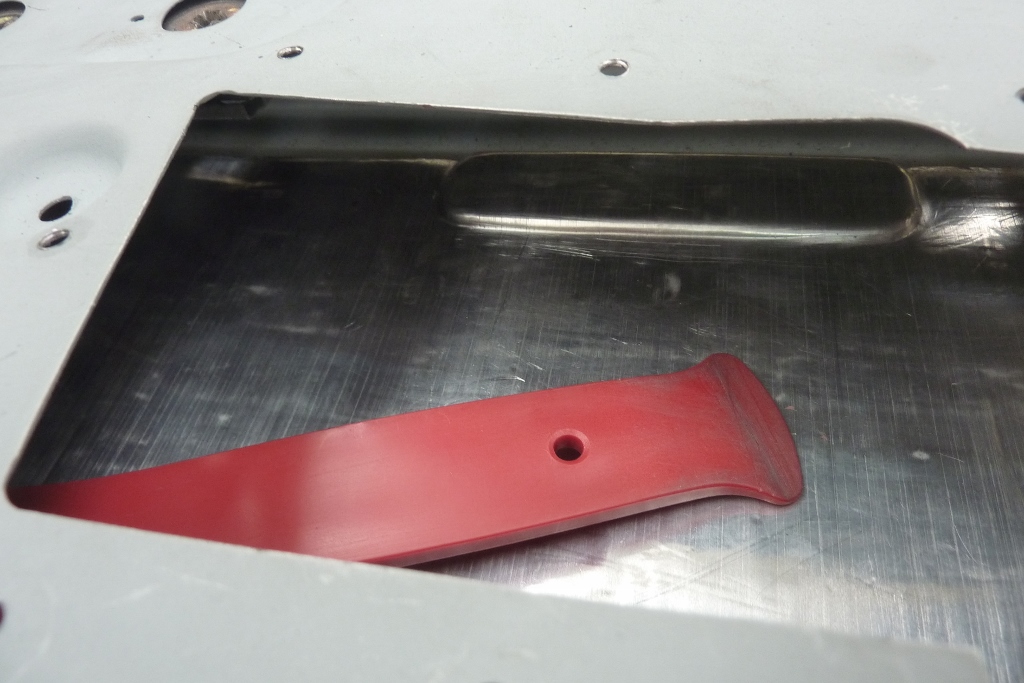
This is not a butyl/bitumen based so odour free. Lighter and thinner too than the popular ones with better performance. Just peel and stick and can even be pulled back and stuck back down again! I am only applying to the large flat surfaces and cut it out on the outside to make it easier before sticking inside. I keep a selection of lids for my circle templates. Turns out my peanut butter lids are the right radius for the corners. :) This stuff is great to mould into place and no heat guns needed. I worked it over the mirror reinforcement plate using a trim stick.
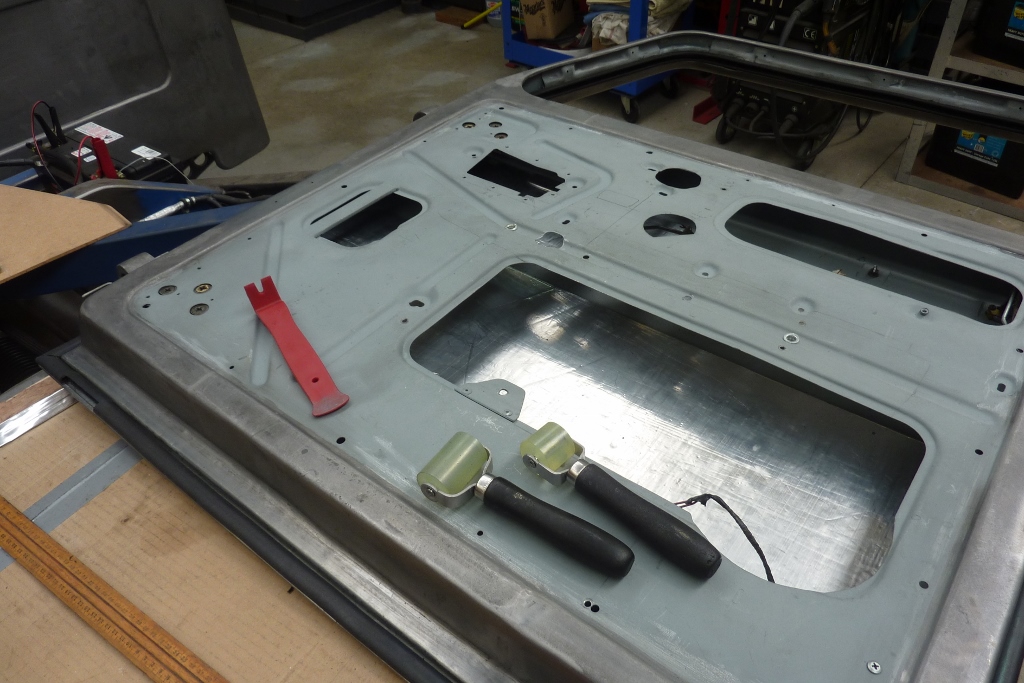
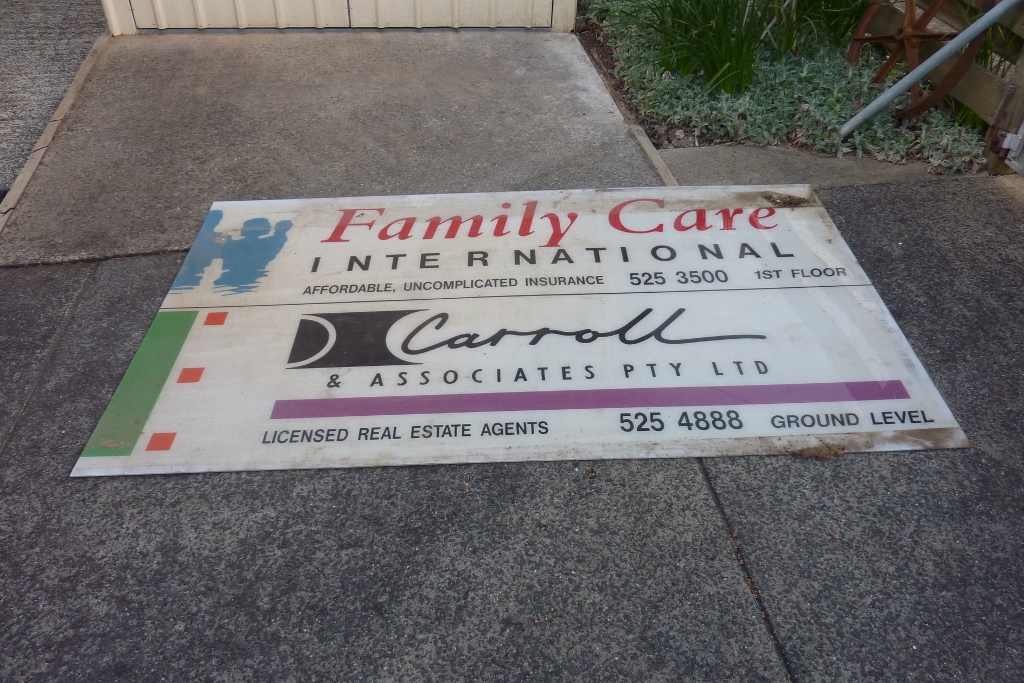
I bought a set of rollers to get it nice and flat for the rest of it. The difference it made to the sound of the door was very noticeable! I have kept this old sign since I picked it up when dropping our daughter off in primary school in the 90's! That was the last time we had 7 digit phone numbers as well. Lack of email and web addresses certainly date it too. Thought it was something good to use for the door and kick panels as won't absorb any moisture.
[Index]