

Also got some chrome plated cast steel wiper bezels. These seal against the cowl completely leak free, unlike the last set I tried made from a soft rubber. These suit early Minis, Triumph Spitfire & GT6 and MGB's. These and the wiper washes were bought from Classic Bits on eBay. https://www.ebay.com.au/str/Classic-Bits?_trksid=p2047675.l2563 I scored in that the bezel kept the wiper wheel box at the correct angle which is parallel to the glass angle. Otherwise the wipers will not run smoothly as the pressure will change throughout the sweep if not matched.
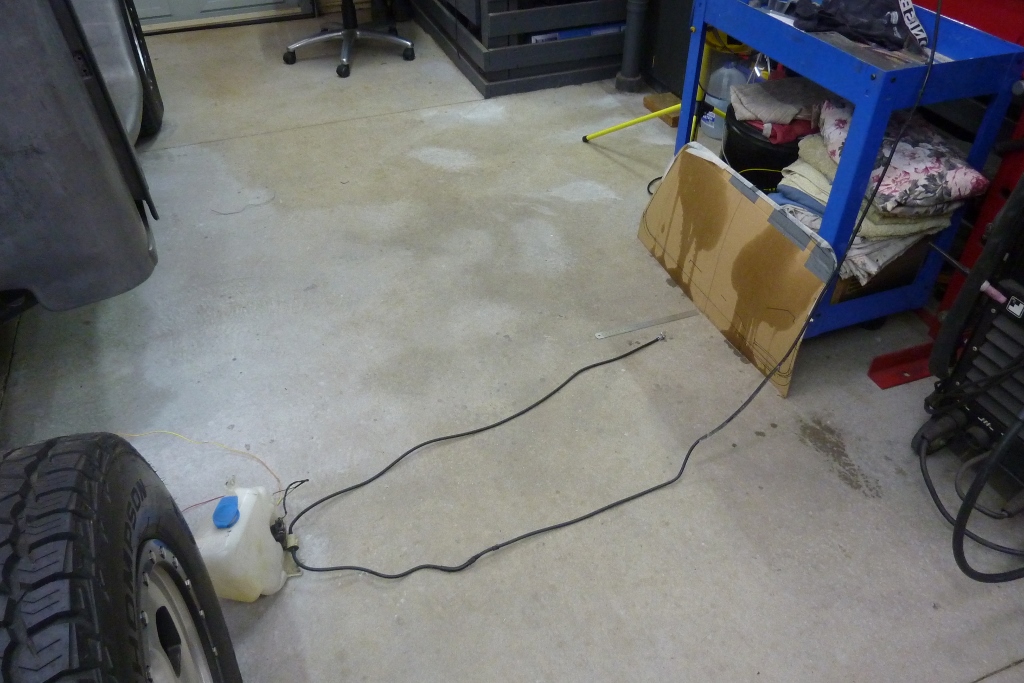
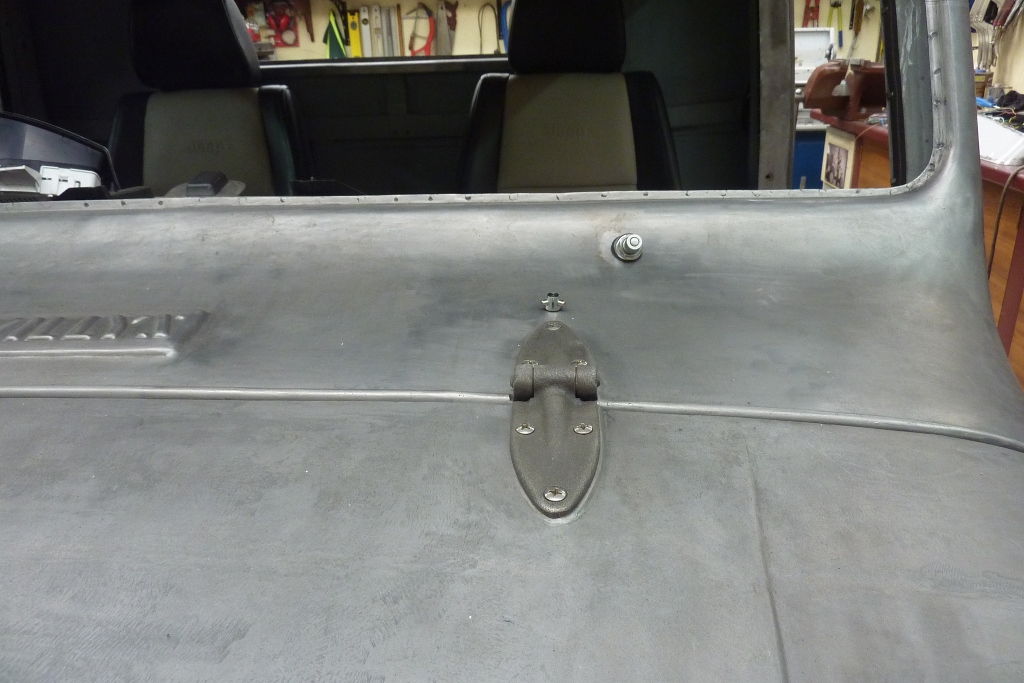
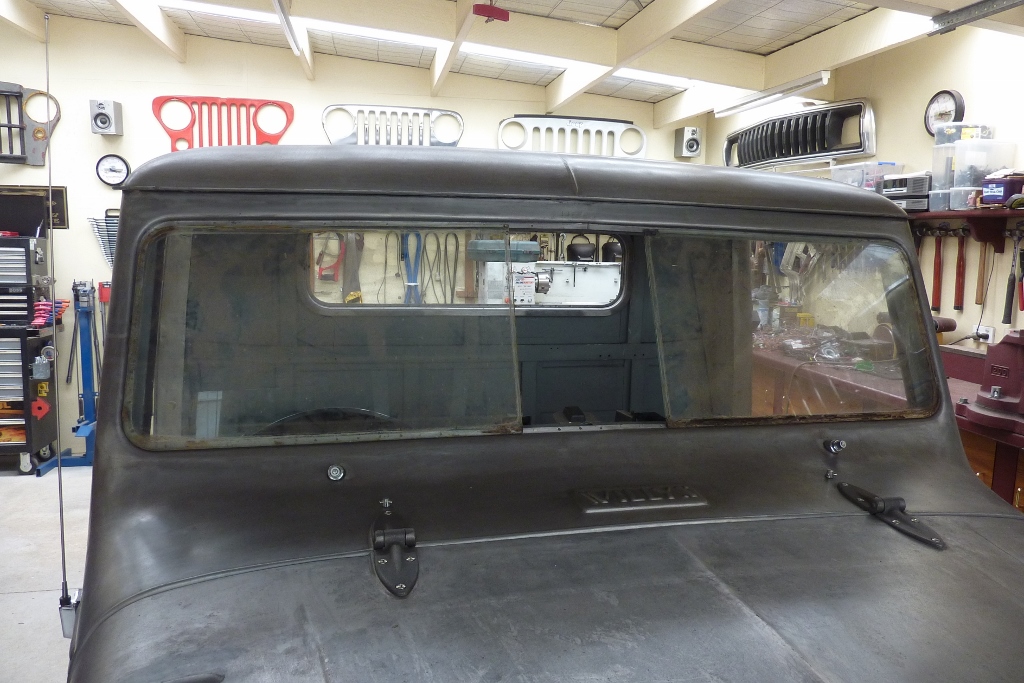
Testing here the best position to mount my new chrome windscreen washers. I decided to order two twin squirters to give good coverage to the split windscreen. Was able to save having them in the bonnet and the hoses will run under the dash instead. The exact centre of each windscreen half put it inline with the hinge. These are are good quality as machined from solid brass and are Lucas style as fitted to many early English cars.
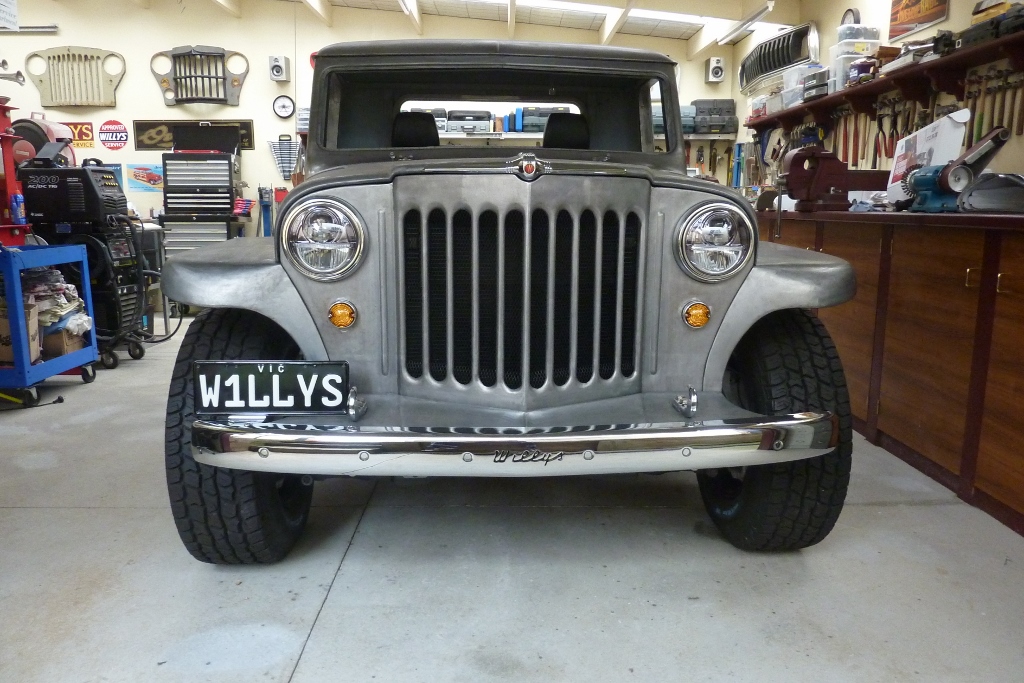
Well look what we scored. We tried to get these licence plates 12 years ago, but they were already long gone. They have never been assigned to a vehicle so in new condition. Looking forward to the day I can register the Willys with these plates. :)
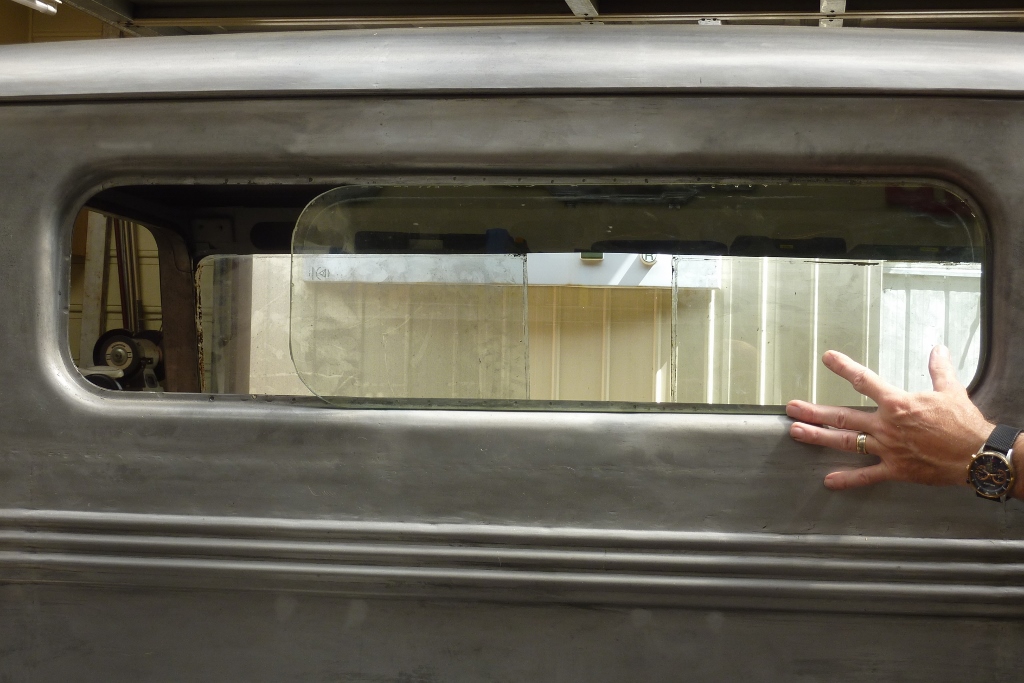
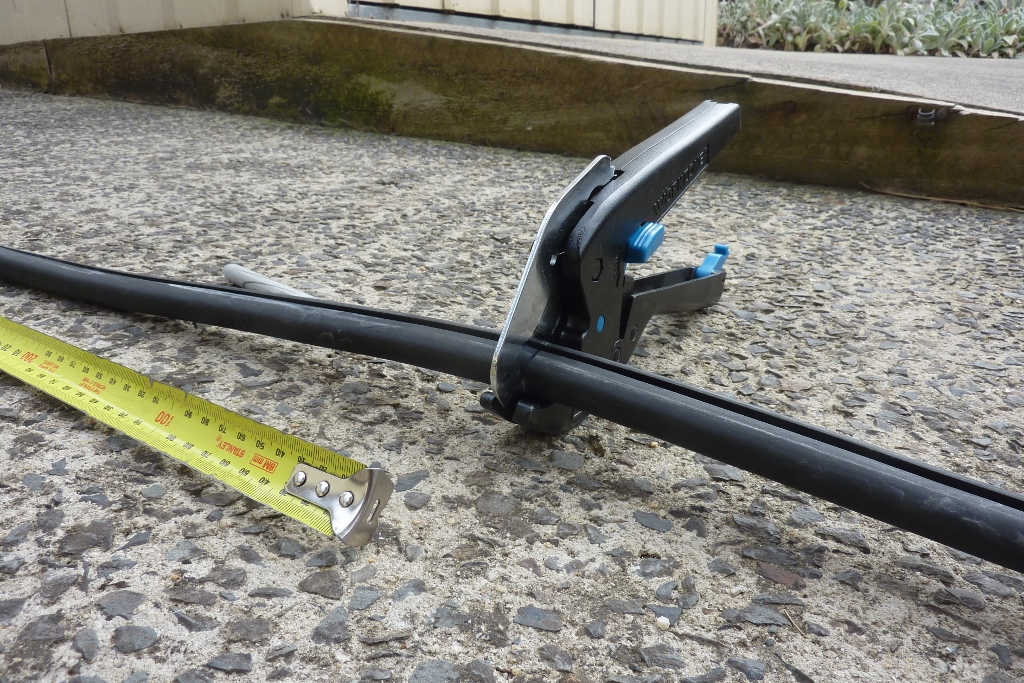
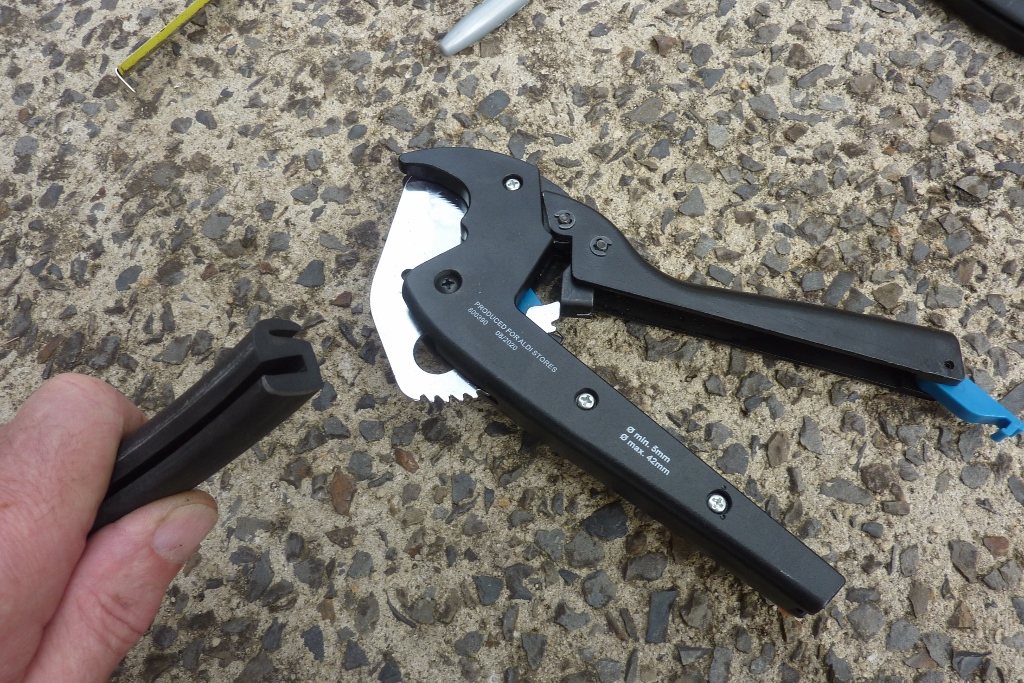
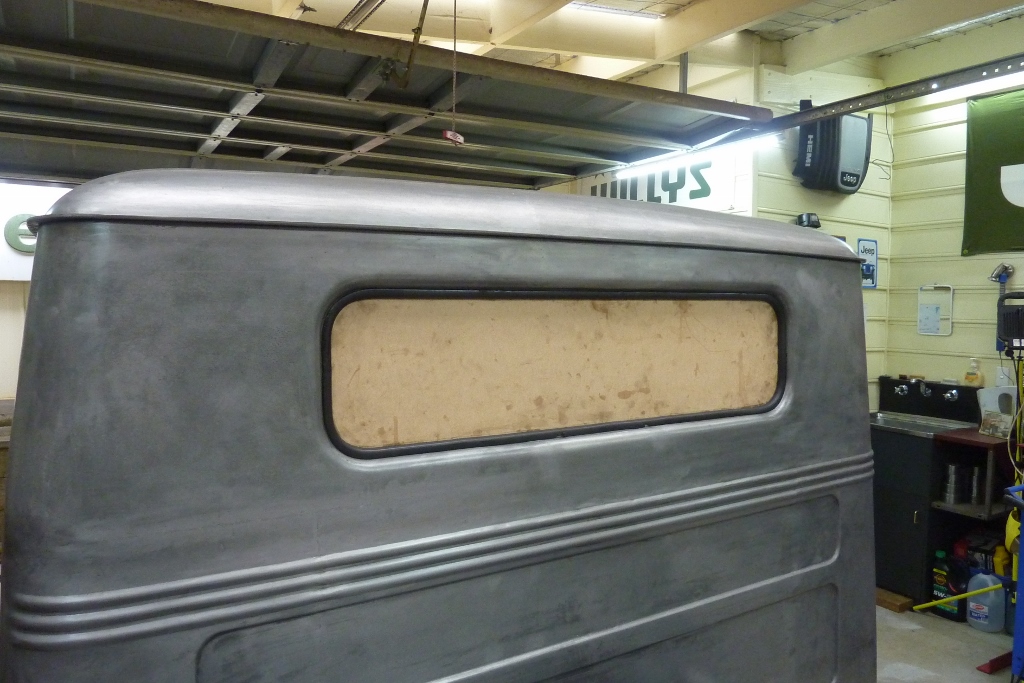
If you look carefully you can see how much narrower the stock rear window is! I have to make a new template and gasket to suit the 273mm-10.5" wider window. I bought these PVC pipe cutters from ALDI to cut the rubber gaskets. Being supported on both sides of the cutting blade, it stops the rubber distorting more on one side than the other.
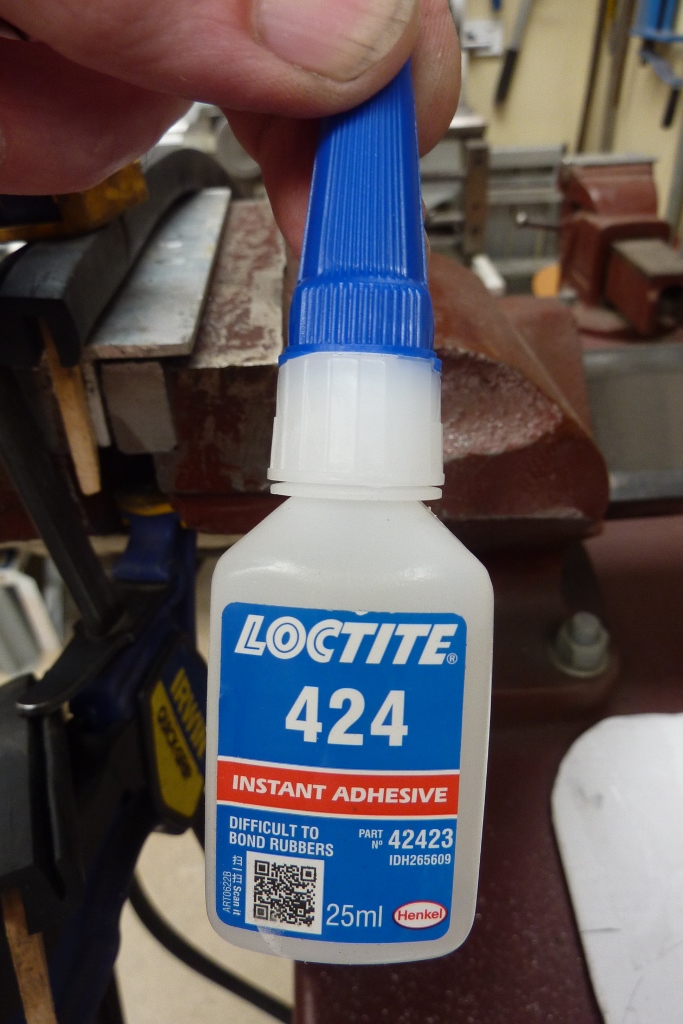

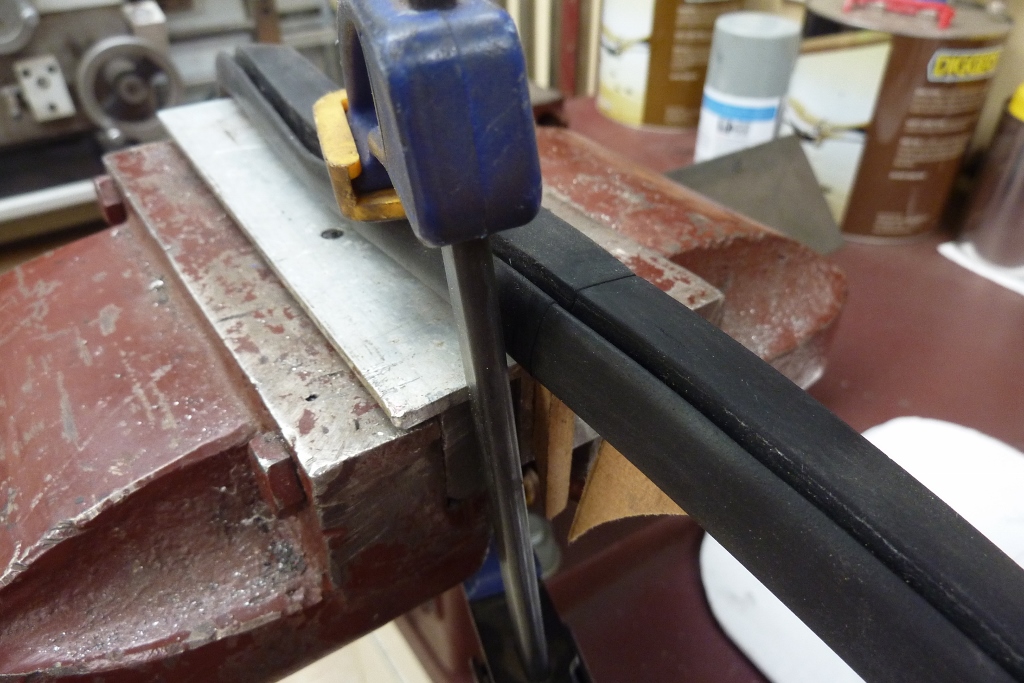
I make a squared line around the gasket and line up the blade and the middle of the jaws at the bottom. It cuts slowly so you can make sure it is following the line. Dale Bates, who makes brass windscreen frames for a living, put me onto using this specific Loctite for joining the rubber. Careful as there are two versions of 424. You need the check the part number in the smaller print which says 42423 which is for difficult to bond rubber. I used some mdf the same thickness as the glass to hold everything square. Kept it away from the ends a bit because this glue will bond that mdf into place as well otherwise.

You get one go with this only! No moving it around for a second or two even. So I came in on an angle, lining up one edge before straightening up the faces. I practised with some scraps first! I wrapped some cord around the channel and roped it in place. I was able to tilt the top in first with the gasket going over the pinch weld. You always pull the cord directly away from the edge and can rotate it in circles when going around the corners.
I have done quite a few windows like this before but had problems with this gasket. It would keep tearing regardless of all the tricks to stop it. I had imported this from the USA under the part number used by one the the American manufactures. Turns out the seller was selling cheap, I presume, Chinese made rubber. Just just peeling back the rubber with your thumb and it would break! Was like 60 year old weather beaten rubber. Tried to contact them about it and the seller had disappeared!


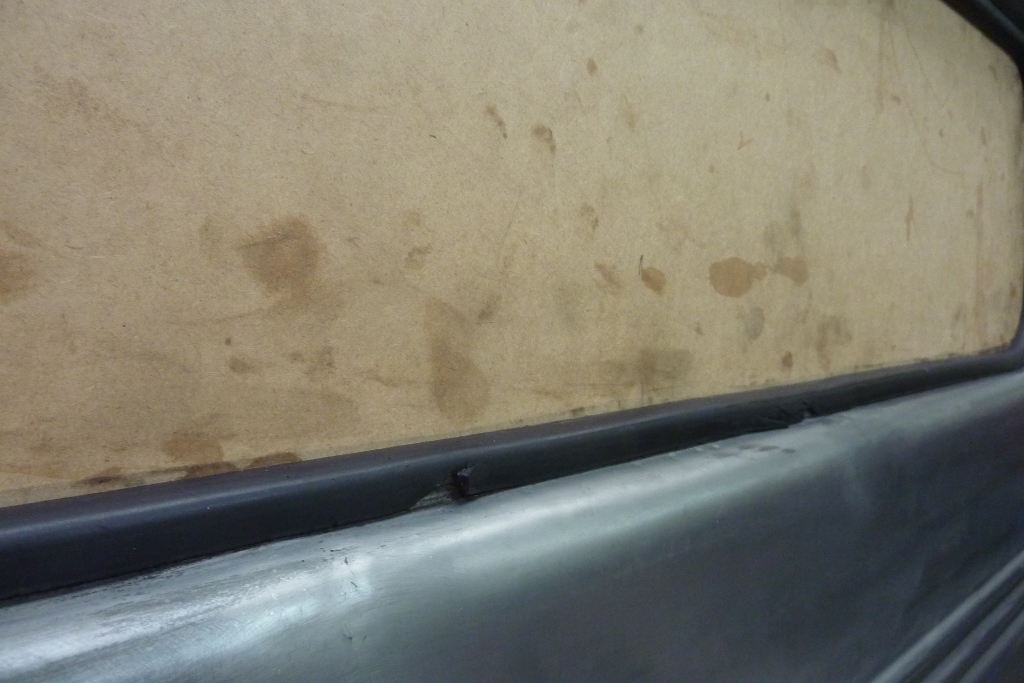
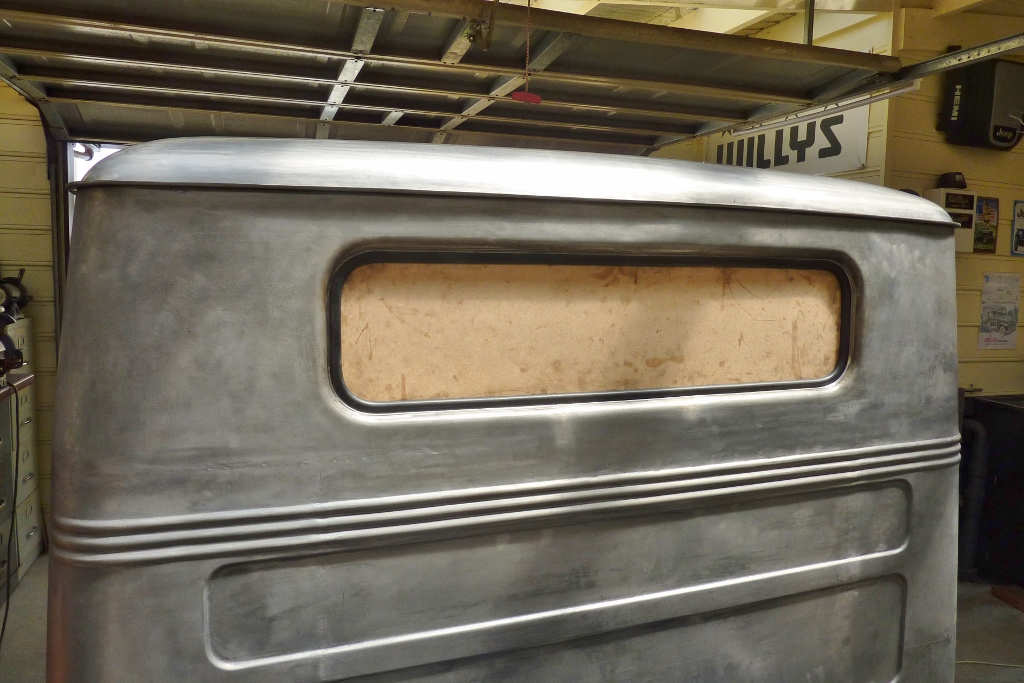
The problem now was that I had had ground down about 2mm off the pinch weld so that rubber would fit over it as it was a bit shorter than stock. Now I have gotten some new rubber, I have to add it back again plus a few extra millimetres! So using a squashed down piece of copper pipe as a backer, I can lay down two rows of weld along the edge all the way around the window opening. Then have to grind down the welds and make it all a uniform height and thickness all the way around the window frame.
The new rubber was by Metro Moulded Parts, #LP-30. https://metrommp.com/windshield-and-rear-window-seallp-30/ It was part of their supersoft range and it really was! Took about five minutes by myself to get the template roped into place. With the 9" wider cab, I have to make the windscreen wider to suit.

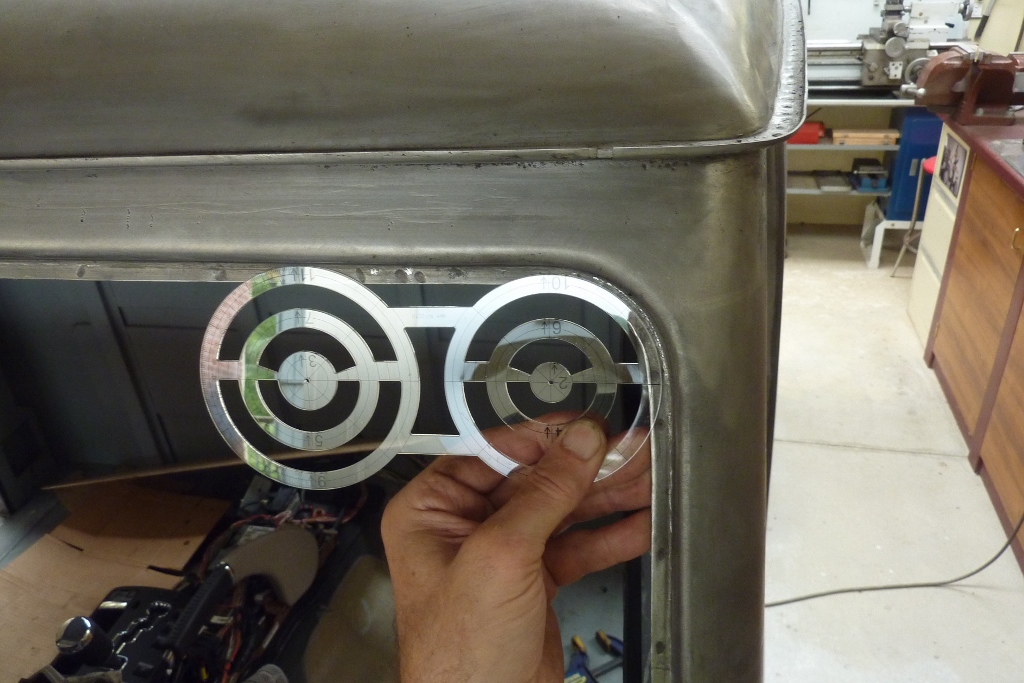
I checked again to make sure the flanges were nice and straight and flat against the glass so there was no pressure points on the glass to cause cracking or leaks. I am using here a tailors template to select a matching radius for the template corners. It is being held away from the edge the thickness of the bottom of the window channel in the rubber gasket/seal.
[Index]