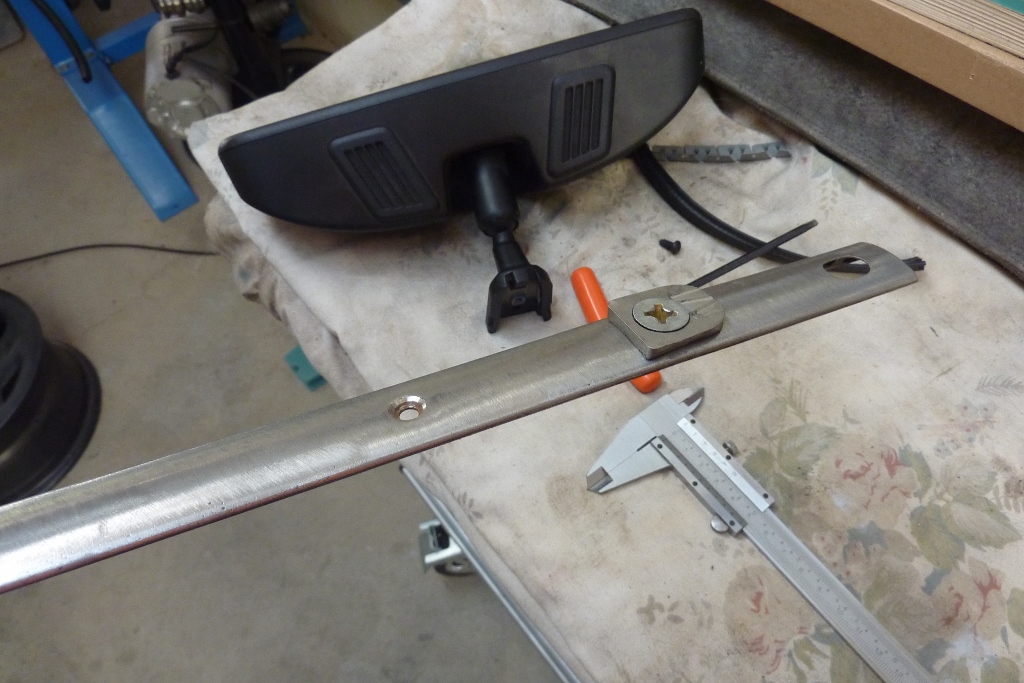
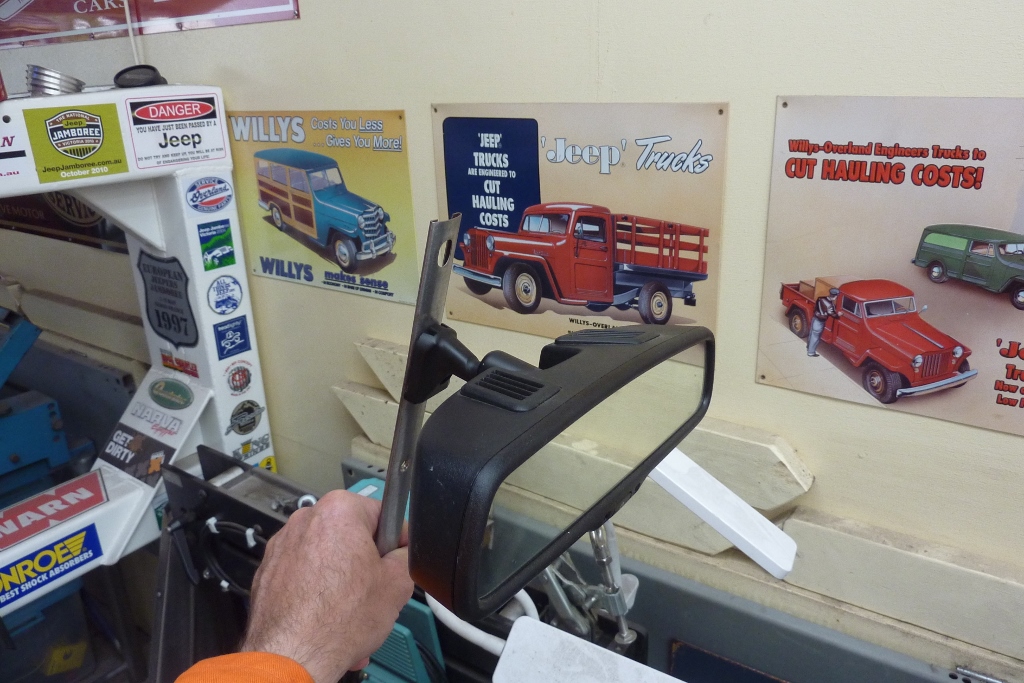
I am using the donor rear vision mirror. I had kept the mounting piece that is normally glued to the centre on the windscreen from the donor. I shaped the back of it to suit the profile of the inside bar. Just unscrewed the original Willys mirror and drilled and countersunk a hole so I could mount it to the bar. The new mirror just slides over the mount as before and is tightened with a grub screw. Once the inner and outer bars are mounted together over the divider part of the seal, I will plug the mirror into the wiring harness already installed.

The crease now continues the peak that runs up the centre of the bonnet and into the roof. These were painted satin black or body colour from what I have seen. I will go with the former most likely to make it blend into the rubber seal. Did think about a chrome look and would have made it from stainless steel if I wanted to go that way.
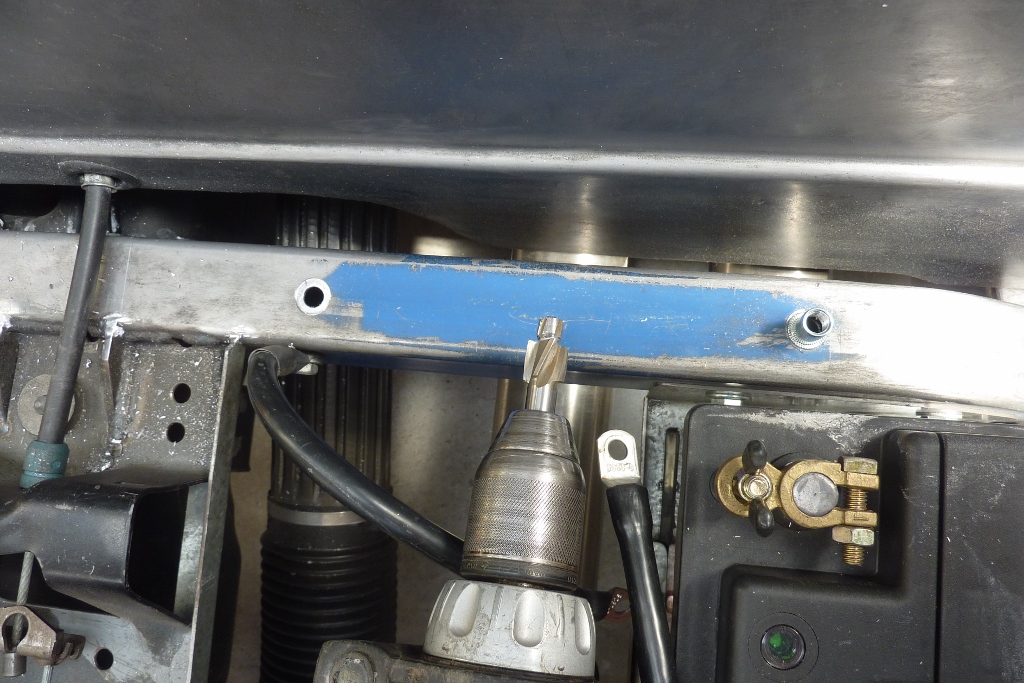
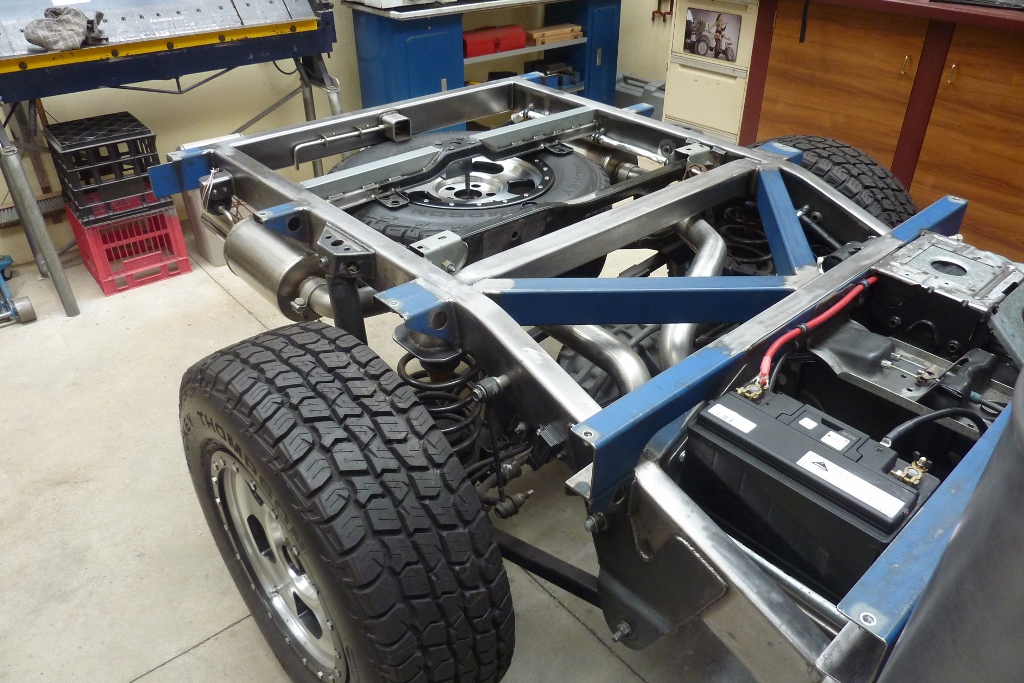
Starting on making the bed floor supports. The front most cross member needs to be 100mm-4" higher. I'm am just going to bolt the support on using 10mm nutserts. Using a bit normally used to flush mount cap screws. You just have to remember to first drill to suit the guide which is smaller than the final nutsert size. That or sleeve the guide. I always squirt some zinc coating on before installing the nutsert to keep rust away. With them now flush, the support can sit directly on the cross member.
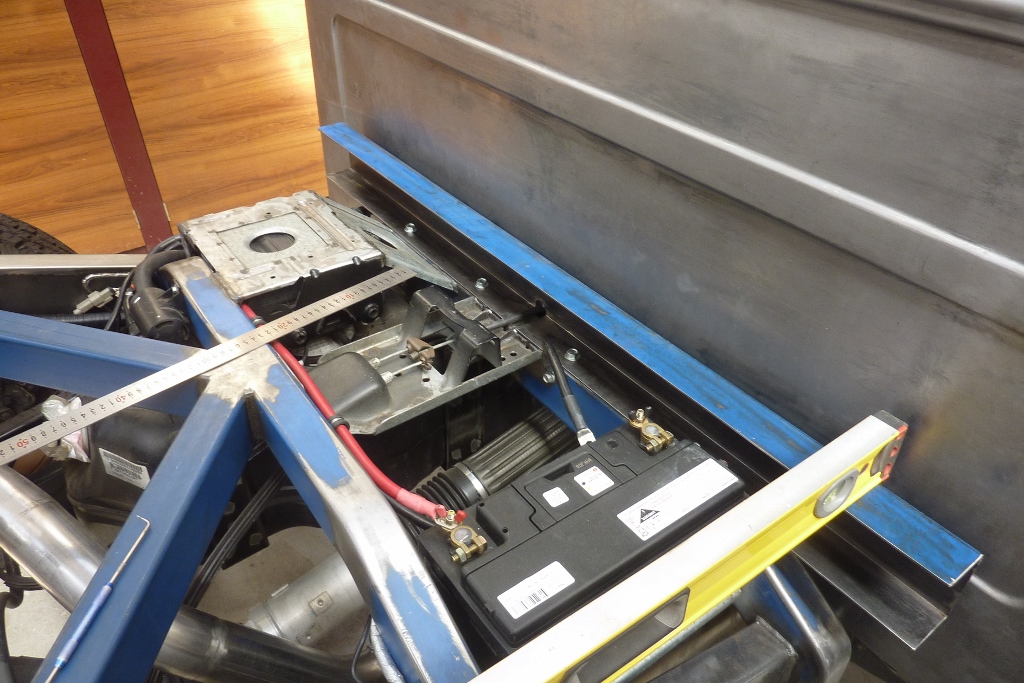
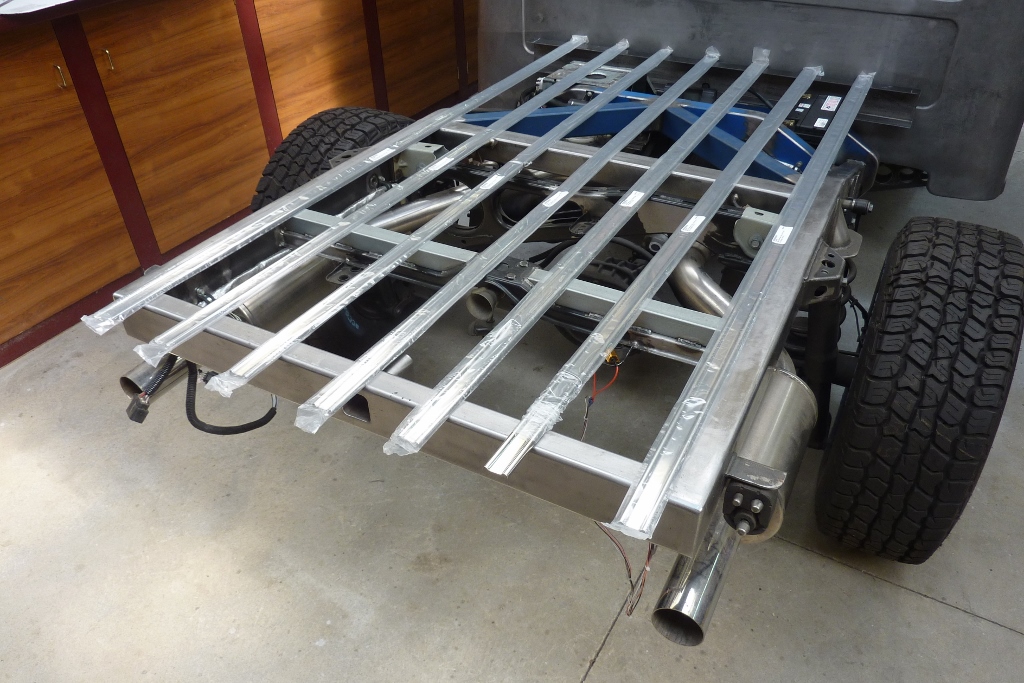
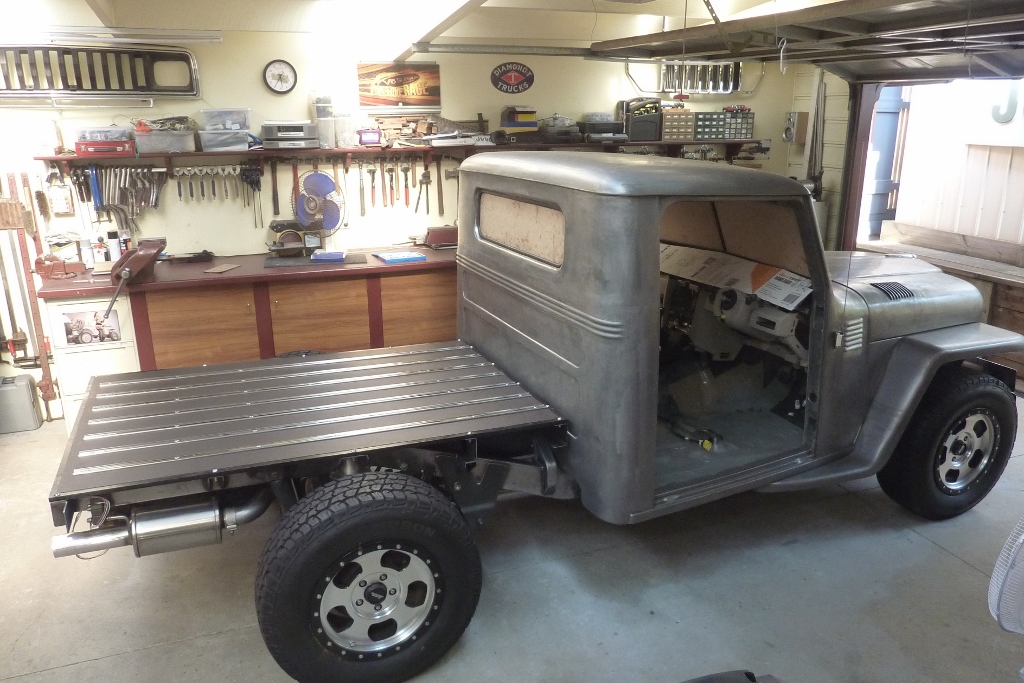
I cut some 100mm-4" SHS tubing down as was the exact height I needed to match the chassis rails. Just doing a layout of the stainless steel bed strips that will be going on the floor.
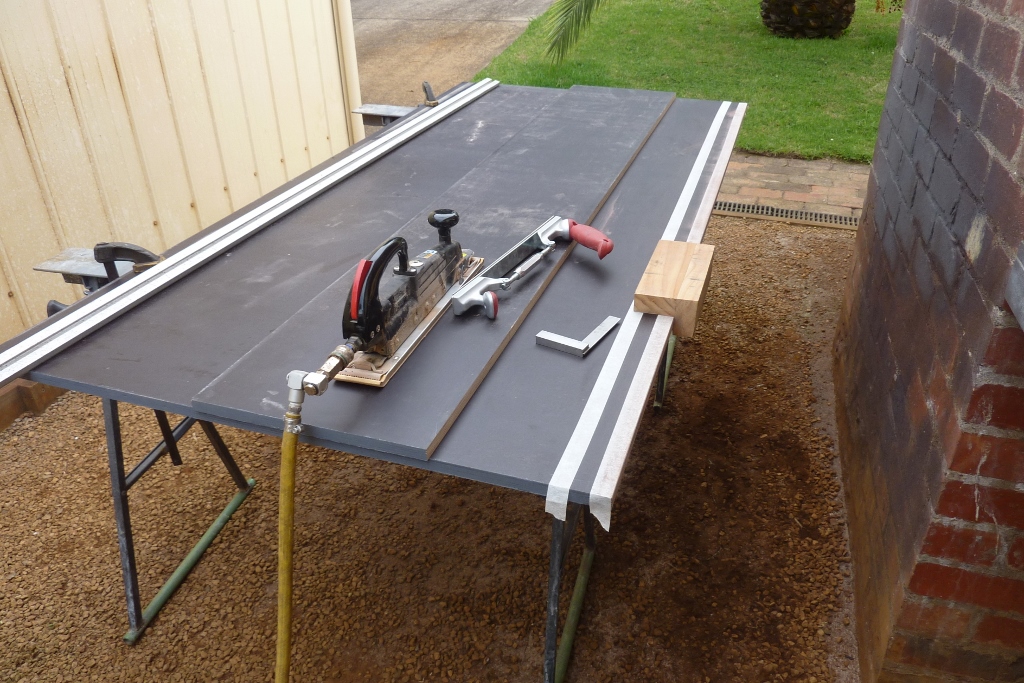
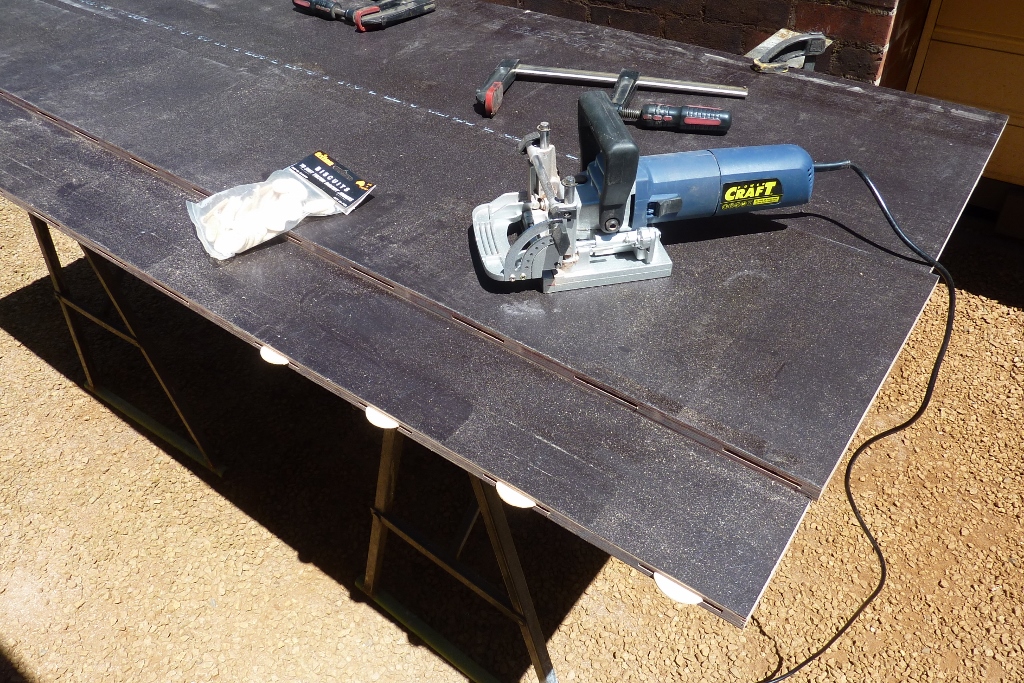
I am just using Formply which is a structural laminated plywood used in Australia for making concrete forms for bridge building to floors and walls in high rise etc. https://blog.plyco.com.au/plycos-guide-to-formply Very similar to marine ply and has a phenolic resin layer each side which is basically Bakelite making it hard wearing and keeps water out. Unfortunately it was just not wide enough at 1220x2440,4'x8', to suit the wider than stock floor, so have to add to it. I made a right angle block with some adhesive sand paper stuck to one edge to make sure the cut edges were perfectly flat and square. Using a biscuit joiner to join the boards. One every 150mm-6" which is the minimum spacing recommended along the whole length.
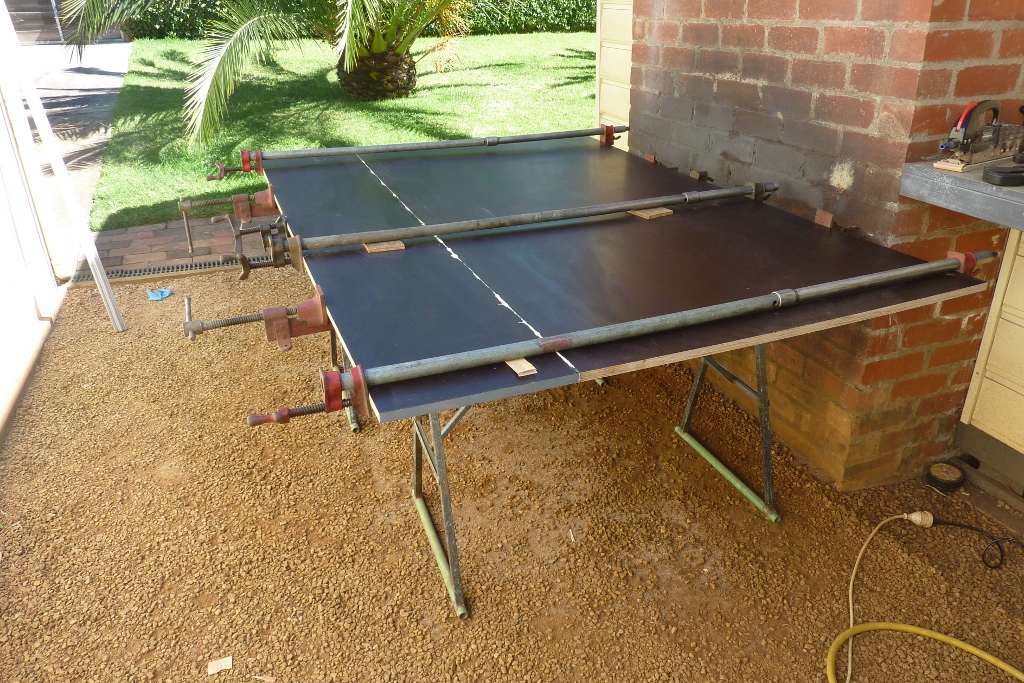
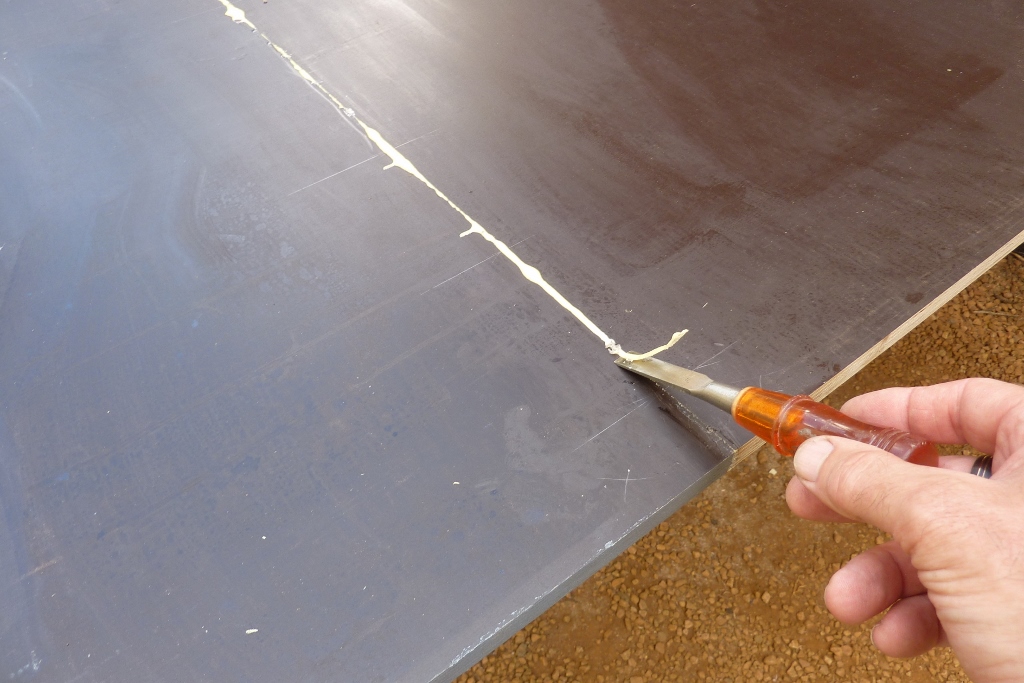
I used waterproof polyurethane wood glue. You have to mist the edges and the biscuits with water before applying it. The biscuits swell straight away so have to be quick and then apply the glue before inserting them and along the whole edge. I have clamps top and bottom and checked to make sure it was perfectly flat by adjusting the tension to pull it one way or the other. Can clean the glue off while wet with acetone, or wait until it foams up and dies. Then cut it off with a sharp chisel. The join will end up under one of the polished stainless steel bed strips, hence why I did the layout at the start.
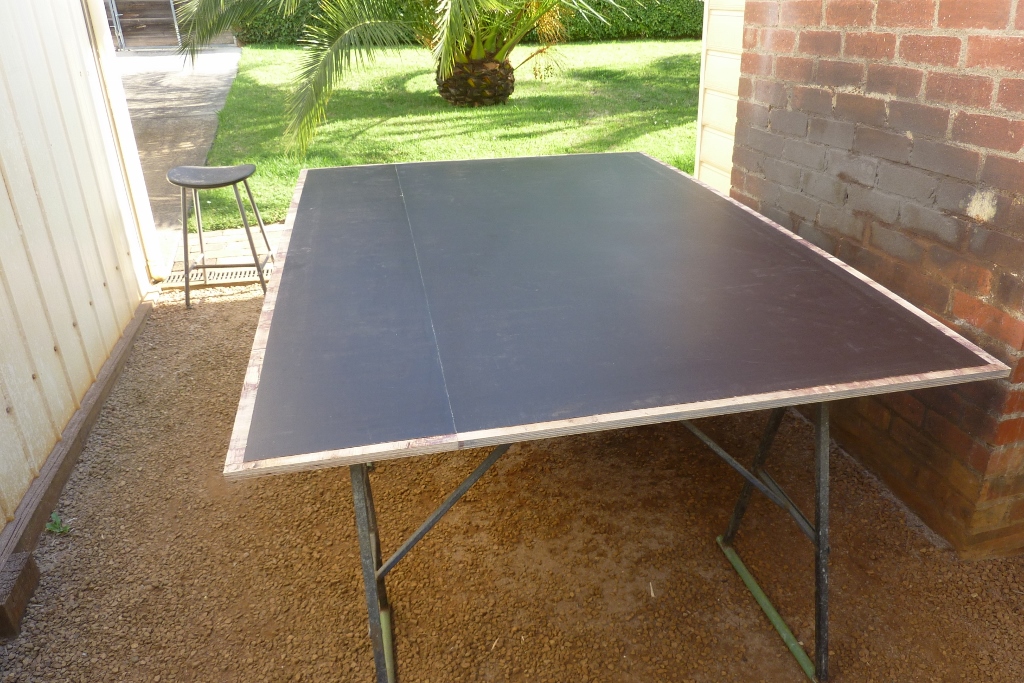

I routed the edges the thickness of the bed sides where it sits on the floor. This will leave it all flush once installed. I first painted the edges and routed parts with pink enamel timber primer before my wife top coated it with black enamel. None of it will be visible once the sides have been fitted and is just to preserve it.
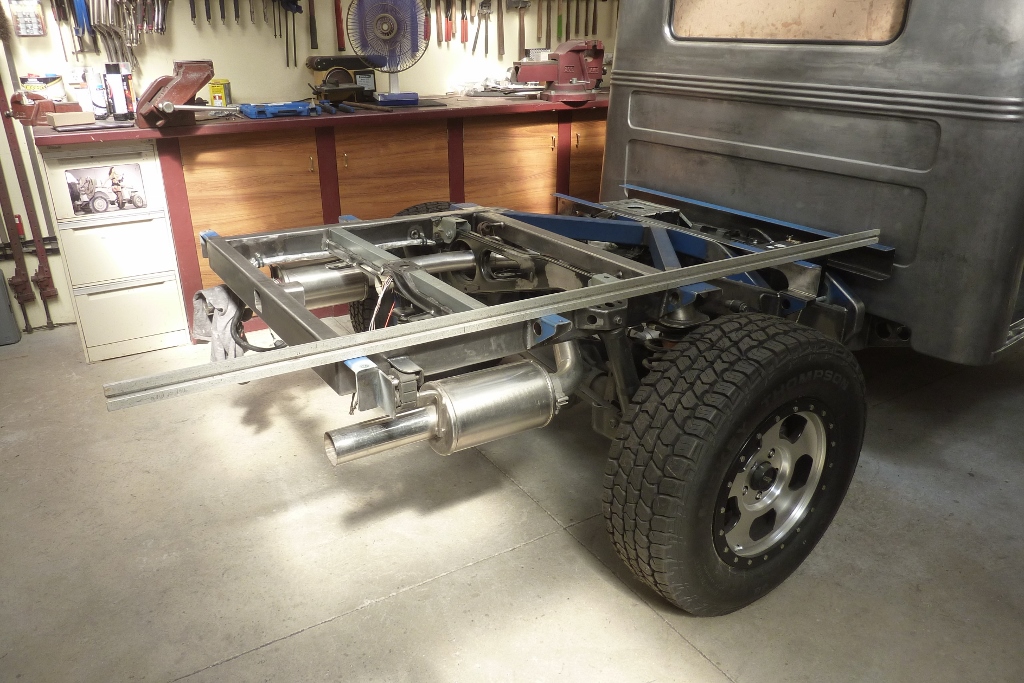
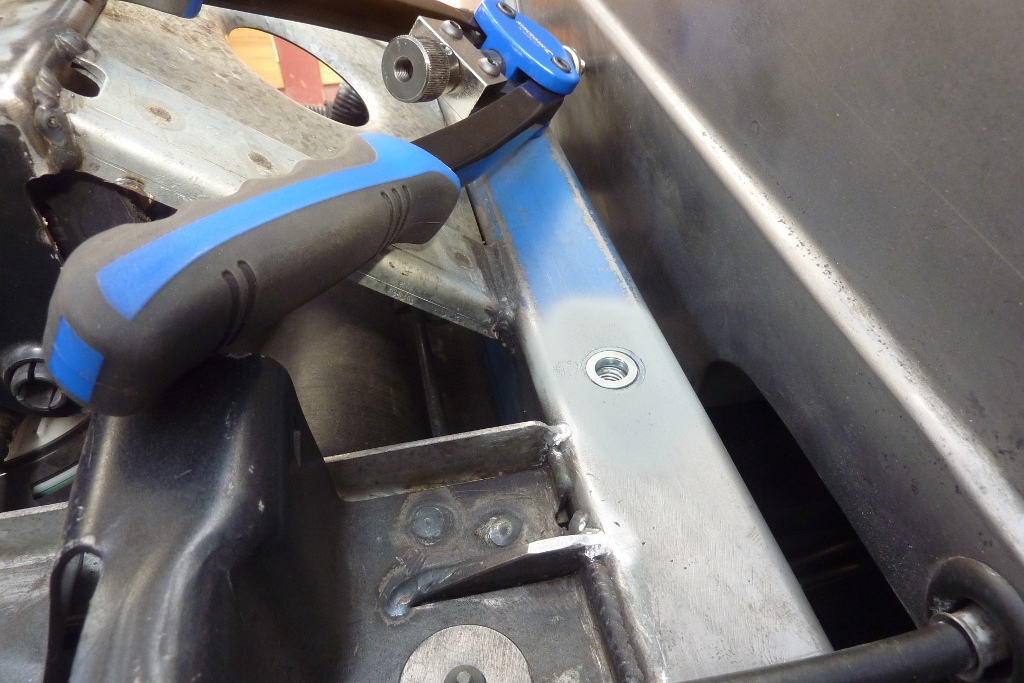
As the chassis is 100mm-4" higher than stock, I will sit the floor directly on top on the frame. I have welded on brackets to bolt the floor directly down and means I have not lost any internal height at all as not using a subframe. I have fitted nutserts to all the brackets to make fitting the bolts much easier. The bolts will hold the bed sides down through the floor and into the brackets. I have placed the sides on top of the floor as less likely to get water trapped along the edge.
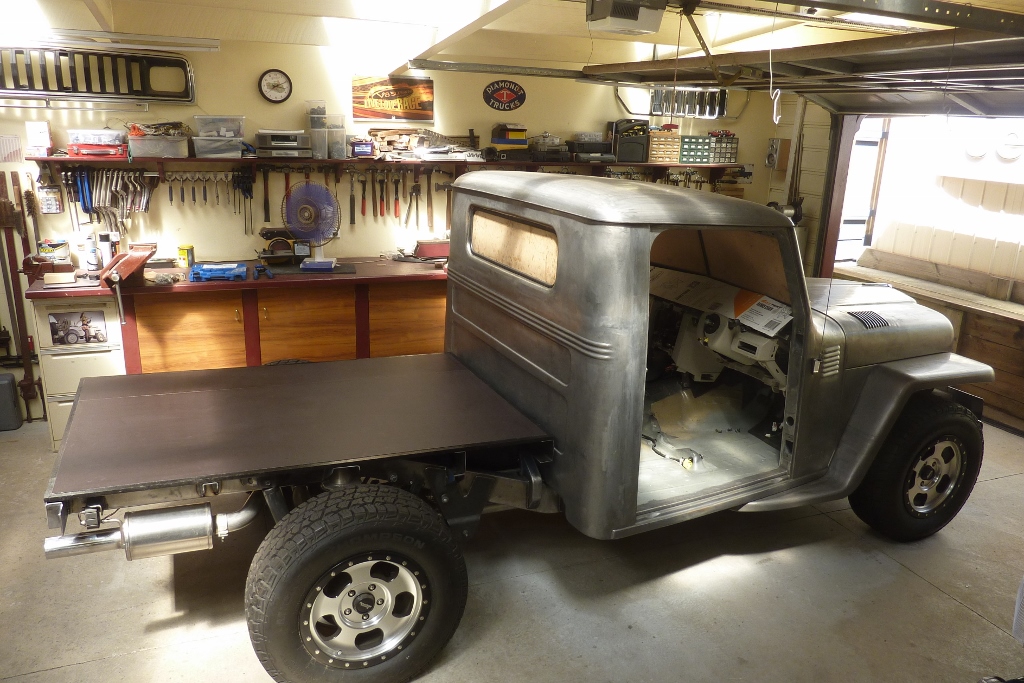
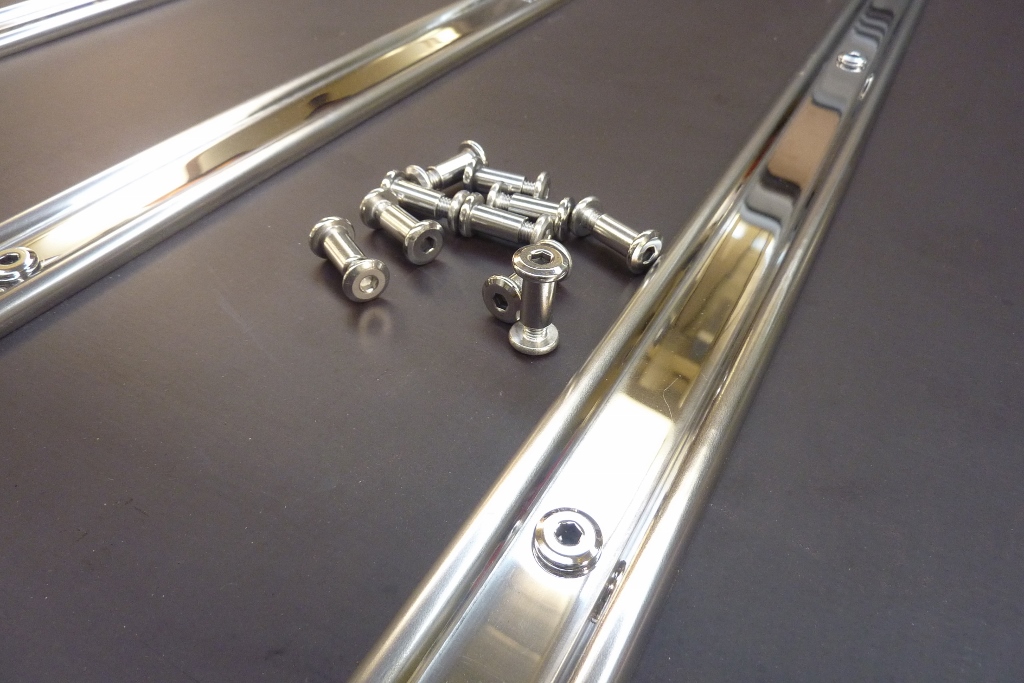
The floor is 1290 mm wide by 1860 mm long, 4'3"x6'1". Certainly not as nice looking as the polished timber floors that are on show trucks, but very practical and will not be seen anyway as I will be making a hardcover for the bed. Also surprisingly weighs less than the stock pressed steel floor even without taking the extra sub frame into account that it would need. I have bolted down the stainless bed strips. I have used these fasteners which can be found under names like furniture bolts, sleeve nuts, flat head bolts and even sex bolts!
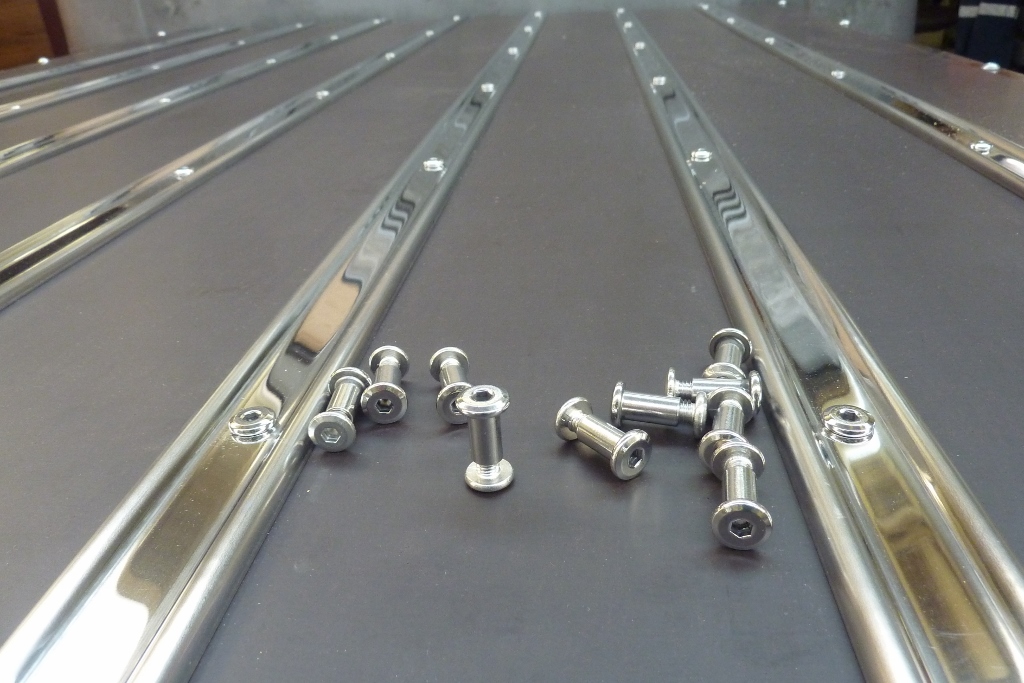
I buffed and polished the heads to match the shine of the strips. I made sure to use fasteners that had a lower profile head than the ribs on each side so things would slide over them and not get caught. Improves the looks and the function of the bed floor.
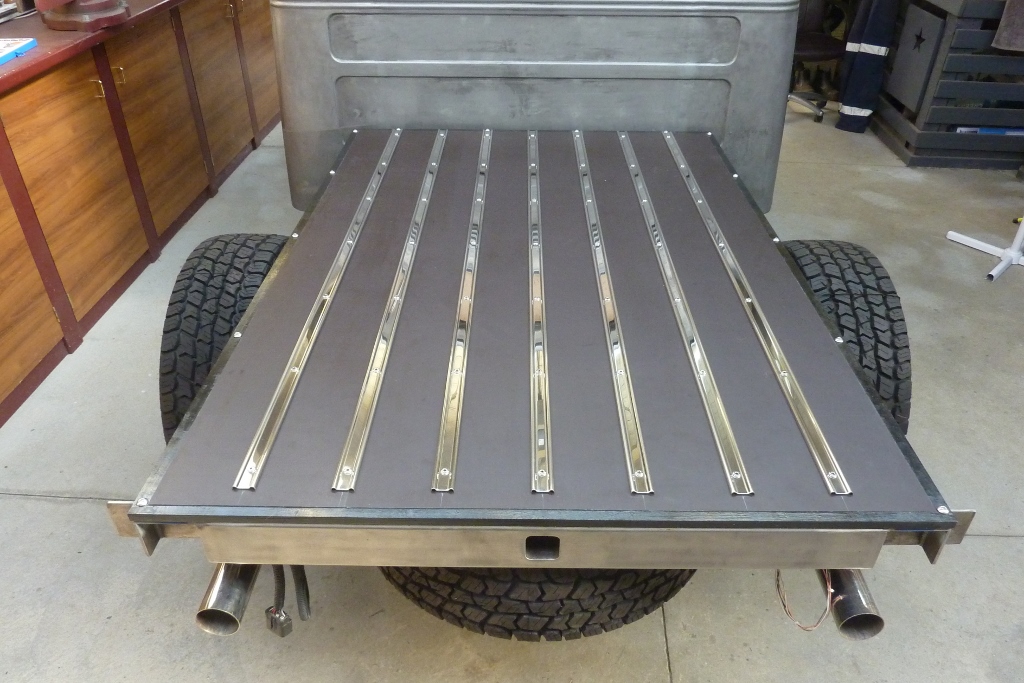
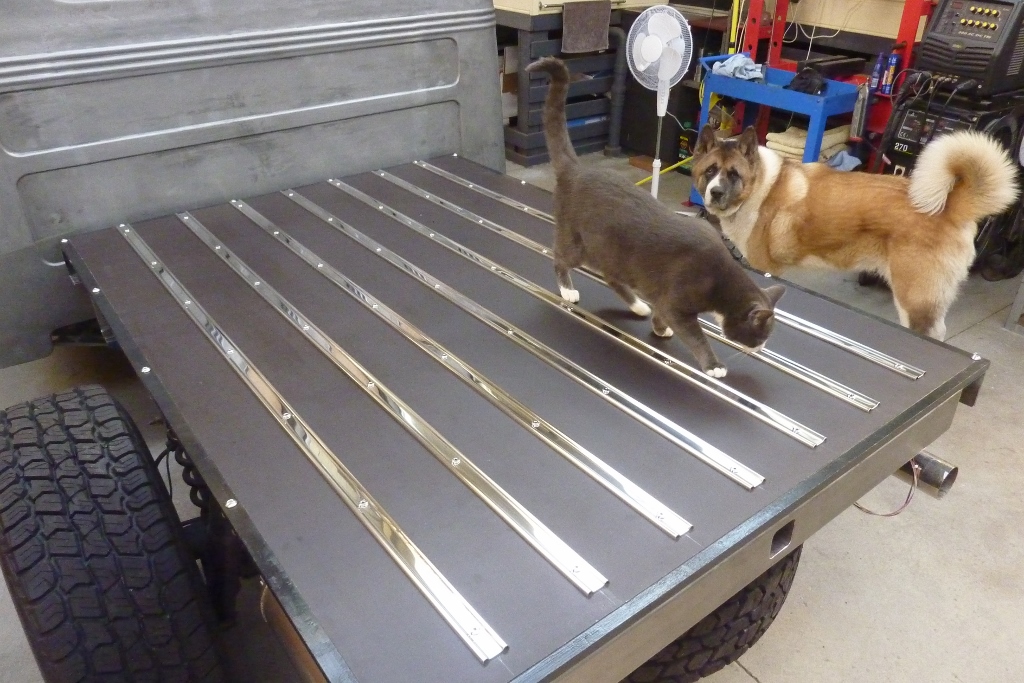
I left a gap at the this end as I will flush mount the tailgate over the floor to shorten the overall length back to stock from the axle centreline. A seal will be on the underside of the tailgate and sit behind where the strips end. Of coarse my inspectors had to approve of the job! The button head M10 bolts around the sides hold the floor down and will go through a flange on the sides once they have been made.
[Index]