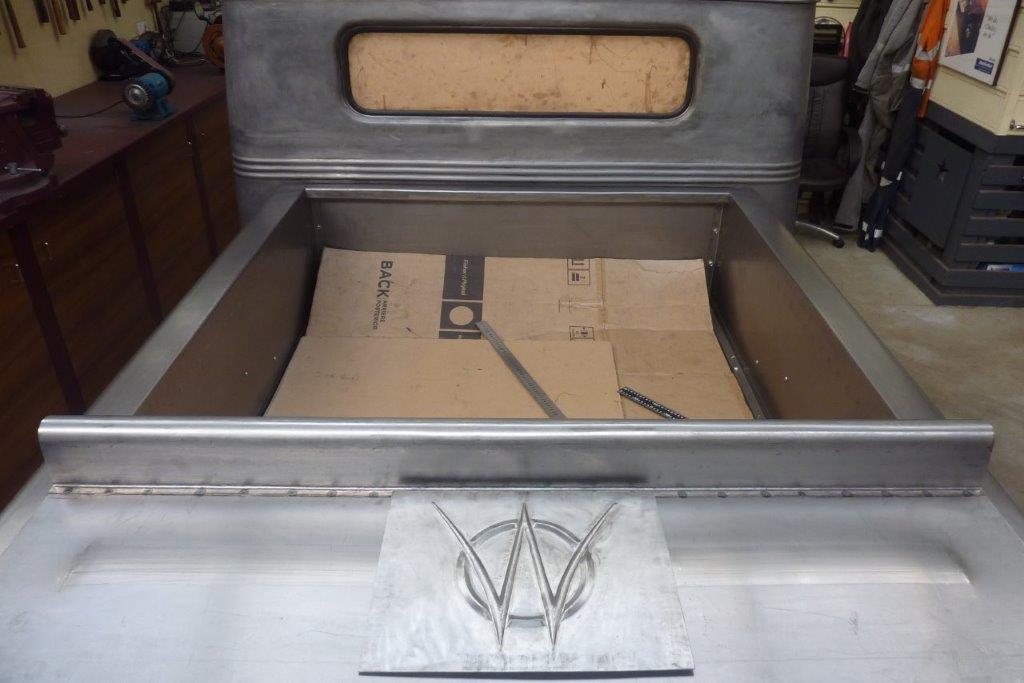
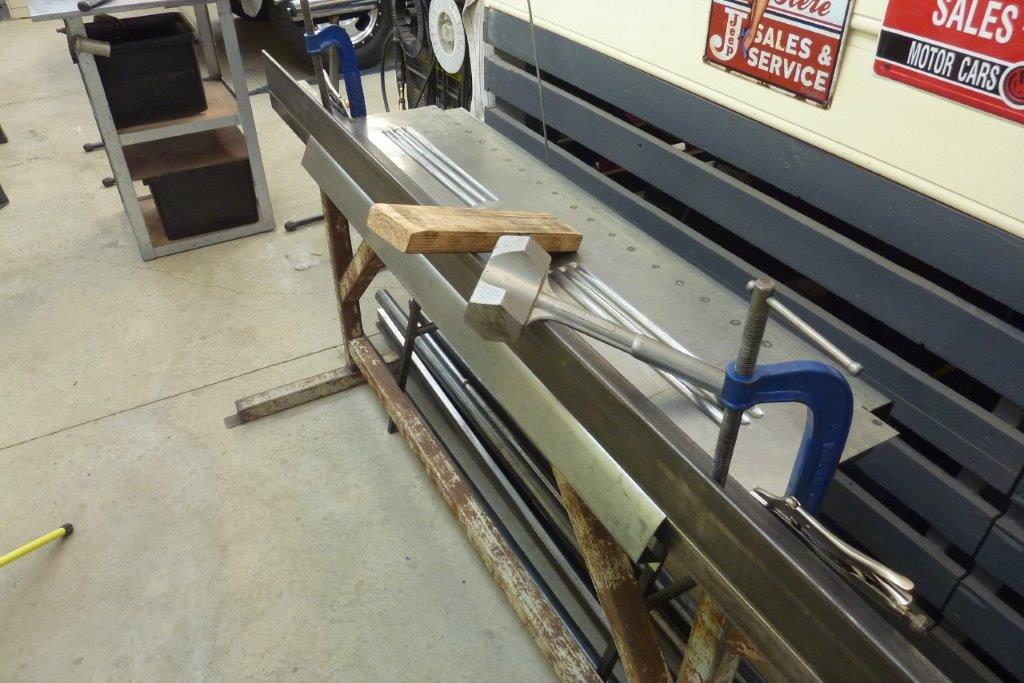
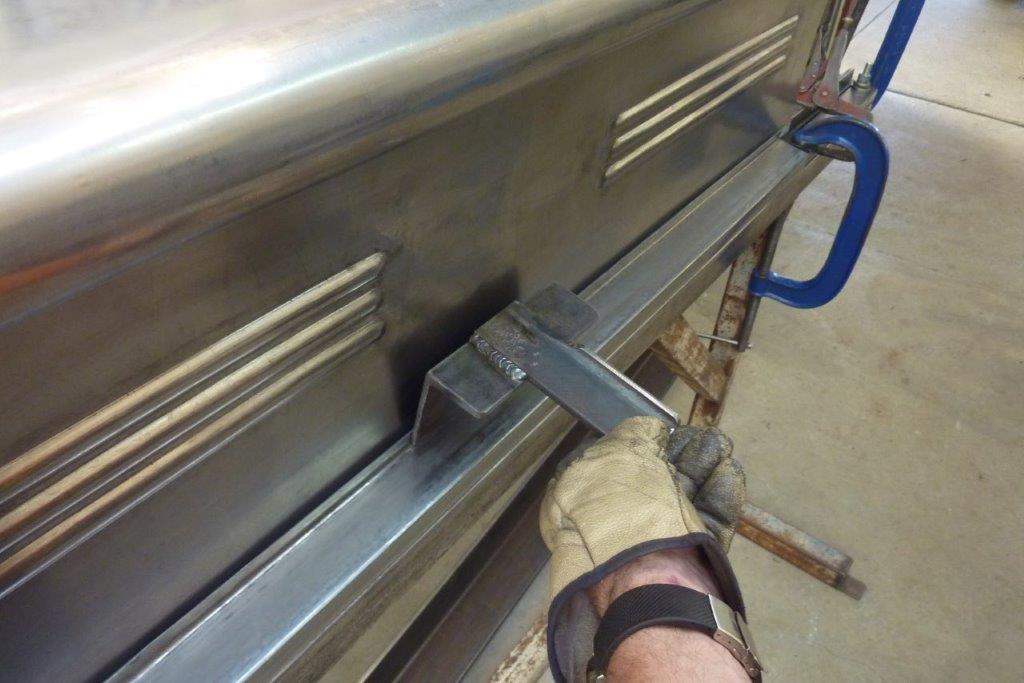
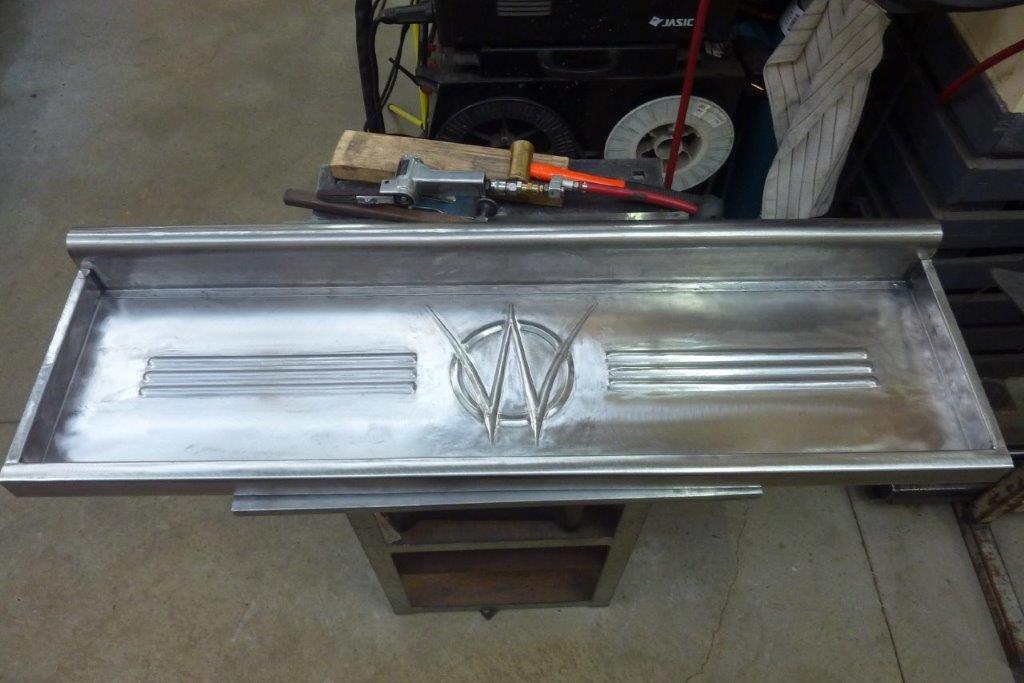
I have decided to add the triple beads each side of the WO logo as looked too plain without it in my opinion on this custom bed. Can see I have already pre-stretched the area in preparation and hope it is enough. The profile of the beads will match the rounded ones on the back of the cab, doors and steps and makes the logo stand out on its own. Well turns out I'm paying the price of not pre-stretching the beaded area enough. Note the T stake I made in the foreground that suits the bead that I will hammer over to stretch it. What I did get right though was carefully working the very first bed side I made so I can now use it to build the tailgate.
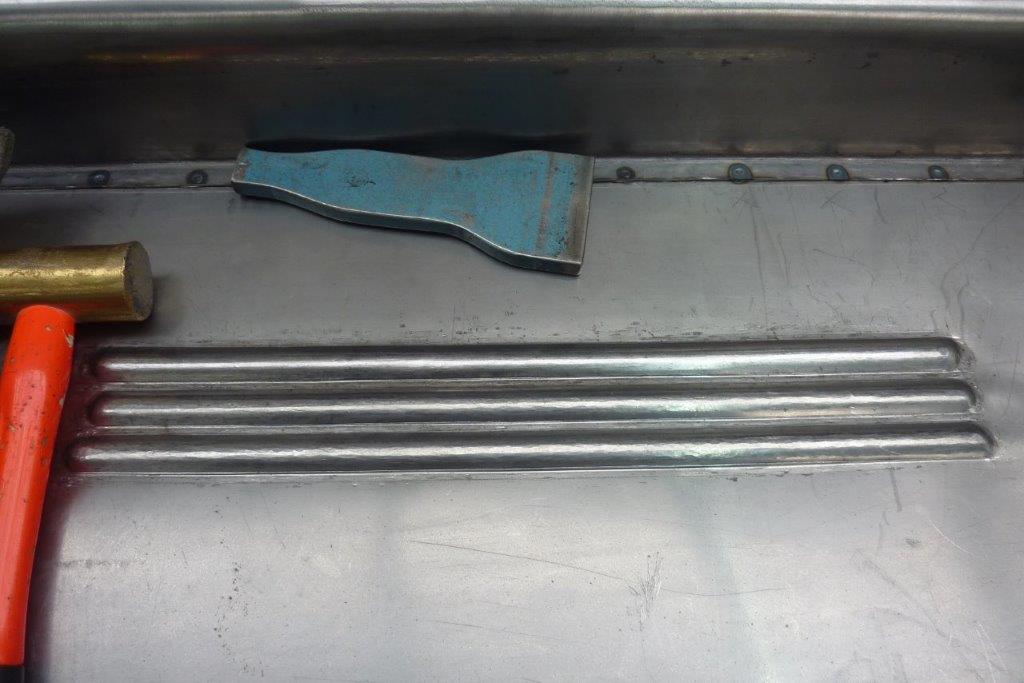
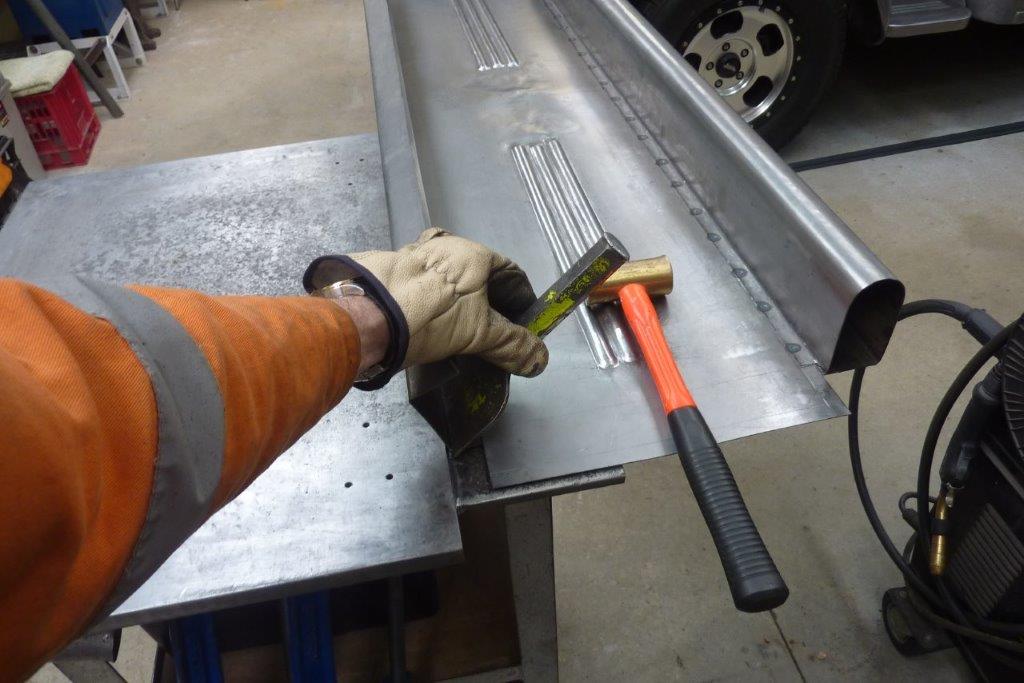
I started stretching over the stake just using a panel hammer, but it leaves the surface rough. I switched to using the chaser instead and can see on the top bead how much better it comes out. I have now worked the right side and only done some on the left so far. Takes hours as all have to be stretched equally right along the whole length so they match each other and stay straight and level. I am not going to worry about getting it perfectly flat in the middle of the panel between the sets of beads, as that will be cut out later for the logo to be welded in.
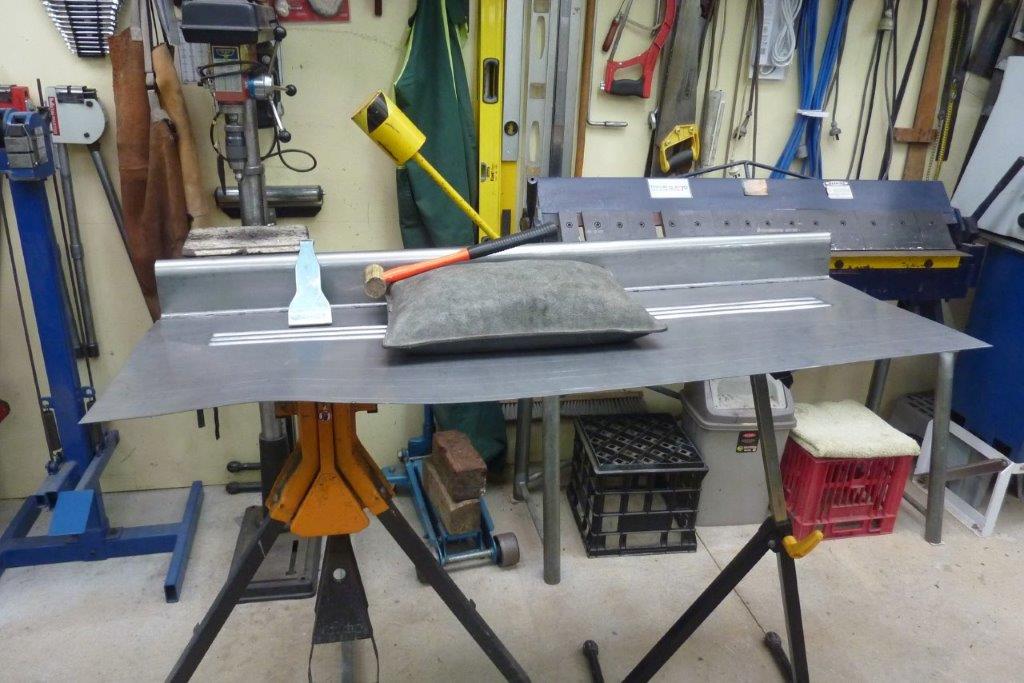
I am trying to see if I can do a full closed rectangle for the bottom frame rather than just plug welding it to a piece of box tubing. Hammering down on the timber off cut away from the new fold to start with. In this case centred over the previous fold. This fold I couldn't complete as it hit the support legs. My welding bench is made from two different sized old barbeque plates. Where the top plate stops short is very handy for finishing and crisping up folds. I hammer the bolster into the corner and the fold increases.
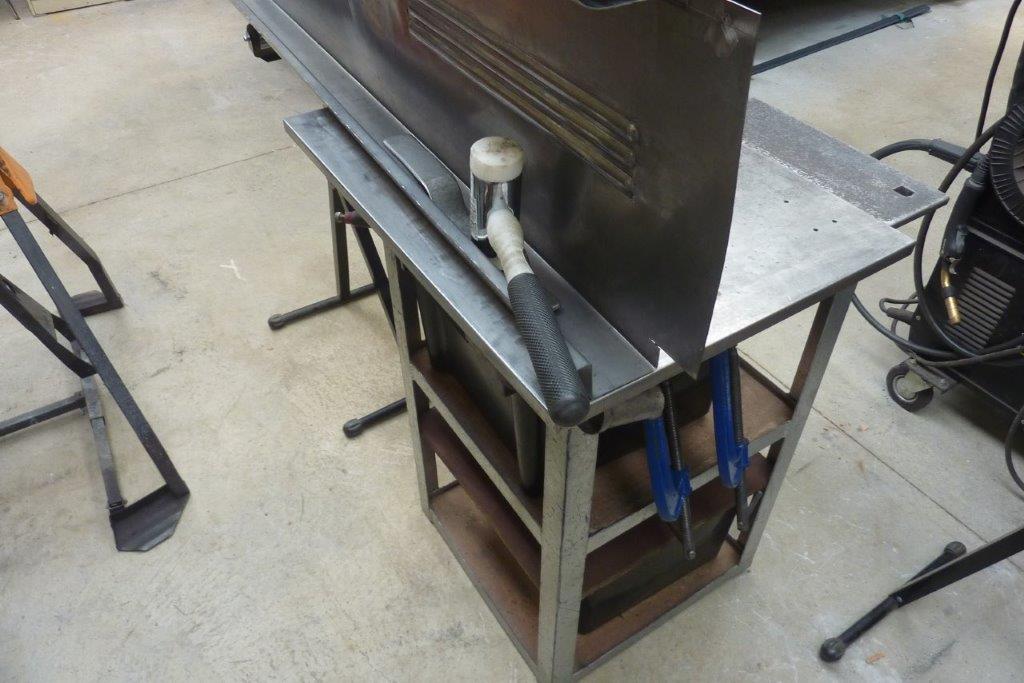
Hammer my flipper with the mallet to remove any dents from all the hand folding work. All nice and square and smooth ready for the last and hardest fold of all, to close the rectangle.

I packed the area inside the fold with lengths of flat bar as could not buy it in the dimension I needed. I have been hitting it upwards to bring the last fold over from the bottom. I made this makeshift bolster to help bring the fold over as the normal one was too tall and I risked hitting the top roll in the panel. I also used this to hammer along the fold line over the rubber mat before I started. This helps the fold start better and keep it from moving off line.
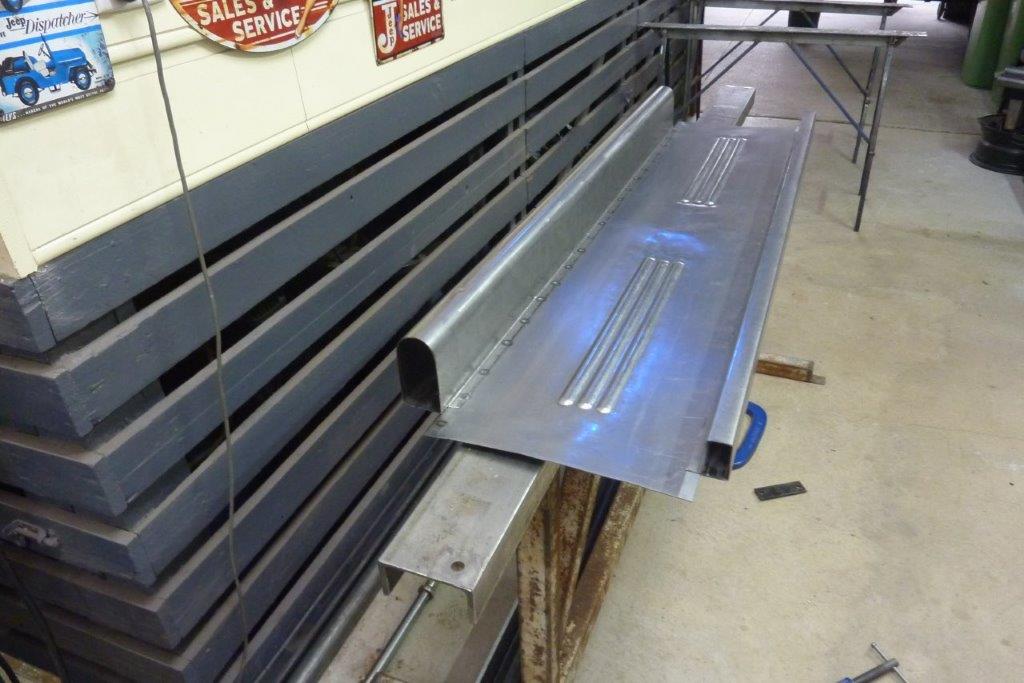
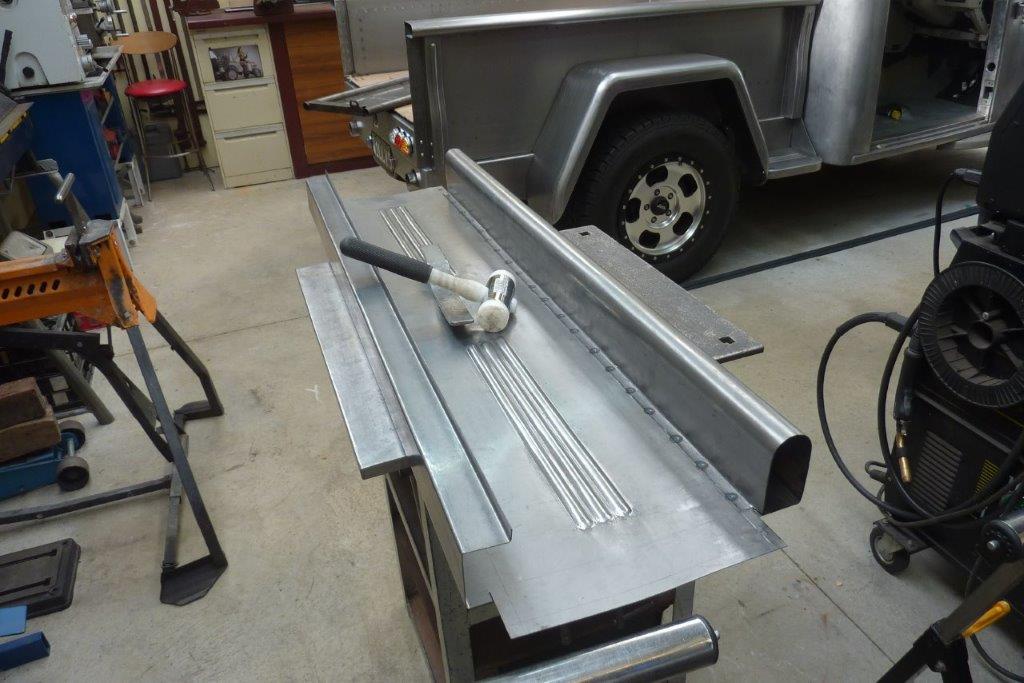
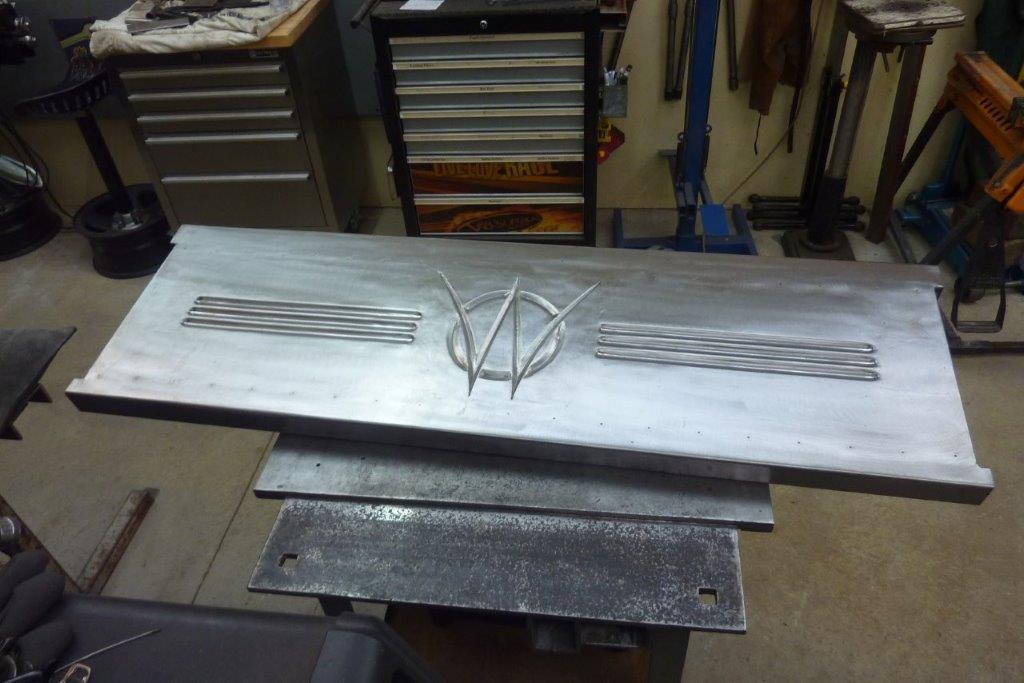
Came over really well and it is sitting there fully closed without any clamps or even spot welds yet! I folded up the ends with a recess for where the cable stays will go later. Another 'Z' section sits over the top of the side flange and comes down onto the face to make it 50mm-2" wide. Same setup as the factory tailgate has. The centre is cut out ready for the WO logo. Have to wait to see what it came out like in the next instalment when I have time to weld it all in!
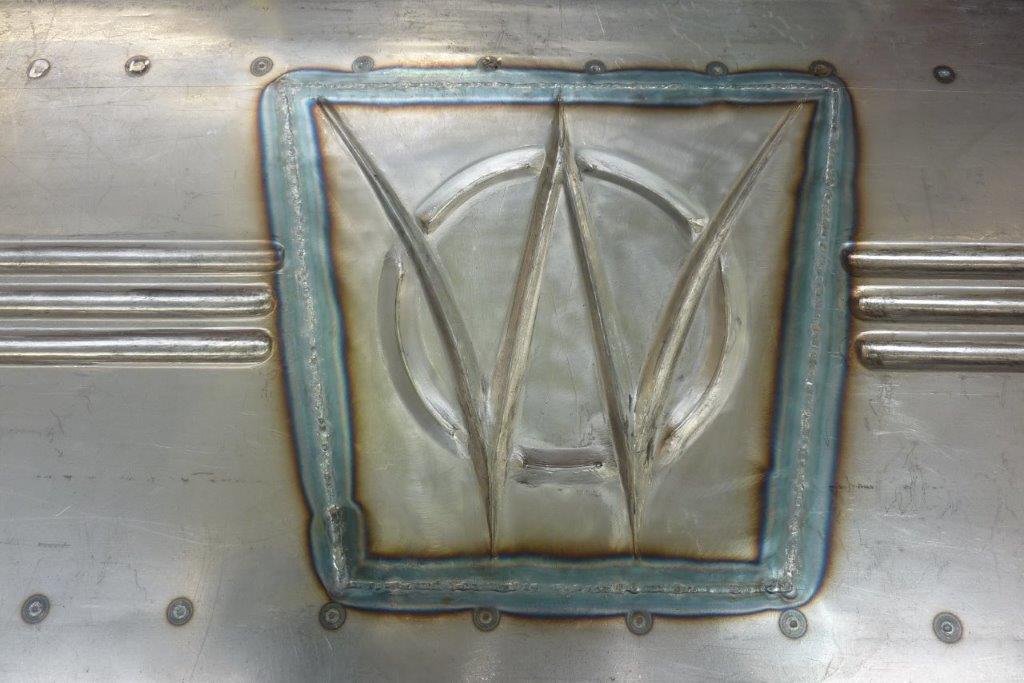
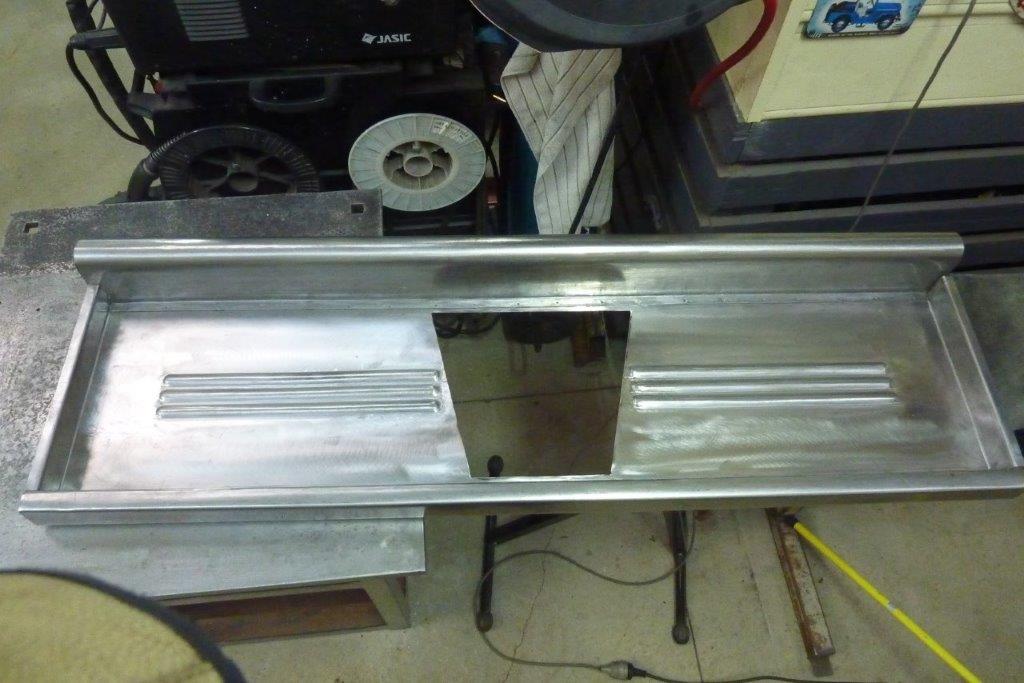
This time I TIG welded with a 1.6mm-16# lanthanated tungsten and 0.9-0.035 MIG wire for the filler rod. The thinner wire left even less to grind at the end. I welded it from the back this time as had easier access. With just the right amount of planishing on the welds I got all the distortion out and everything it sitting nice and flat.
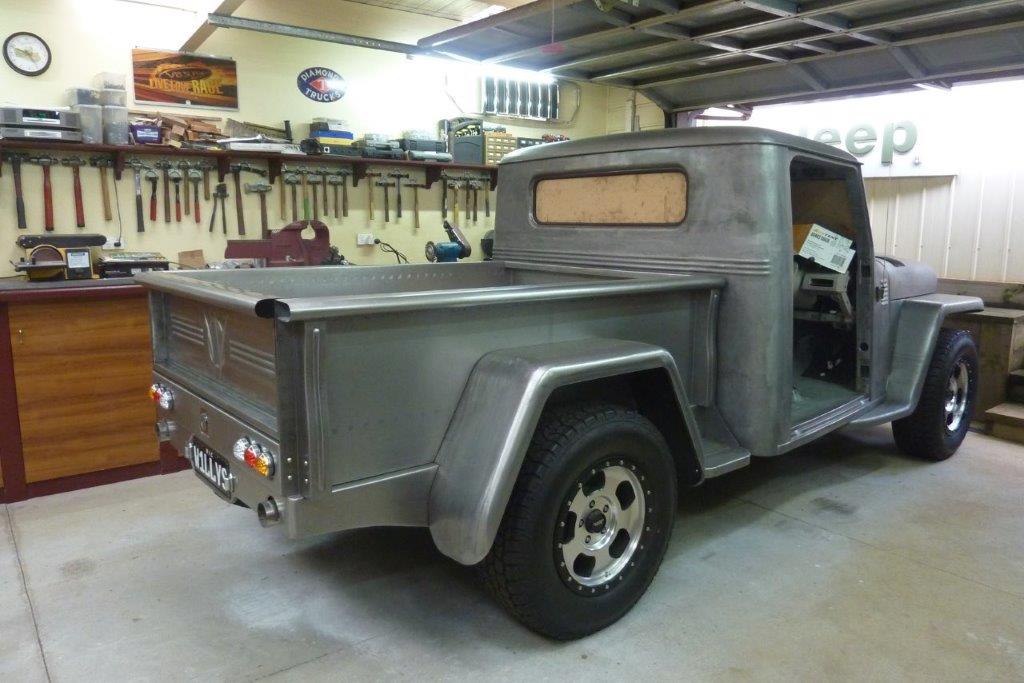
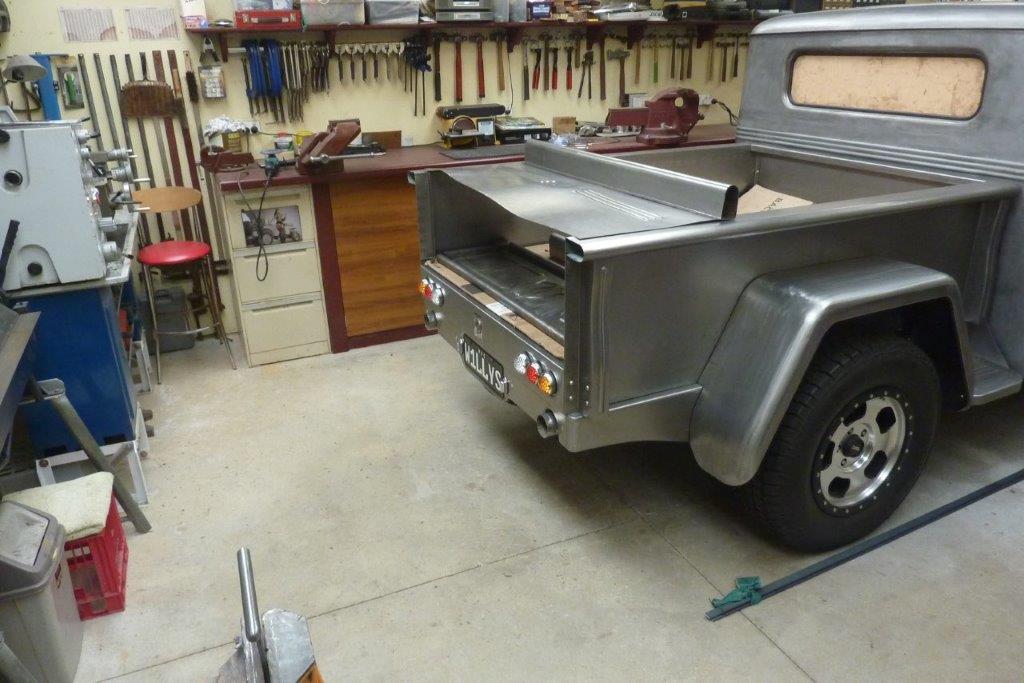
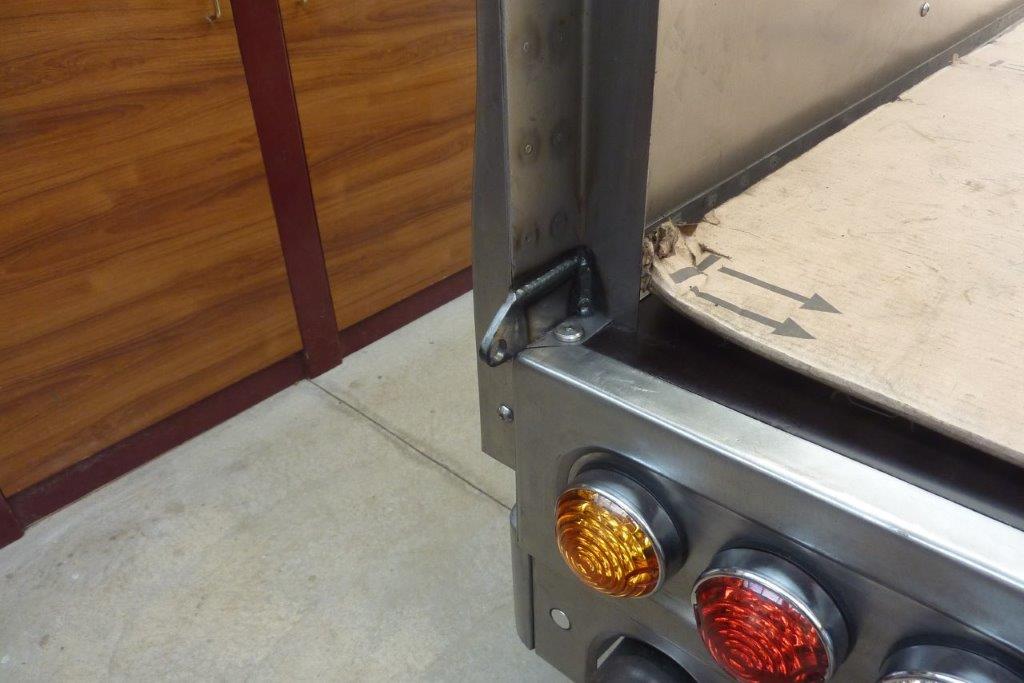
The back side was fully detailed as well as will be able to see it when the tailgate is down. Getting the full picture for the first time really how the proportions worked out. I like it as it looks masculine and suits a utilitarian vehicle. Not sure if to create my own hinges, pivot point must be right on the edge of the bottom fold, or just use stainless heavy duty piano hinge. Even stainless external building hinges would work.
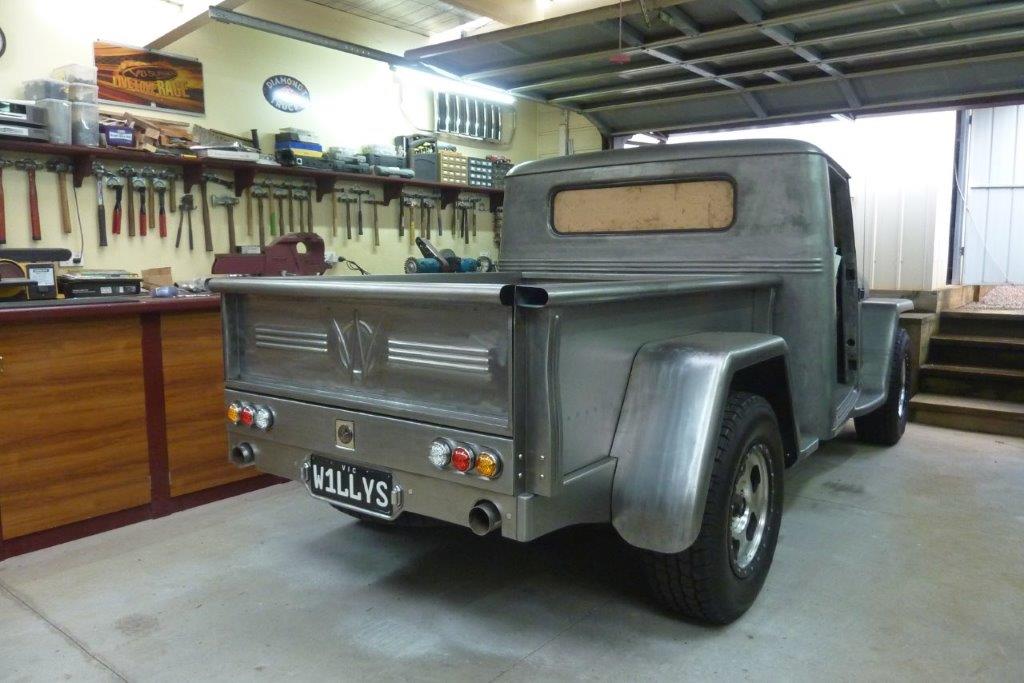
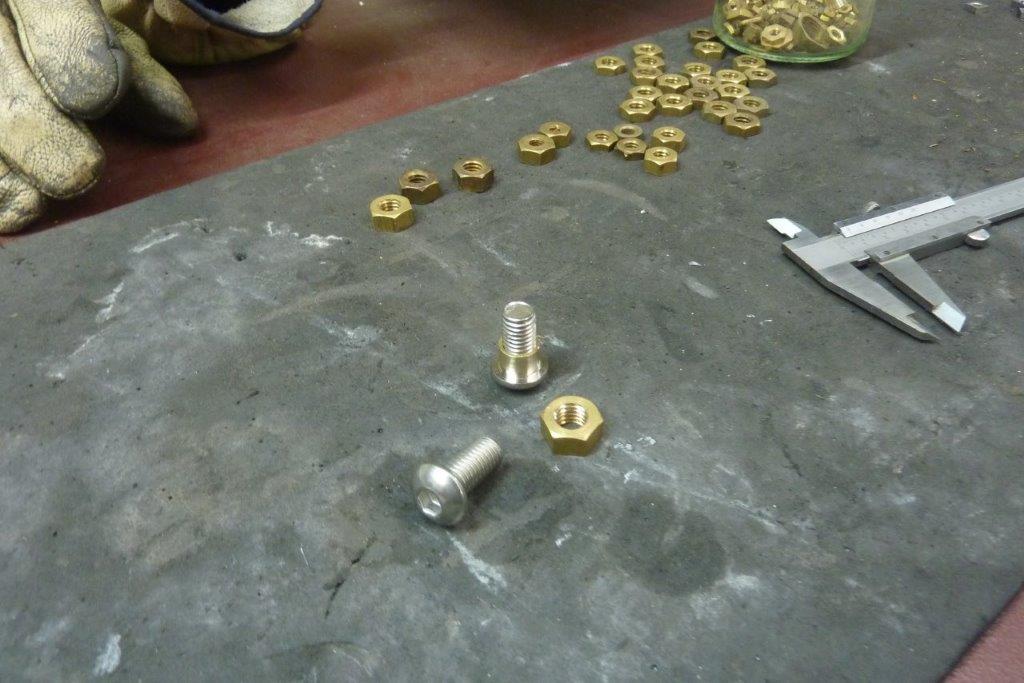
The valance and roll pan balance out better now too. Going to change the hitch cover though by removing the badge and folding a mid steel skin over the stainless to make it flush. Swap the stainless LED licence plate lamps for black ones as well to remove a bit more bling. Decided to build my own hinges for the tailgate. I couldn't buy shouldered bolts in the size I wanted, so used a brass nut and machined it down on the lathe to become a threaded collar.
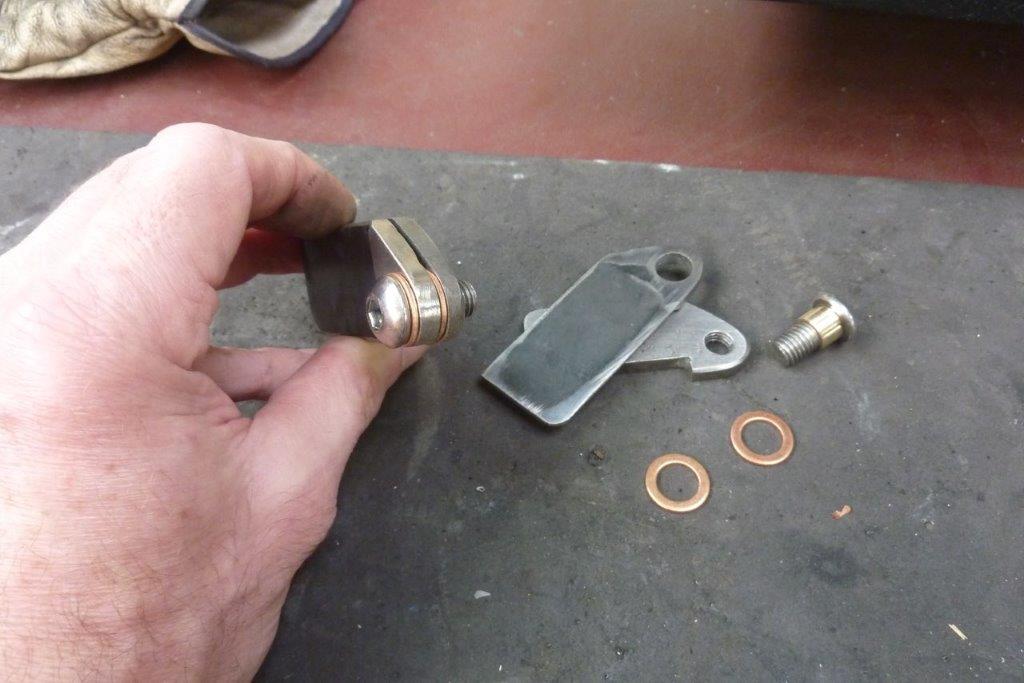
I made the brass collar slightly wider than the two copper washers and one side of the hinge plate. The other side was drilled and tapped. Welded one side to the bedside.
[Index]