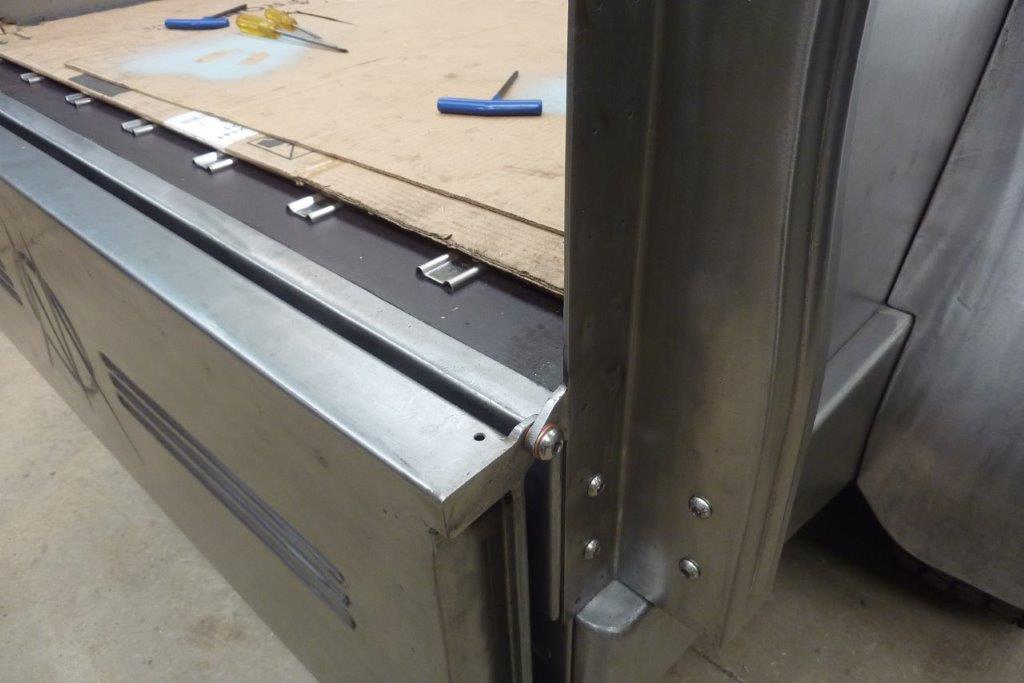
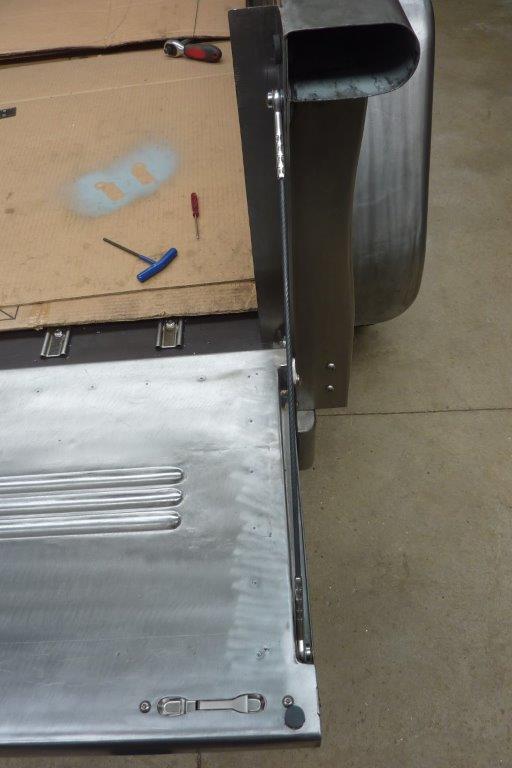
The other side of the hinge was welded to the tailgate becoming the cap for the bottom folded section. Notice the drain hole too. I drilled three 5mm-3/16" drain holes, the same as the factory tailgate has. The seal will sit on the other side of them. Tailgate can hinge down vertically if wanted and rests on the spare tyre. Think they are neater than a long piano hinge or the bulky gate looking ones you often see. The tailgate is not heavy at all and only weighs 20 lbs or less than 10 kg.
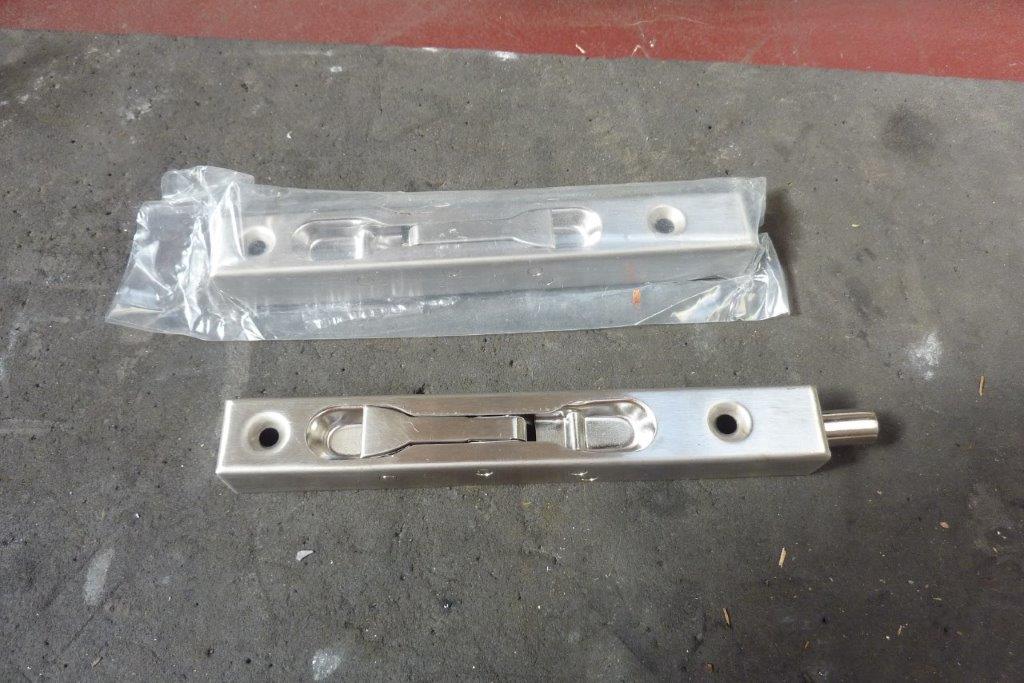
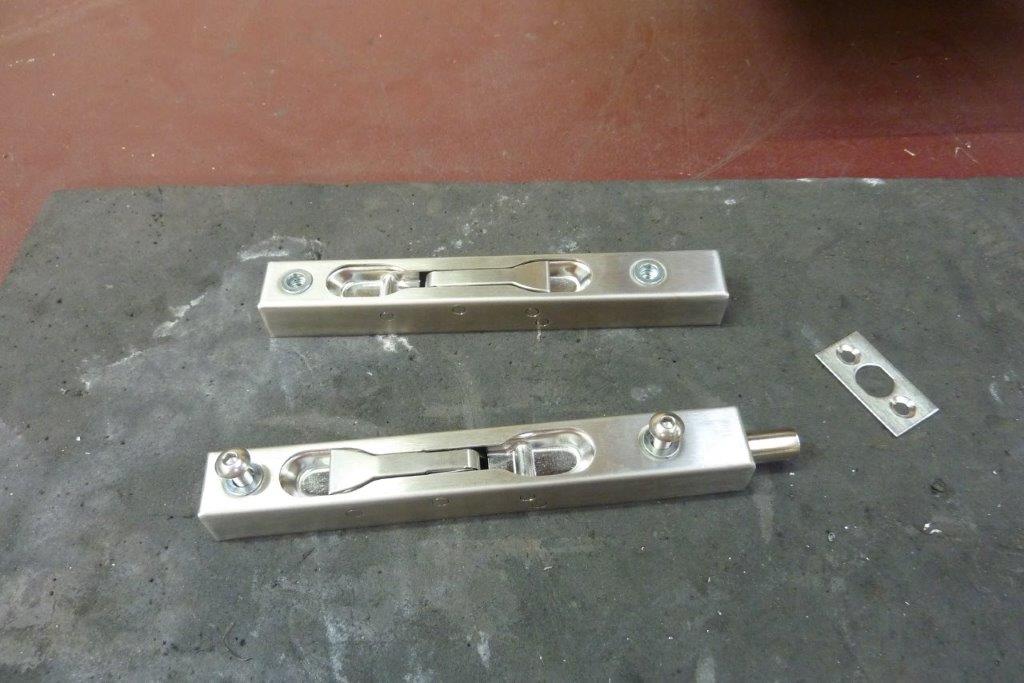
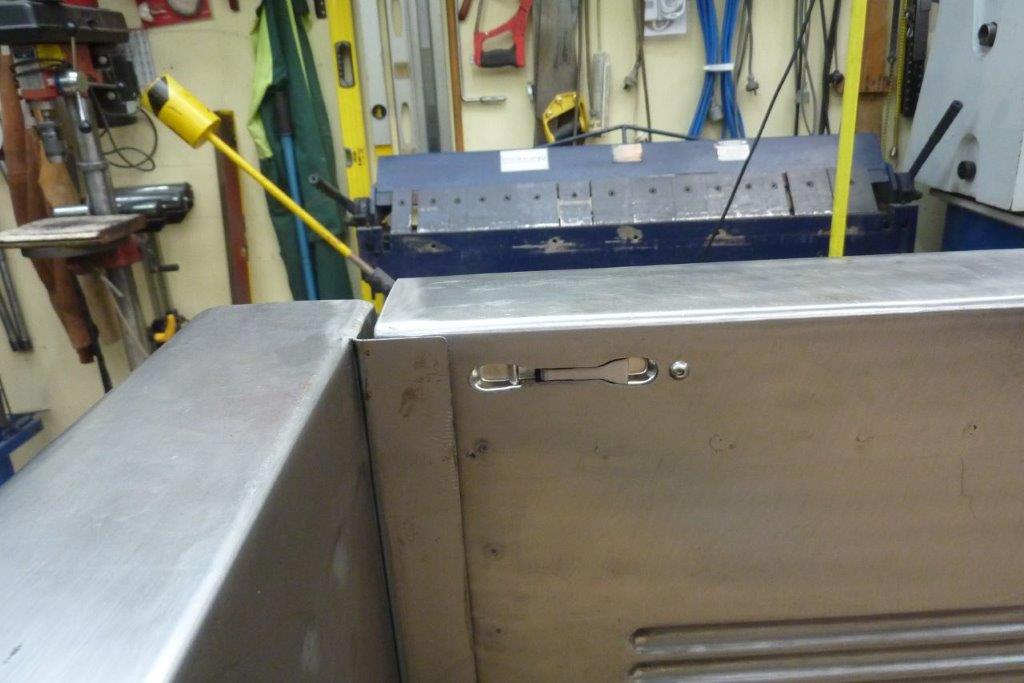
For the latches I didn't like the cheap looking, but expensive to buy, concealed latches. I thought these flush door bolts might do the trick which are made from stainless steel. They are normally used in buildings to latch one door closed on a set of double doors. I put some threaded inserts in the mounting holes as I wouldn't be able to get to the back of them once mounted. The other way to mount them would be to french them into a piece of channel and use the provided stainless counter sunk self tappers.
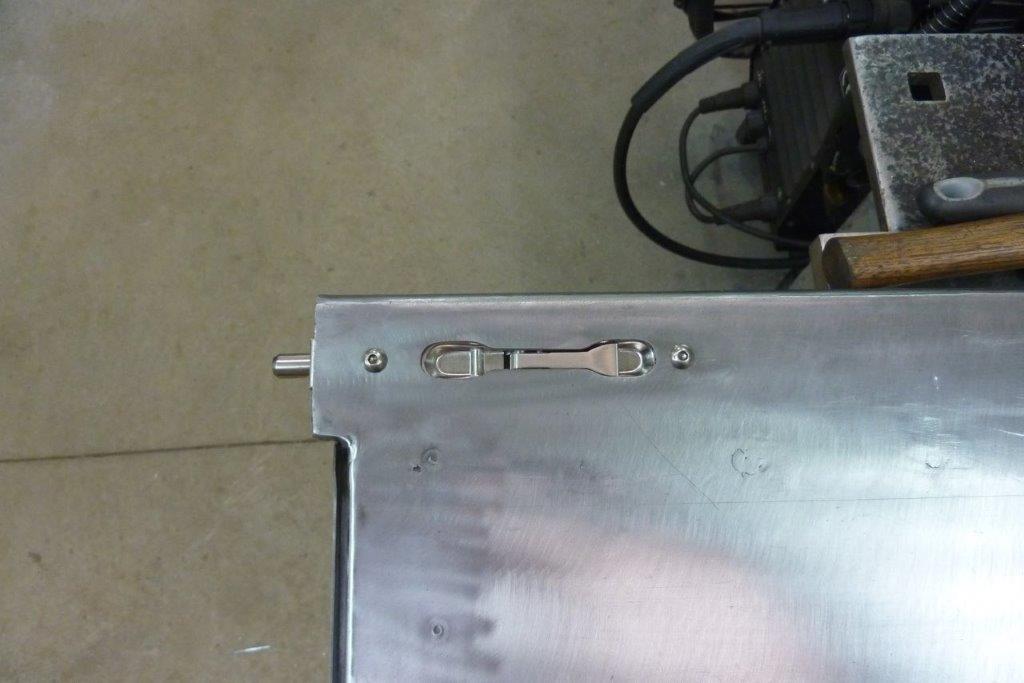
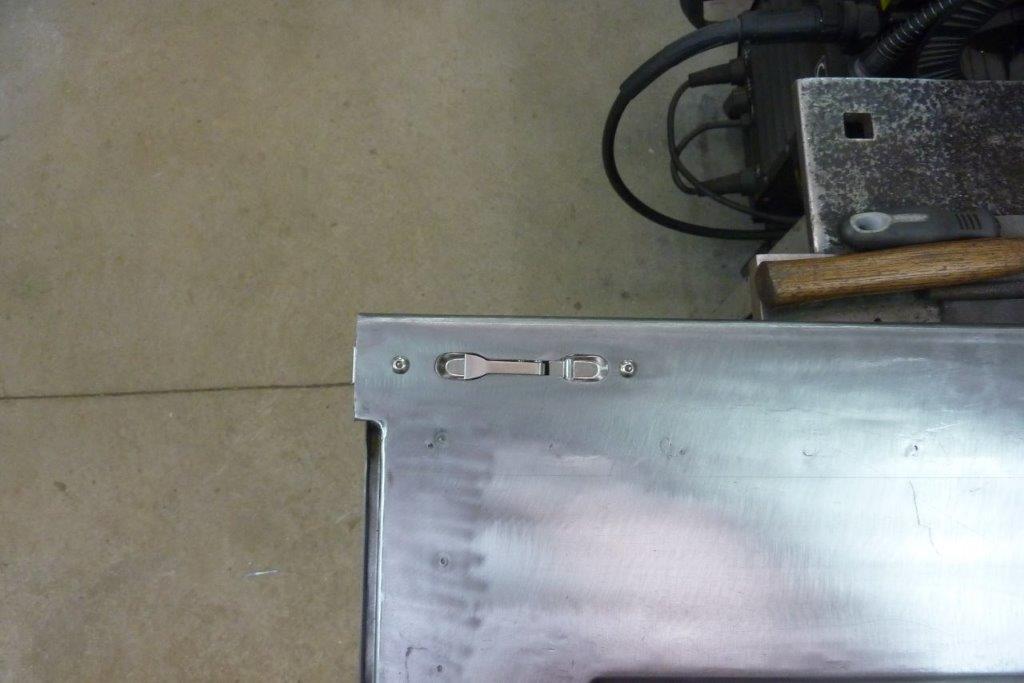
I cut a hole that showed the minimum possible to operate the lever. A straight sided slot with rounded ends would have been easier though! The lever lifts up and then closes flush facing the other way withdrawing the 10mm bolt.
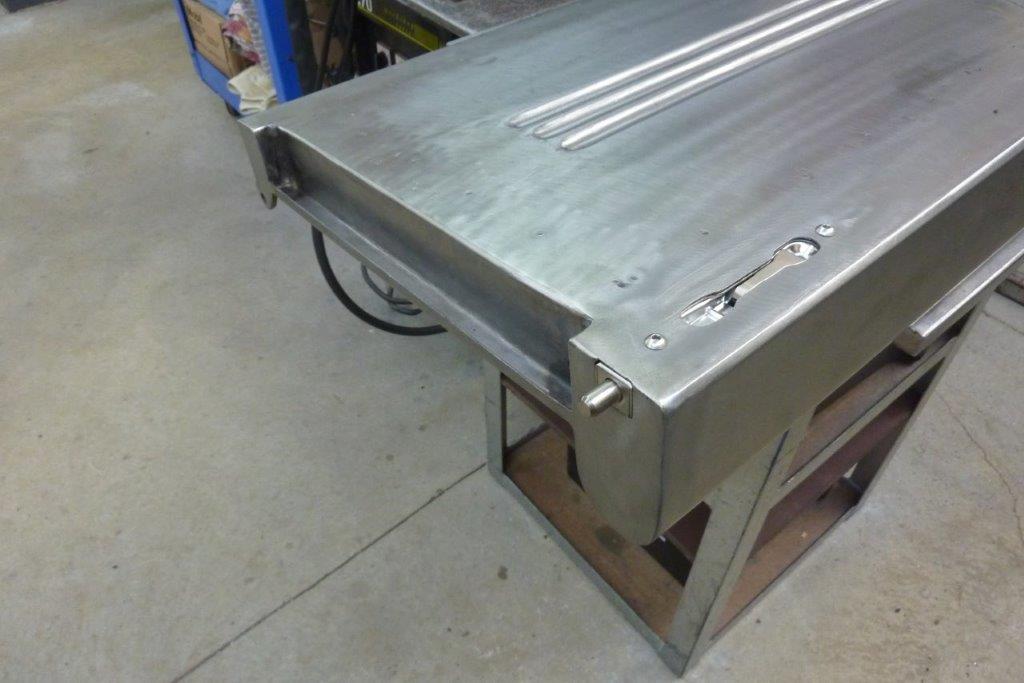
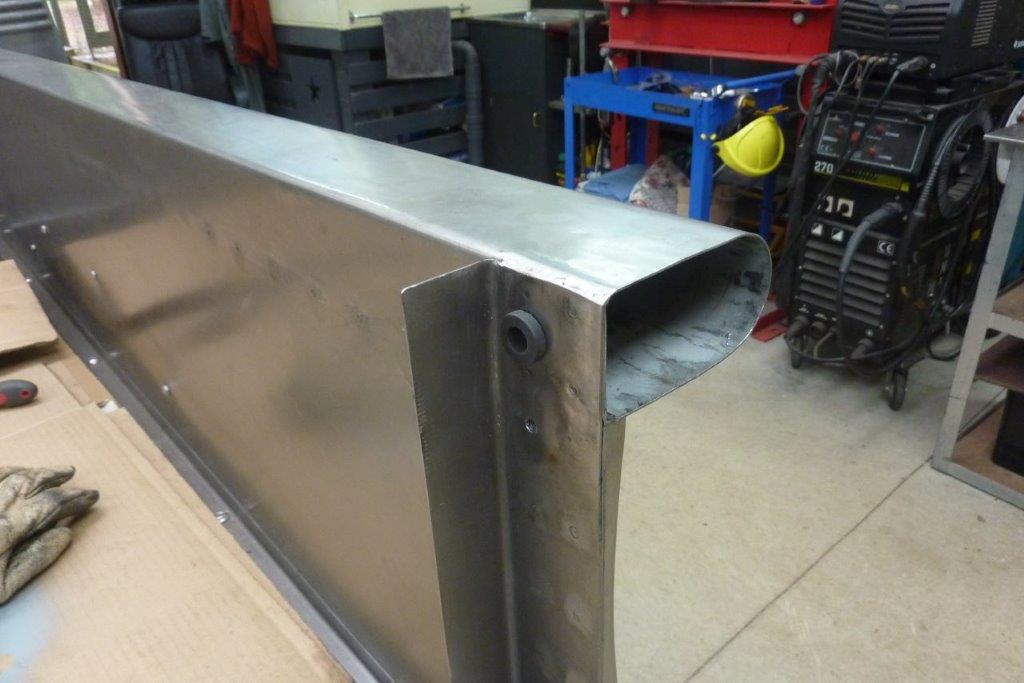
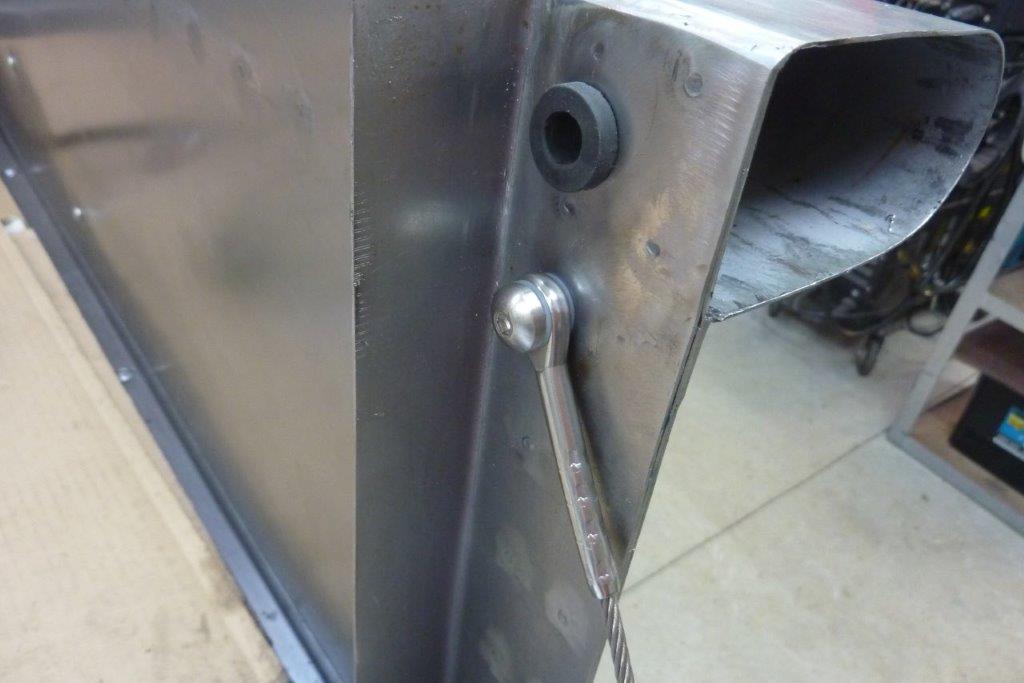
I made the end cap go around the end so I can slide the whole fitting back out at any time. Rather than have it rattling in a hole, I fitted a grommet I had to cushion it.
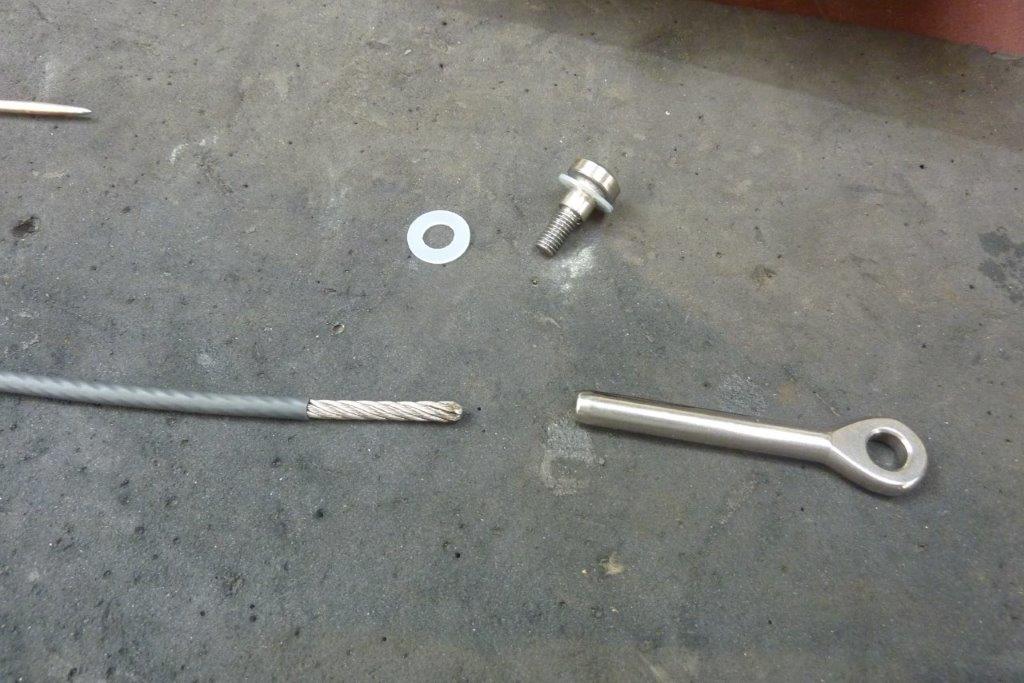
Nice and neat. Decided to make my own cable stays. Using 4mm-5/32" stainless steel balustrade cable. The terminal eye came from a marine supplier. The shouldered stainless bolt is actually to hold a fairing on a Honda. Bought some nylon washers to go each side of the eye.
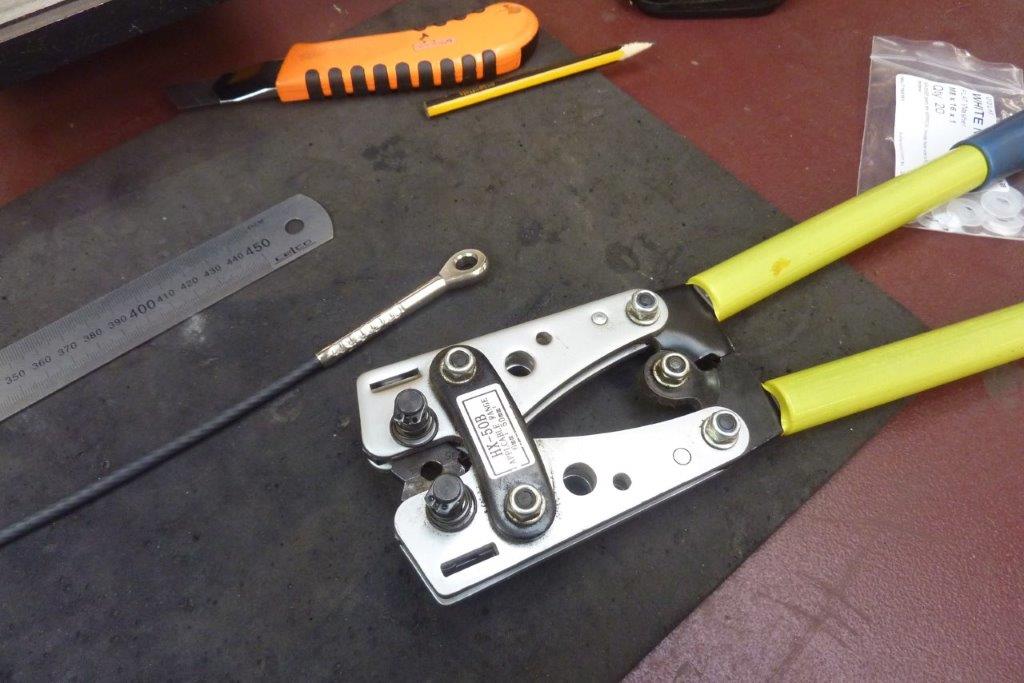
I swaged the eye on just using a cable swaging tool, but is not designed for the stainless. I have a hydraulic swager with hardened dies coming. Rather have the tool than pay someone to do it. This is how it sits with a nylon washer each side to keep it from rubbing on the sides. It is free to move even once fully tight against the shoulder of the bolt.

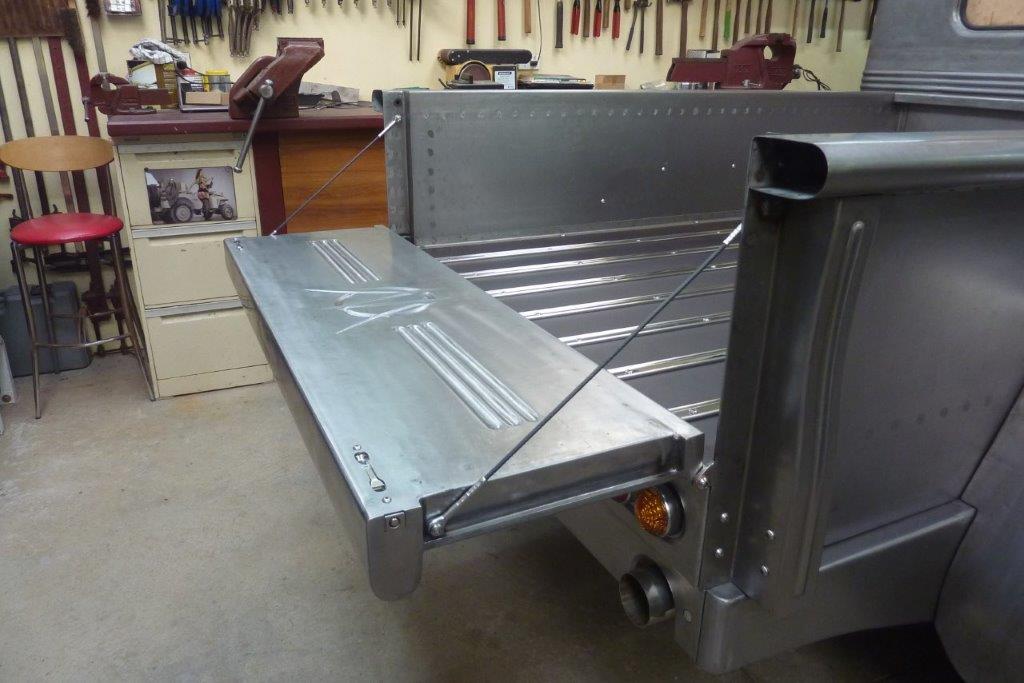
Before putting on the other end, I put some heat shrink over the stainless cable to stop it rubbing on the paint later on. Can see now why I made a pocket in the end of the tailgate to take the cable stays. The tailgate has some threaded plate on the inside, as does the bedside, that the bolt screws into.

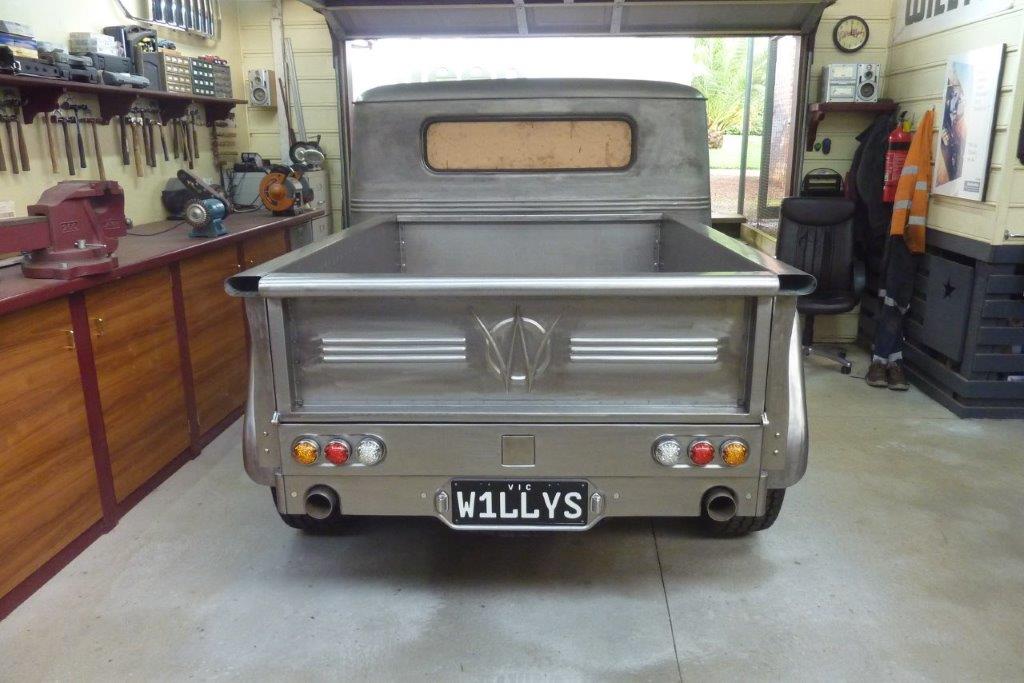
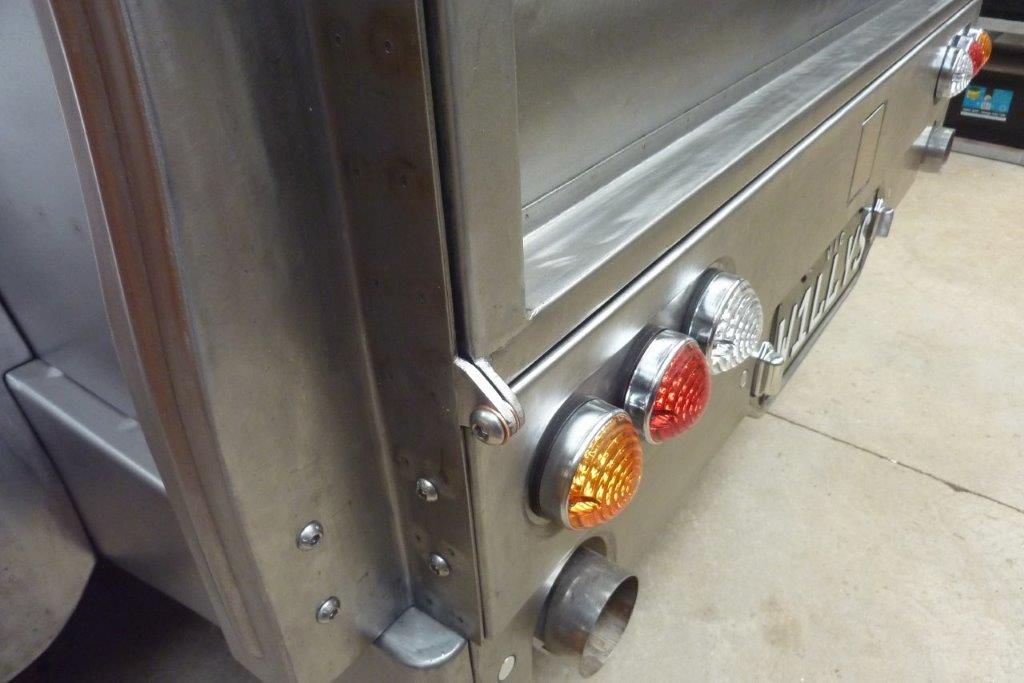
The cable stay bolts end up sitting next to each other and the cables are out of sight. I have also finished framing the ends of the tailgate and made the hitch cover flush by skinning the stainless cover. Has calmed that area down a bit more. The bedside rounded ends can be done next.
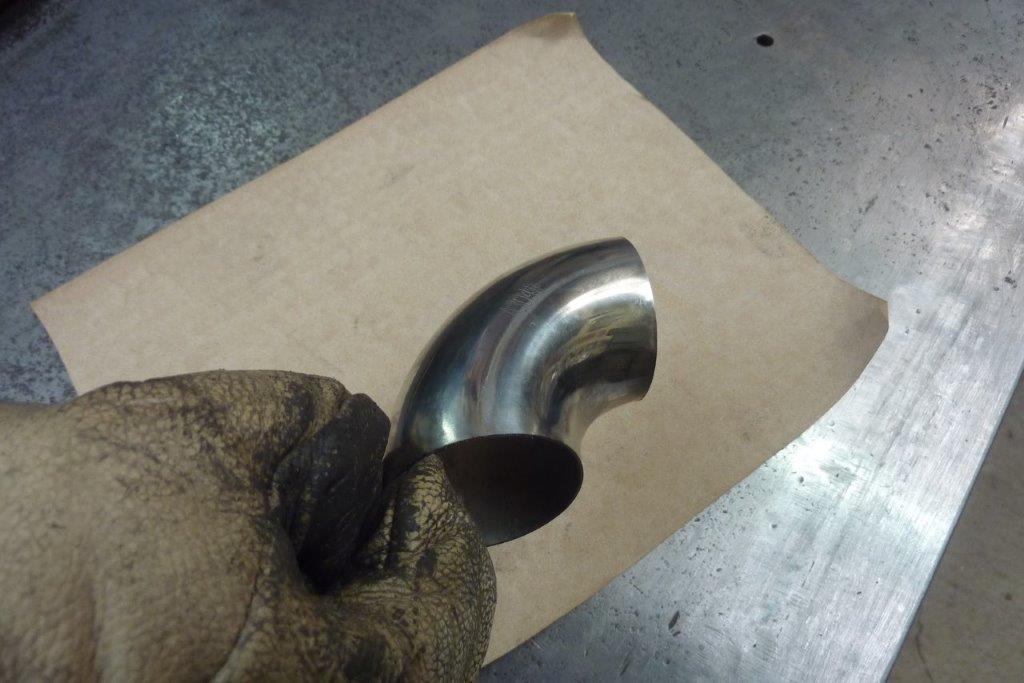
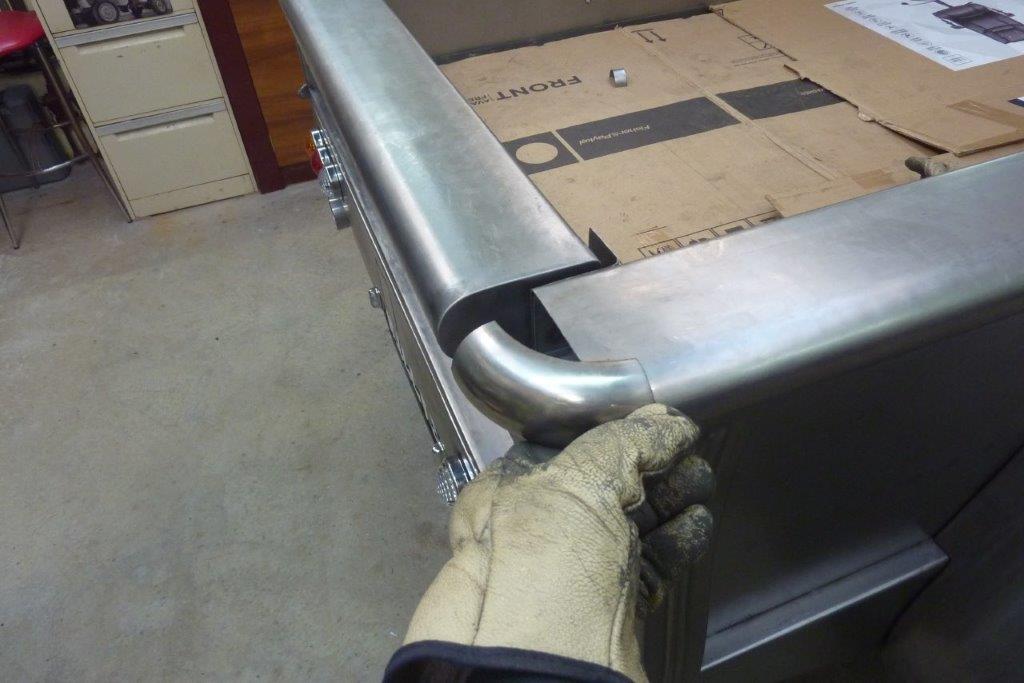
Starting on the rounded corners for the bedsides. These are 304 stainless, as being in a lockdown, could only choose from what I could find online locally. Would have preferred steel but they also had a larger radius than what I was after. I laid the bend down flat and rubbed it over the sandpaper to show where the top and bottom horizontal plane was. Then cut away the inside radius. I am only using the other shell so it can get a proper butt weld that can be planished after welding. Also makes it less likely that the weld line will show up later with temperature changes.
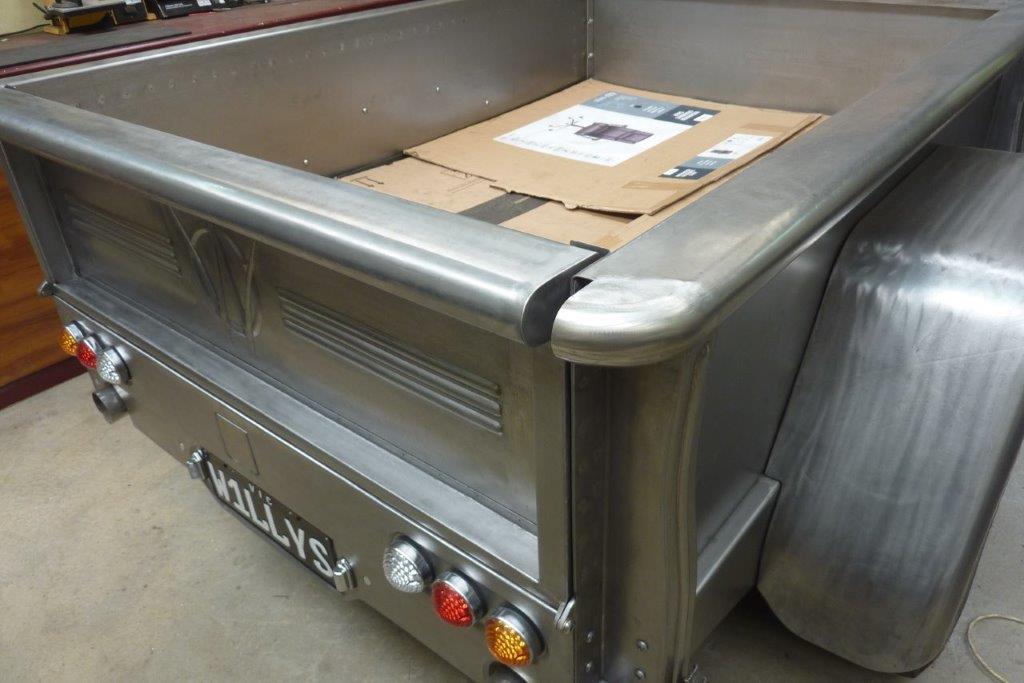
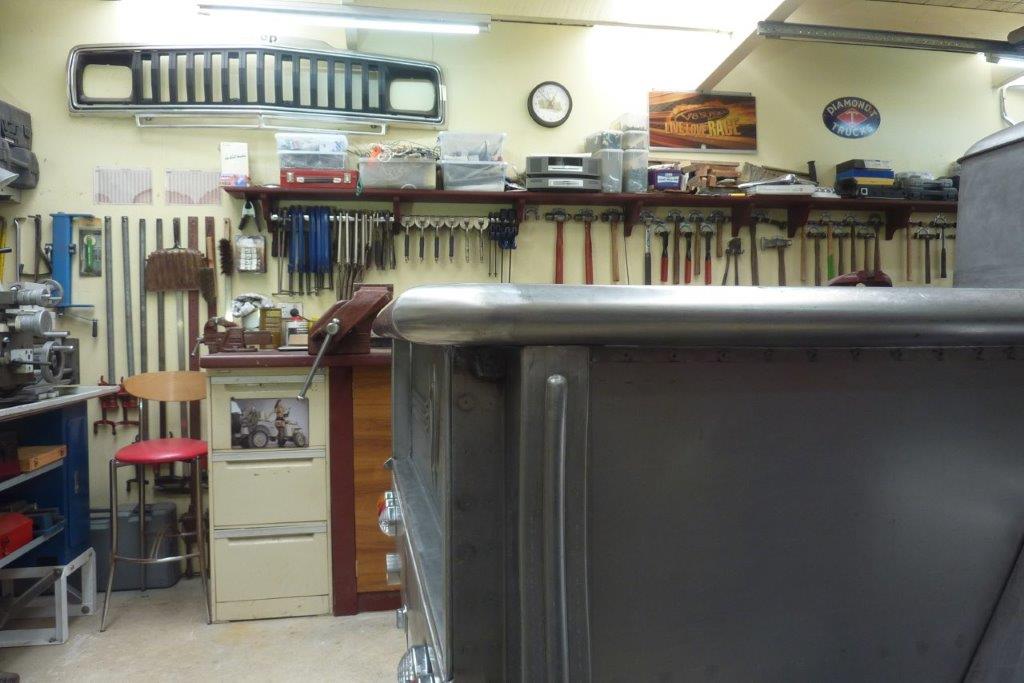
I first welded the corner shell on and ground and planished the weld. Then added the fill in triangle at the top and doing the same again. Always making sure it was brought back into alignment which each piece added.
[Index]