By doing it in stages in situ, I had better access to the last weld done. Last piece was the end cap to finish off this corner.
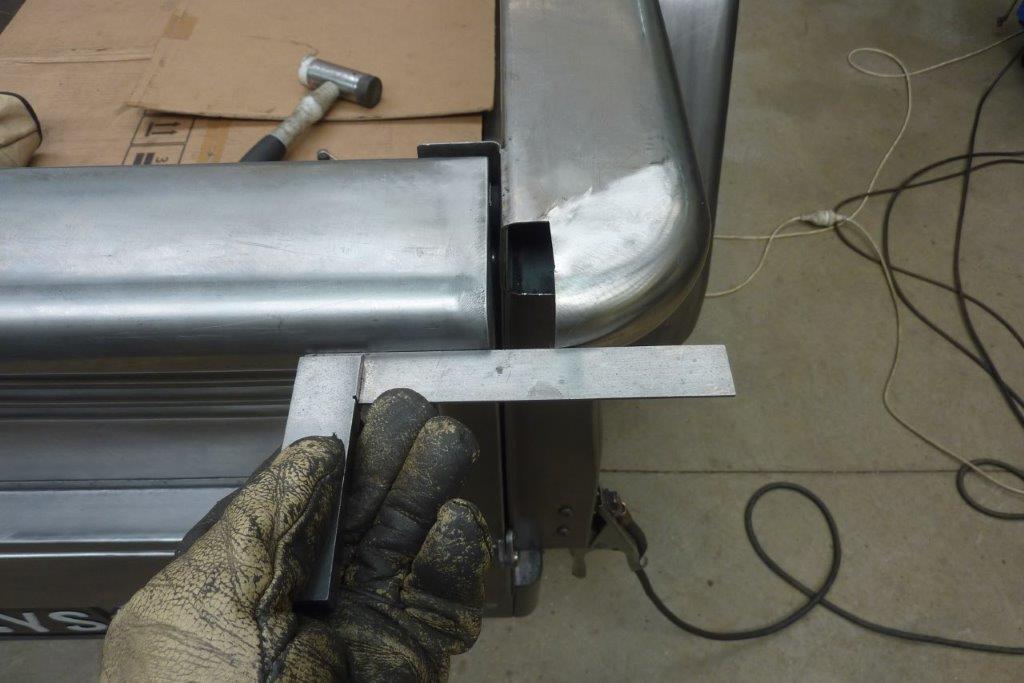
I have the same gap right around the tailgate of 4mm-5/32" like my doors etc. For the other side I tried a different approach to see if it was any better or faster. Made the corner piece completely and was much easier and faster as could hammer it over a stake to planish it.
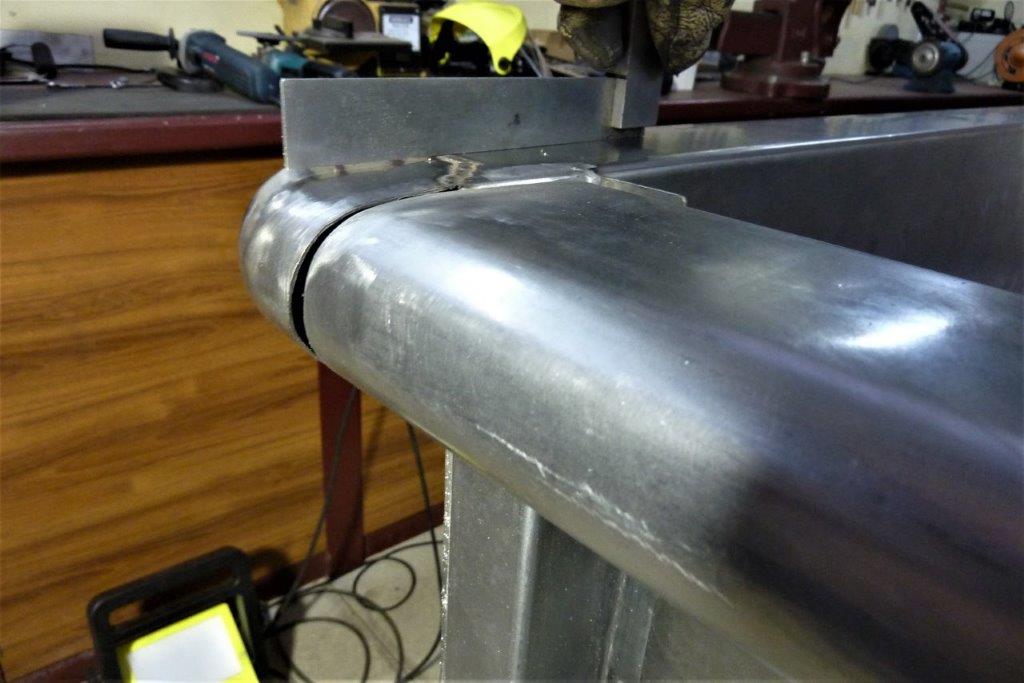
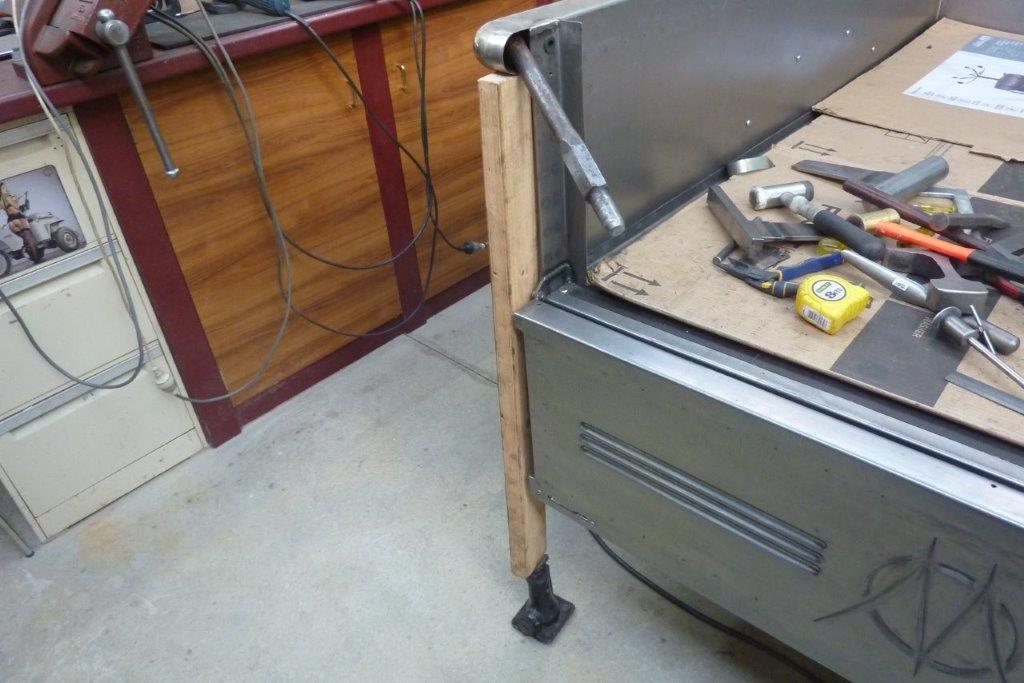
The down side is the weld is now deep inside the corner and can see how much it pulled the corner down out of alignment. I even used the popular tack and let cool method here to try and minimize it. I supported the corner with the timber, not to force it upwards, but to stop the bottom edge getting bent downwards as I manipulated the metal using things like an old jack hammer bit!
What I did see happen is a fine crack appear in the mig weld after using the cold tack method. I don't have this happen if I do the hot tack stacking technique. It only happened on the section on the top rather than the bottom. Only difference was that there was a small gap in the join along the bottom and shows why some that do the cold tack method, leave a gap or grind a bevel to the edge. I fixed it by cutting a groove and hot tack staking the weld. The extra shrinkage helped pull the corner up as well. I also used some PDR tools, Paintless Dent Removal, to lift a few small low spots to finish it off.
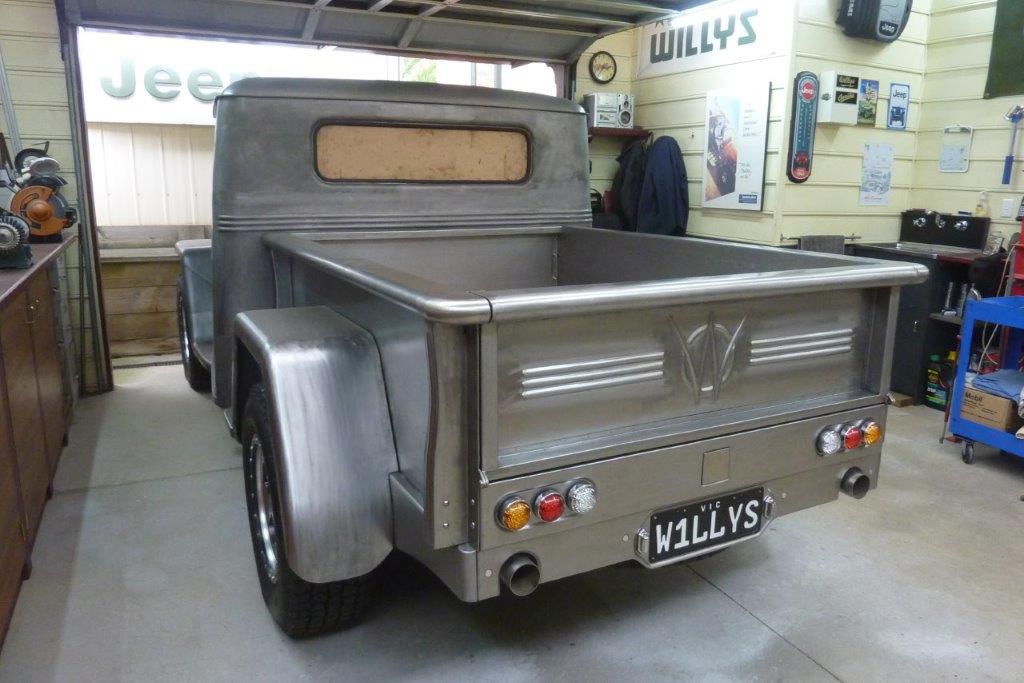
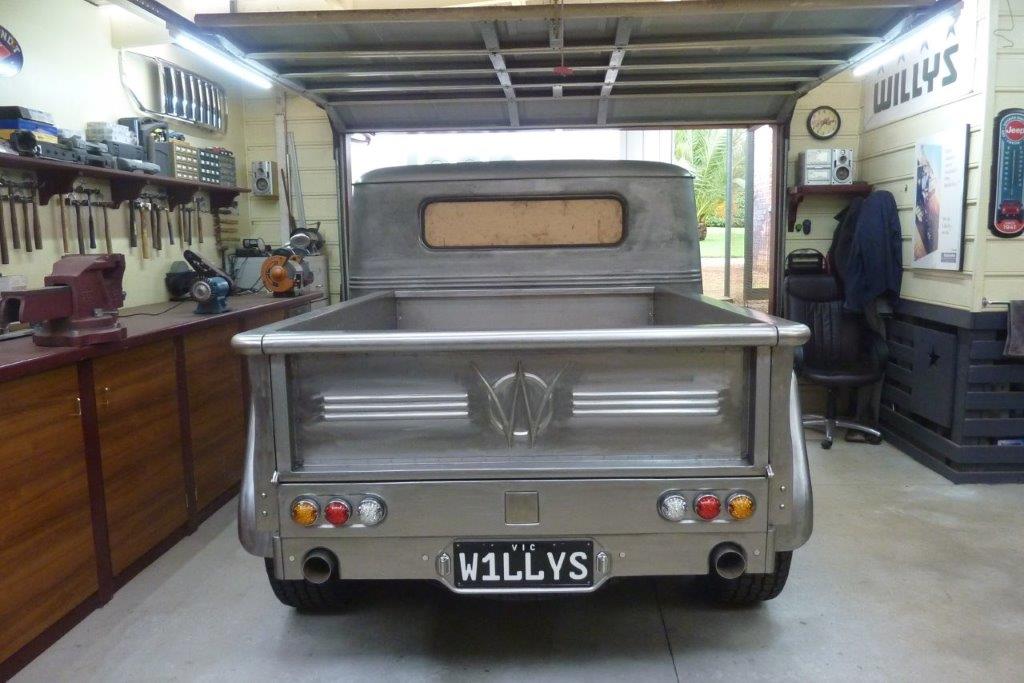
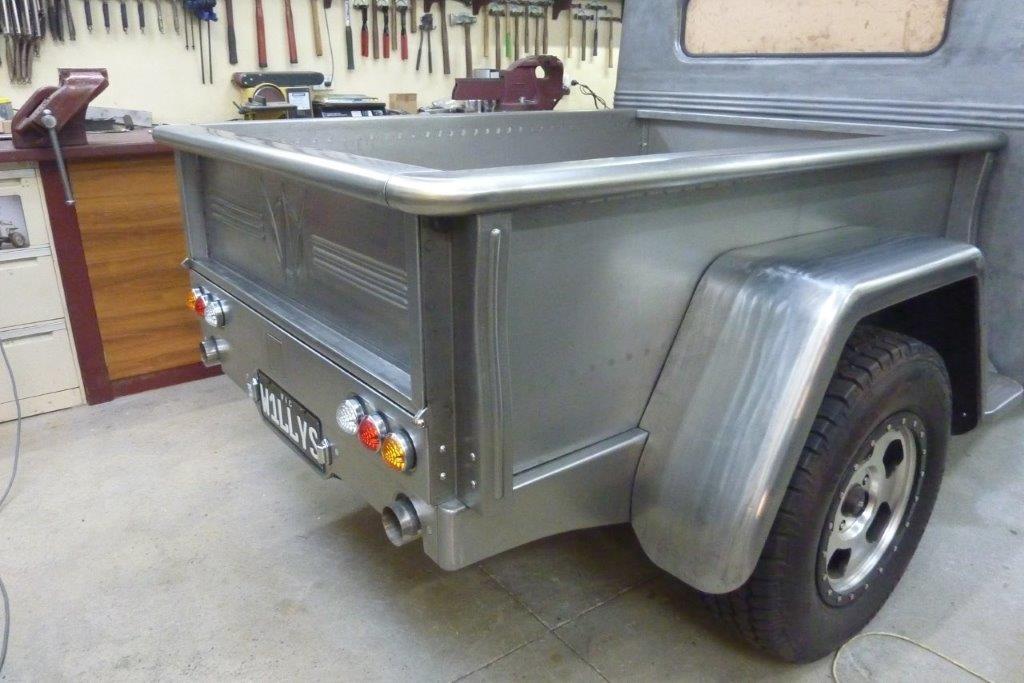
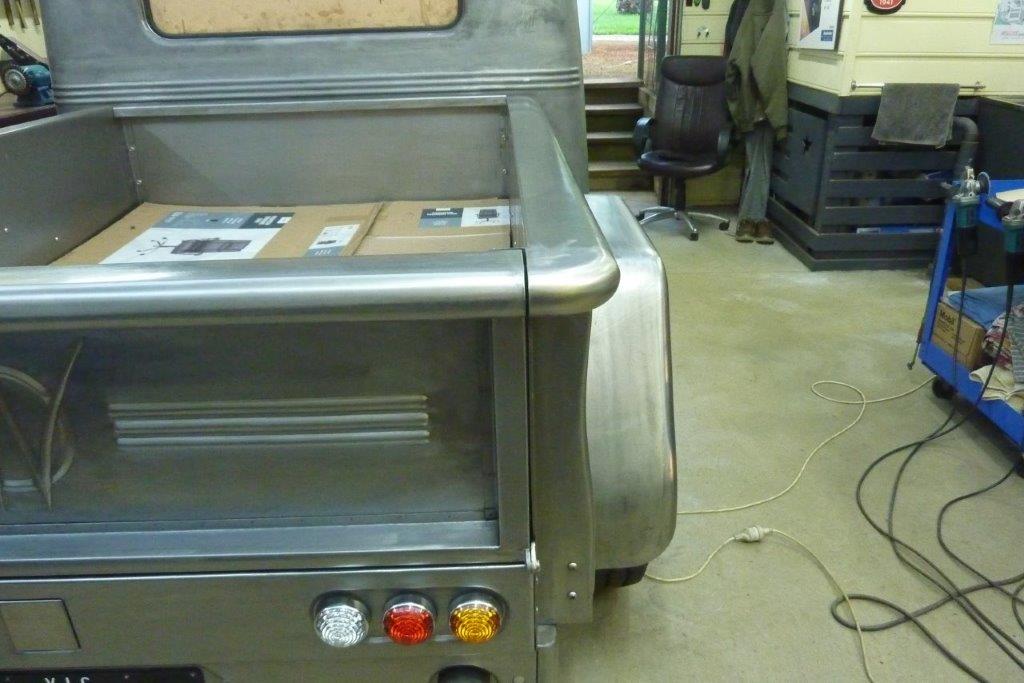
Both corners now complete. Looks much more integrated now with the bedsides flowing into the tailgate.

Overall shot. Looks custom without being in your face obvious.
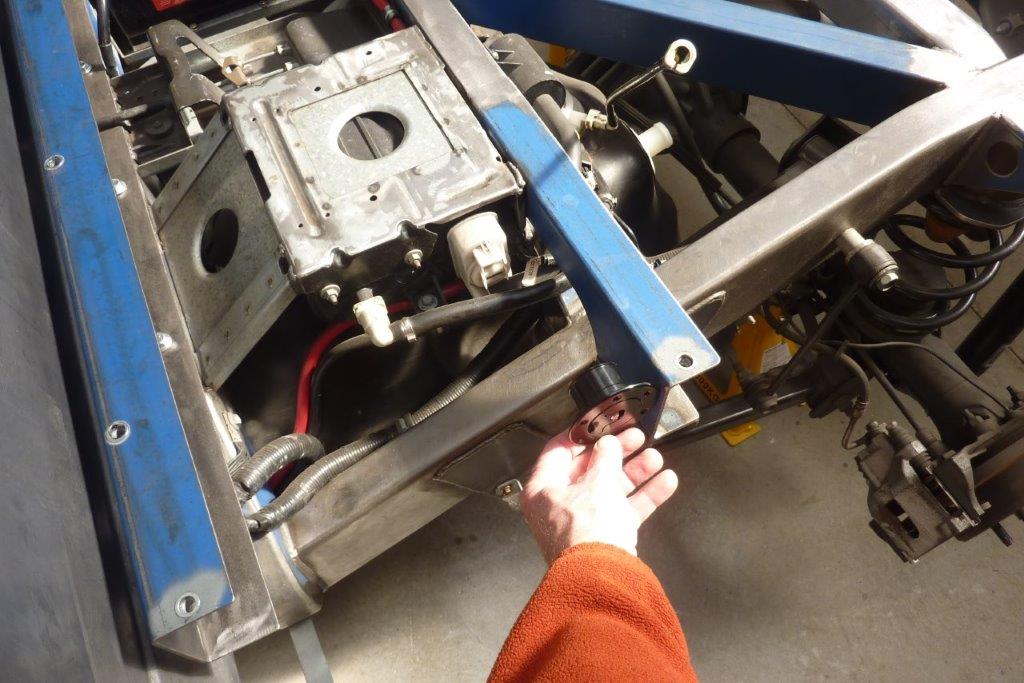
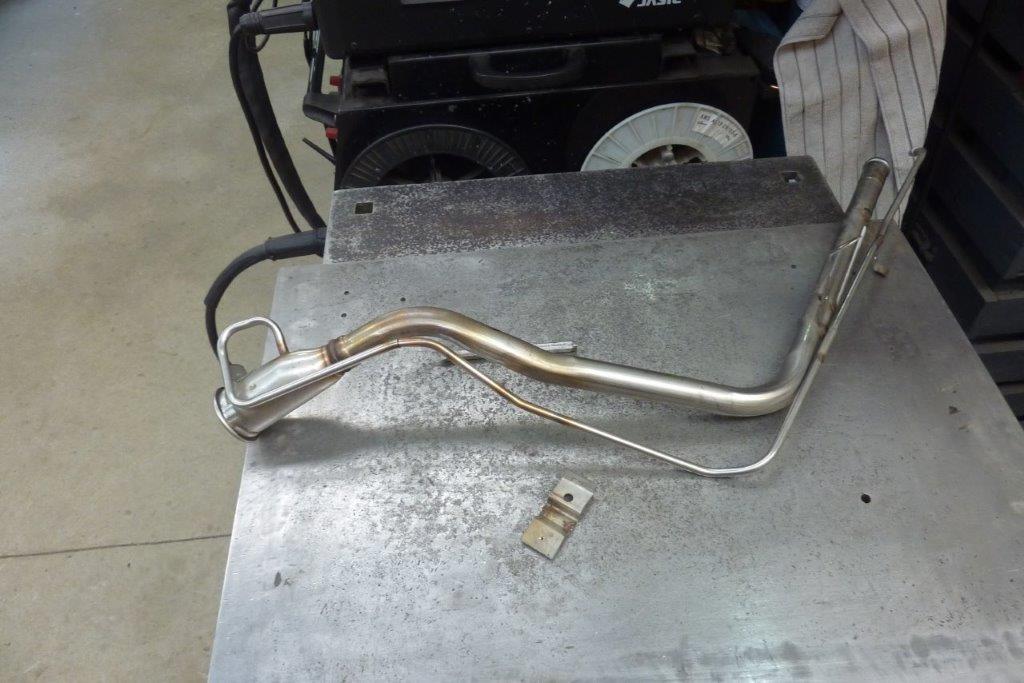
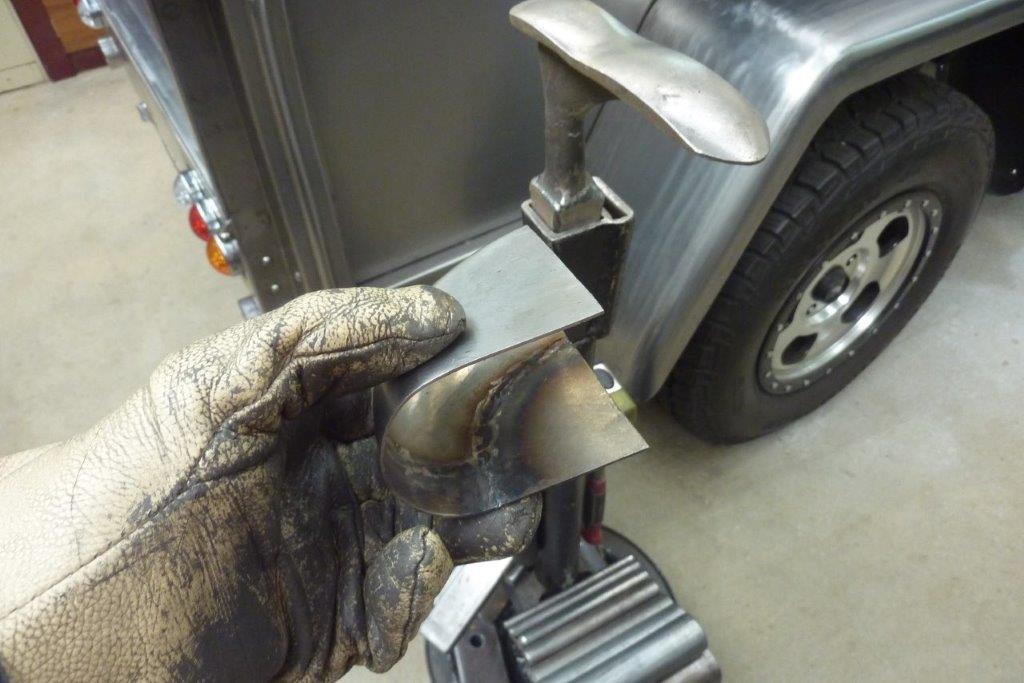
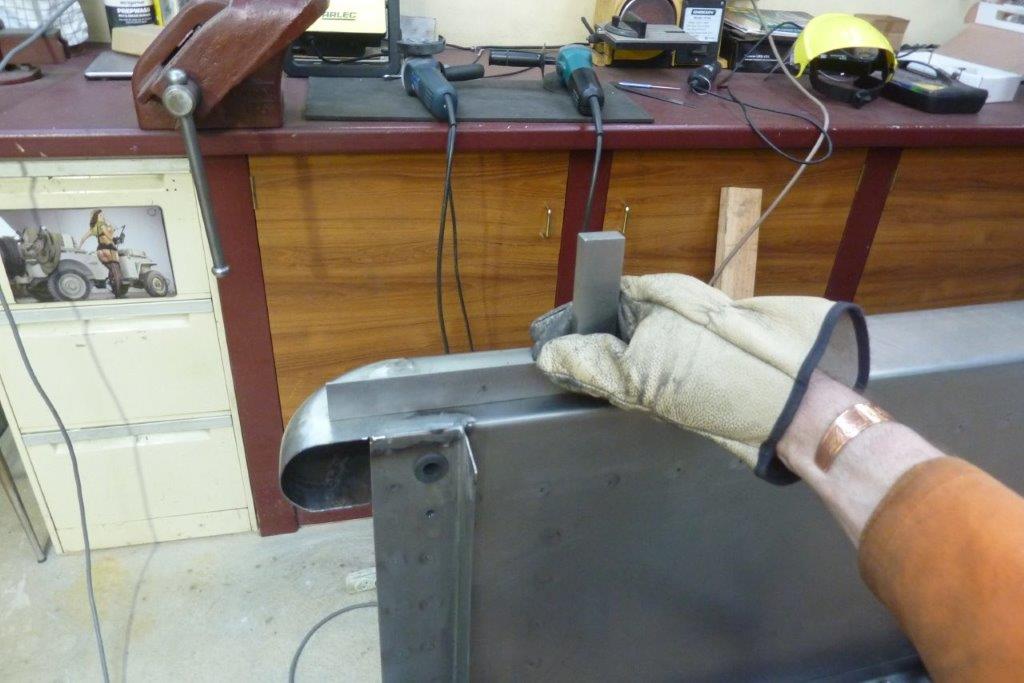
I had to wait positioning the fuel filler until I knew exactly how long I was going to make the rear guards and where they sat on the bedsides. So I have to go from the flush fuel filler in my hand, under the cross member and then into the white inlet in the tank you see facing the rear of the vehicle. This is the stainless steel stock filler from the Grand Cherokee. It starts at 50mm-2" and steps down to 25mm-1" for the rest of the way. It used to fill from behind the axle line and I need it to go in front of it.
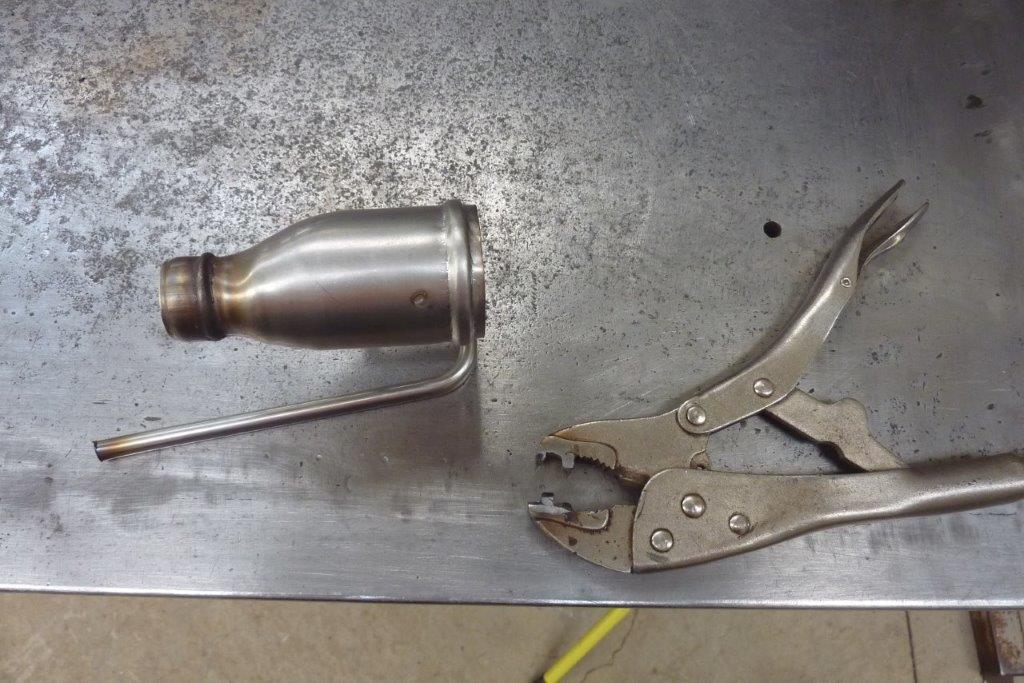
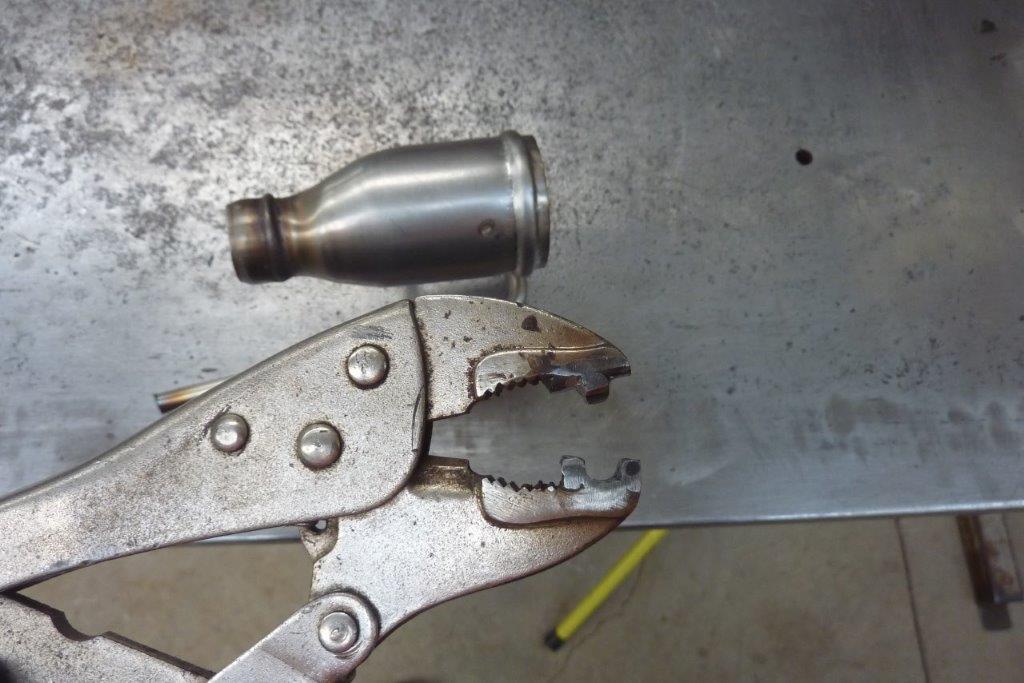
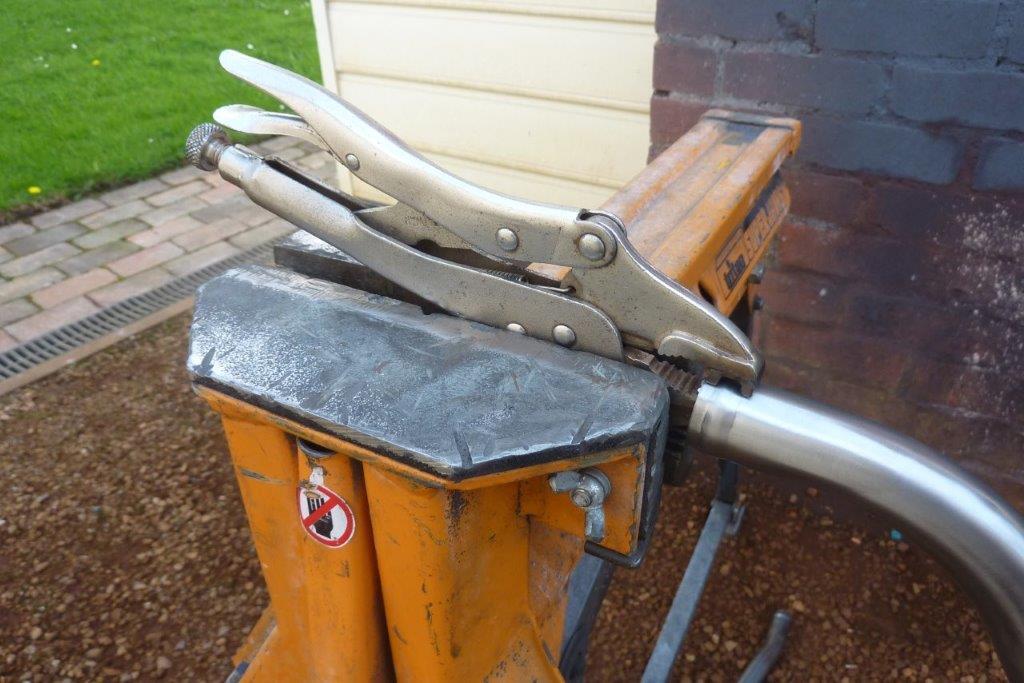
I need a very short run from the filler before it turns 90* under the cross member. I trimmed both sides of the reducer as much as possible and formed a bead around the end of it to stop the hose slipping off. I made my own bead tool from an old pair of cheap locking plies. Just built weld up and ground it to suit. The top jaw that goes inside the tube the raised part has a convex arc and the bottom two parts concave for the outside.
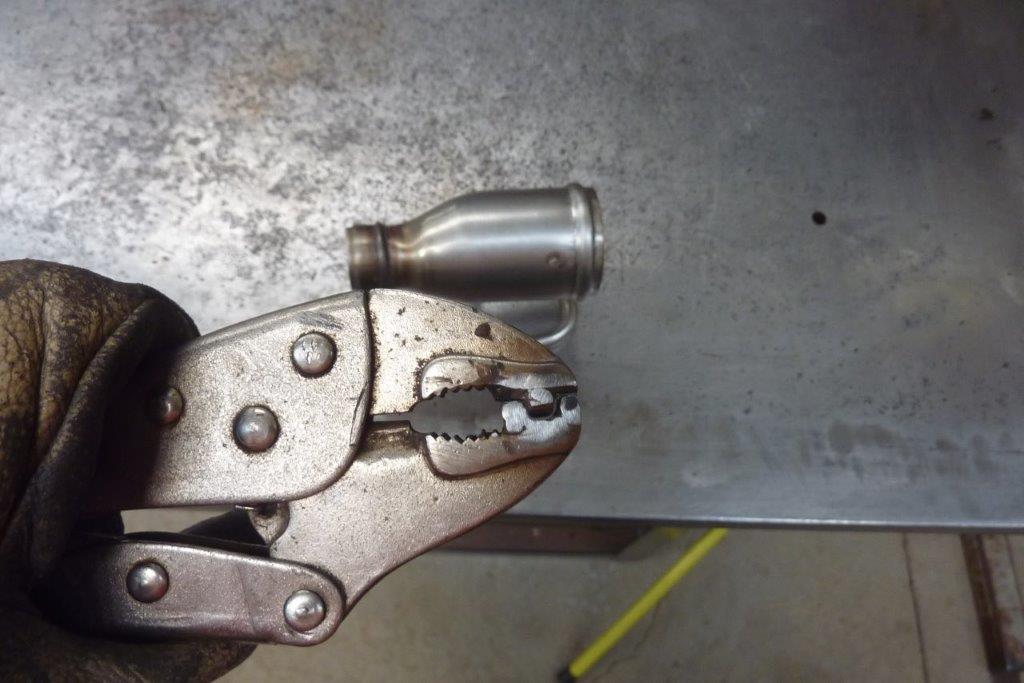

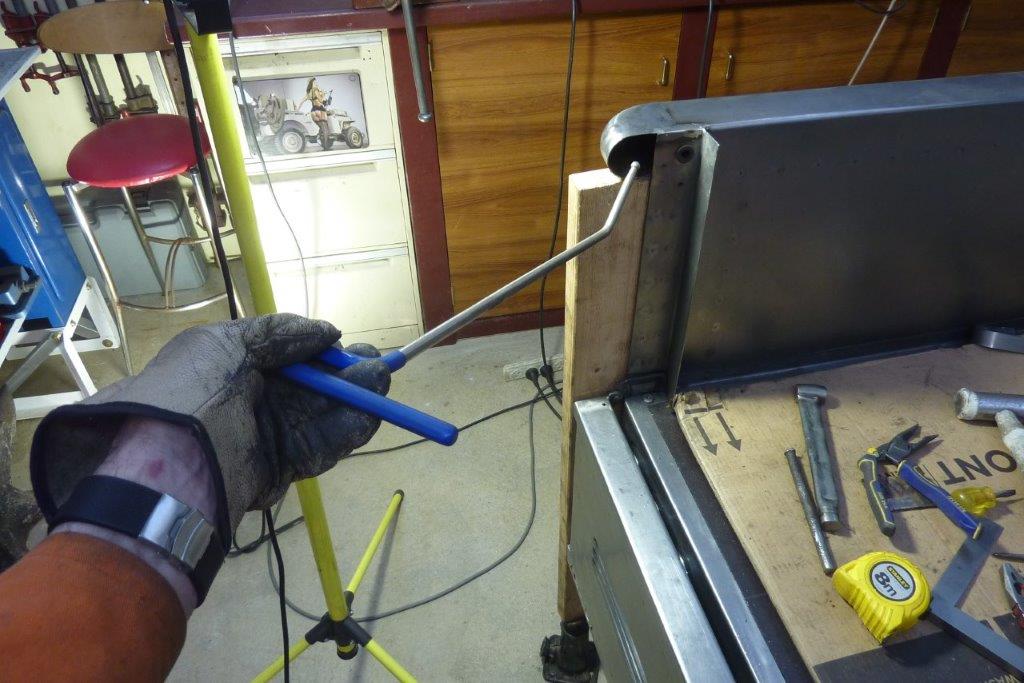
The advantage of using locking plies is that you can set the tension so it will always clamp the same depth as you go around bit by bit. I just went around a few times increasing the depth until it was what I was after. Quick clean up with the finger sander with a scotch-brite belt and it is ready to go. The other end the weld seam will do the same thing.
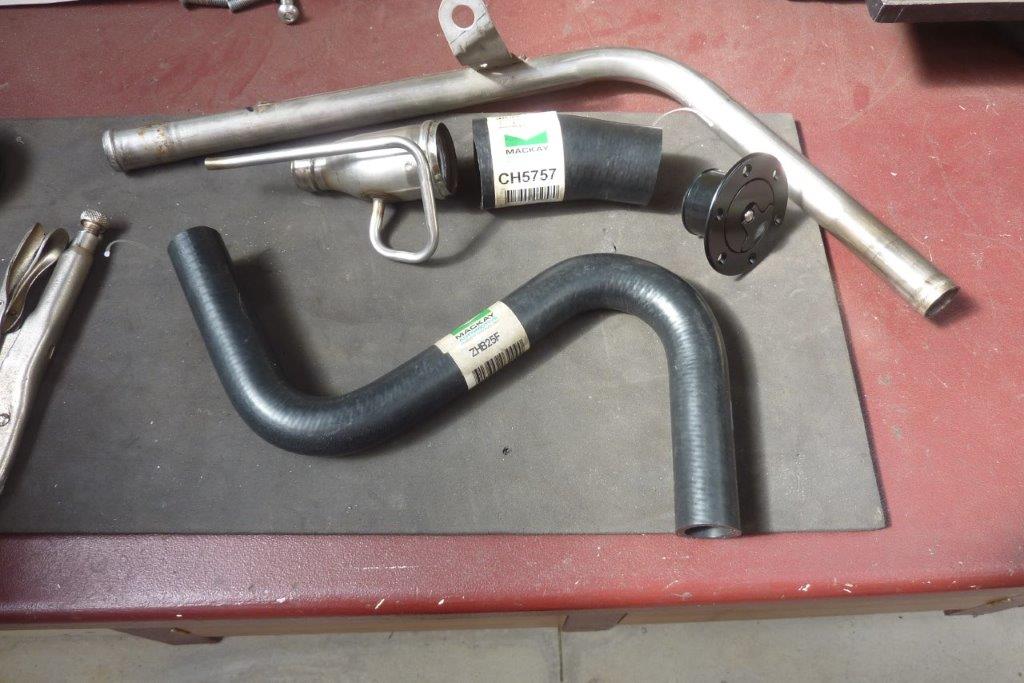
The filler is 38mm-1.5" and it then goes to the original filler neck of 50mm-2" using a fuel filler hose for a Fiat that had those sizes and even the bend I needed. I will then use the universal Z fuel filler/oil hose for the other bends as well as one from the original filler tube. Never use radiator hose as it is different type of rubber and will break down over time. The bead plies work just as well with the 25mm-1" stainless tube. I found it easier to clamp the plies into the vice so I could just use them one handed while slowly rotating the tube and re-clamping. The smaller the increments the better the bead. Didn't even have to clean this up afterwards. Be great for radiator and intake tubing as well.
[Index]