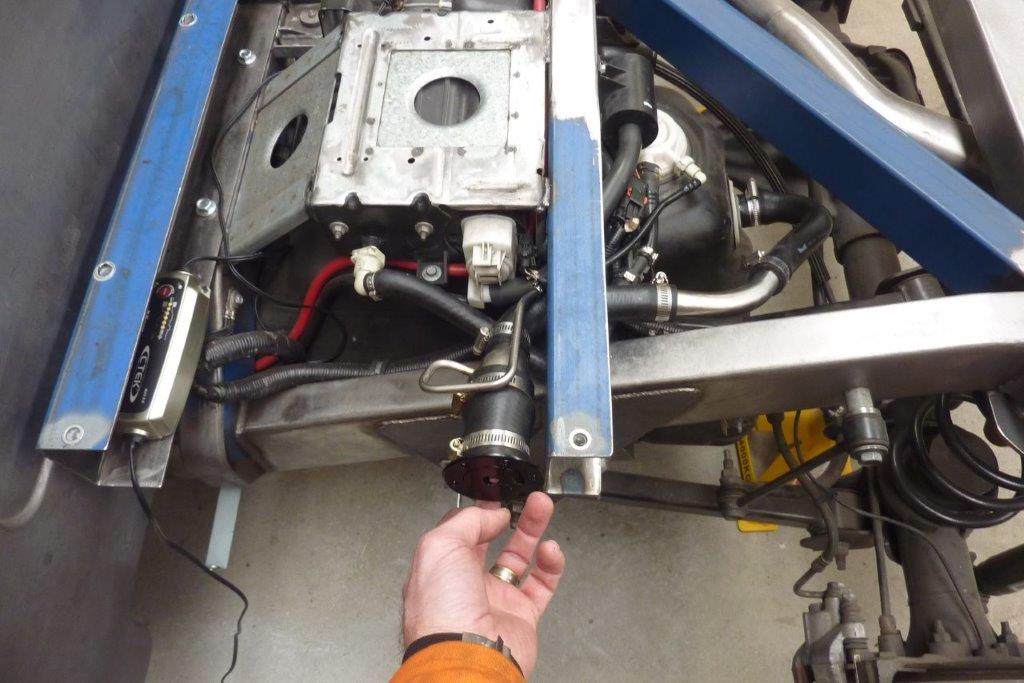
Using the original part of the filler gave me the vent tube as well. I kept the run as short as possible to give a good fall. It drops 150mm-6" and I tested it emptying a full jerry can as quickly as the flexible spout on it allowed. Didn't even burp! Not the cleanest look but none will be visible once the bed goes back on. I'd rather this than the impracticality of a in the bed floor filler.
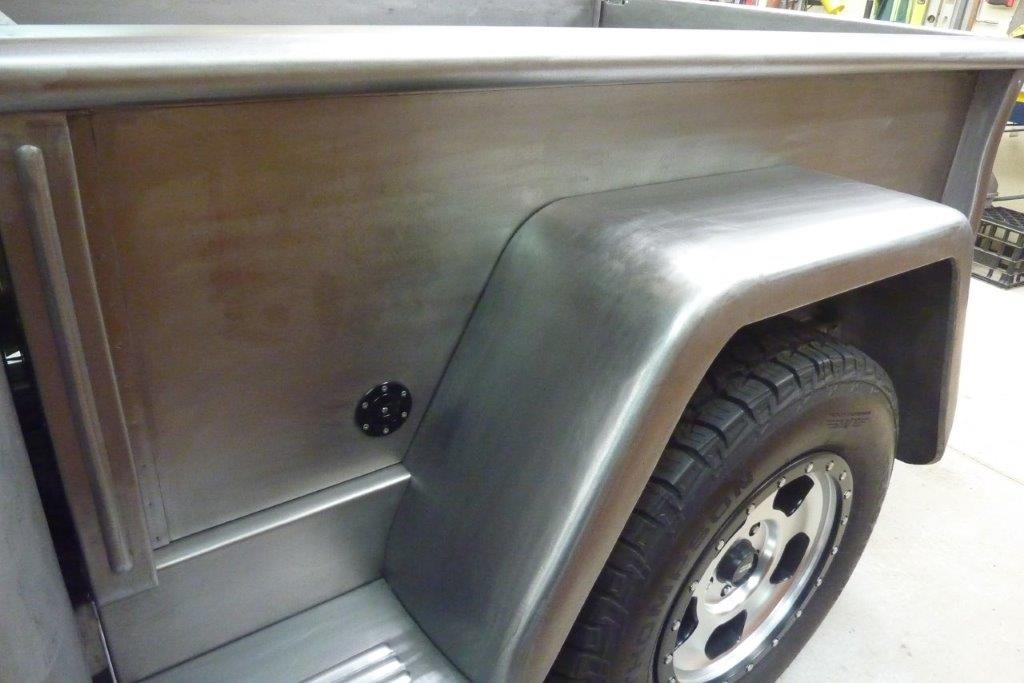
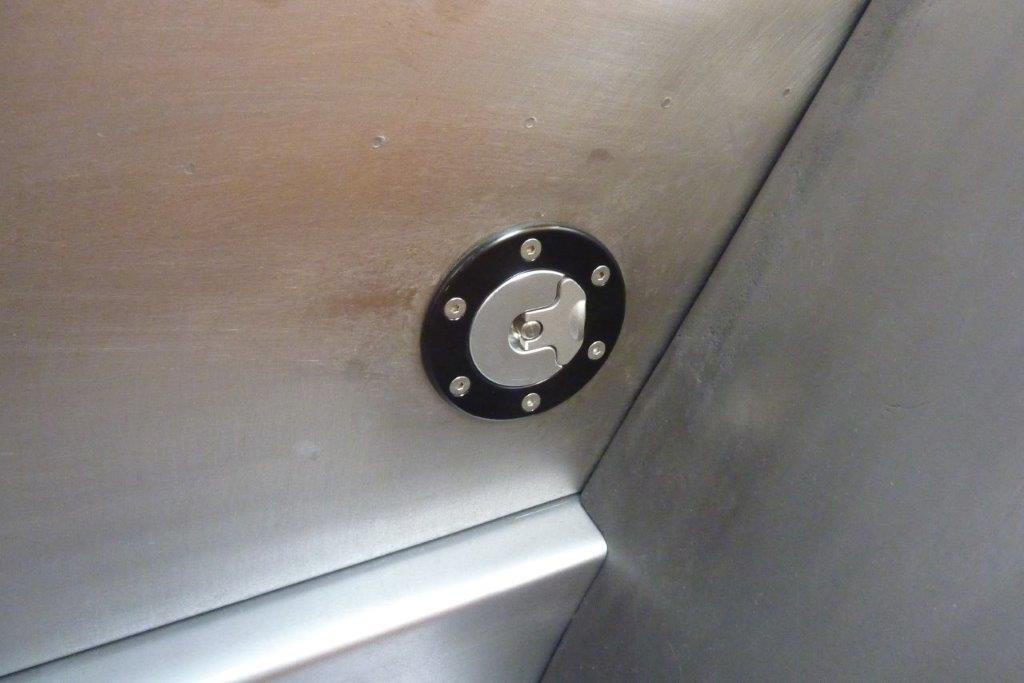
The fuel filler now in place. Not 100% happy on the all black though. So I bought another clear anodised one and swapped in the cap.
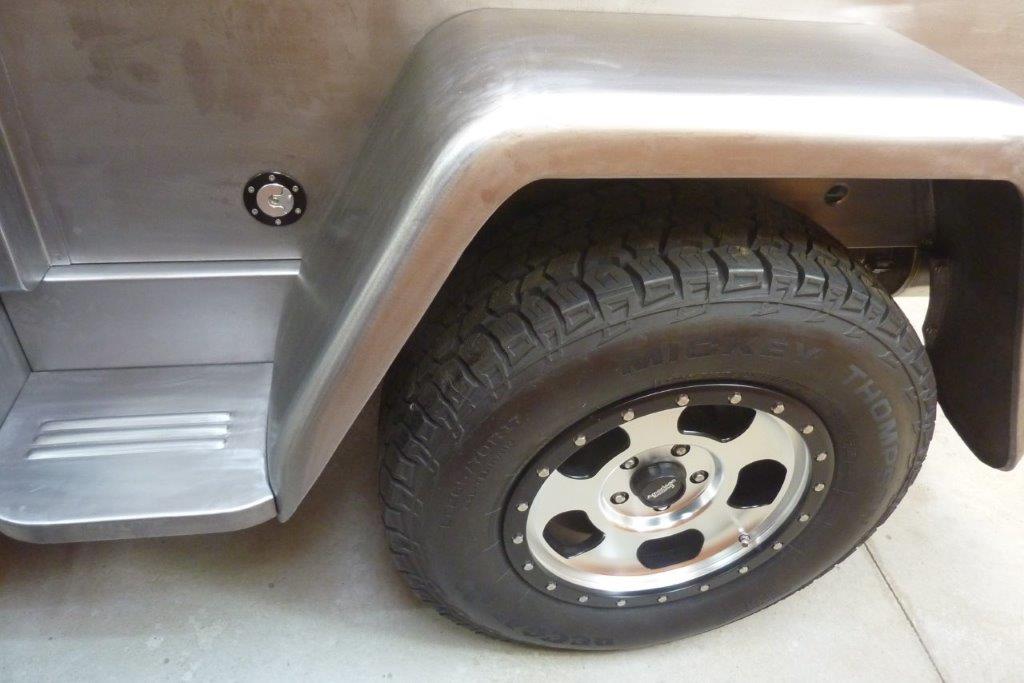

Now I think it ties in which the wheels with the alloy centre, black ring and stainless steel bolts. When I first ran the engine for 20 minutes to get it up to full temperature, I noticed the floor under the drivers seat got quite hot. Not above the cat mind you, as I had already welded a heat shield over that, but the left bank 3" stainless pipe running next to it. So I made a stainless heat shield to be above both pipes and sits 20mm-3/4" off the floor. I put the ribs in to give it some strength.
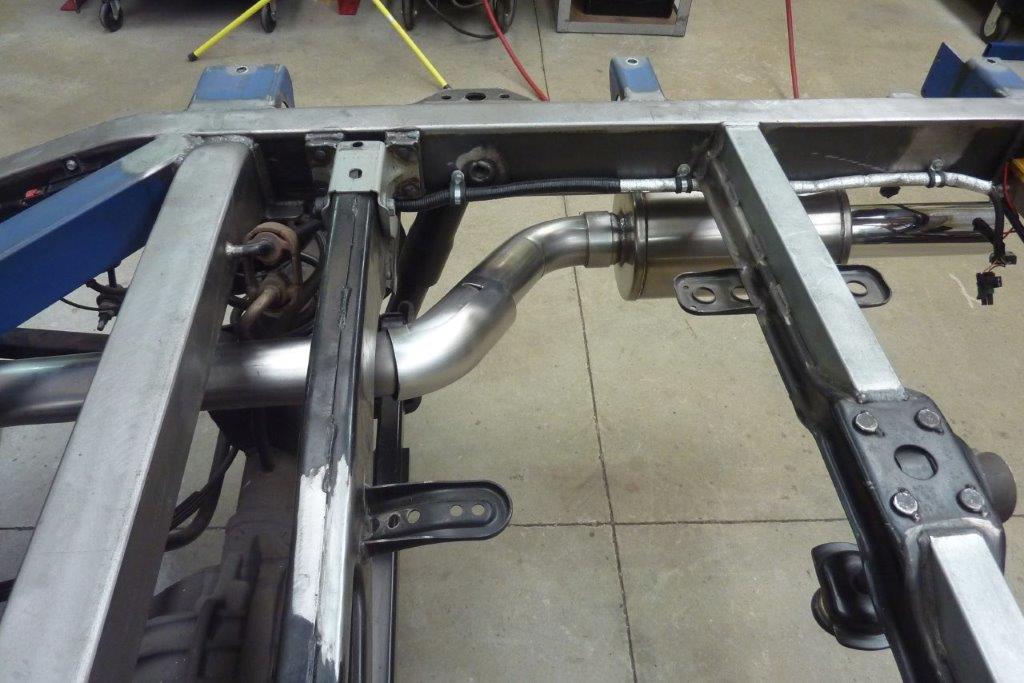
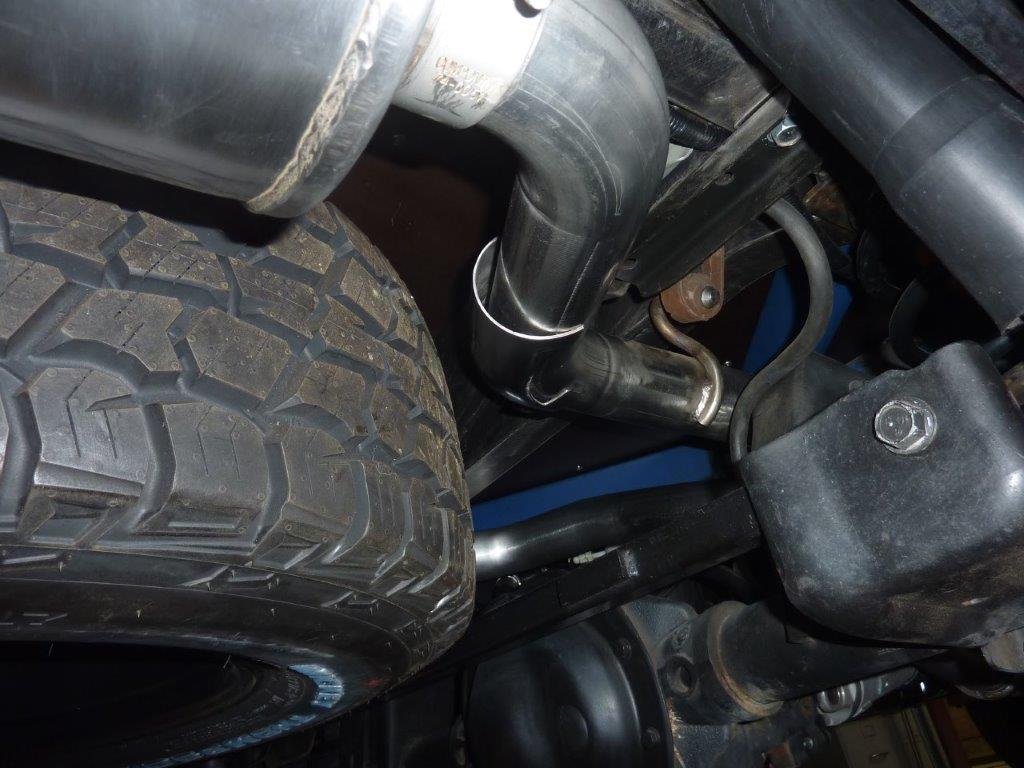
Also turned a stainless bend from a roll bar into a heat shield where the exhaust was closest to the spare tyre. The gap was around 50mm-2" but rather give some more protection. The resonator, being of the glass pack type was much cooler on the outside, and has an even bigger gap to the tyre.
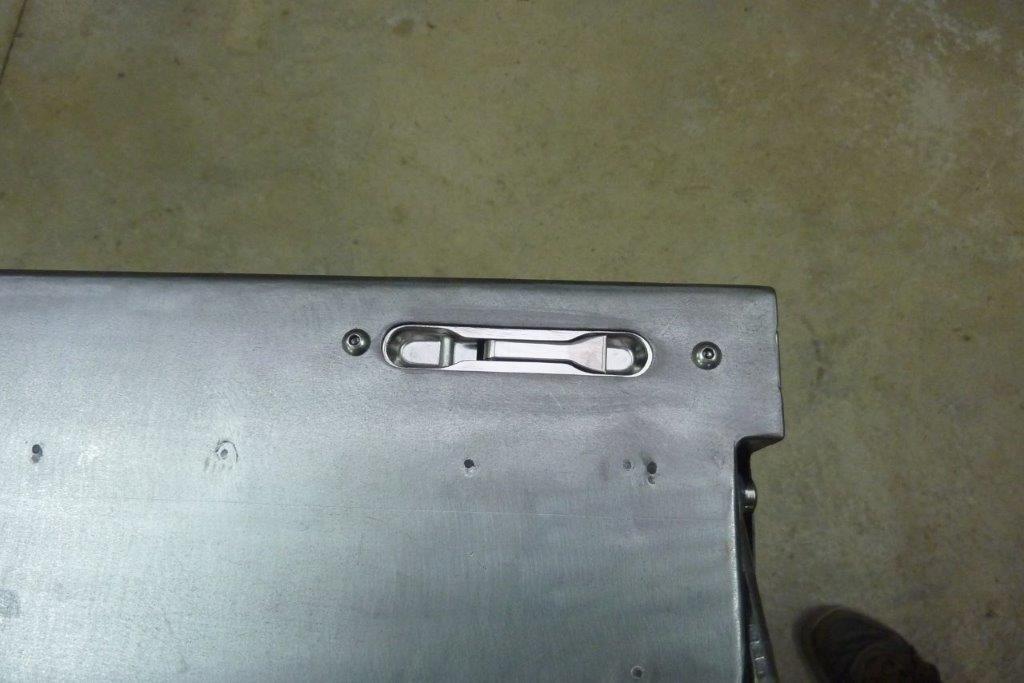
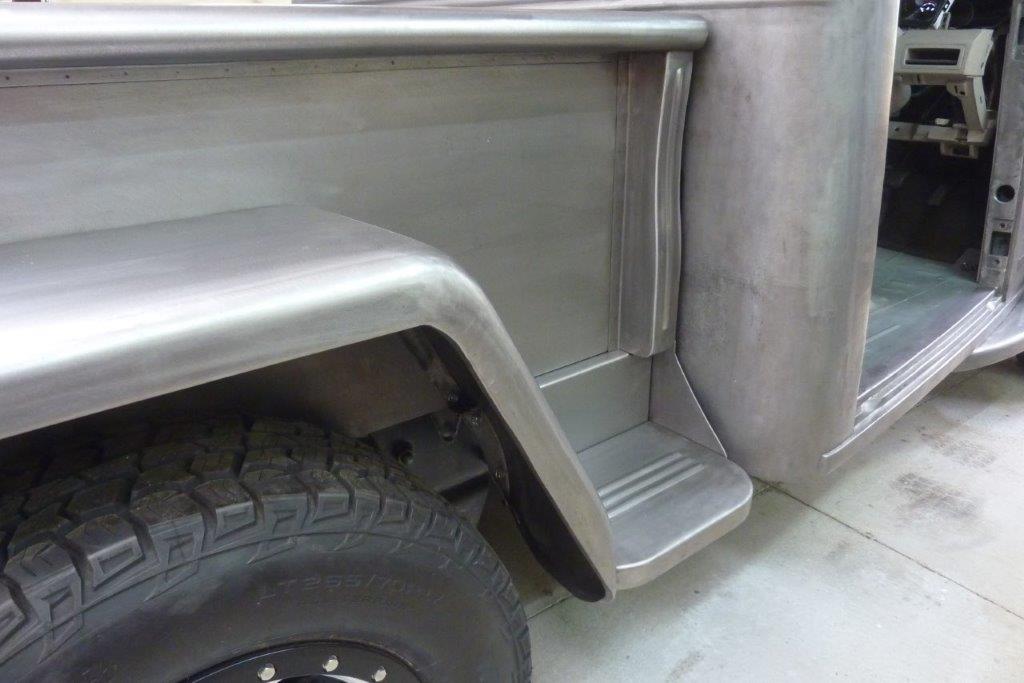
Simplified the slot for the tailgate catches as well. Polished the brushed look they had so it now matches the bed strips and chrome etc. Another thing I noticed was the rear guard-fender bolts were getting pulled inwards. It also created gaps between the bolts on the outside where the guard bolted on. Found there was excess material right along the bedside, but not at each end where it is supported by the stake pockets. I had already stretched all the spot welds but this still remained.
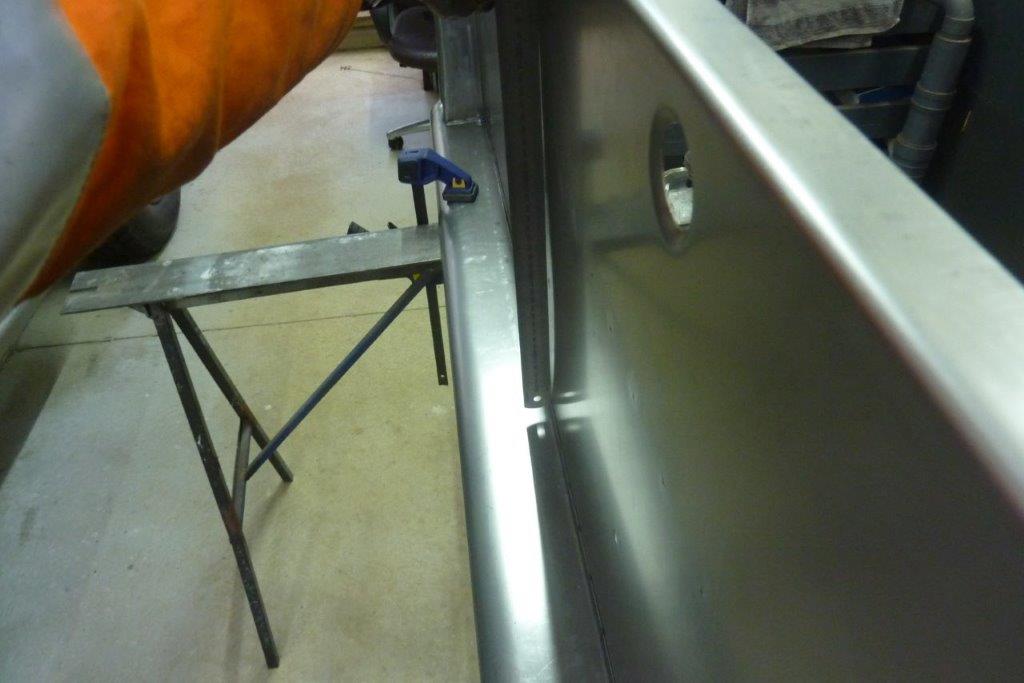
Spent some time with just a 5" shrinking disc on my grinder shrinking the panel all the way along on the inside. No air or water was used to cool it. Used a long straight edge in the other direction too to check the panel that way. Takes some patience to get it nice and flat again. I did it with the panel vertically as having it horizontally would have changed the way the panel lay. Another detail I attended too was changing the ends of the stake pockets from just being squared off. I decided to give them the same 50mm-2" radius as all the other rounded corners on the bed. I cut higher than where the bead ended to maintain the same amount of flat area at each end of the bead.

Can see how it matches the radius of the rolled top. I was worried how it would look with the step gusset, but think it looks fine.
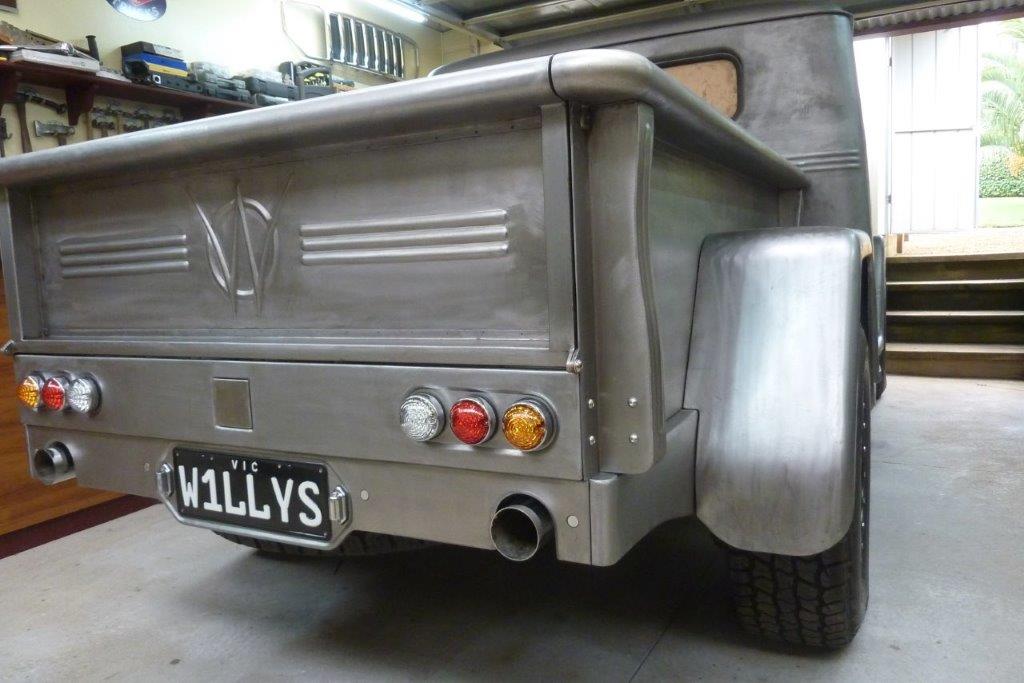

Blends in better with the skirt end as well. I'm calling the bed now finished! Well at least until I build my hard cover later on.
Video update.
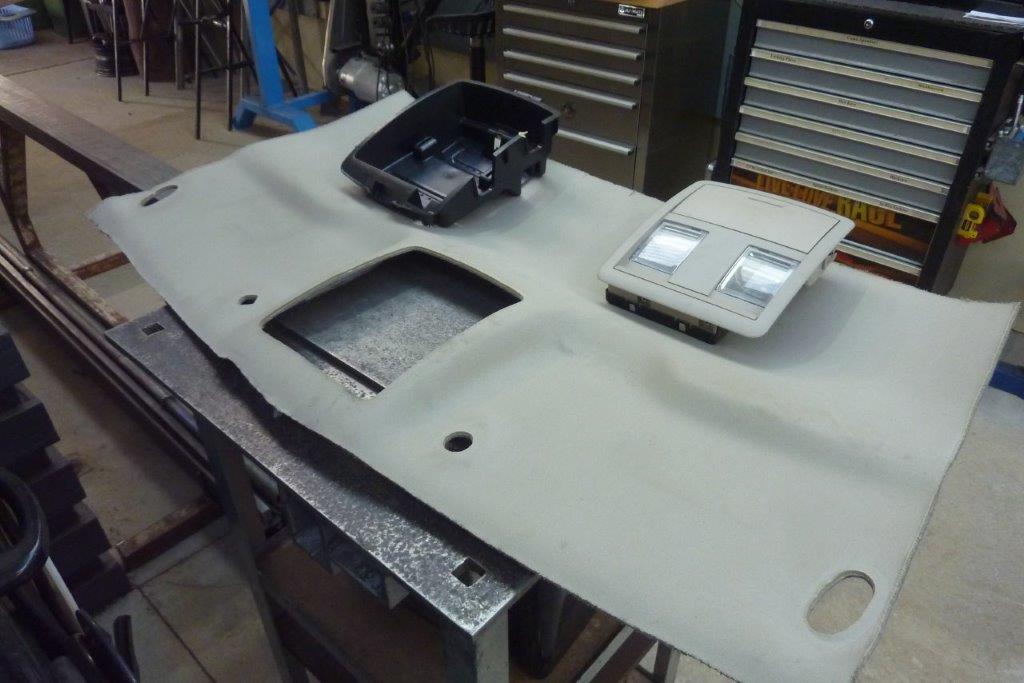
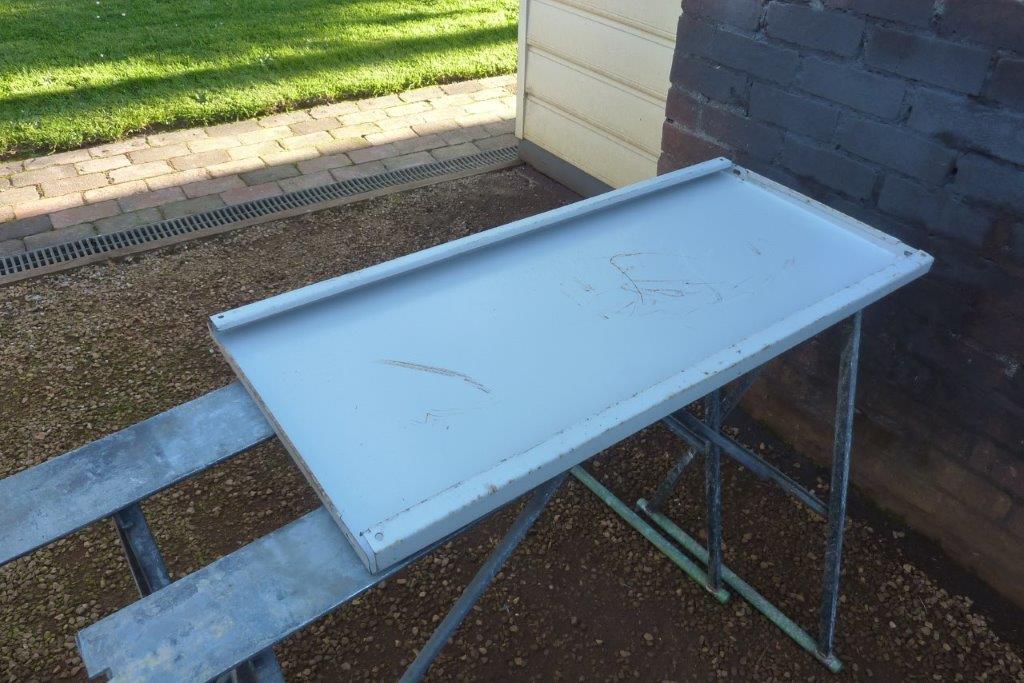
Going to make a one piece headliner like that of the Grand Cherokee donor as it is a modern theme inside the cab. I will incorporate the overhead console which has yet another CANBUS module inside of it. Being still in lockdown, using up what I have collected for the steel off the roadside. Starting with some office furniture shelves!

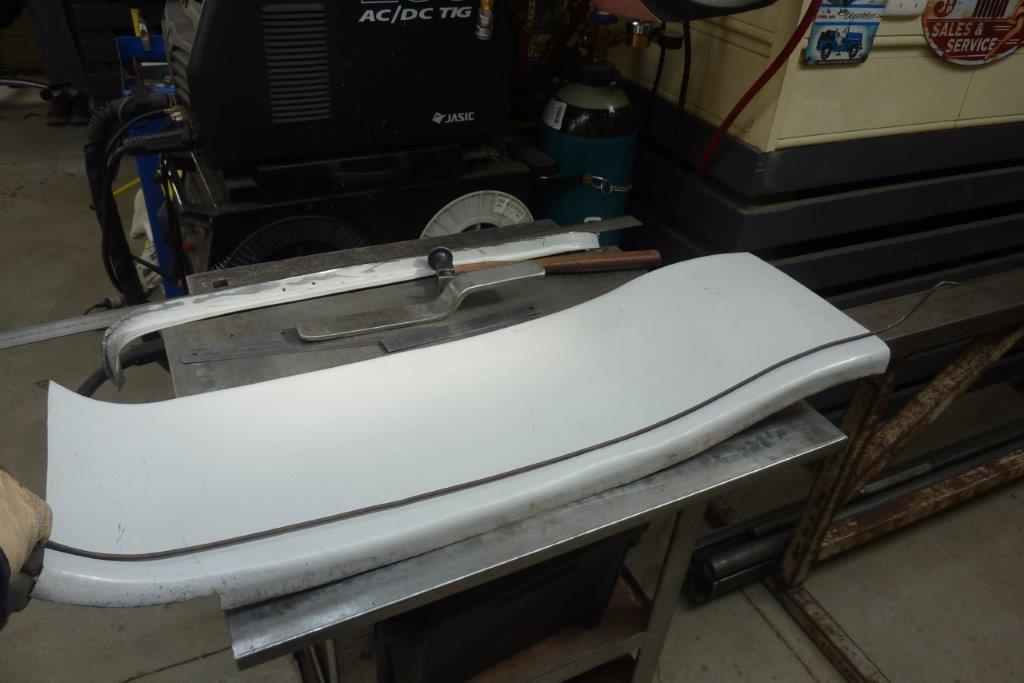
Rolling a edge first over the stake dolly using a flipper. Bent some wire in the shape I want the centre section to be and used the shrinker/stretcher to follow it. Part of it must match exactly the factory overhead console insert.
[Index]