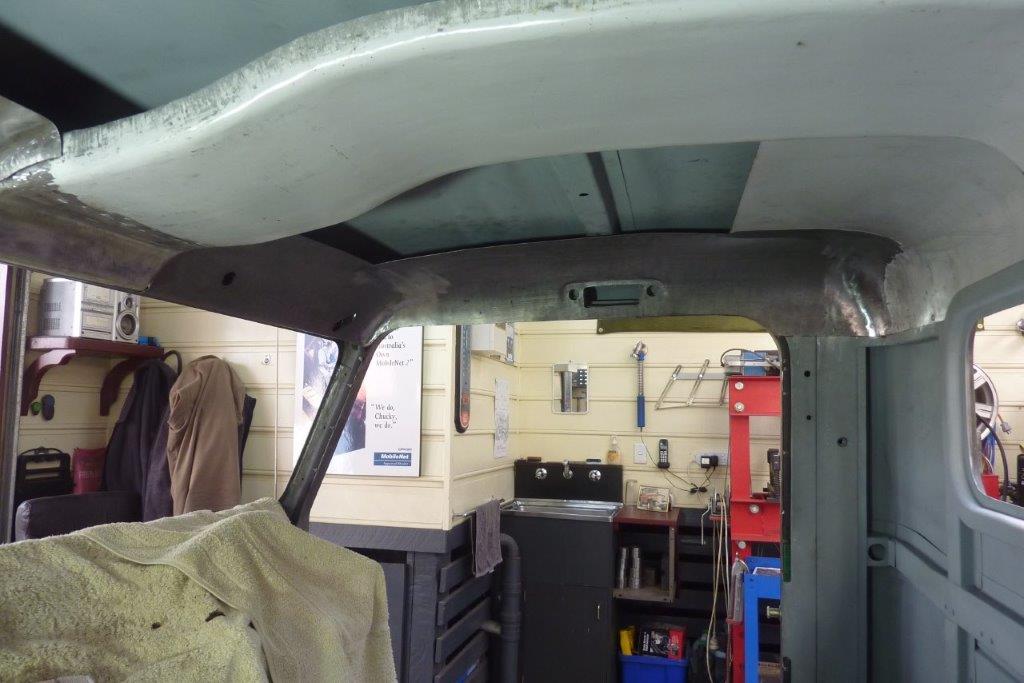
Driver side done and even matches! I have it tucking in behind the rear window frame. Two more pieces left to go. I will leave welding to the console last so I can take the two side pieces out to weld and planish them easier.
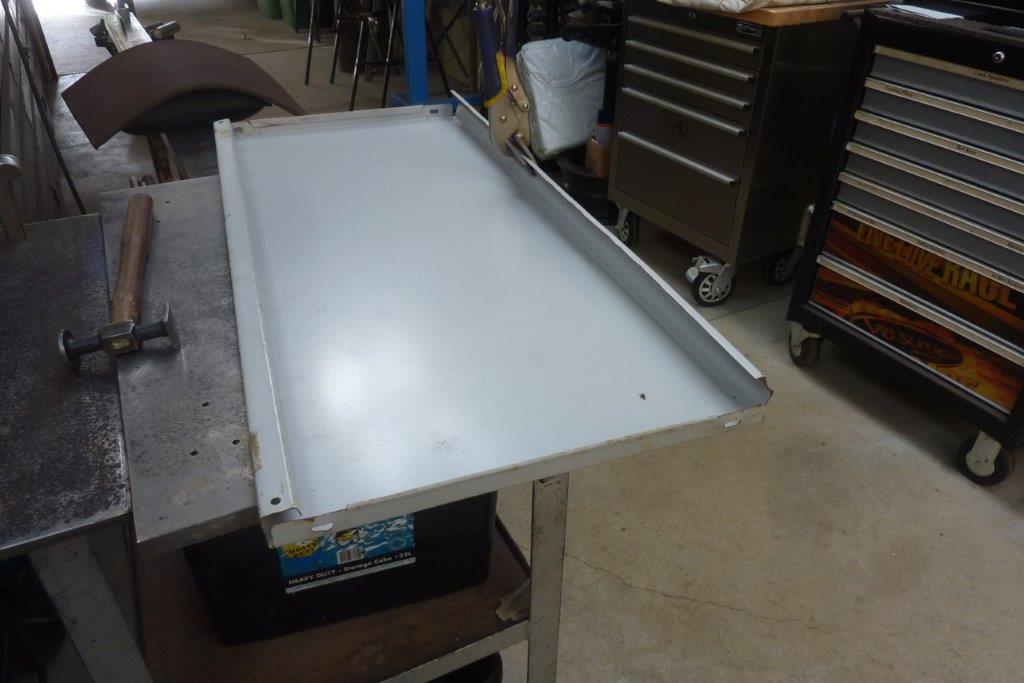
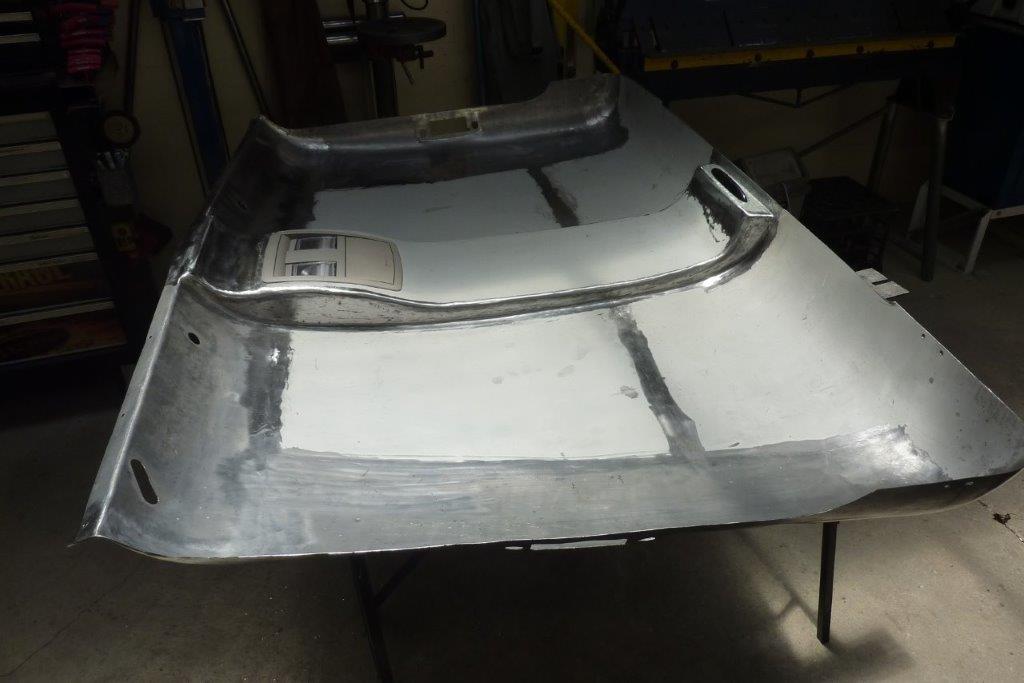
I needed a bit more than the flat part of the shelf for the last part of the headliner. I started unfolding one side using wide mouthed clamping pliers. By the time it was rolled over a stake and run through the English wheel, you can't tell where the folds were.
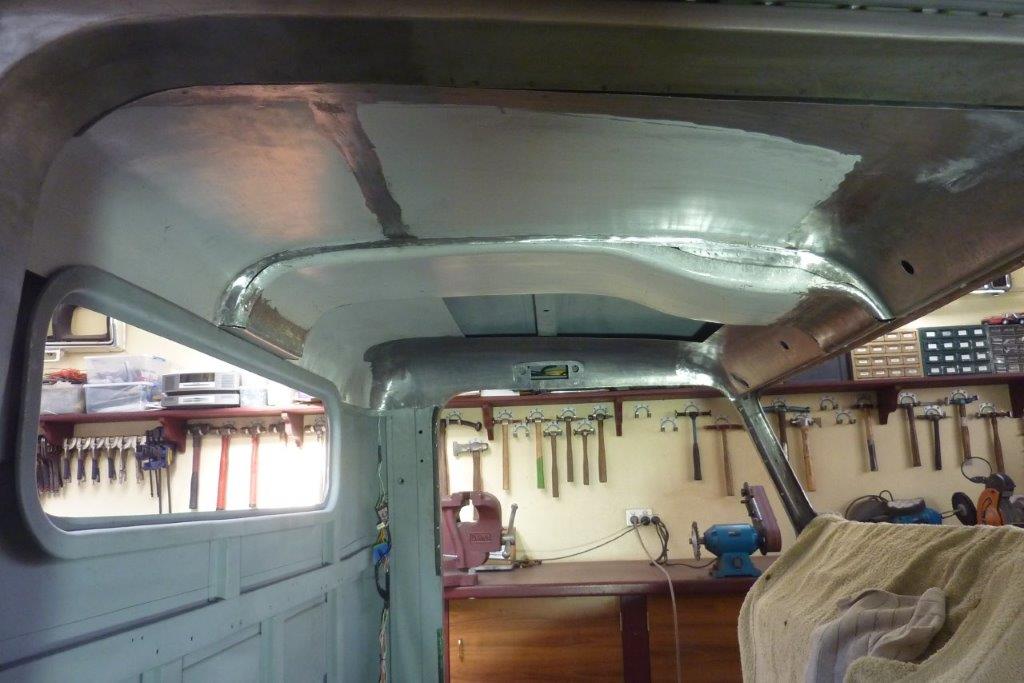
Welded into place. I have trimmed it and it is now ready to scribe against the console so it can be butt welded into place.
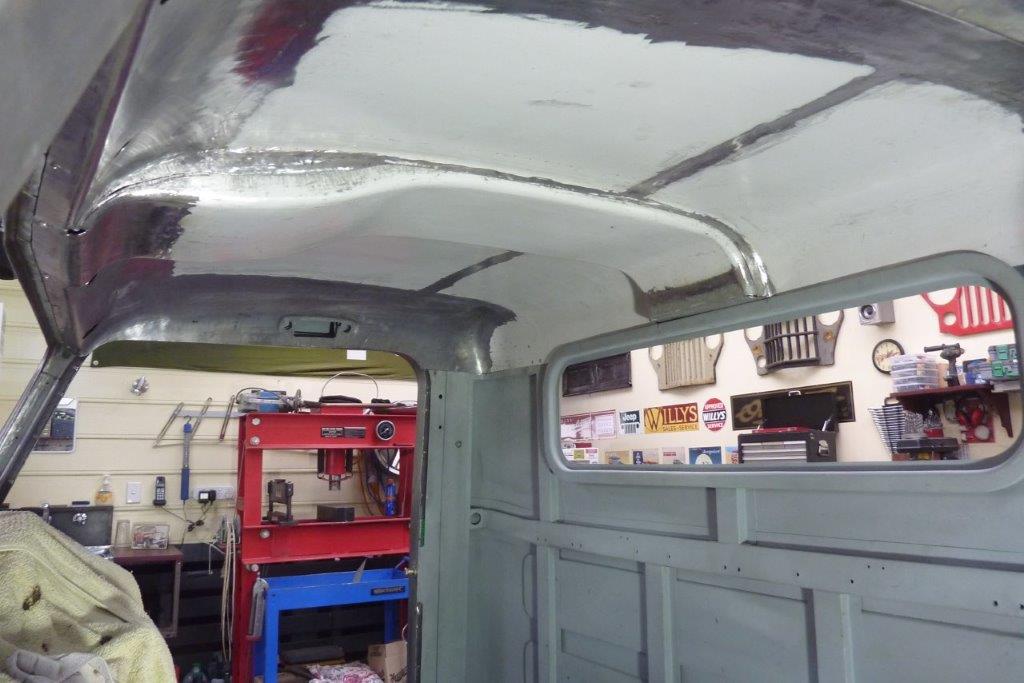
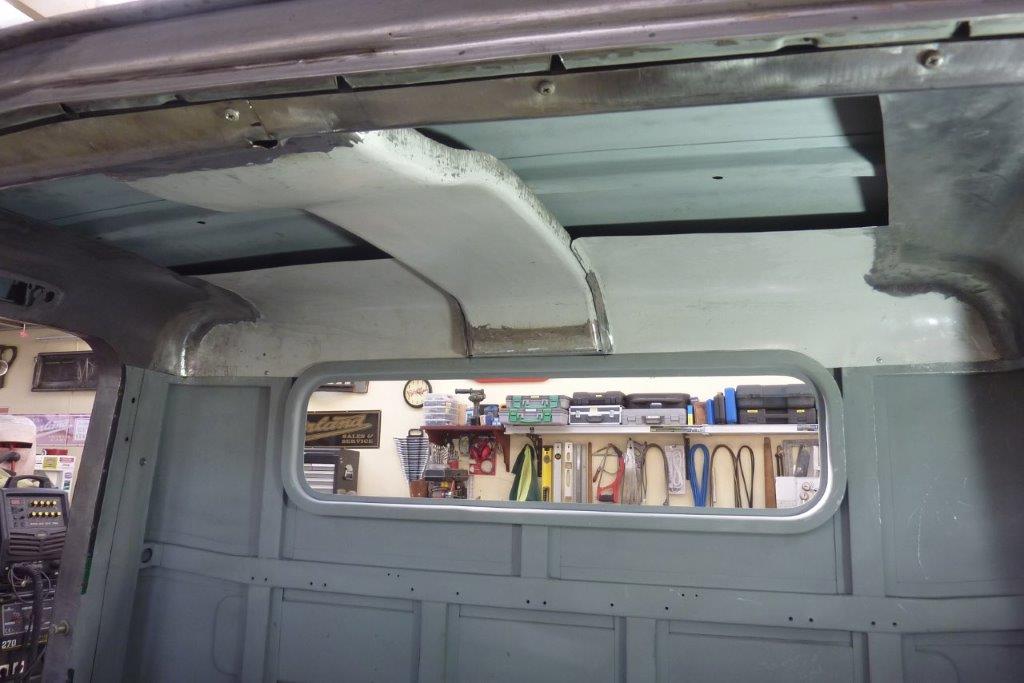
Other side also done ready for welding everything together. Just trying out the console insert that is from the donor Grand Cherokee. It has the map lights, sunglass compartment and also holds another module for the CANBUS system.
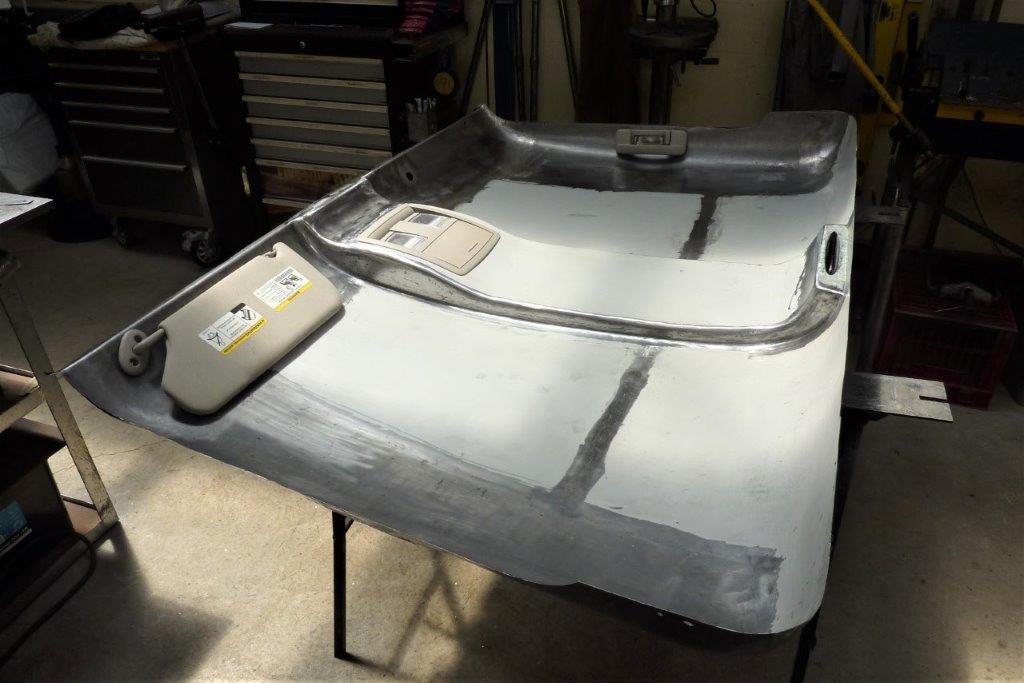
Gives you an idea of the placements of the sun visors, grab
handles and reverse park display also.
Also a YouTube update.
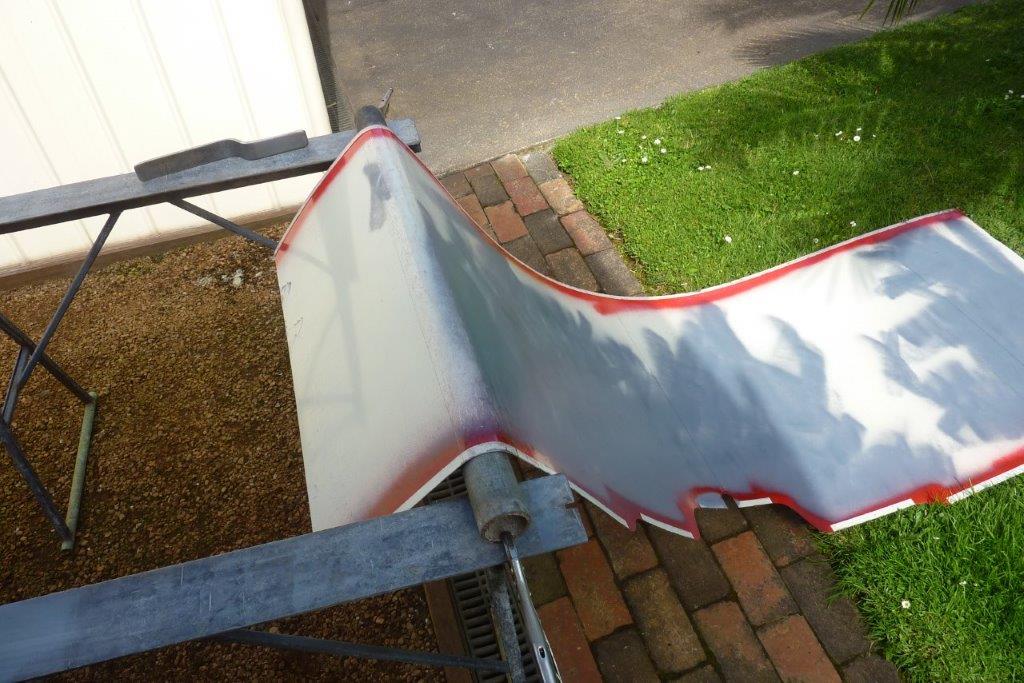
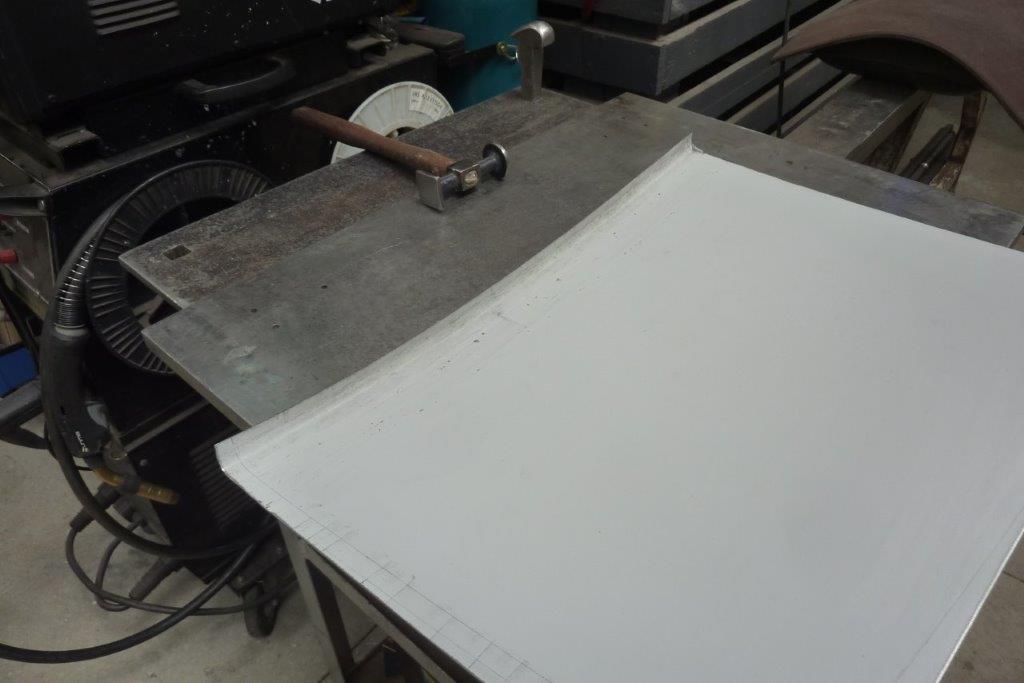
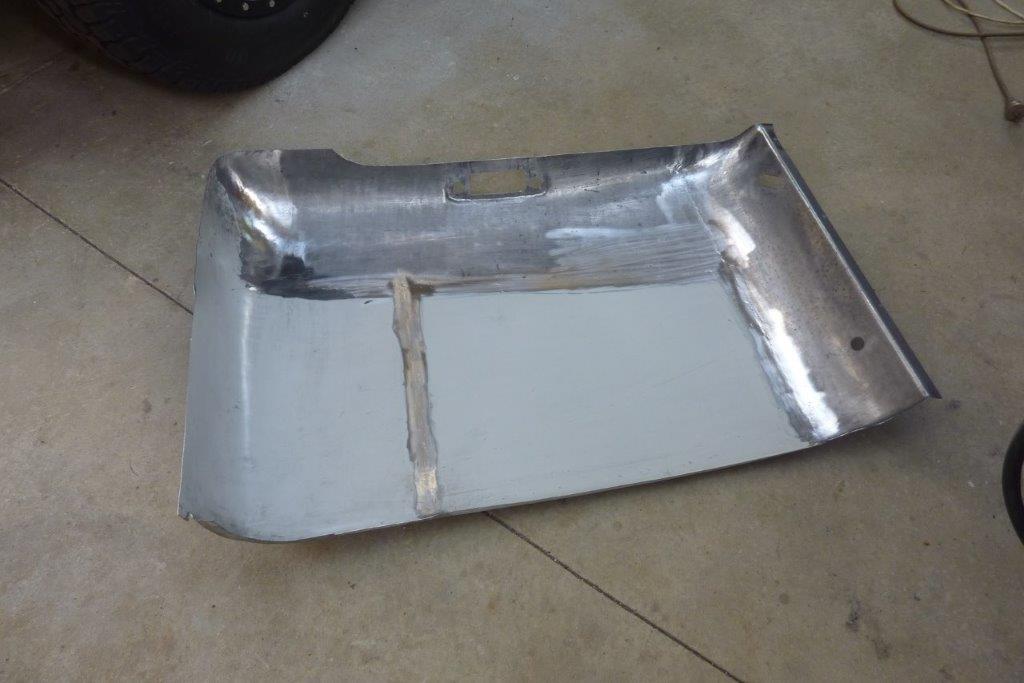
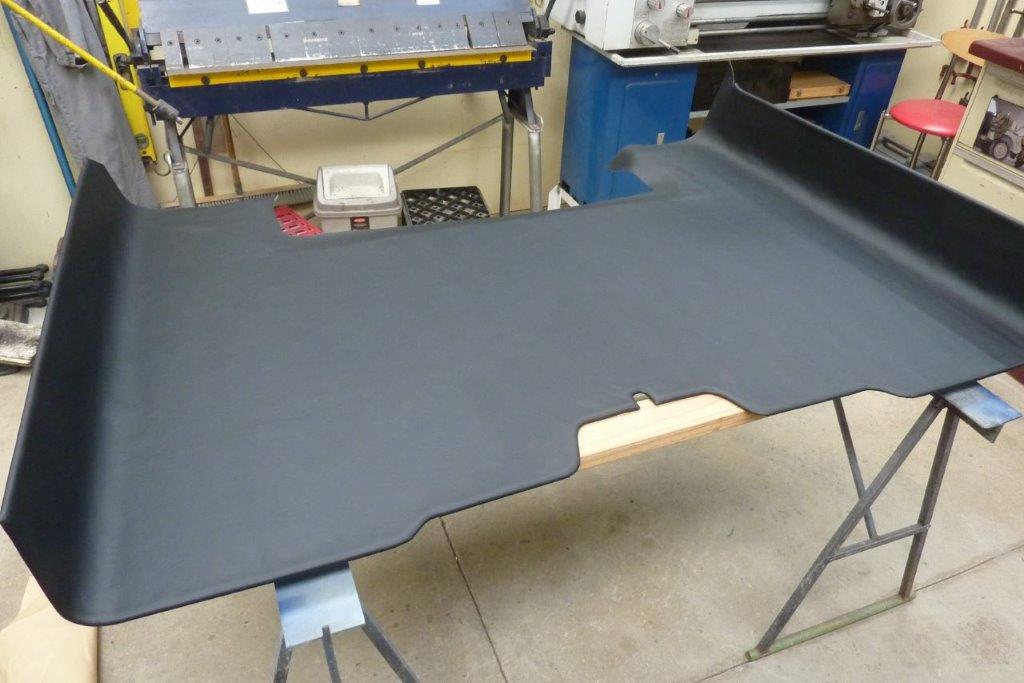
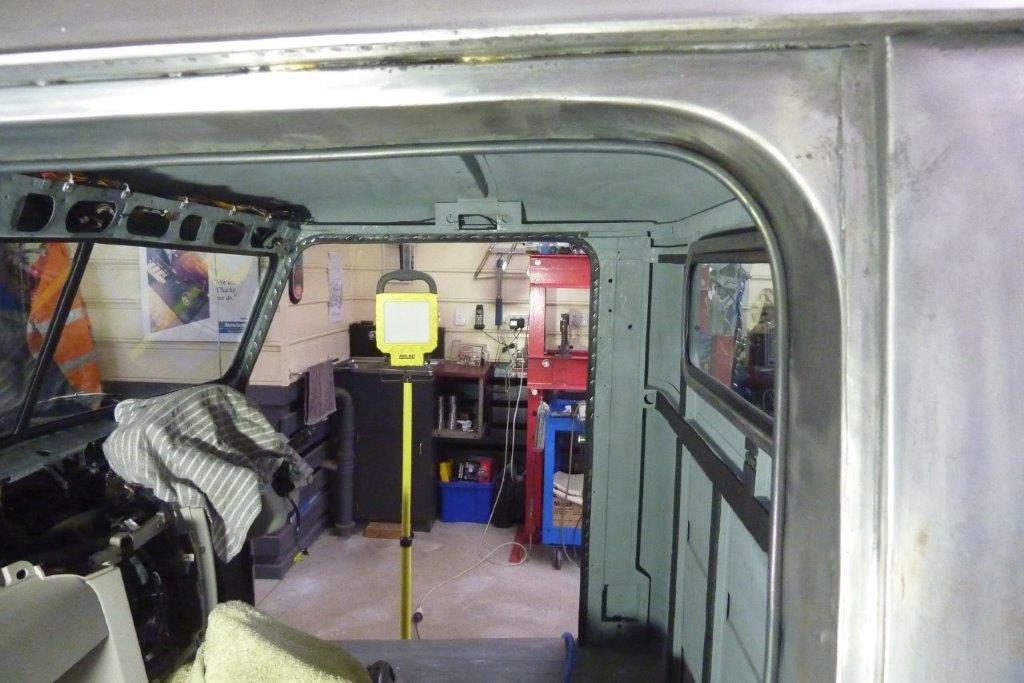
Making the rear wall in one piece. This is also from my office furniture stash and think it was a backing to some steel shelving. Only 0.6mm, (24#), so I folded over all the straight edges to add a little stiffness. Just used sheet metal locking pliers to makes the bends, finished off with flipper and dolly. To roll the corners I pulled it over some pipe but it just made little creases. Must be hot rolled steel. So used the flipper to start smoothing it out and can see the difference in the foreground verses the other end. Corners all rolled and ready to trim the sides. They will be cut longer to allow the edge to be folded over as well.
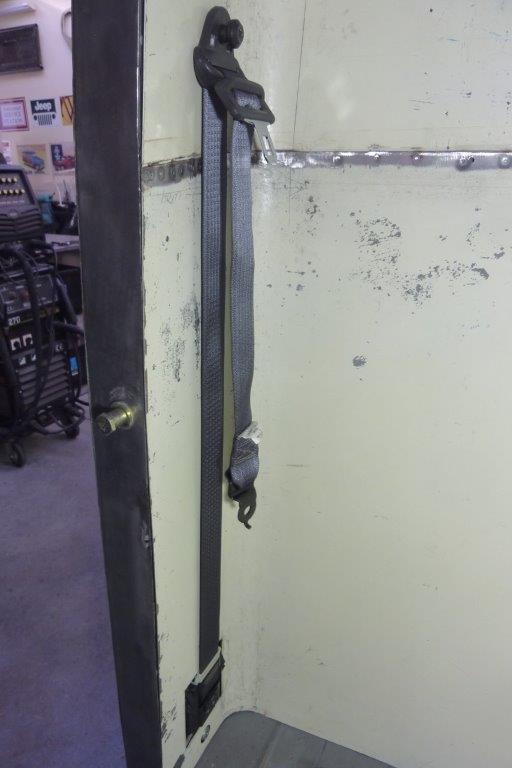
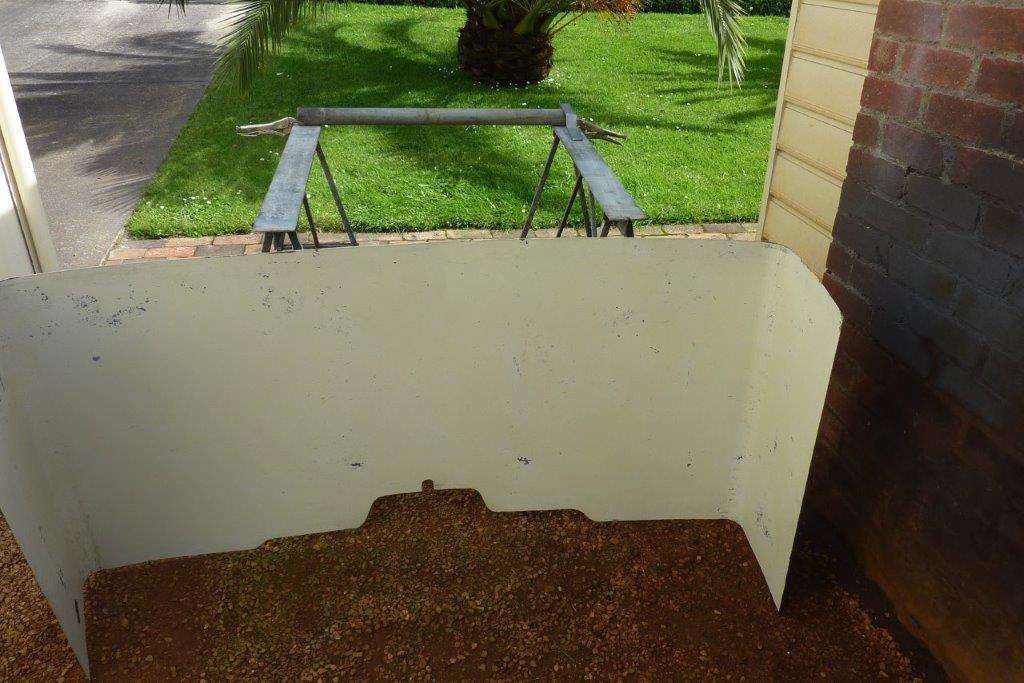
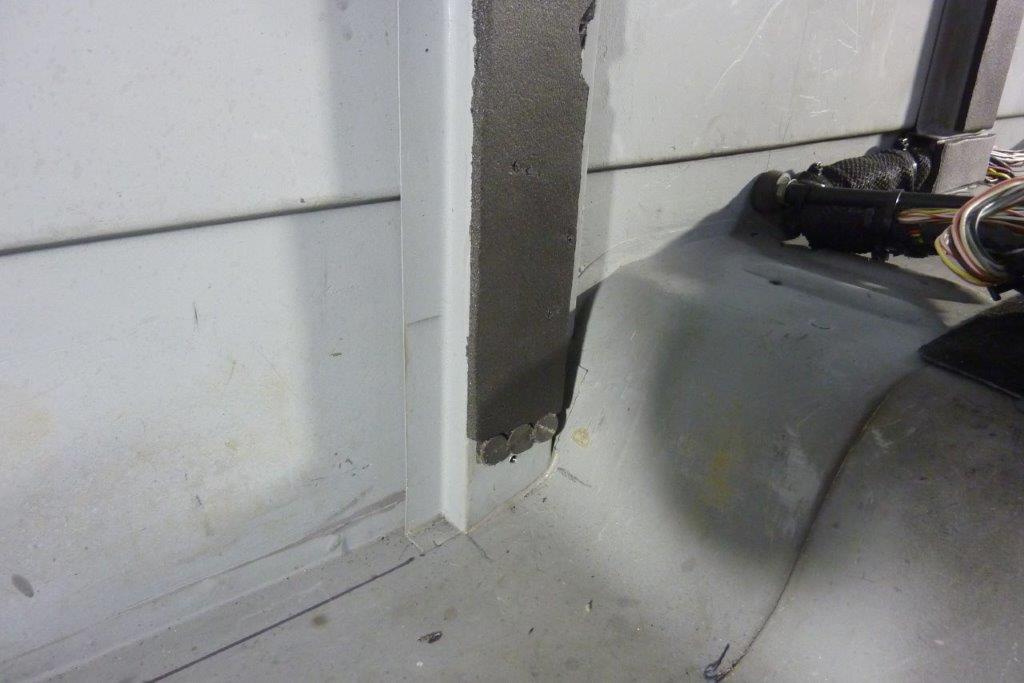
I had to add height to it each side of the window so the bottom edge was put through the step die in the bead roller and then spot welded the seam. The seat belt inertia reels are nicely recessed into the B pillar. I will make covers for them later on.
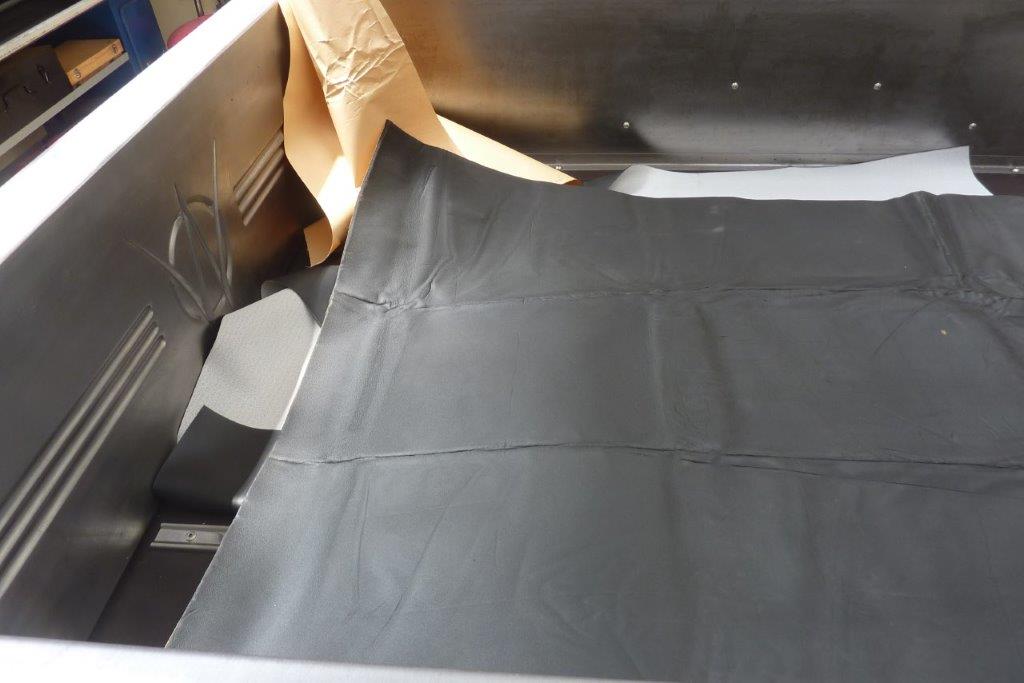
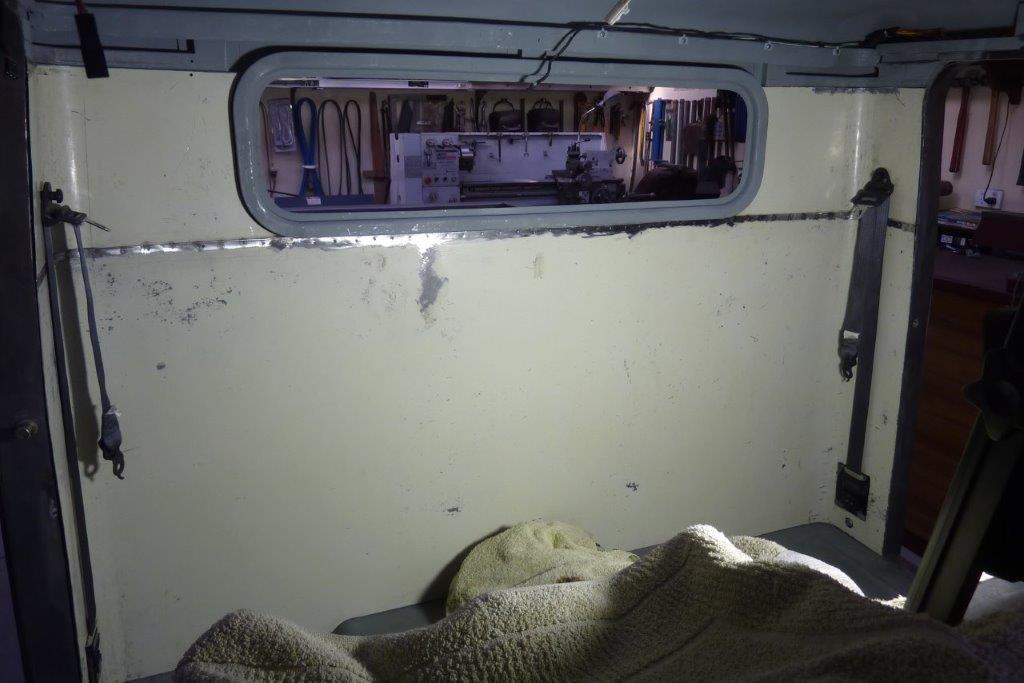
Being still in a lockdown at the time, I could not get any foam for the upholstery. Even the click and collect places were about of stock. Was forced to buy some closed cell foam with an adhesive backing used for automotive sound proofing. Unfortunately the folding creases from being posted are not coming out. This is after laying flat in the sun for a month! Worse still I found the foam reacted to the spray glue and swelled up when I was covering it with the black synthetic leather! So only used a thin layer in the corners and the rest was glued directly to the steel on the backside. Here just the bottom edge has been done so far.
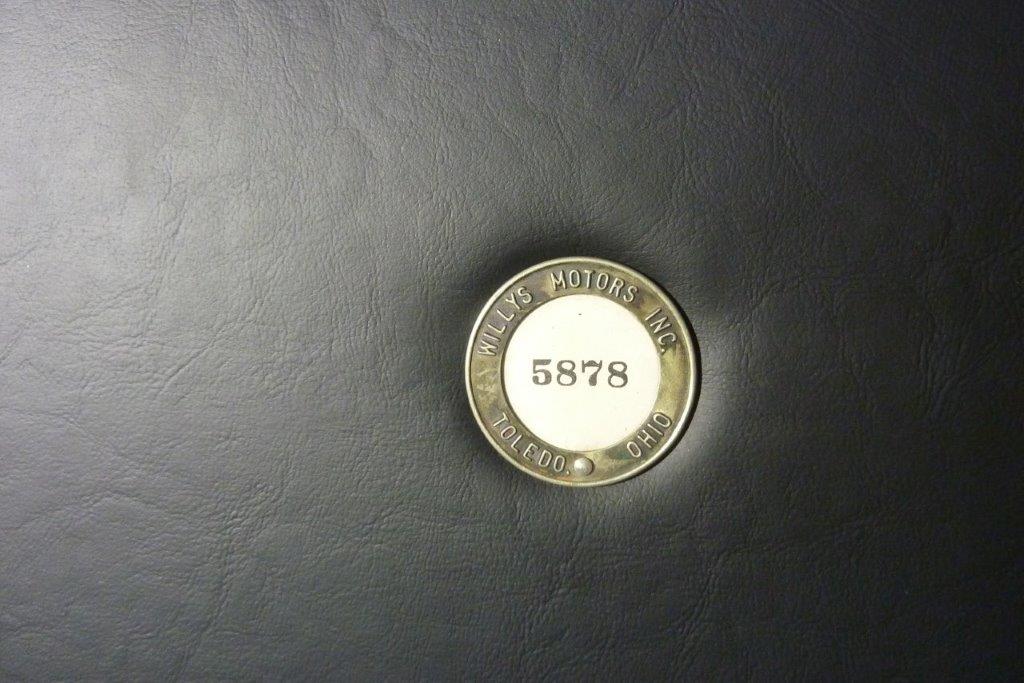
I've become the custodian of this Willys Overland employee identification badge. It belonged to George A. Mack, who worked for Willys Motors for 32 years. His granddaughter Susie thought my project was the perfect place seeing as he would have worked on this vehicle when it was on the assembly line in 1948. Not only that, but her father Pat Stark worked in the Willys plant at the same time and also had a hand in building the original vehicle. To hold the wall in place I have used magnets on the rear wall supports and trim clips on the sides near the door opening.

I replaced the tack strip with V belts like used for fan belts
etc. Then I have used rubber P extrusion around the door opening instead of
windlace. It conforms really well around the corners and suits the modern theme
I have going inside the cab.
[Index]