
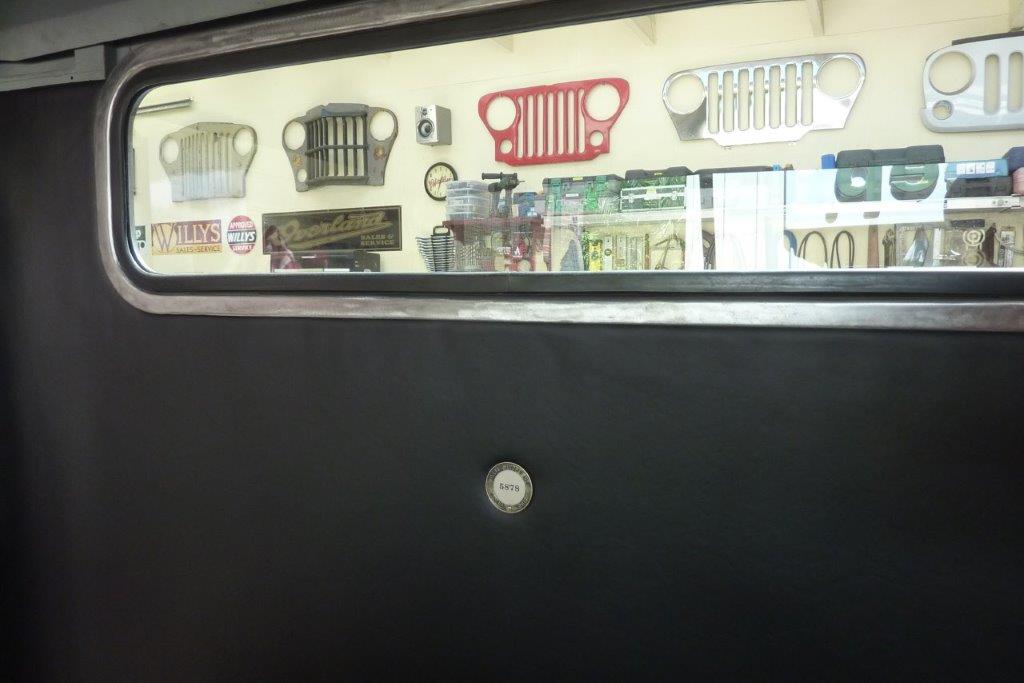
Here is what the section look like. https://www.clarkrubber.com.au/collections/rubber-extrusions/products/31657-p-section-extrusion-22mm-x-7mm I have the Willys employees badge right in the middle of the rear wall and will be between the bucket seats. You might also notice I have the first window in place as well!
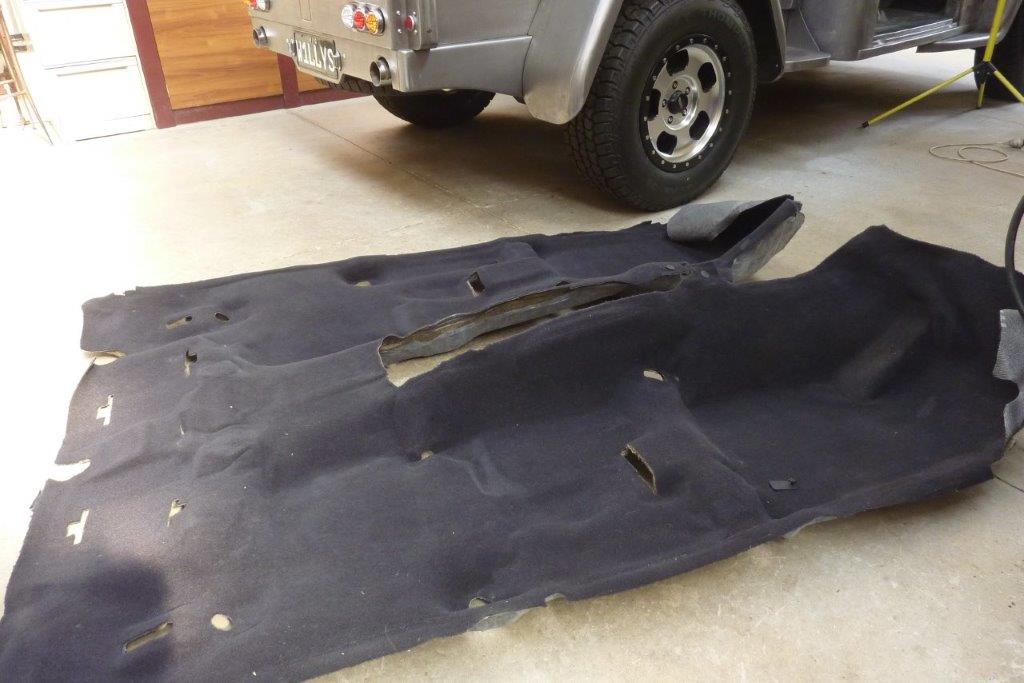
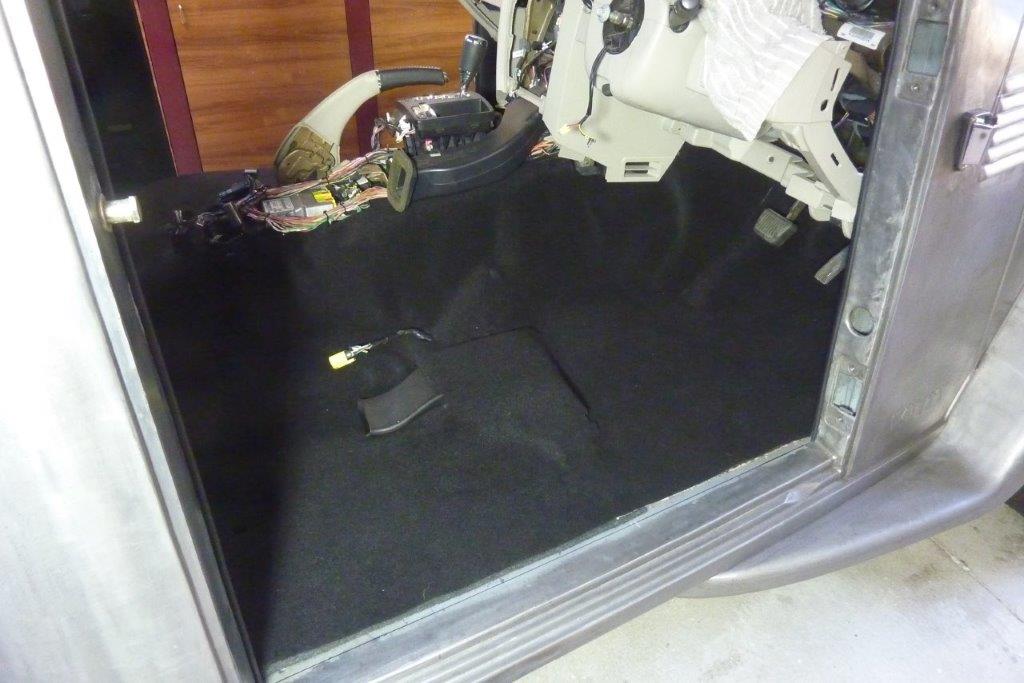
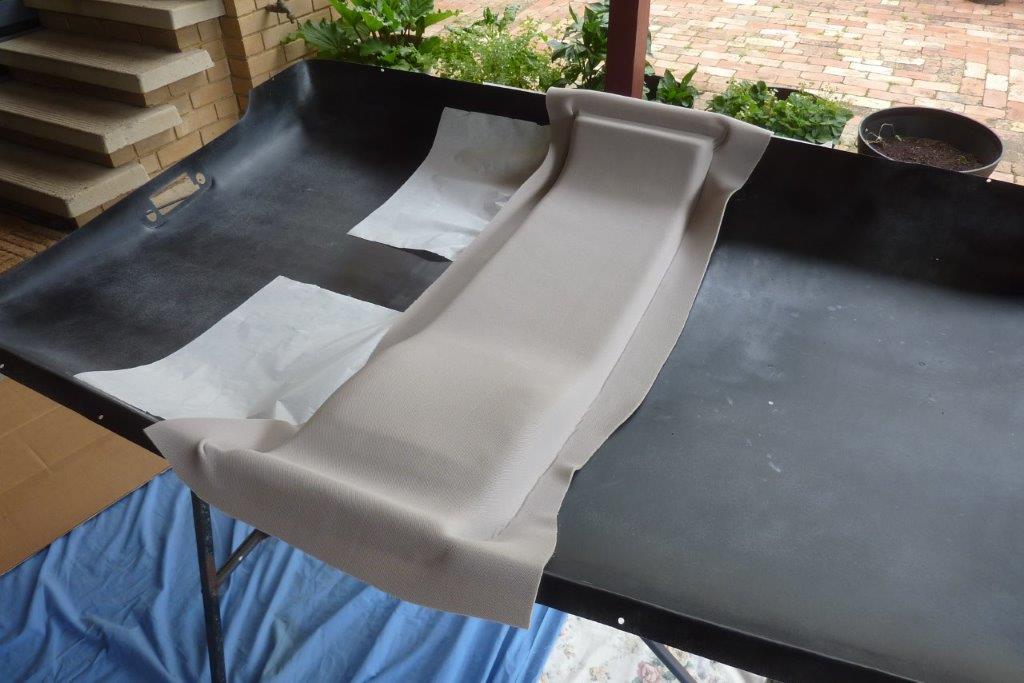
I had planned to use the moulded carpet from the donor as I have used its floor. But as you can see the wedge shape of the Willys cab means it is a lot wider at the rear, even though the carpet fits at the front.
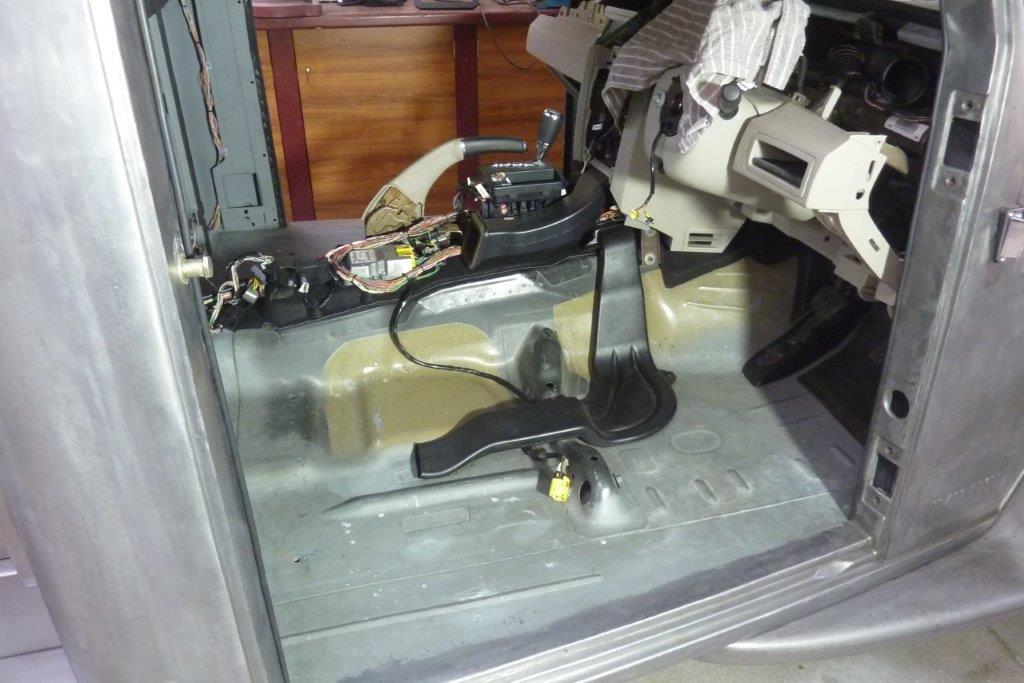
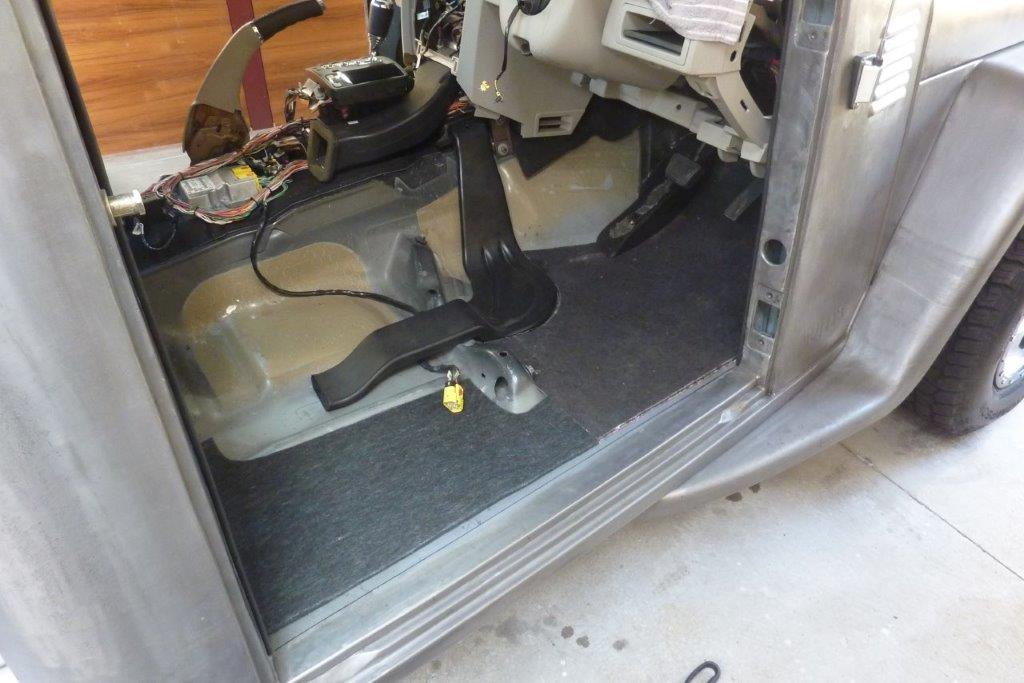
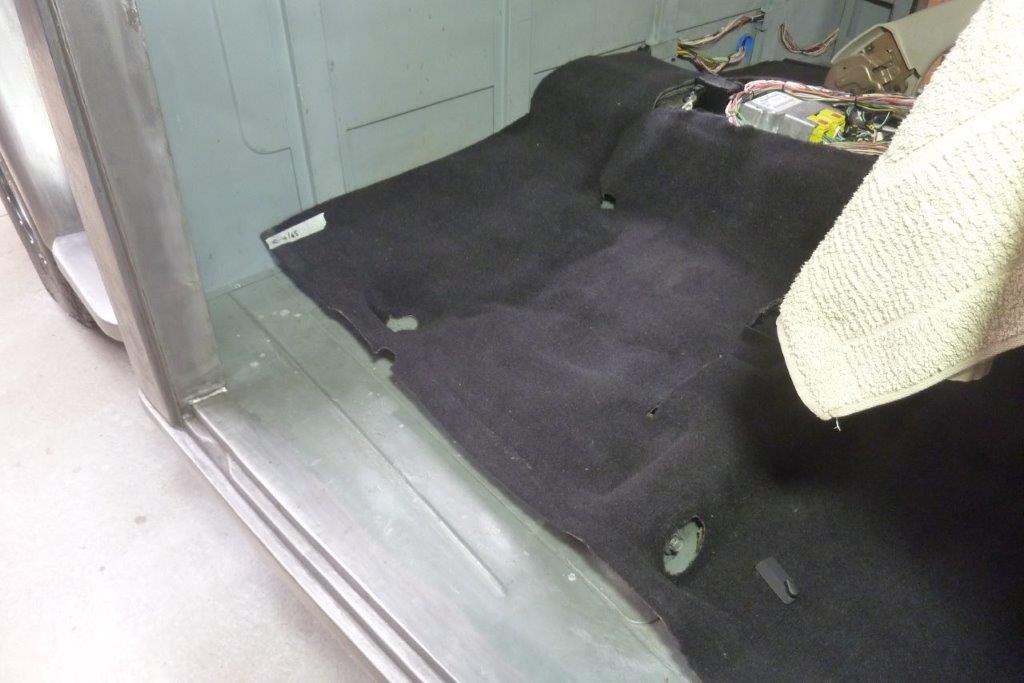
Not the easiest floor to lay carpet over with the front seat support, foot rest and rear air-conditioning duct to go over. I started by levelling the floor some by cutting around the duct etc using some heavy compressed felt with a tar like backing at the front and some new automotive felt carpet underlay as well.
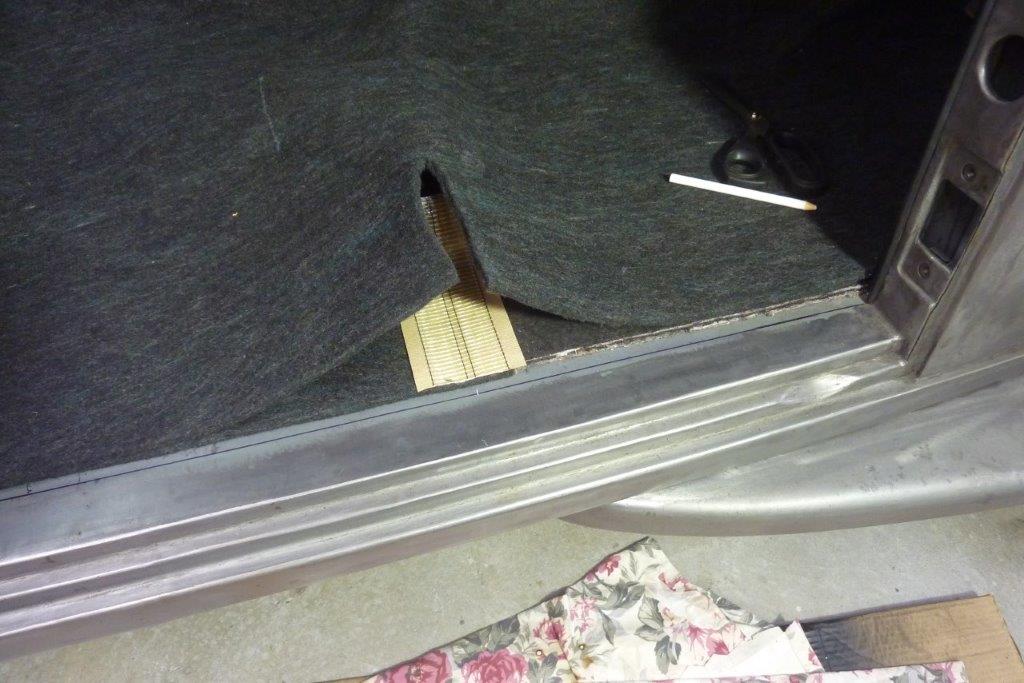

Then put a whole one piece complete layer of the new felt over the whole lot. To get it to sit flat next to the end of the front seat support, I cut a wedge out and then pressed it down on some carpet joining tape. The join disappears, not that anyone would see it! The double layers of underlay add up to nearly three times that of the donor. After paint I will also stick down directly to the floor a heat barrier as well.
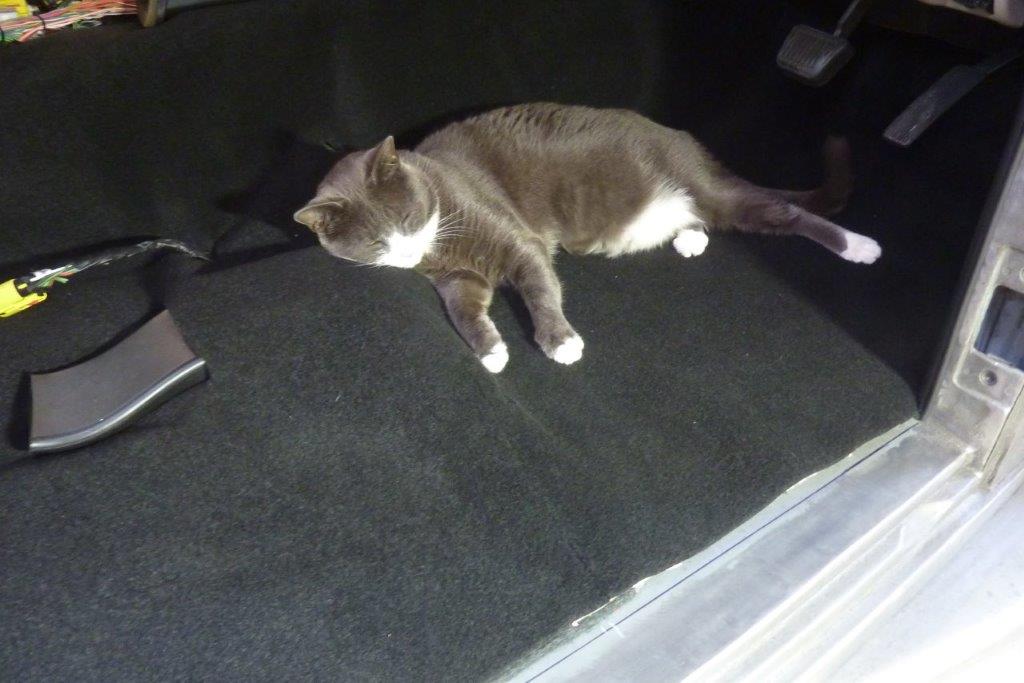
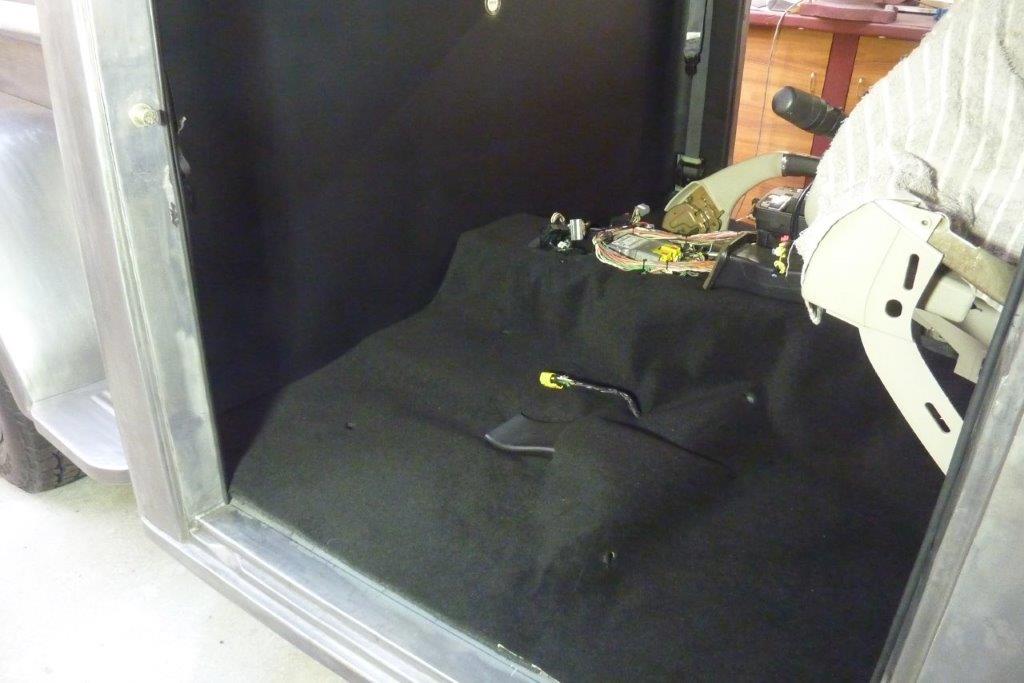
Getting a cat scan done! Seem to have passed the comfort test at least. Very little of the rear half will be seen at all as covered by the bucket seats and the centre console.
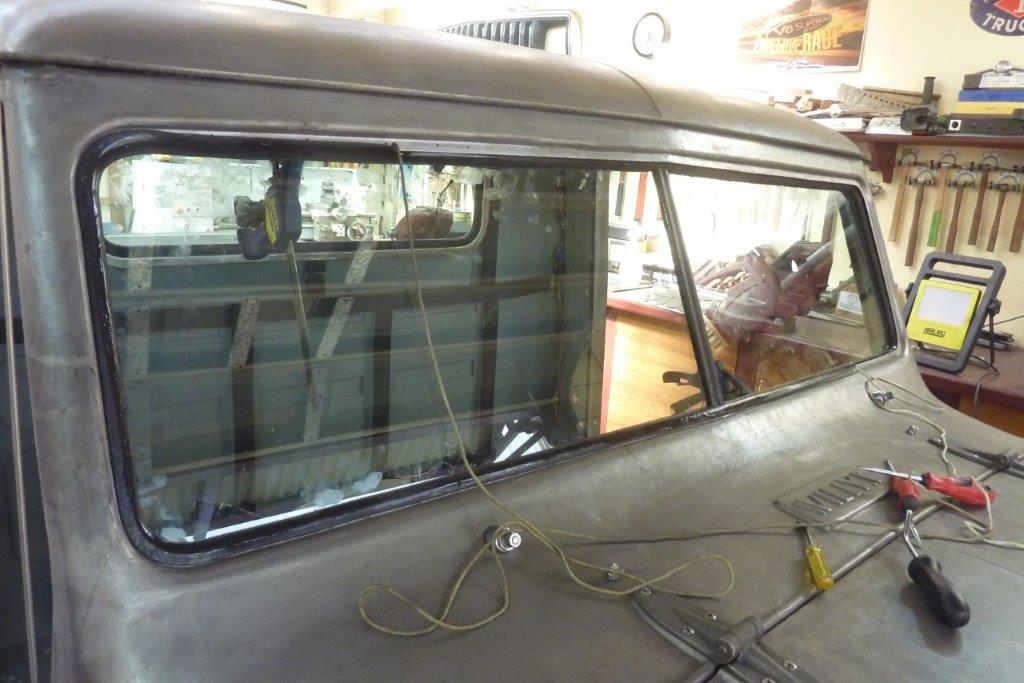
Looks good enough to be OEM and is functional, so will do nicely. Lisa and I roped in the windscreen together. Used PBR rubber grease in the seal slot along with the rope which came from some old curtain track. Also notice the front face of the seal has been heavily greased as well and makes a big difference in pulling the seal lip over.

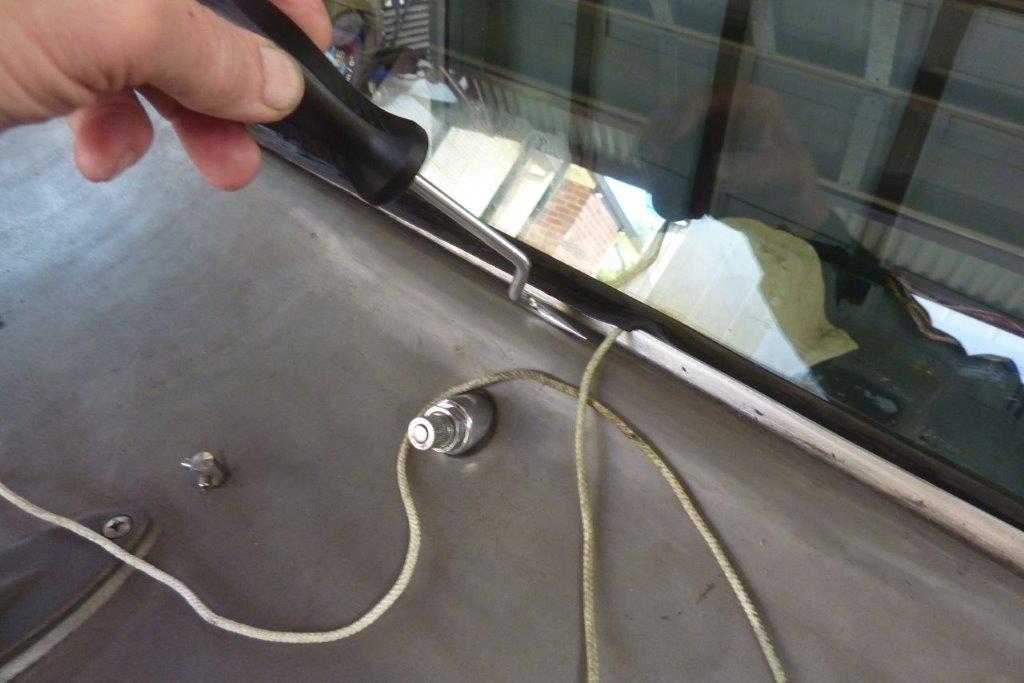
To help Lisa have enough hands on the inside, I used some clamps to makes sure it couldn't fall back inside. Not a problem for other vehicles that don't have their screens put in from the inside. What I did find useful this time is using a cotter pin removal tool to help the seal over in tight areas.

I'd tuck it in and with a seesaw action could lift the bottom of the seal lip up in front of the rope and up and over the pinch weld lip. Got the templates size right, windscreen stock height but 9" wider, as sits in very well. All up from setting up and fitting the seal to the glass, it took an hour including clean up.
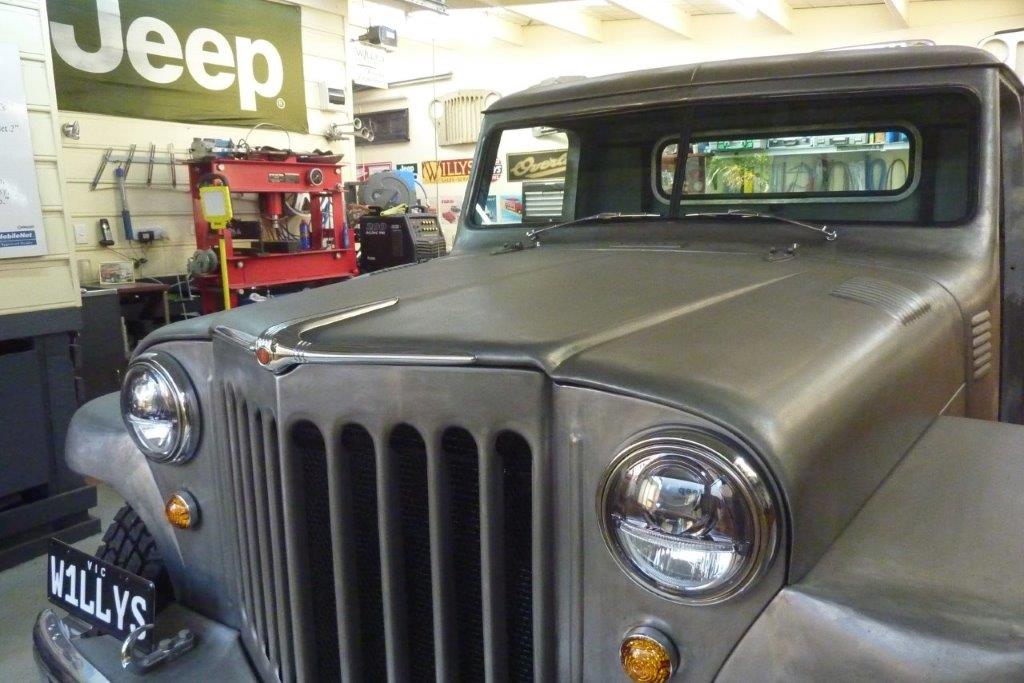
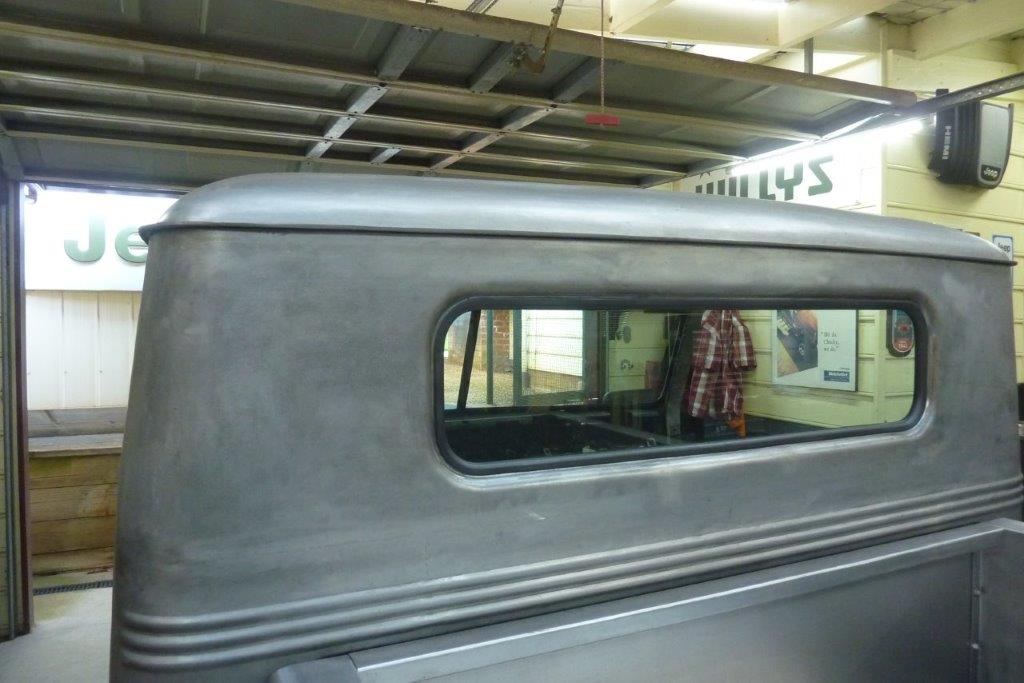
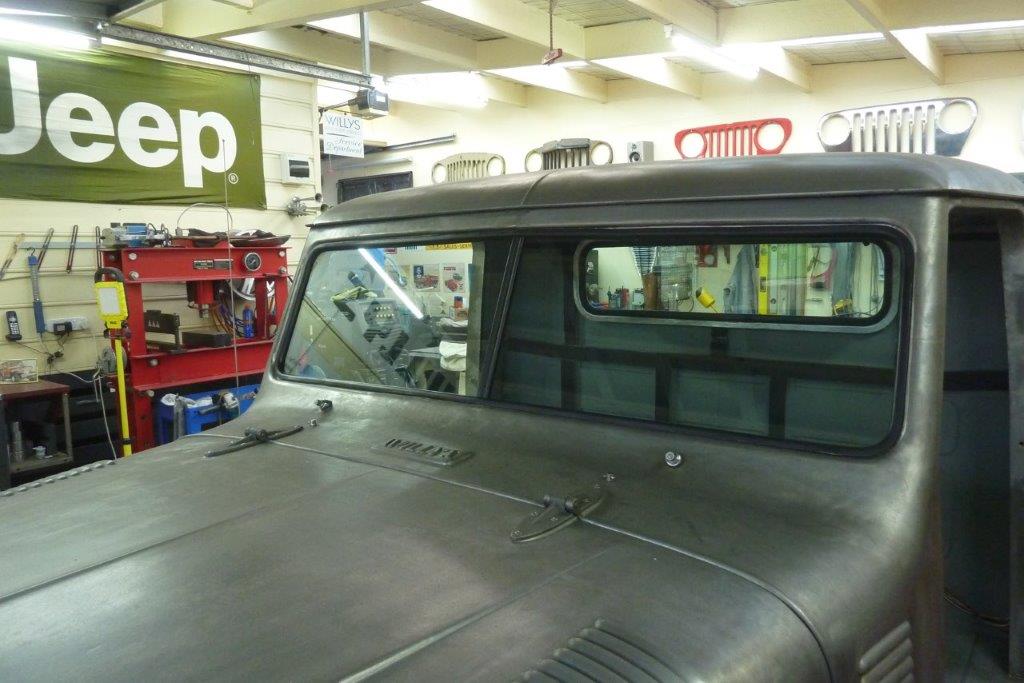
Windscreen wipers fitted. New stainless steel ones for a Mini Minor. The rear window is also now in place. Stock height but 10.5" wider than stock due to the extra cab width.

Well back from holidays and thought I would tackle the headlining. Just thought to do a section at a time to see how it went using Permatex Headlining Adhesive. Didn't go well as wrinkled in the corners more than I wanted.
[Index]