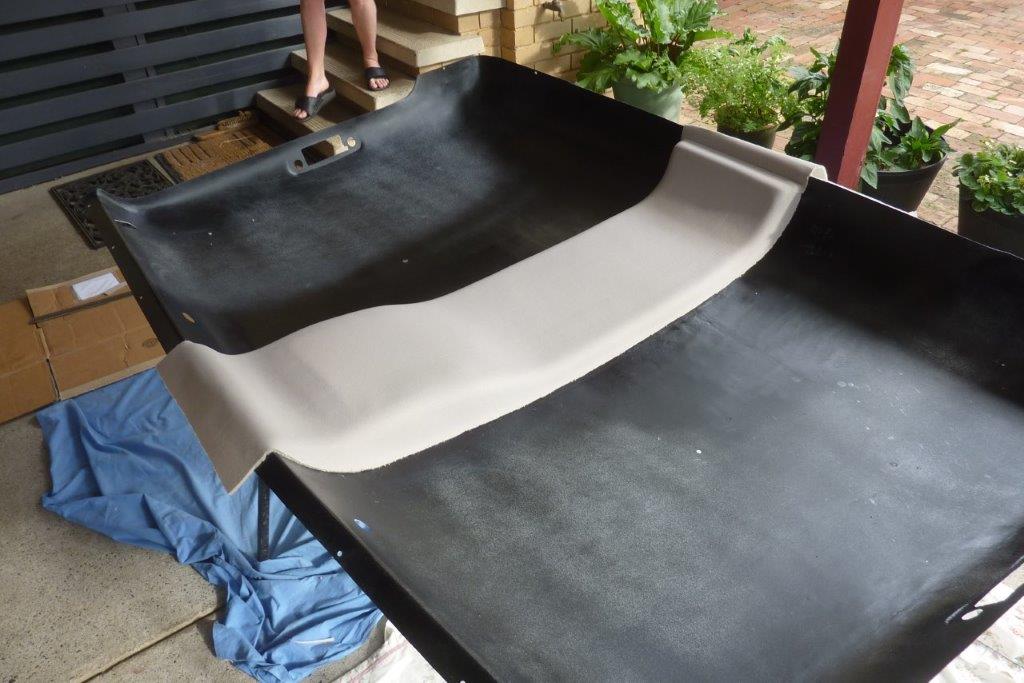
So cut each side off and see if I could rescue what we had already done. Just slid the cut off section up to it to see if it would work this way. Looked bad so it was all stripped off. Made the hard decision to have it done for me and hope they can do better. The first time in the whole build!
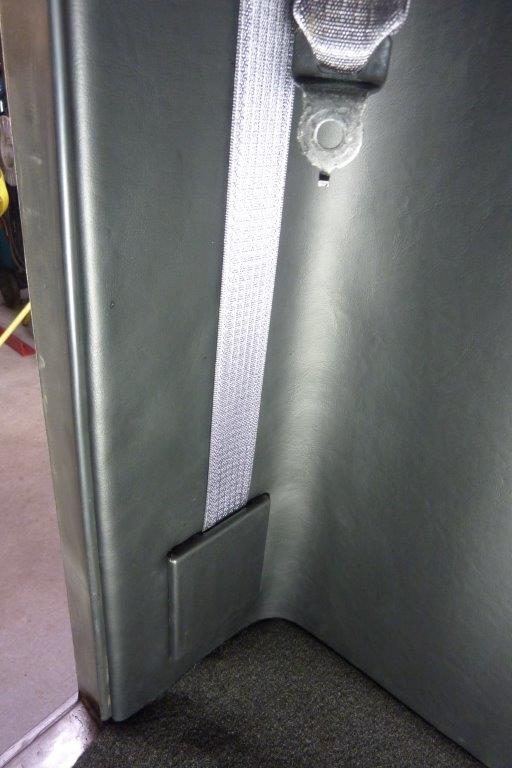
Made up some quick covers for the seat belt reels. The hot summer days here left the rear wall baggy! It is because I was forced to use the wrong foam during lock down which I couldn't use glue on without it swelling up. Can even see a bit of over spray below the window how it reacted.
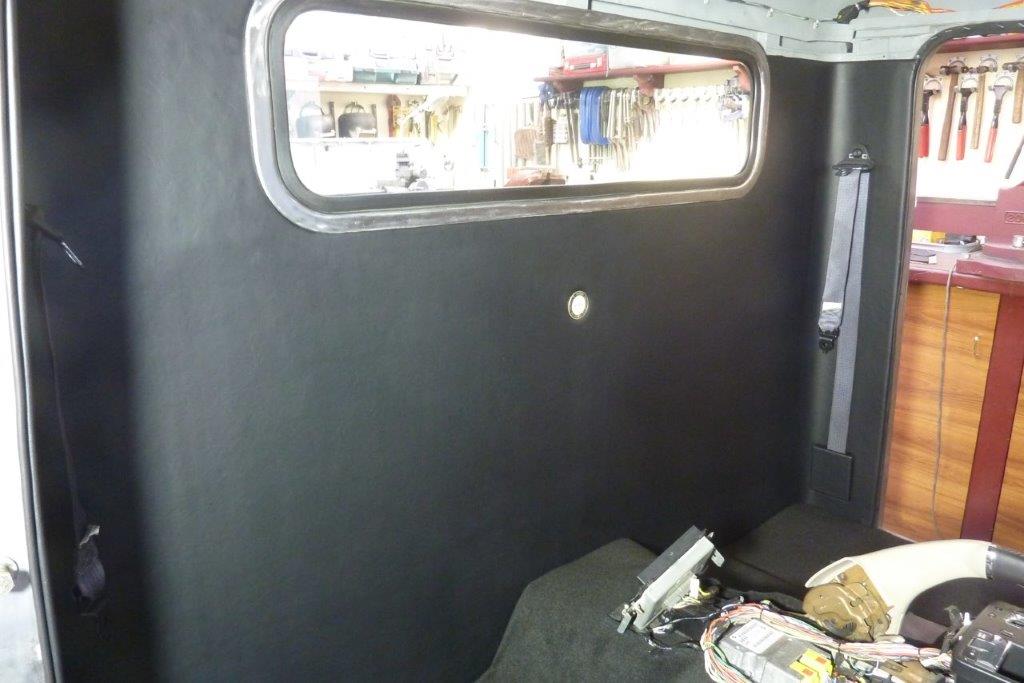
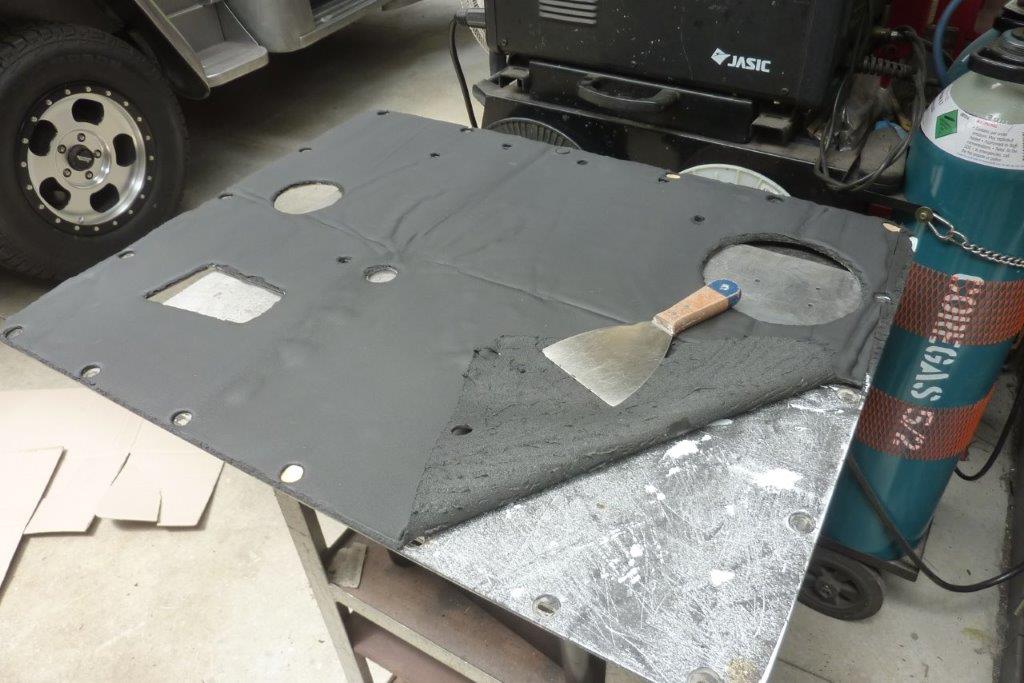
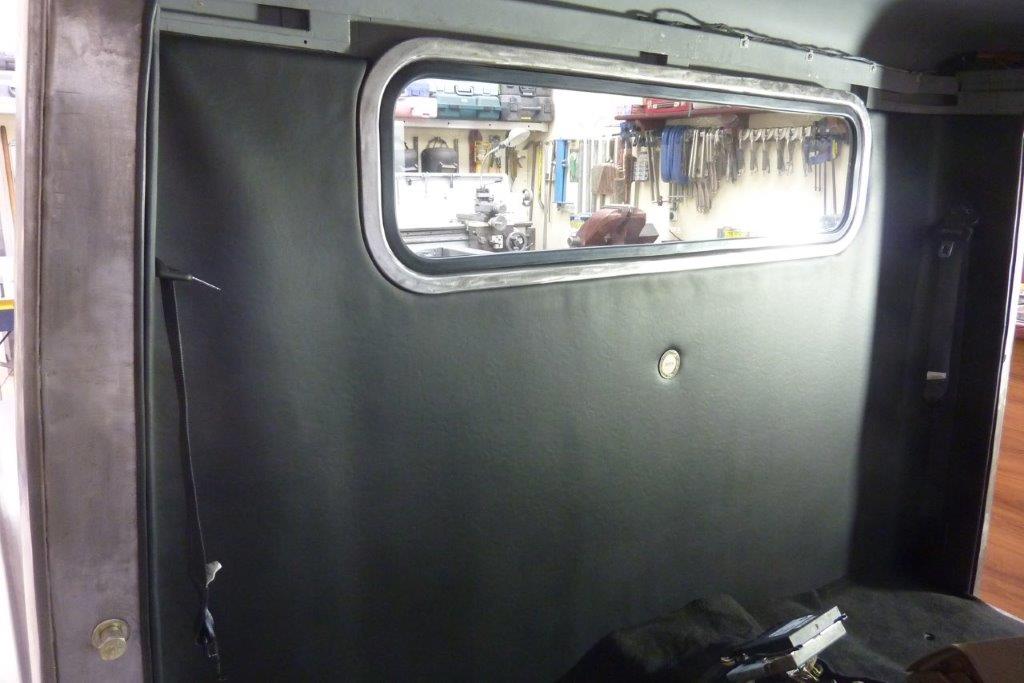
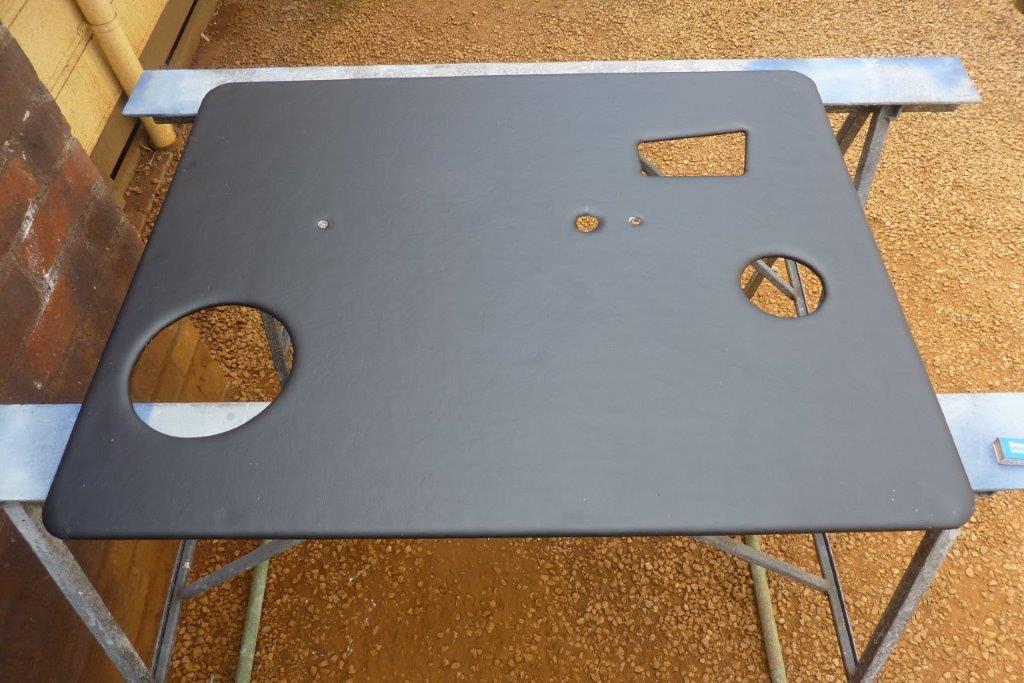
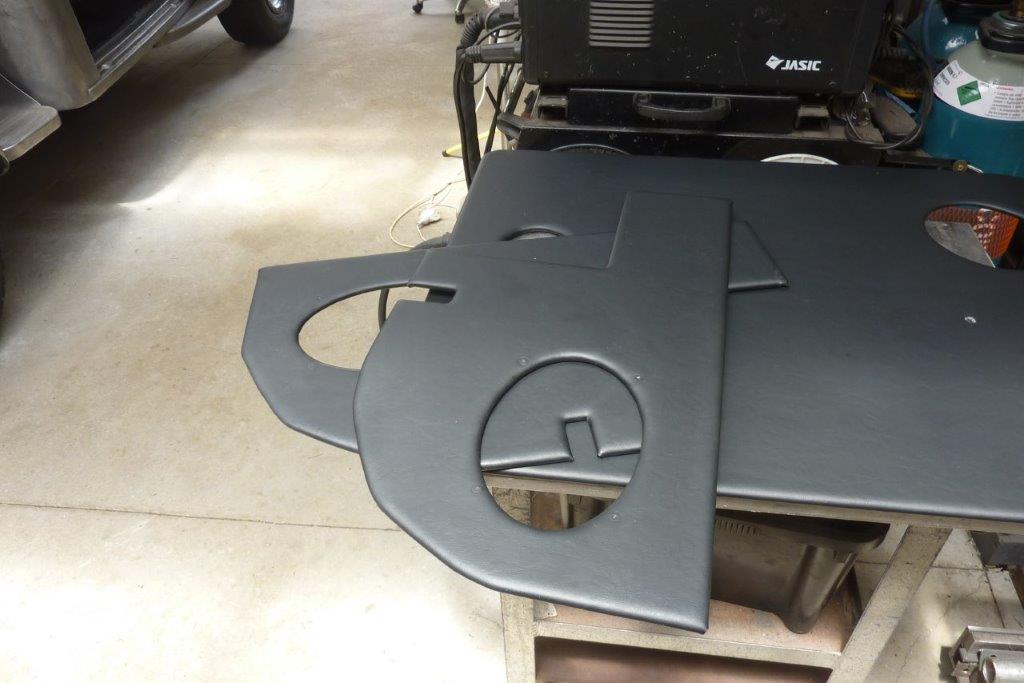
So stripped it all off and bought the right foam and glued the foam to the panel and the material directly to the foam. Looks like I wanted in the first place now! I knew the same thing would happen to all the other panels I had already done as well so stripped the material off and then scrapped off the foam. Wire brushed the self adhesive glue off that was left and hand sanded it.
Glued down the new foam from the upholster and carefully lined up the material doing half at a time to line up all the holes etc. Pulled the overlap through the holes and glued that down.
Ready to redo all the rest! Re did the other door panel and kick panels as well.
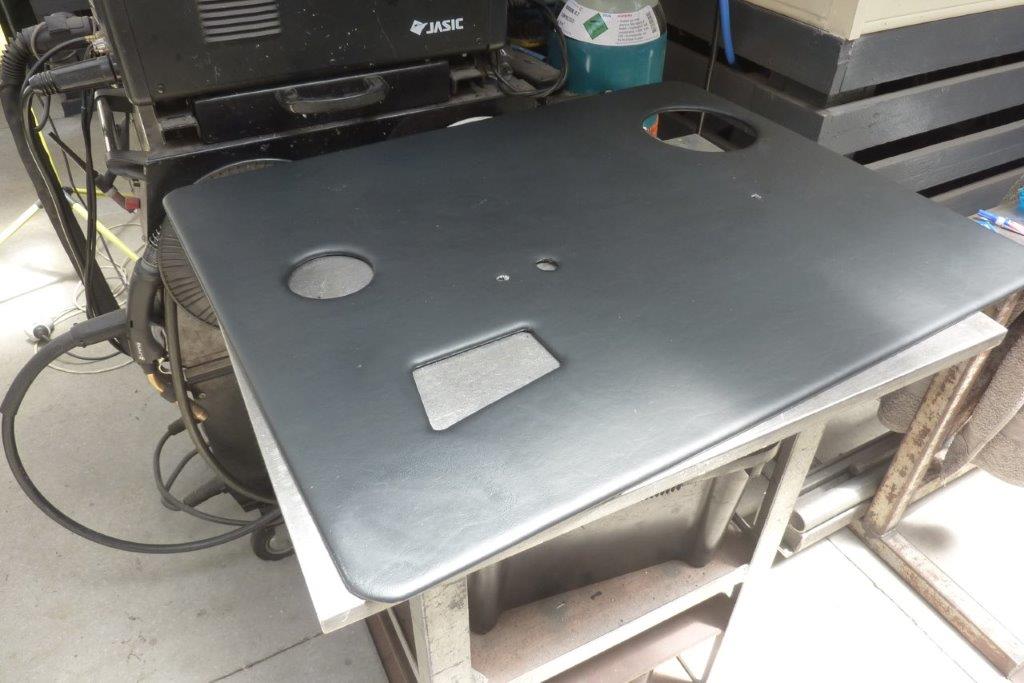
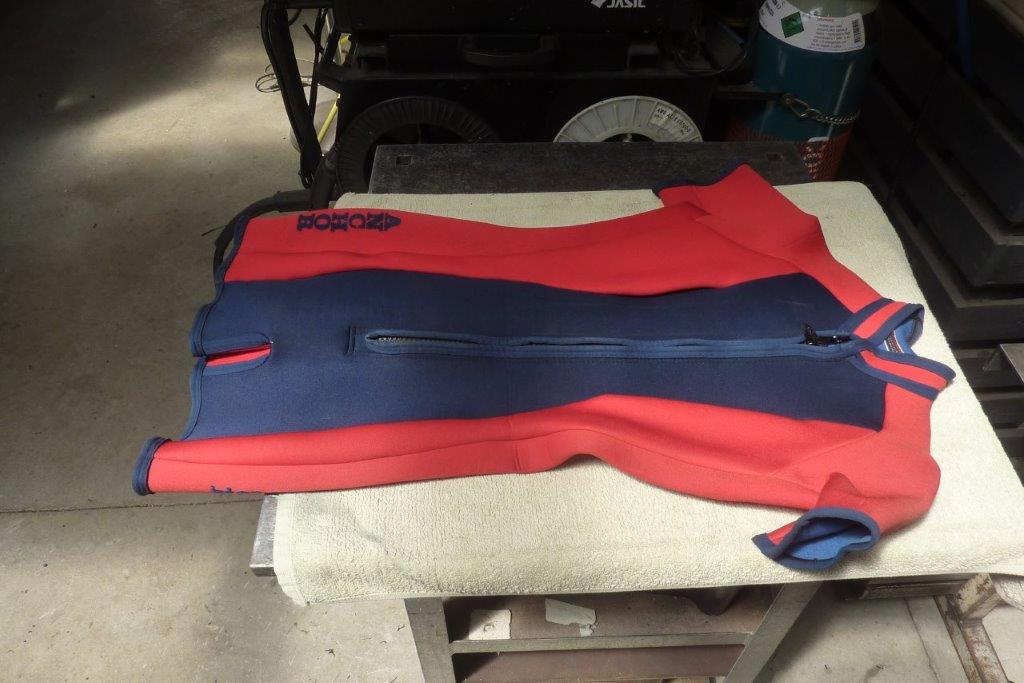
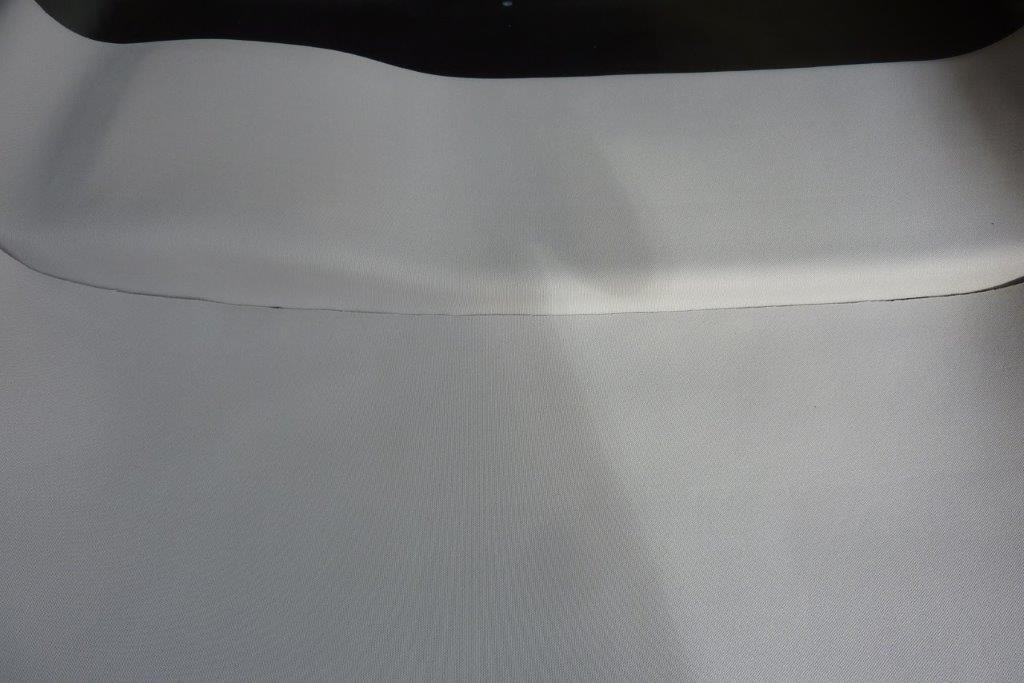
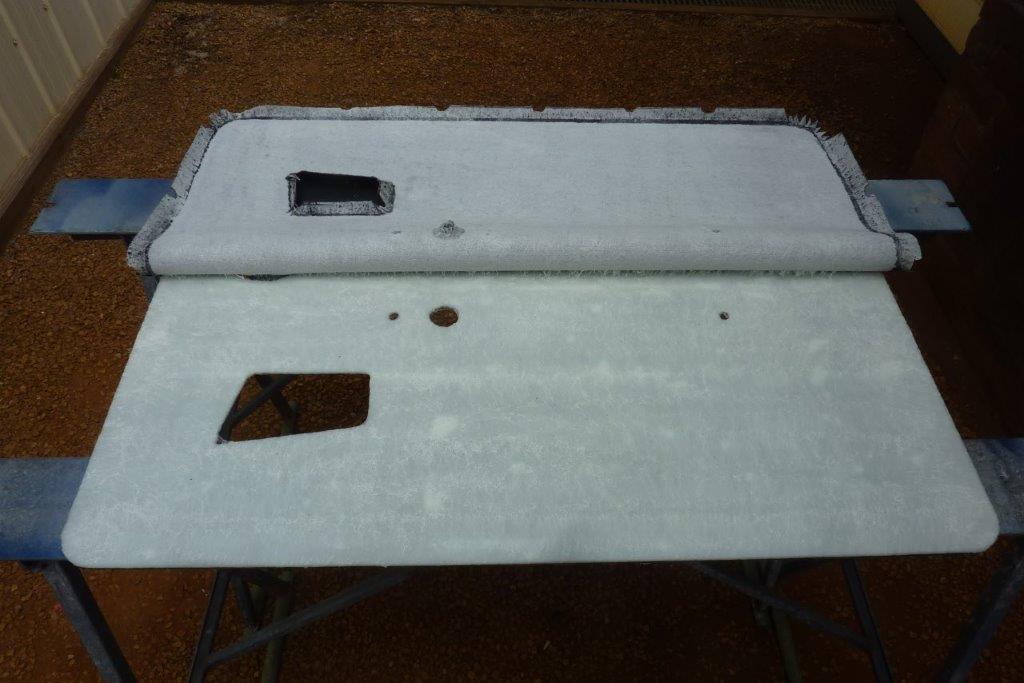
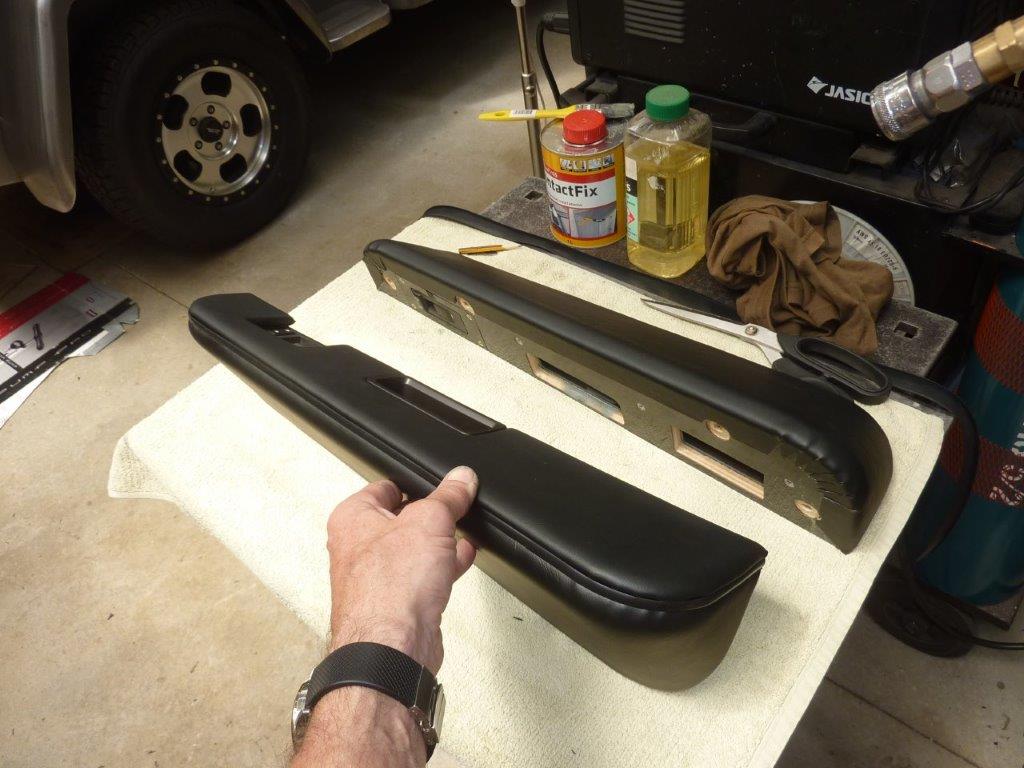
Another lesson learned is do not use acetone to get old glue off the material! Can see how it discoloured the bottom corner. So all this was had to be stripped down yet again and the foam and material replaced. One step forward and 2 steps back it seems this year! Found old glue comes off better with mineral turpentine or even using an eraser. Finally getting back to the arm rests I made earlier. I was after some high density foam that was not thick or left imprints when resting your arm on the top of the arm rest. Thought neoprene would be perfect. Wife wouldn't let me cut up one of my wetsuits, so went to the op shop and got a spring suit.
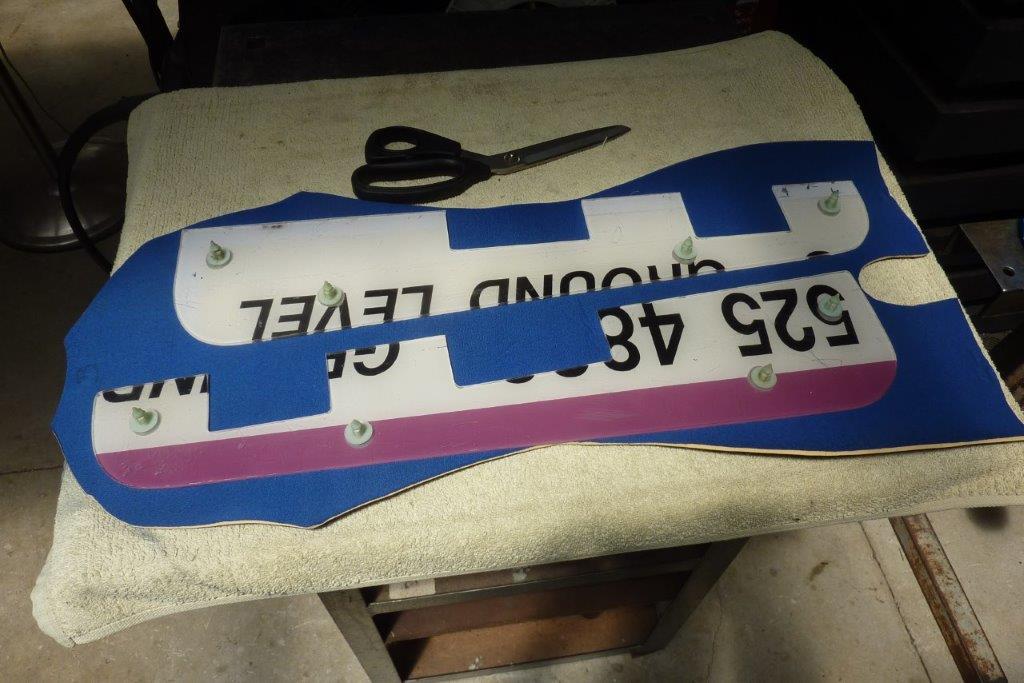
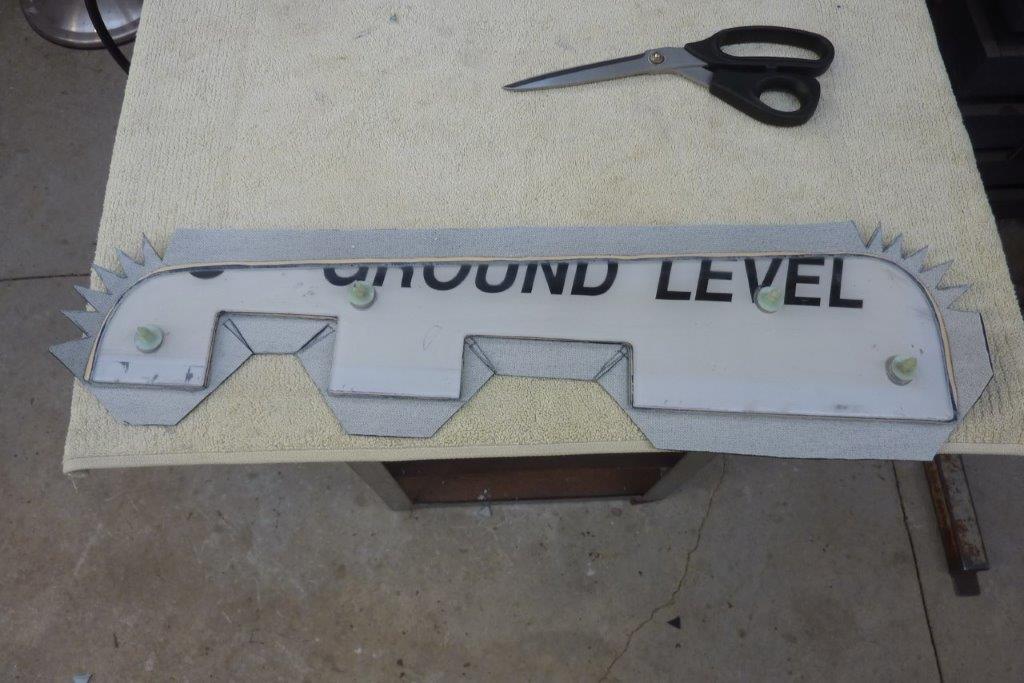
Carefully trimming around the seam on the back gave me just enough to cut the tops out of it. Glued on the neoprene and now covering it with the material. Just marked out where I cut to show it up better before folding the edges over. Notice on the inside corners I cut a wedge that is the width of the radius of the corner, All cuts stop short a little over the thickness of the whole arm rest.
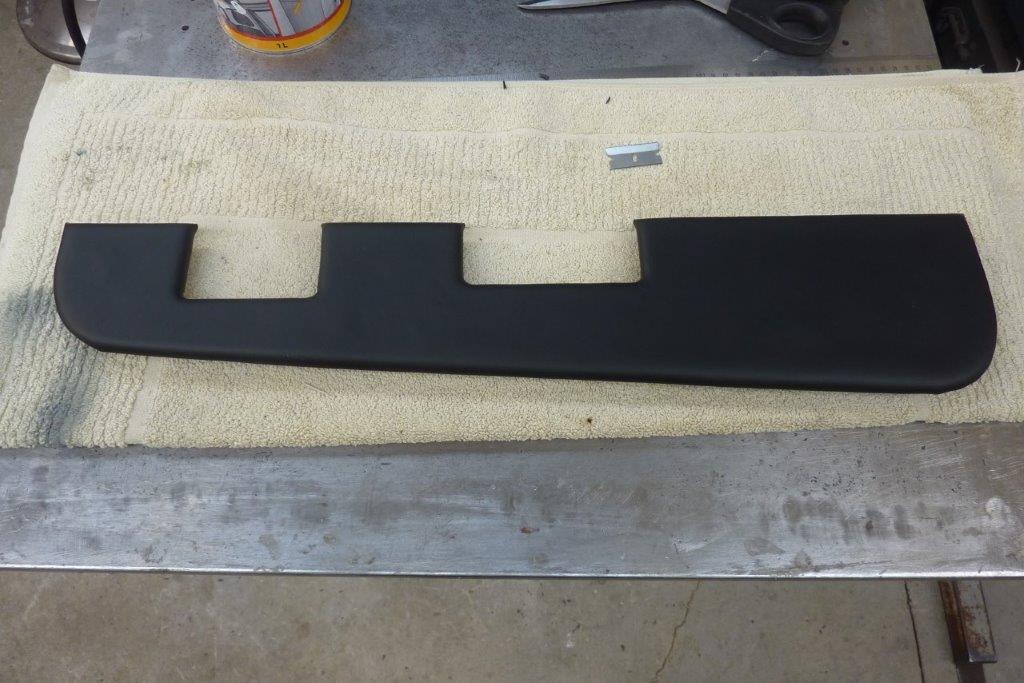
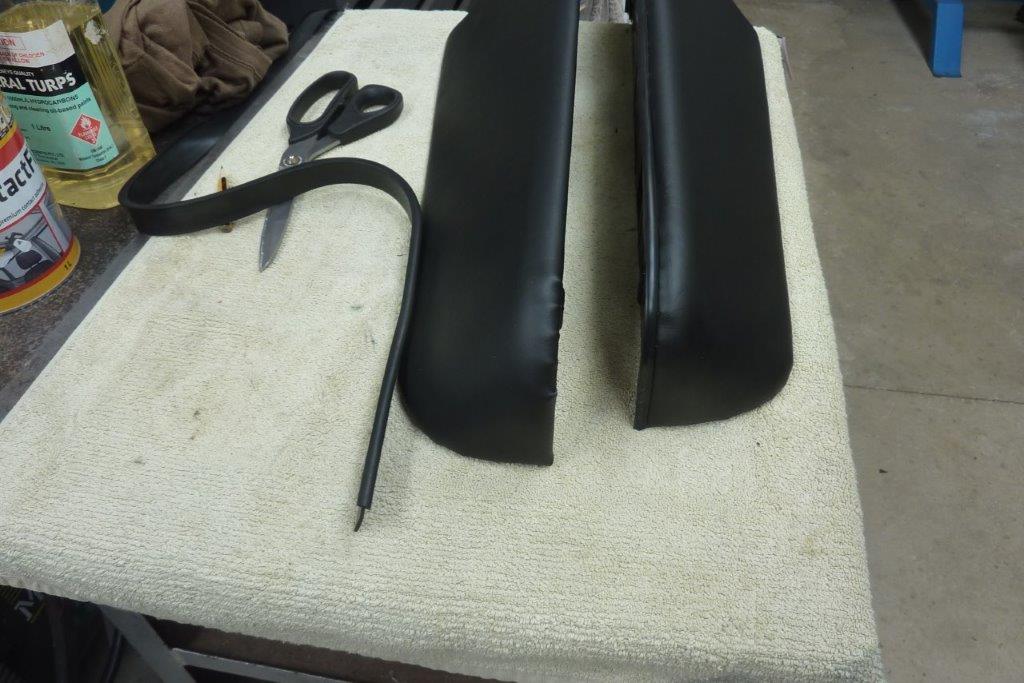
Pulling the wedges over gives a smoother result to the inside corners. I had a bit more puckering than normal on the outside corners as didn't want to pull it too tight and thin the padding along the edge. So came up with the idea of using some T profile rubber instead of piping for a more modern look to hide that some and the join when the top piece is fitted.
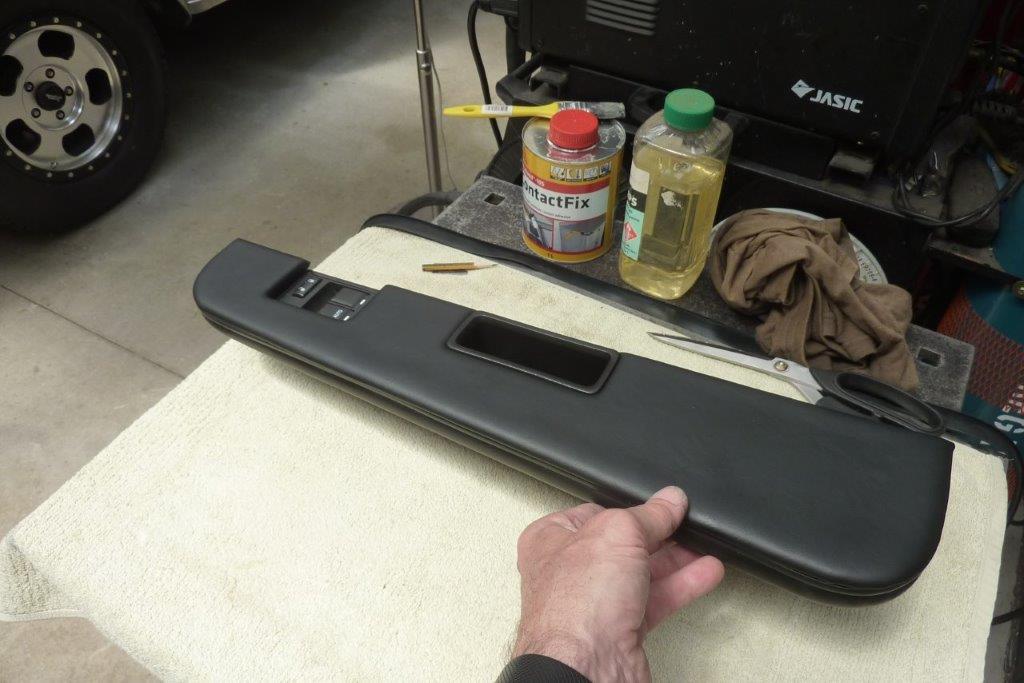
With the top piece pressed into place with the x-mas tree trim clips holding it, the rubber gives a more finished look to it. The top piece came just be popped back off so I can get to the hidden fasteners which attaches it to the door. Also to be able to plug in the window switches.
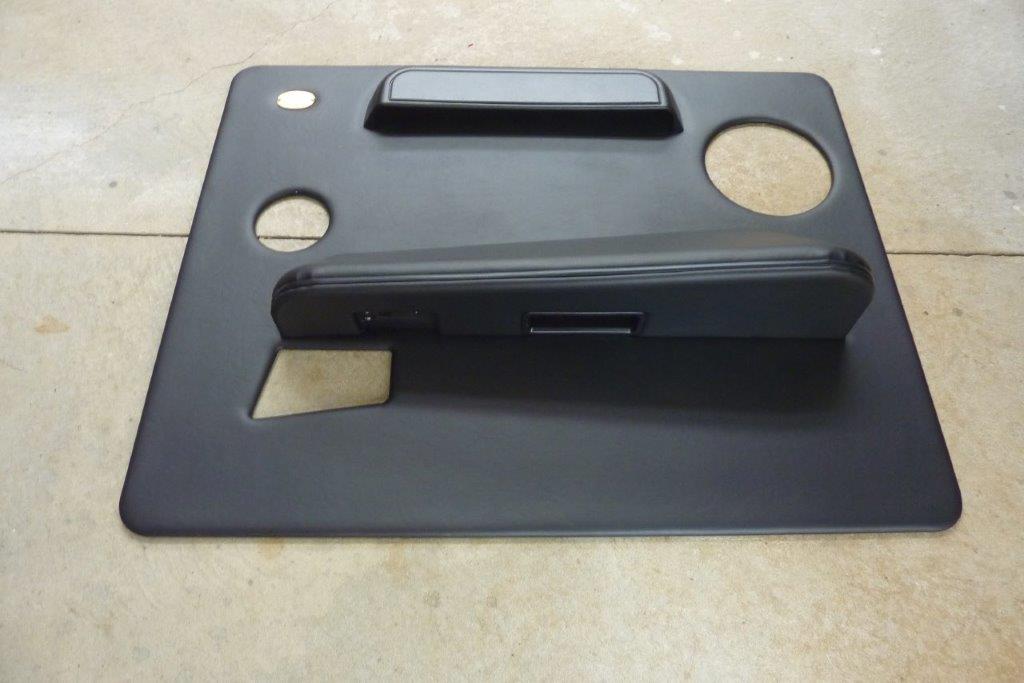
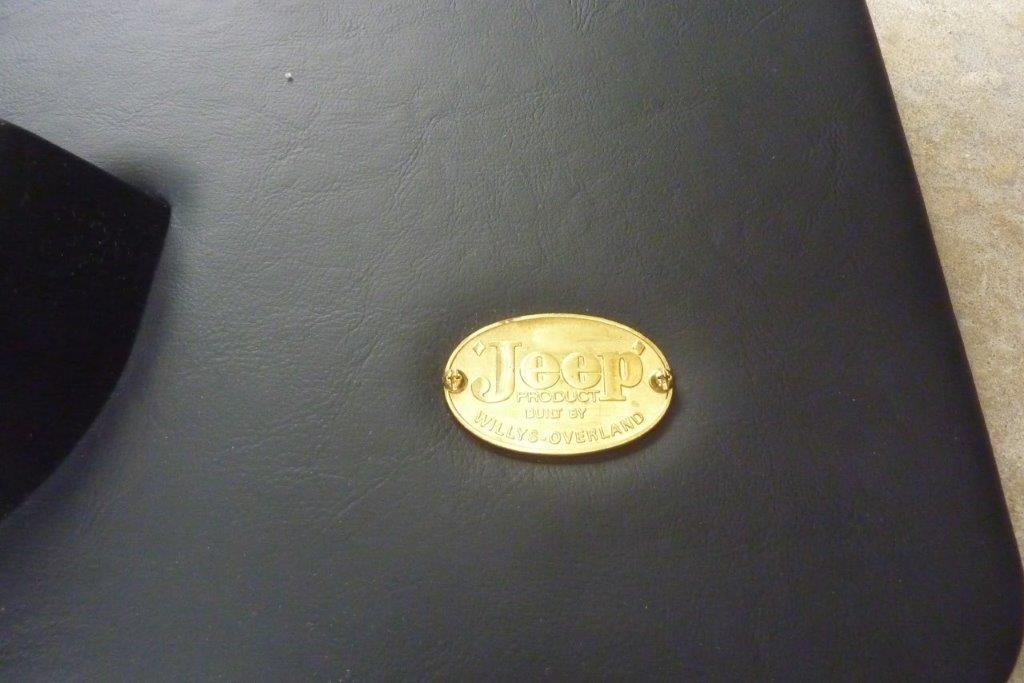
Gives you a bit of an idea how it will all sit once on the door. I added the map pockets that were once on my XJ Jeep Cherokee. To give a tie into the brass Willys employer badge fitted to the rear wall, I fitted these plates that are normally on the bottom of the cowl on the outside on the early Willys Trucks.
[Index]