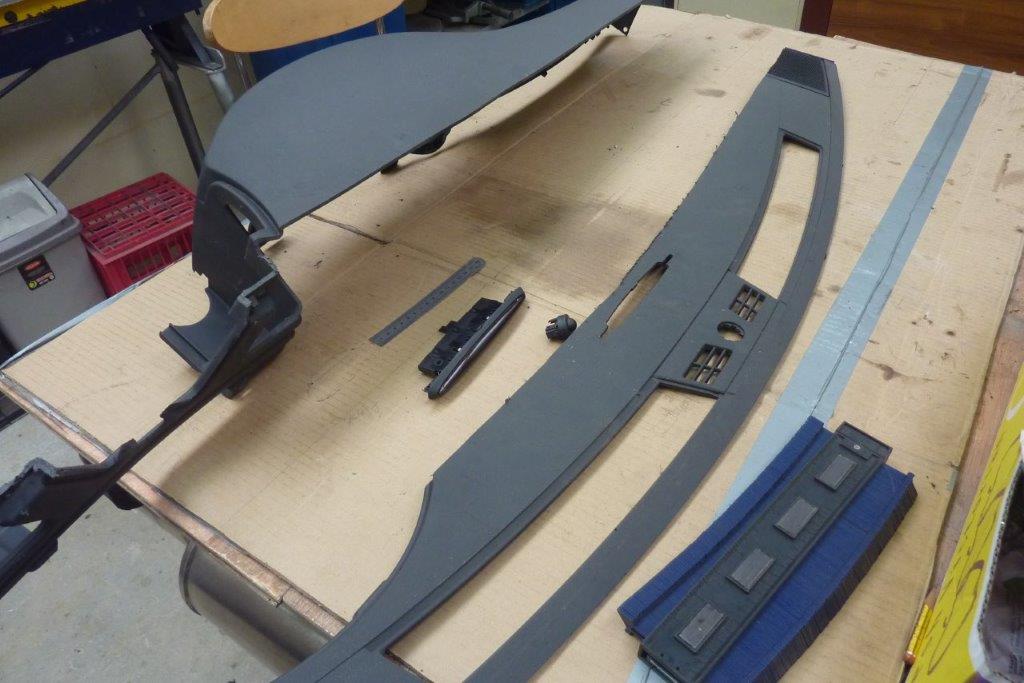
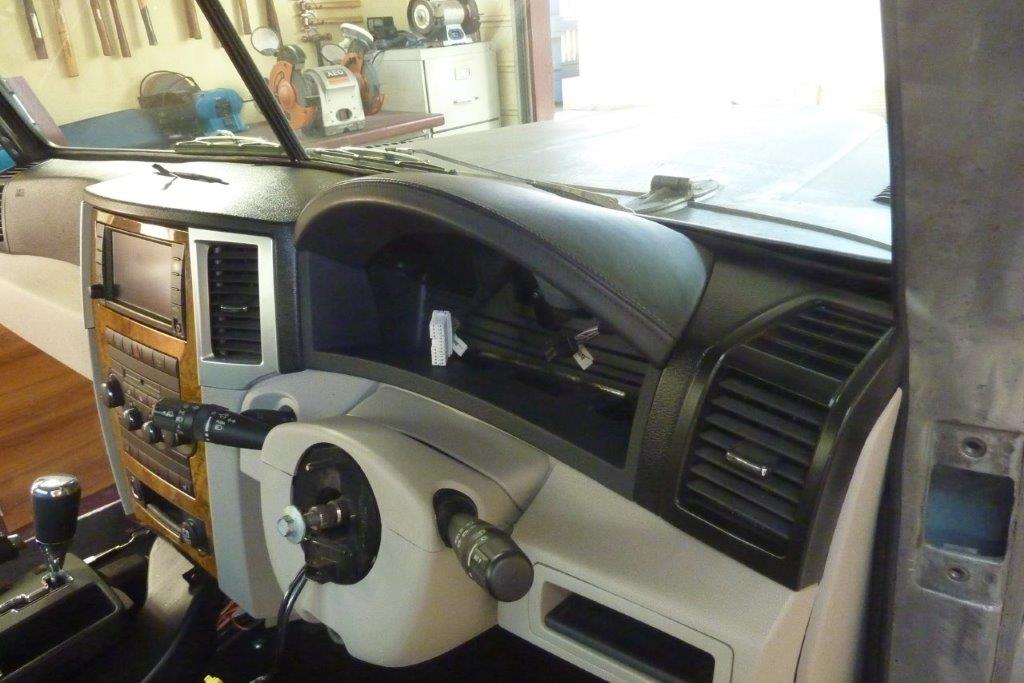
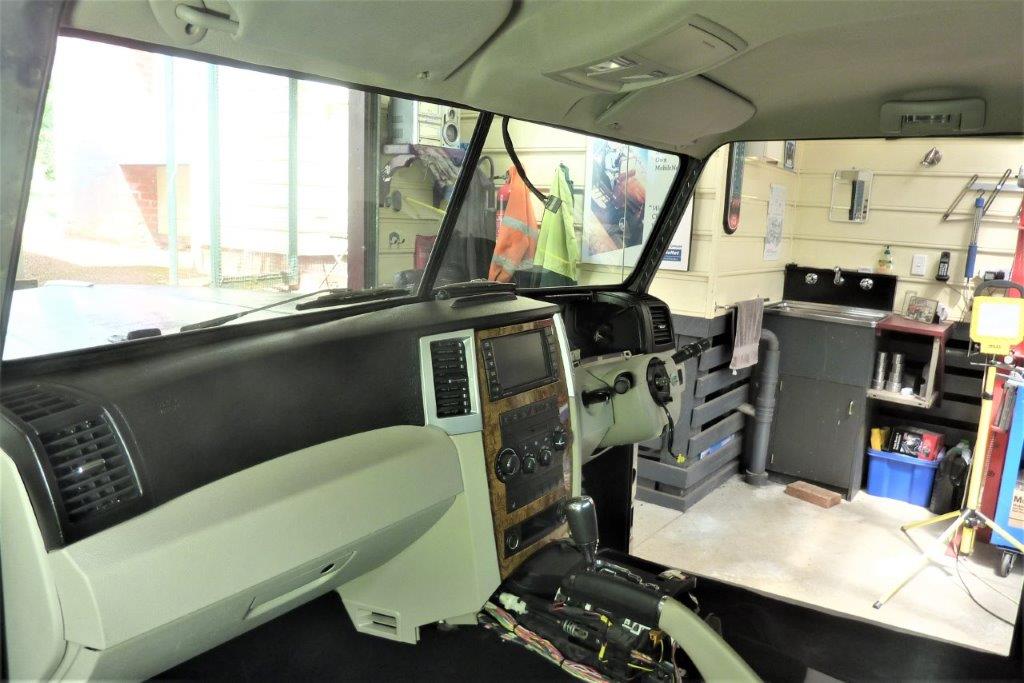
Back working on the dash again. This is a throw back to show how much had to be cut off the depth to fit it into the Willys. Was great to get it fitted with the windscreen in place for the first time.
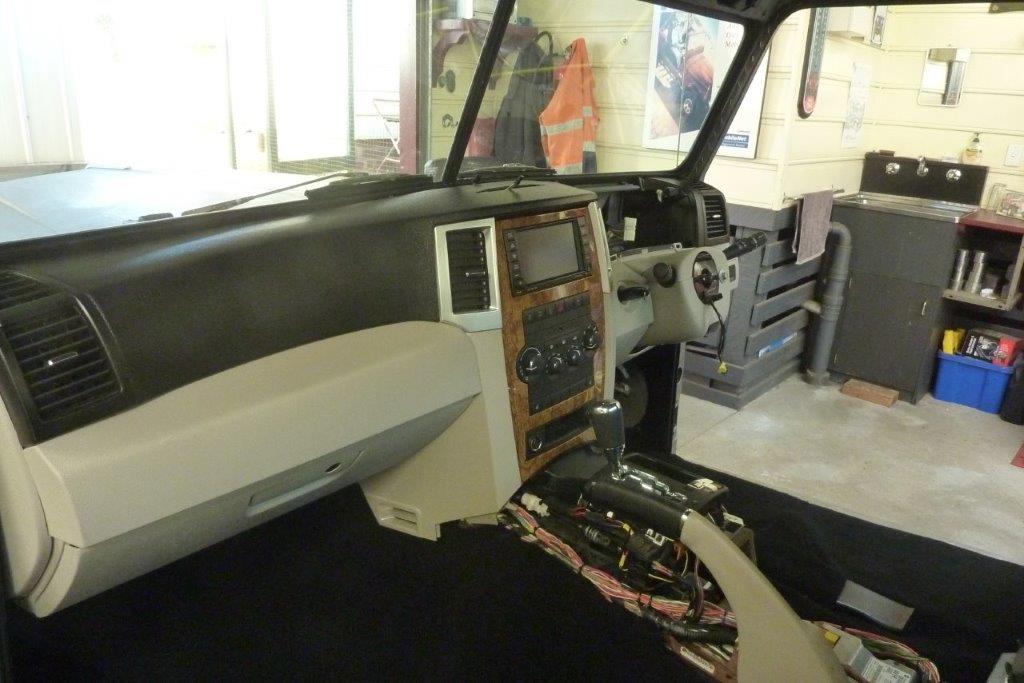
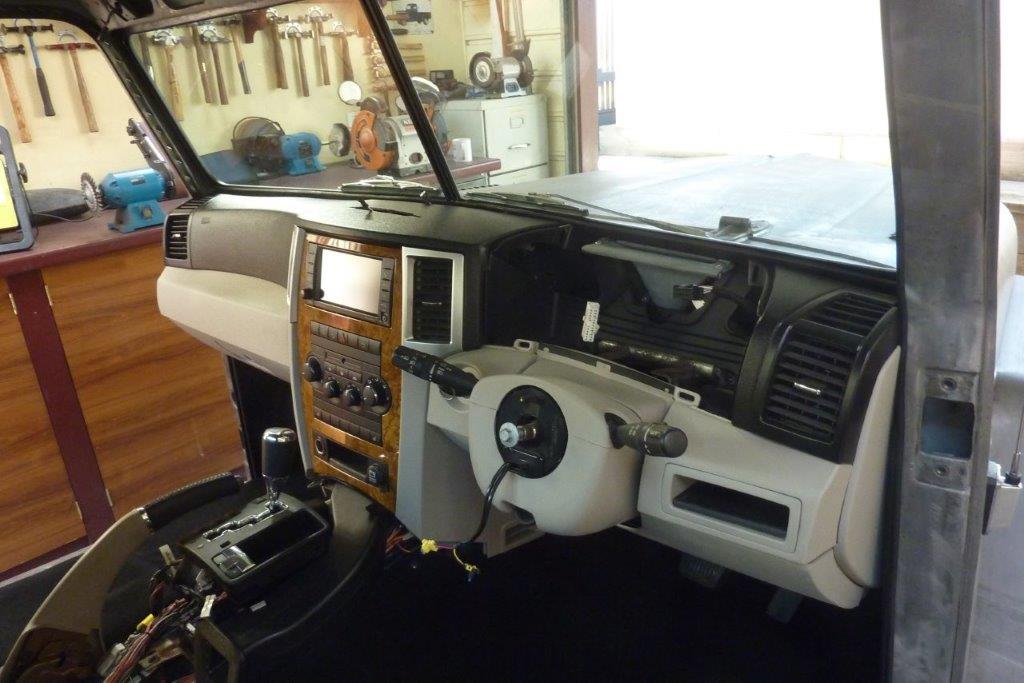
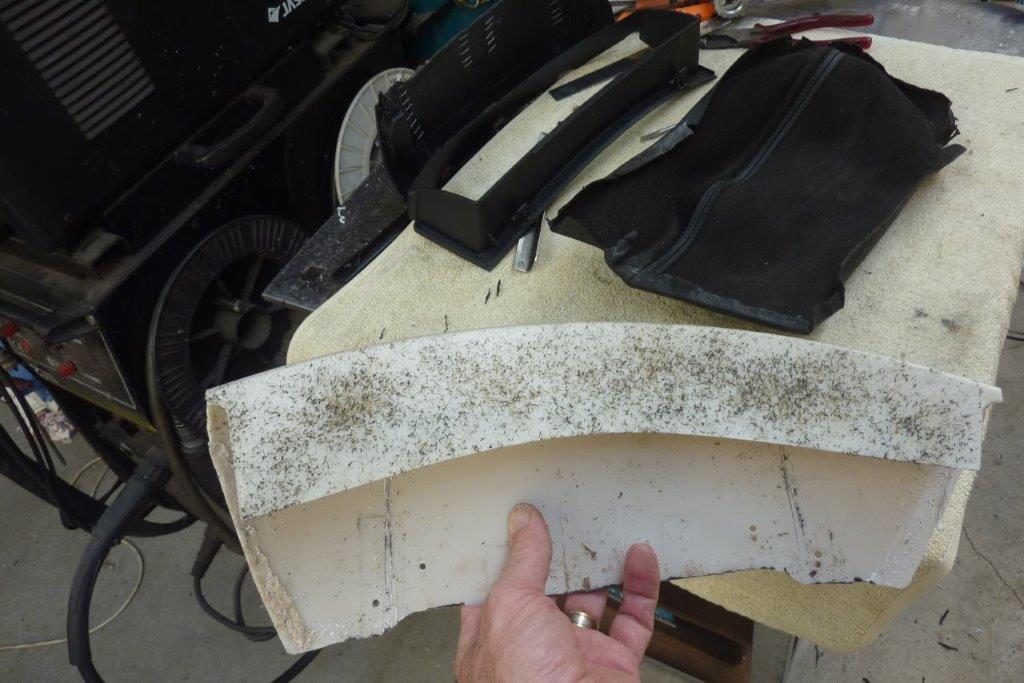
I also changed the colour from dark slate grey to black. Thought there were too many colours with the grey, tan, black plus the fake wood. Also the exterior colour will be seen around the perimeter of the doors as well later on. Next thing to deal with was the instrument cowl. It also had a large piece cut off it to fit and glad I worked that out before the glass was fitted. Still had to get rid on that arch though so less would be seen through the glass.
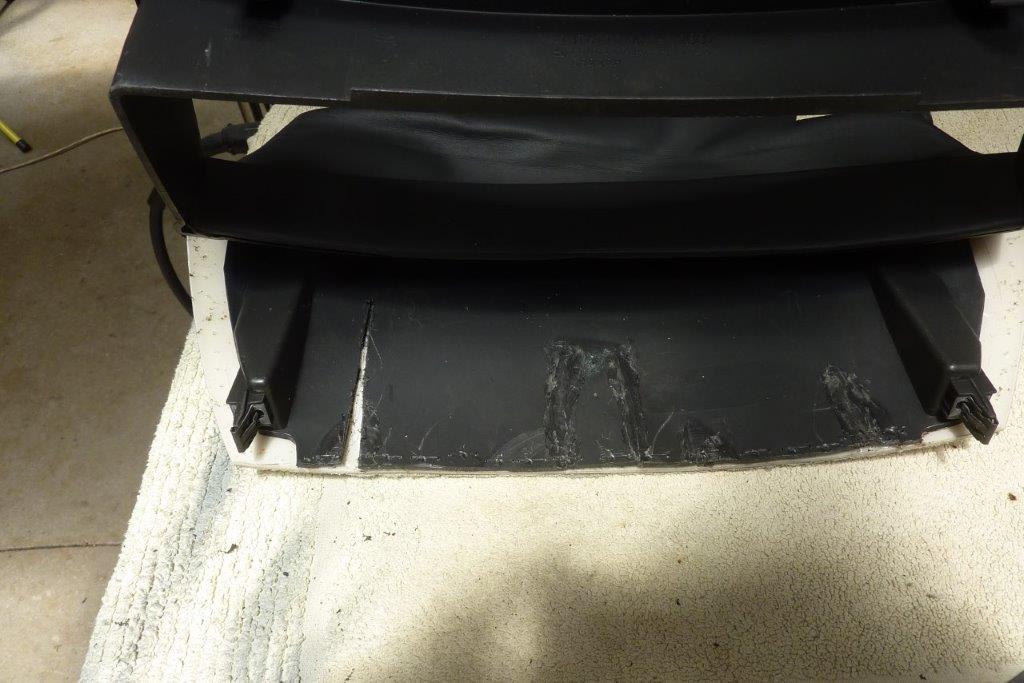
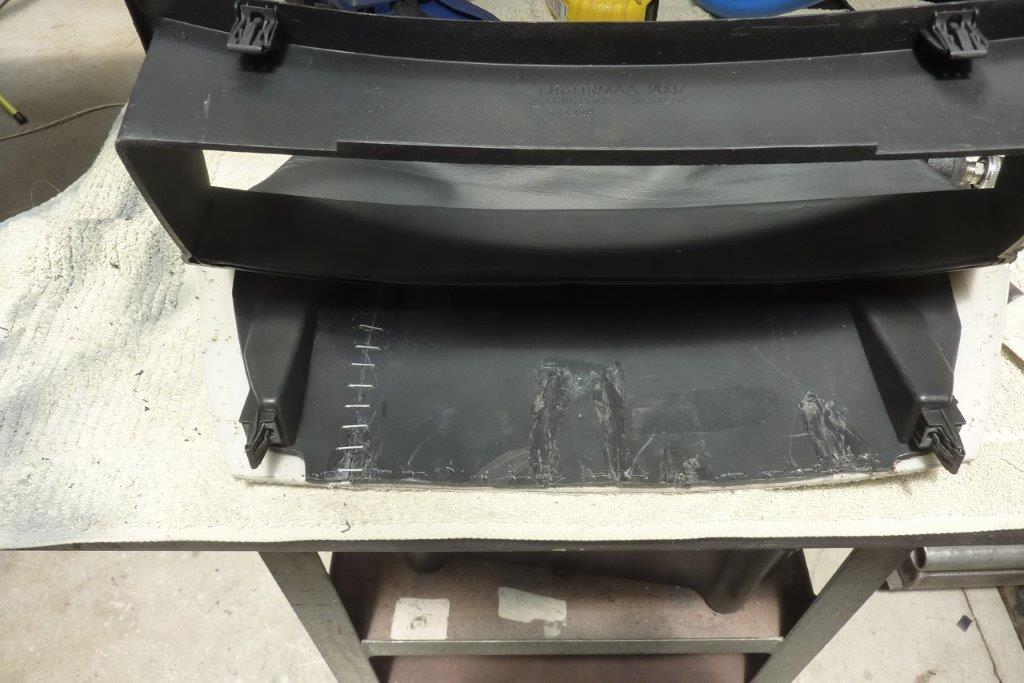
I cut the ribs out it had and welded the plastic back up. But as you flatten the arch it moved the mounts further apart. Cut the wedge out to move the mount over and just stapled it together for now to test fit it before welding. Ended up stapling over the welded seams as well for extra reinforcement.

To keep it flat I folded up some stainless to the shape I wanted and used counter sunk screws from the top to hold it in place. Test fit looks alright but don't like how the factory had the cowl top slightly forward of the front face.
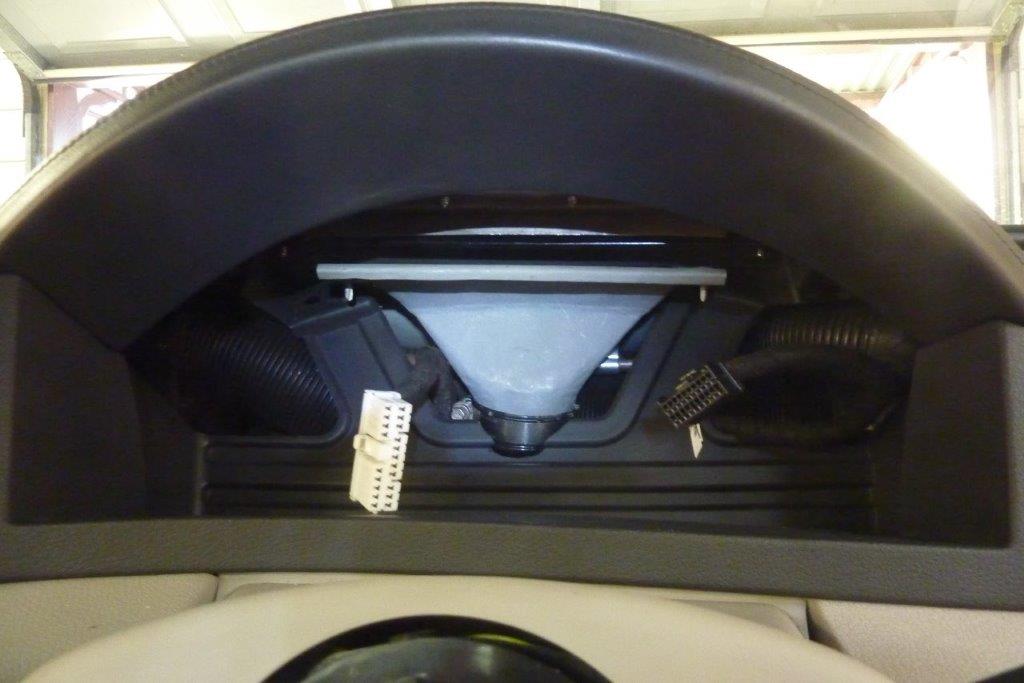
Now to see if the instrument cluster still fits in front of the defrost ducting I made to fit in there. After trying everything I could the cowl would not go back in front of the cluster as the vent pushed it forward and there was no room left to push it back. So pulled the cowl completely apart.
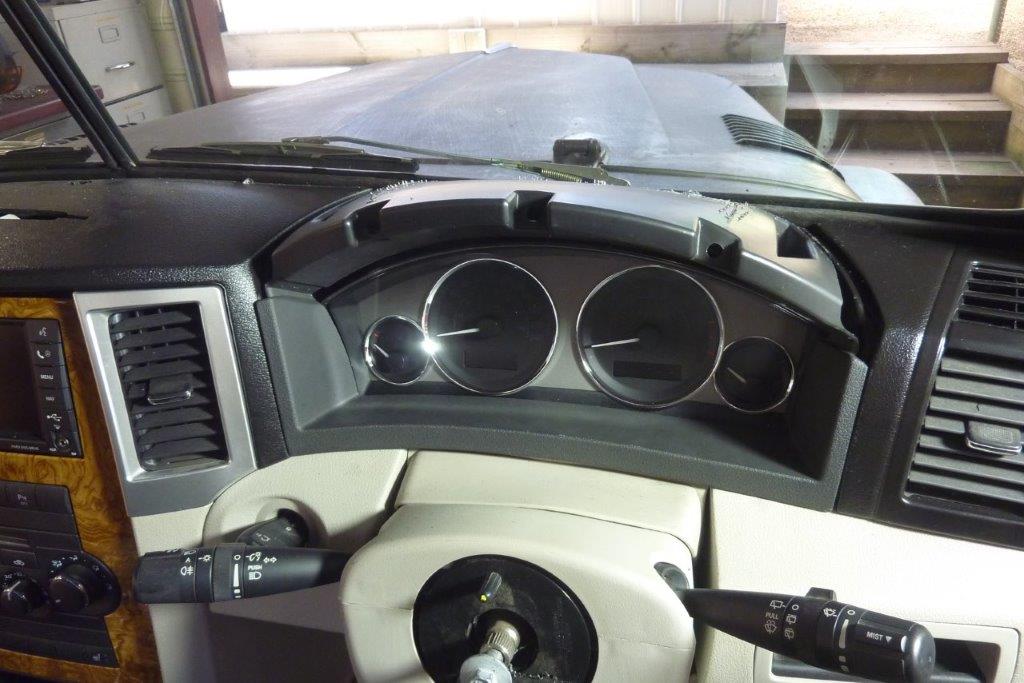
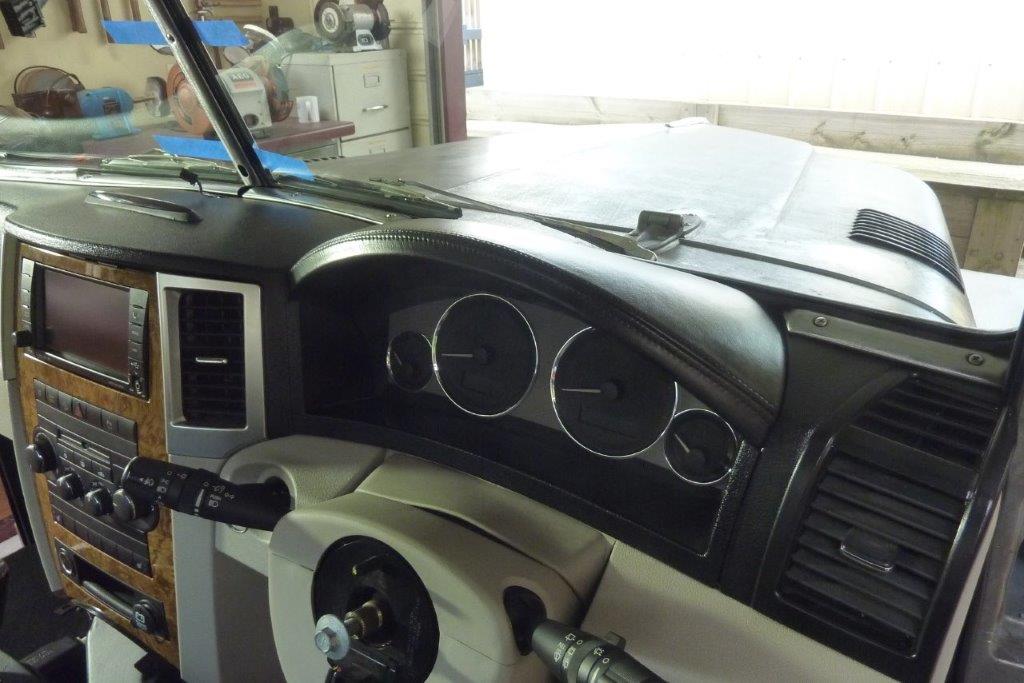
I just kept trimming the back of the cowl where it sits against the face of the cluster until it fitted. Was only 10mm in the end to make it all fit. Took the opportunity to to cut and weld the plastic cowl frame further back and retrim everything so the top part fitted back flush as well. Used a plastic primer and vinyl die to change the leather and plastic to black to match the factory leather seats etc.
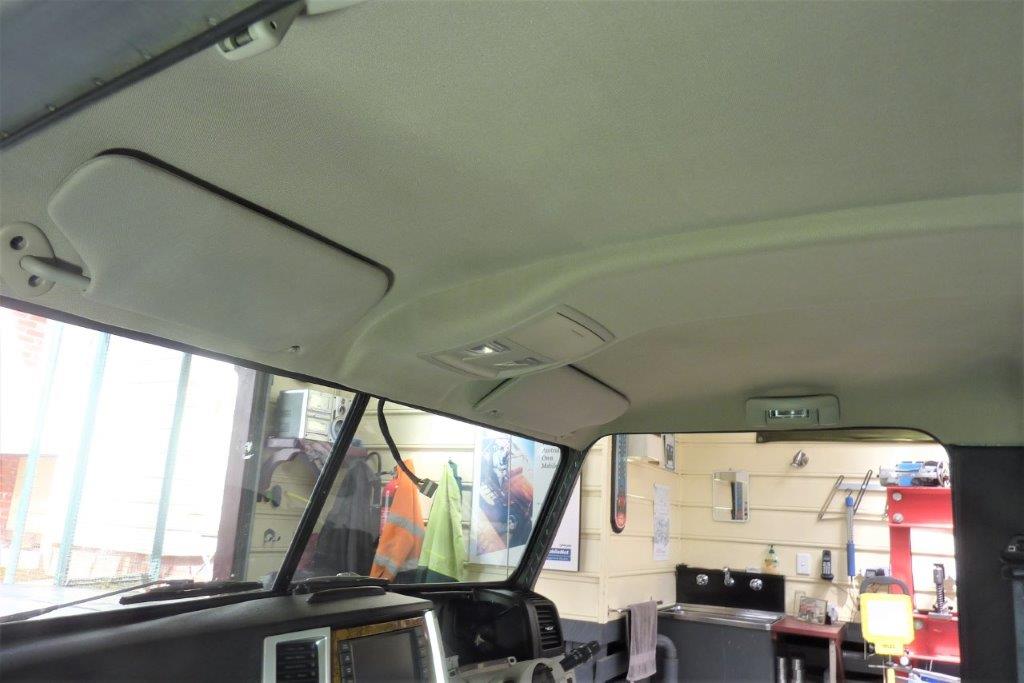
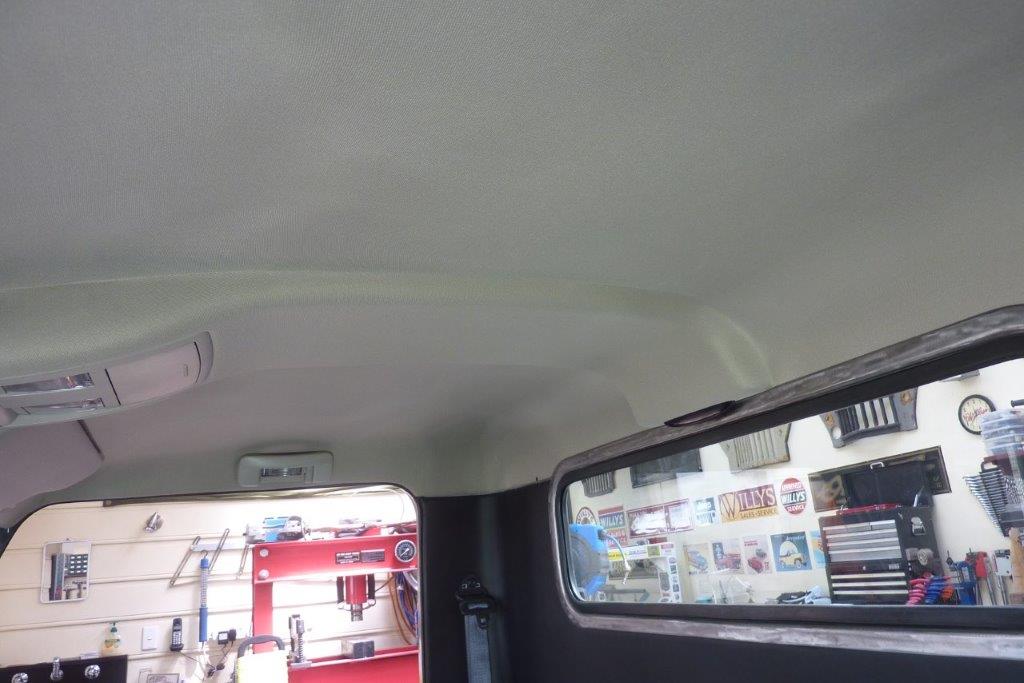
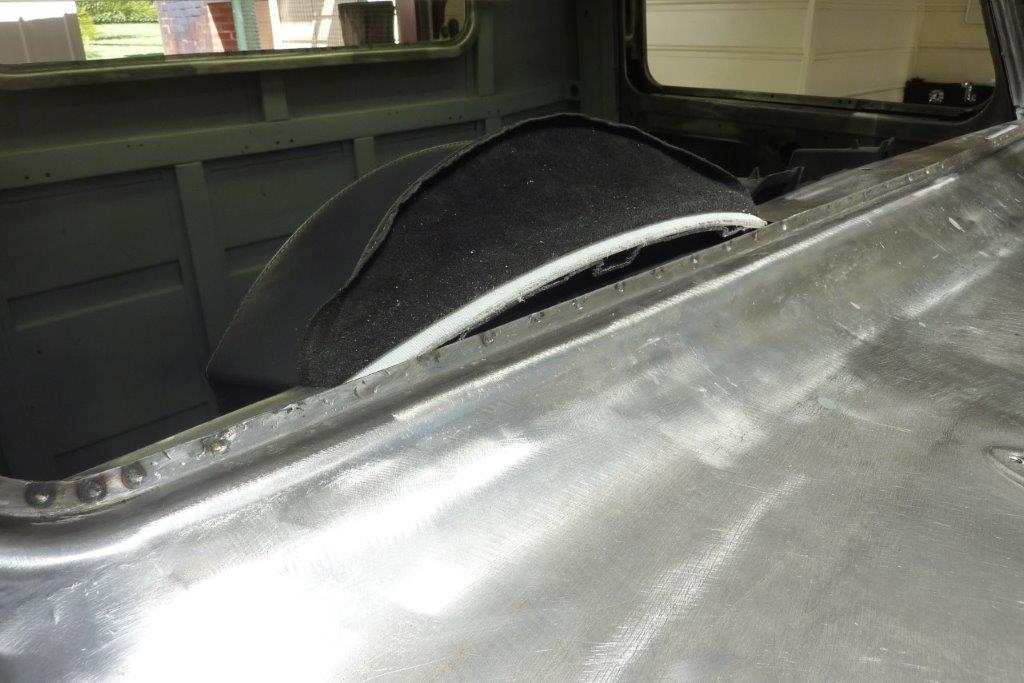
I got my one piece headliner back that I made from the upholsterers! Design Auto Interior The fabric they had was an even better match to the donor sunvisors. They did a great job and the boss said they had to wait until they had three of them in the shop to get it done!
Can now see how it is tying into the dash and the rest of the interior once it is fitted. I have never liked the section of the the stock trim that goes up the A pillars as is it didn't cover the windlace. It tucked in behind the tack strip and then angled towards the edge of the windscreen seal.
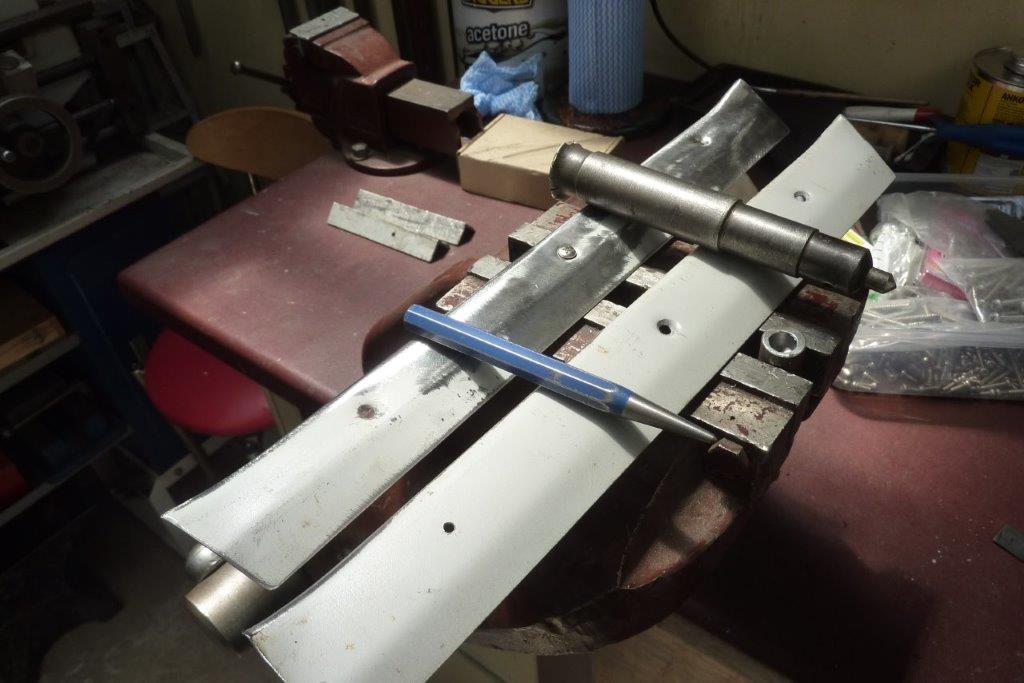
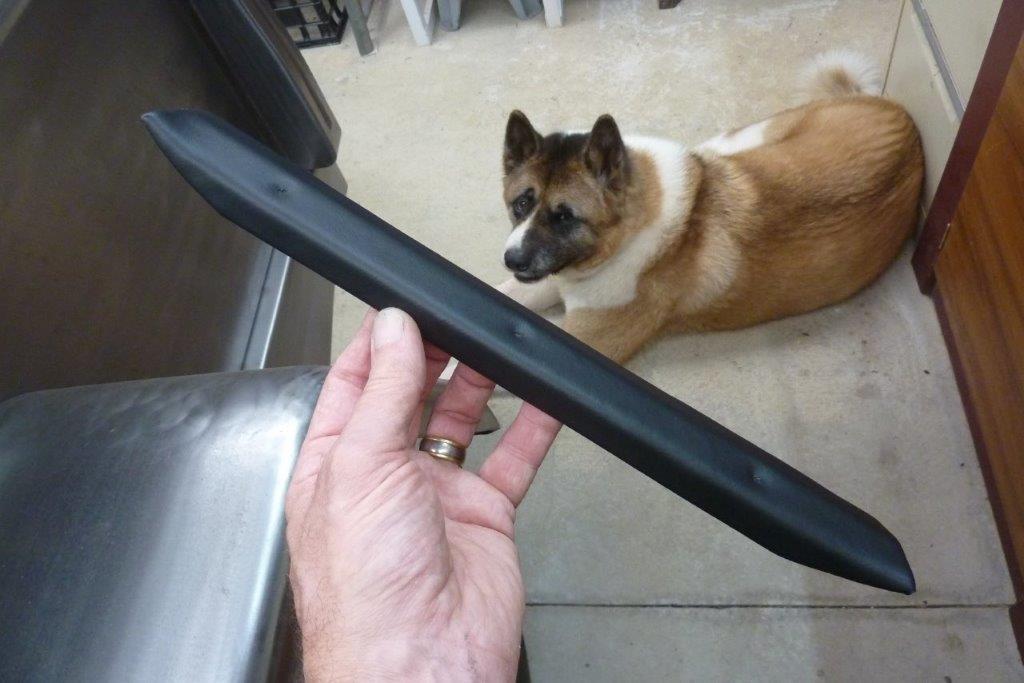
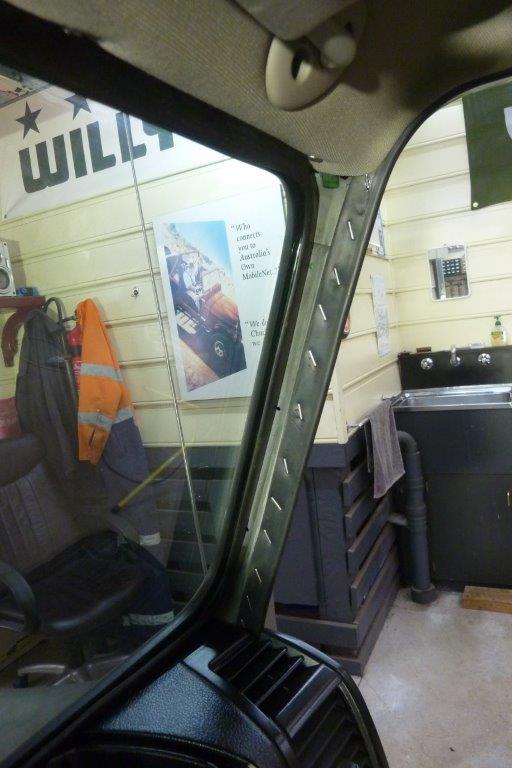
So using some offcuts from the office shelving, I set about making some new A pillar trims. Showing here how I dimple the face to take a counter sunk screw. Drill a 1/8" hole which then gets enlarged with the blue centre punch while sitting over the bar stock in the vice that has been drilled. Then follow up with the large punch that has a chamfer the same as the screw head. Decided to cover them in matching vinyl. It is actually left over stock from the local Holden plant after it closed down and was used in the Commodores. The only thing I could find to match the grain in the Jeep factory leather seats.
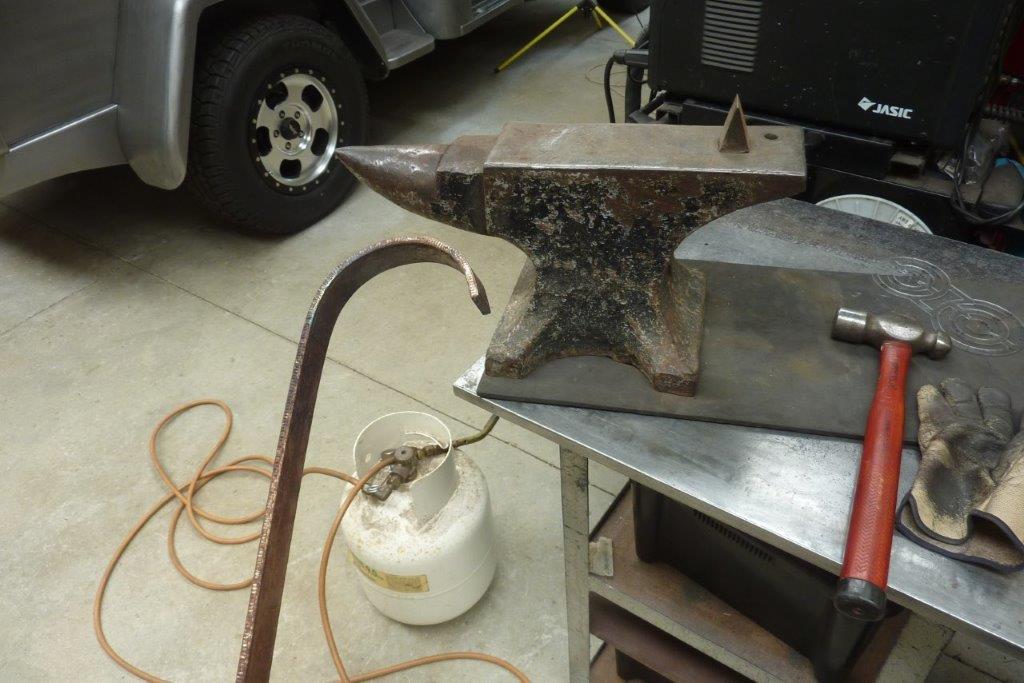
I think this looks neater and still does the job of supporting the windscreen seal right along its edge. I had to make a corner trim piece between the headlining and the rear wall. Tried to modify some windscreen trim to do it, but the results were not satisfactory. So decided to make it from some bar from an old F clamp found buried under my father house! It was tuff steel to move and had to heat it the best I good with a propane torch.
[Index]