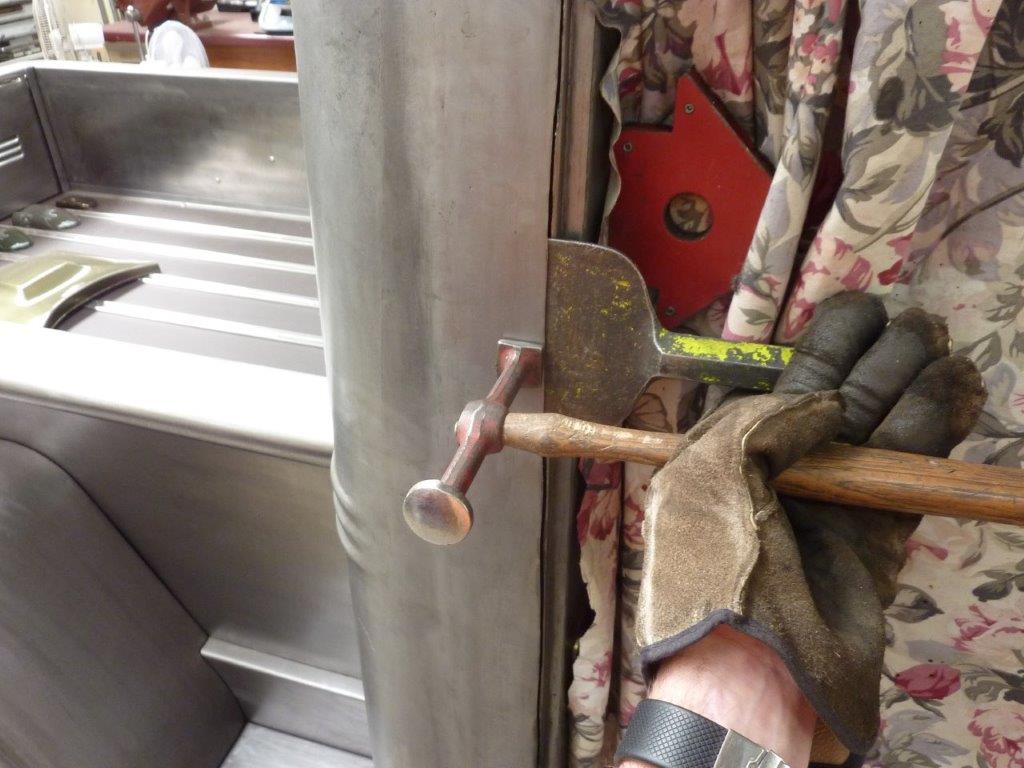

Slipping a brick layers' bolster behind the skin and then hammer the edge. Not only remove the bend, but to stretch the edge the amount I think it will shrink when welding it all back together again filling the 3mm-1/8" gap. Years of knowing how much and hard to hit it to remove distortion after welding gives me a ball park feeling for it. It came out much better than I started with little distortion. Was a risk as had no way of getting in behind the skin to do any stretching post welding.

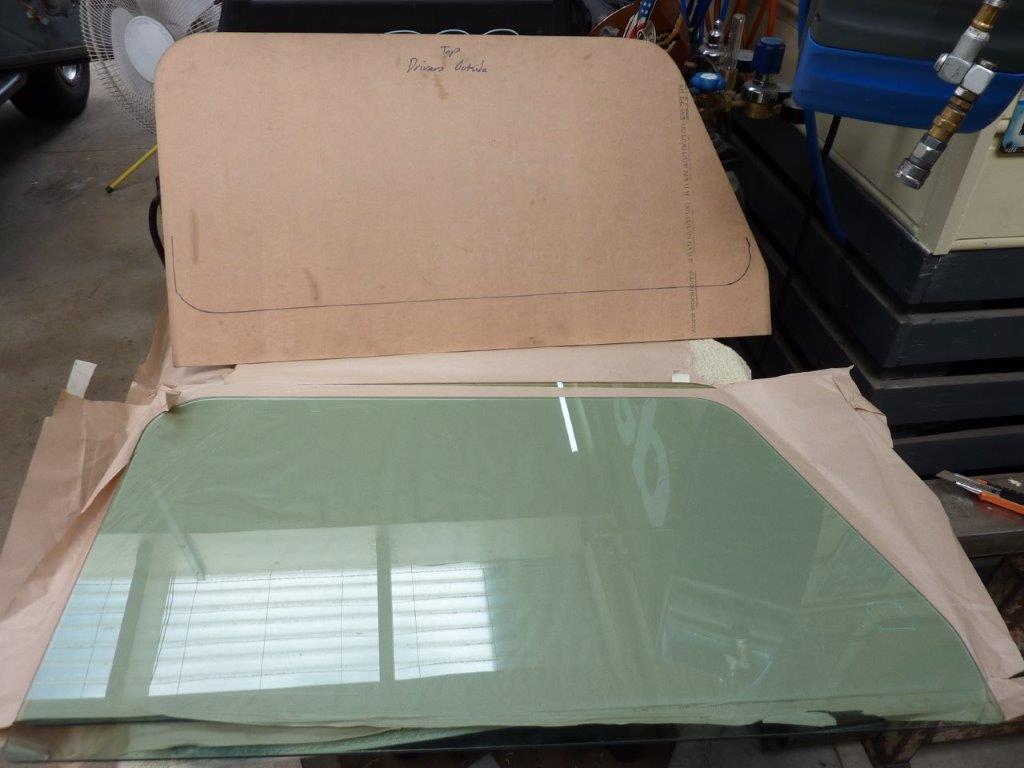
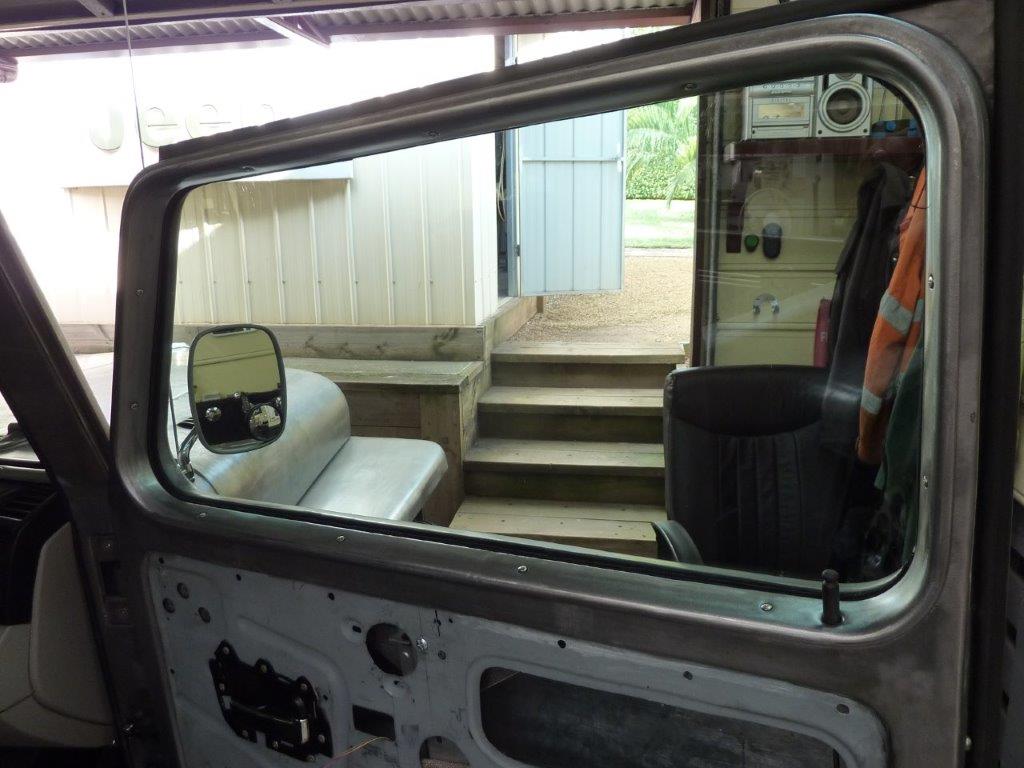
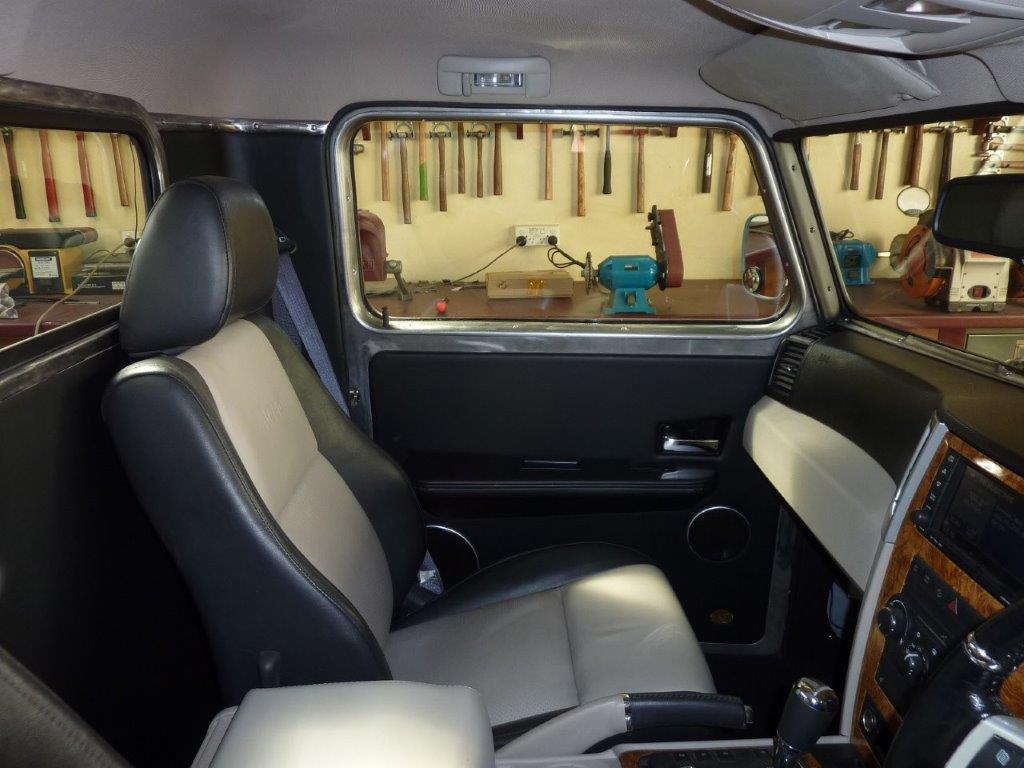
Door sits as it should so it can stop annoying me now. It's no wonder this build takes forever as do this quite often going back over old work when I know I can do it better now. I had this glass cut, stamped and toughened to my templates during the Covid lock down before I had even chosen what colour I was going to paint the Willys! Could only get green the same as the windscreen, so that was fortuitous.
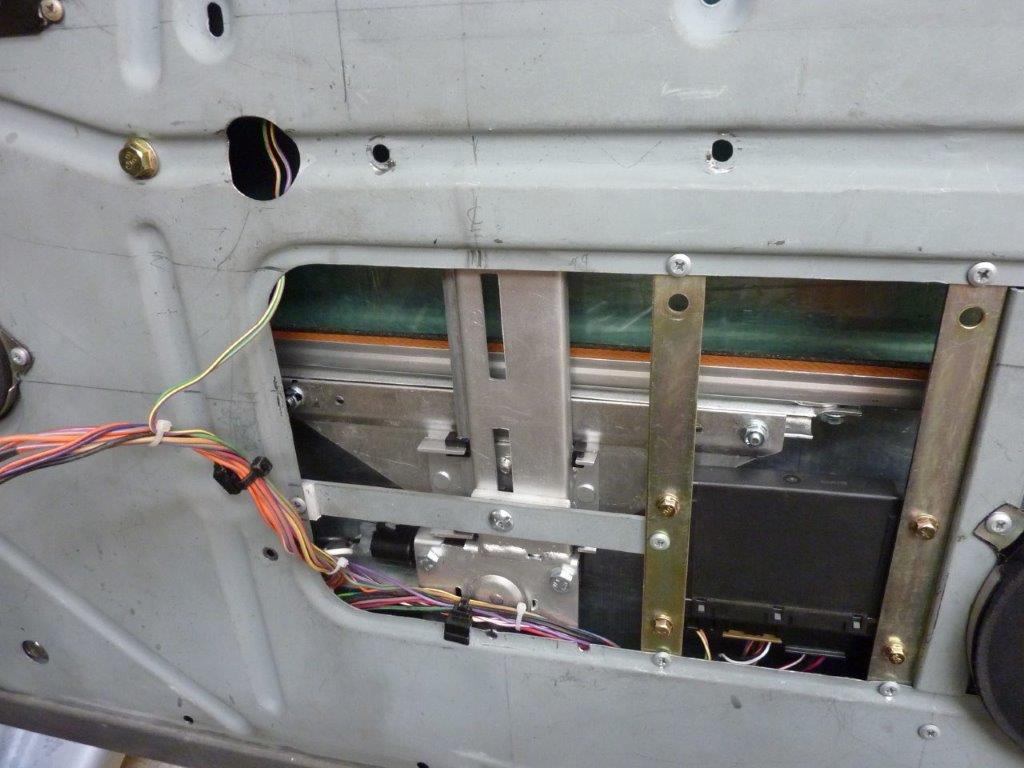
Problem I found was the extra weight of the large glass over the templates was too much for the universal electric windows I had fitted. So had to pony up the extra dollars for the SPW kit that runs the made in US GM electric motors. They lifted the glass no problem. Wanted these in the first place but are twice the price, now I have still bought them and the price of the first lot! I didn't use their included mounts and used thick strap and a nylon spacer for the bottom mount. Top mount was just straight through the skin. With the bottom one angled away to follow the glass track, it left just enough room to still run the door handle rod past.
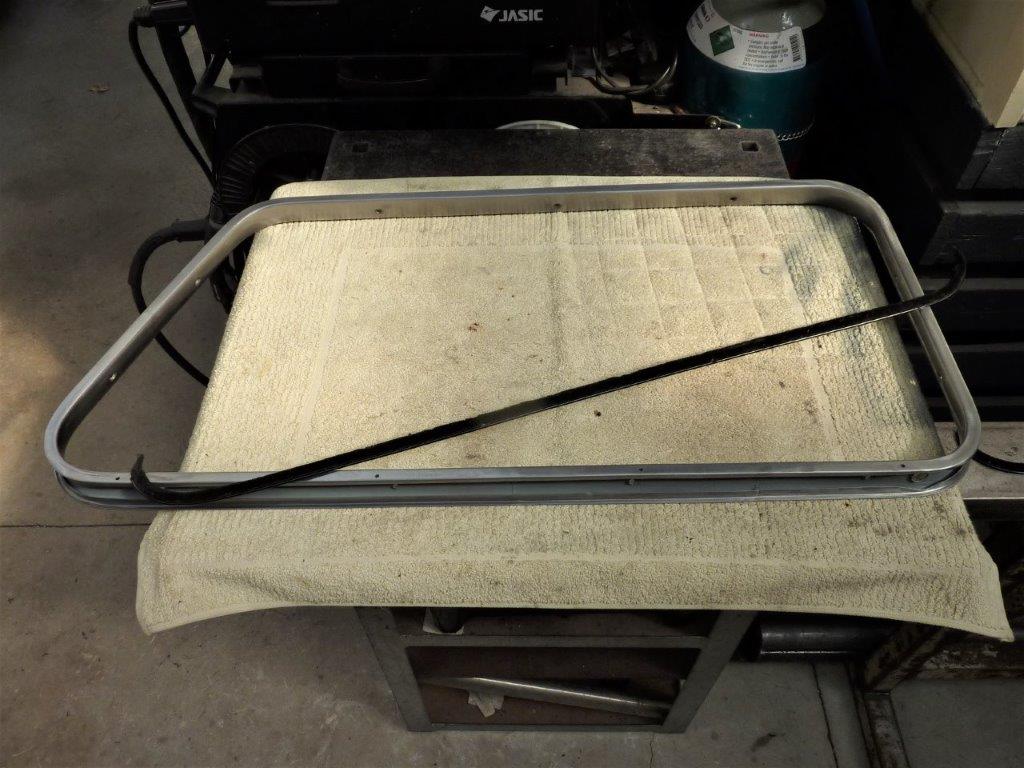
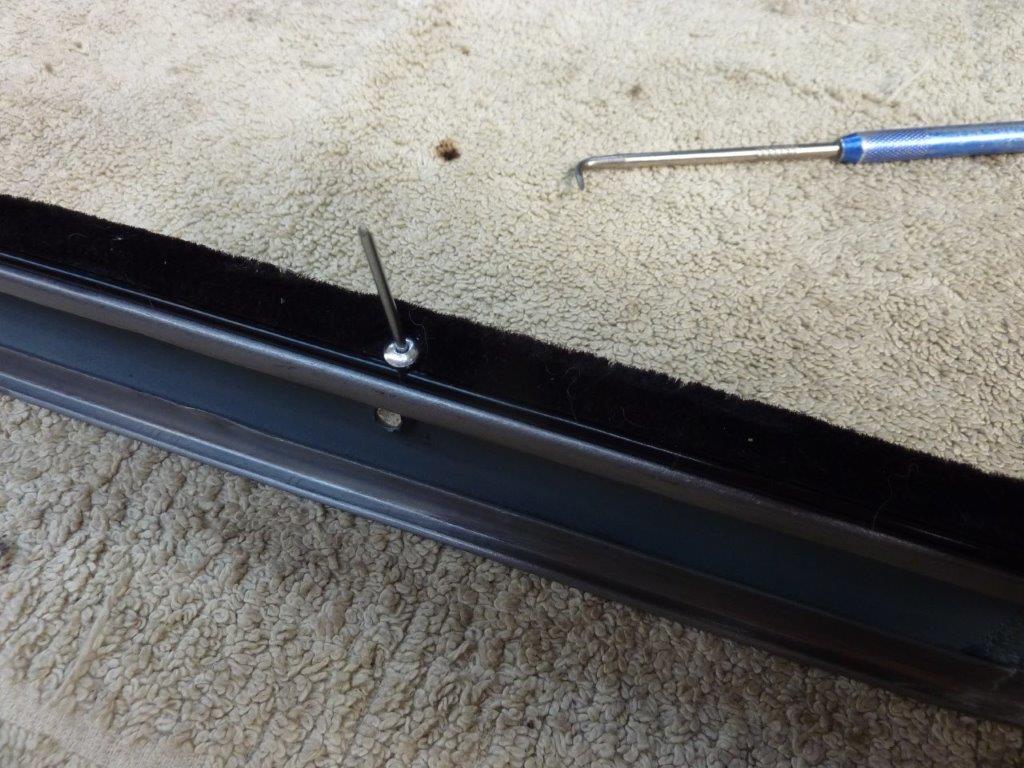
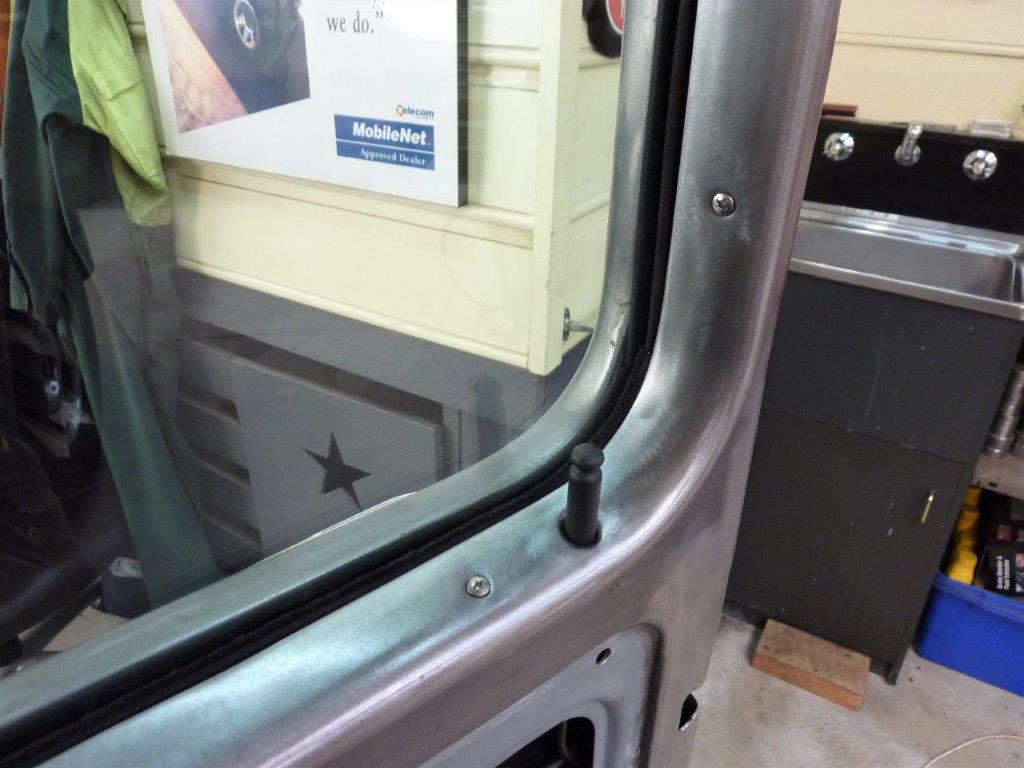
I clear coated the inside window garnish as didn't want it waxed like the body where I might rest my arm and also use window cleaner that would remove the protective wax. I did the same on the windscreen trim as well. I bent the inner weather strip up to follow the around the bottom corners just like I did on the outside. Rather than the factory staples, I used small rivets. I pushed them in and pulled the felt out from under the head.
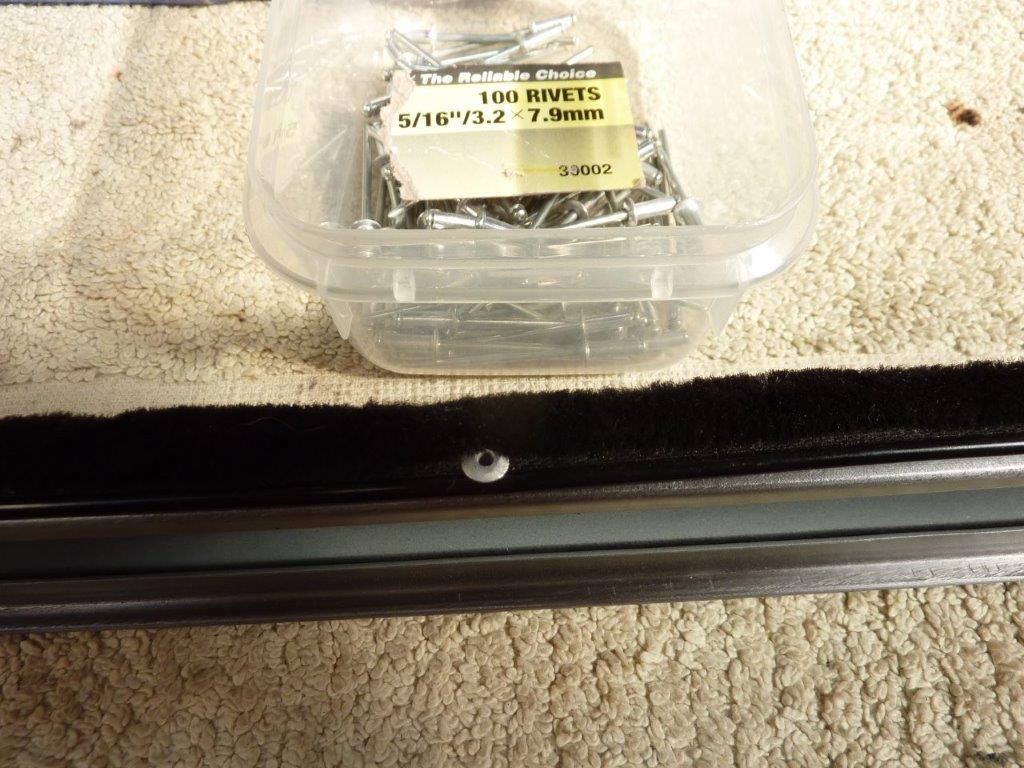
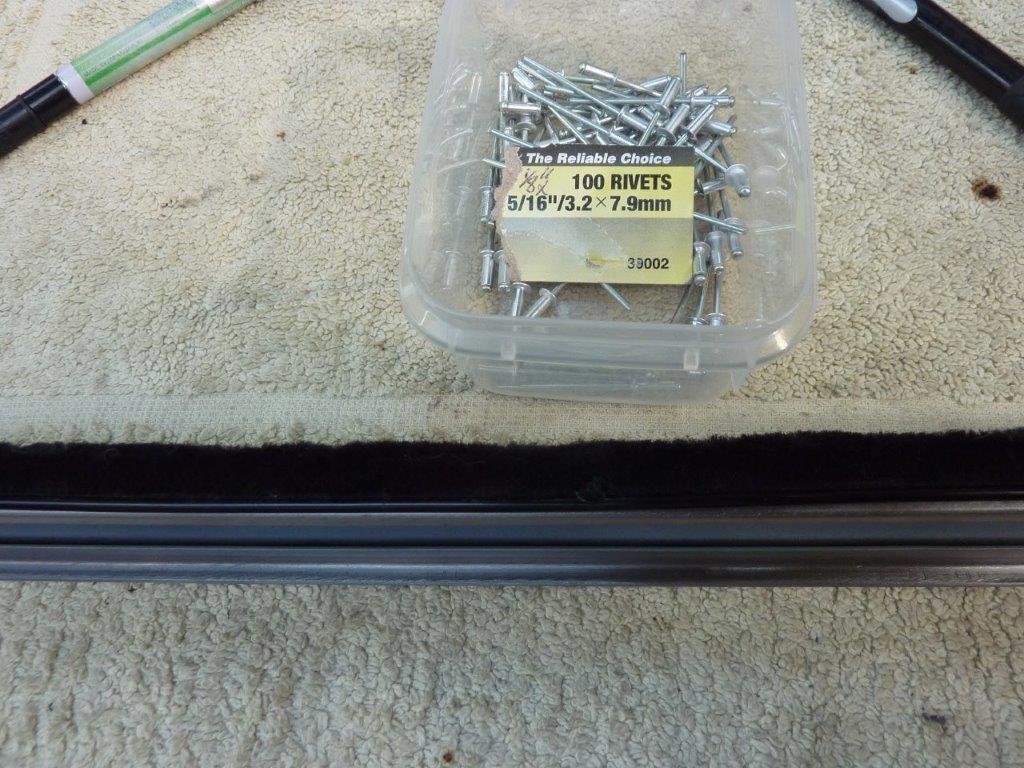
Then compress the rivet in place and the felt falls back over the head to protect the glass. Paint the head with a paint pen and it disappears from sight.
Fitted the garnish with stainless screws. I had lengthened them 4.5" and shortened the height by 2" a while ago now to suit the extra length in the doors and chop. Not sure if the curve up at the ends show inside and out? The door lock is from the Grand Cherokee donor.
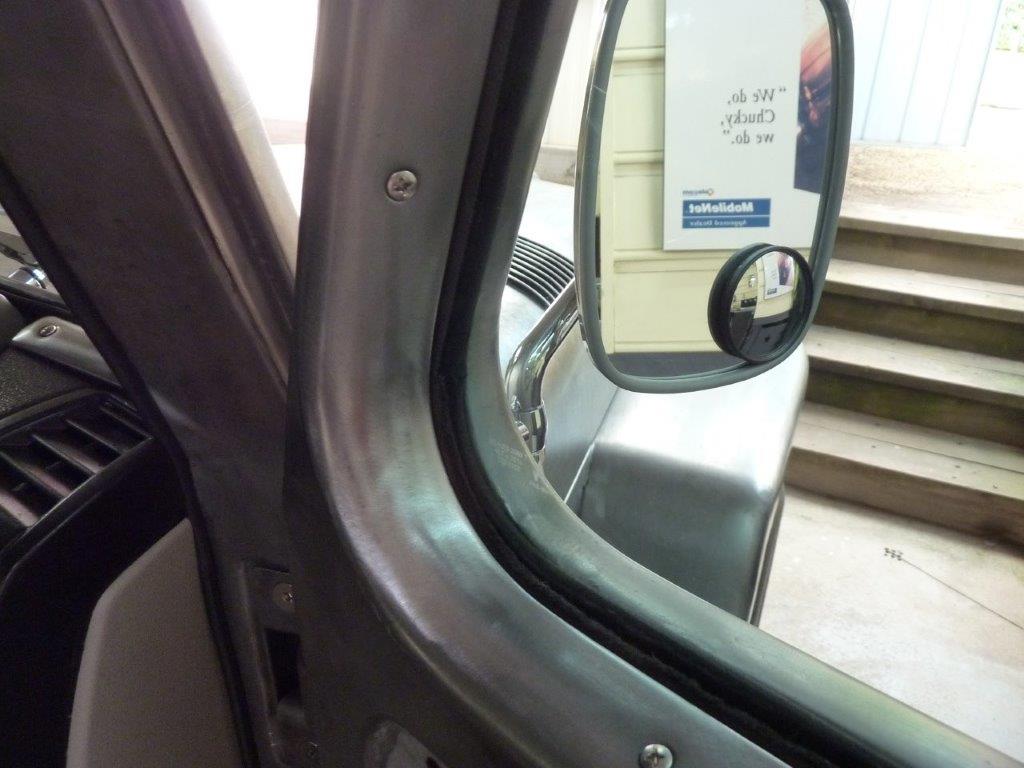

Front bottom corners follow the garnish likewise. Looks less green once installed, but will tie in with the paint colour nicely.
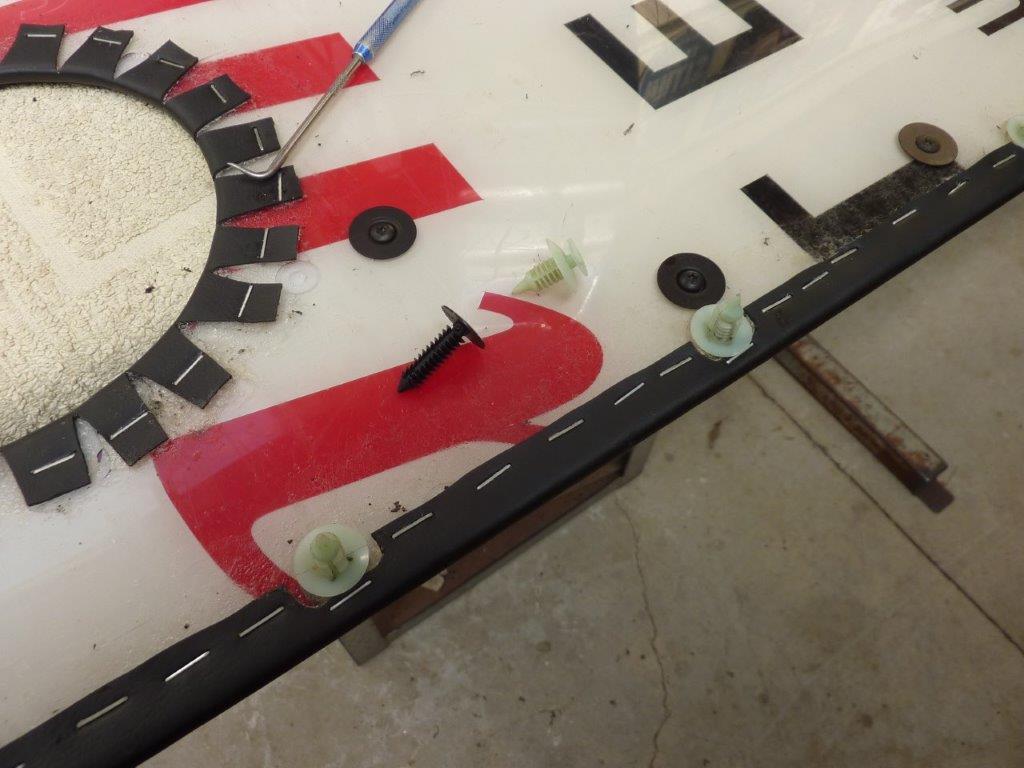

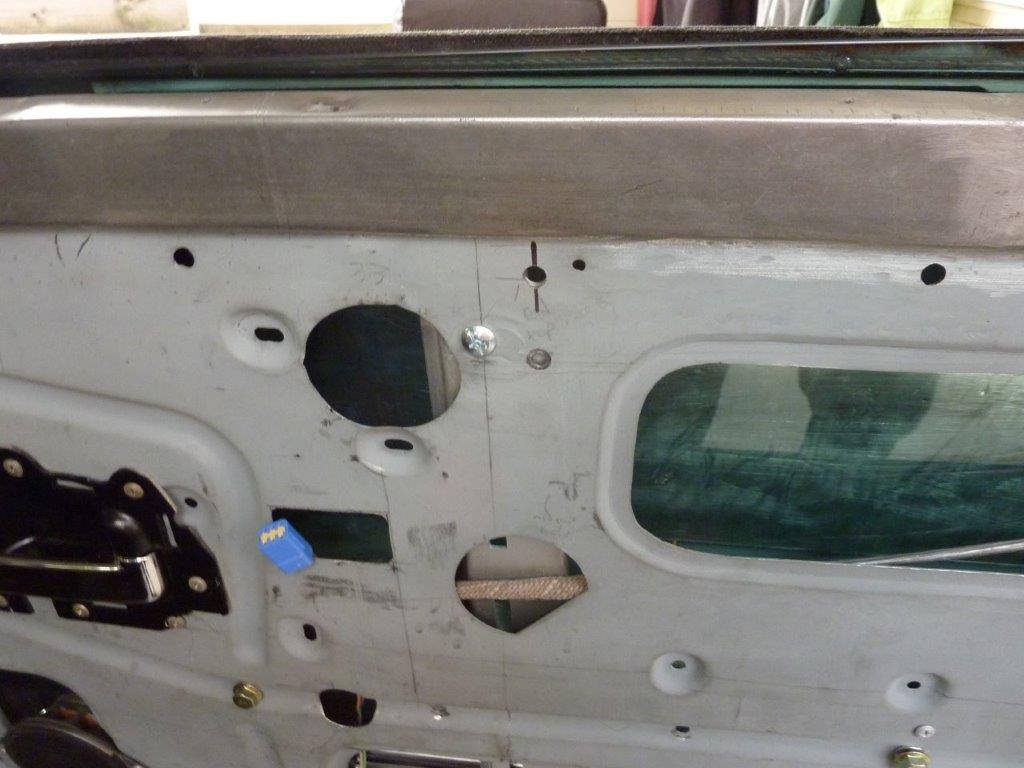
Back on the door cards. I'm using x-mas tree trim clips that were from my Jeep XJ Cherokee door cards. I like them as they can be added after the upholstery has been done as they screw in, so long as you have cut the slots for them beforehand. They can also be removed and replaced if one should ever break unlike the black one shown. No fasteners will be seen at all once done. The armrests bolts are accessed through the open areas in the top and screw into the door skin via threaded inserts. Noticed I also have the door card going around the speakers so I could run as small a speaker grille as possible.

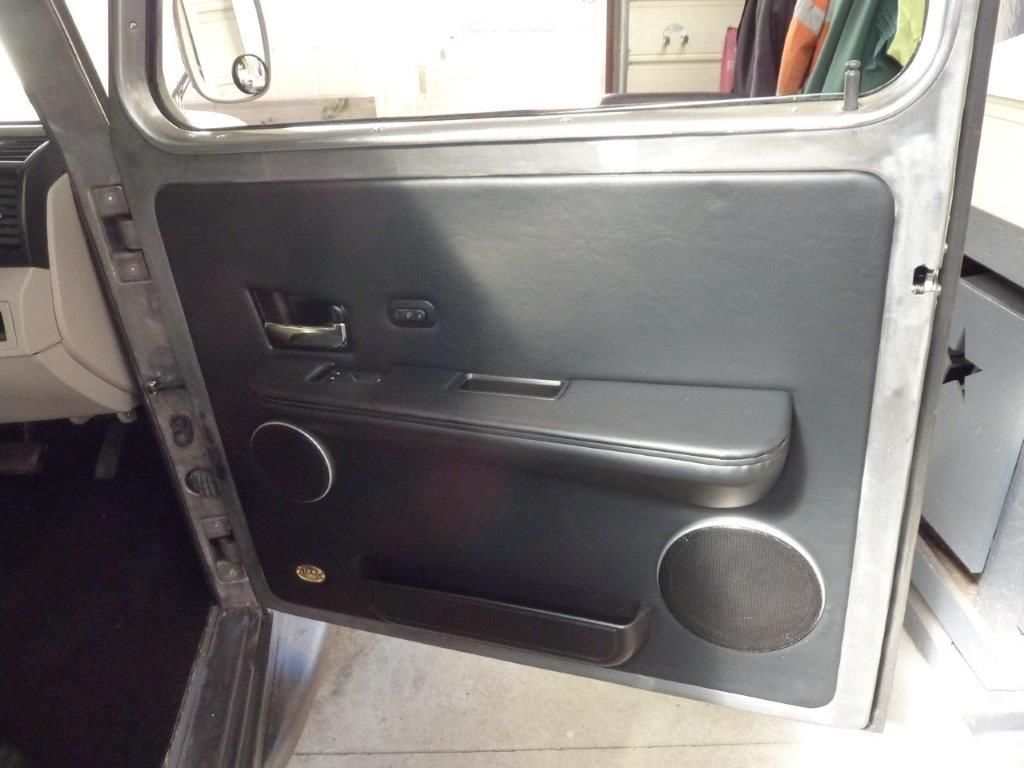
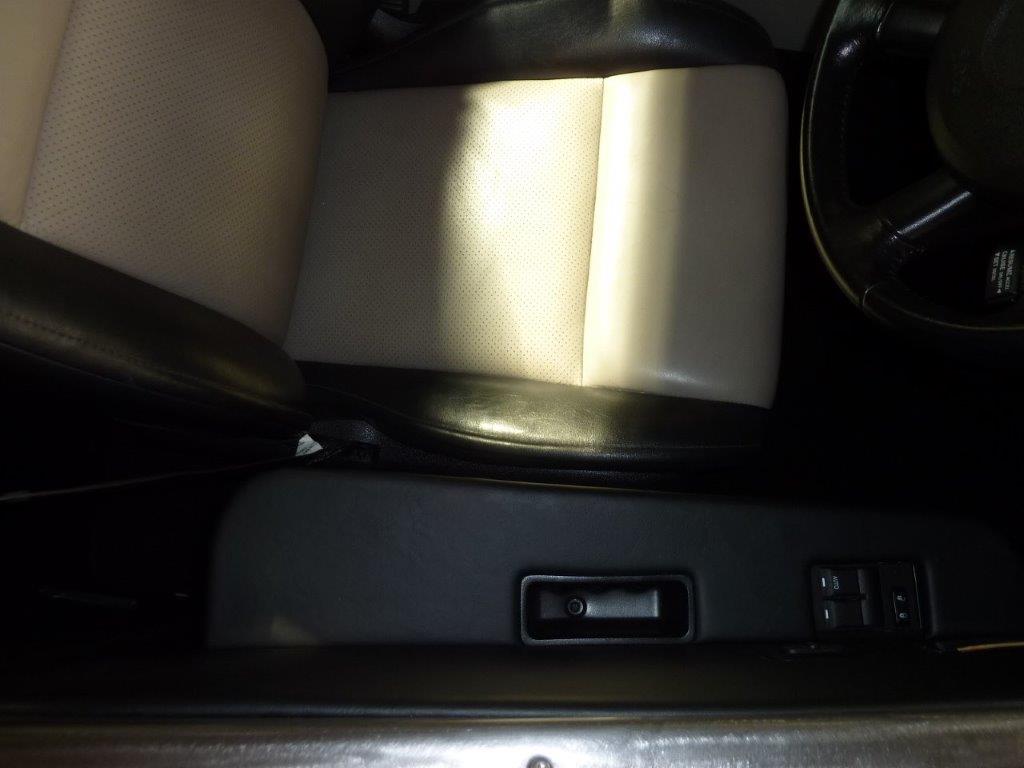
The top of the armrest pad is also held down by the same x-mas tree clips and also by an original screw at the bottom of the door pull pockets. Drivers side also has the memory seat switch which is programmed for my wife and I.
The taper on the armrests was worked out to give plenty of room for your elbow to rest on it, but also to make it parallel with the seat to compensate for the cabs wedge shape. I mounted the armrest at the same height as the centre console so it feels like you are sitting in an armchair.
[Index]