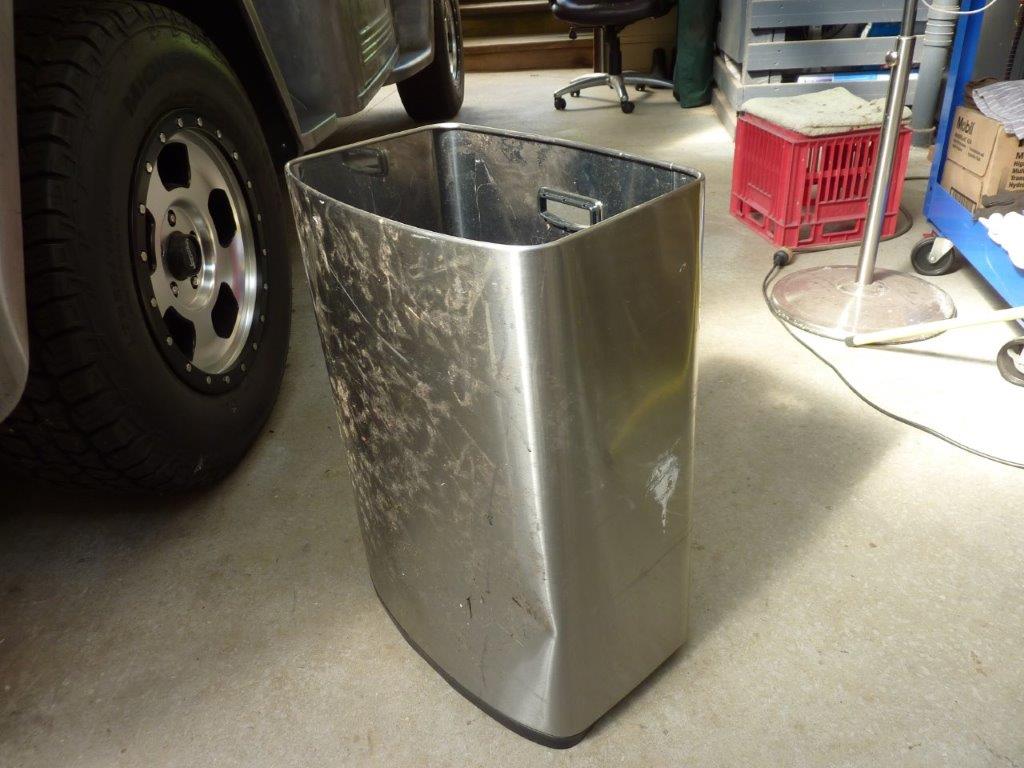

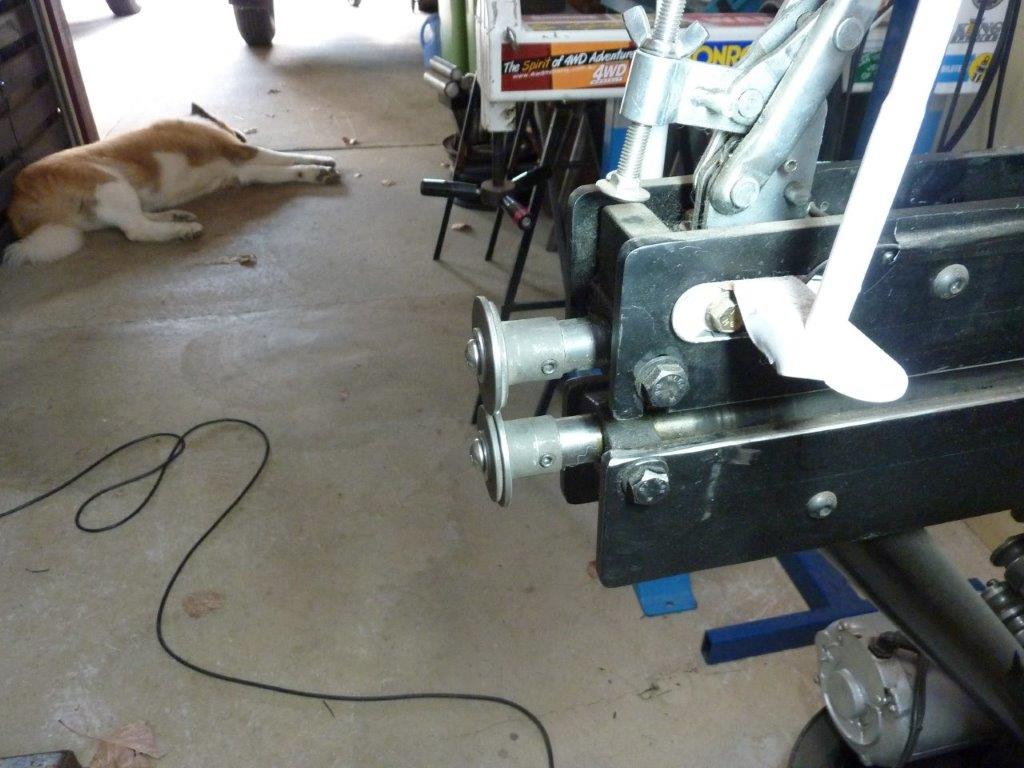
More office furniture getting upcycled! Found a bin that had been thrown out along with the printer inside. Unrolled it to see if I could use it for some door sill caps.
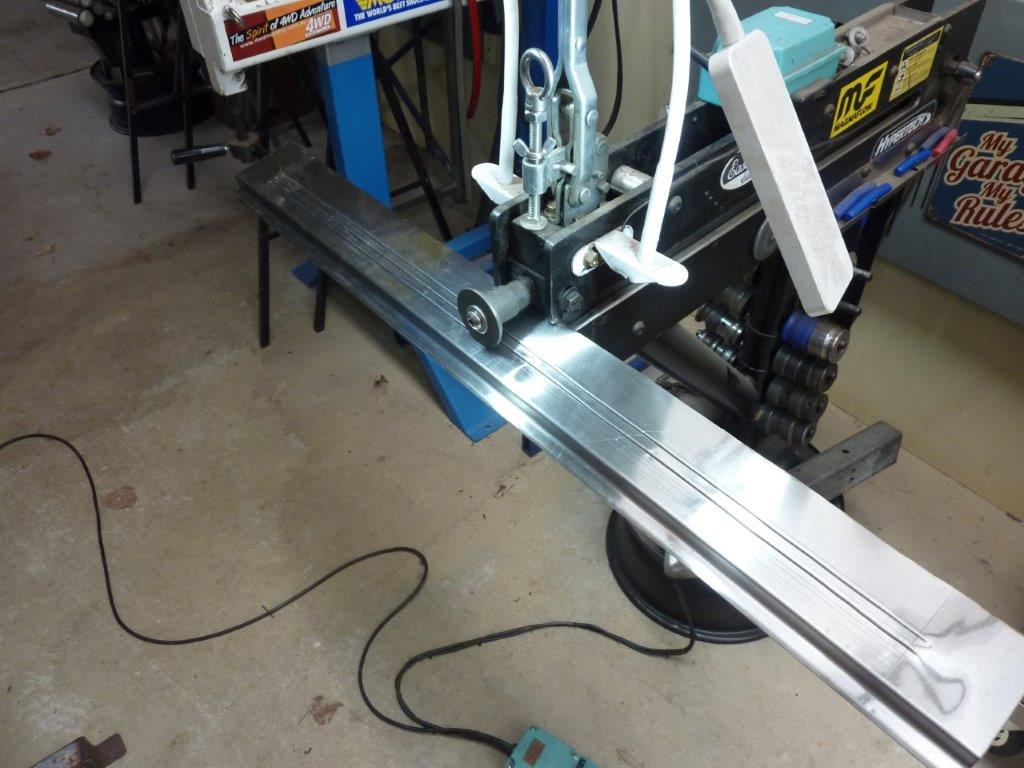
Using art dies so I can set my own bead width and spacing. In the end I thought it would not be hard wearing enough over time as was only 0.6mm-24g thick and there was a lot of defects left in it.
So some might remember me collecting some left over stainless shelving from the local gourmet hamburger place and turning it into my letter box. Well I had one left so it will be cut up for the door sill caps instead. I wanted to group the beads close together like they are on the outside of the doors and cab etc. My small bead dies don't allow that but the art dies can be as close as 3mm-1/8" apart.
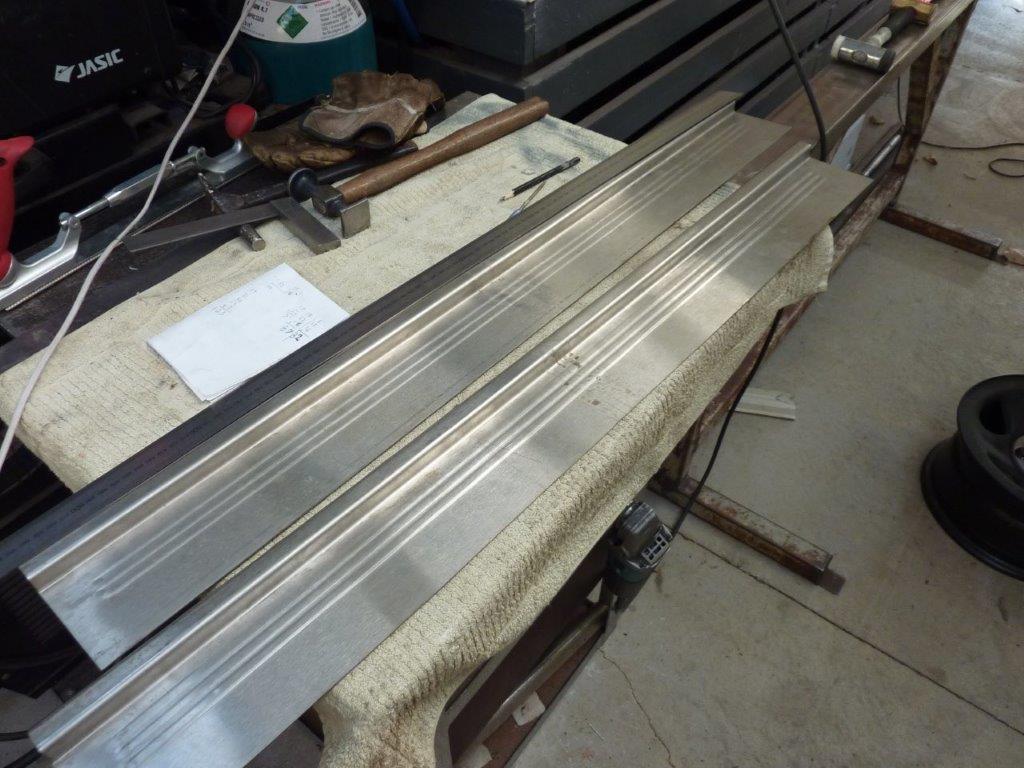
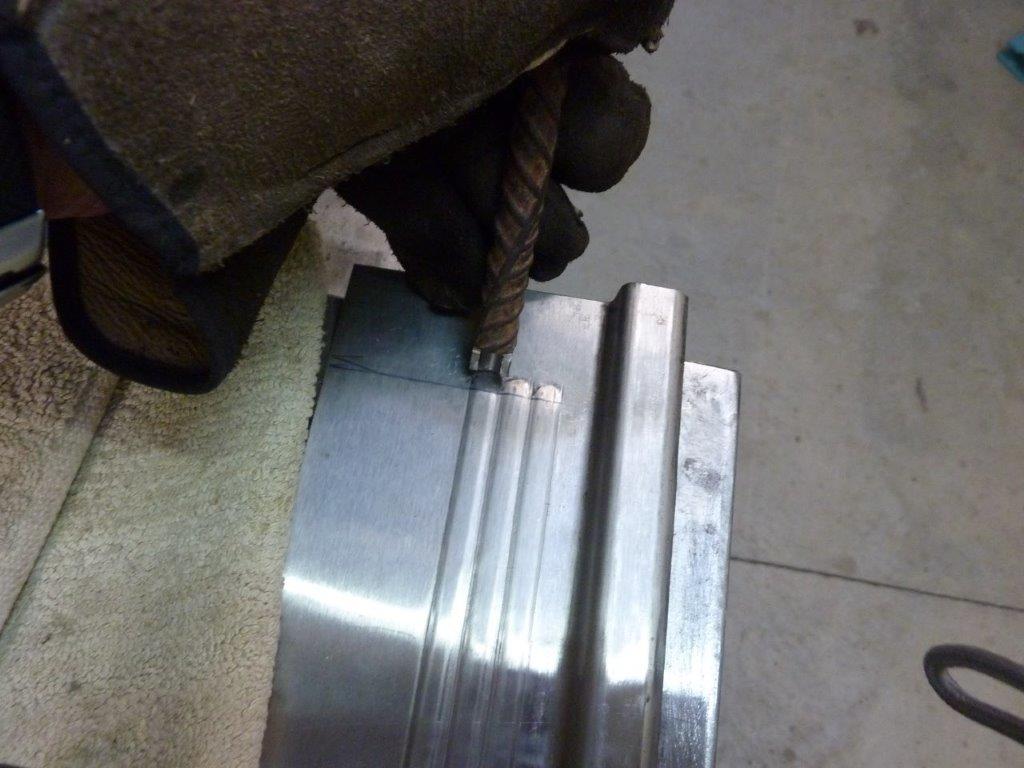
I did one side of the beads first before swapping the dies and doing the other side of them. Using art dies mean you have to do twice as many passes to make your beads. Twice the chance of not keeping them perfectly straight! To finish off the beads I bored a hole the width of a bead in the end of some reo and then cut half of it away. I drew a line half the width of the bead forward of where I wanted them to end and hammered down onto my steel table.
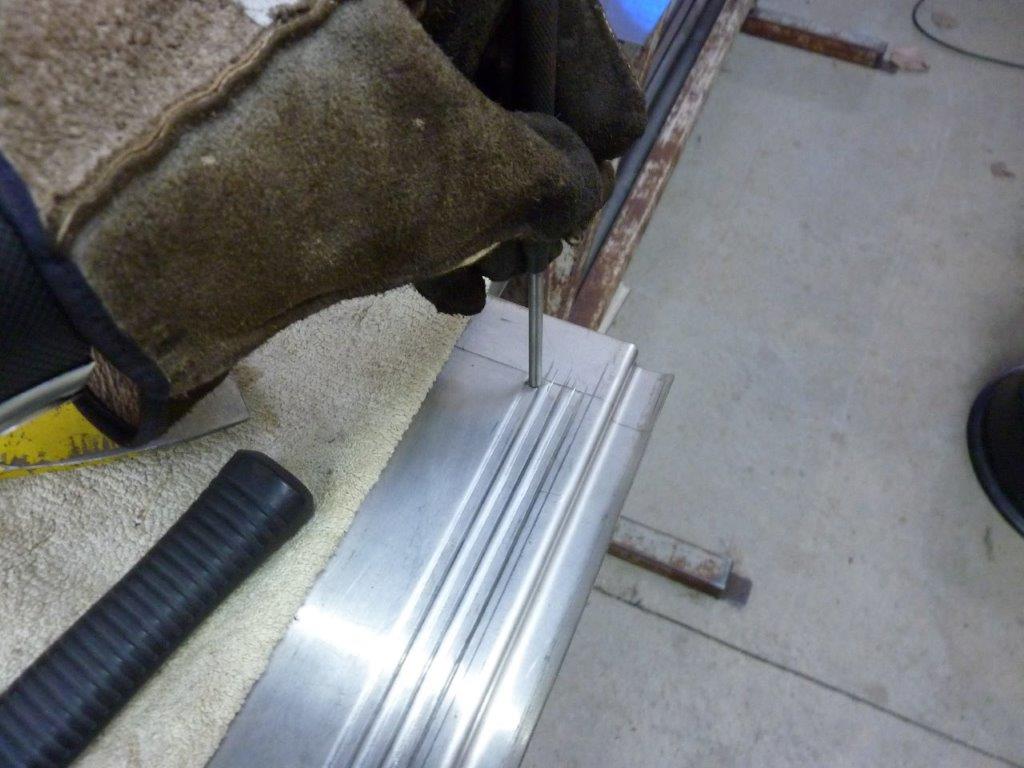

Can make them more crisp by using a punch the same width as the bead and hit from the underside as well. Helps remove the distortion from the end. The beads were stretched by hammering them from behind using some steel flat the same width as the bead. It came out perfectly flat afterwards.
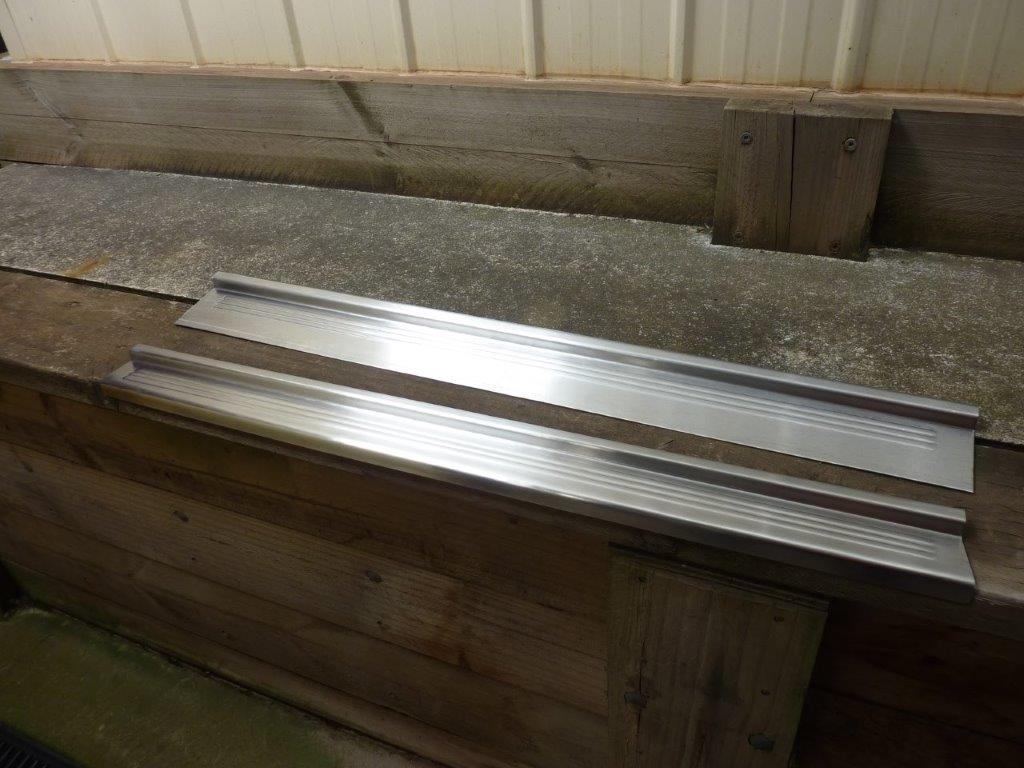
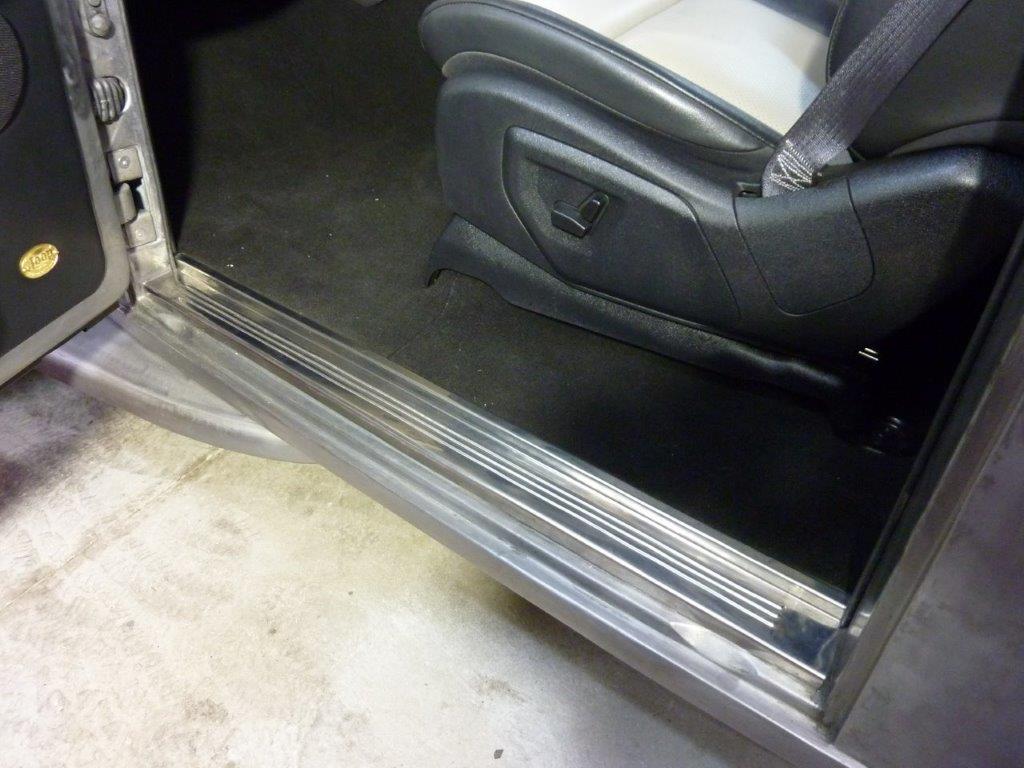
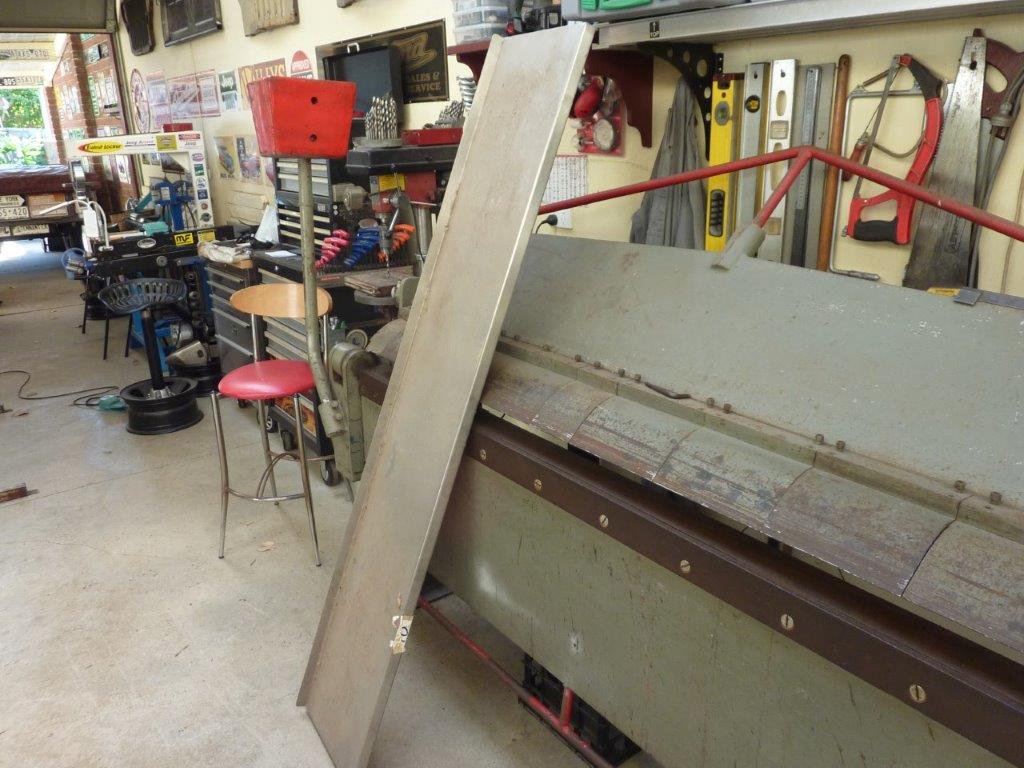
The last fold could not be done in the folder as it has a 6.5mm-1/4" arc to it to match the door face. So it had to be started by using a tipping wheel and then finished off mostly by hand over a stake dolly. It was very hard to move as it is 316 stainless 1.2mm-18g. I had to do a lot of sanding to get all the marks out from years of use in a kitchen. I left a brushed finish as much more practical to look after with something that will get scuffed all the time getting in and out.
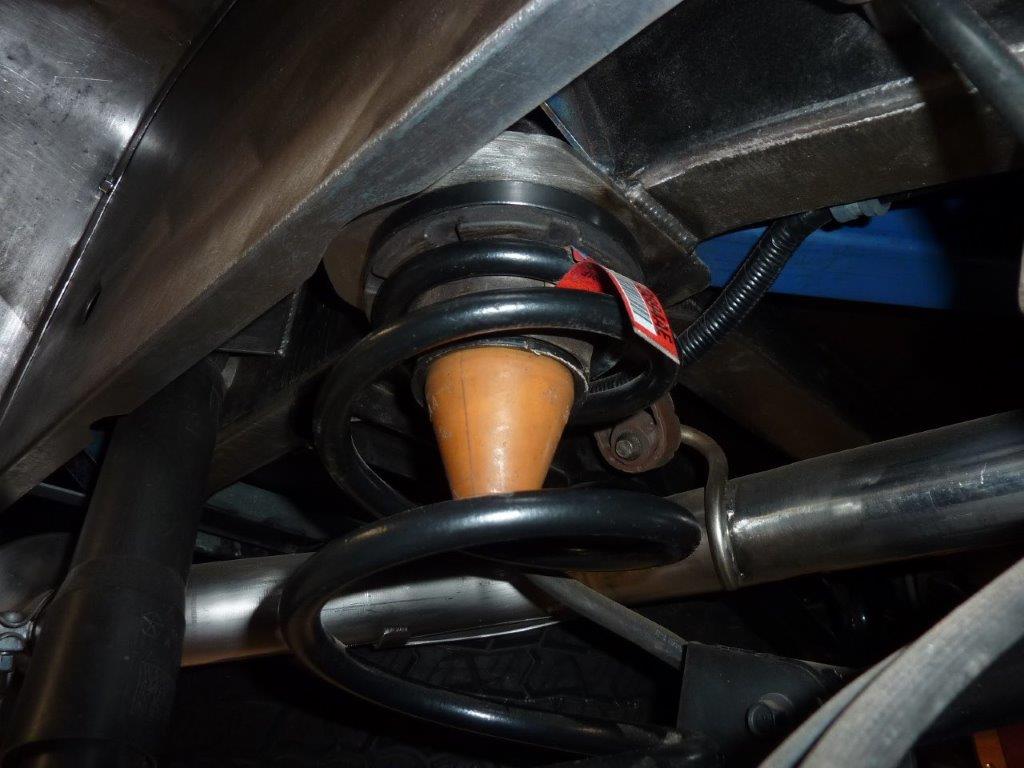
I wanted a bit more hotrod rake as was near level. So machined up some 1/2" spacers from some high density plastic that I had used as a cat perch. Placed them above the top coil isolator.

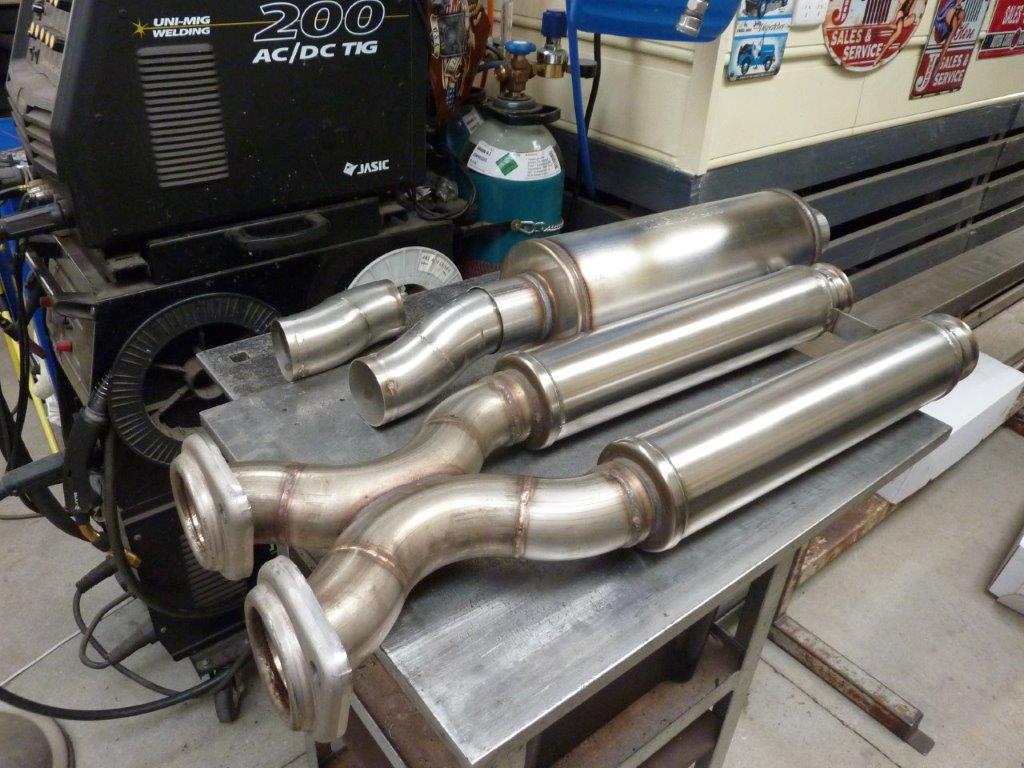
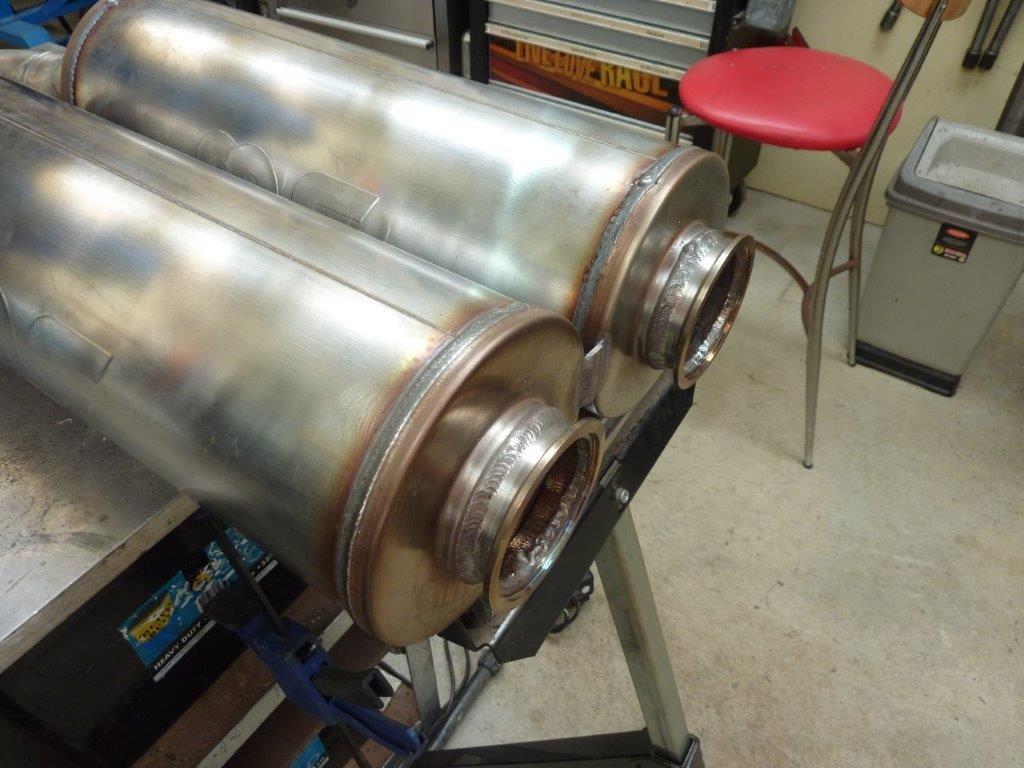
Another thing I wanted to address was the tone and volume of the SRT Corser exhaust. It came with these 4" outer diameter resonators under the floor. As even the exhaust pipe was already hanging just below the frame rail, I didn't want to loose even more ground clearance when fitting bigger ones. Fortunately I had kept some 'dog leg' kick ups that were originally just in front of the rear most resonators. By using these in front of the 6" outer diameter Magnaflow straight through mufflers, I could have the bigger mufflers level with the bottom of the pipes.

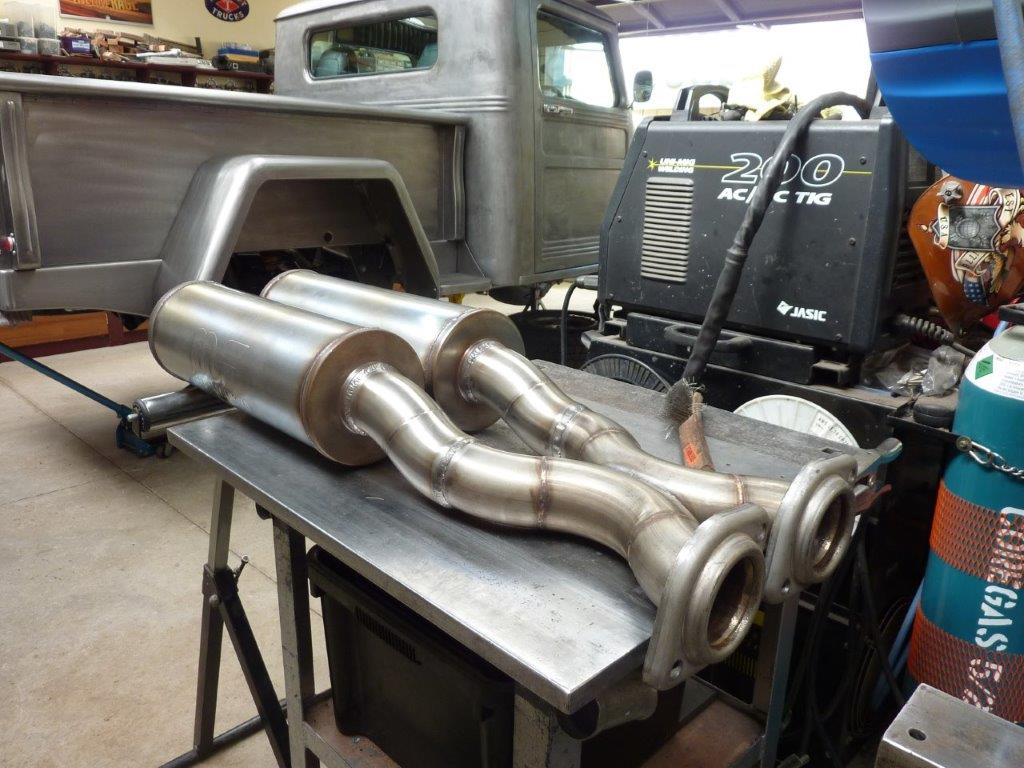
I cut the resonators off leaving the original factory weld on the cross over pipe. I then use that weld to melt into the new kick ups with the tig. Just still a tack in this picture. This shows how the new bigger mufflers don't hang below the bottom of the pipes at all, so actually have more ground clearance that the original setup.

I fitted the old V bands on the other end also by re melting the factory mig welds with the tig. Still going to be a lot of work to fit it back in as now the rear outlets are higher than before and the whole thing is longer by the length of the kick ups.
[Index]