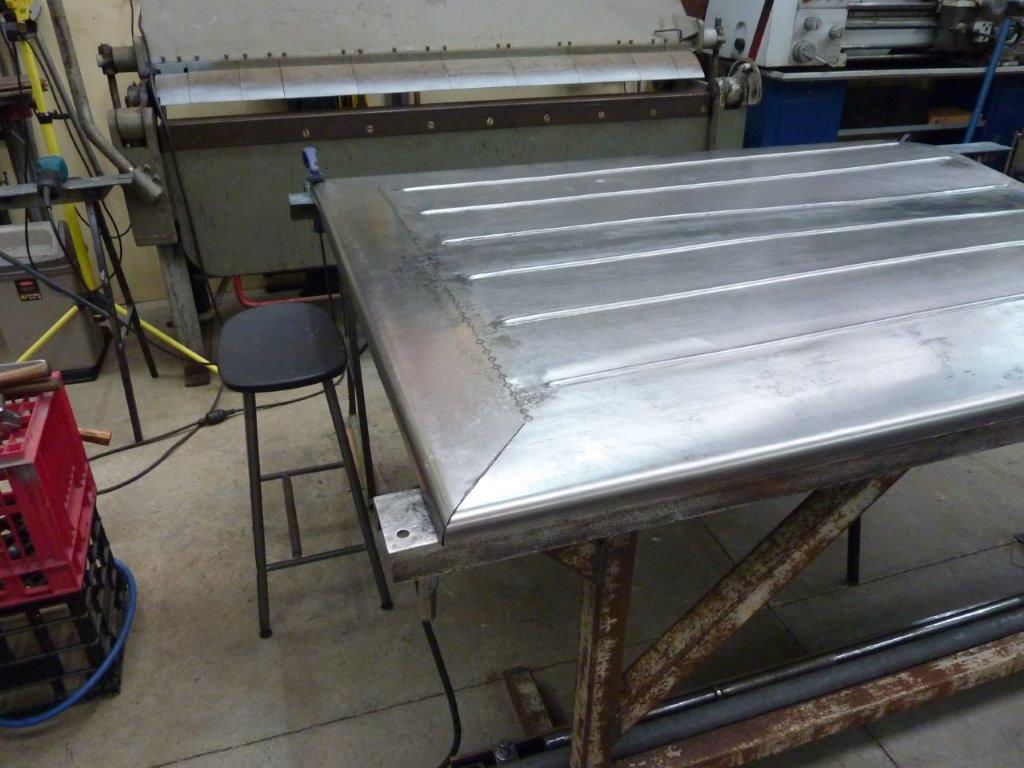
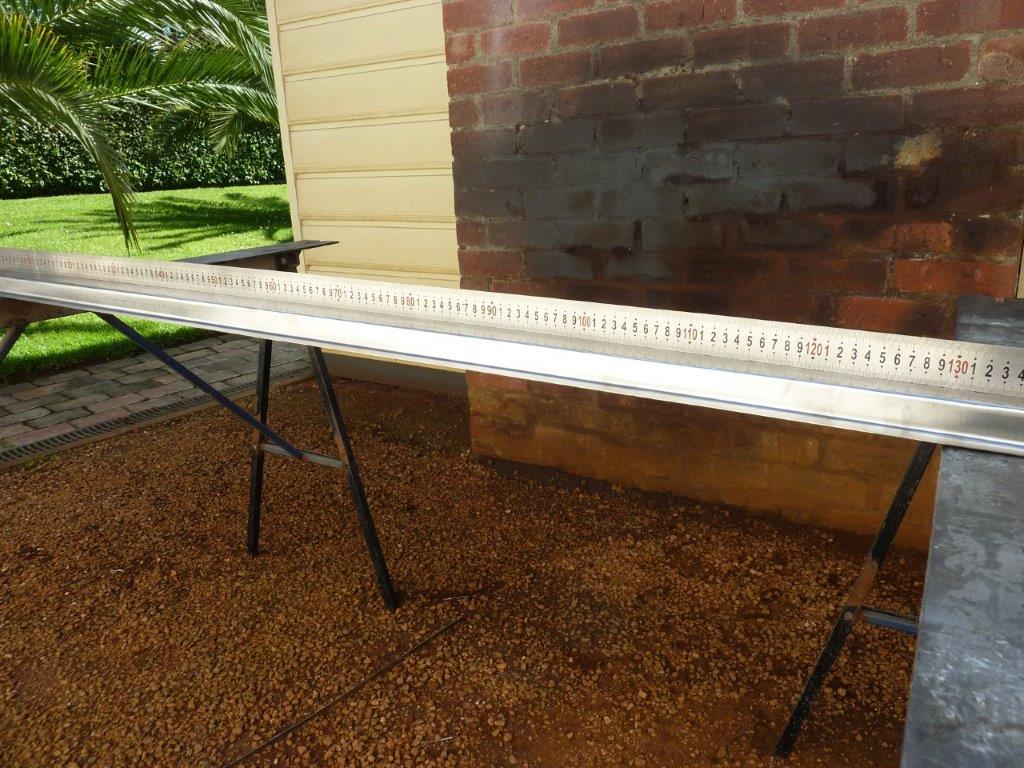
I marked the exact centre of both pieces and made sure those lines matched before tack welding. One tack at a time and then stretching it to keep things in alignment before the next tack, otherwise it will overlap itself with the shrinkage. Can see how much support the end gives!
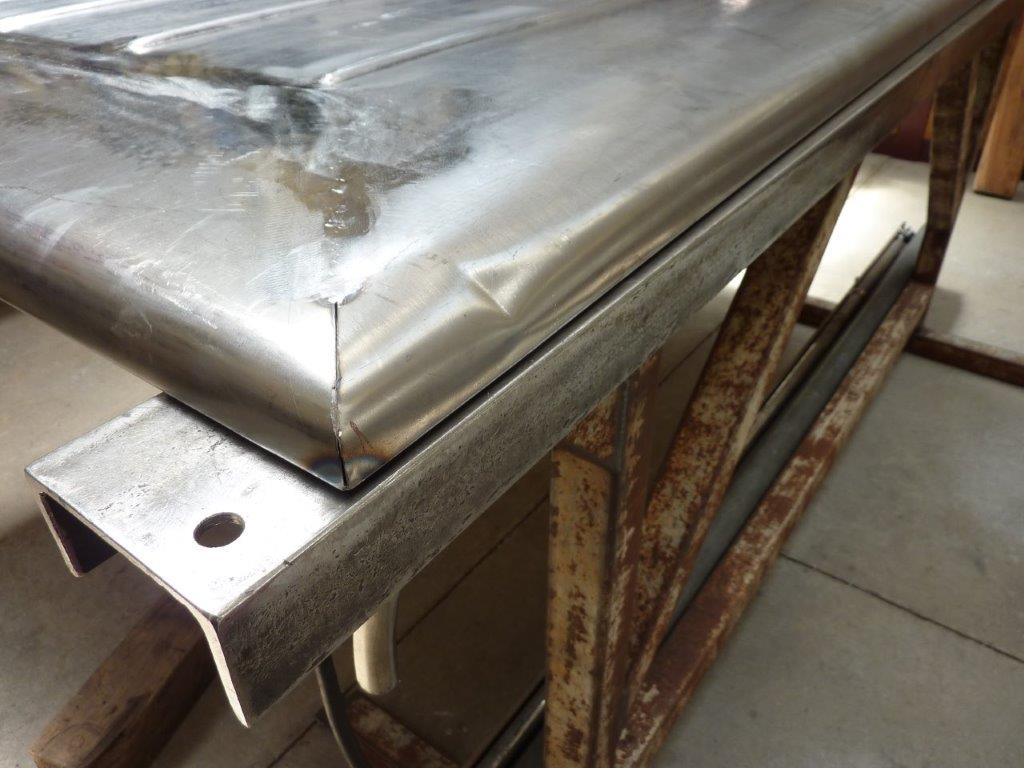
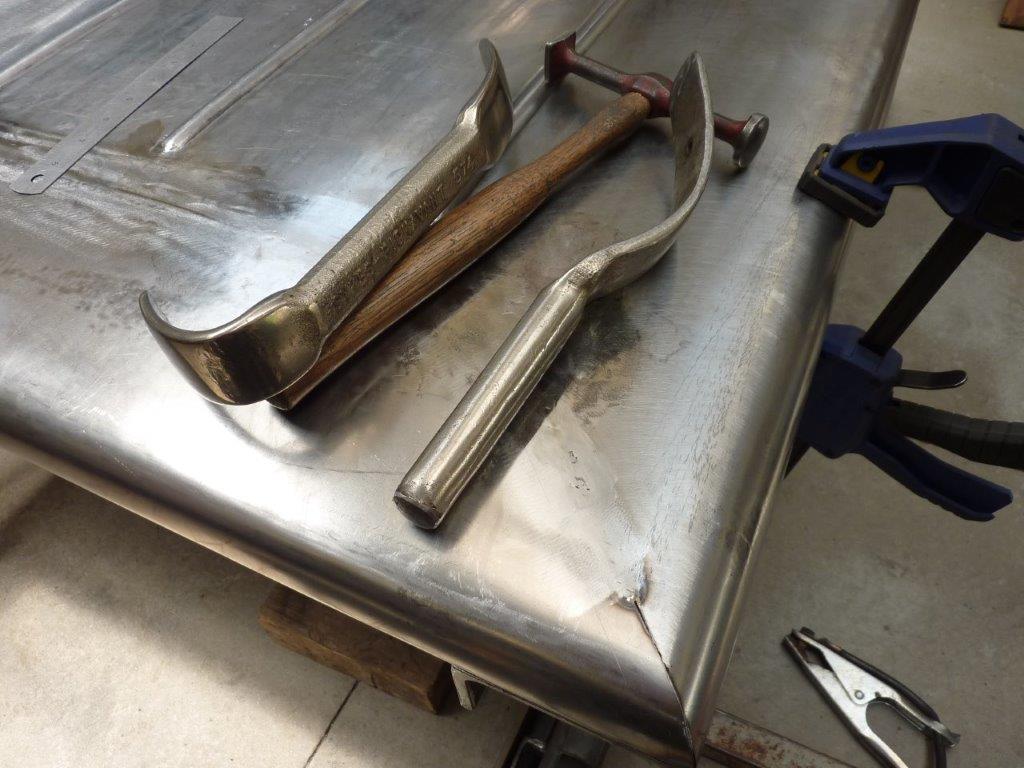
I had the cover upside and was planishing away and did not notice this side was moving. It fell off the trestle straight down on to the support legs! This gives you an idea of how I have to work inside the cover behind where the dent is using one of my spoons.

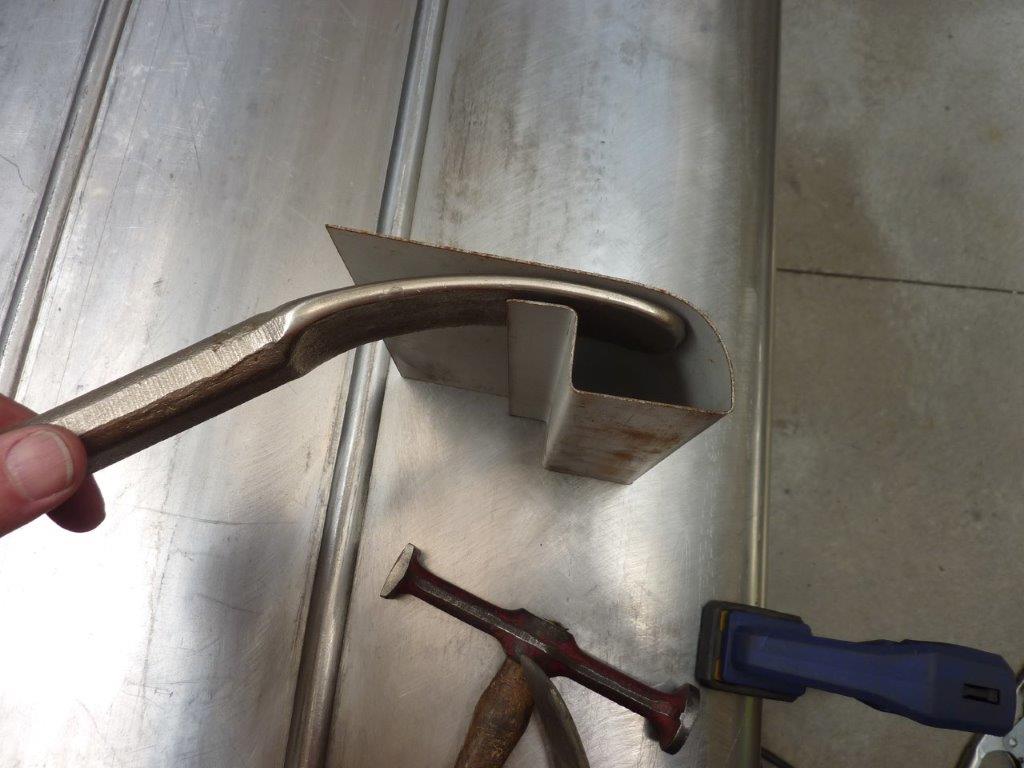
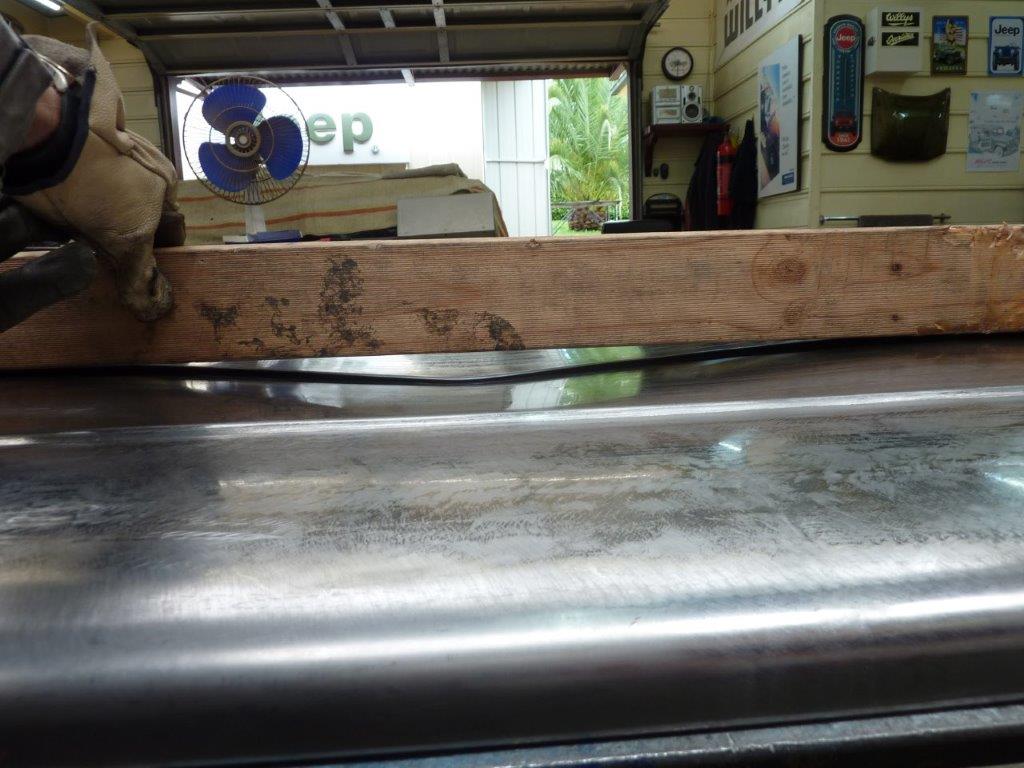
I did it like paintless dent removal where you massage the back of the dent and lightly tap around the edge of it from the outside. Came out pretty well considering how sharp the crease was. Also going around using my large profile gauge to make sure it is identical left to right and end to end etc. If you spin it 180* and you have a gap under it like shown, it needs to be altered. Stretching up the left side made it the same in this case.
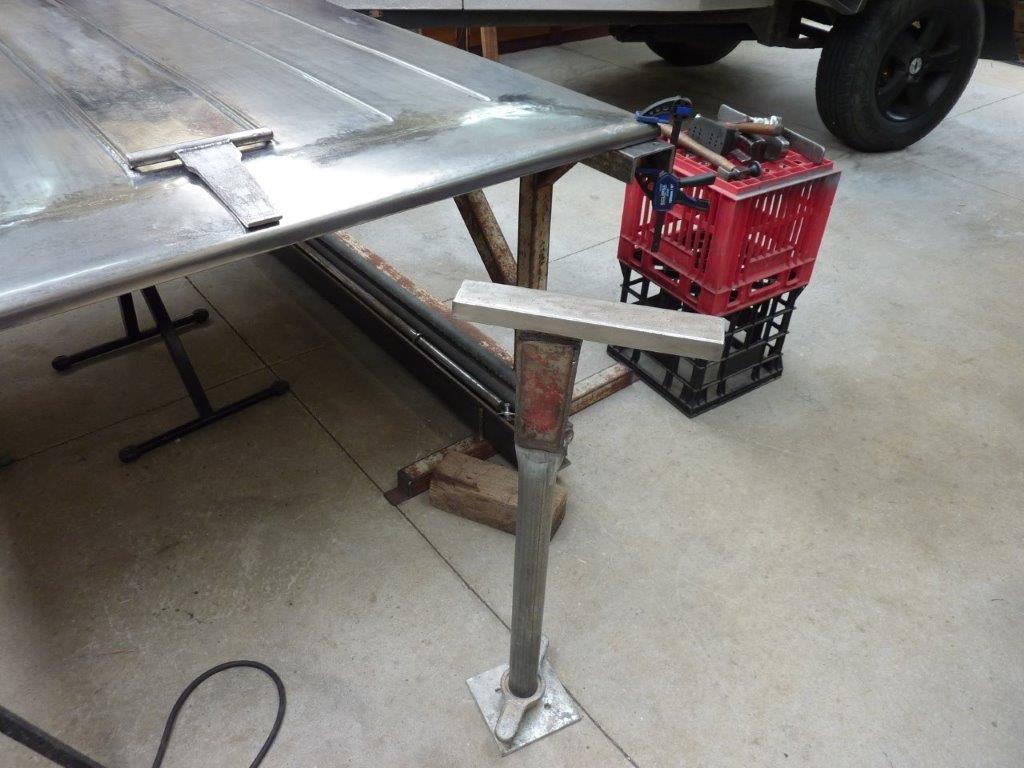
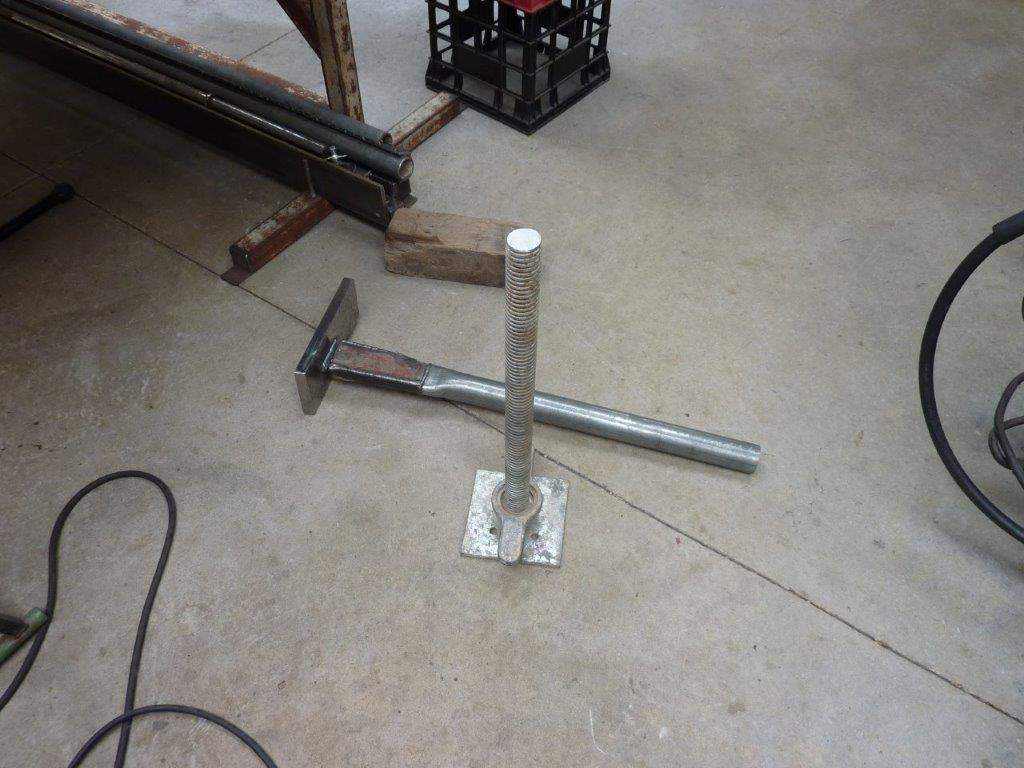
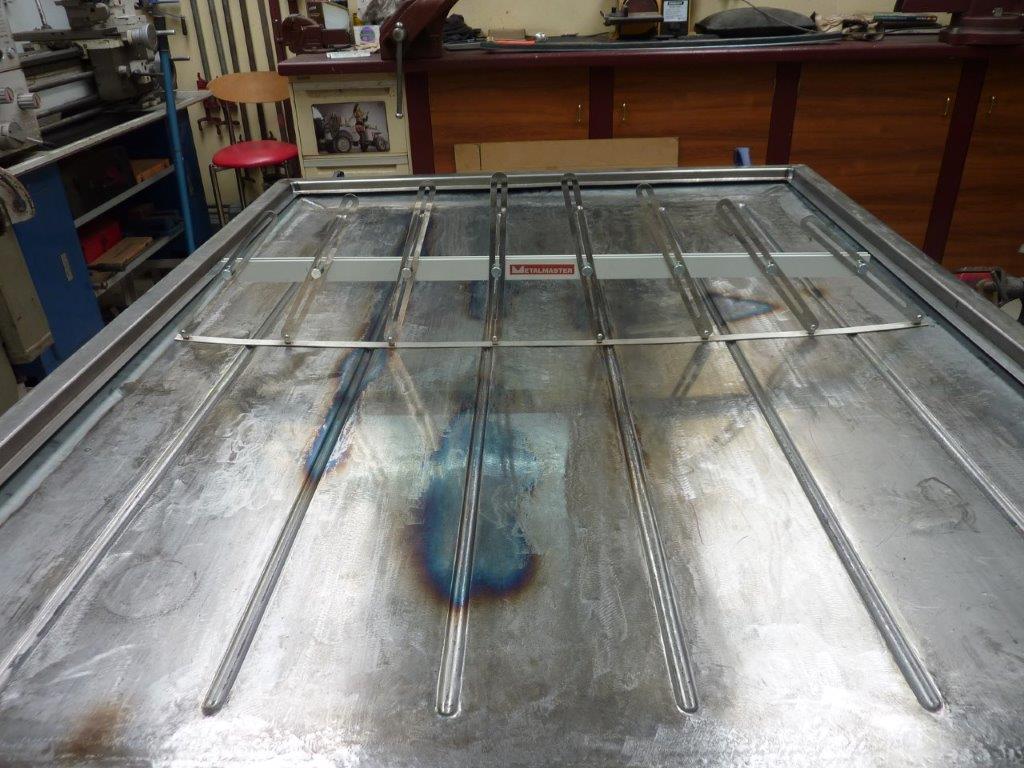
I made up this adjustable stake stand using the bottom of a scaffolding tower leg. This will help my back in the hard to reach places. Nearly all my homemade stakes will fit into it including the die that matches the ribs etc.
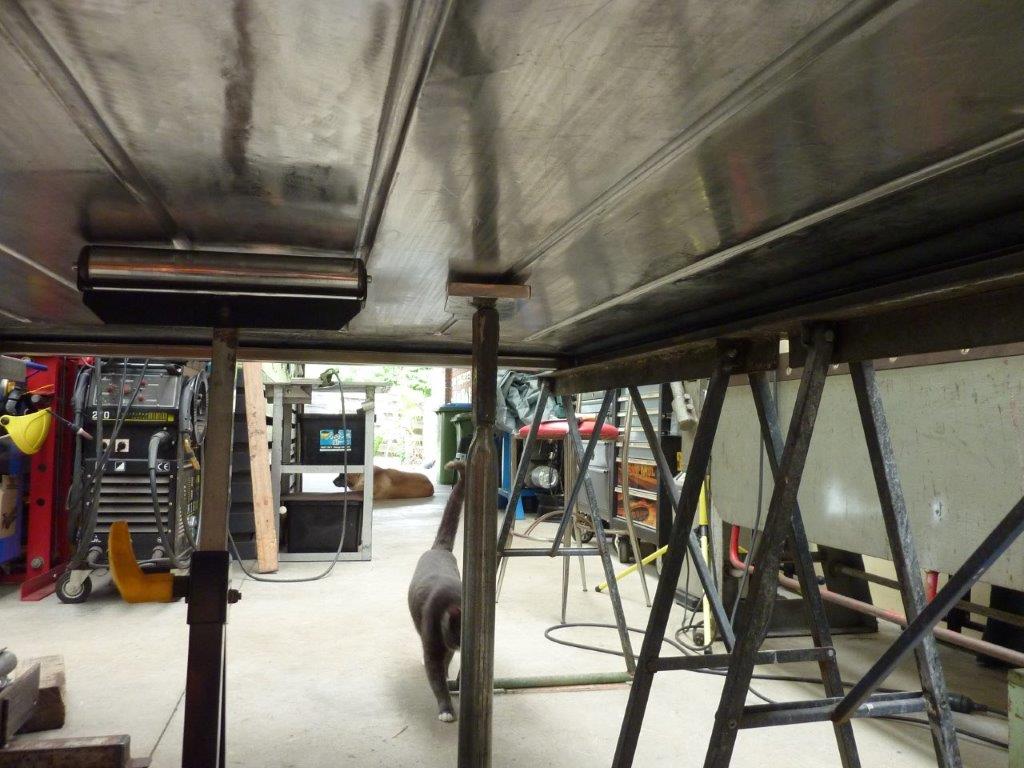
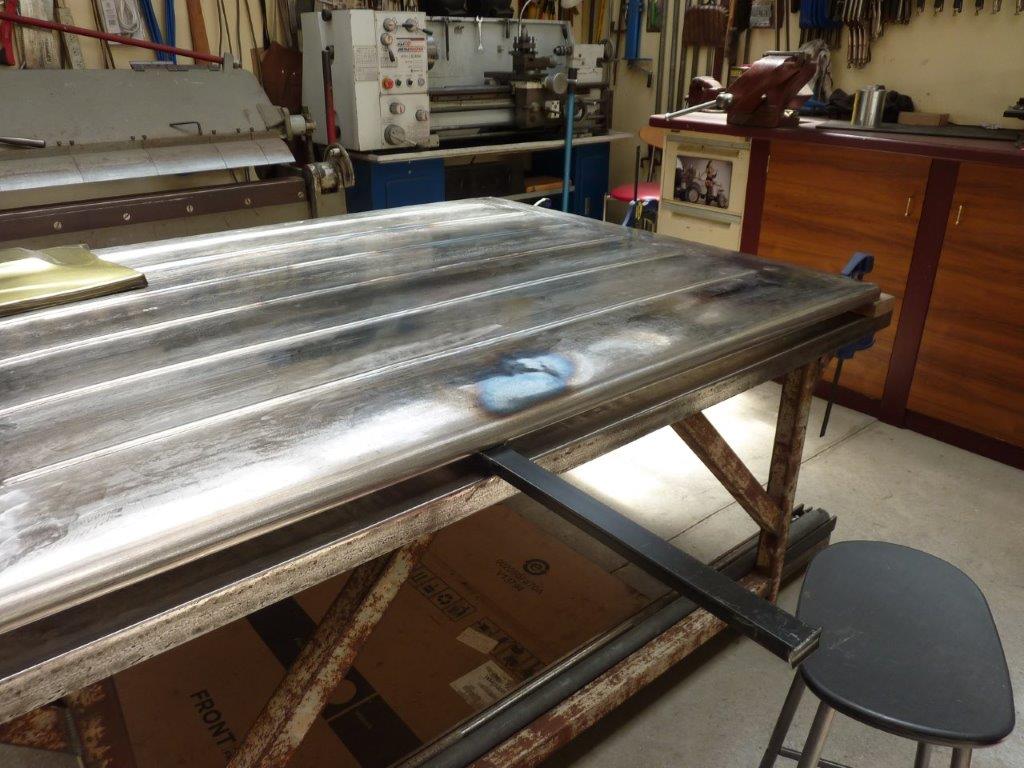
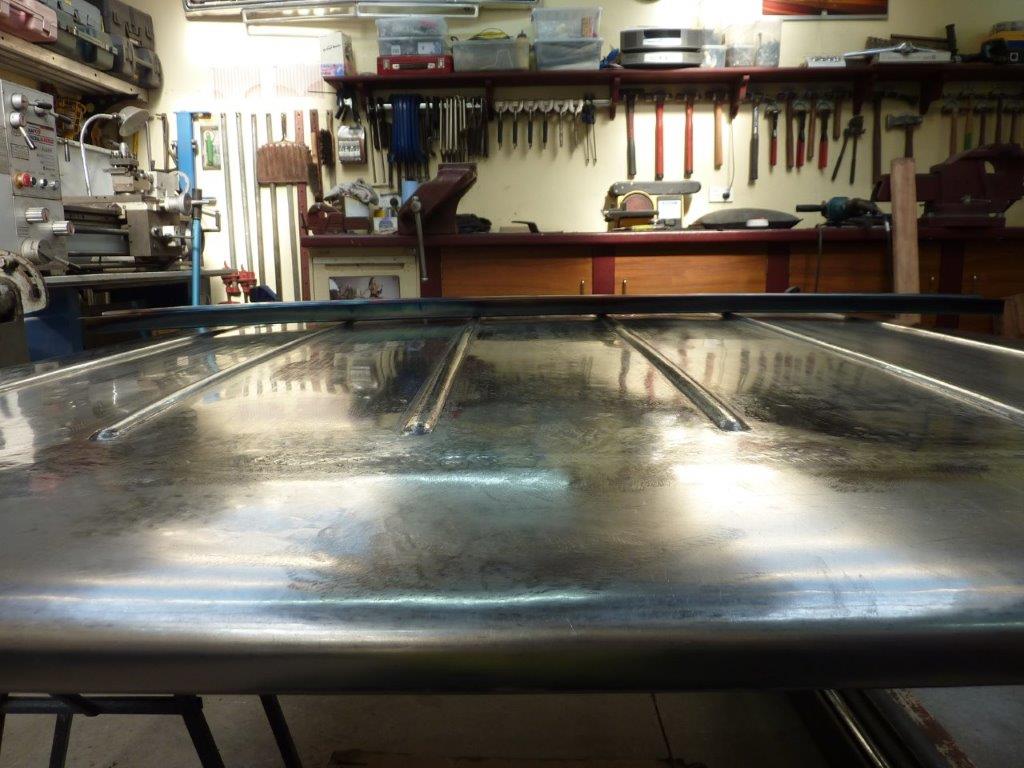
The adjustment is great as the cover has different heights due to the crown as you move left to right, front to rear etc. Just wind it up or down to suit. I noticed that a couple of the ribs were higher than they should be. This one was the worst at about 5mm-5/16". So I was heating it with a torch to a blue colour and suddenly it collapsed down in front of where I was heating. I think I was trying to heat too long a section at once. I used a bar dolly that matched the rib under it to knock it back up to level again before continuing on.
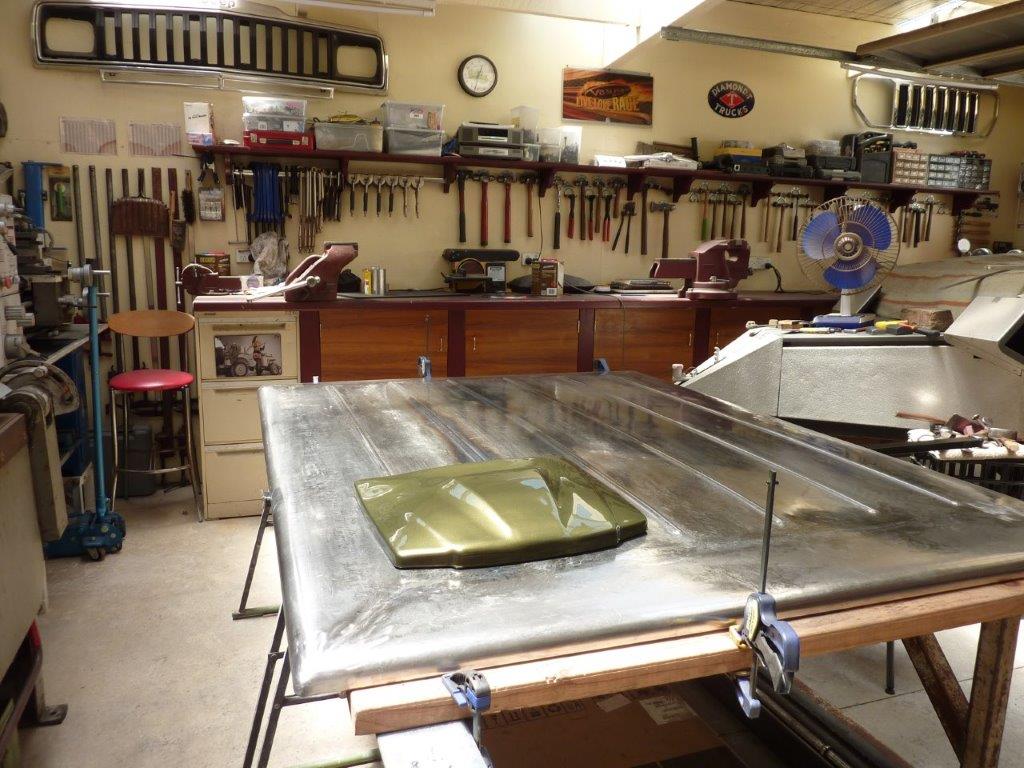
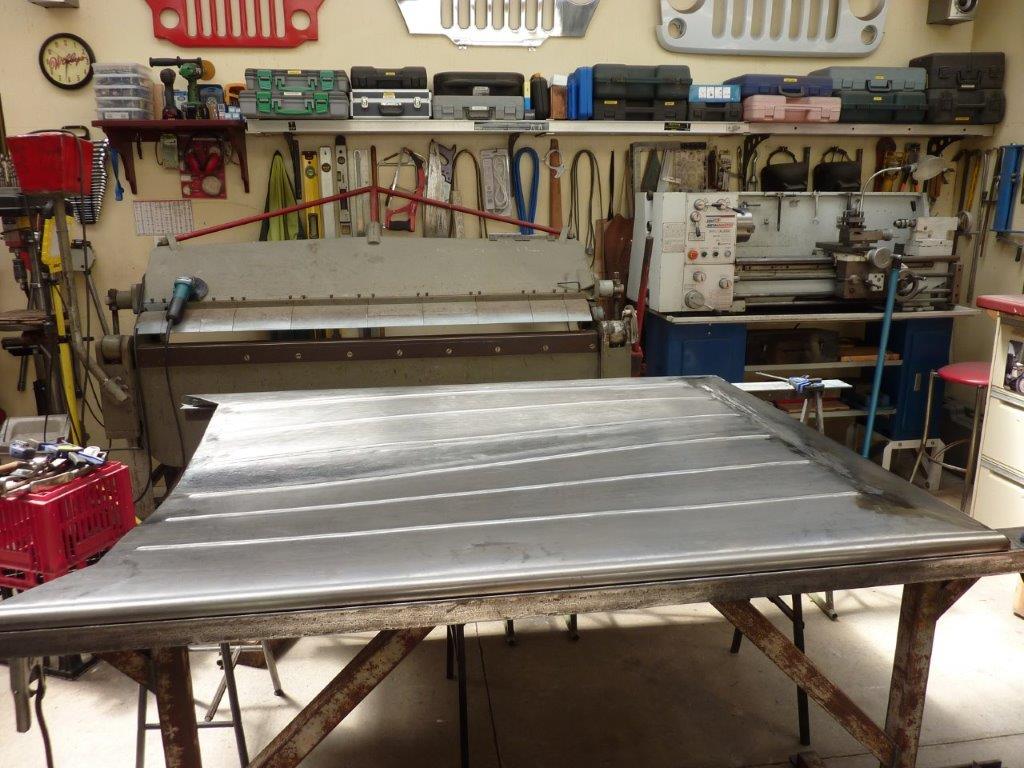
Laid my paint colour sample on it to give me some inspiration to keep at it. :) Can see how much of that rib I heated too. I was bringing the overall crown down more to make it look more factory. I noticed the side started bending inwards and upwards as well. Fortunately lowering the crown spread it back to where it was straight again, but caused the top of the skin to collapse! I tried the technique of hitting it down while it was hot, but it caused a lot of damage for me. I obviously need to be better at it. Went back to heating and letting it cool naturally which leaves the panel really tight in the area. I then hit it down off dolly or onto a lead filled rubber block to lower the high spot.
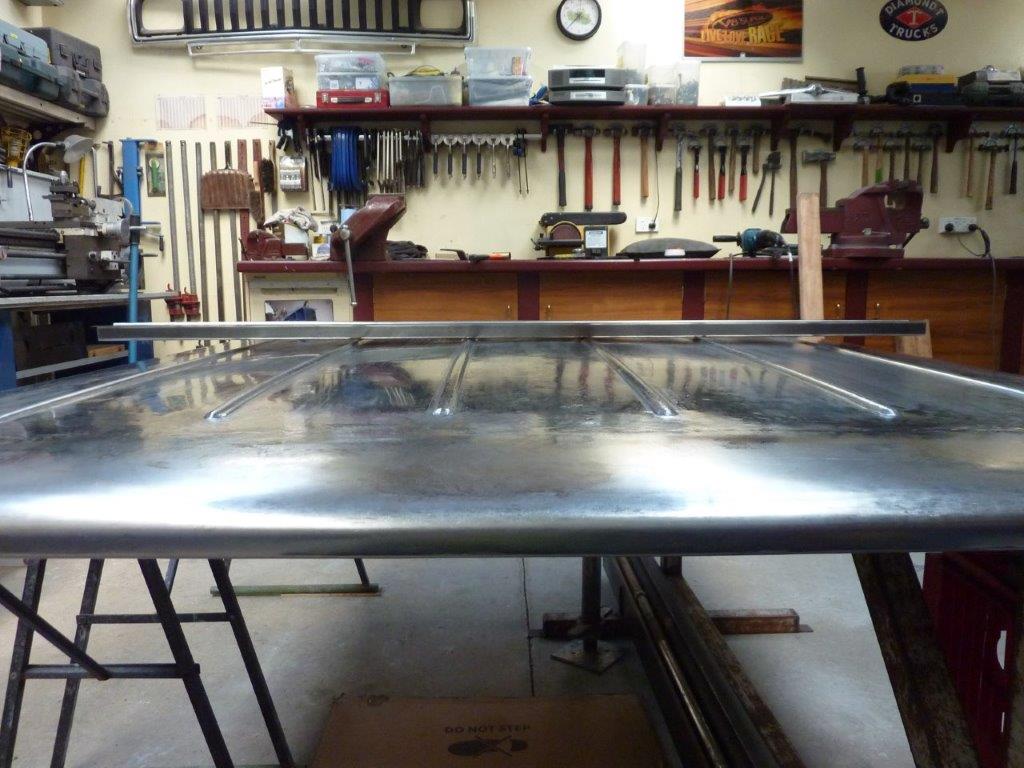
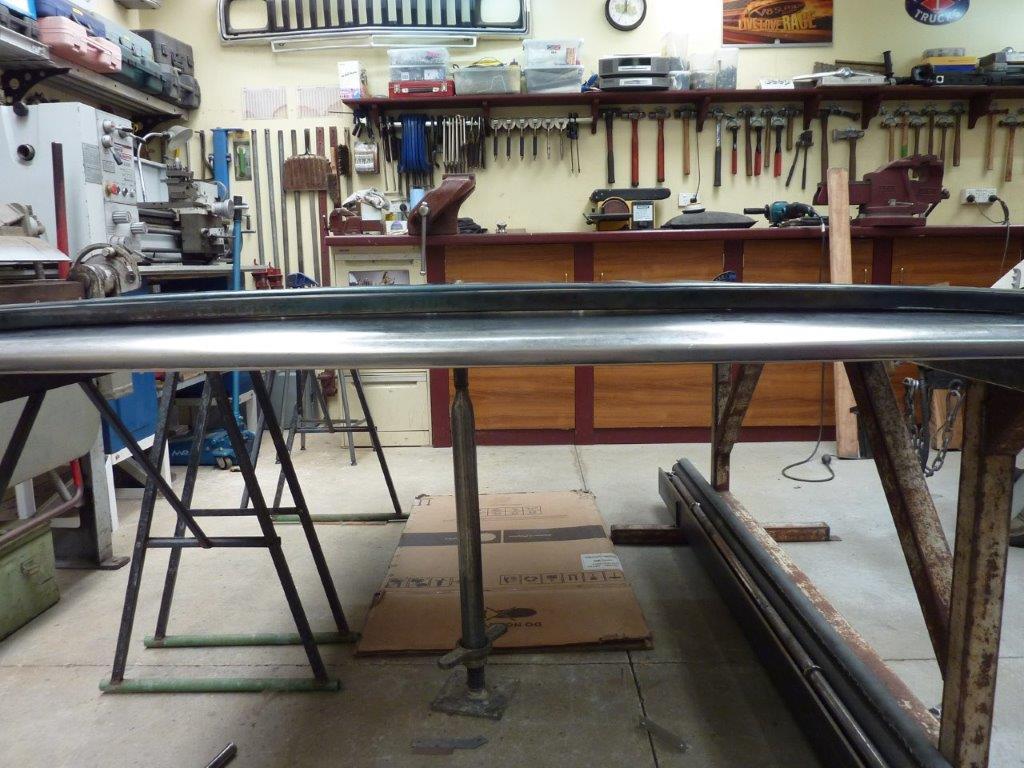
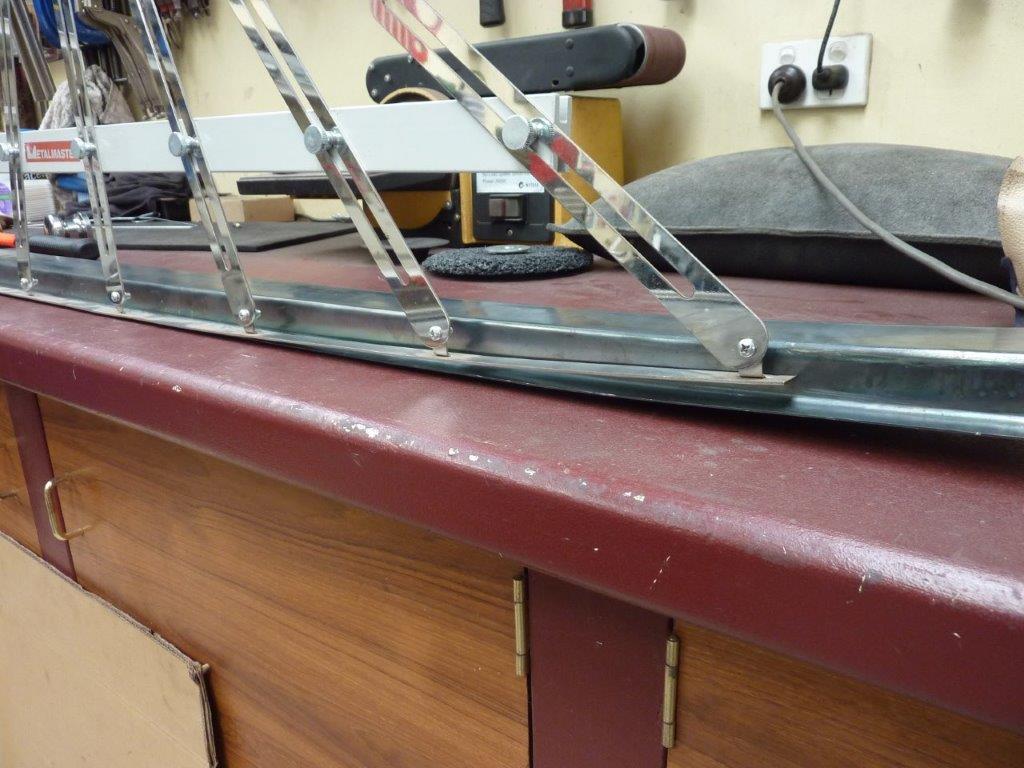
Once the crown was checked with the profile gauge left to right, front to rear, I could then make a centre cross member. I folded up this hat channel and can see how much it needs to bend. It starts out perfectly straight but needs a gradual curve to it to match the crown on the panel.
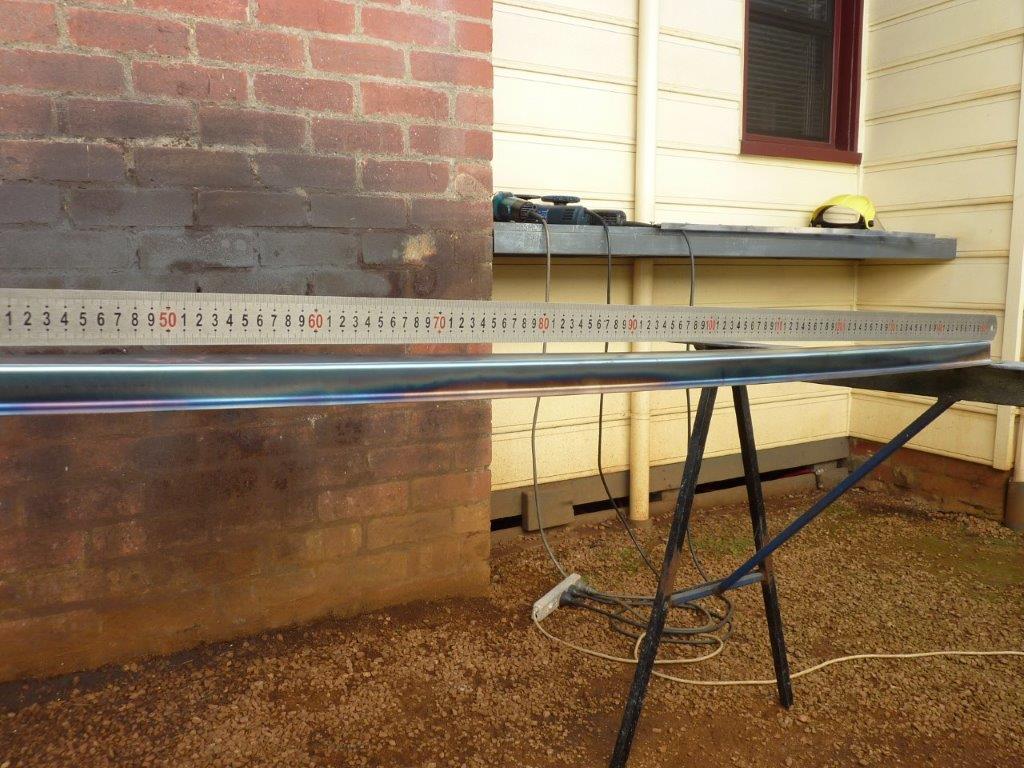
Using a propane torch I slowly just heated the top of it and let it cool naturally. Showing some good progress already. Can see the ends are about halfway closer now.
The curve needs to be more than the panel below it like it is already starting to show. One because there is more crown in the middle, but also it is the top surface of the cross member that has to match. Time to take an accurate profile of where the cross member will sit.
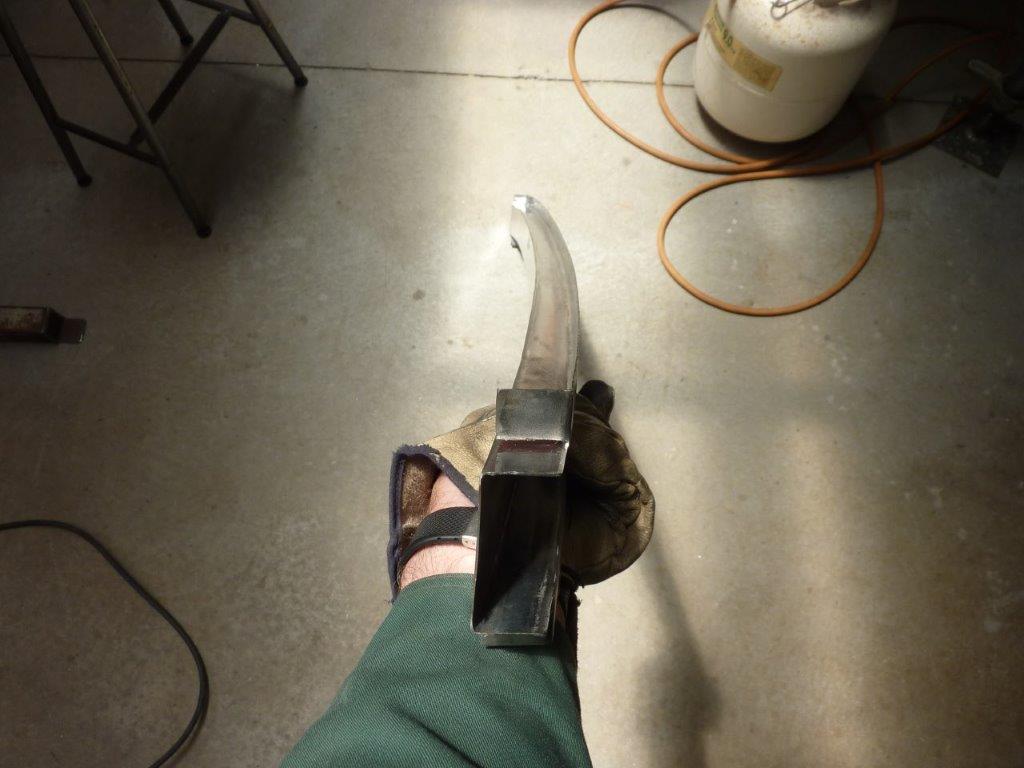
Can see it still has a little more to go. I tried the partial cut and weld back up method, but it was too harsh for such a gradual curve. So had to cut it and put it back to what it was. The torch method was not getting it any further so actually placed a weld bead on the top edge where I needed to add the extra curve. The weld causes it to shrink and add more curve. Could place it in slightly different places left to right to get the curve perfectly even as well this way and was only needed near the ends where it was much steeper.
[Index]