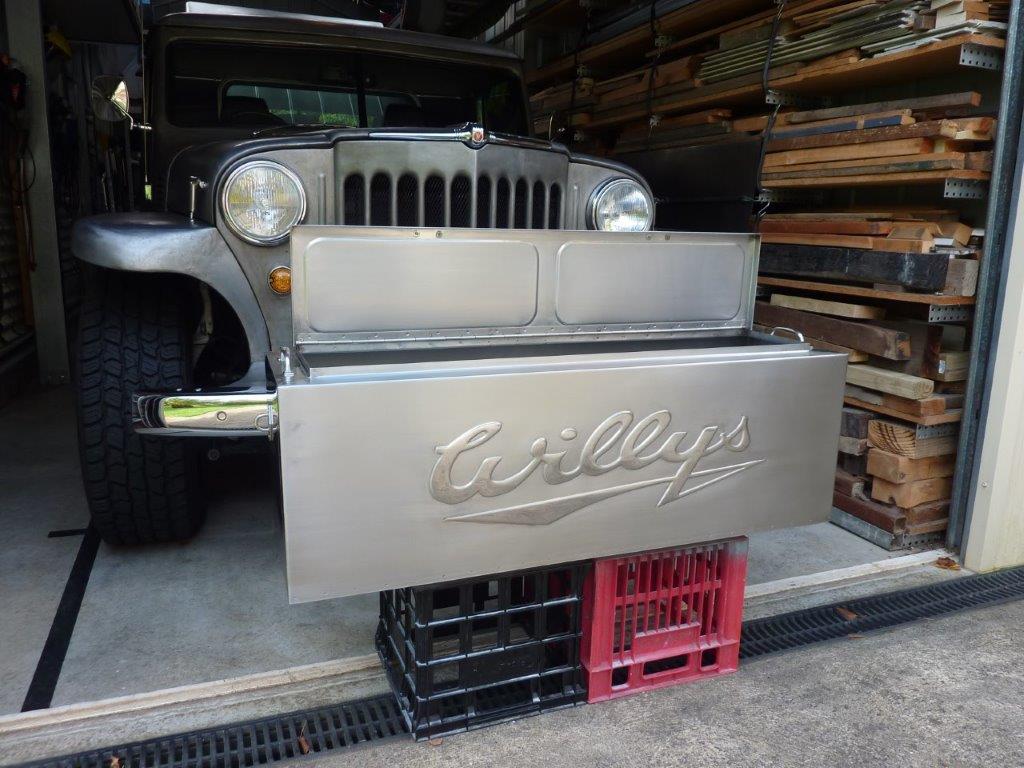
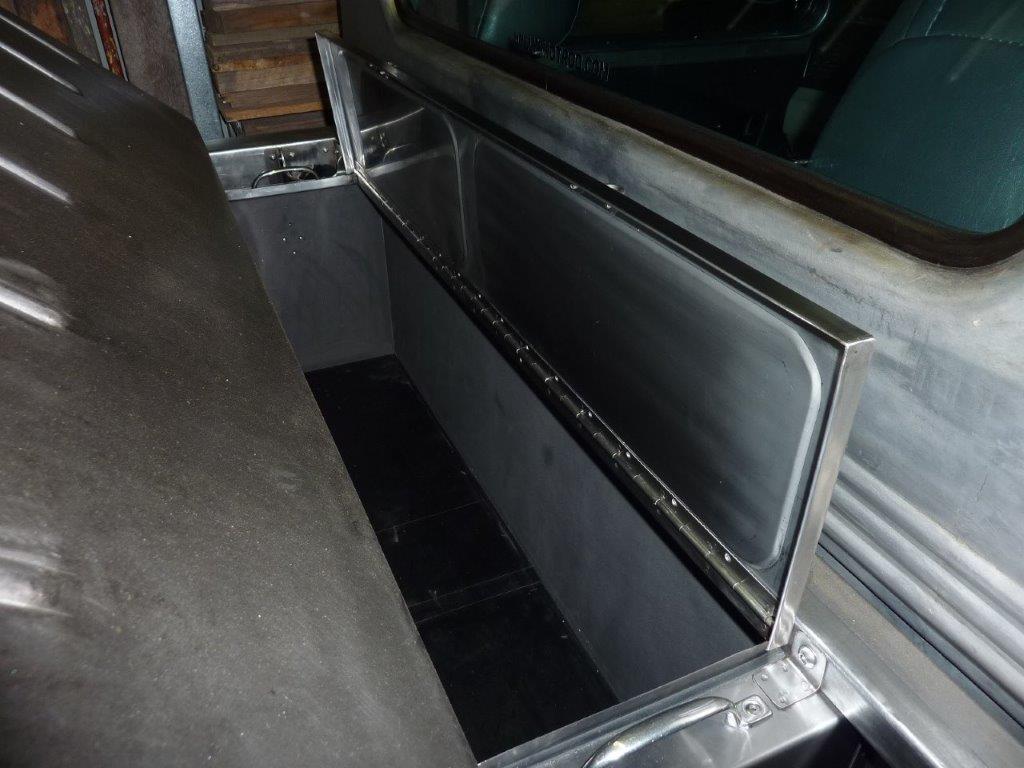
The box was passivated using phosphoric acid as I don't have any nitric acid. Read it also works to stop the welded and areas worked with steel tooling from rusting. Sits nicely against the head board and tucks under its flange. Also against the fuel filler cover on one side and leaves enough room to attach the hold down straps at each end.
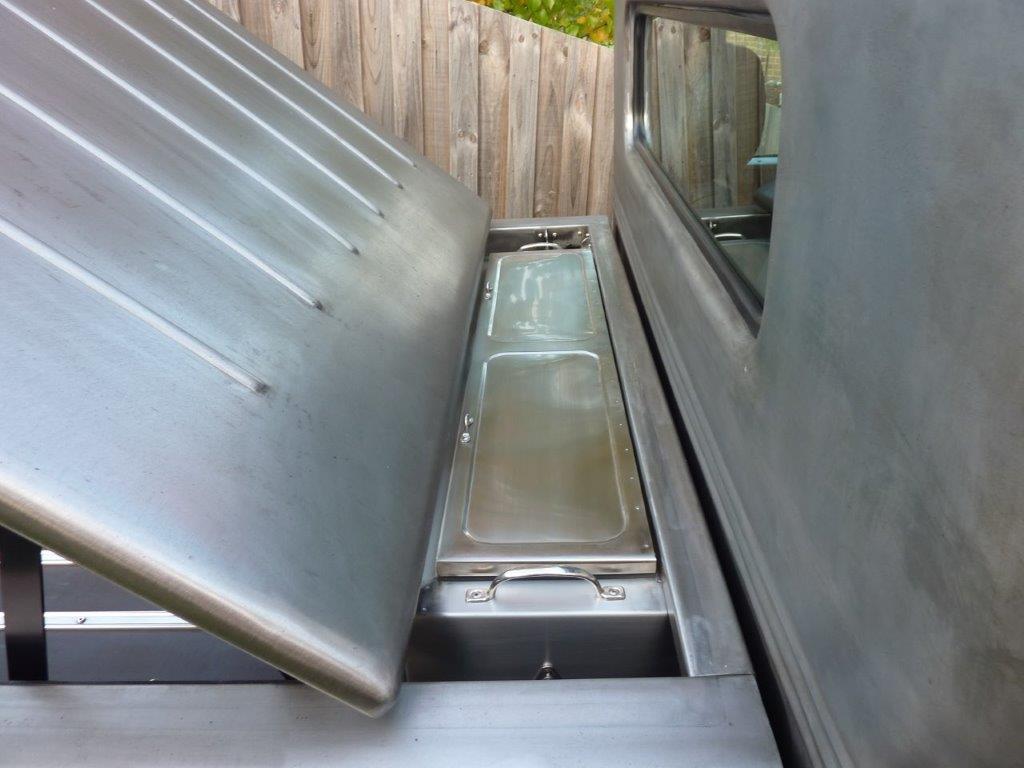
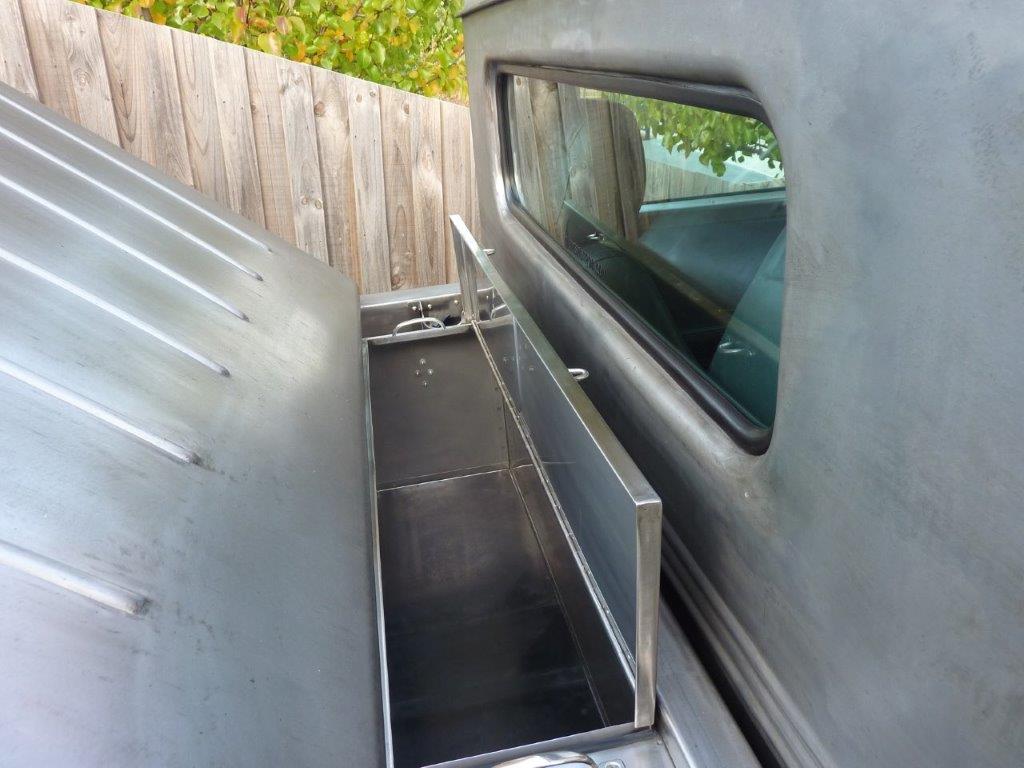
The width of the chest was made so the opening would match how far the tonneau comes forward. Easily accessible and have rubber lined the bottom also to slow things sliding around. Great place to put the shopping as now wont slide all over the floor. Can even fit a couple of folding chairs.
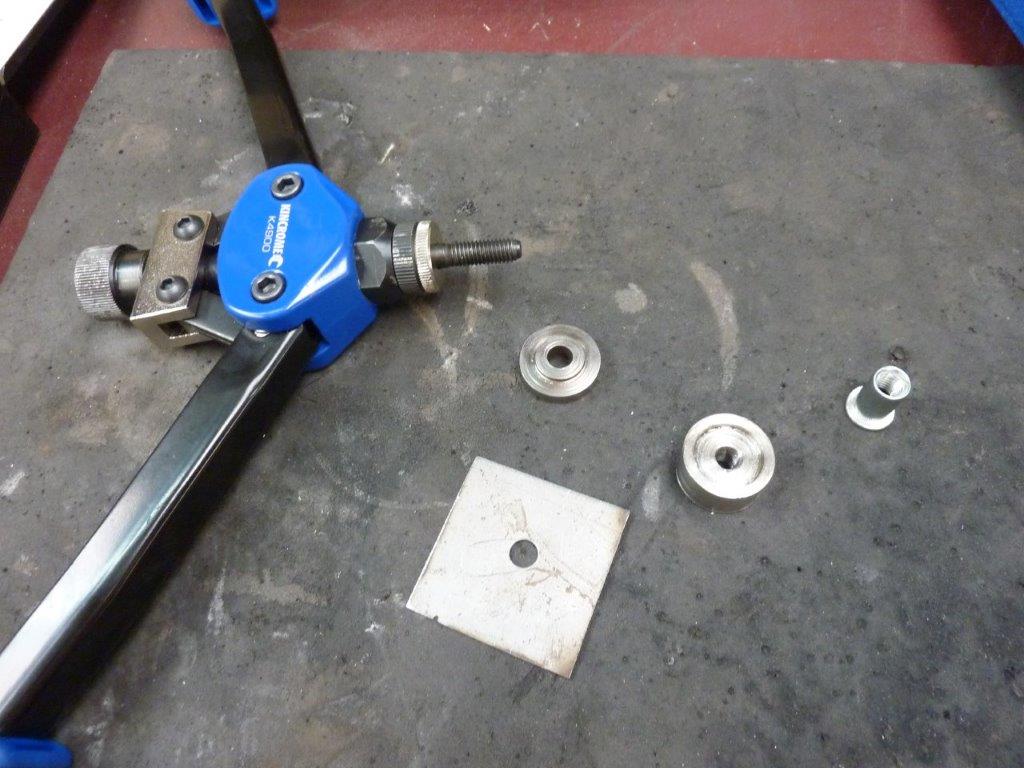
I wanted to make a pressing die that would recess the head of a Nutsert/Rivnut so it would be flush. I turned up in stainless a male die that the raised step was the diametre and thickness of the head of the nutsert. The female side I made the step in the thickness of the head and the head diameter plus 2.5 times the thickness of the metal that would be pressed. First slide on the male die and then insert into whatever you are going to install the nutsert into. I first drill the hole to suit the mandrel size so it stays centred which will be the same as the bolt diametre that will thread into the nutsert. I have threaded the female die the same as the mandrel
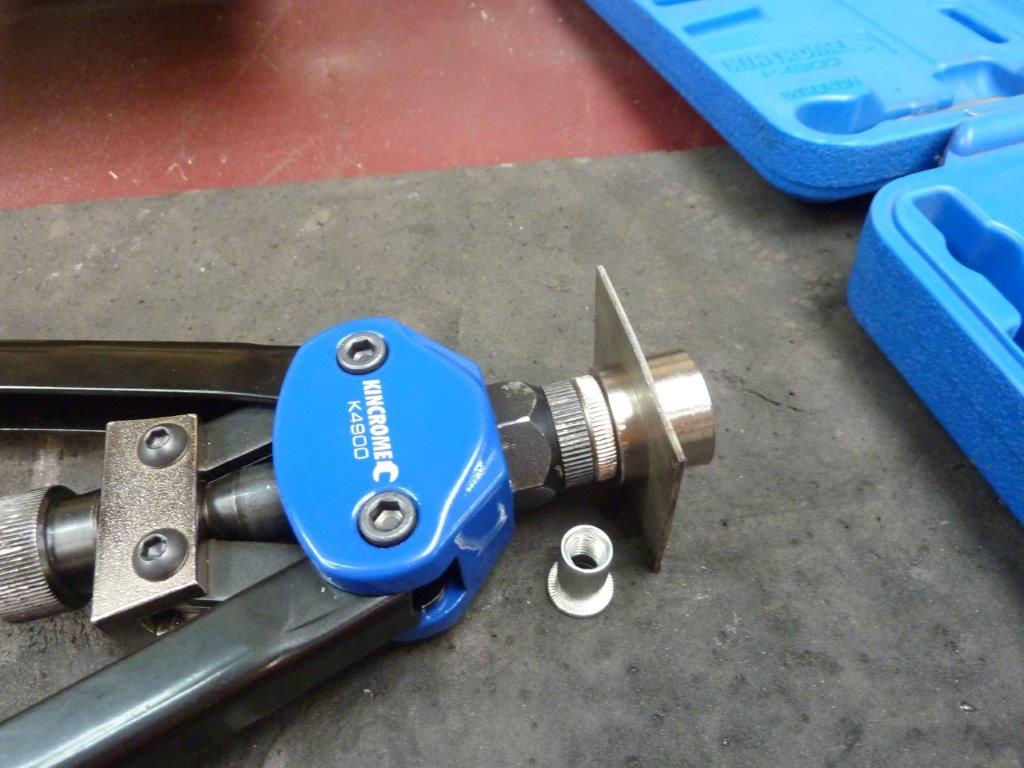

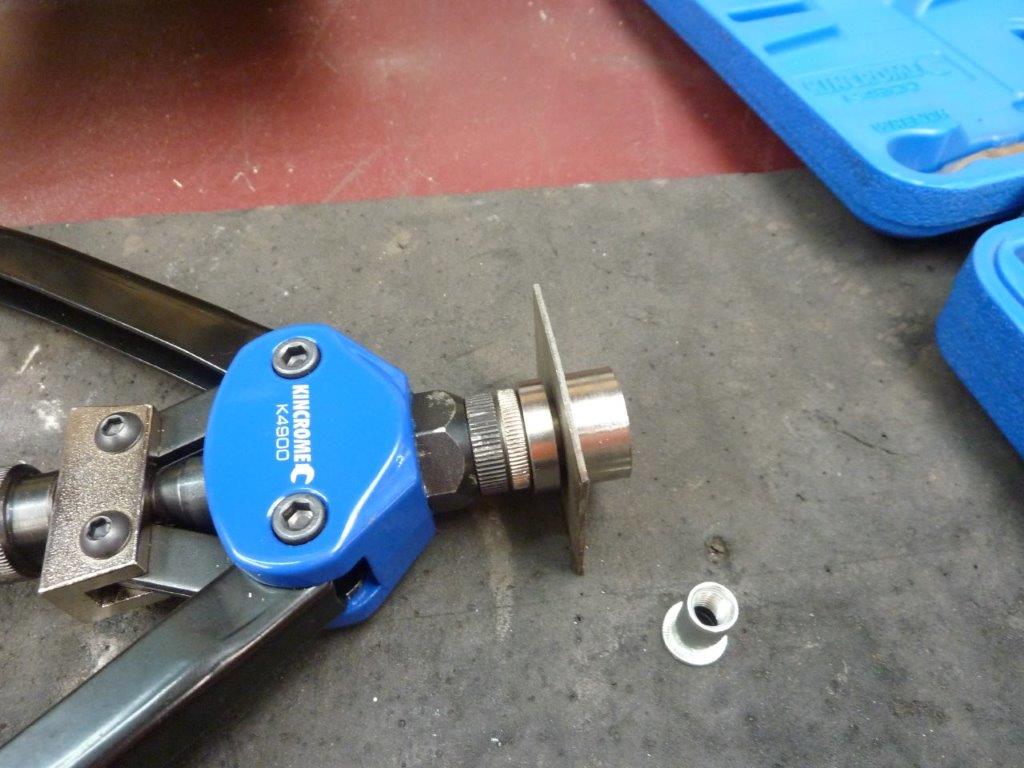
Just use the setting tool as normal to squeeze the male die up to the material. Took less pressure to press the recess than setting a nutsert. Now have a nice recess to sit the nutsert into.
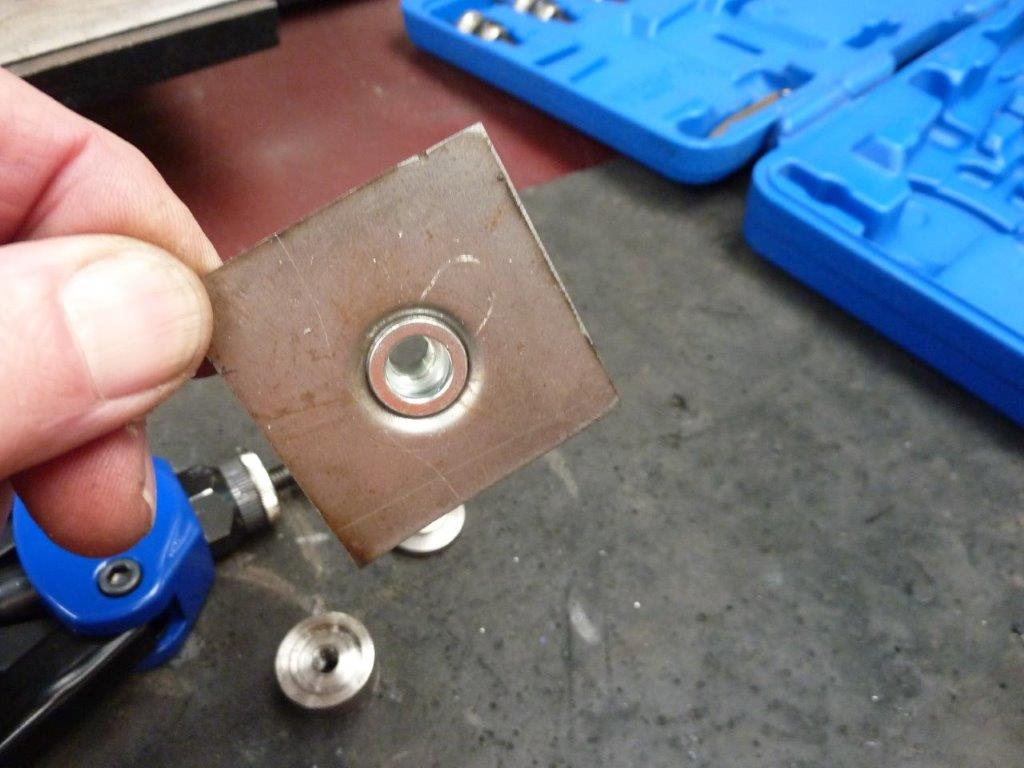
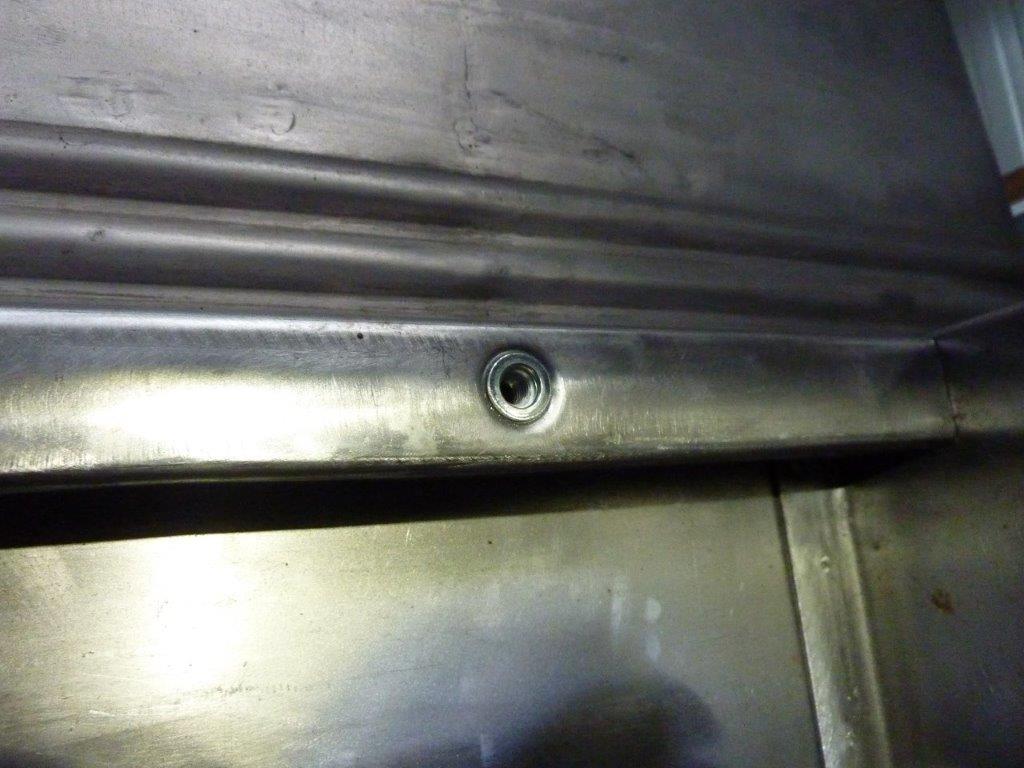
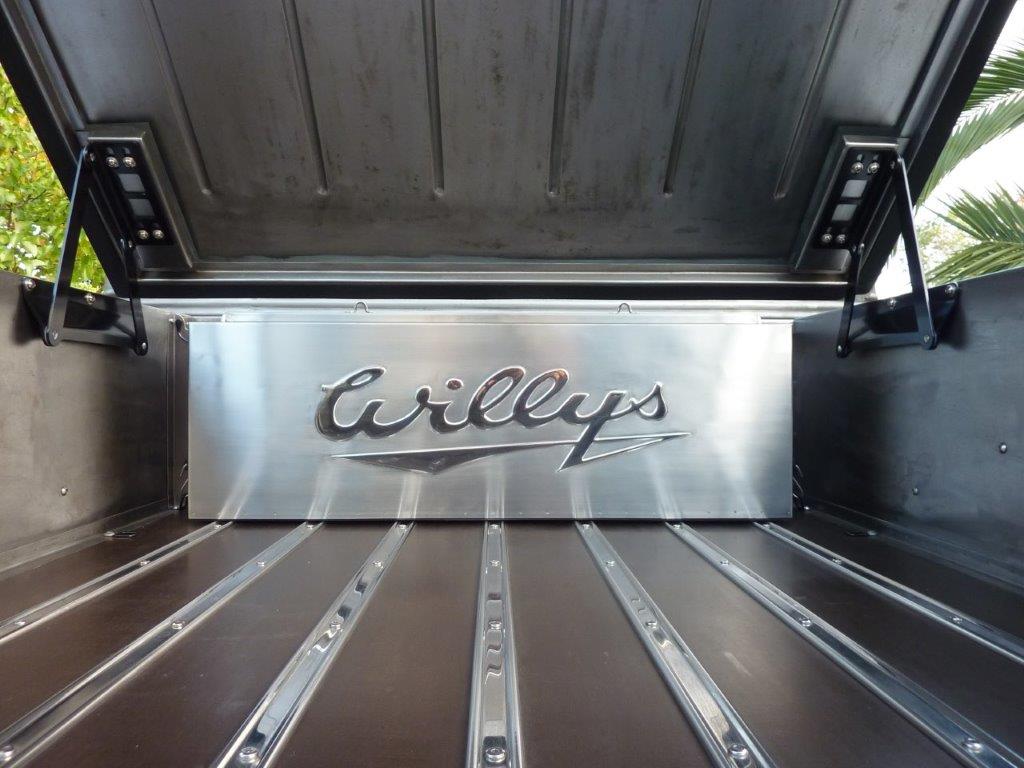
The nutsert head sits perfectly flush now, so whatever you bolt up against it, wont sit out the thickness of the head. The reason for making the dies is so I can have a way of securing the new chest to the headboard of the bed.
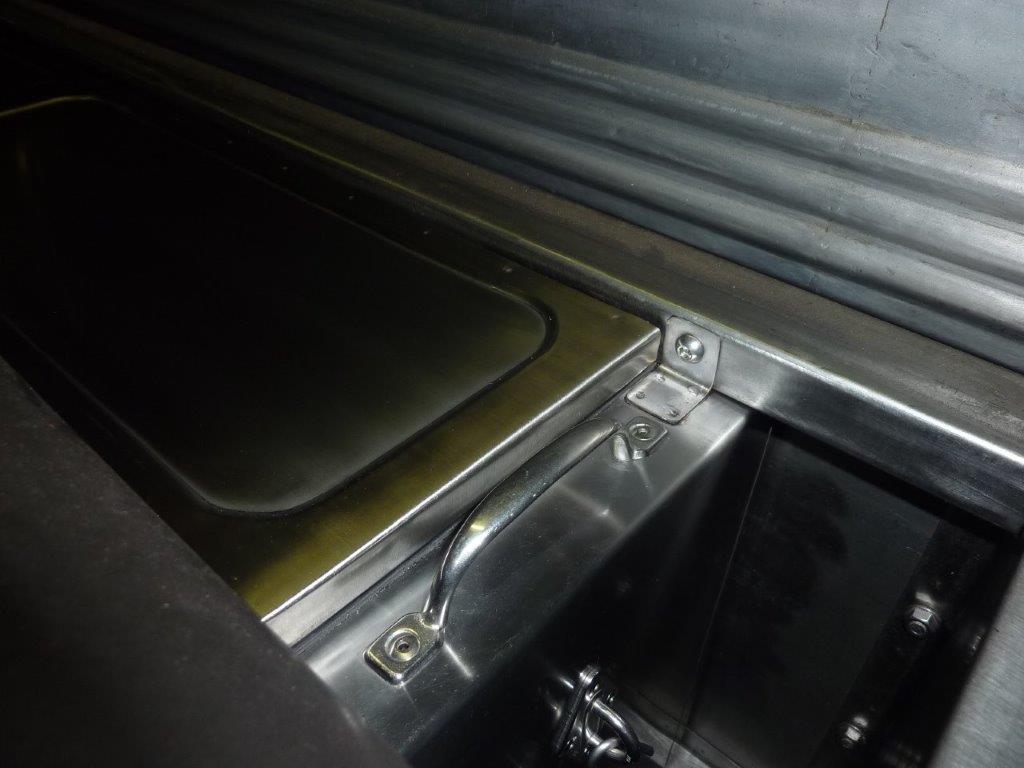
Simple bracket folded up and spot welded to the top of the chest. Then bolted to the new nutserts. Now the chest can't move so the lid always clears and no rattling either. I also lined the inside of the chest to protect the walls from anything moving and to damped any sound.
The truck has travelled to 30 events and done 4000km doing so. Not once has it let us down and not even an oil leak! It has well and truly proven itself and really surprised there were not teething problems.
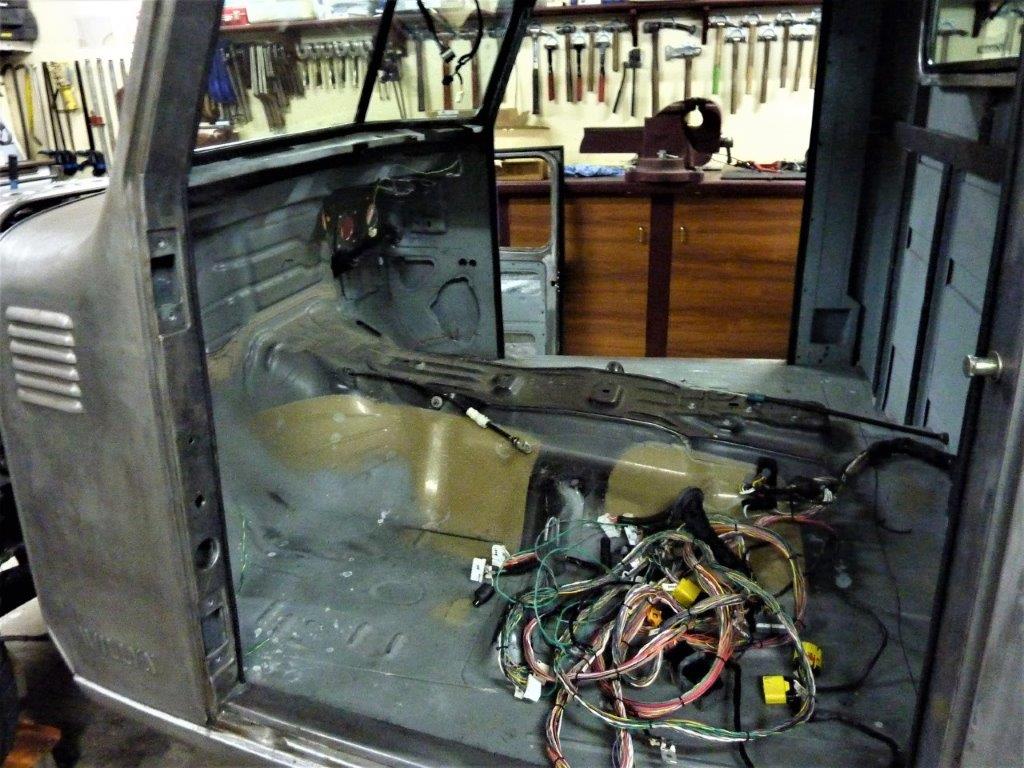
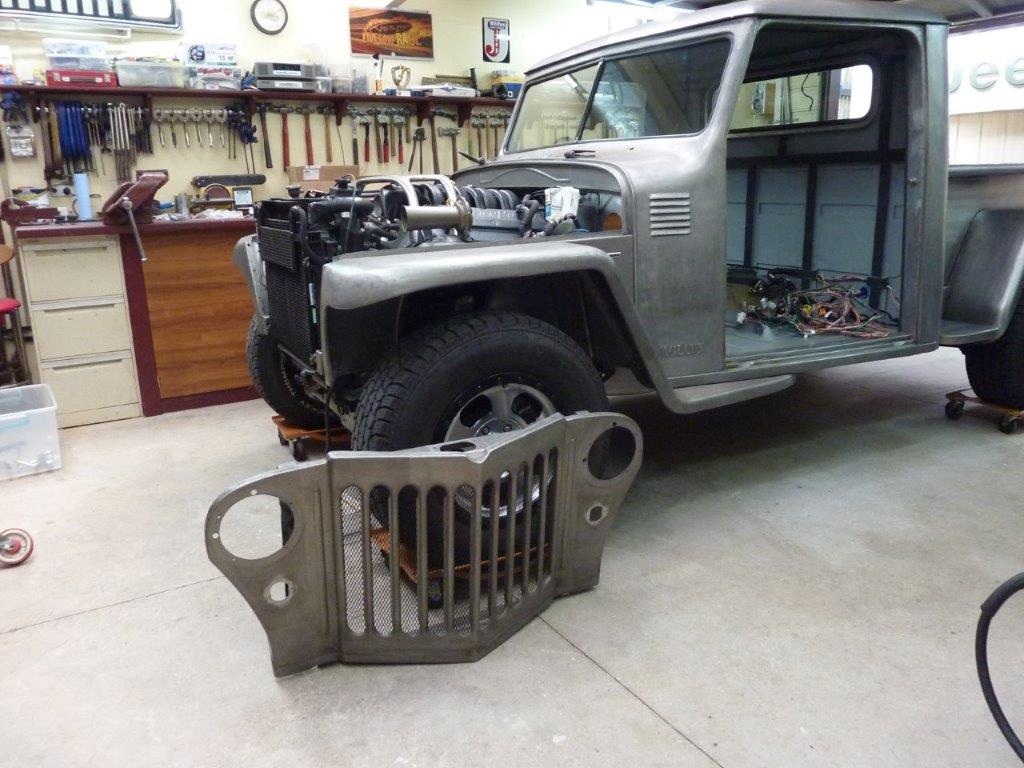
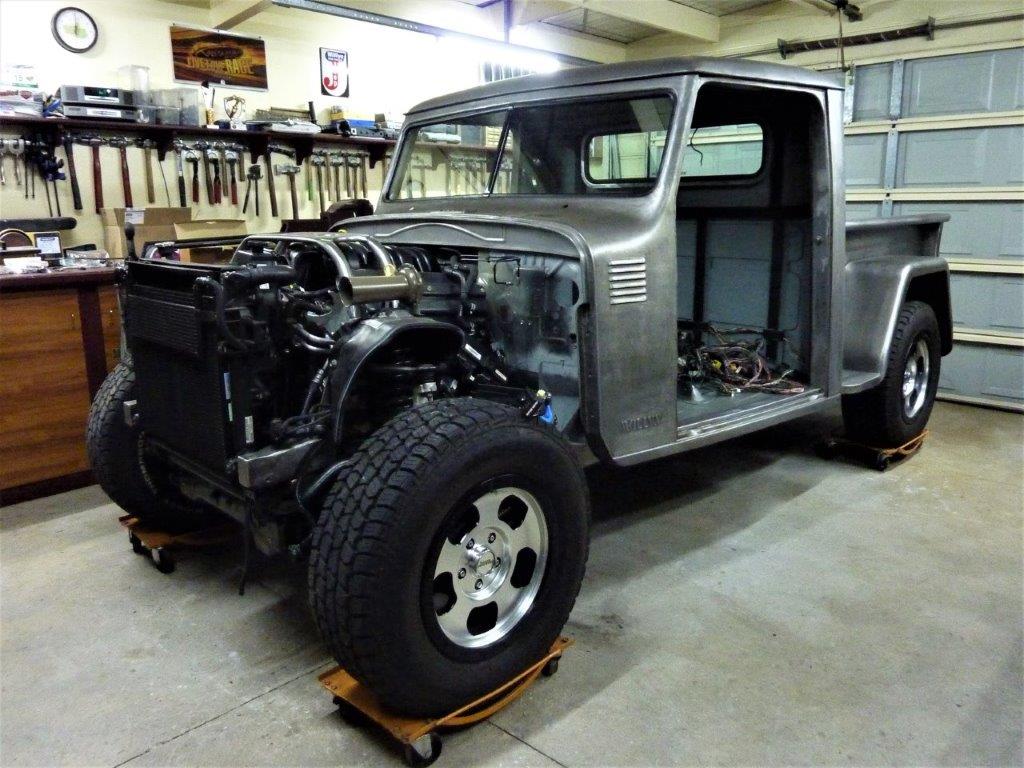
The big strip down has now started so it can all be painted. Cab is now completely gutted and ready to come off. The biggest thing I couldn't do anything about while assembled, was how hard it was to close the last door if the windows were completely up. There was just too much cabin pressure and you could see the panels swell for a second when closing the last door. I really didn't expect my door seals etc to seal that well for it to be a problem!
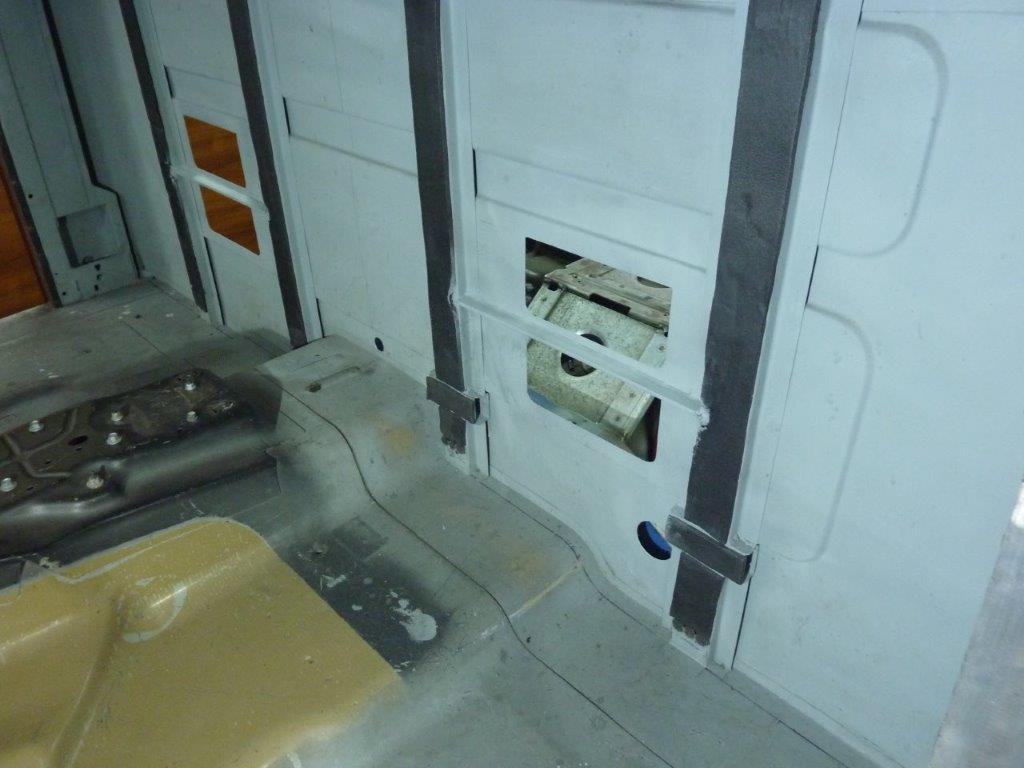
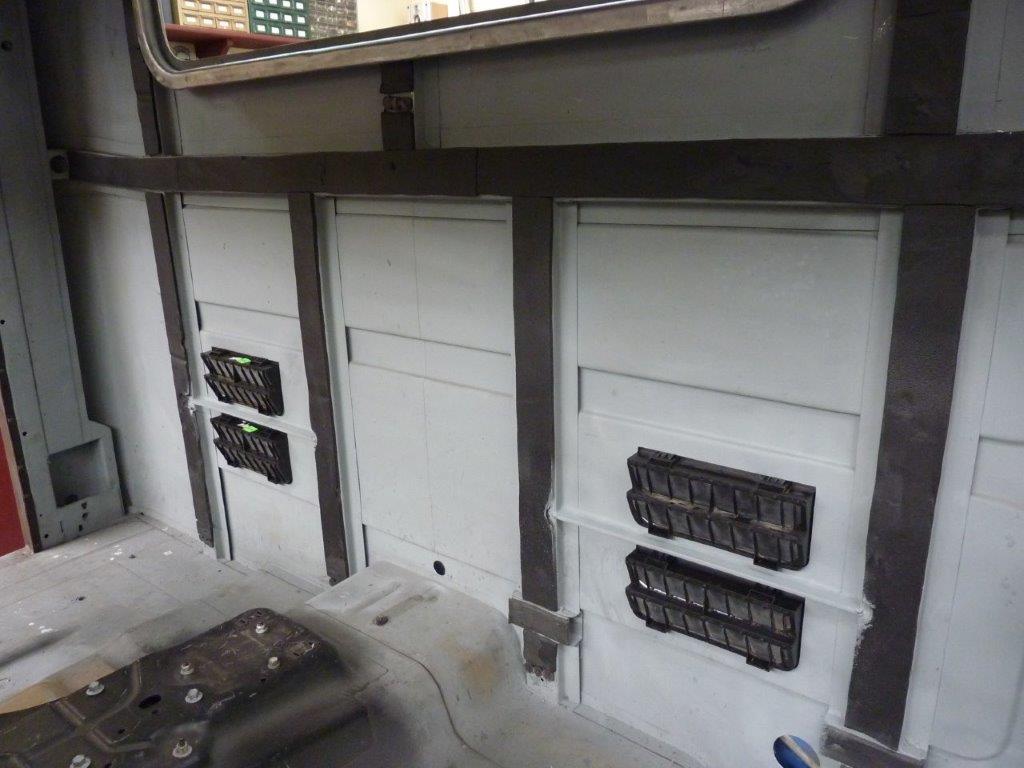
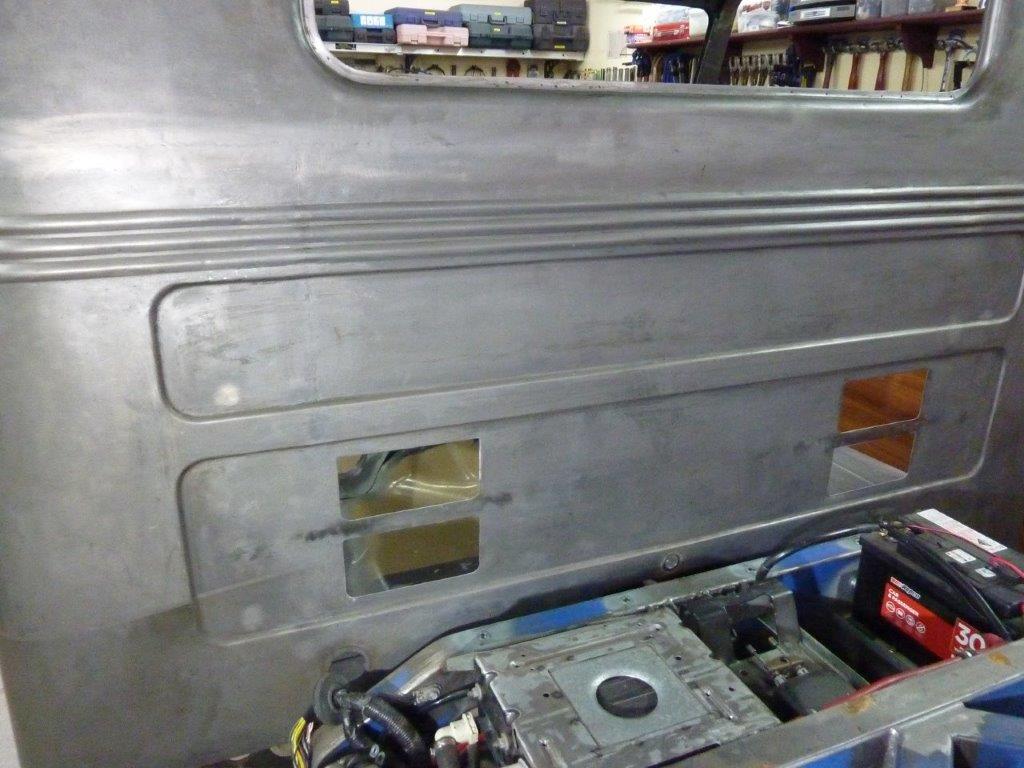
The solution was simply what all modern vehicles have and that is pressure relief vents. I spent some time looking around the wrecking yard to find something that wasn't a weird shape or too deep. I doubled up on the amount of vents I my thinking is that a smaller cab builds more pressure than a sedan or station wagon that has a larger volume. You can see I added a brace between the vent holes to keep the panel taught. These vents came out of a VW sedan and hatch of 2000 vintage and were in the boot venting to behind the bumper. The rubber flap hinges outwards briefly when the pressure is higher inside the cabin.
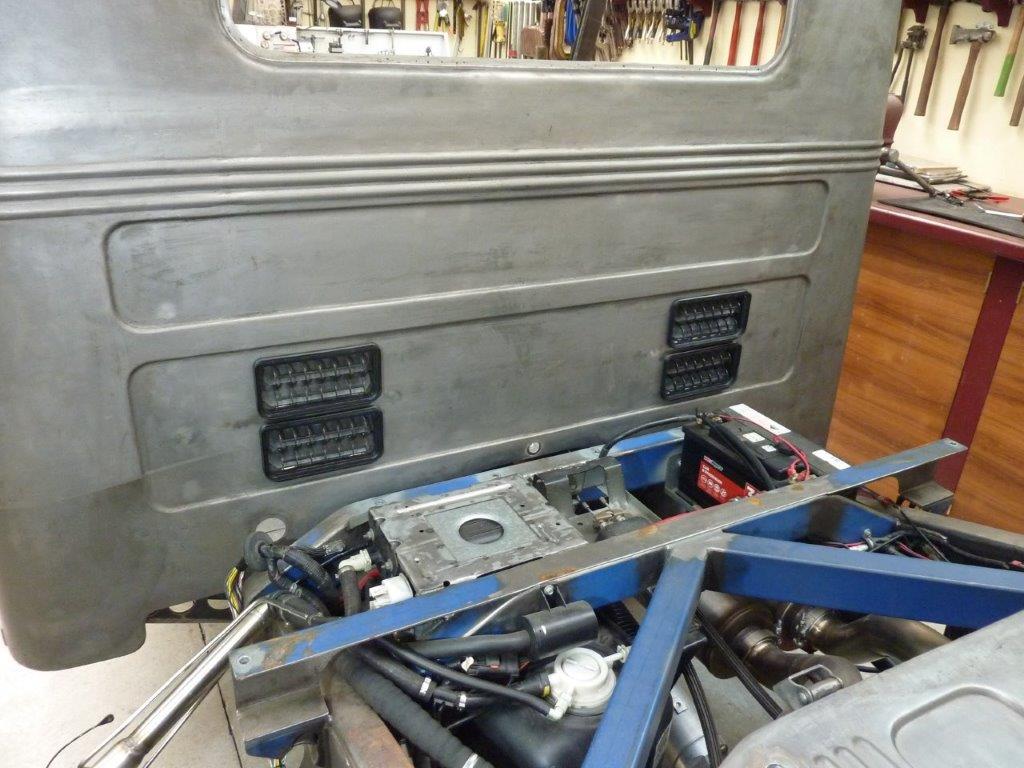

They have a cage over them to stop them going too high. It will vent to the space between the back of the cab and the front of the bed. Will not be able to be seen once the bed is back on. Tending to anything that should be done before painting. I have always wanted to rebuild the hinges, as after 75 years of service, there is play in them. I temporarily got them to work better by swapping the hinges top to bottom.
[Index]