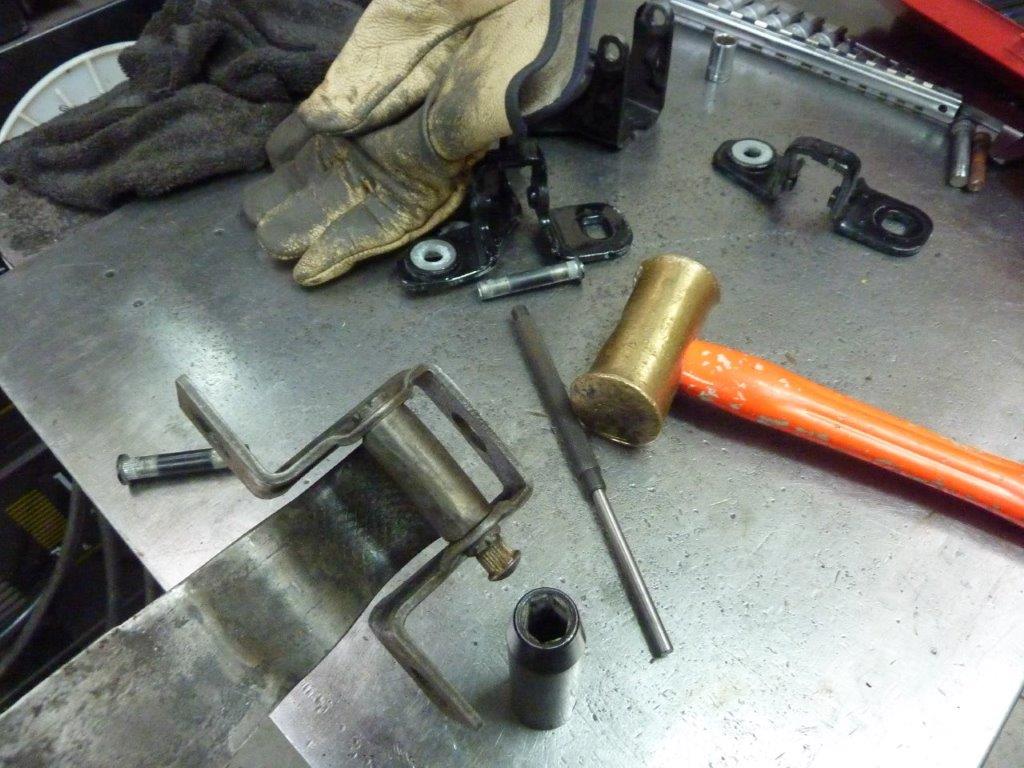
First thing to do is remove the old pins. The trick is to place the pin head inside a close fitting impact socket, 12mm, so the hitting force is concentrated around where the the head sits in the bracket. One sharp wrap very a heavy brass mallet on the bottom of the pin got it moving, and then drove the pin out completely using a punch. I measured the old pins, 11/32", and they were not worn at all! So fitting replacement pins will not do anything to help. Putting a 11/32" drill bit inside the hinge arm though had it rattling around. So that is where the wear is, as most likely just mild steel and not high tensile like the pins. So bigger pins is what is needed and found just what I needed in the 2008 donor Grand Cherokee hinges.
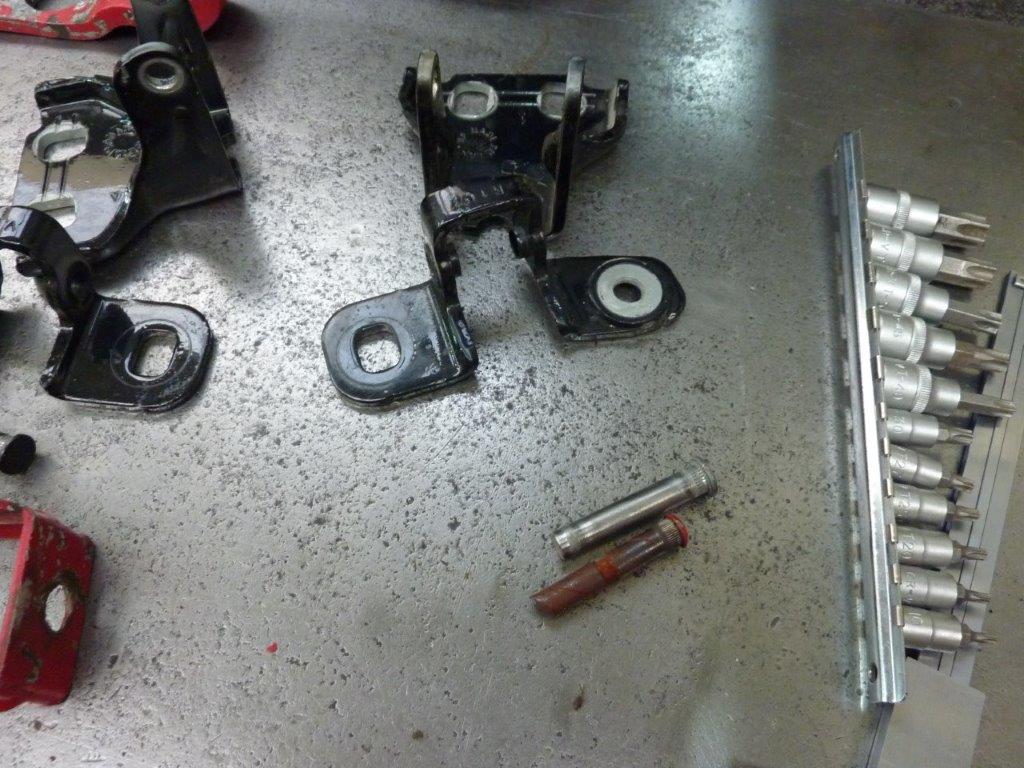
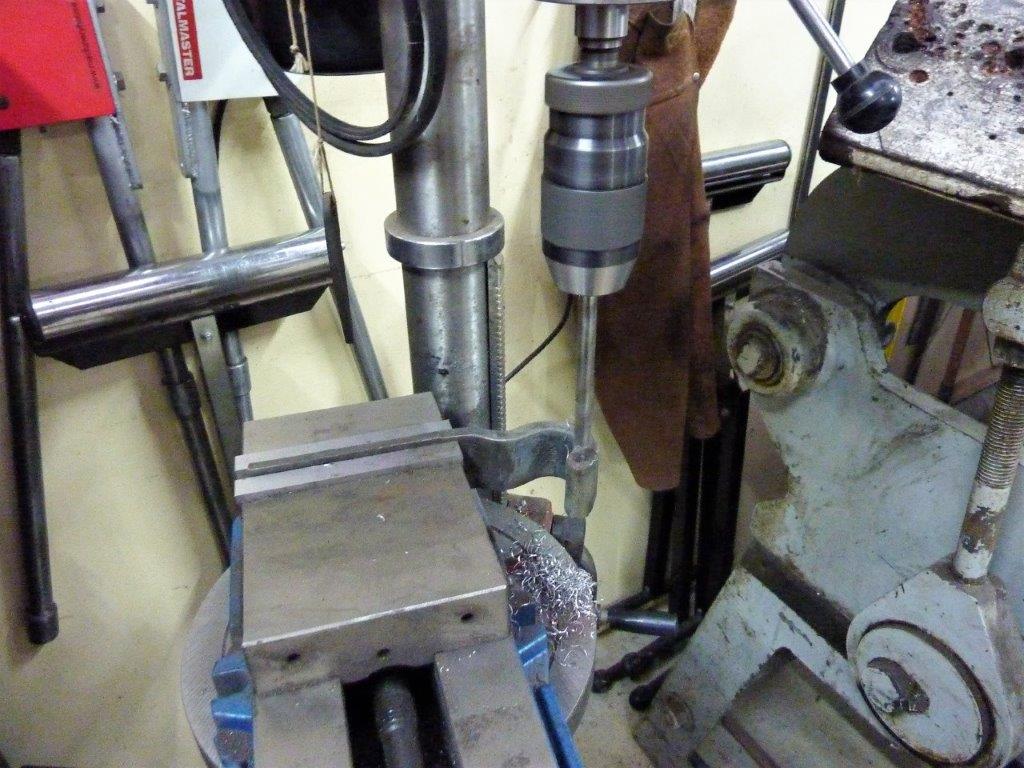
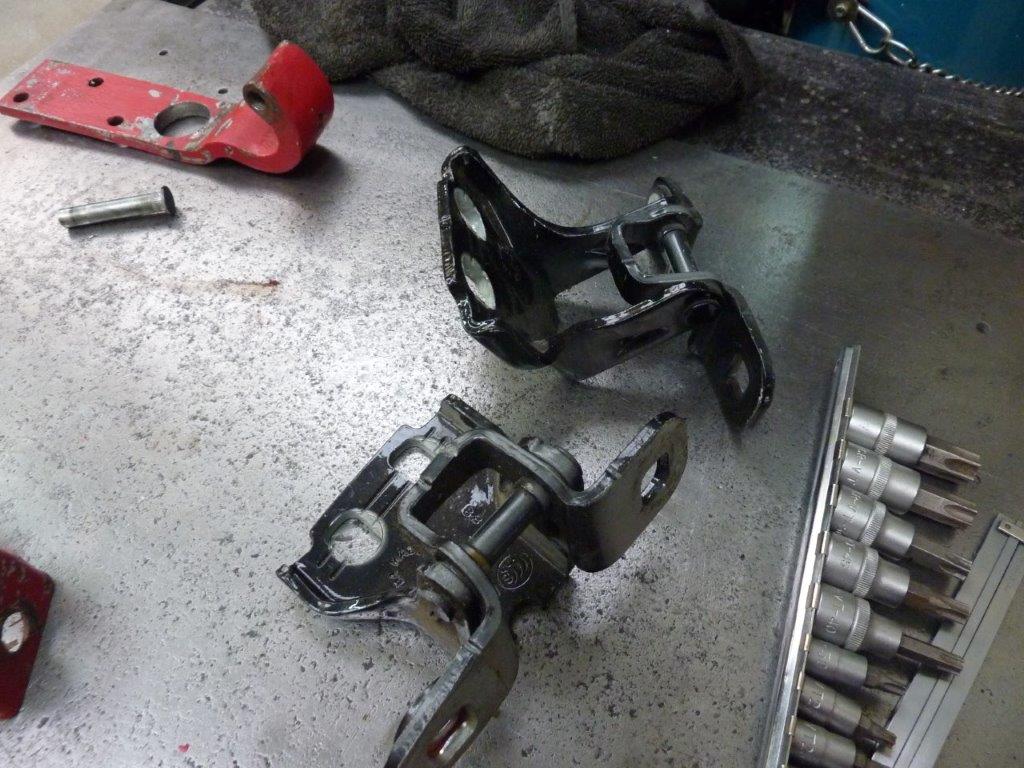
I ground the flattened ends on the bottom of the Grands pins off and punched them out. These are 3/8" so only 1/32" bigger. Only the hinge without the coil spring is long enough though at 2". Strangely the 2007 model Grand has smaller pins, the same size as the Willys, so cannot be used. I setup the hinge arm perfectly level to the drill press and drilled it out to 3/8".
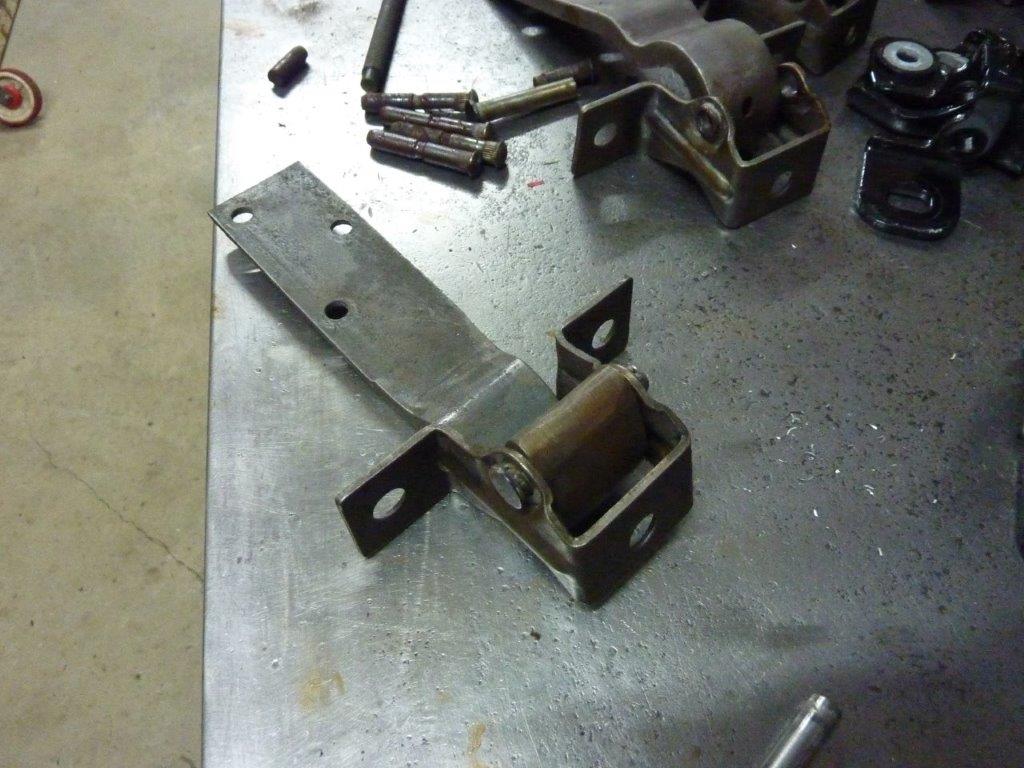
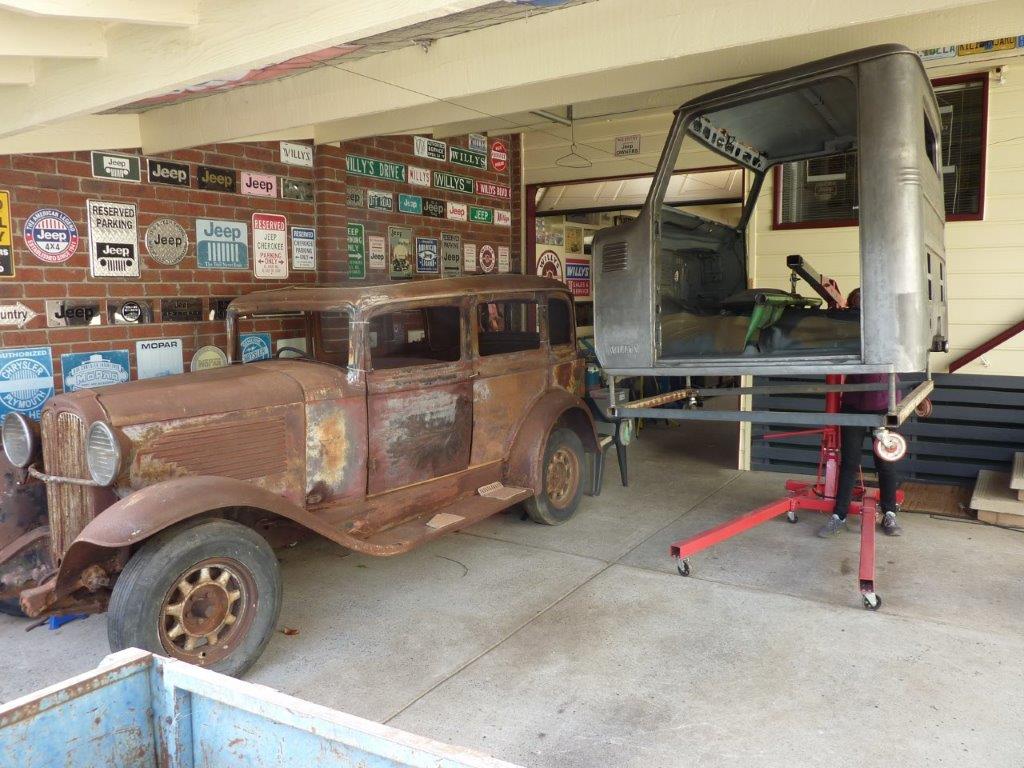
Knocked the Grand Cherokee pin in over the impact socket and zero play in the hinges now. I placed a couple of tacks on the bottom of the pin to make sure the pin does not rotate in the bracket rather than in the arm. Instead of using the Grand Cherokee pins, using grade 8 bolts or grade 9 cap screws would also work. Start with at least 3.5"-4" long ones to make sure you have no threaded section of the shaft inside the hinge and cut off the remainder. Getting ready to put the cab on the trailer, or so we thought.
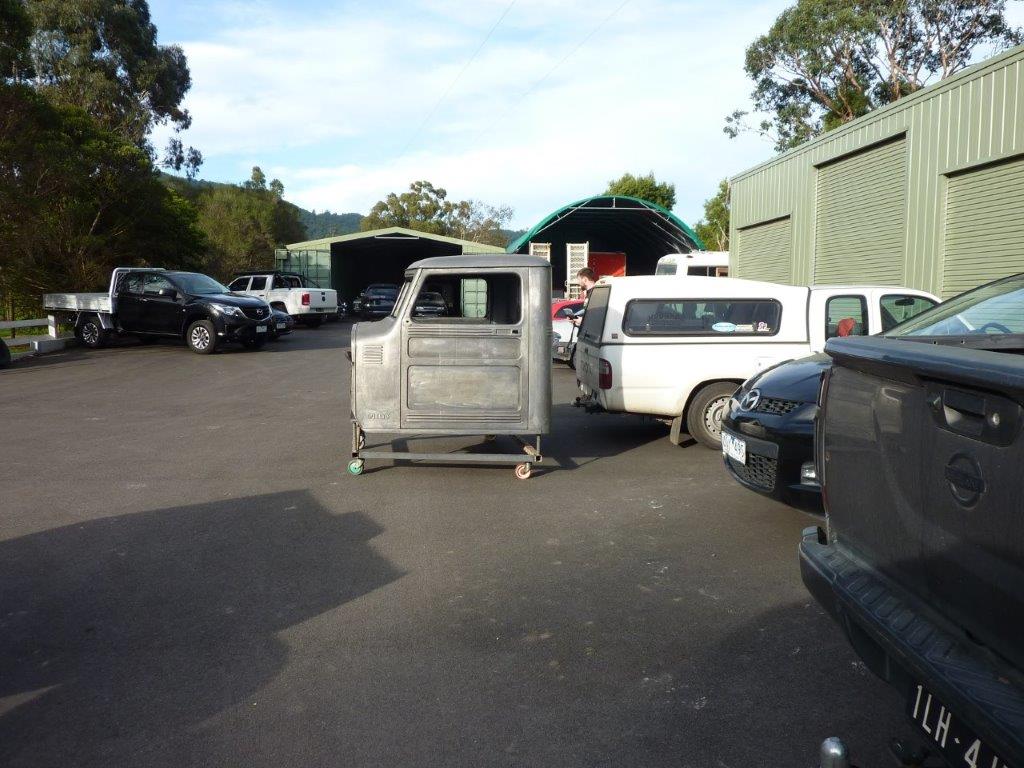
Soon discovered that fitting the cab onto the trailer under the carport meant we didn't have enough clearance to drive back out! Wish it fitted better onto the trailer, but too late now.
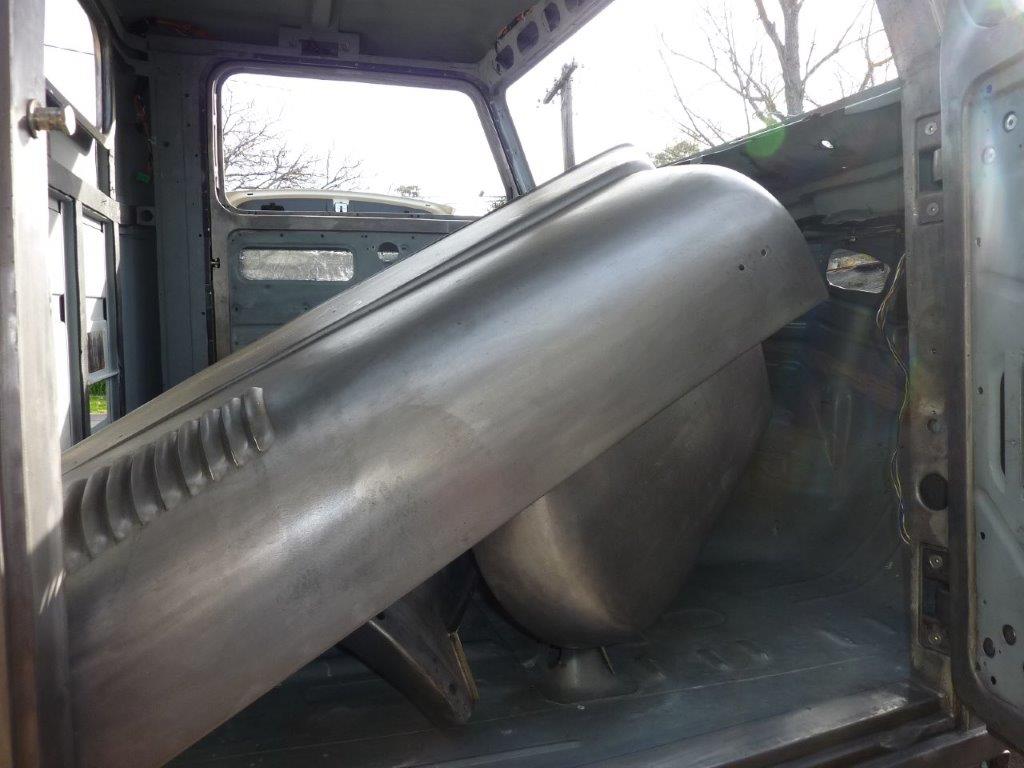
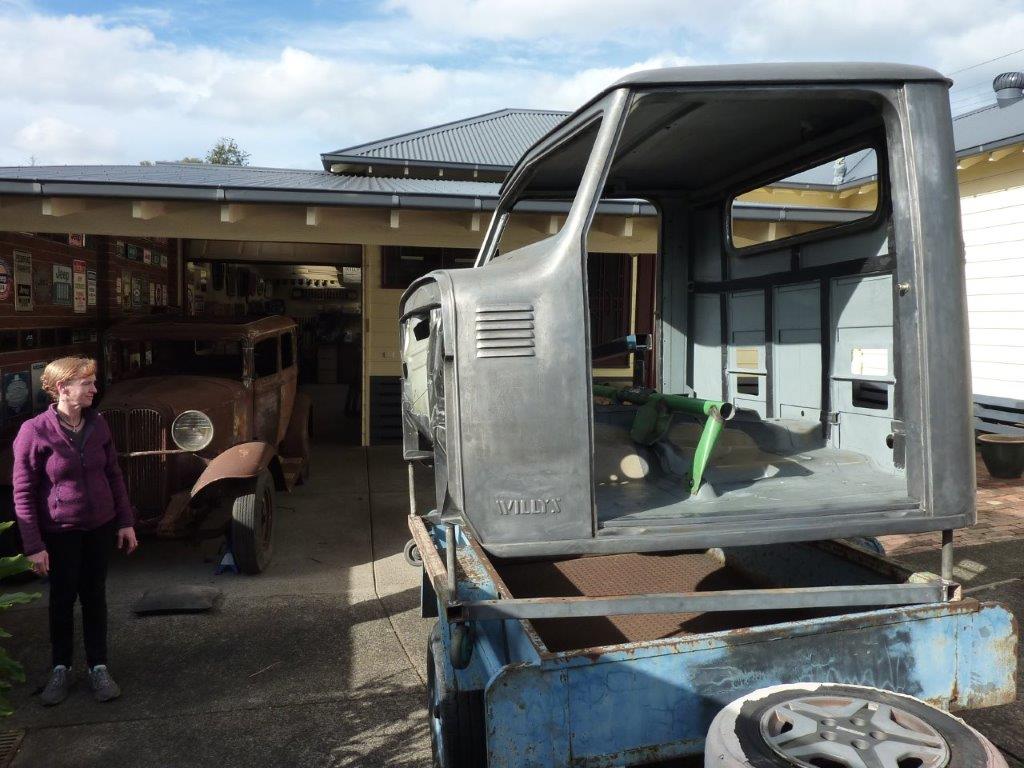
I bolted the doors back onto the cab and have the two guards and bonnet inside as well. Every panel from the bed forward is going to the painters first, including window trims and the suspension tower brace.

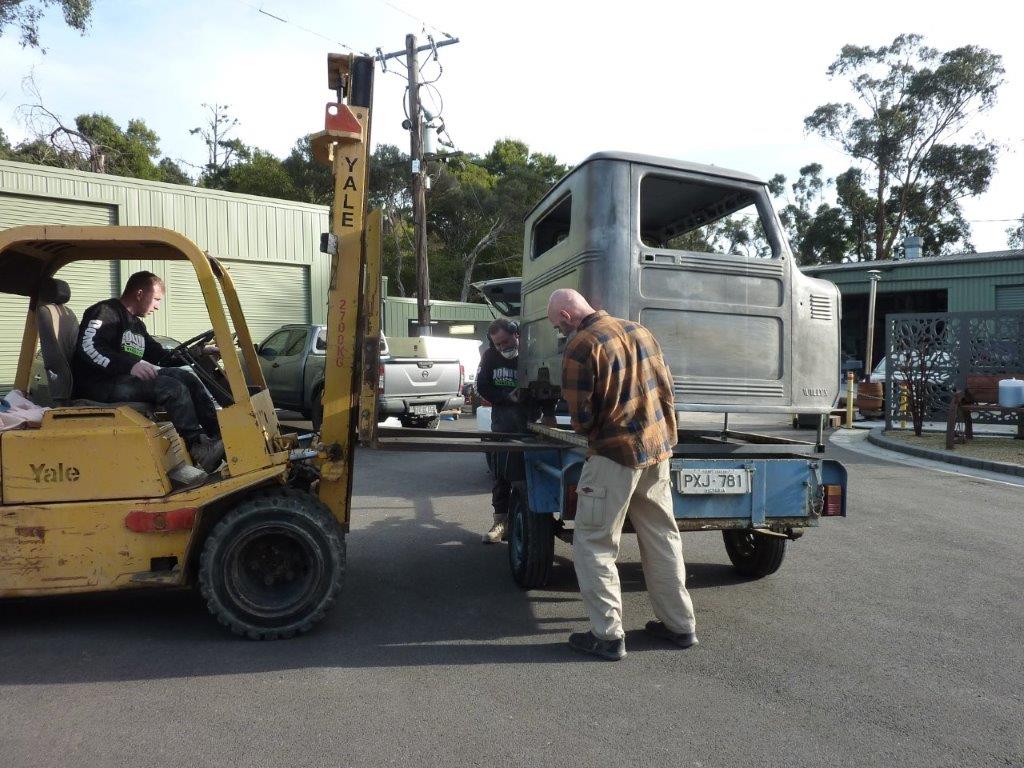
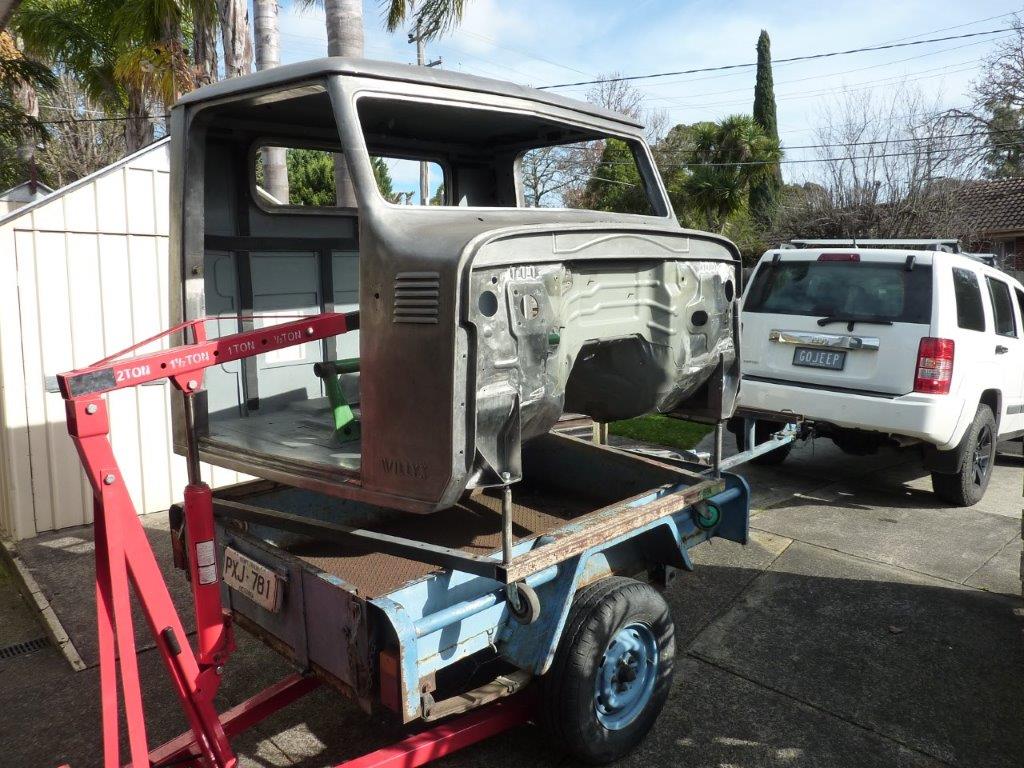
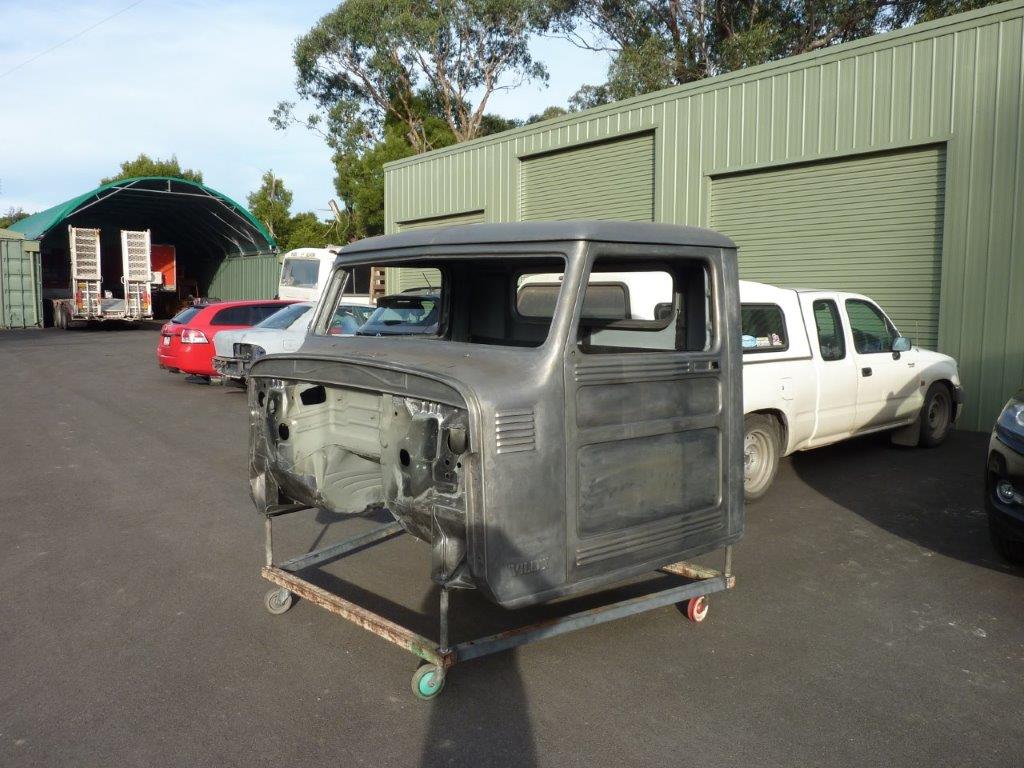
Unstrapped and ready to be taken off the trailer at the painters. Fortunately only a 10 minute drive from our house. Getting the forklift tynes under the cab dolly. Unfortunately they were not long enough to go under the other part of it so two of us had to hold that up while Lisa drove the trailer away.
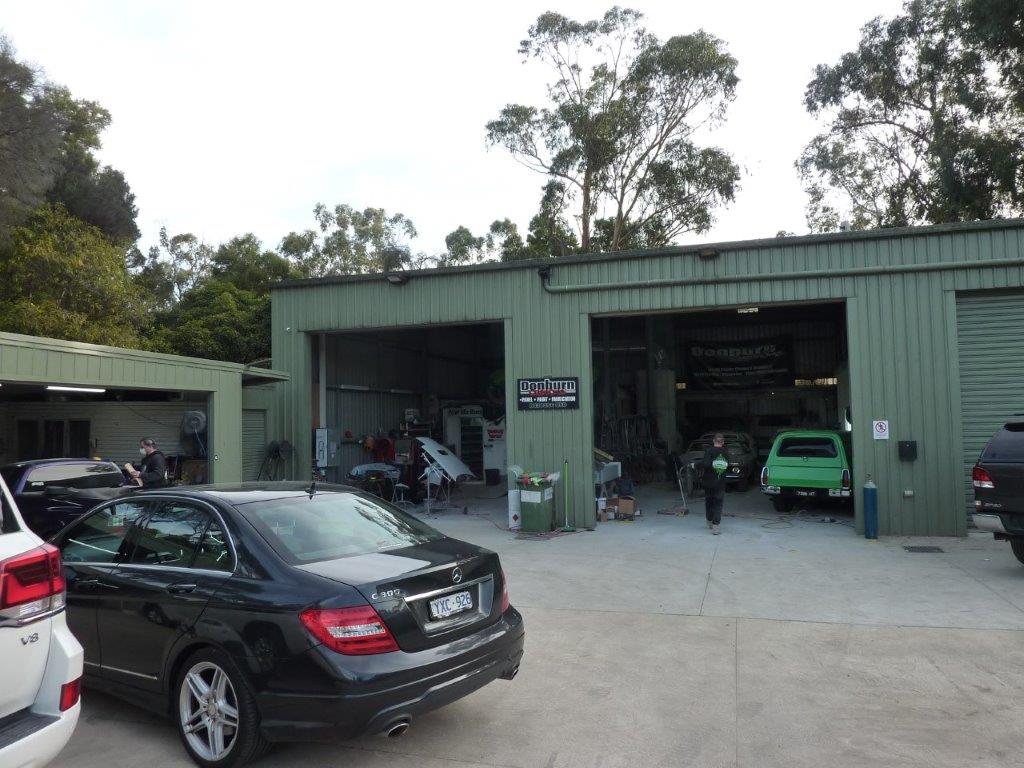
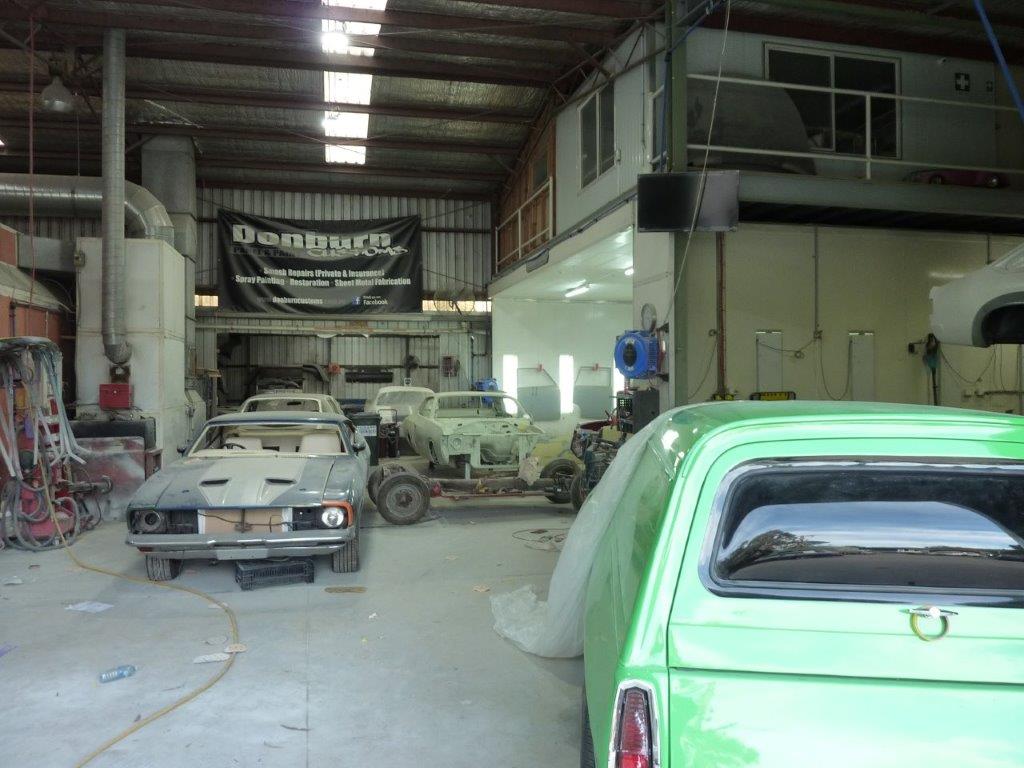
Set on a country property, the panels are being painted by Donburn customs. We have seen cars and pickups that they has done while taking the Truck to shows, also aired a TV on 7mate show called Workshop Wars Downunder, still showing at 3pm on Saturdays here.
For the first time it is no longer in my hands! Plan is to strip all the running gear etc off the chassis and Lisa painting all that while the cab etc is being painted. Looking to have all these panels painted by October when I will drop off the bed panels. While they are being painted I'll begin assembly of the everything that goes inside the cab.
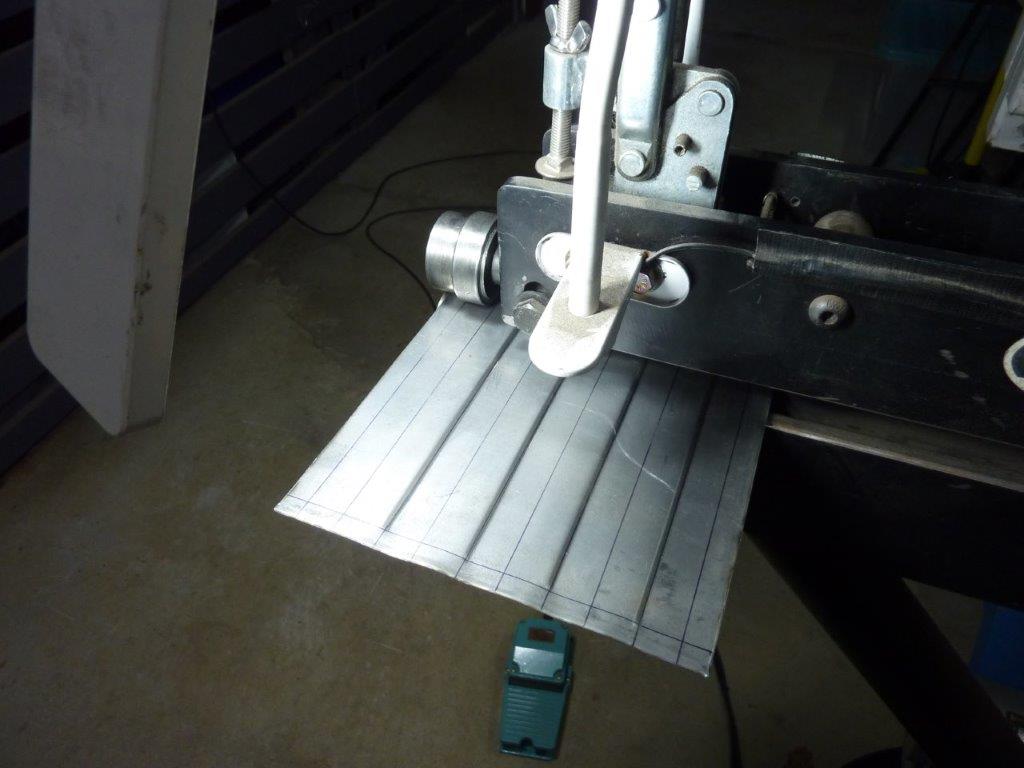

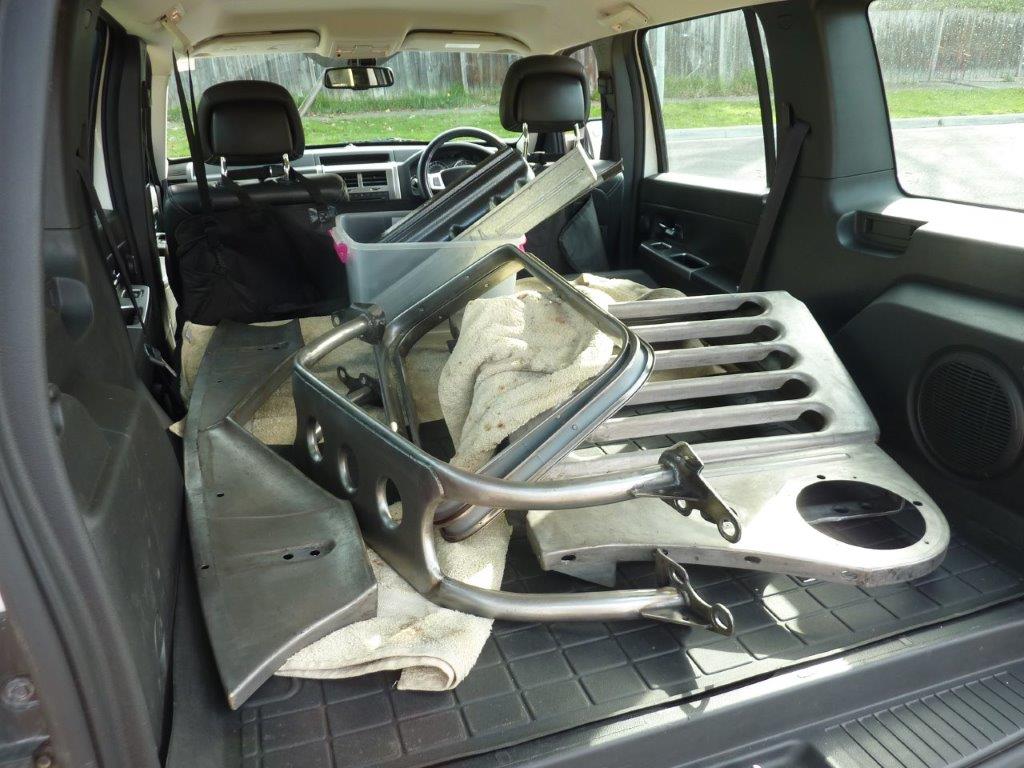
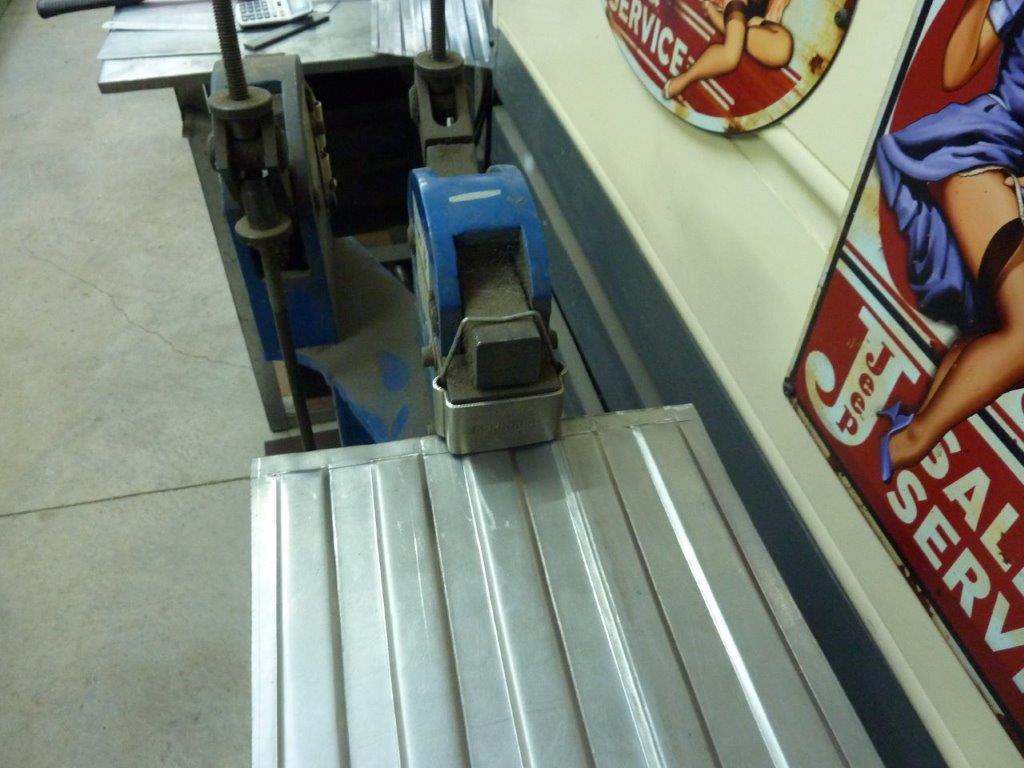
Before I start pulling down the rolling chassis and loosing all the room in the workshop, I'm thinking of anything at all that I wouldn't mind changing the appearance of before it goes to paint. I decided to replace the 3 rounded beads I had on my side steps to more useful flat top ribs that I could put some grip tape on. More ribs as well to make it stiffer and the paint better protected. I'm just using a step die to do all of one side of each rib first before turning the piece around to do the other side. To finish off the ends of the ribs I'm using the step die to run across the very end of each one only. This leaves the end up more than crushing the ends to finish them off.
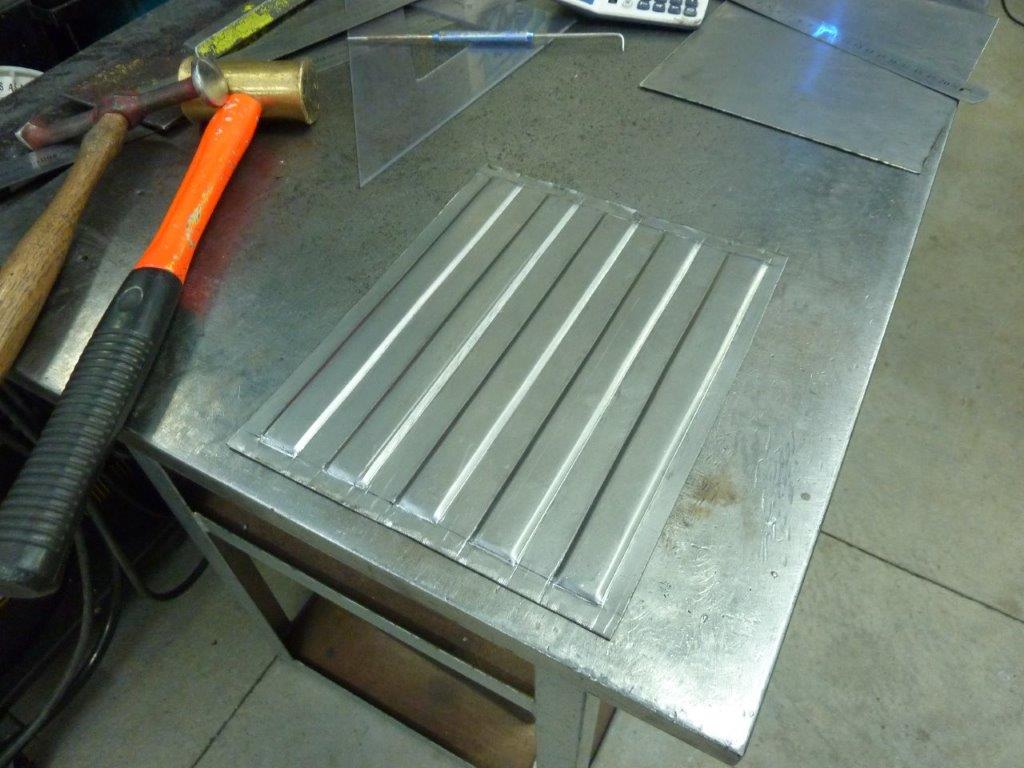
Measuring across the ribbed section showed that in a flat plain, it was slightly shorter than the ends. So a little shrink at the end of each rib sorted that out. A bit of work stretching along the side of the ribs anywhere it was low got the rest of the piece completely flat.
[Index]