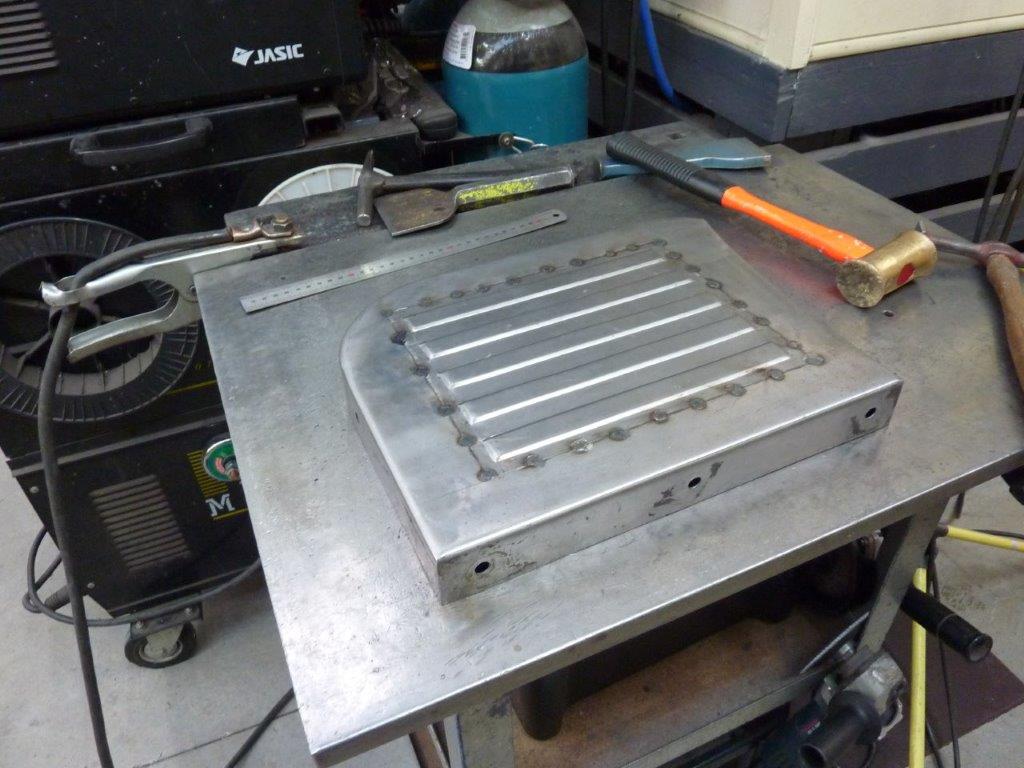
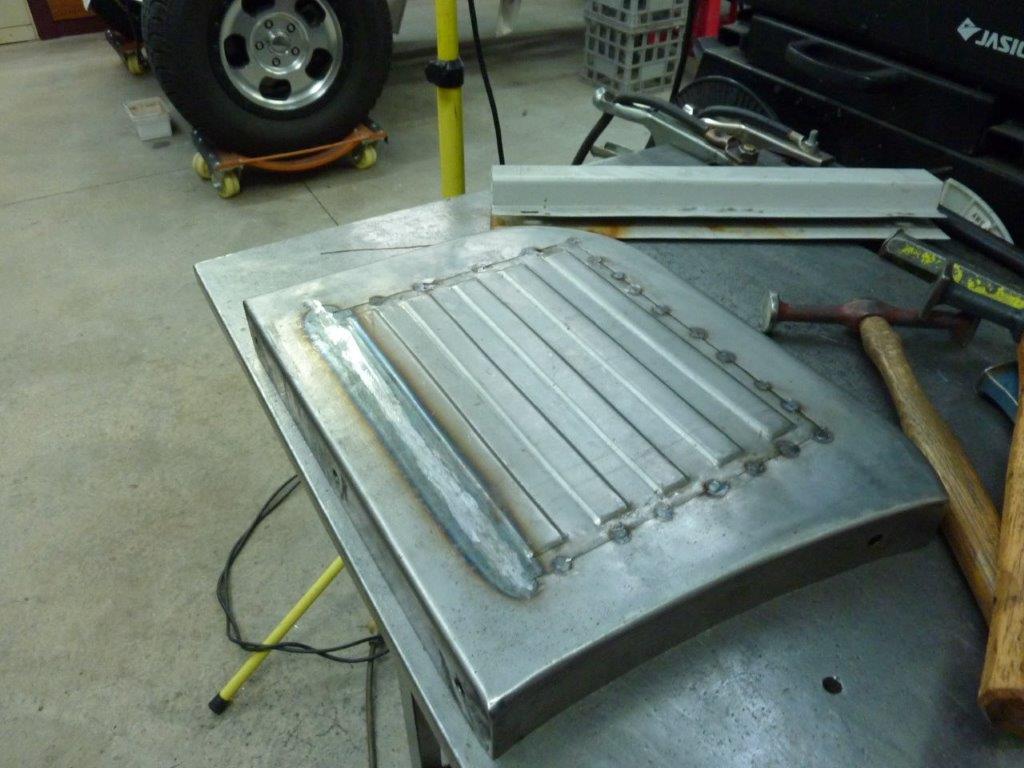
Cut the three rounded beads out to sit the new piece in ready for tacking into place. I thought this was easier than starting the step from scratch again as know this fits perfectly and I can't check the fit as the whole bed is already removed and in pieces. Just the shrinking of the tacks twisted the whole piece up 35mm or 1.25"!
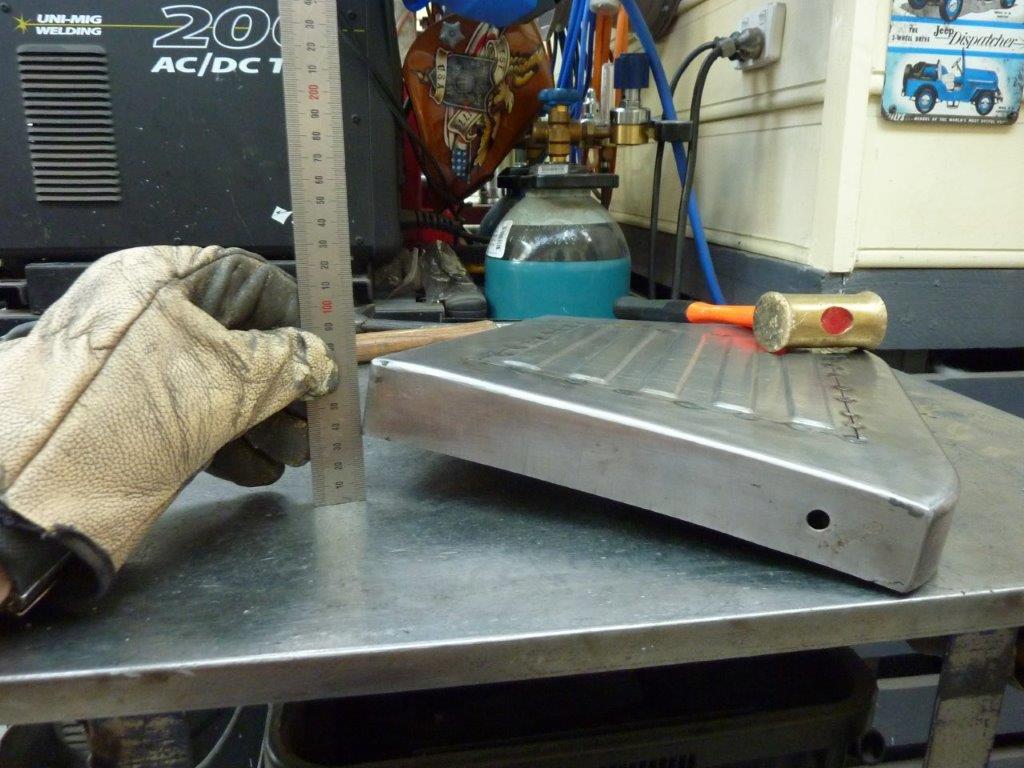
Knowing that it was flat before tacking, I knew that just stretching the tacks would bring it flat again. Just hit each tack a similar amount and continued around a number of times until it sat flat again. I did one continuous tig weld and knocked off any particular high spots in the bead before planishing the weld to stretch it. You don't want to go too hard and fast with it or otherwise you get a trough each side of the bead. I stretch it from both sides as well depending of what it needs always keeping within the heat effected zone. I grind the weld bead down in stages between hammering it to keep it all flat. Once the piece was perfectly flat again, I would go to the next side and repeat. That way you always know where the distortion is coming from.
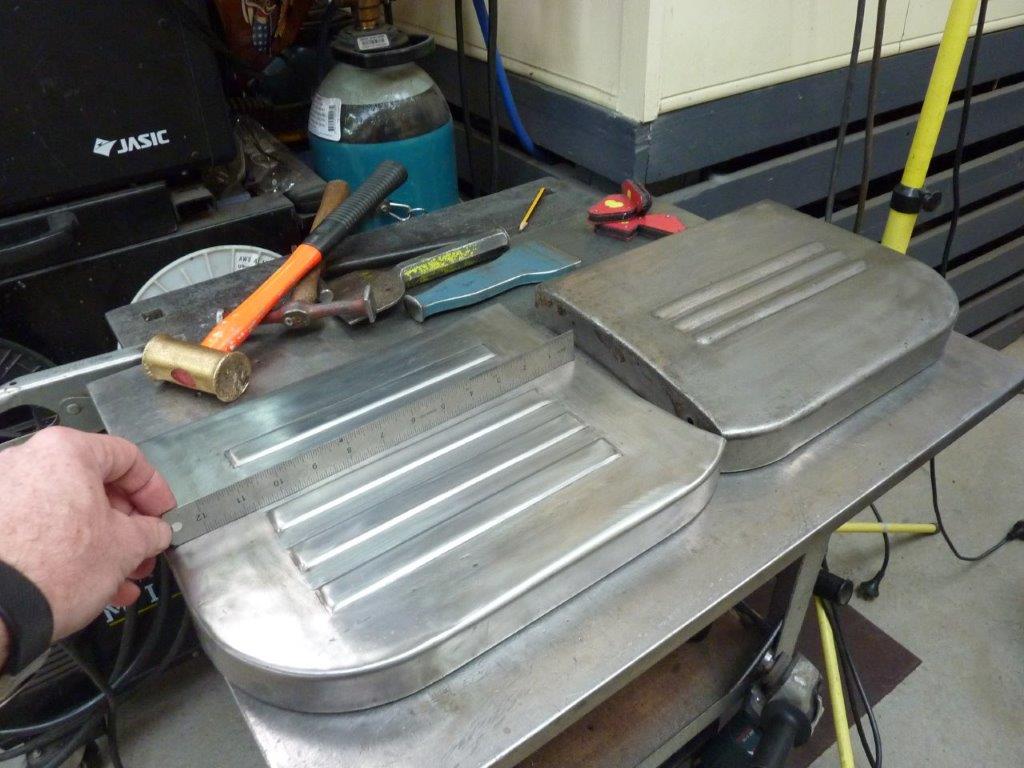
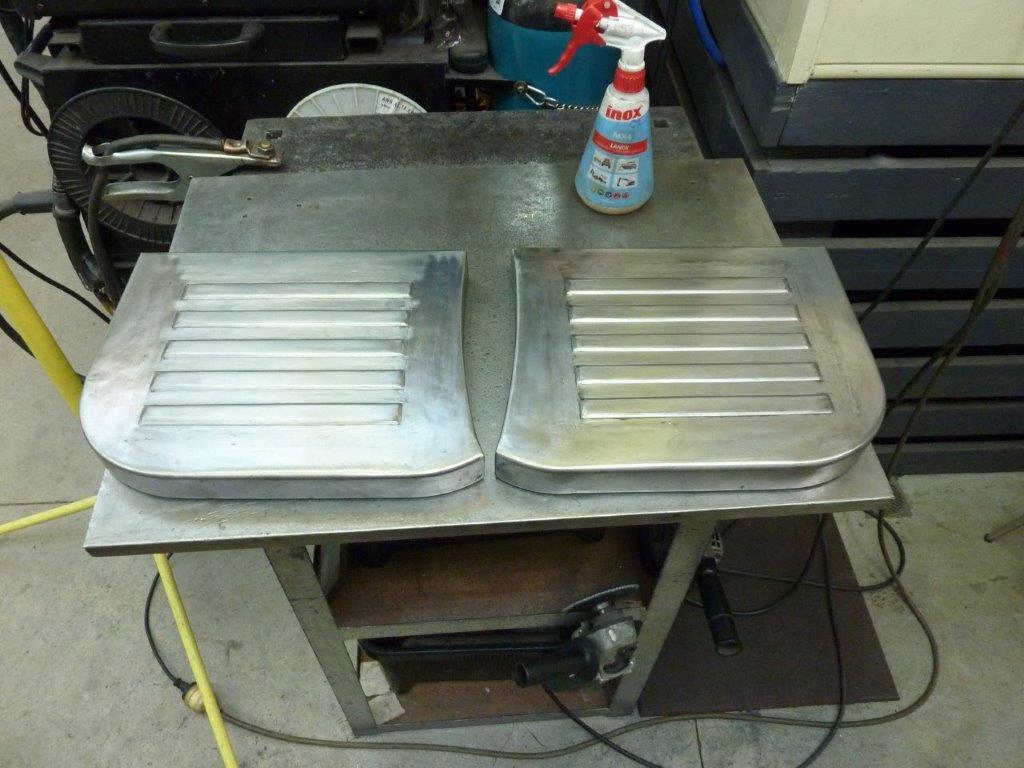
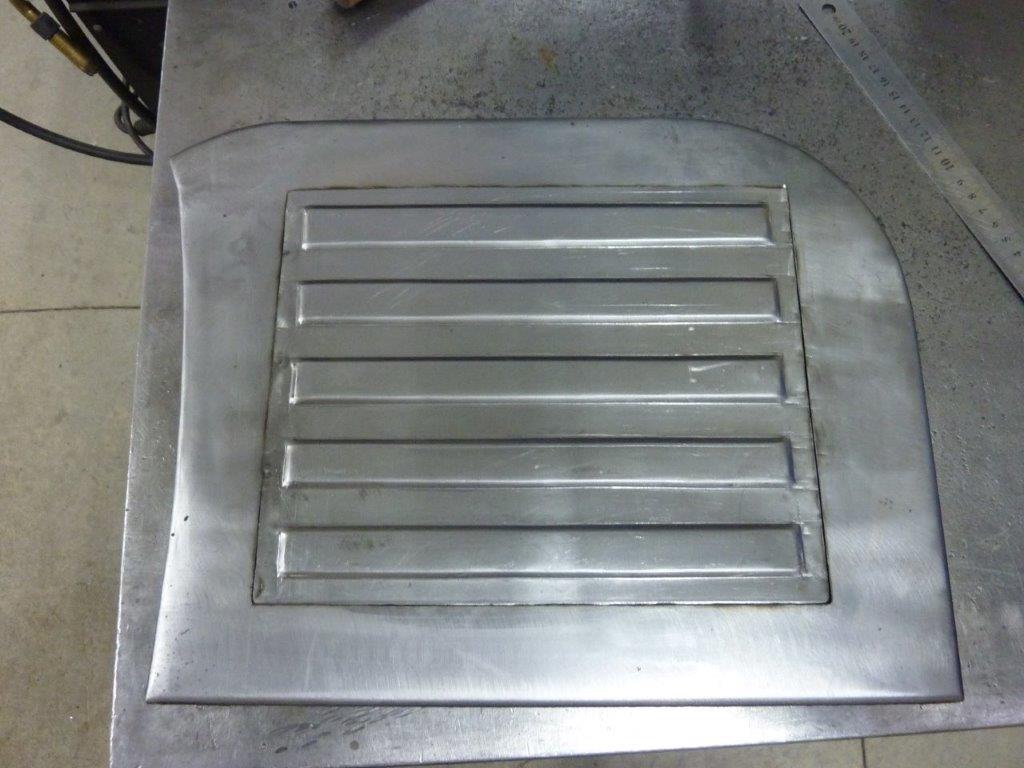
Checked in every direction to make sure it was flat. You can also see what the step looked like with just the three rounded beads. Both sides now done.
Thought I would dress up the brackets I made to hold the washer and radiator overflow bottles. They were perfectly functional, but a bit of a custom look would make them look better as well. Laid out a design and happy I don't anymore have to use a holesaw to cut large holes, as it always stalled my drill press. Using a hydraulic hole punch instead is faster and gives a cleaner result.
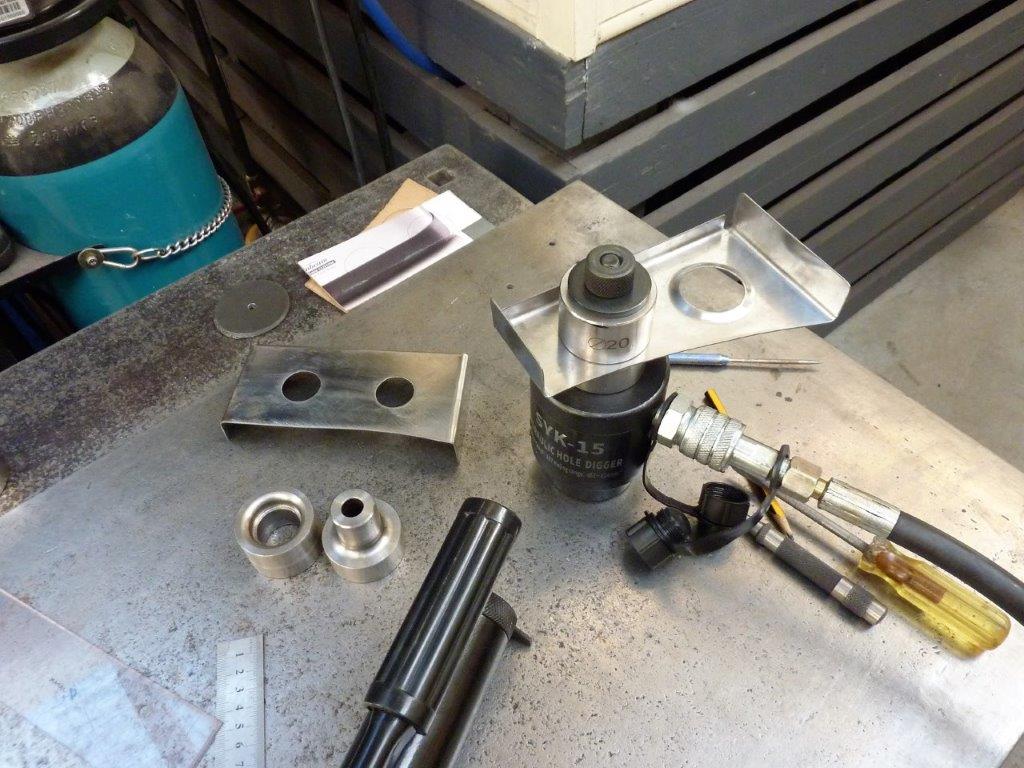
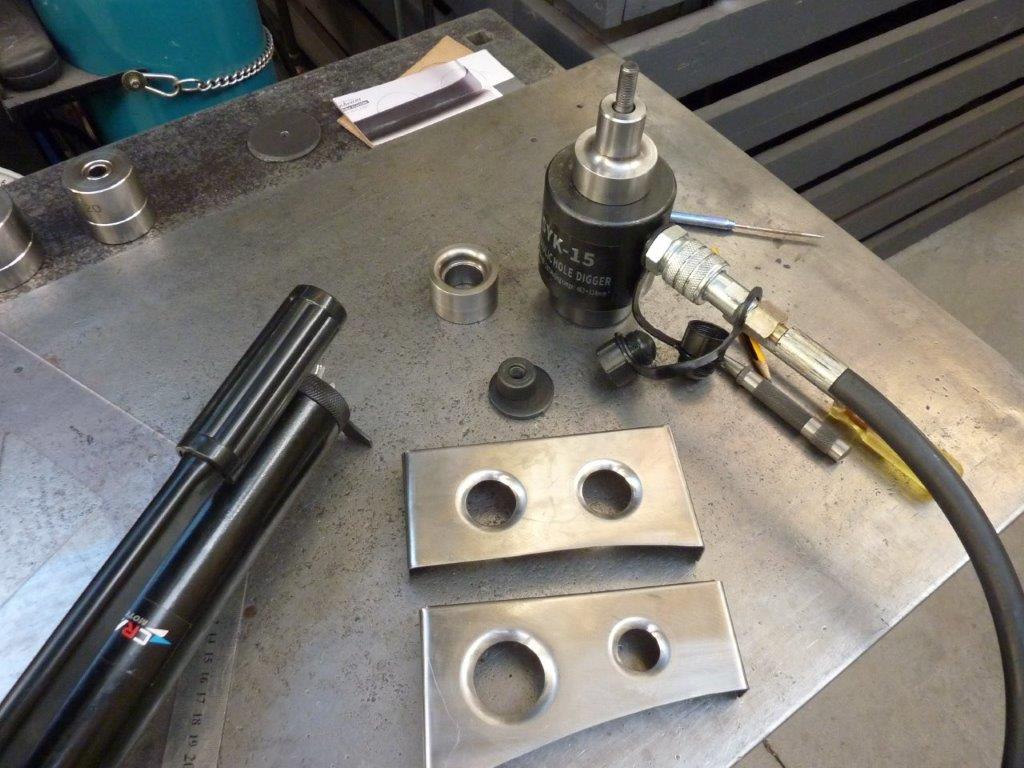
Once the holes were punched I cut out the pieces and folded the flanges. Used the same tool with my dimple dies. Bracket cover pieces finished.
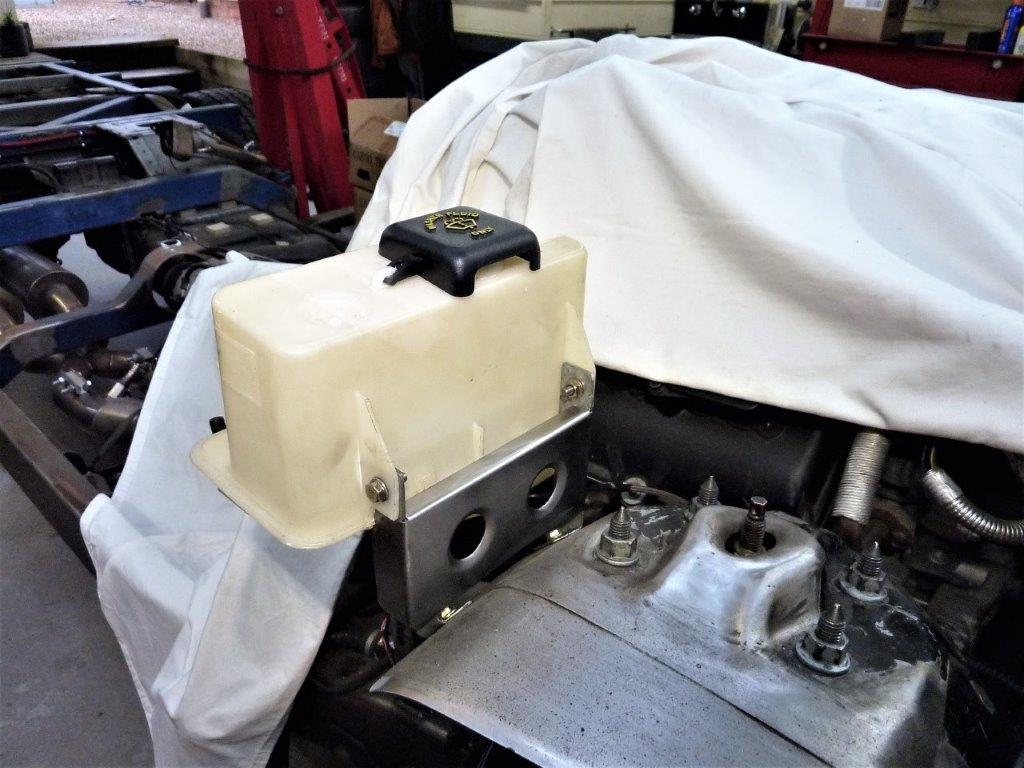
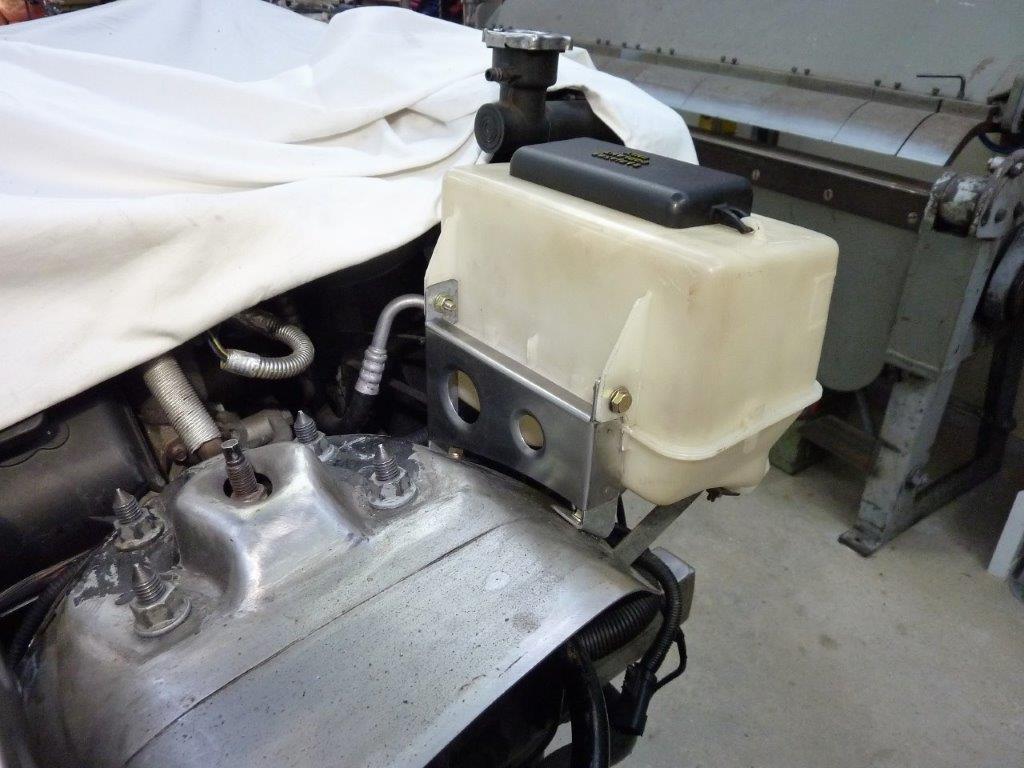
I spot welded them to the original brackets. Looks less rudimentary now.
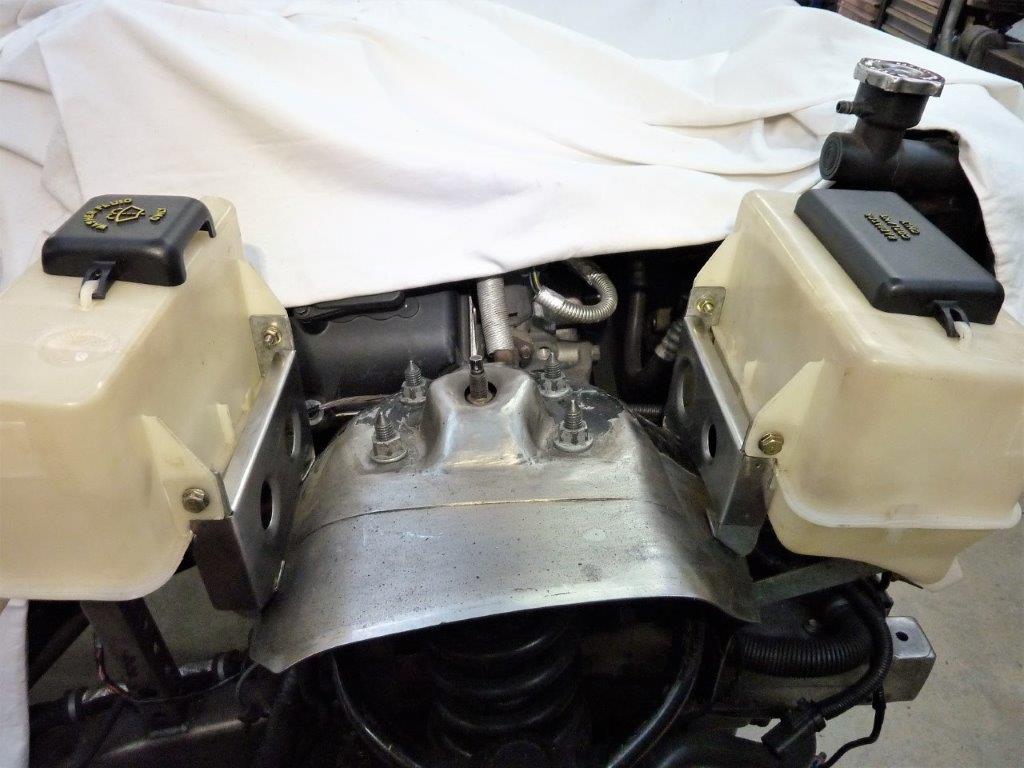
This will help them tie in with the bonnet supports etc that I also dimple die'd.
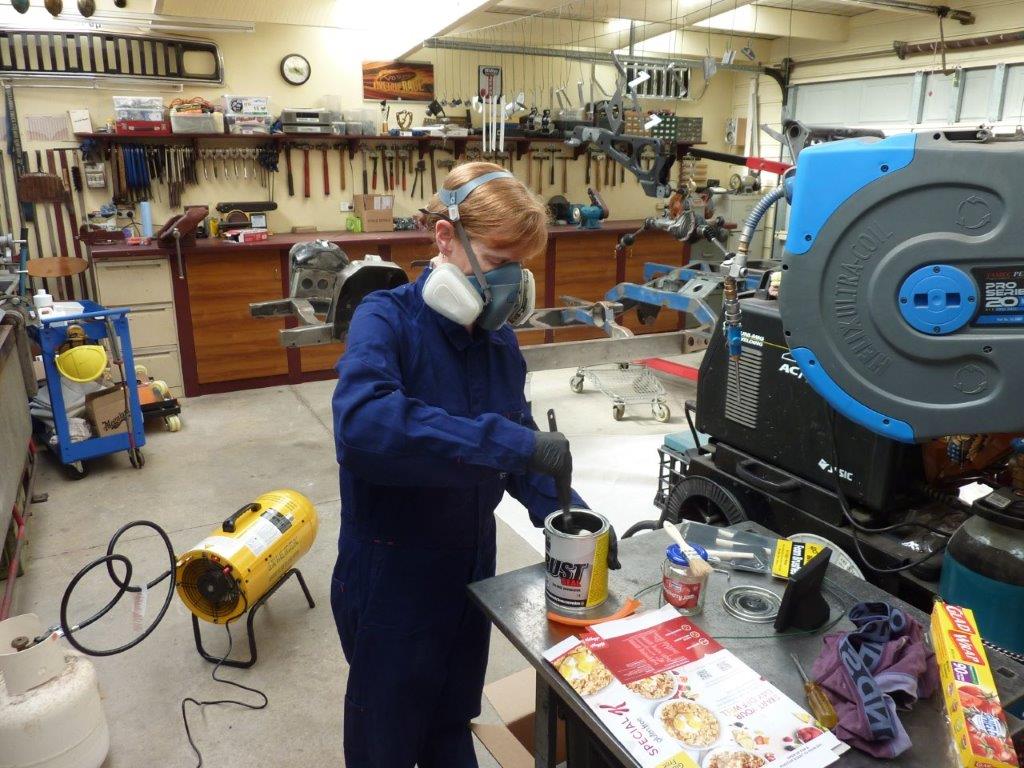
Starting on the painting using KBS Rustseal kit. It is a hard urethane coating which can be sprayed, brushed or put on with a roller. We started on the small things which numbered over 50 with my wife Lisa doing the painting with a foam brush.
Problem with using the foam brushes was that the paint breaks down the adhesive holding it together so had to switch to a brush made for automotive paints. Cast and round pieces came up really well.
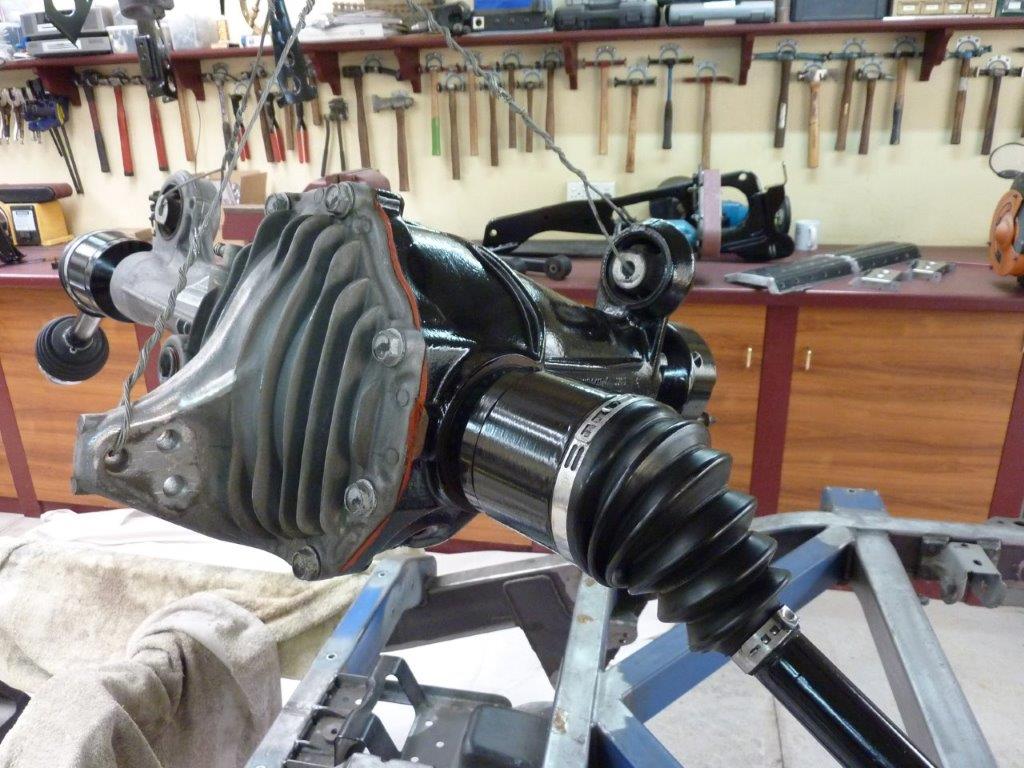
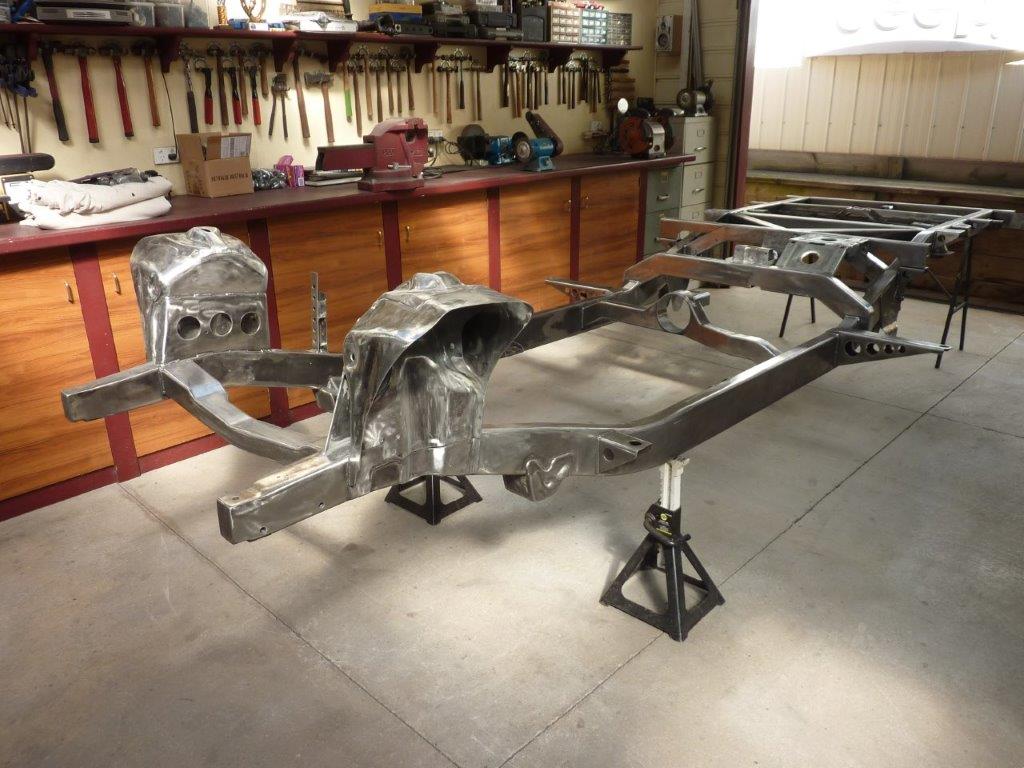
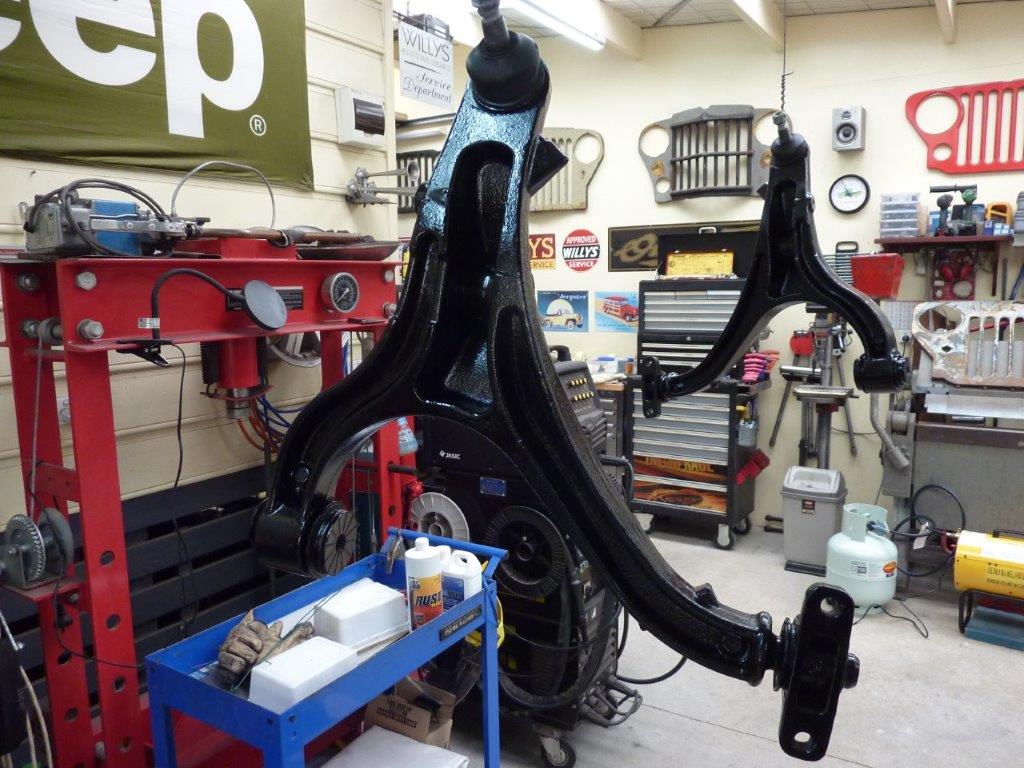
The front and rear differentials were also painted along with every bracket and suspension piece. Days were then spent stripping down any paint that was still on the chassis and going over the bare metal parts again with turpentine to remove the old wax and lanolin. The a strip disc was used to remove any surface rust and then followed by the Aquakleen provided in the kit.
[Index]