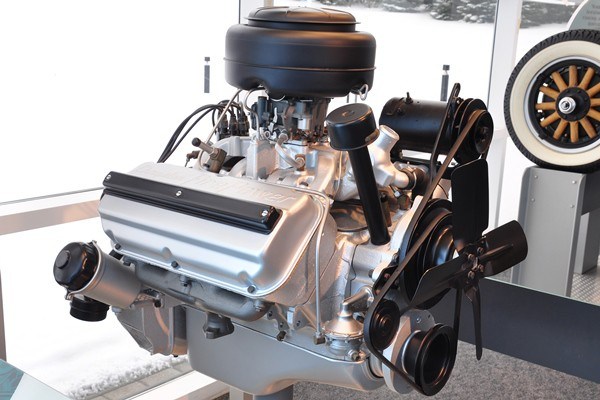
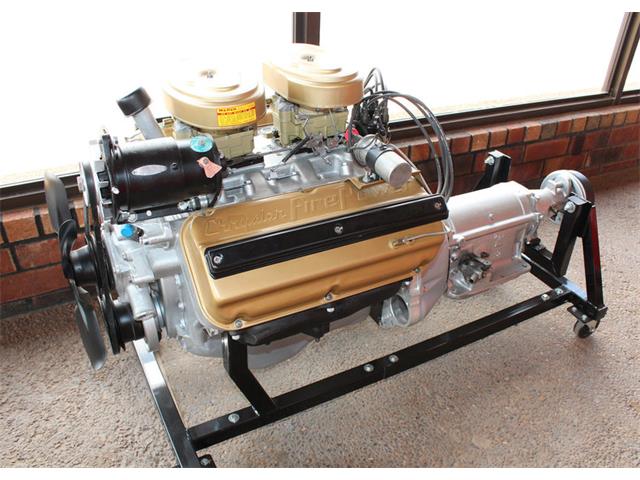
I stripped off the hammered black and silver hammer tone power coat I put on my converted Gen II valve covers that I turned into coil covers. I was unhappy that they blended in too well and were lost in the engine bay. I have given the covers to the painters but yet to decide on what to paint them instead. Above is the two main colours that the factory did back in the day. I like the contrast of the black wires covers so will go with that, but will either do the silver or gold or maybe even body colour. Currently the tread I've been told is to do body colour but in a satin finish which would look pretty good. The rest of the engine bay will be satin or semi gloss black to make the engine stand out a bit more.
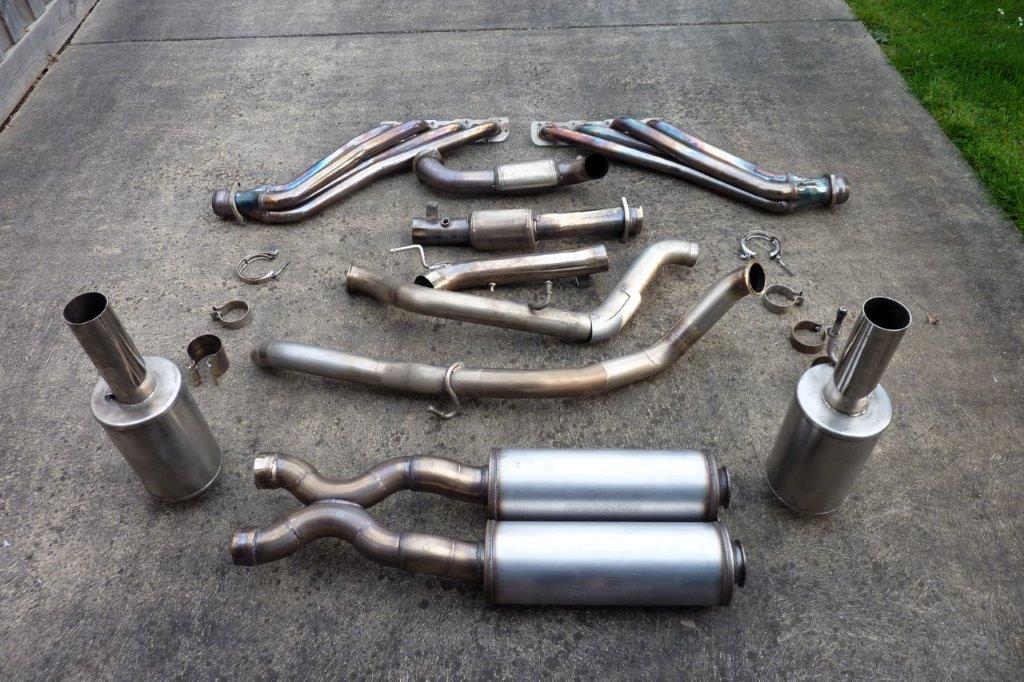
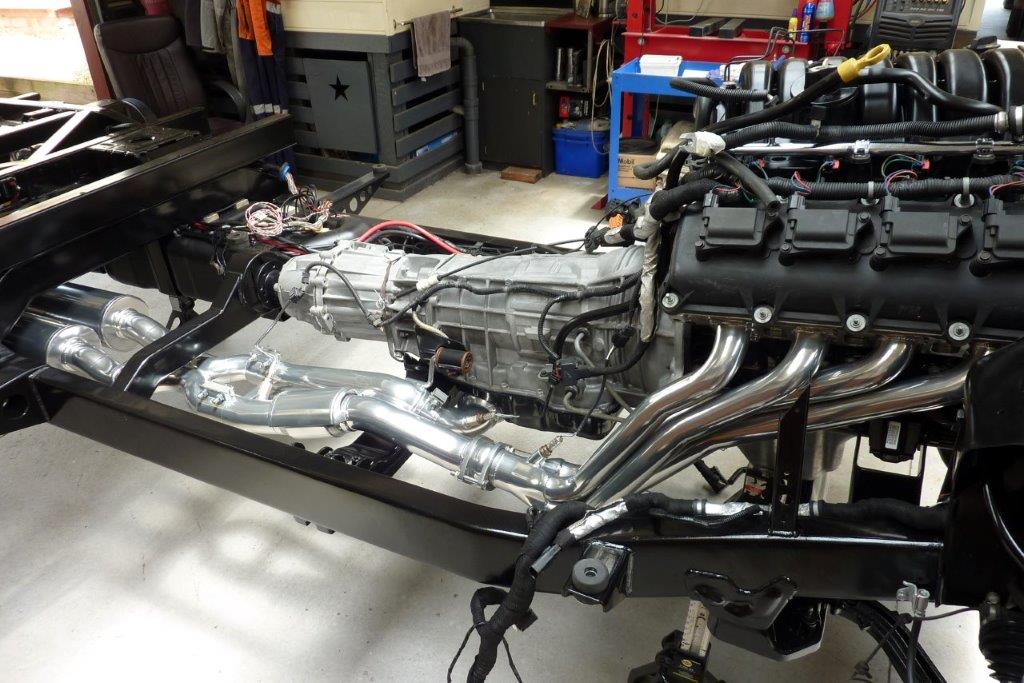
Once the chassis was completely painted, I drove 2 hours to the best place that did ceramic coatings on exhaust systems and turbos etc. High Performance Coatings. You can see how the stainless system had already discoloured a lot in the 4000 km I have done. I wanted to not only improve the appearance, but get the reduction in heat in the engine bay and under the floors. It also takes out the tinny sound of headers and improves exhaust velocity giving a little extra power. I had them coat even all the clamps to keep everything looking the same.
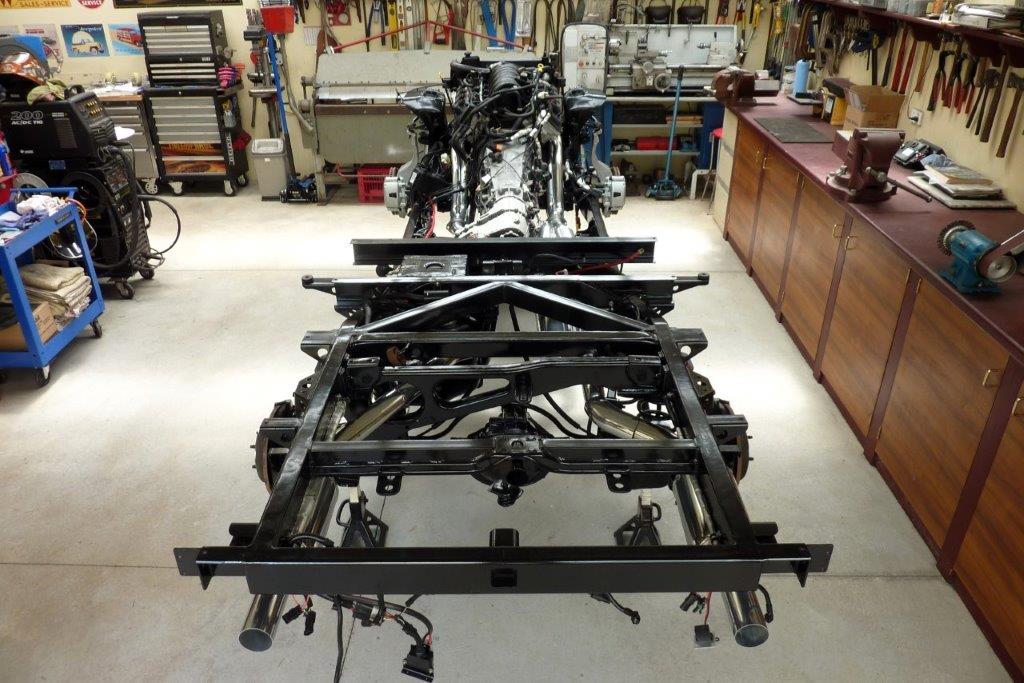
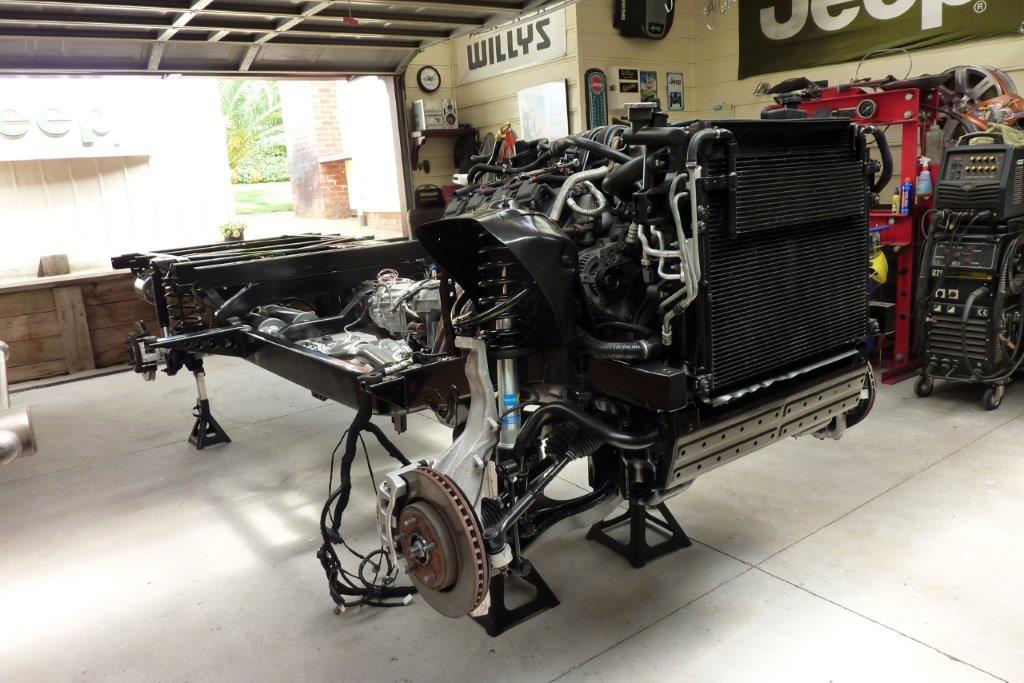
The chassis now is fully plumbed for the fuel system and the rear brake lines up to the ABS connections. Also the whole cooling system is done along with the powering steering and hydraulic engine fan. As much as possible of the AC system and the complete engine and chassis harness's are all in place. Brake callipers were stripped and new seals and boots fitted where needed. They were also coated in heat proof paint to restore them. Everything is ready to go once the cab and front panels arrive.
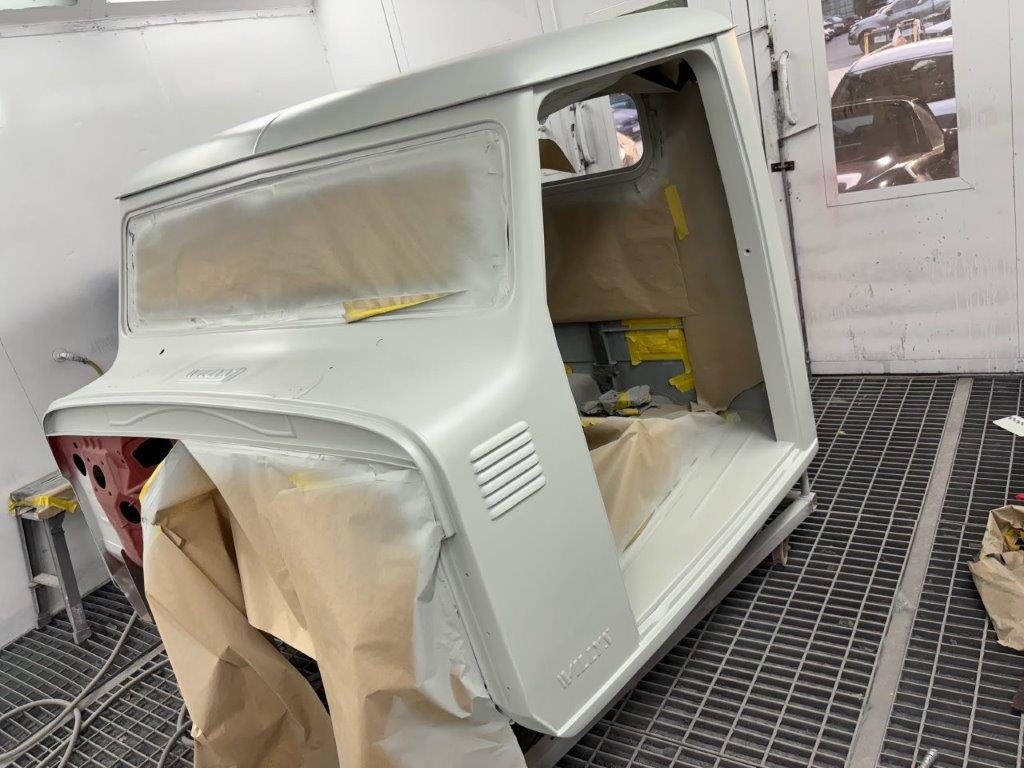
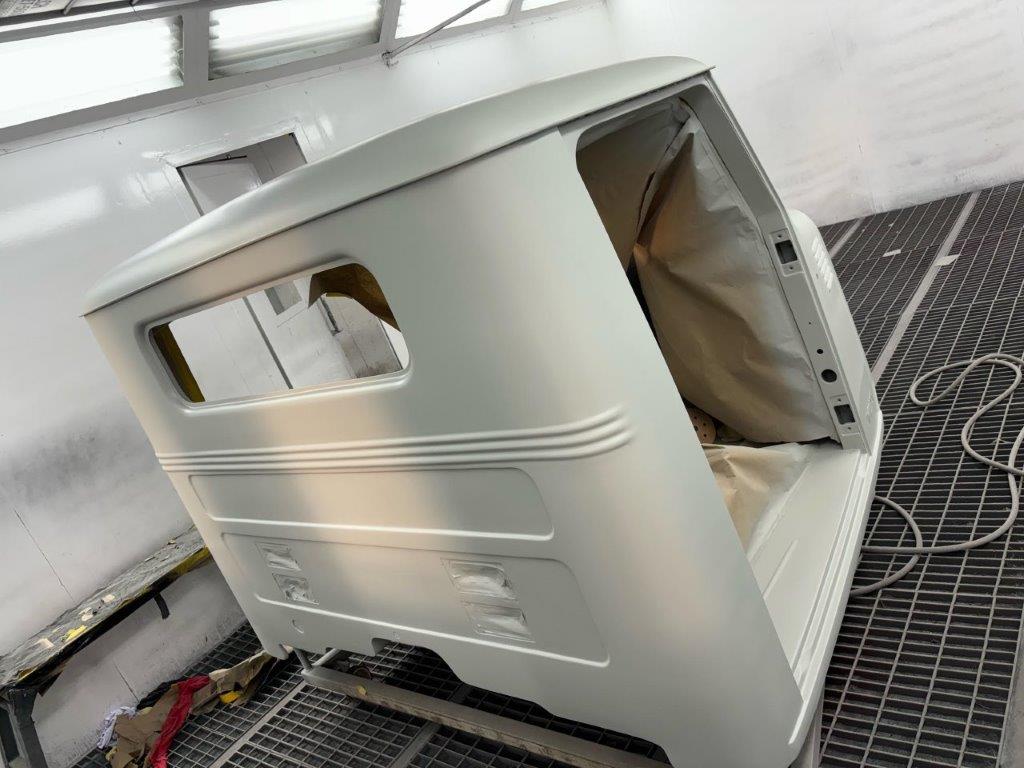
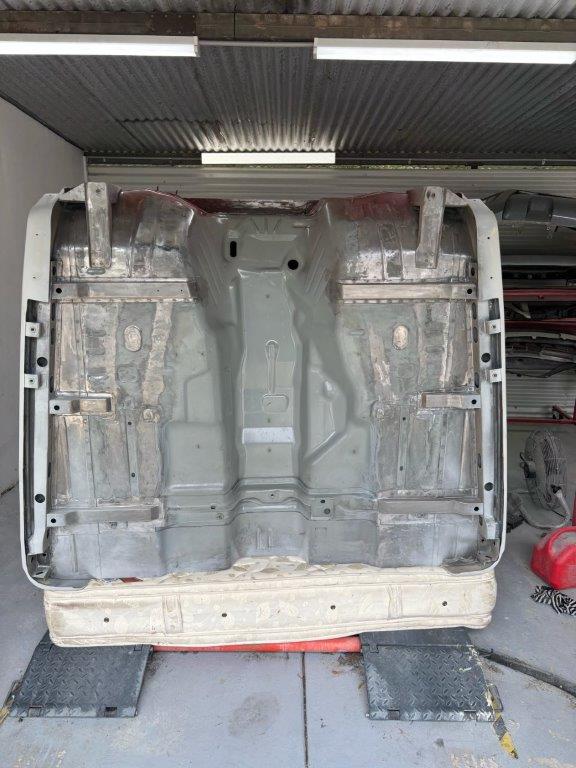
In primer ready for final blocking before top coat! All coming along very nicely. My cab is on its back getting the floor and firewall ready to be painted and Raptor Lining sprayed on.
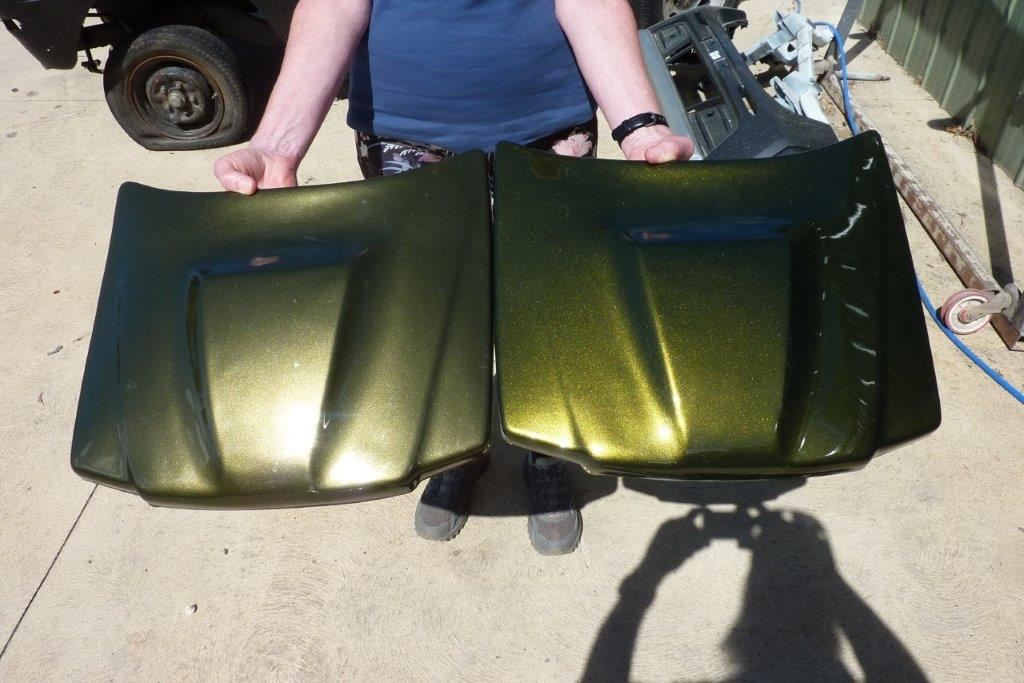
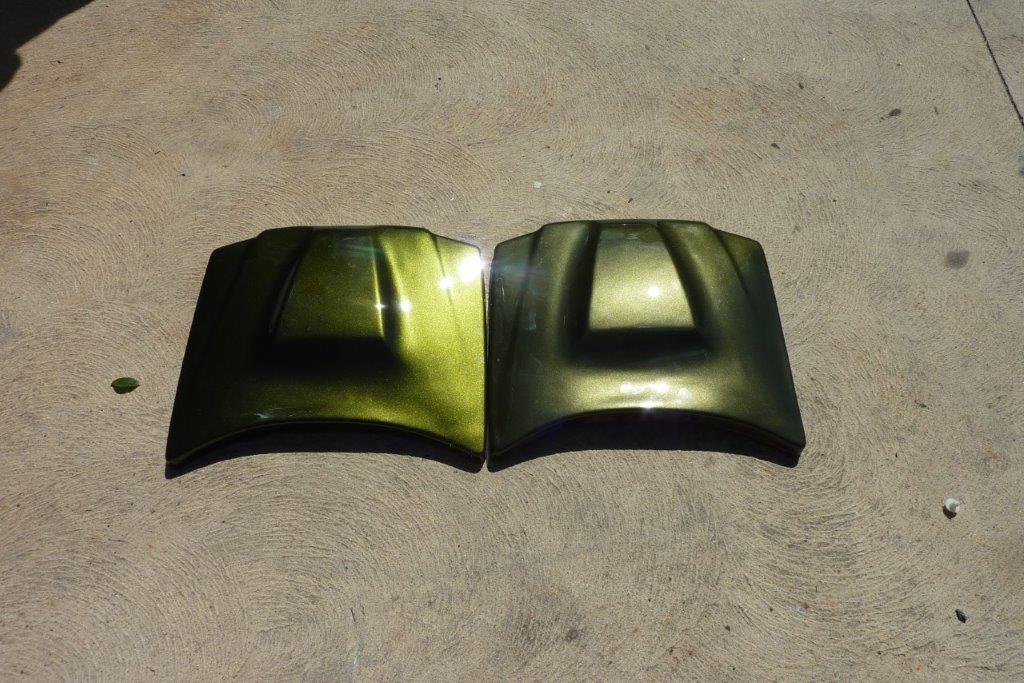
This is why you have a test spray out done. The one left in the picture we had done originally and in DeBeer's paint and the right was just done by the painter in Mipa branded paint that they want to use on the Truck. Way different! The original looks the same as the original Harley Davidson colour, supposed to be Olive Gold Pearl, where Mipa's version of the same paint code is much more green and has more sparkle. Not what we are after as too pretty for a truck. Also we are after olive, not green. You can also see how the Mipa one on the left loses colour quickly when not in direct sunlight. Something we want to avoid on the truck.
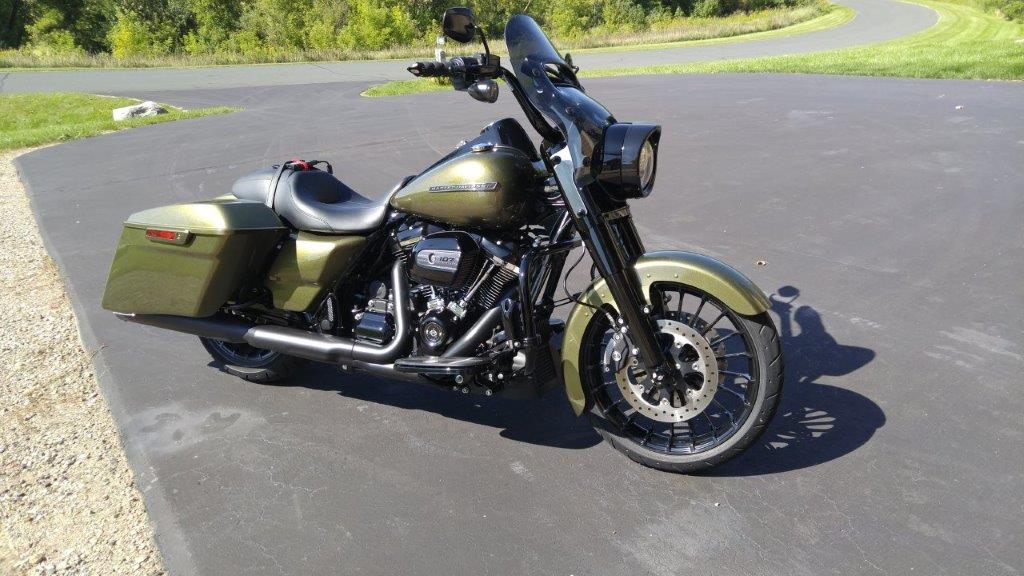

This is what it is suppose to look like on the left and the Debeer's version looks spot on. So now I am going to see what Mipa's version of Harley Davidson Olive Gold Denim is like with a gloss clear over it, but they haven't the formula for it! It is a lighter version of the other Olive Gold and normally doesn't have a clear over it as is a matt version. I have also the option of ordering and having it painted in the DeBeer's paint, (made in the Netherlands and owned by Valspar), but they feel the quality isn't quite as high as Mipa, (made in Germany). I don't know myself.


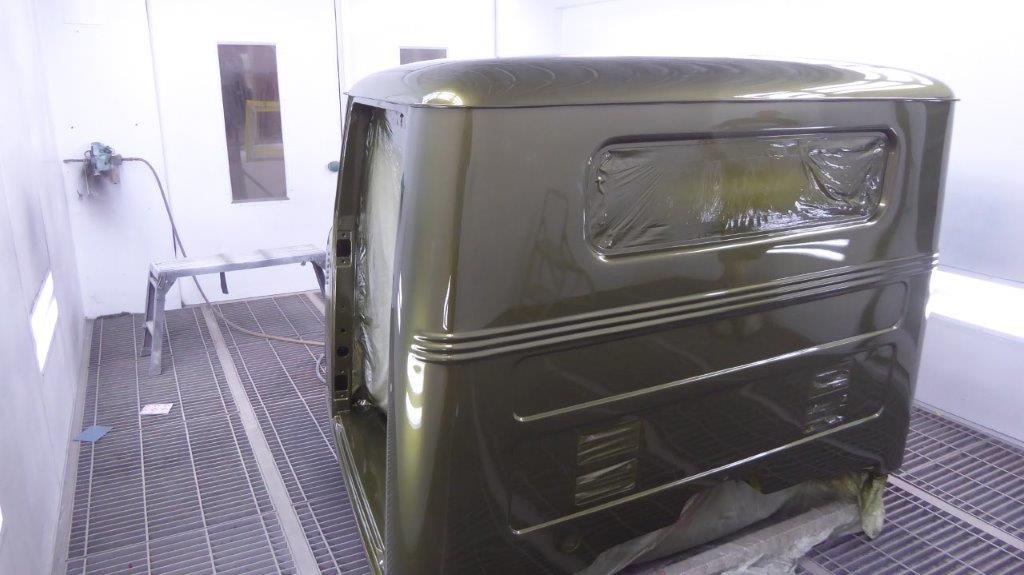
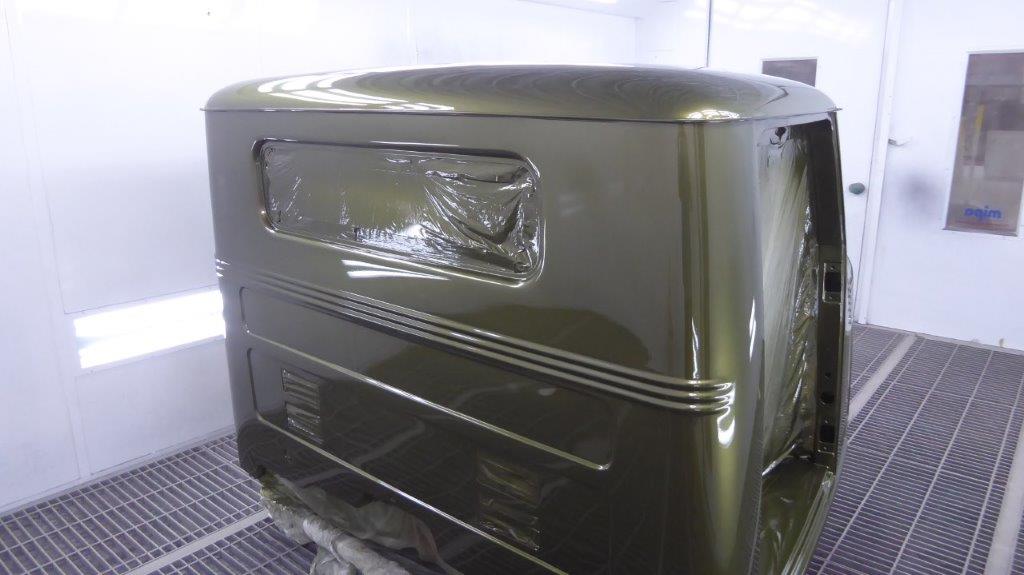
Fresh off the gun without any cutting or polishing. Photos show it more green than it is to the eye and is the original choice of Harley Davidson Olive Green Pearl. Painter is happy with the De Beers paint and said will get even better off the gun now he has a good handle on how it flows out.
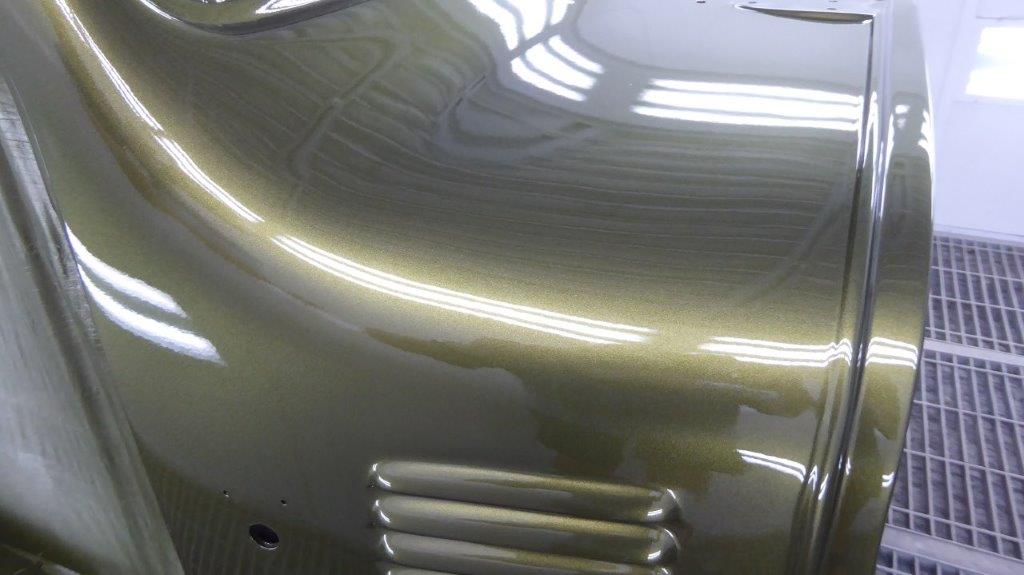
Truer to the natural colour. Louvers look great considering I cut them with a wood chisel and formed them by hand with a piece of redgum into a steel form I made!
Even the bits you wont see behind the bed wall look great! The cab will be left to harden for a few weeks and then cut and polished. Doors and front clip will be next and have already been blocked ready for final primer. See the video they took of it.
[Index]