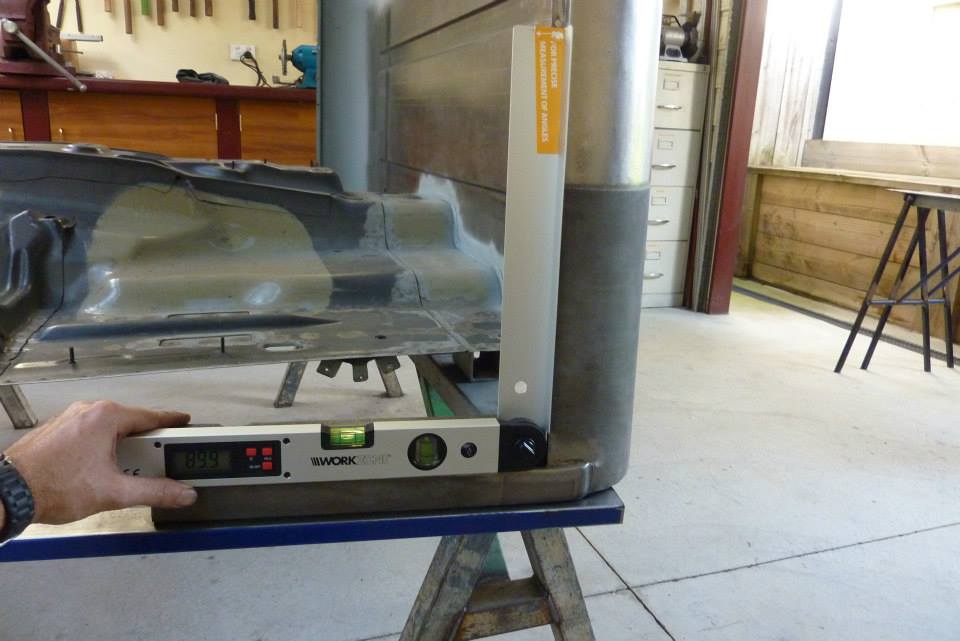
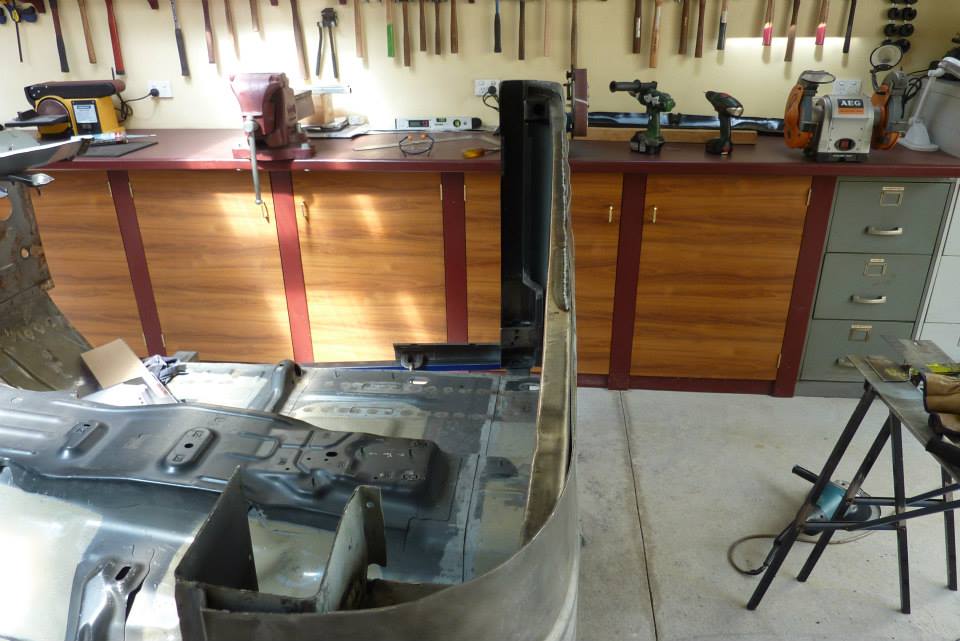
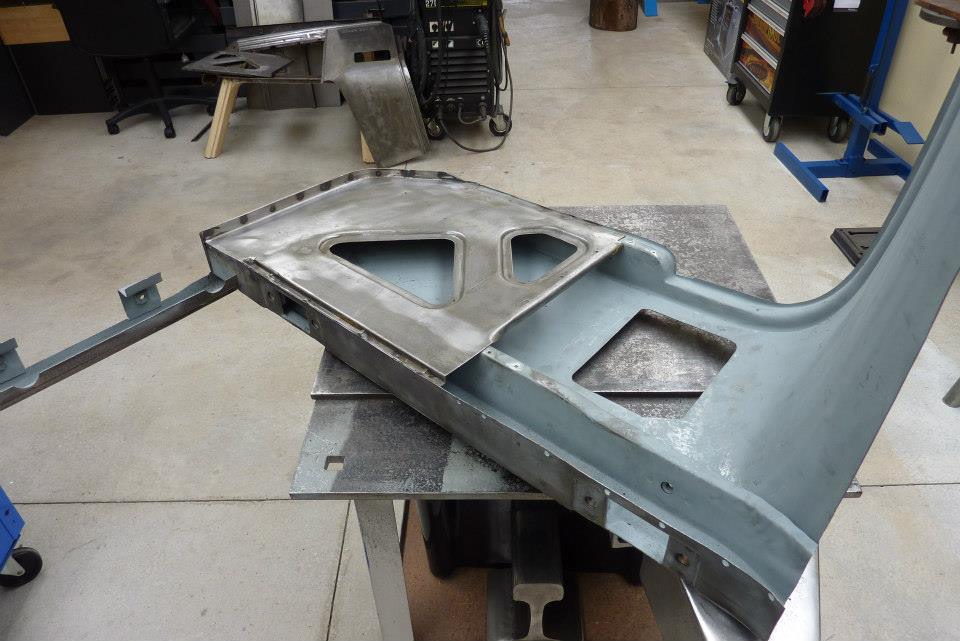
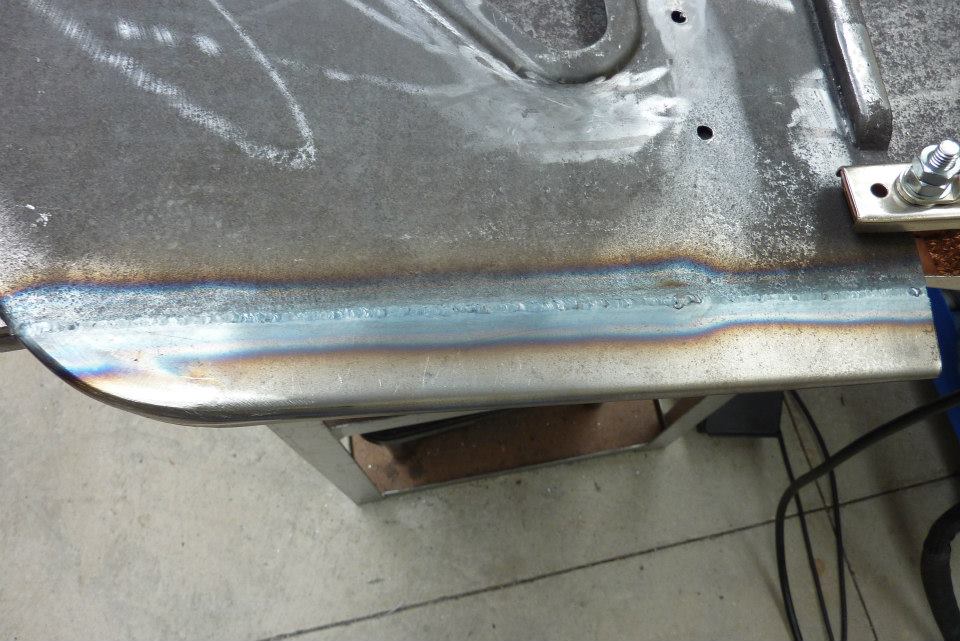
Doubled checked to make sure the sill to rear door edge was still at 90* after welding and before the pillars are added. B pillars were clamped in place. Plug welded through the old spot weld holes left after drilling them out. I also used this copper bar behind the pilot hole left in the pillar itself so I could use a higher amp setting and not blow through.
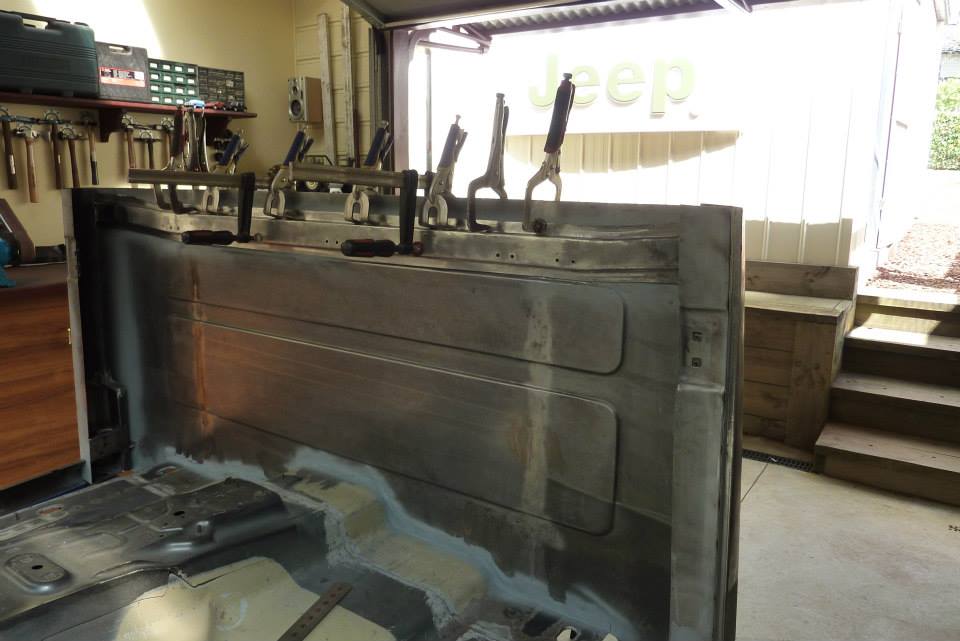
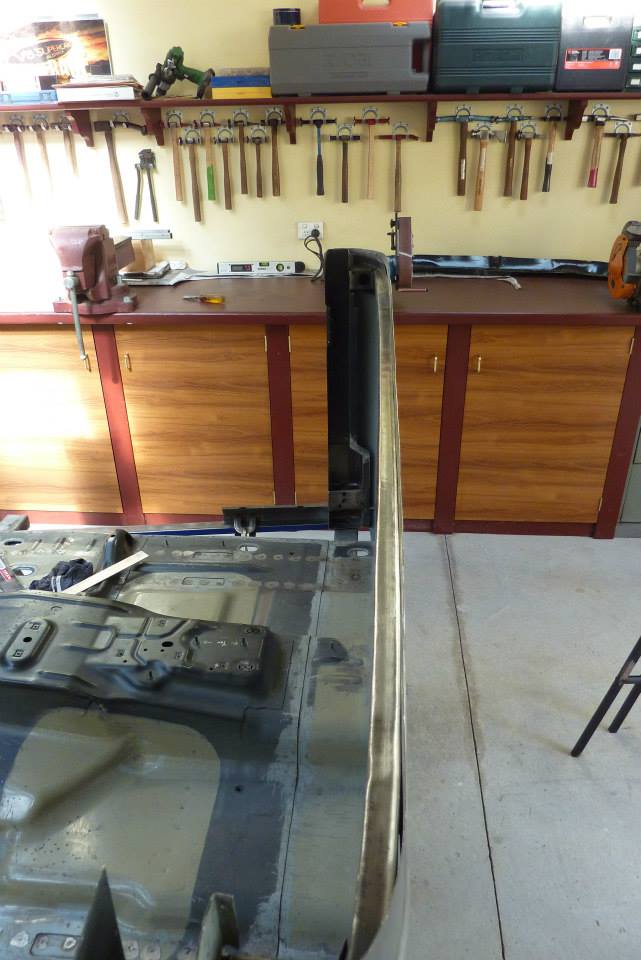
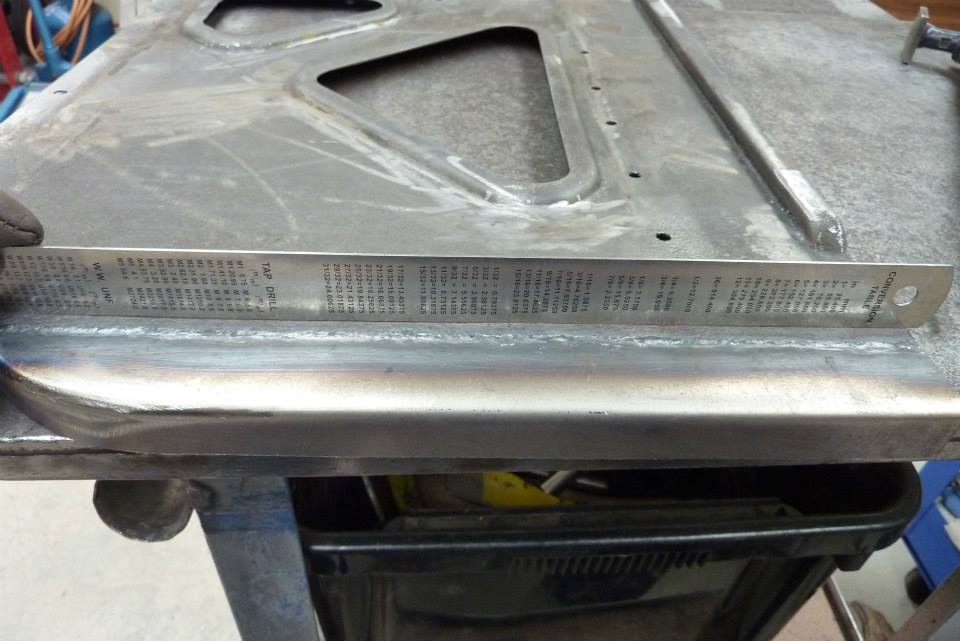
Once the B pillars were in and checked for square again, the cross brace was added in. The factory only spot welded along the top flange and not the lower one. To keep distortion under control I assume. I decided to add a bead of adhesive/seam sealer under the bottom flange. Lowered the cross brace over the sealer and clamped it tight and left it to cure over night.
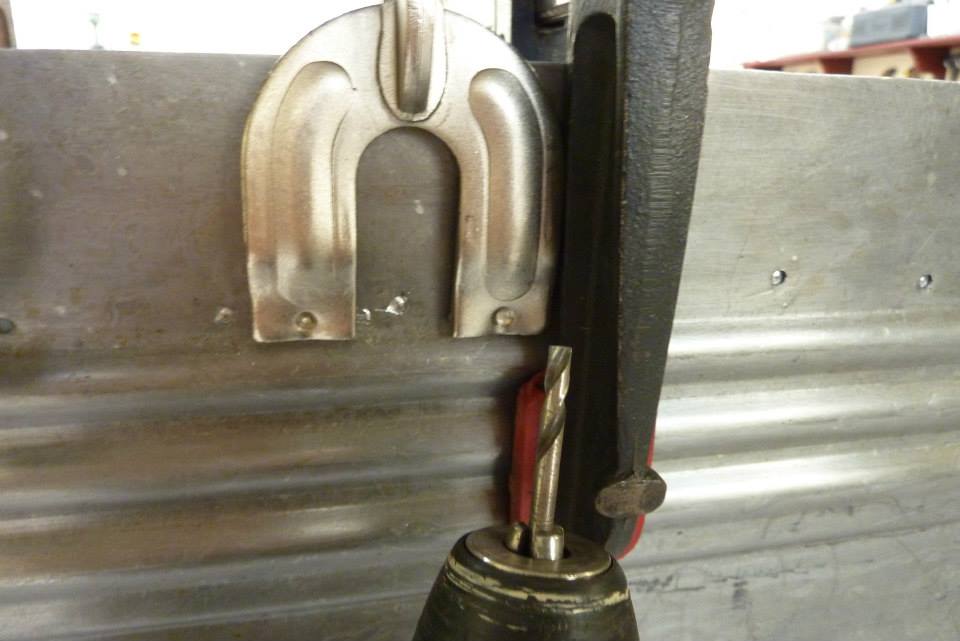
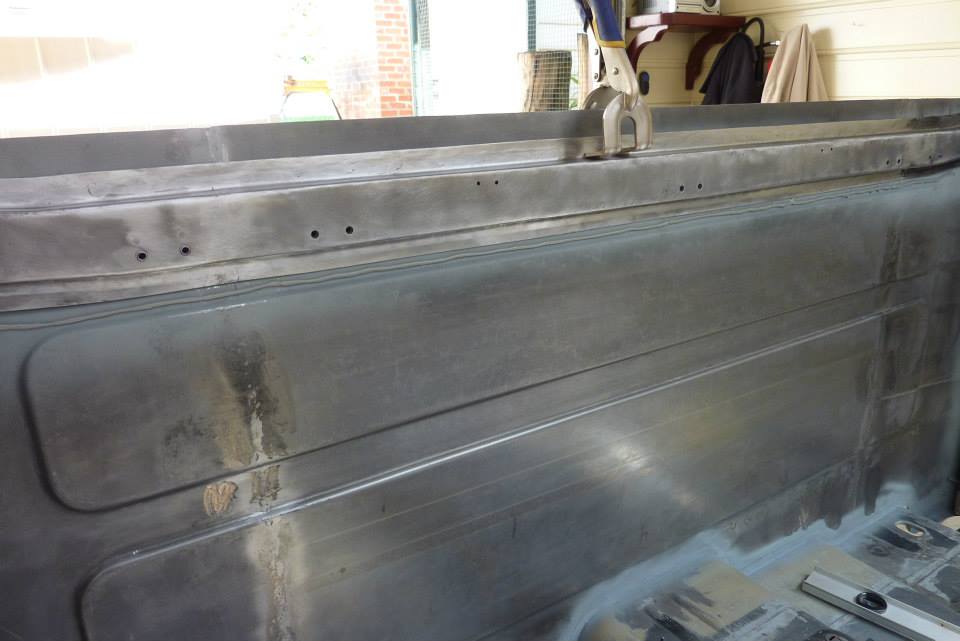
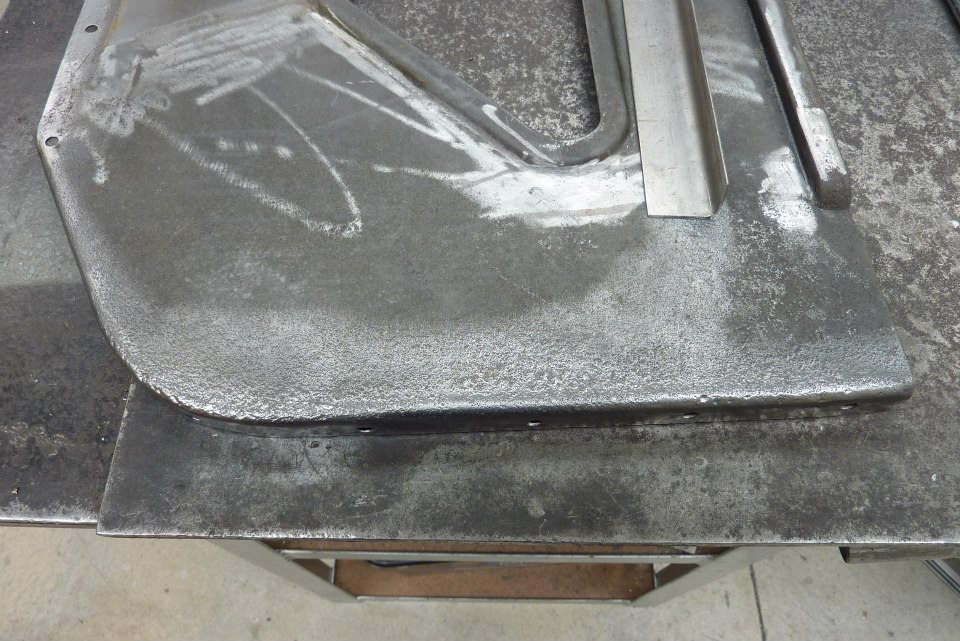
Found it a little bit easier to weld without the weld through primer coating at the bottom of the hole. To clean only the area for welding, I just used an old drill bit that was ground flat by running it in the drill and then against a running bench grinder. Must have the same size drill as the plug weld hole to work. Found a problem after welding in the brace. I had pressed in some curve through the middle of the brace along the top flange as thought it would bend with the plug welds. Thing was it didn't move much, if at all! Tried hammering it forward while supporting the outer corners, but couldn't move it far enough. It needs to be straight as the rear window just above it has flat glass in it. So did the old run a mig weld bead trick to get some heat concentrated on the convex side of the brace to make it shrink there and flatten it out. Can see how much it has moved by the rippling in the panel.
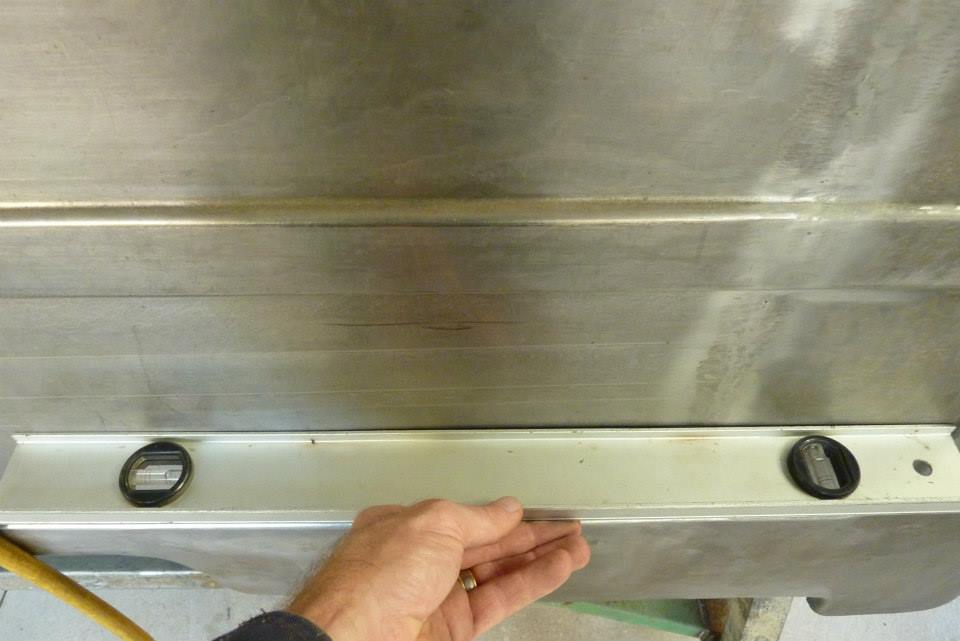
There were a couple of spots that didn't go quite far enough. So rather than adding more mig weld on top of what was there, I heated the existing weld with my tig and that worked. Maybe next time I might try using the tig straight off as the heat source as there would be less grinding. I think you would still have to add a bit of filler so you don't leave a trough or burn through. So ground the weld out and then got the panel straight again. Used the shrinking disc mainly and a bit of hammer off dolly work. Not on dolly as that would only stretch it more. Now to get the rest of the panel straight too. Can see here the dip. I would mark the back of the dip, which is a bulge on the other side of the panel, with some chalk and then run the shrinking disc over it, then use compressed air to cool it straight away.
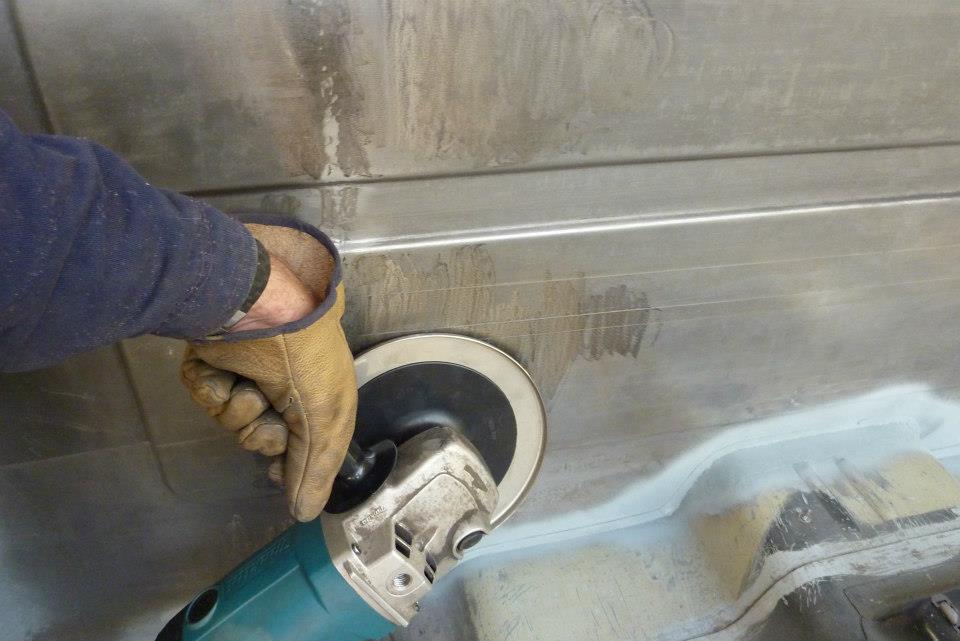
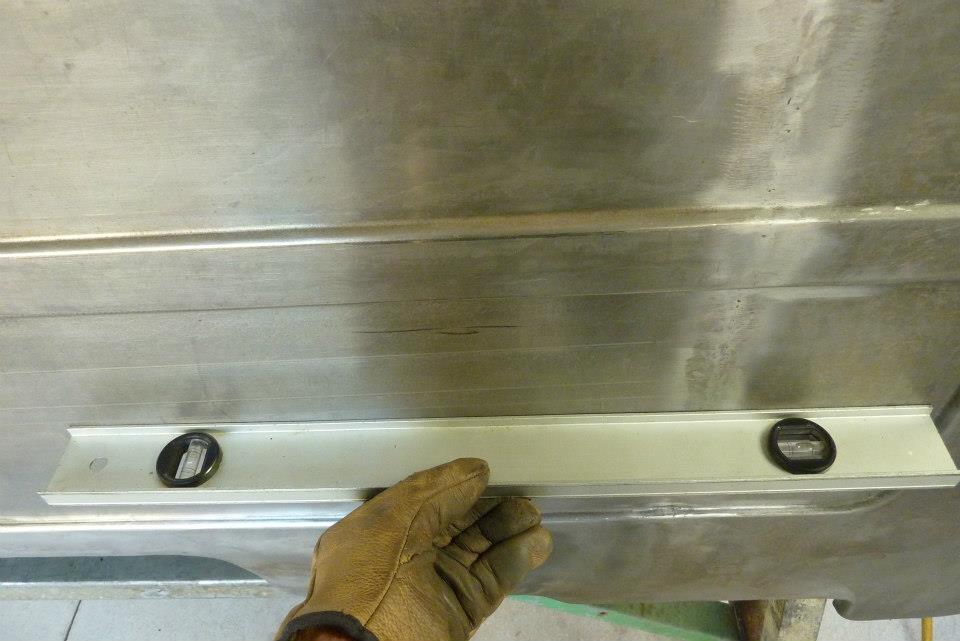
I only heat until straw colour, or until you feel it start to move if earlier. Then quickly hit it with the compressed air while the disc is slowing down and until stopped. That is usually the point where you can touch it with a bare hand. Some areas will move faster than others, so it is a bit of trial and error. Spent quite a bit of time going over the panel with a straight edge that covered the whole length to get it as best possible. As you can see the dip is gone now. I do find it works better for me to heat the convex side as it will pull away when the shrinking happens. If you go a bit too far, can then heat on the other side to bring it back again.
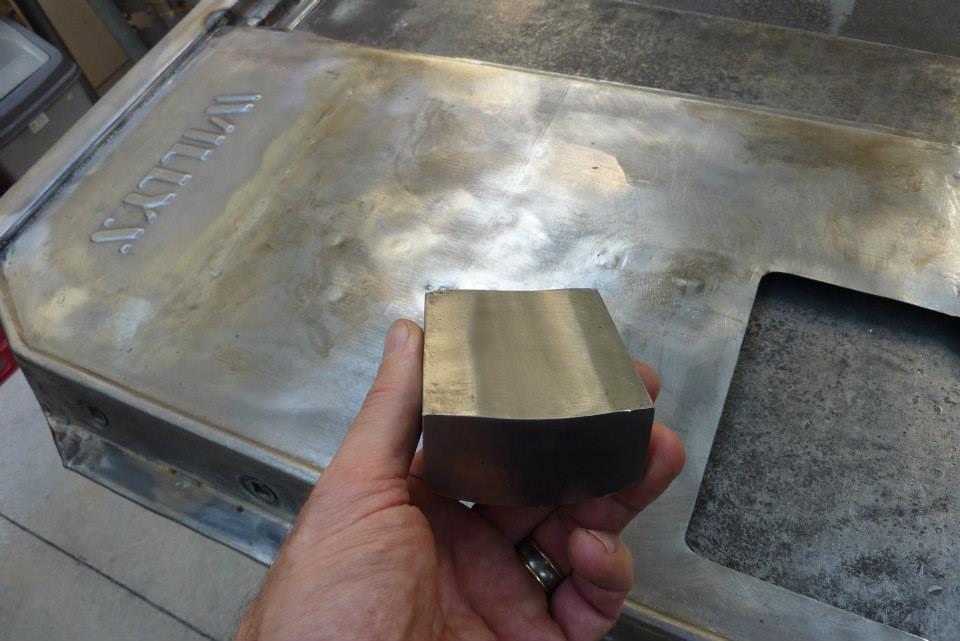
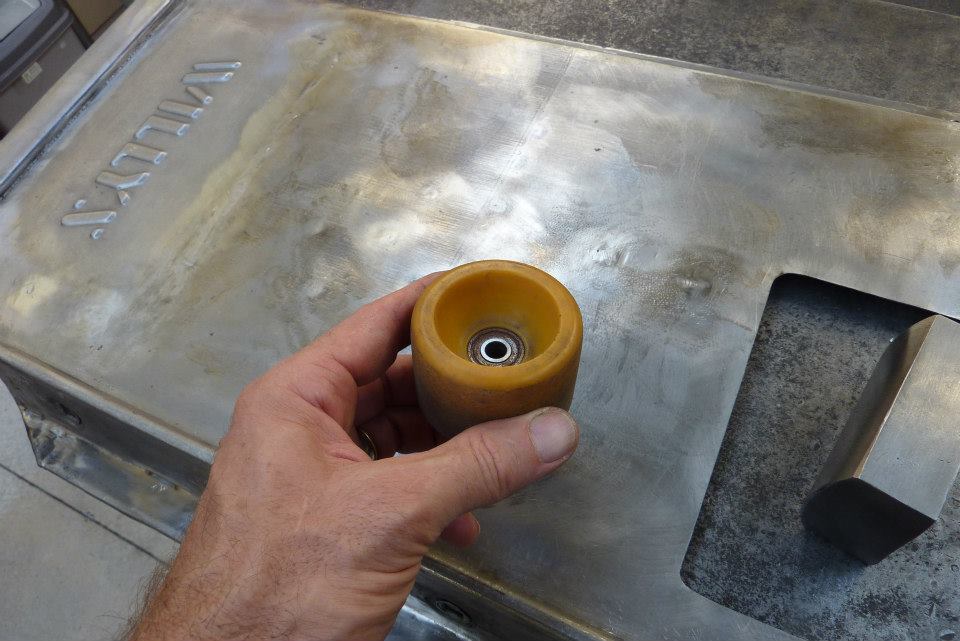
Just showing how I modified the back of a dolly I had made to make it much easier for getting long high spots down without stretching. I just place the hollow in the dolly under the high spot and use a low crown hammer to hit it down without actually directly hitting on the dolly itself. I had some dimples to work out as well and just grabbed one of my roller skate wheels. It supports it all around the dimple and stops any stretching of the metal.
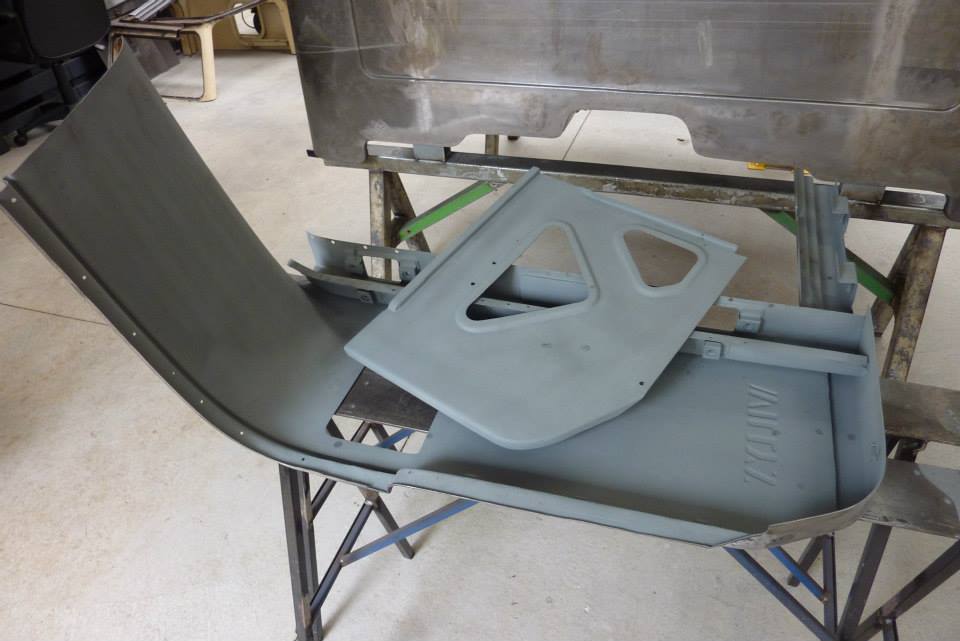
Spent quite a bit of time getting the panel right before zinc coating everything and welding in the A pillar. Next was the bracing for the backside of the cowl. Plug welded it all in.
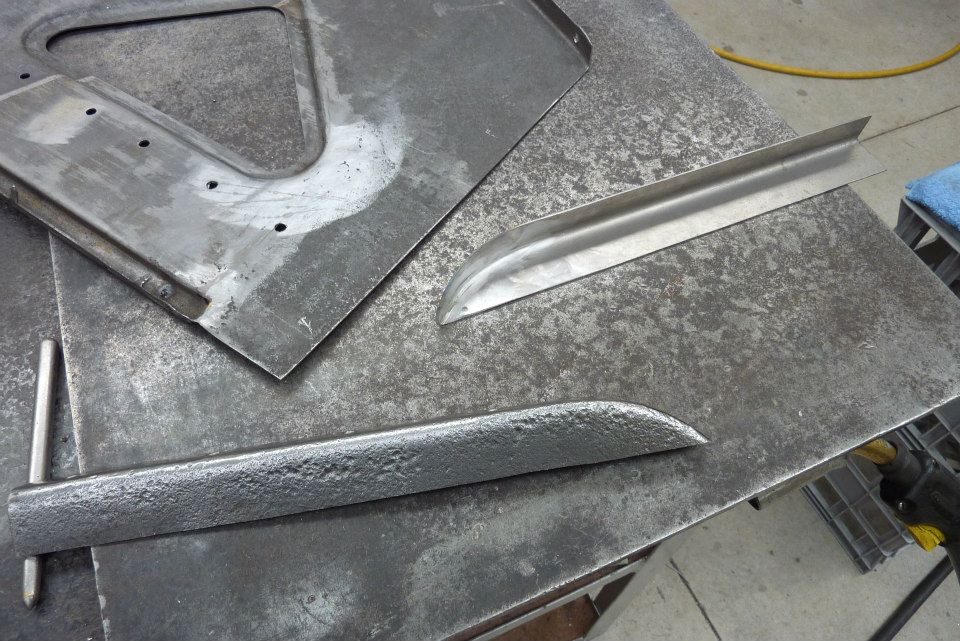
I had already replaced the lower part of the other side cowl brace and had left this side as was so much better. Now thinking it might not last the next 20 years so might as well replace this side too. Made a new piece and then cut off the bad section.
Tig welded the old and new together. This was done in one pass fusion welded, except a couple of spots where I added some mig filler wire which I always have on the ready as I am going along in case it starts to blow through. Came up pretty flat after some plashing with a hammer and dolly.
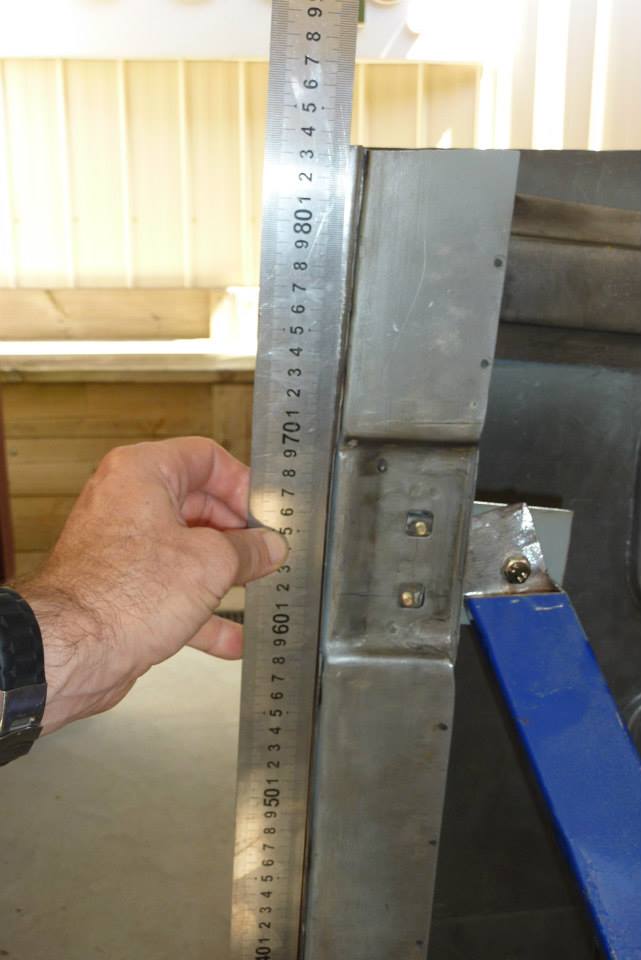
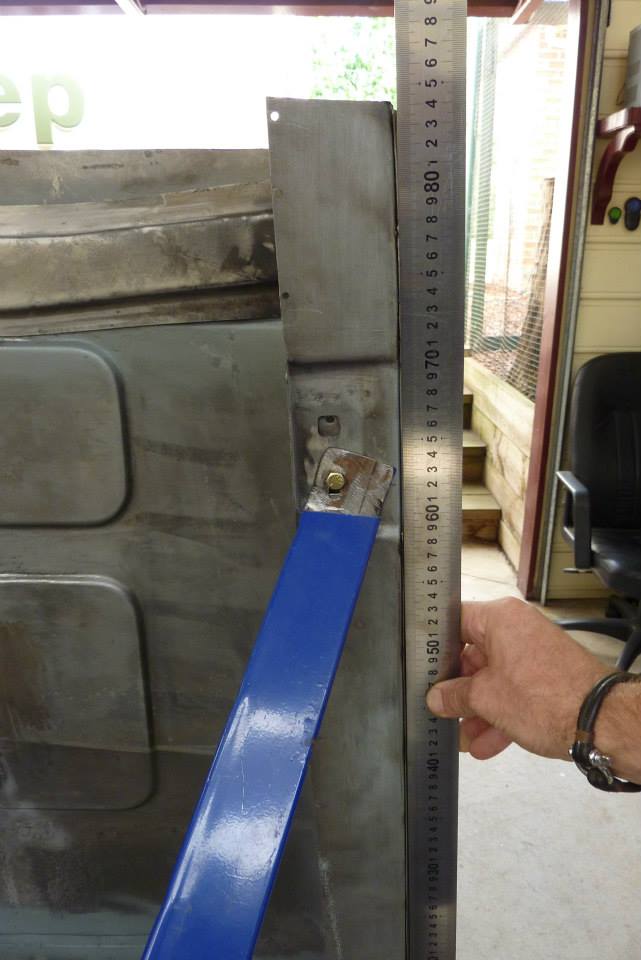
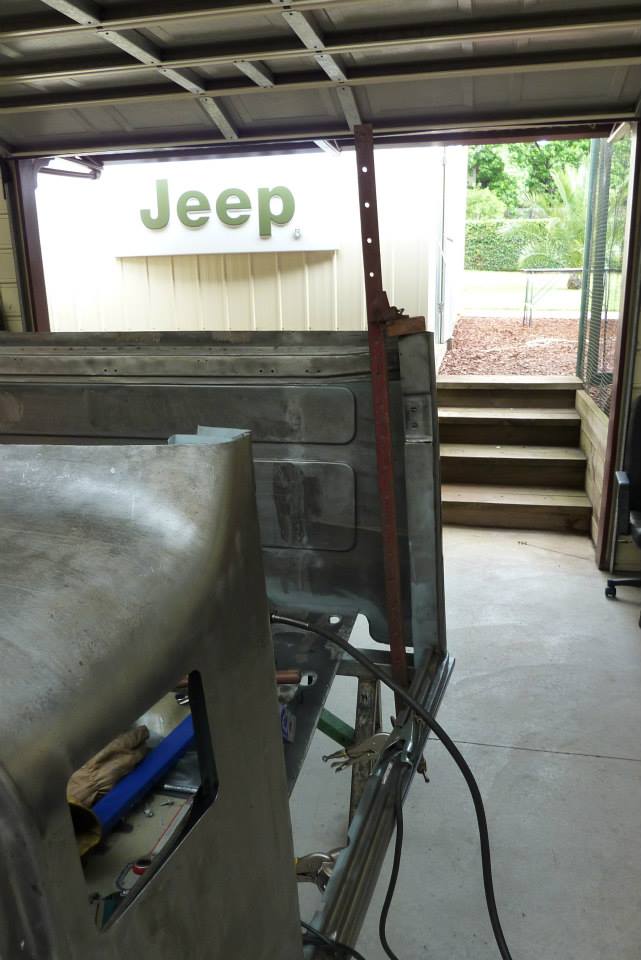
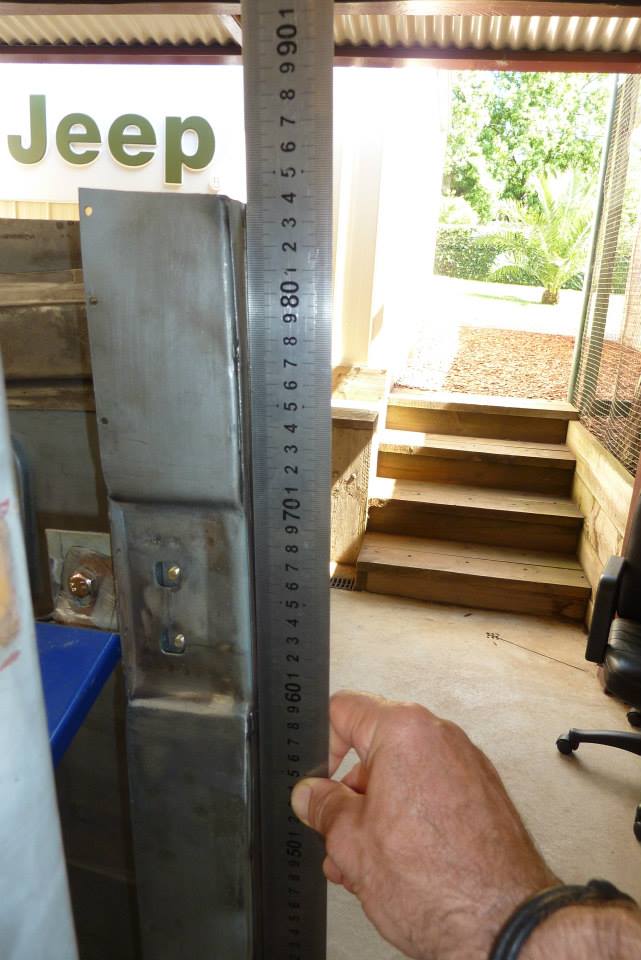
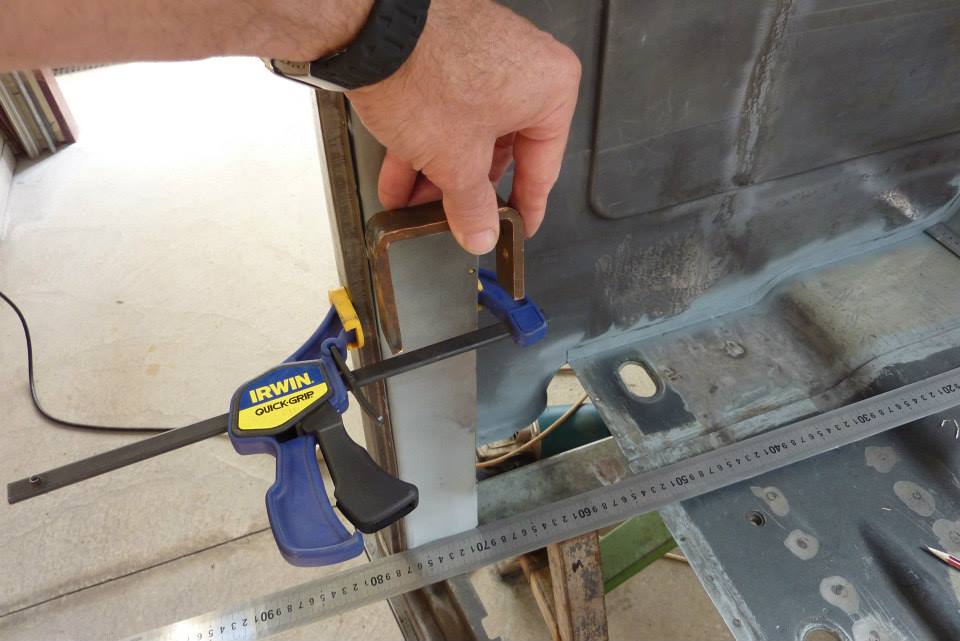
I was double checking the the B pillars to make sure they were in alignment with the A pillars. I noticed one side curved away from the ruler just near the top. However the other side did not. So which one was right? Checked the curvature of the door and the straight side was wrong. It is also the side that had been hit. I had ready straighten it in the other direction which needed to be straight, but didn't think to check in this direction to see if it needed to be bent. I had to free the support brace from the pillar and then I made a cut where it needed to be bent on both sides of the U shaped pillar. Not all the way through to the third face though. Then put a sash clamp and pulled the bend into it. I stopped 0.5mm short compared to the other side, as the welding heat will pull it some more. After welding the two sides now match perfectly.
[Index]