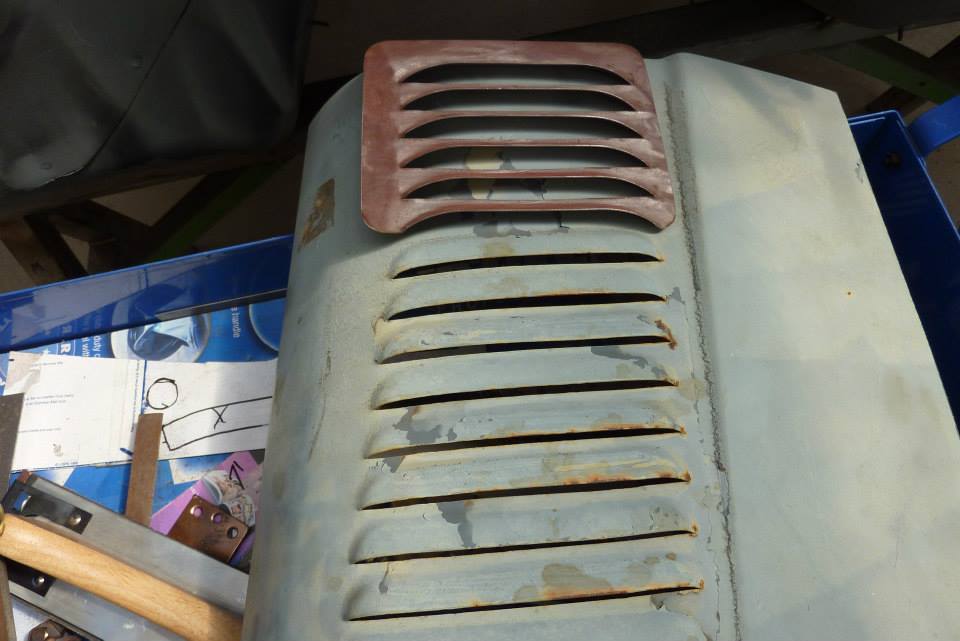
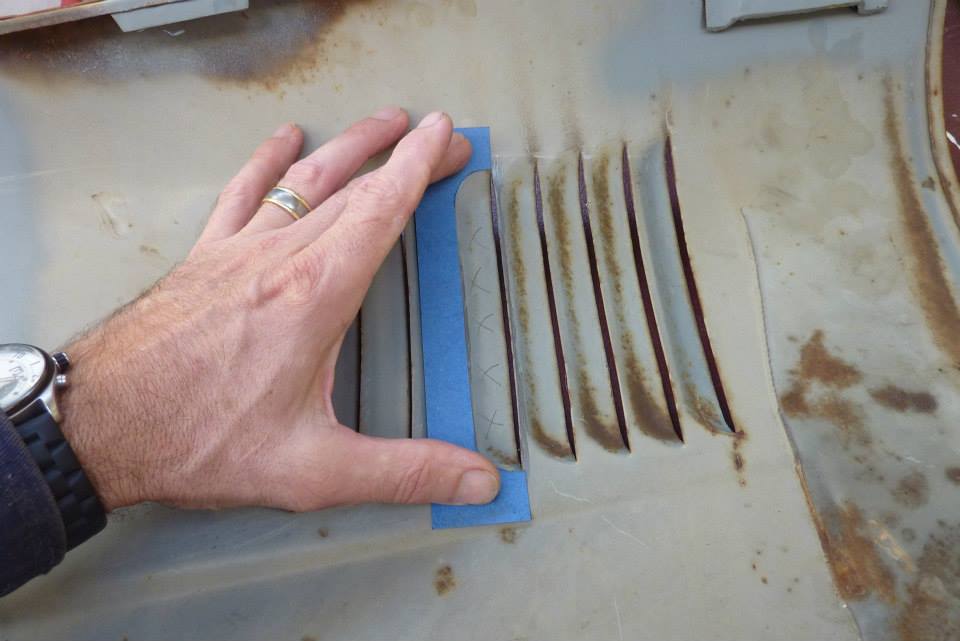
The was not happy with how different the louvres were between the bonnet and intake even though they were from the same Landcruiser model. So I thought I would try to make some matching ones to replace them with. First took a pattern of the shape.
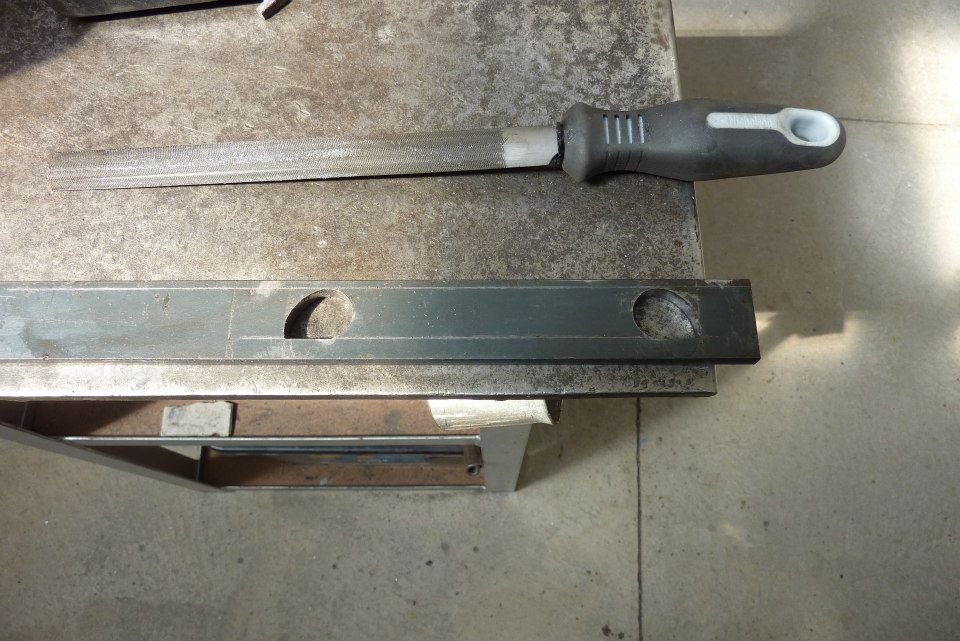
Transferred the shape of the louver to some 8 mm/ 5/16" flat I had. Used a hole-saw to get a start and then nibbled away at it with a jigsaw and then a file. This is a little thicker than the height of the louvers, but would allow for some spring back. The middle part was cut out just using a angle grinder. The thickness each side of the opening is set to the gap I wanted between each louvre.

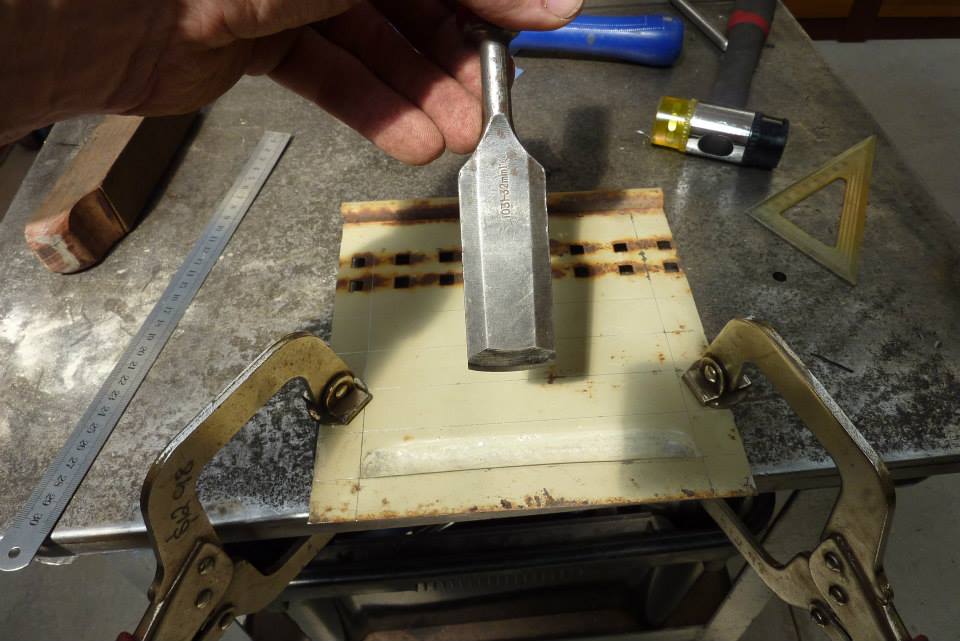
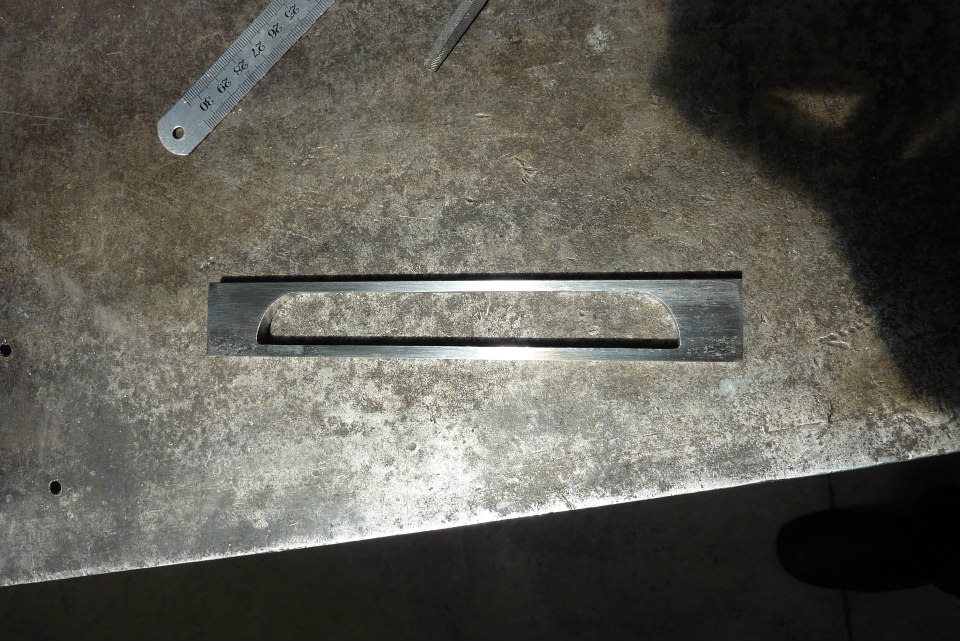
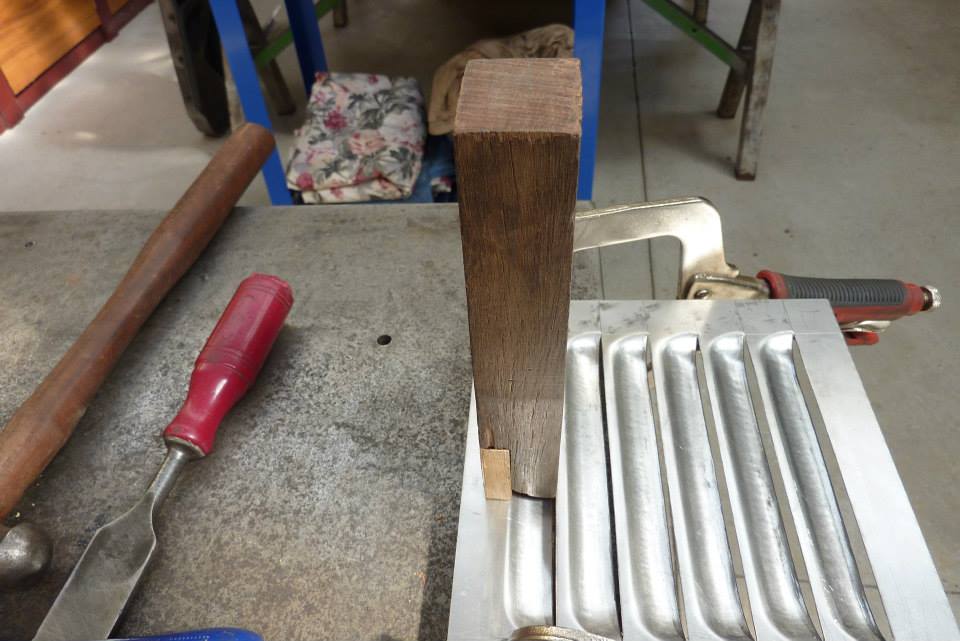
Tig welded it onto more of the same flat to get a good base to it and stop the sides from spreading. Filled it with oil to cool as might add a little hardness to it without getting brittle like a water quench. Using a great tip from Per, MetalMan Sweden, I used a wood chisel sharpened with a curve to the end to cut the metal. https://www.youtube.com/watch?v=vIPZUUPPTFk Could also drill a small hole at each end and use a thin cutting disc, but leaves a bigger hole not covered by the louver.
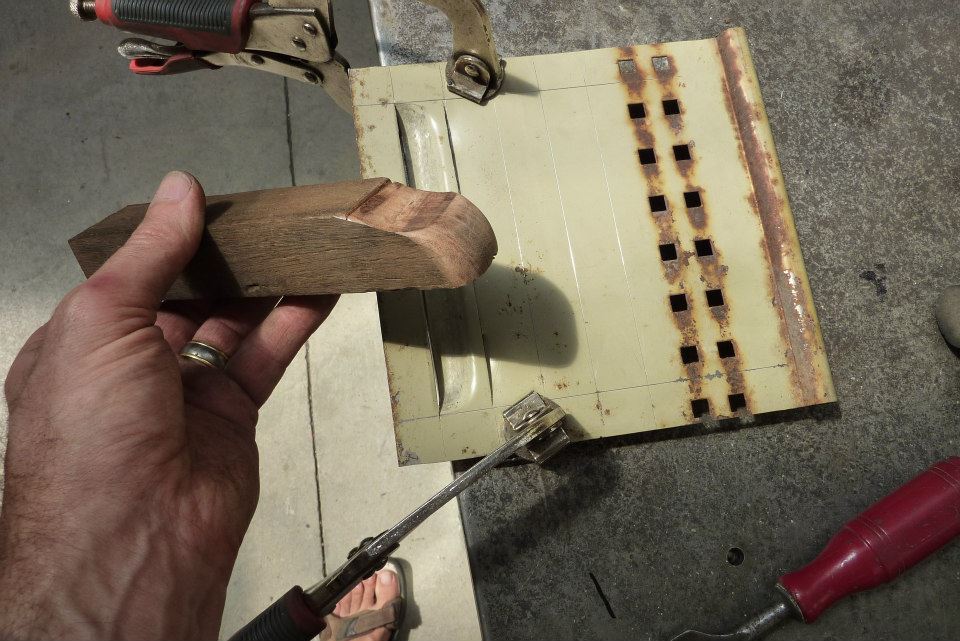
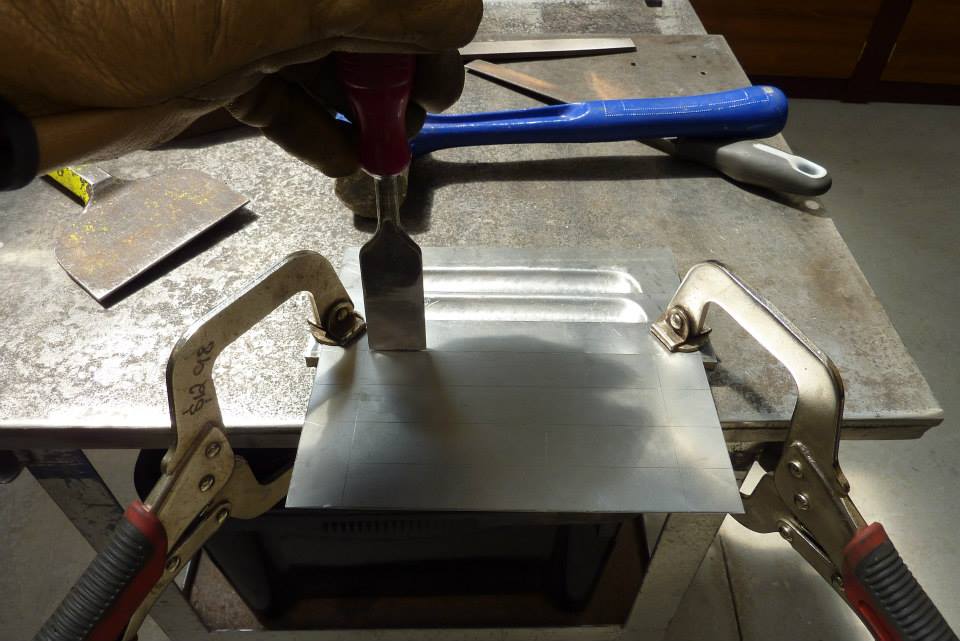
Used a bit of very hard red gum to shape into a forming tool. It is important that it is the full width of the louver. I found starting in the corners and lots of small taps to just cut through the metal and no further worked best for me. I scribed lines to follow where to cut and made sure the metal didn't move on the form. You need to hit down right on the very edge for it to work.


I kept the form straight to get consistent shape. The corners need to be a bit ahead of the rest and use plenty of light taps with the mallet working back and forth like a reciprocating machine. 4 down and two still to go. Matches the shape of the template pretty well.

One thing that did show up when I did this one starting from the top, when forming the next louver, it tended to pull the bottom of the louver above it into the form. I have just started the second one and doing it from the bottom it stays straight and flatter as have more metal above it. So I wont use the first one and make two new ones.

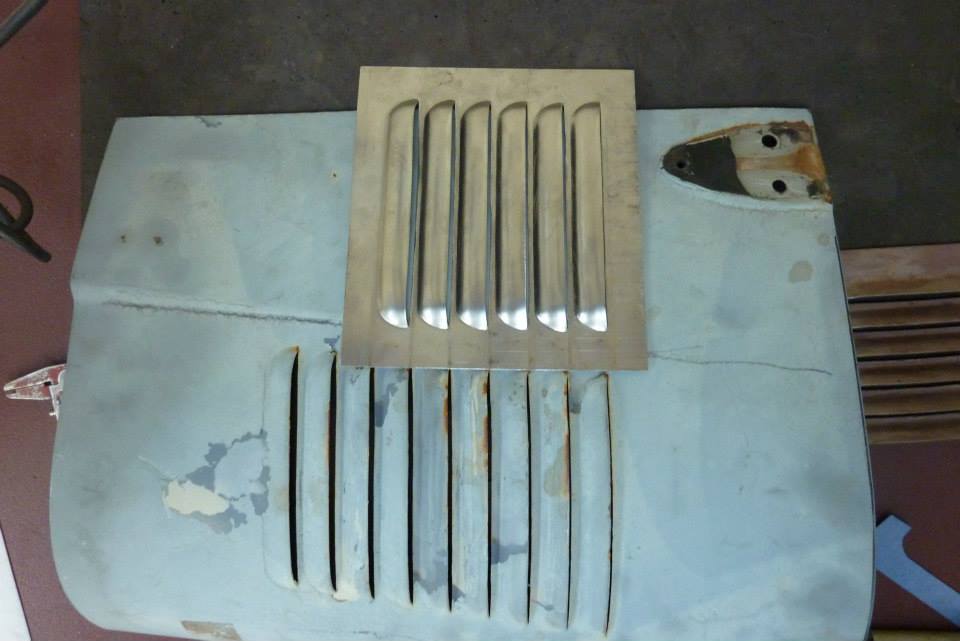
The bonnet ones taper in length so I have chosen the middle one at 6" in length and made them all that length. I modified the former a bit by adding the extra piece you can see in the lighter coloured timber. What this did was make the top edge of the louvre sit down flat without twisting up the louvre which is what would happen if you just hit it down with a mallet on its own after the louvre was formed. It also further controlled the depth of the louvre making them all very consistent.
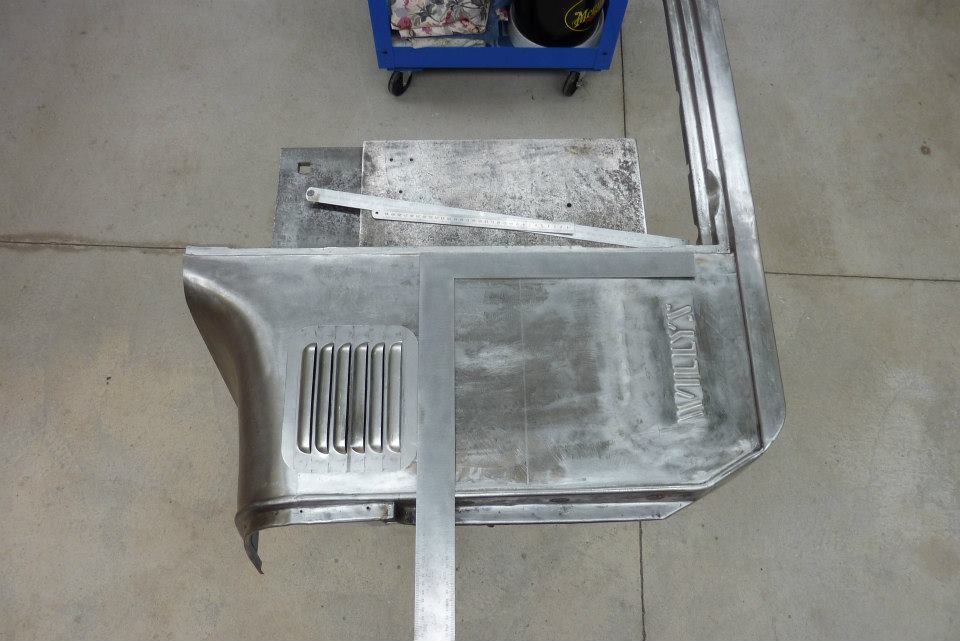
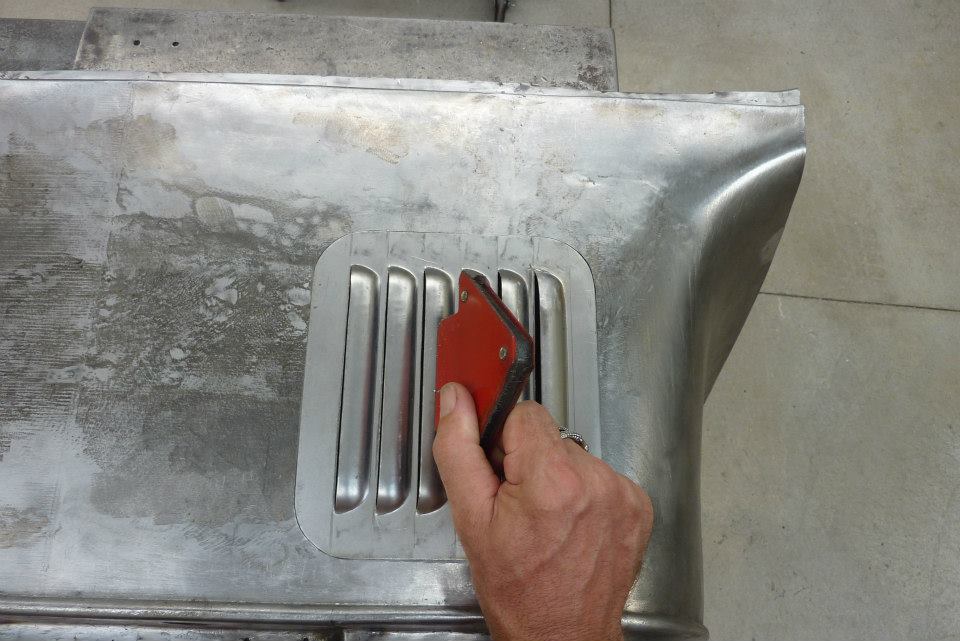
Now to set out where they will go. I held the front guard in place against the edge of the cowl so I could mark where the top of it was. I wanted the slot of the last louvre to line up with this. Then made them square to the A pillar edge. Hard to see but the hole under it has been cut out ready for welding into place.
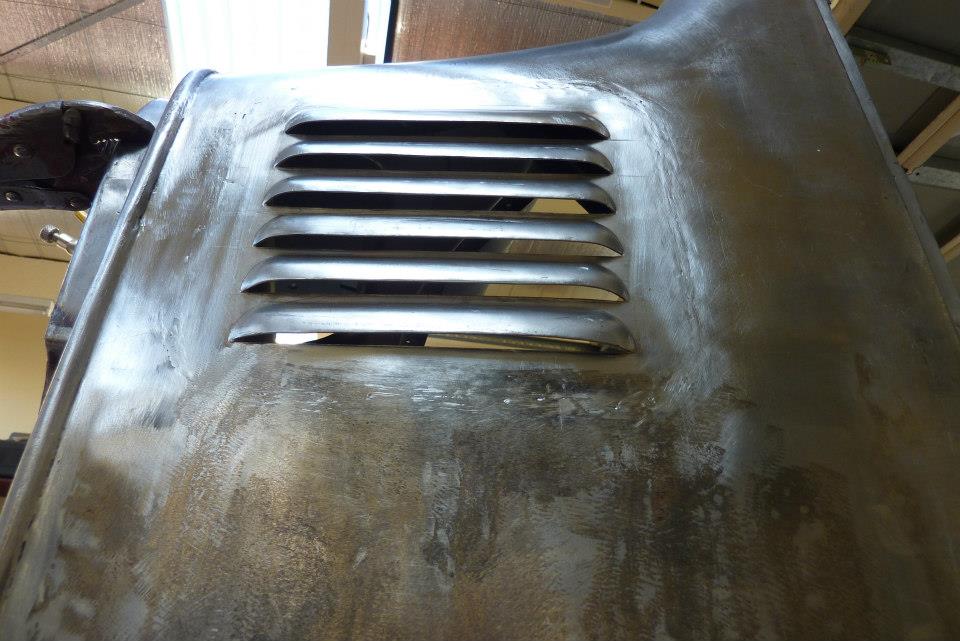
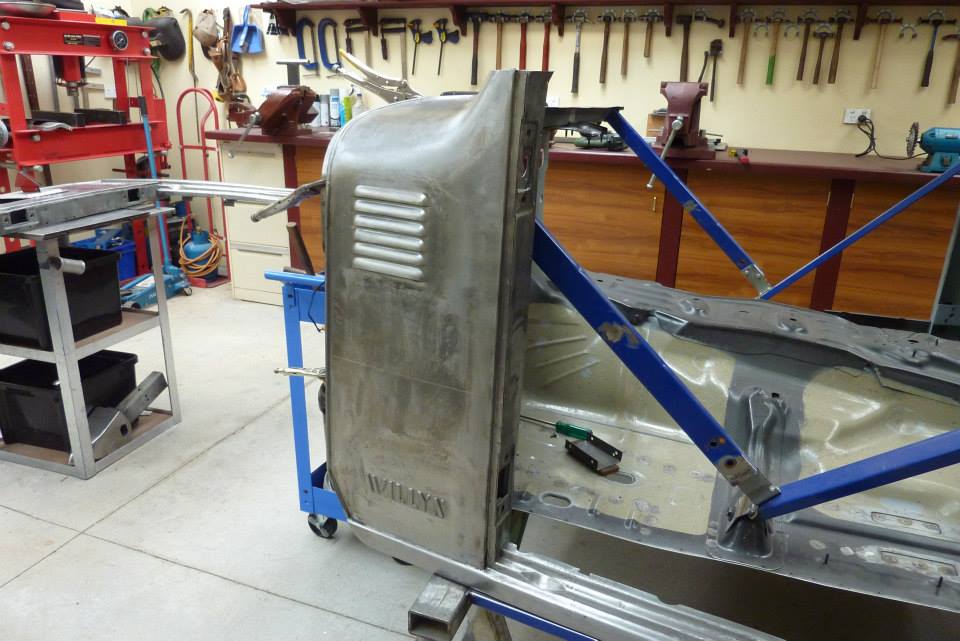
Welded in after some planishing to correct the shrinkage from the welding. Having a matching one of the other side will add up to enough fresh air flow to feed the A/C system.
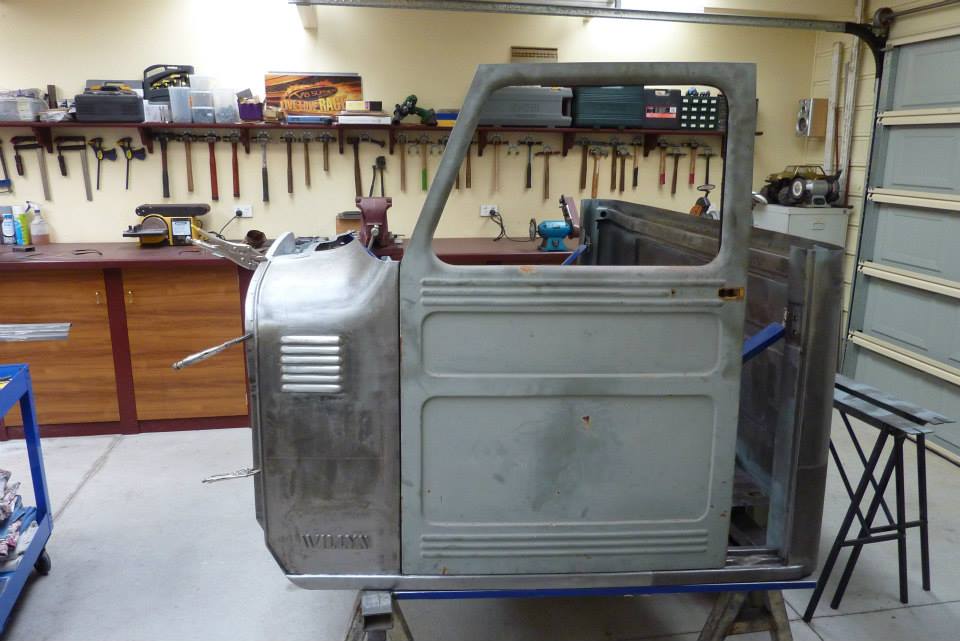
Think it breaks up that plain bit of the cowl and will function well to deliver fresh air into the cabin.
[Index]