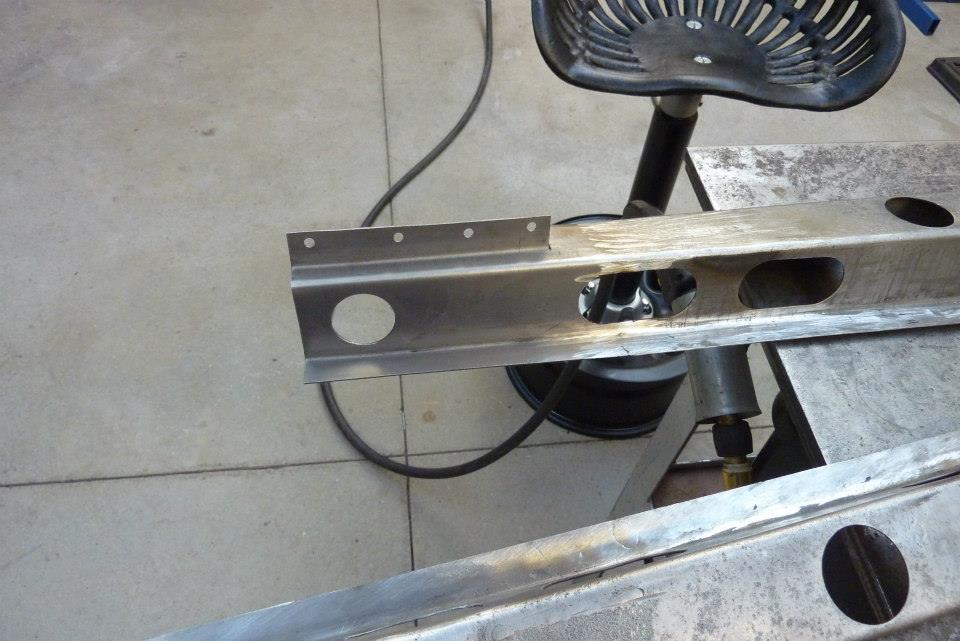
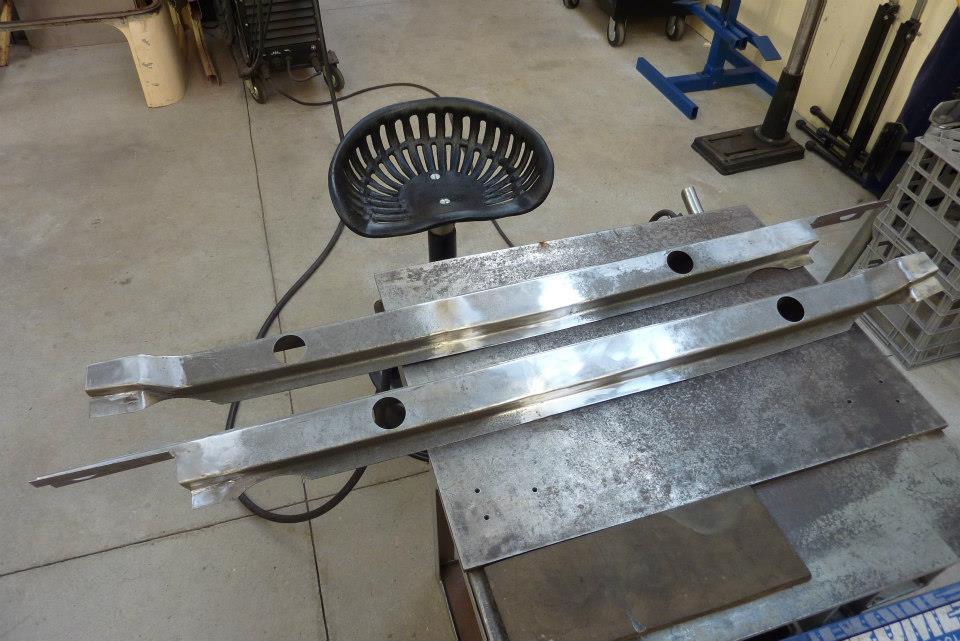
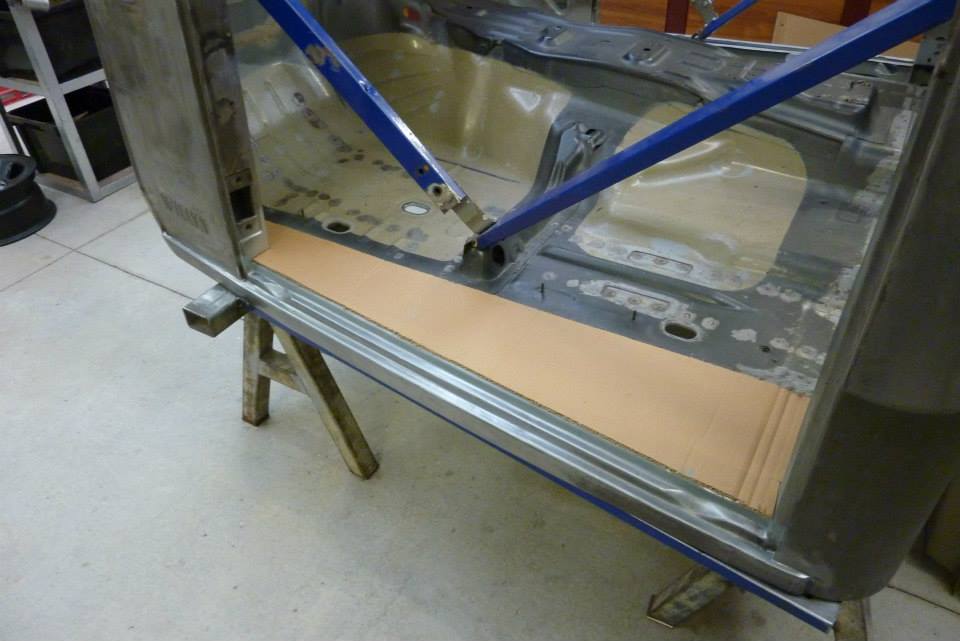
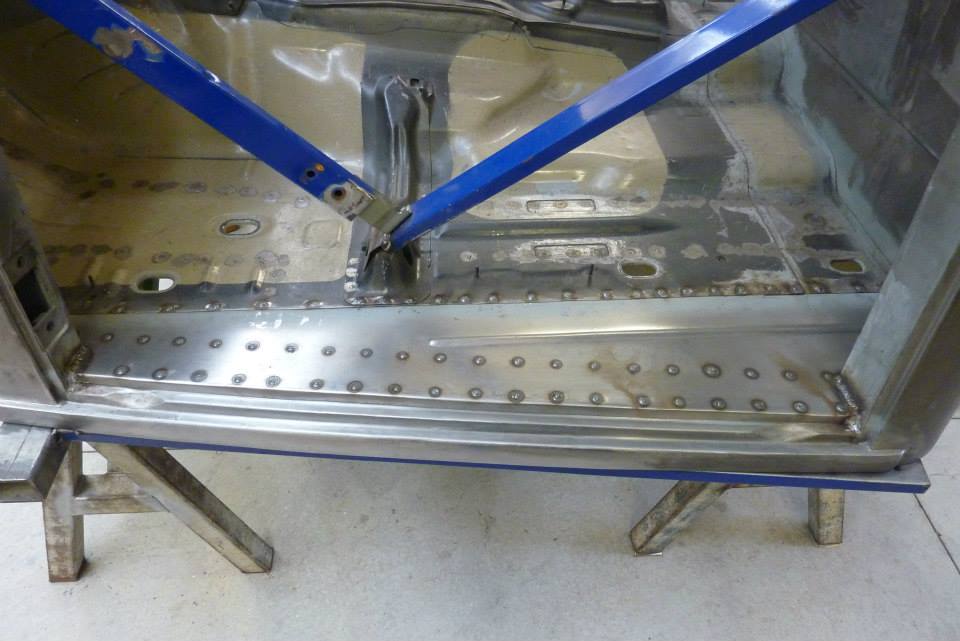
Time to fit the door sill supports. The original ones first had the ends replaced to repair rust damage. Then right in the middle, the extra 7" that the cab is longer was added. This had to be done there due to the width change in the support. The extra was added at the widest point.
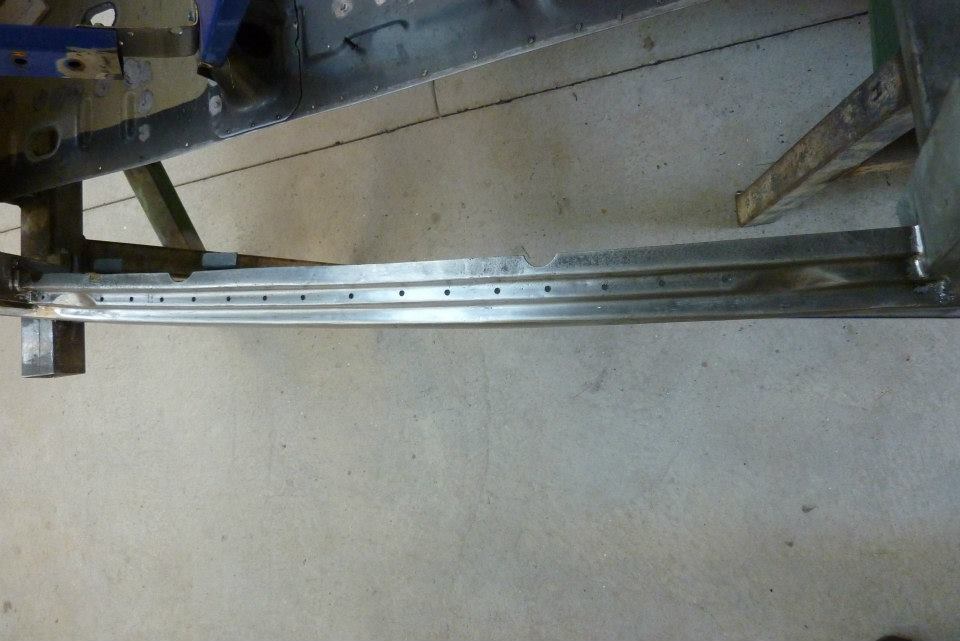
To weld the support in, a series of holes were drilled in the sill where the supports flange sits under. For some reason this was missed on the later cab but not the early one? The support was added before the floor was put in so more welds could be done inside the support where it attaches to the pillars.

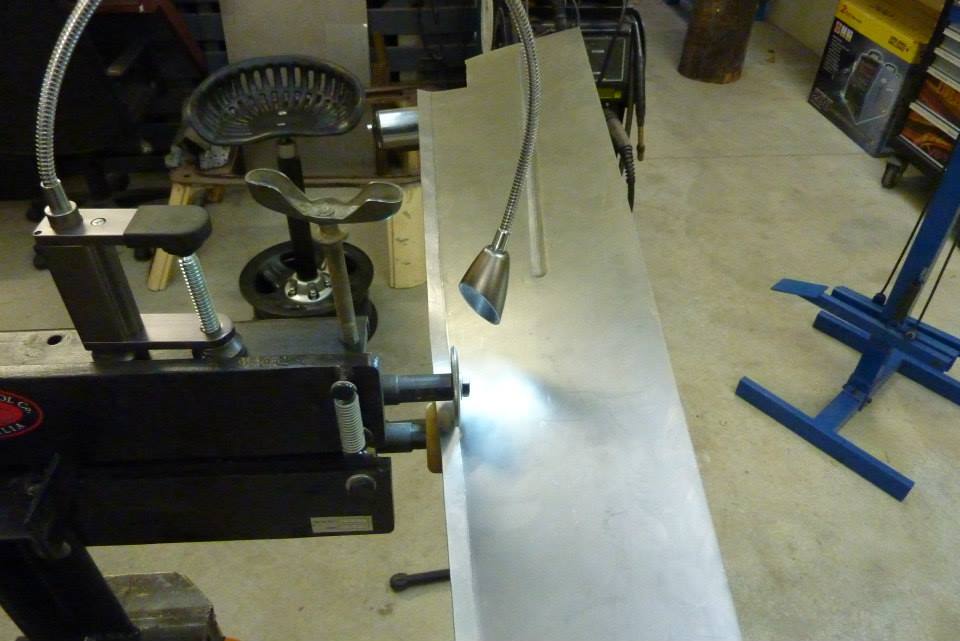
Time to make the floor extension. A cardboard template was made and then transferred to metal of the same gauge as the rest of the floor. Extra was added for the flanges and the lap joint along the edge.
A bead was added to stop any drumming. A 3/4" joggle was added so it tucks under the donor floor so it can be plug welded togther.
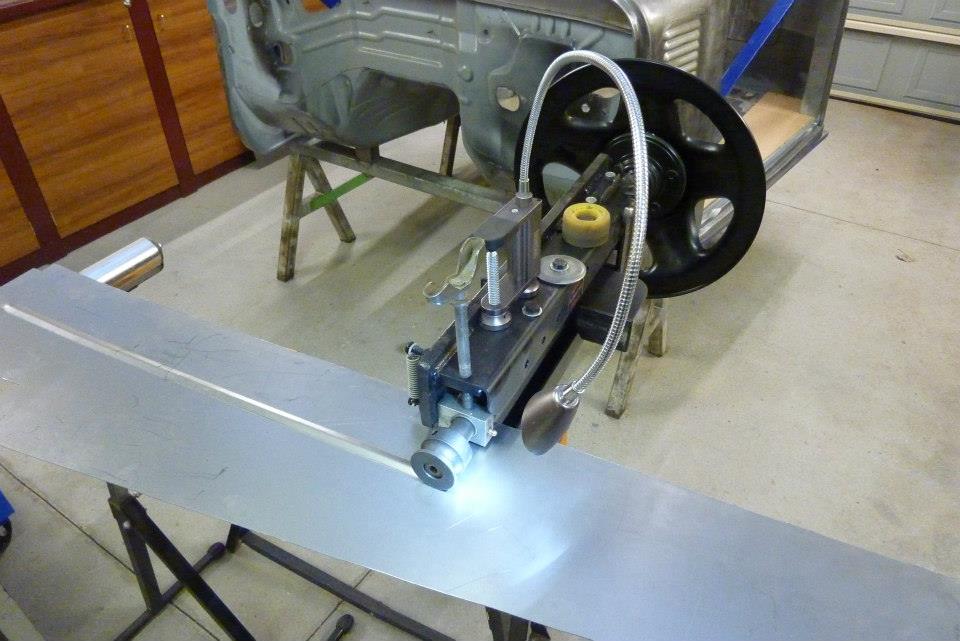
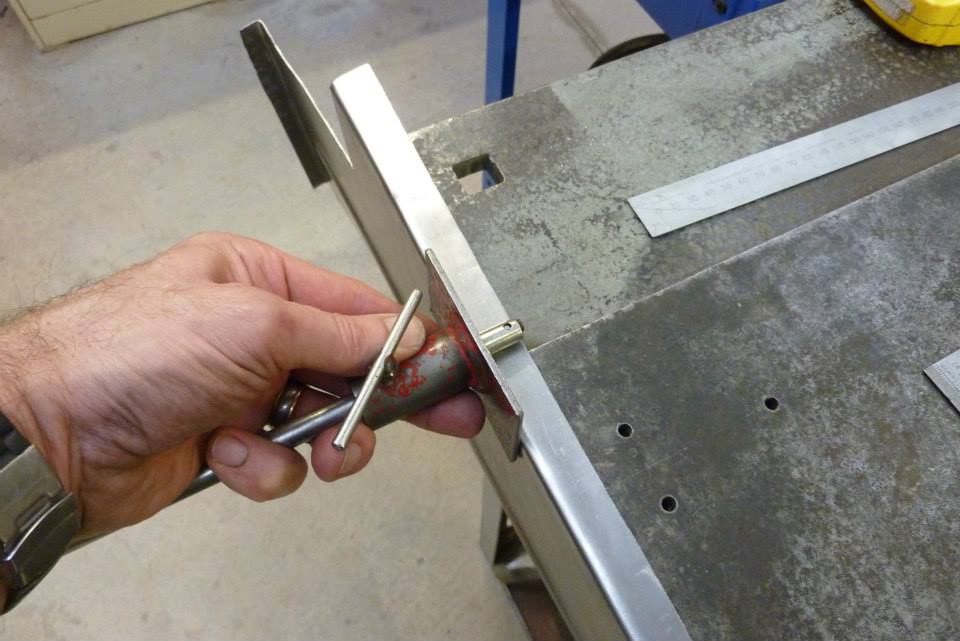
Used the bead roller to tip the flanges so it can be plug welded to the side of the cowl. A shrinker was used to make the bends in the flange. The tipping method was used again along the slightly curved edge that will fold down over the top of the sill.
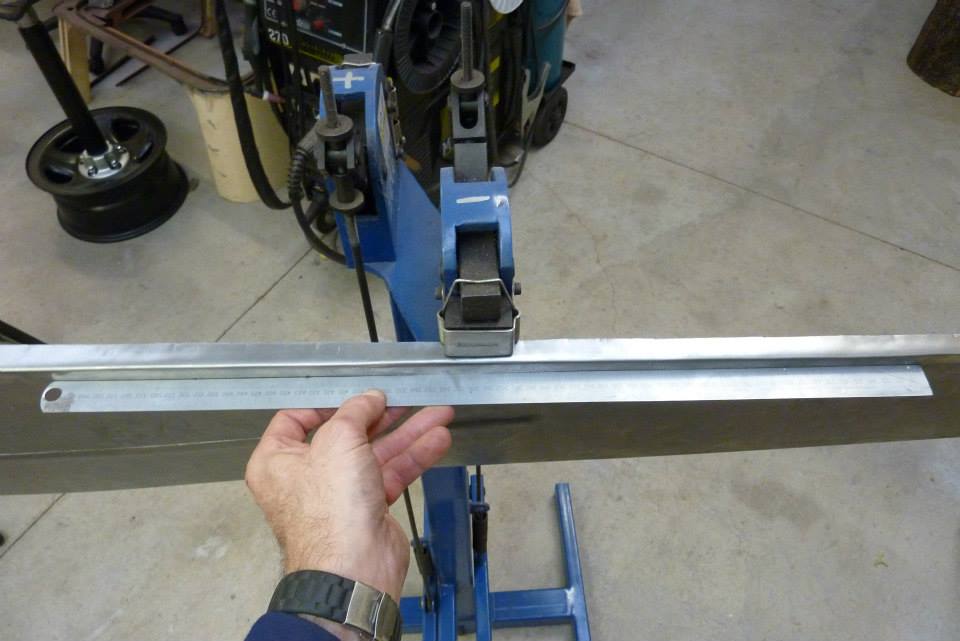
Had to straighten out the floor after tipping the edge due to the curve. I find it easier to hold a ruler along it while using the shrinker/stretcher so I know precisely where and how much to move it. The shrinker will bring it towards to the ruler and vice versa. Used my old home made back gauge to mark where to trim off the excess.
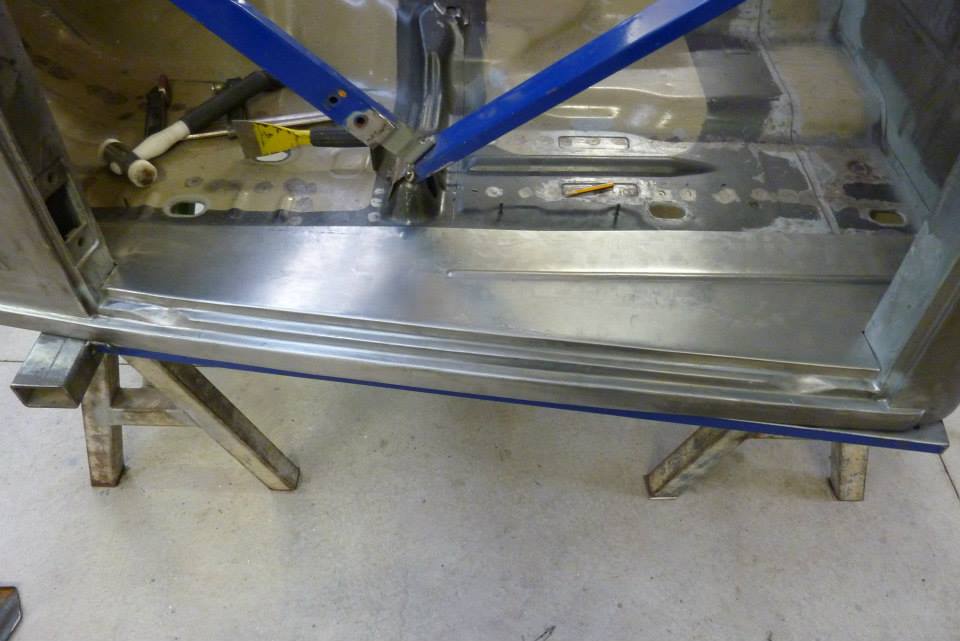
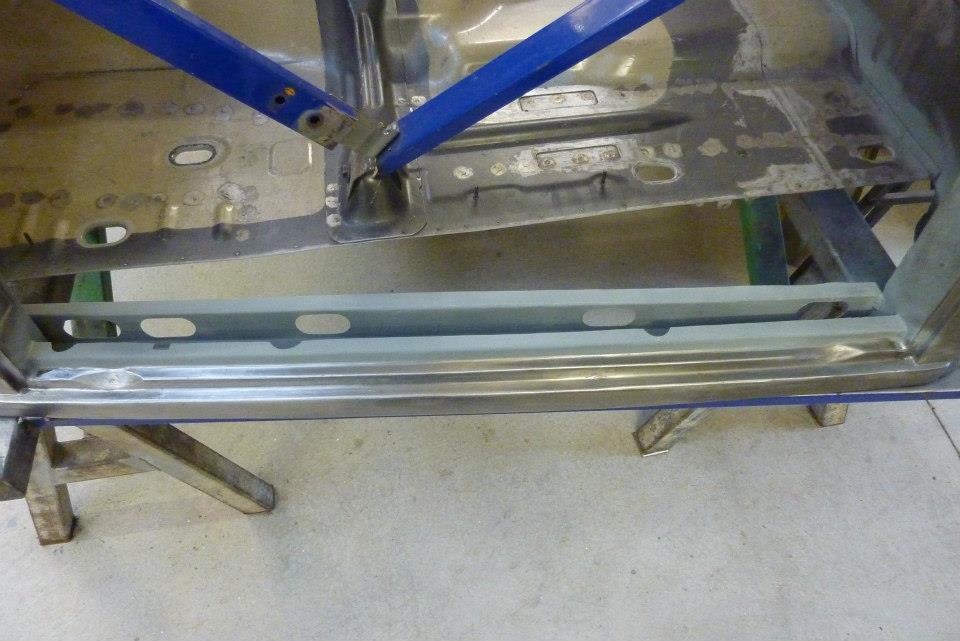
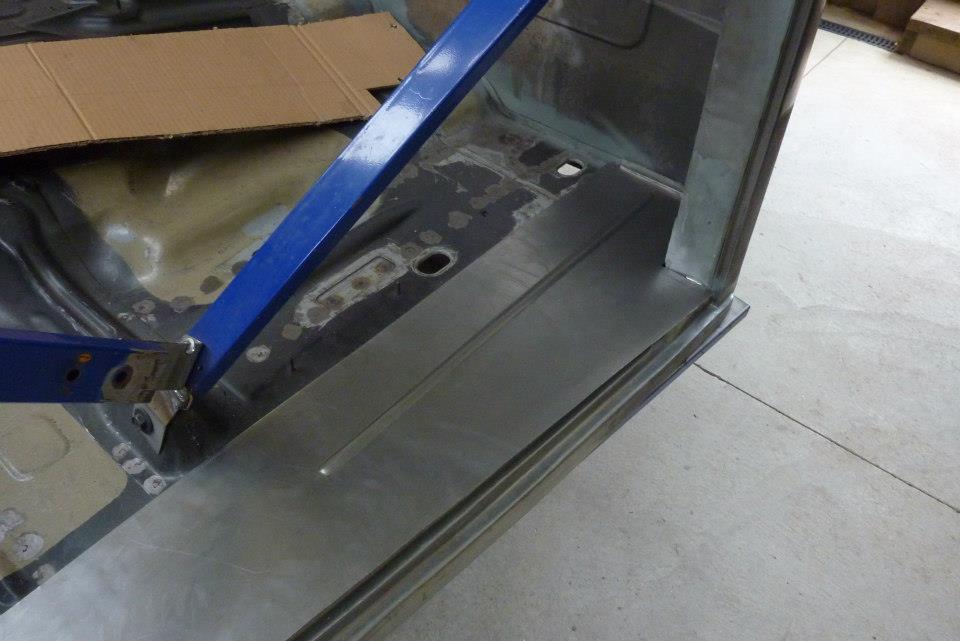
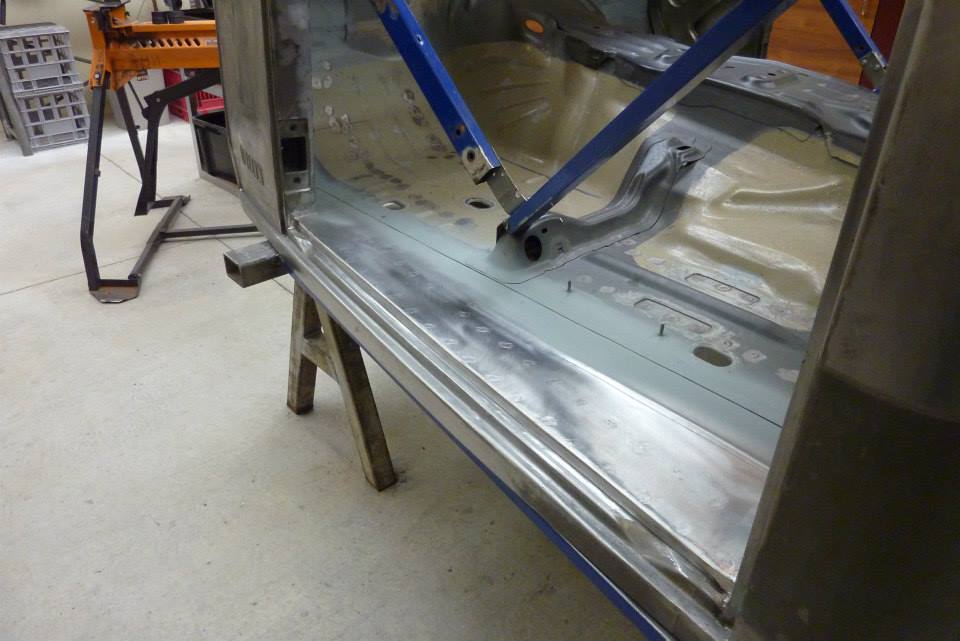
Now it fits perfectly. Next the panel will be coated in zinc primer where it tucks under the donor floor and also right along the underside. Plenty of plug welds are needed. The two rows at the front connect the sill support to the sill itself. This turns the sill channel into a boxed member adding much strength to it all. The plug welds along the donor floor were done where the holes already were from drilling out the original spot welds. Fully welded the floor to the A an B pillars as well just like the factory did for extra support.
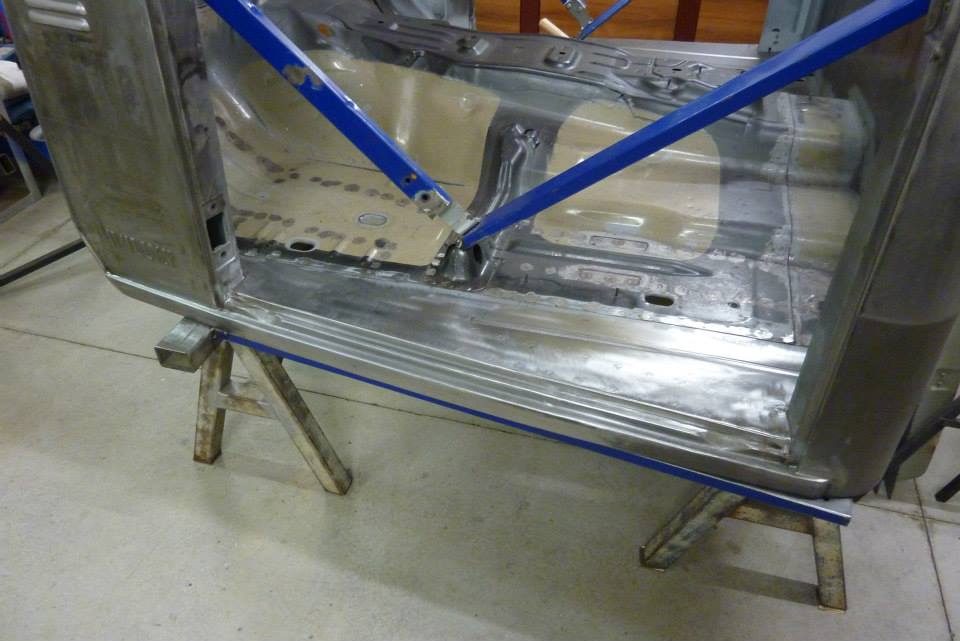
I could have only sanded the front row of plug welds, as the rest will end up under the carpet, but you know what I am like. ;) More zinc primer down and later will fully seam seal the joint top and bottom.
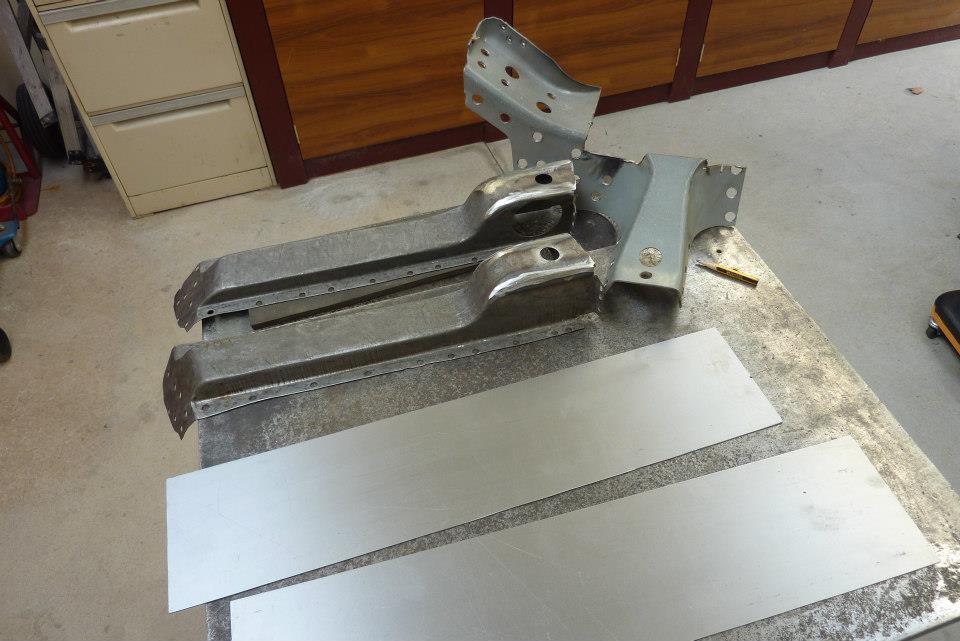

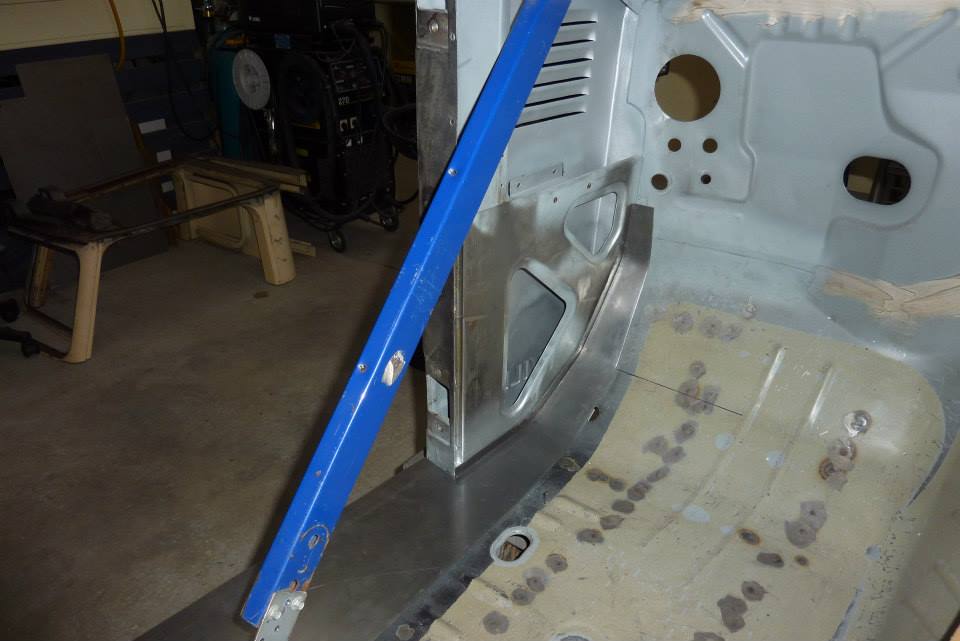
Need some floor supports that go from the bottom of the A pillars across to the transmission tunnel. Supports both the floor and braces the A pillars against the weight of the doors when open. I had a good pair of stock ones but they were too short and made for the original floor pan which is on an angle there. Also had saved some ends from the donor, but decided in the end that it would be better to make new ones from scratch. Folded up some hat channel to start with.

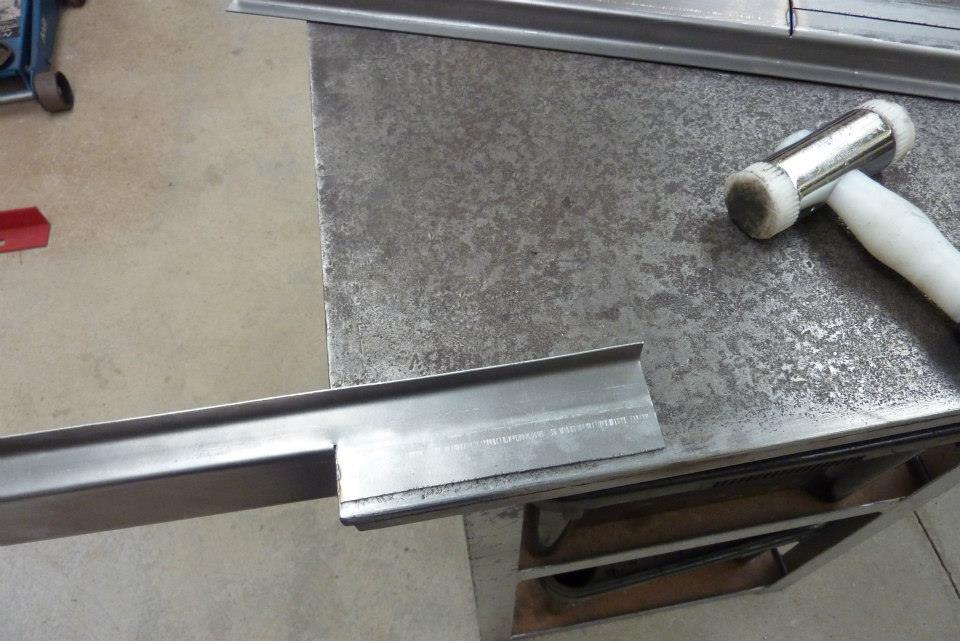
Cut a T at one of the ends and placed it on the corner of the bench ready to flatten out the fold. Knocked out the fold ready to make the wider end that braces against the bottom of the A pillar and floor support.
[Index]