Lines up well enough now to blend in. Was able to weld all the way around to get full strength.
Angle matches the rear corner as well. Now weld it up and then to extend it forward to meet the front of the door. Not only have to add the 4.5" that I made the door longer, but extra due to the chop as well.
Due to the curve in the door, but flat on the inside, I had to pick the best place to cut it through that it would still match up with the new front section without ending up with two widest points! With the edges being straight, I could slowly trim up the new piece until it all lined up with the rulers. The backside will be checked as well to make sure that stays flat and true.
Fortunately it worked out well that differences in the age of the pressings of the door top worked in my favour and was able to match the 1948 rear section with the 1958 front section with the extra length needed. Nearly there in this shot. Doing it this way saves having an extra join in the top of the frame. The other side was completed as well. Thought I was finished but noticed below where I had made my join that there was some lead fill there.

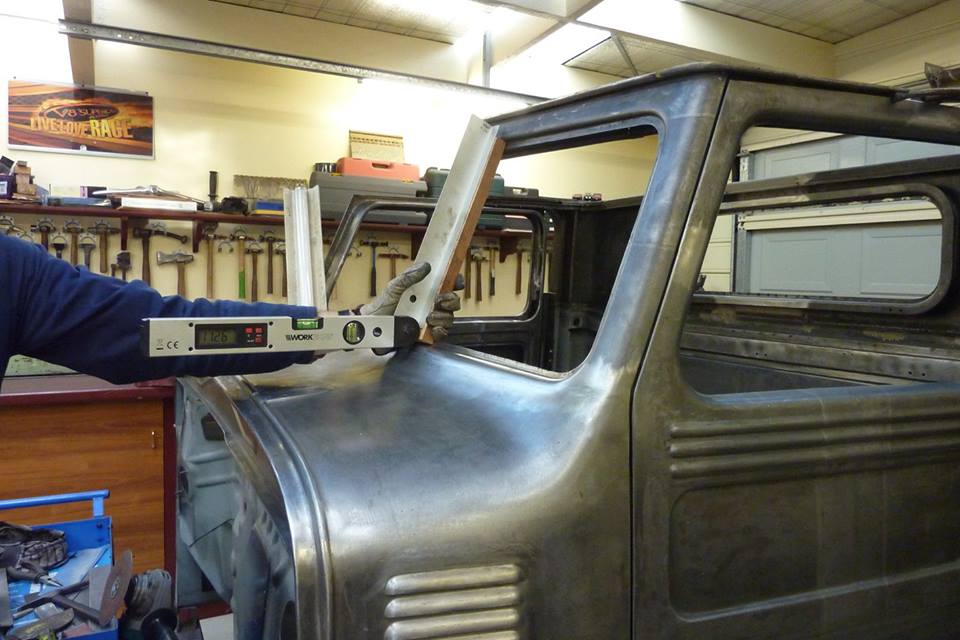
Removed the lead and found a bad repair job that only had a few tacks holding it together! Cut the whole affected area out as had been ground quite thin previously. Also my digital level gauge showed this was tilting at the different angle to the back of the window frame. That would be bad for the glass as would jam up and not run smoothly.

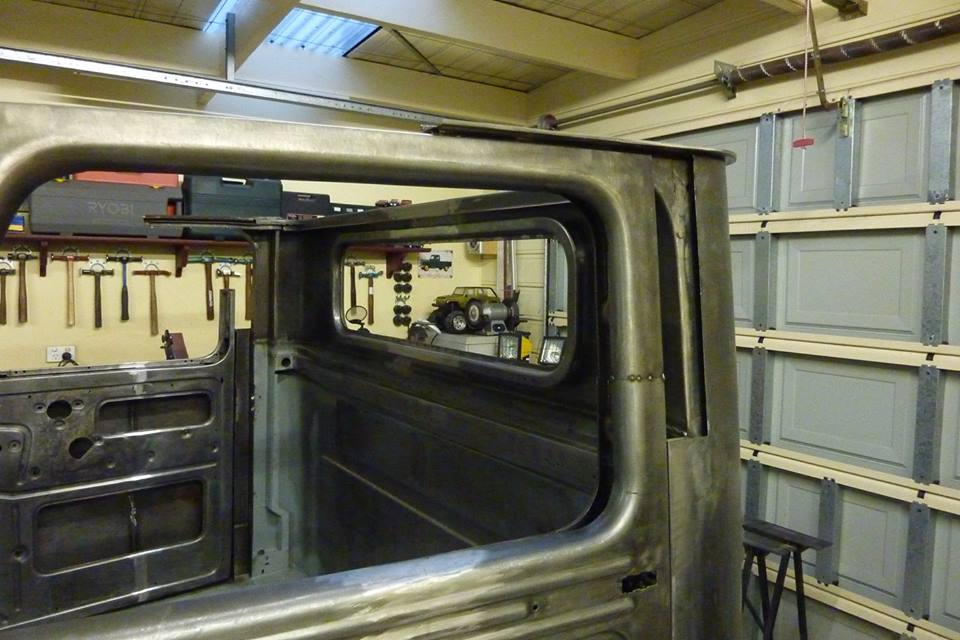
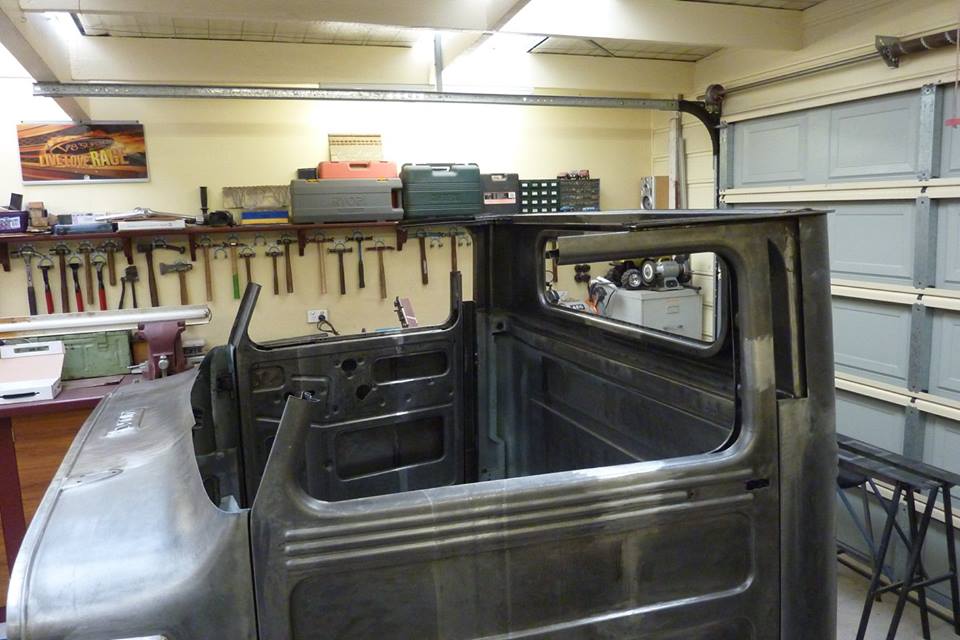
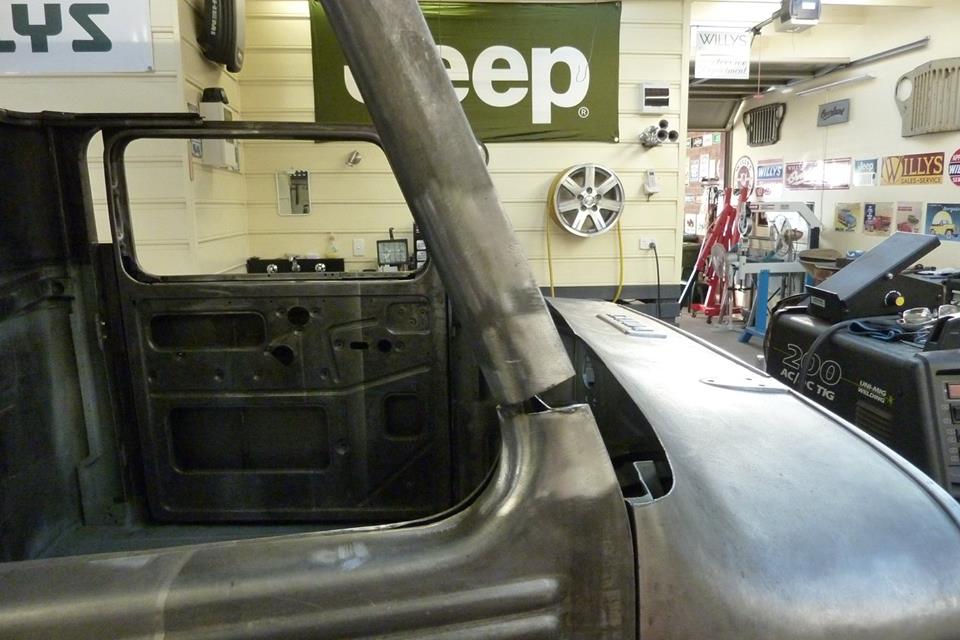
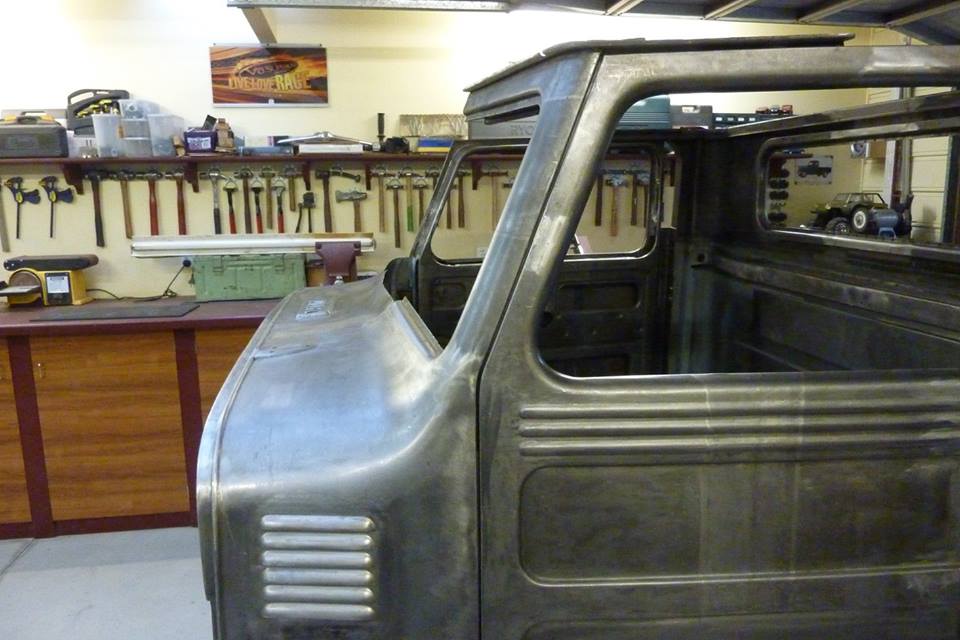
Welded in a new piece and got the angle to match so all 4 window frame sides were exactly the same. Now with the window frames done I will have something to line the A pillar up against to get even door gaps.
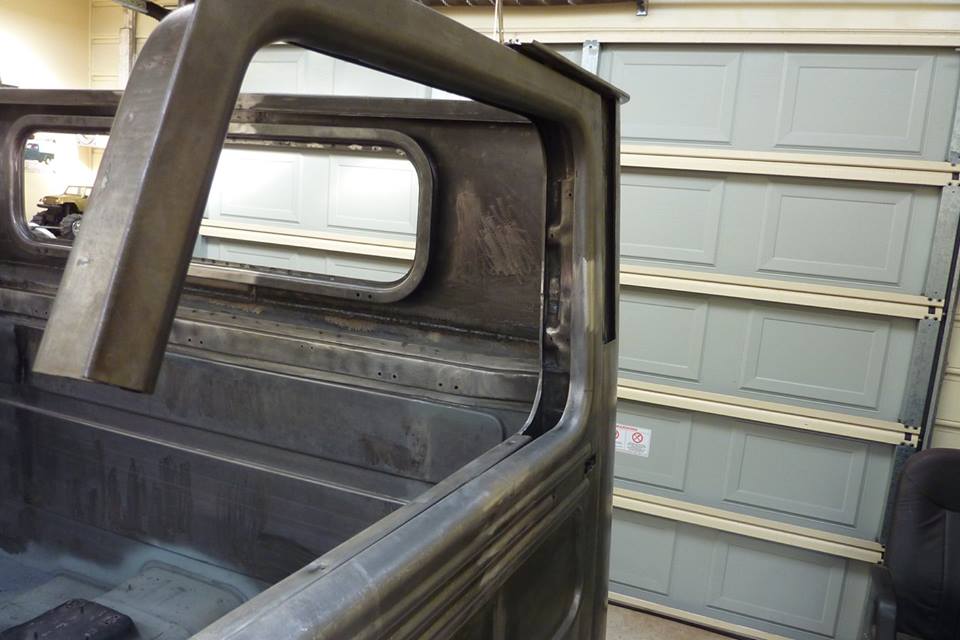
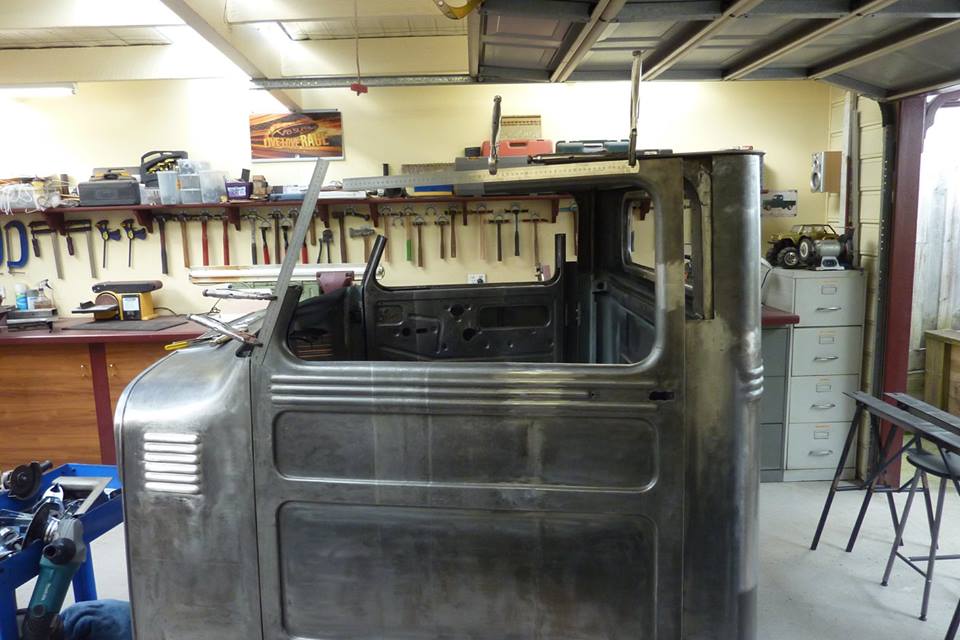
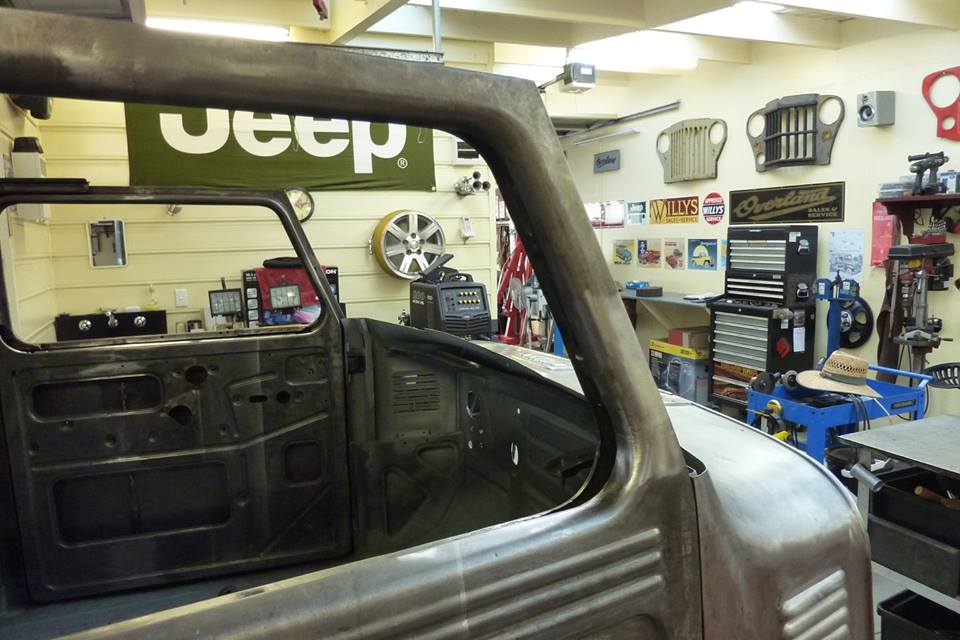
Starting to get a bit of an idea how it all will turn out. Top of the A pillar now which can be lined up with the front of the door window frame. Also notice that the lower part of the windscreen to cowl joint is going to need some work with the 2" section already cut out in between.
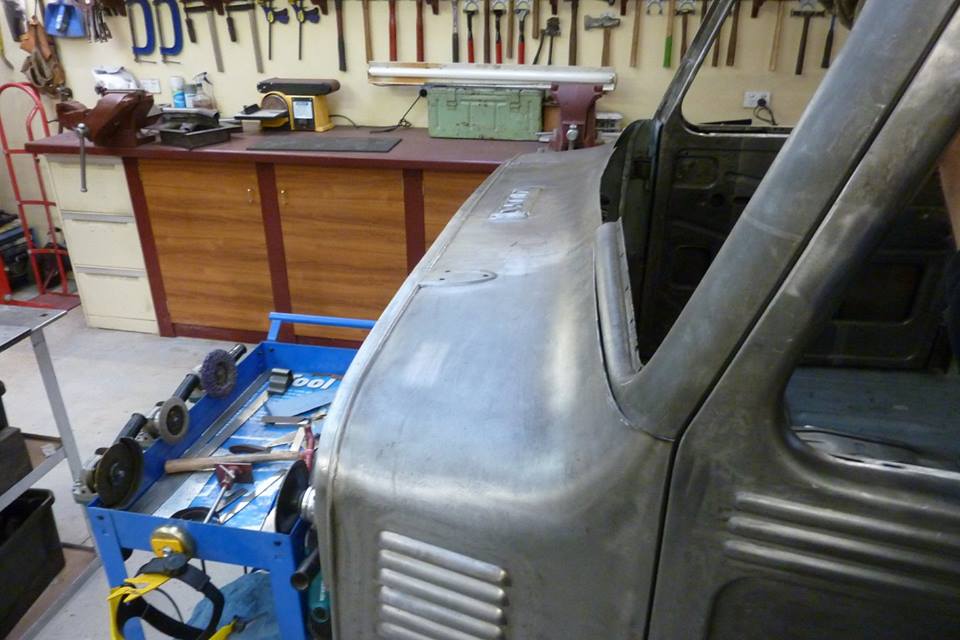
Started to hammered the cowl back, all off dolly, as didn't want to stretch the top edge at all. I'm am collapsing an arc inwards, so needs to shrink if anything, to move that way. Had to make sure that the angle didn't change at all as you can't twist glass to fit. Strain on the glass seal will cause leaks as well.
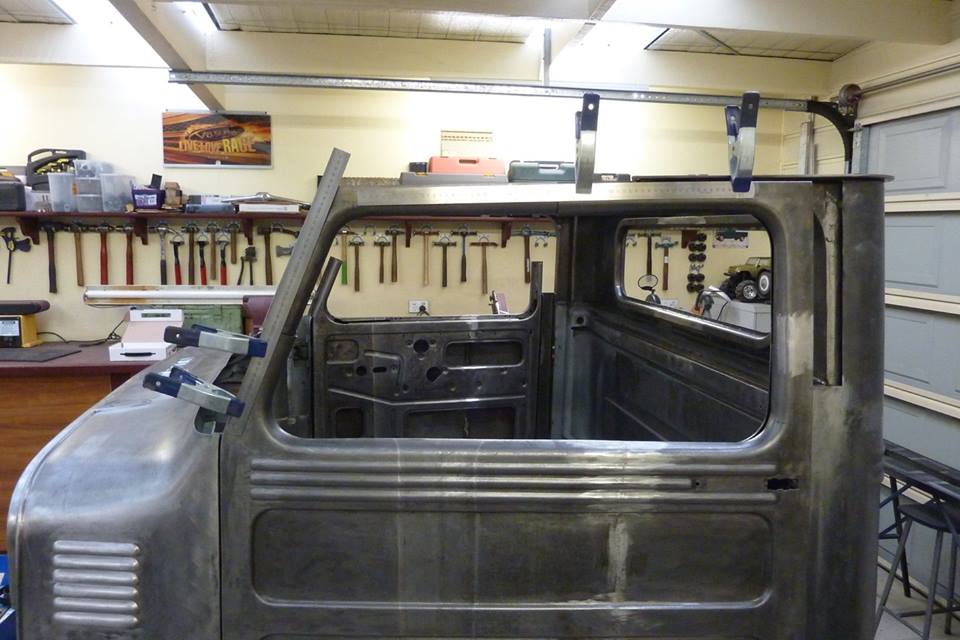
Flows quite well I think. Not happy with the top angling up so high and wanted it to match the shallower rear angle. I supported the corner so the pillar angle didn't change before attempting to bring it down.

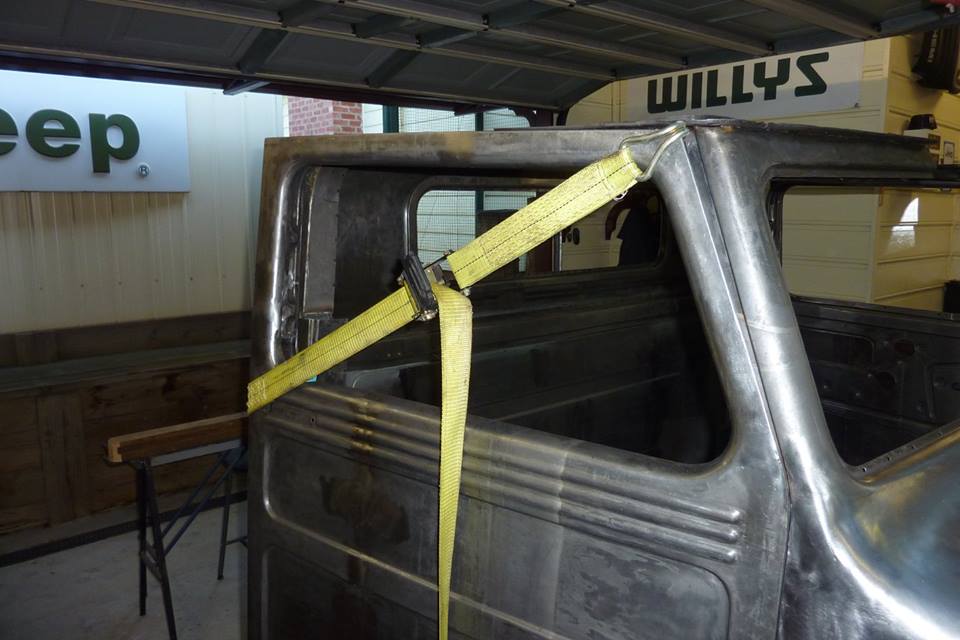
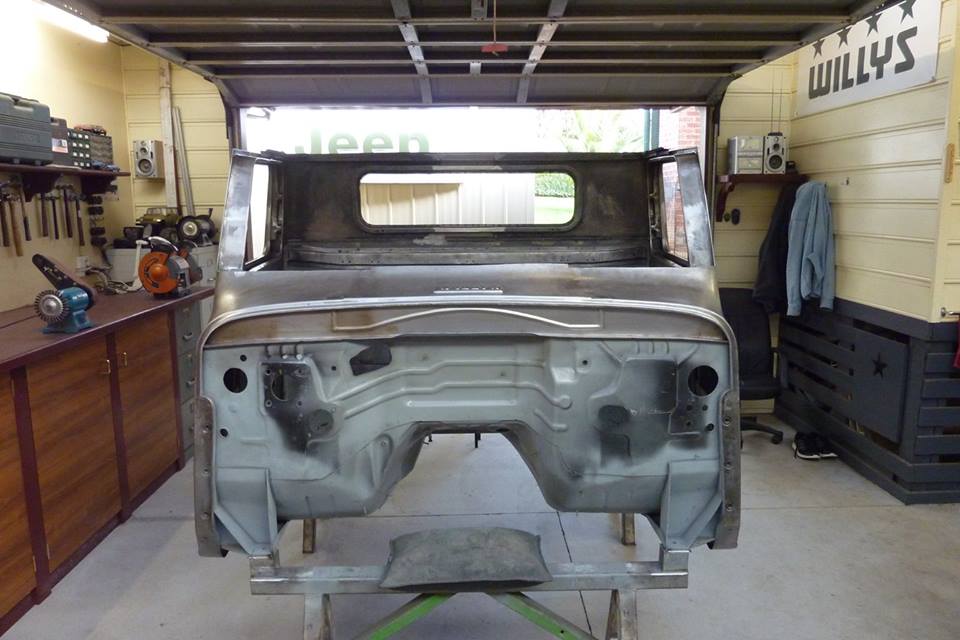
Placed a block of timber on top before giving it a few quick raps with a lead filled rubber mallet. Now matches the angle of the rear wall exactly. Total rise is 1/4" and not flat like you would think these to be. Water will drain now to the front outside corners where the drain cut outs in the gutter are. I had also set the roof skins up with the same rise front and rear when sectioning around the perimeter and wheeling up the new centre. After welding the other A pillar in place, I noticed that the top of the door frame didn't align perfectly and was nearly 3mm-1/8" out. I didn't want to move the A pillar, as that matched exactly the other one, so with a ratchet strap, pulled the window frame back.
[Index]