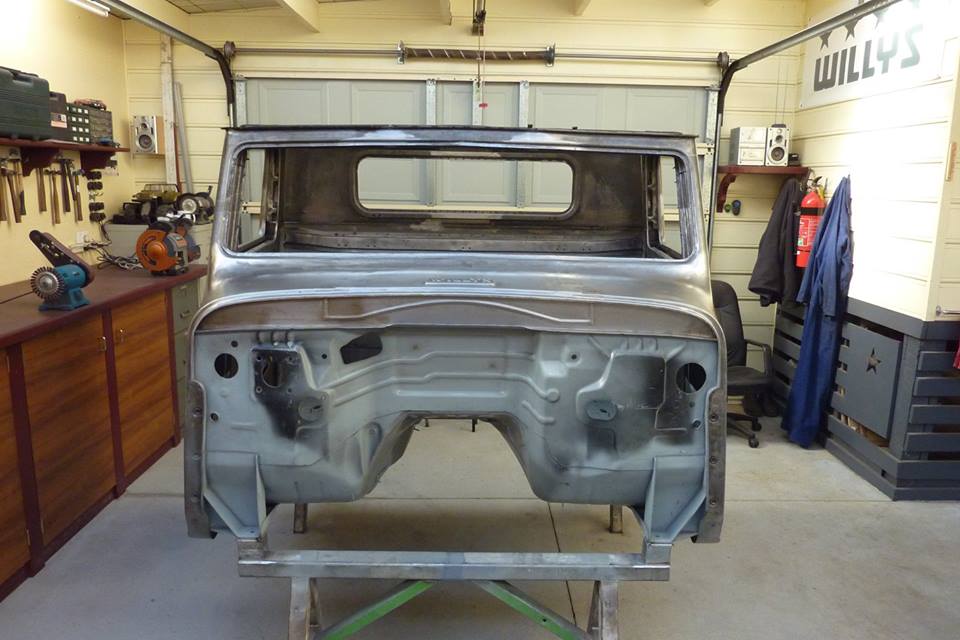
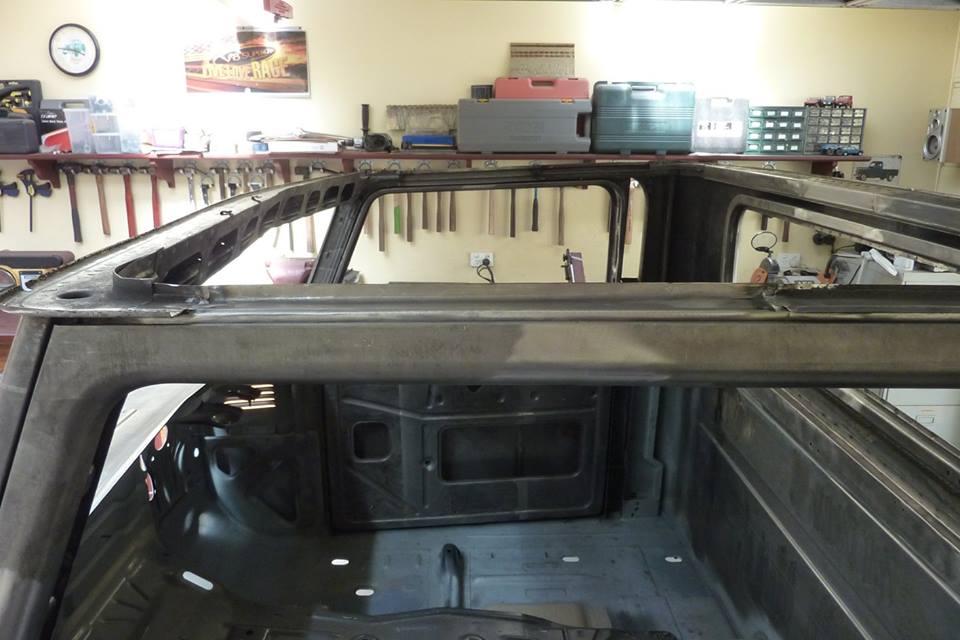
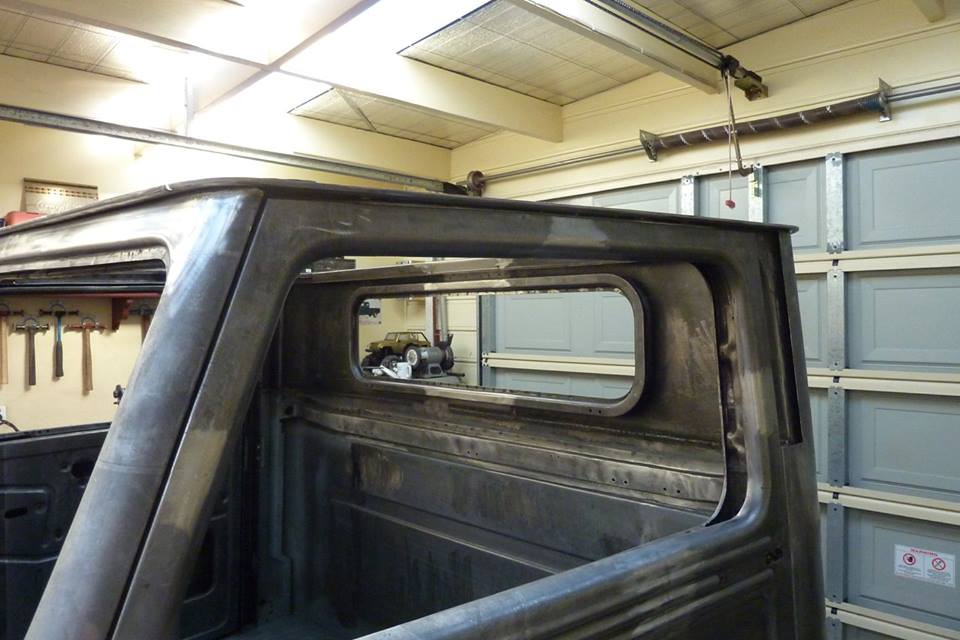
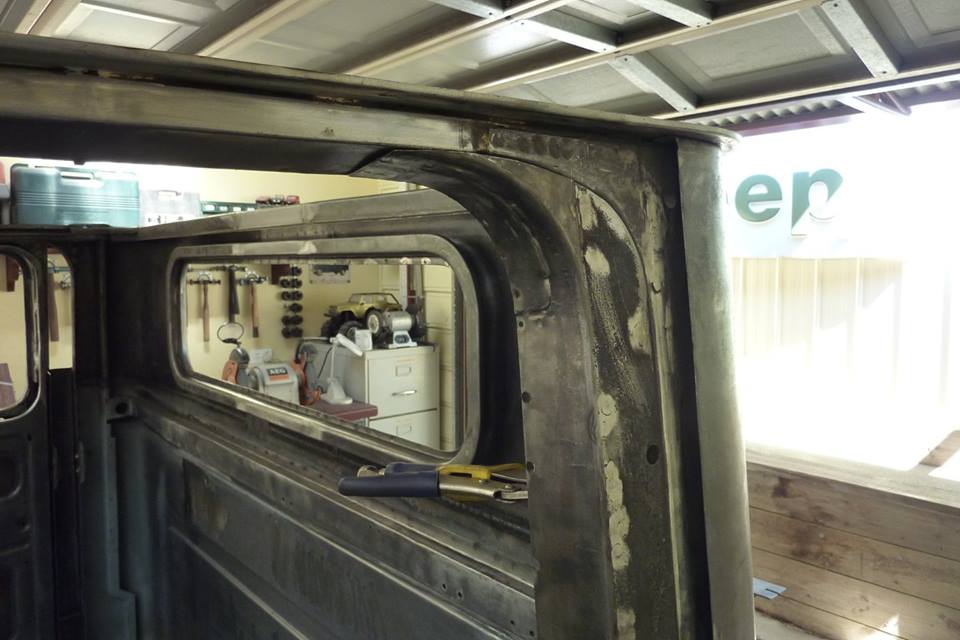
Now to finally have both sides of the windscreen frame meet. As the body is 220mm-9" wider, you can see the difference in the width of panel as the front has a slight curve to it, but the seam that the glass sits in is perfectly straight and must remain so. A slot was cut along the bottom, and the spot welds drilled out at the top, to pull the panel forward to match. So both sides were modified, so the seam that the glass gasket sits in, stayed dead straight.
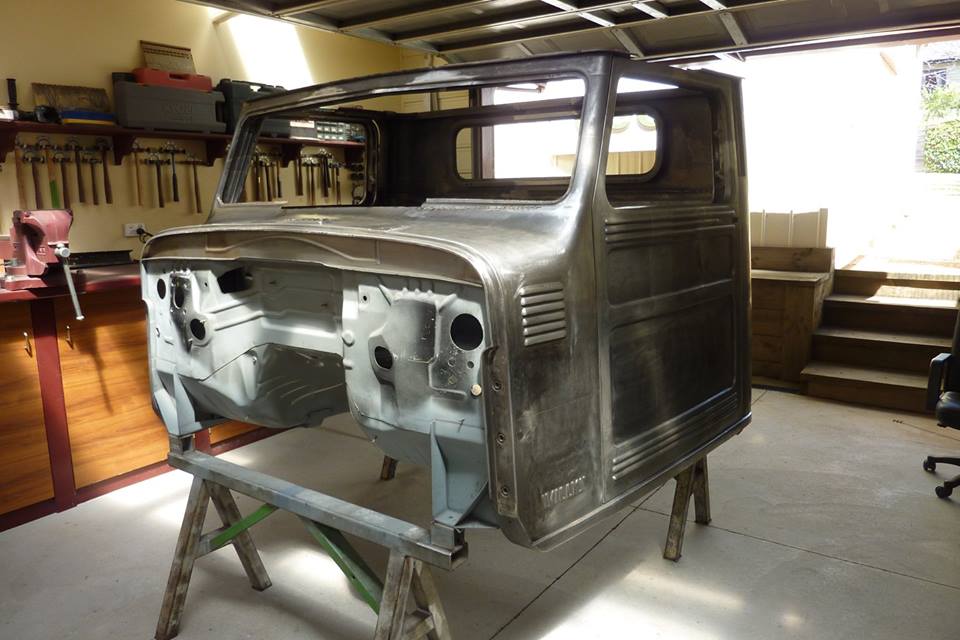
You don't even notice the curve as it is so subtle, but it had to be taken into account. Now for the last piece to go in. This proved to be quite a bit of work with lot of profile and lengths checked left to right to get them the same. The factory pressing weren't to start with, so that made it harder.
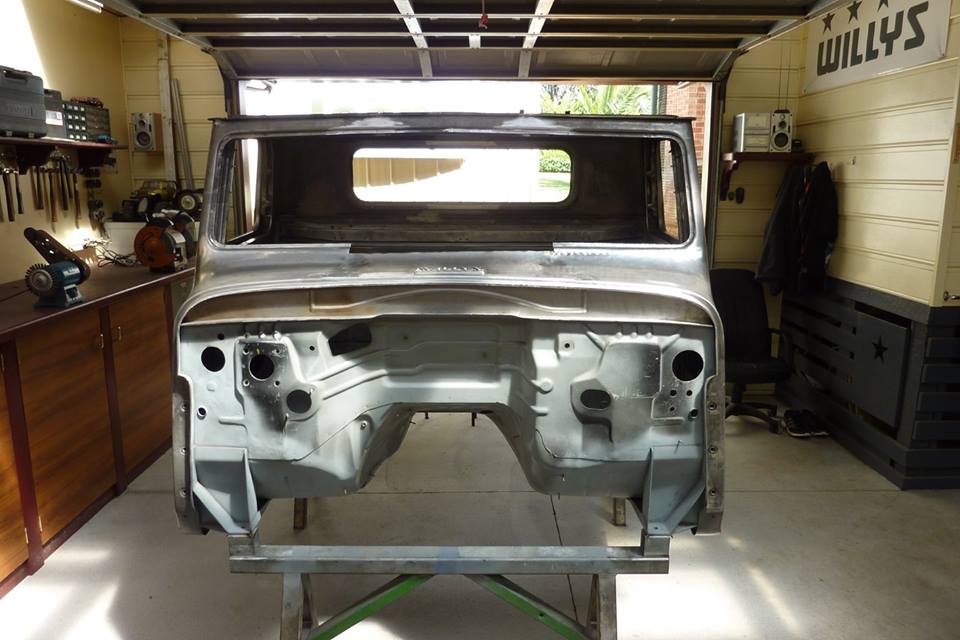
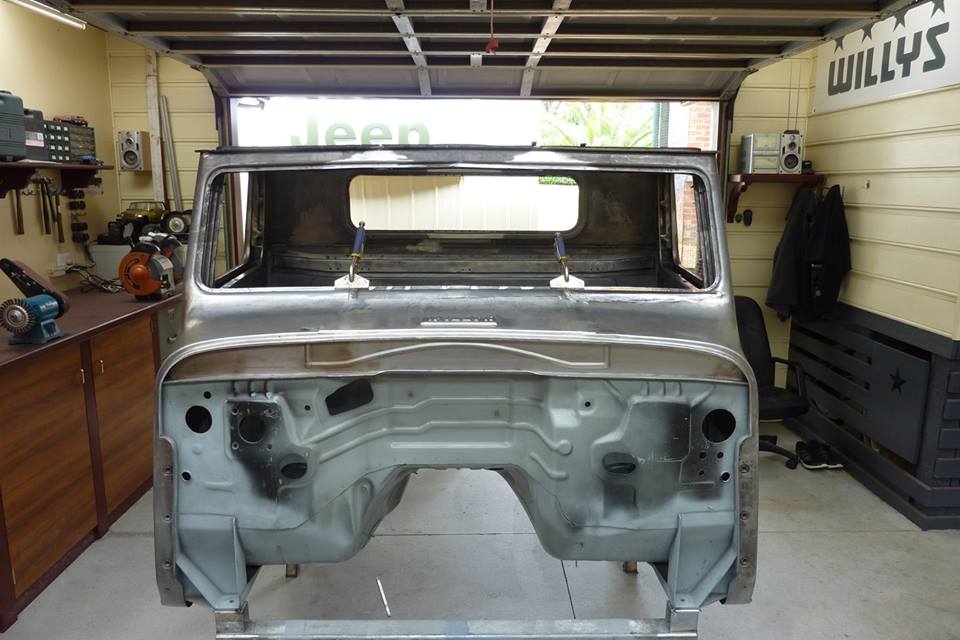
Was a lot of hours spent making sure that the seam the glass gasket sits in remained perfectly straight, and the angle compared to the top did not change at all either so there was no twist. I used a digital angle finder and got it to within 1/10 of a degree from one side to the other. I also made sure the height of the window did not change over its entire length either. It still has the centre higher to match the rise in the rear wall as well, just to complicate things further.
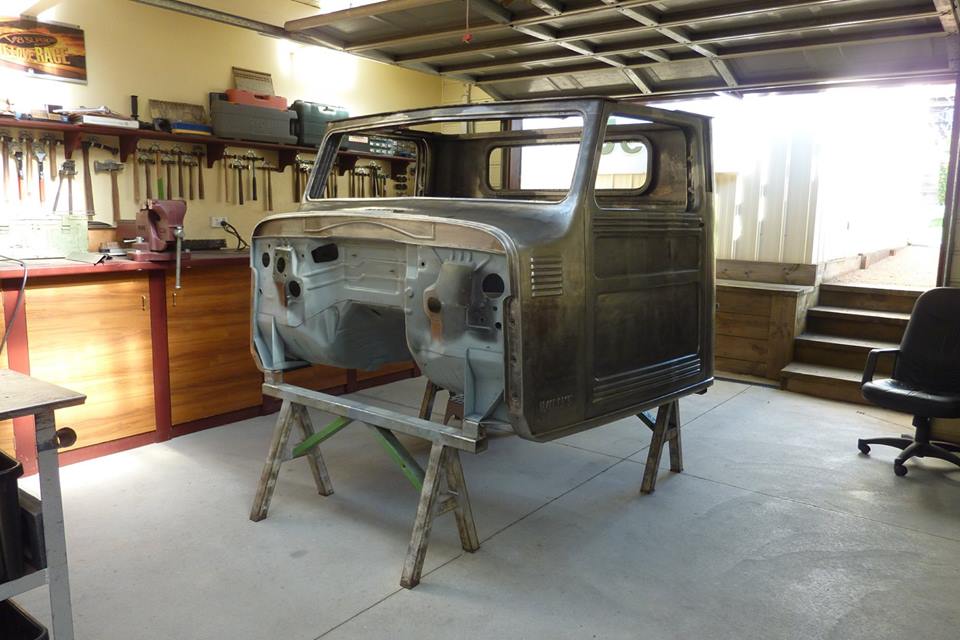
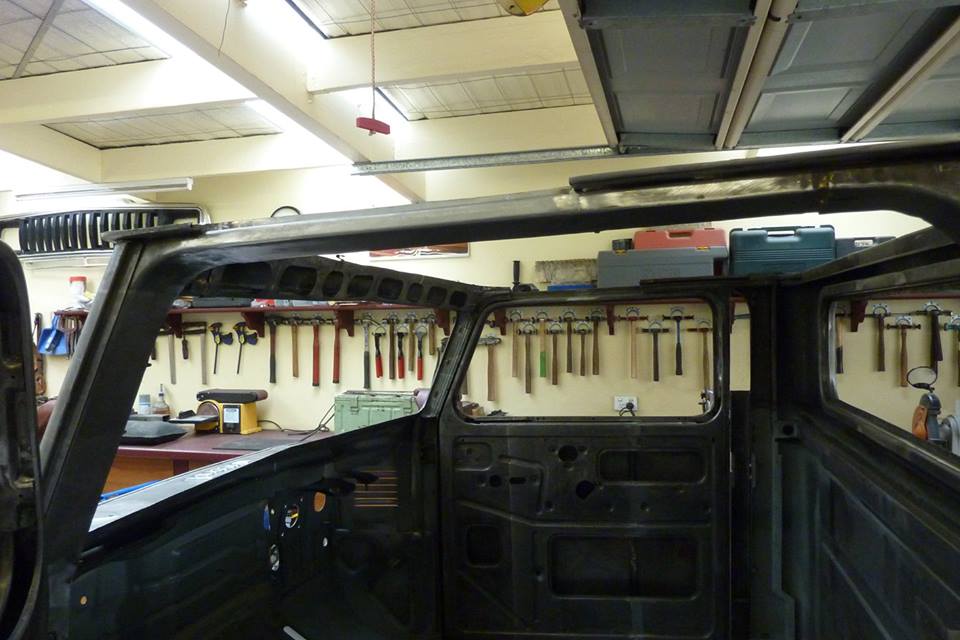
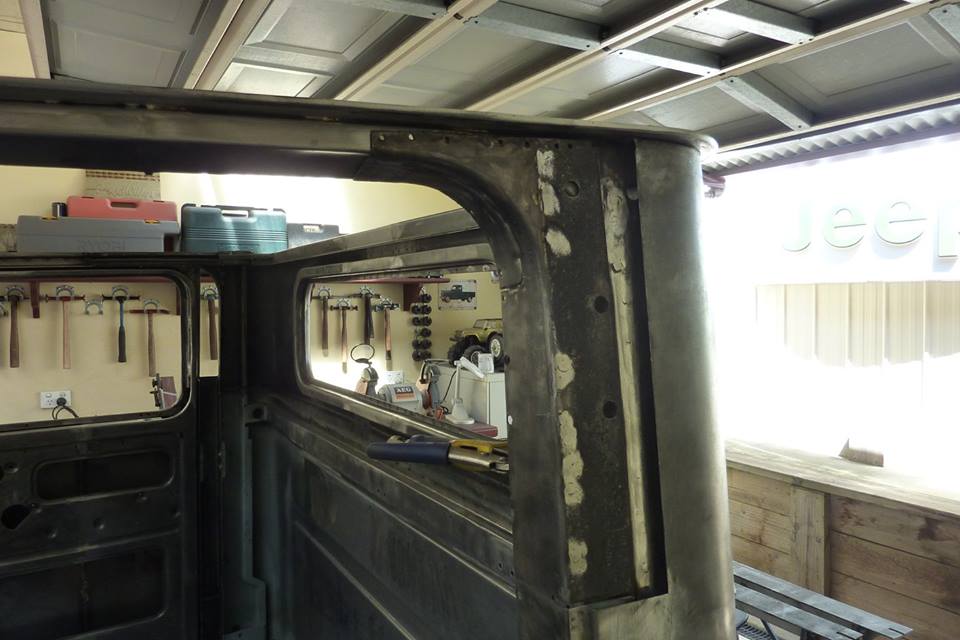
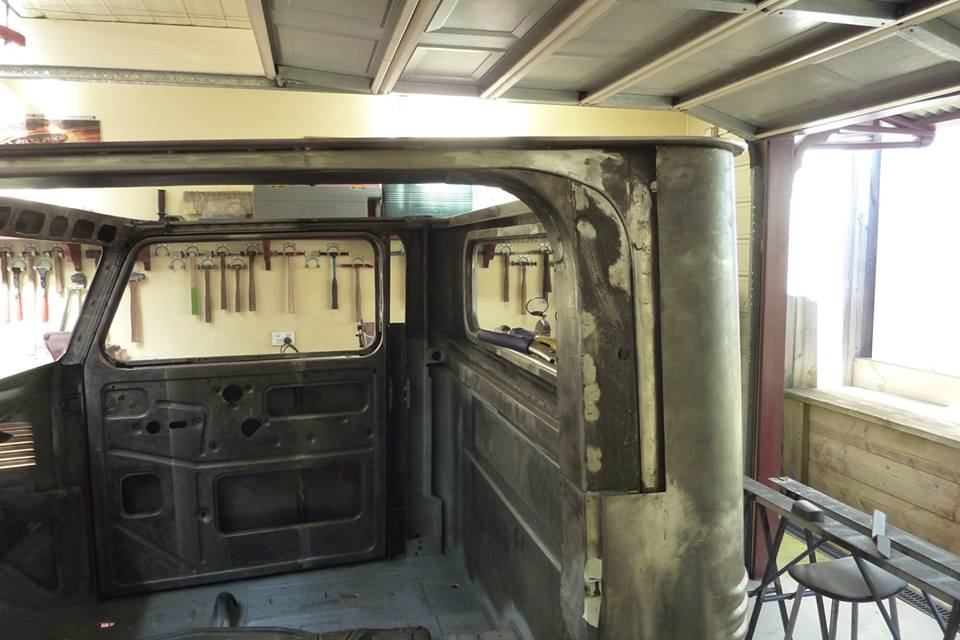
Getting a bit of an idea now on the windscreen height compared to the door windows. They match now, but remember I have shortened the door windows by 50mm-2" in the roof chop, but lowered the whole windscreen frame down without chopping it. I sectioned out below the frame instead, right across the cowl from one side to the other. I prefer the proportions now this way as the factory windscreen height was already lower to start with. Need to make the missing part of the upper frame above the door. I decided to chop the short section off at the factory join at the A pillar to put a longer single piece in.
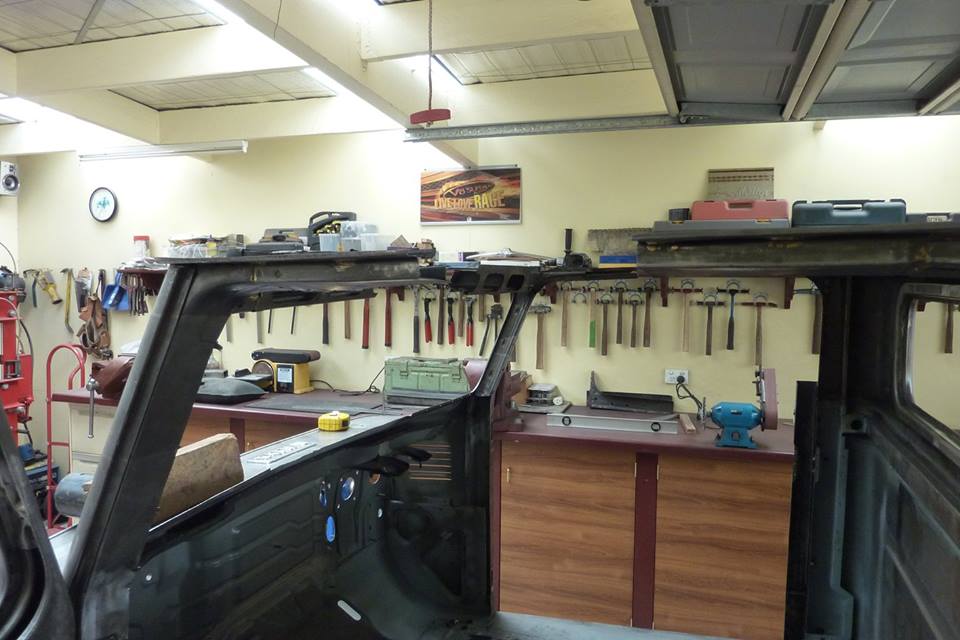
The section I cut out shows it is made up of three pieces. The main structural part in the middle with the top gutter part brazed on where the roof is attached. The channel part is on the inside and where the tack strip for the upholstery is finished off around the door opening. The main part now welded in place. The length of it was the last time I could adjust the door gaps to make sure it all lined up and was square.
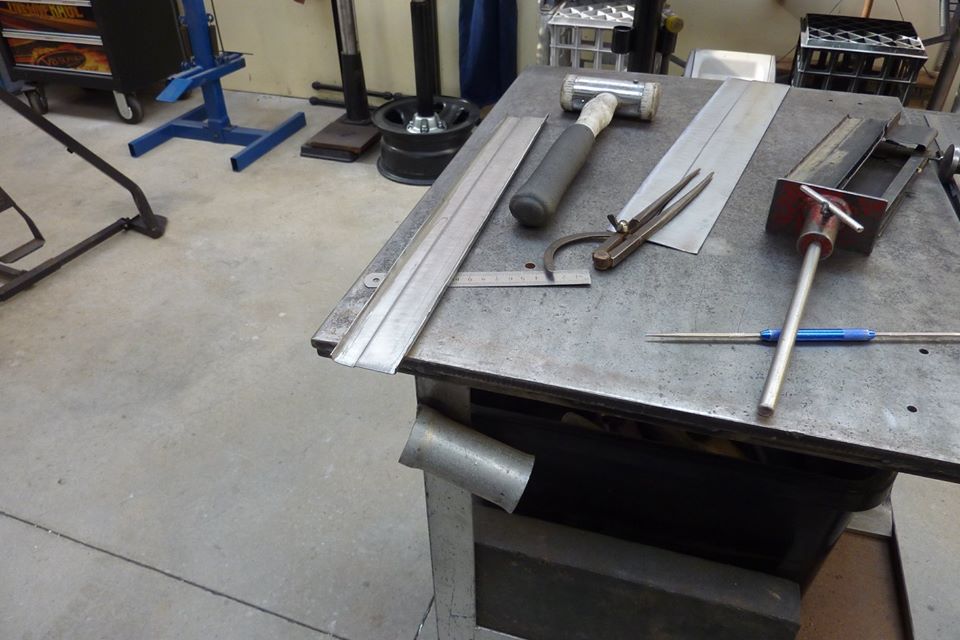
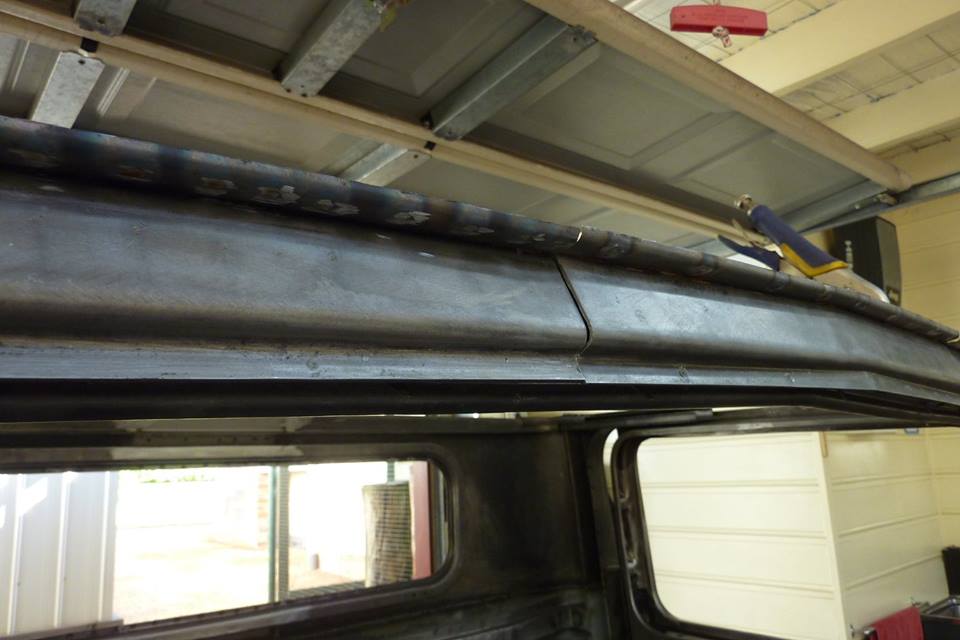
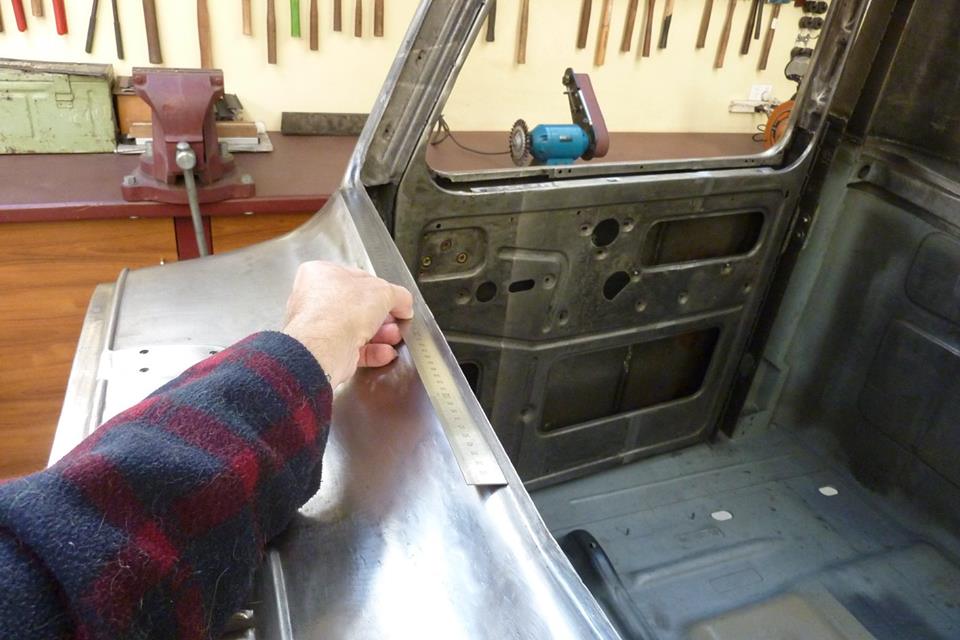
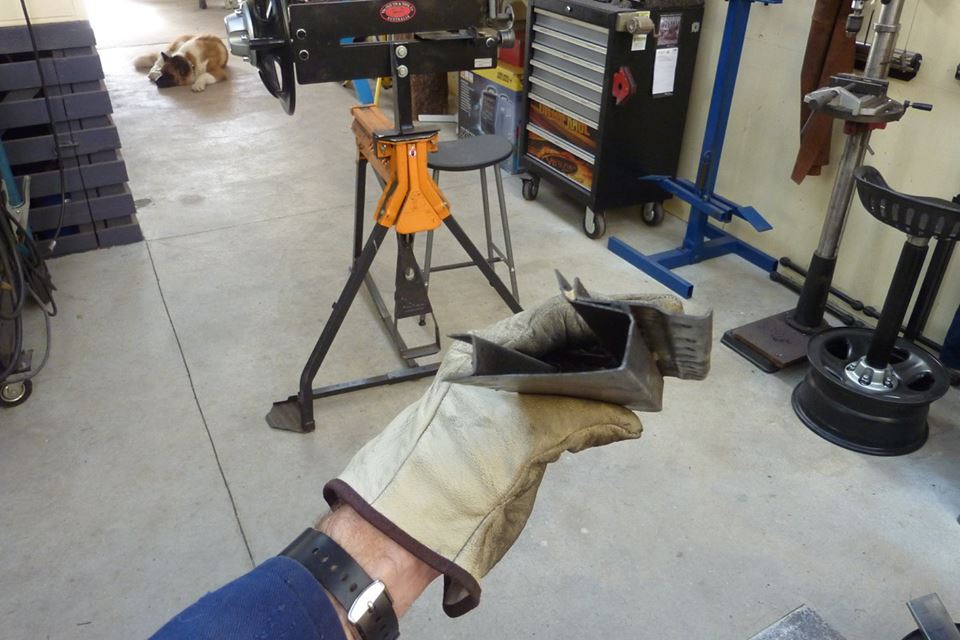
Got both sides done so now the roof main frame size is fixed for the first time. The top section was made next. The blank was cut with a curve on the outside to match that of the outside of the door. Made wider than needed to make folding the outside edges easier. The gutter was made to follow that curve though a step roller. The inside fold was just done in a folder, but the curved side needed to be done with my tipping wheel setup. Just a large hardened washer over part of one of the lowers in the bead roller. Can see it in the background of the shot showing the old piece in my hand. The fold was finished off by hand over the edge of the bench. The excess was trimmed off once the folding was done.
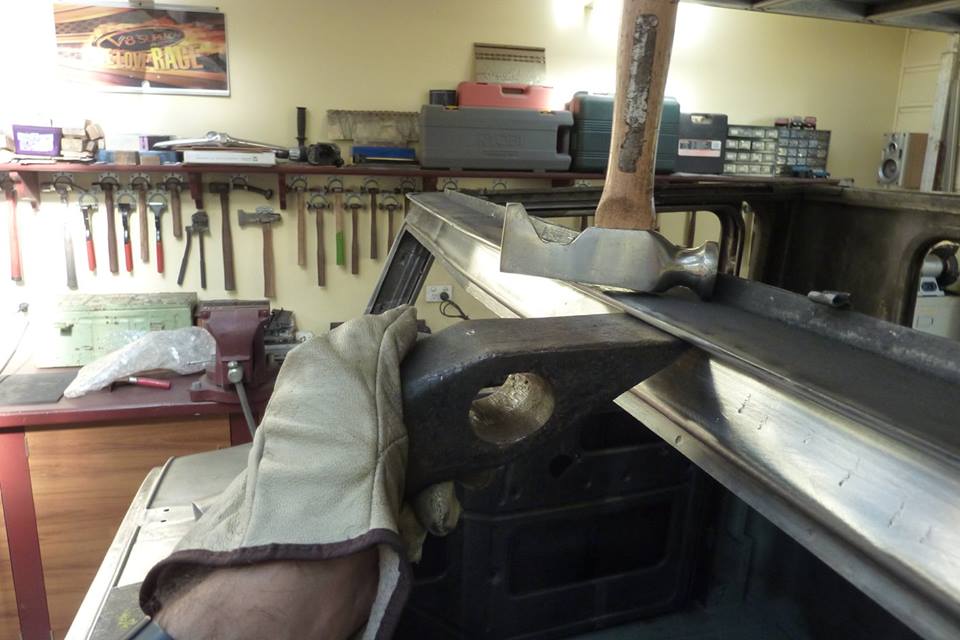
Gutter now in place. Found use for my old wood splitter head when I was hammering out any bumps inside the gutter. Due to the angle of the windscreen, a normal dolly wouldn't fit underneath. Also used this hammer I had modified to fit inside the step of the gutter. A lot of time was also spent making sure the gutter was the same height and distance from the panel all the way around as well.
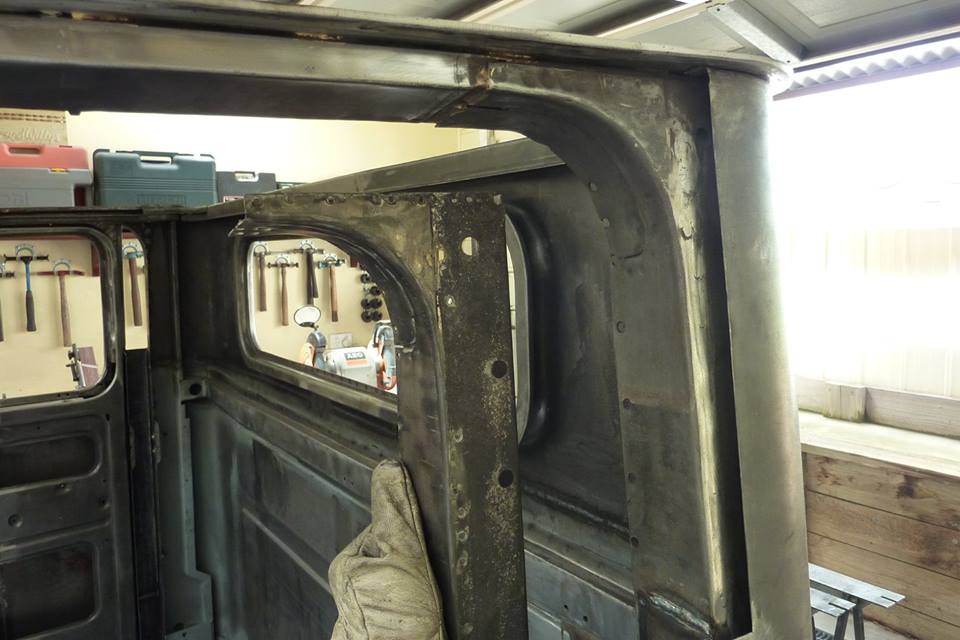
Time to finish off the top half of the extra B pillar. I could just fit it over the top much like the factory did it, but it would be an overlap.
Decided to sit it in under the existing pillar. Hides the factory join on the bottom which was rather ugly. Will clean up the look of those deep spot welds though and the brazing you can still see in the original join. You will only see the last part of the curve at the top. Filled the old spot welds and join with weld after grinding out the overflowed brazing.
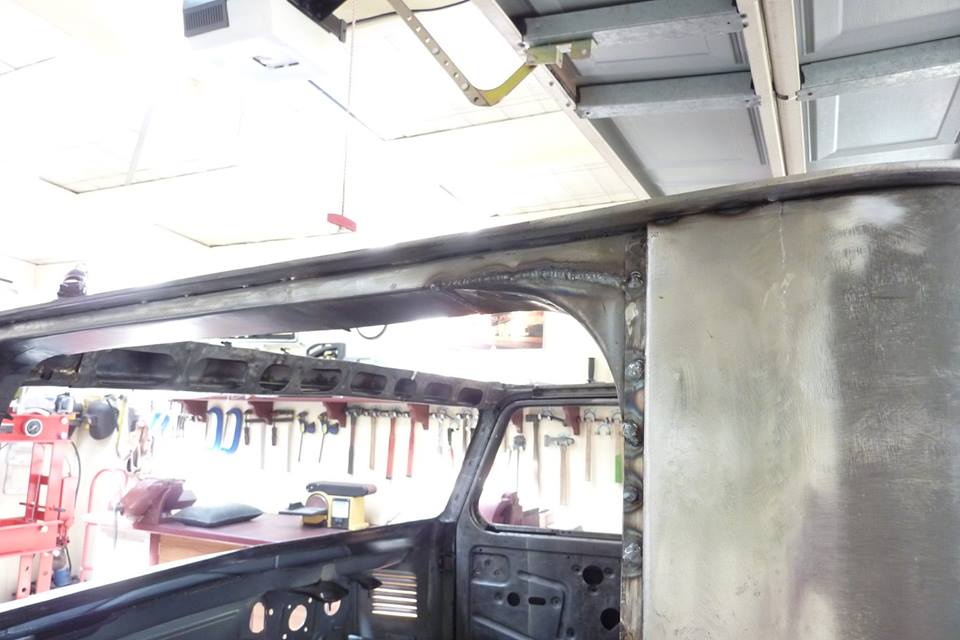

The rest of the outer panel was fully welded in first before the pillar was welded in behind it. That was so I could fully planish the weld and panel as no access after the pillar gets welded in. Pillar blends into the top of the upper frame well enough.
[Index]