
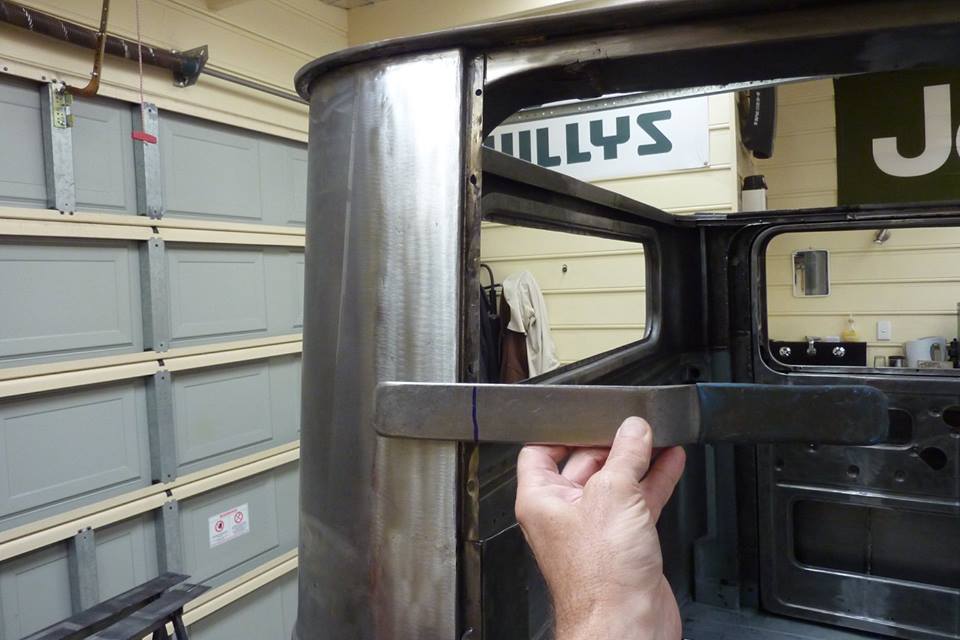
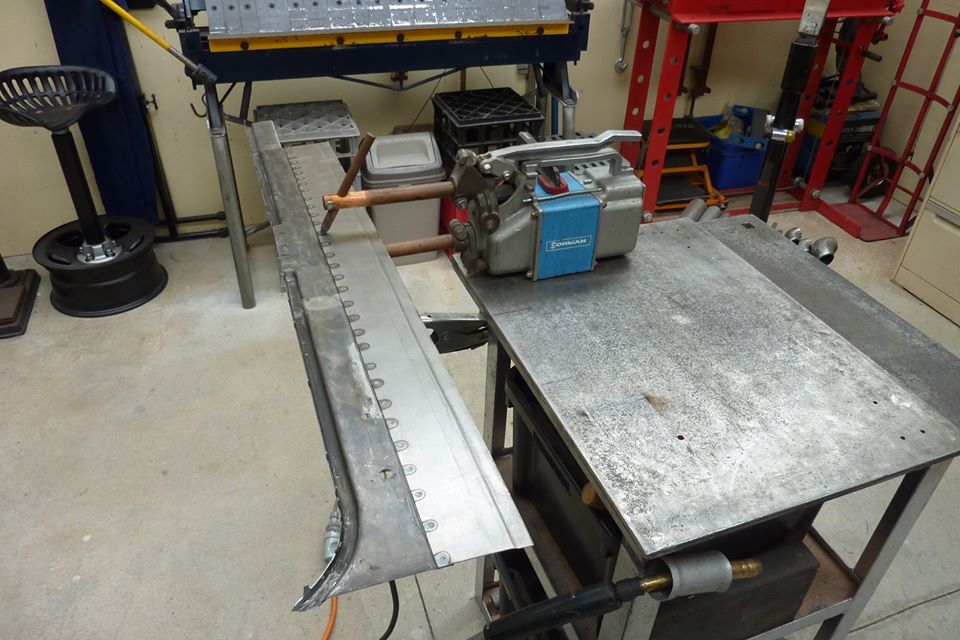
This side all done. I was levering off the original pillar behind the weld so I could stretch the metal back flat again by hammer on dolly from the outside. A quick mark can make it easy to know that you are in exactly the right spot on the inside.
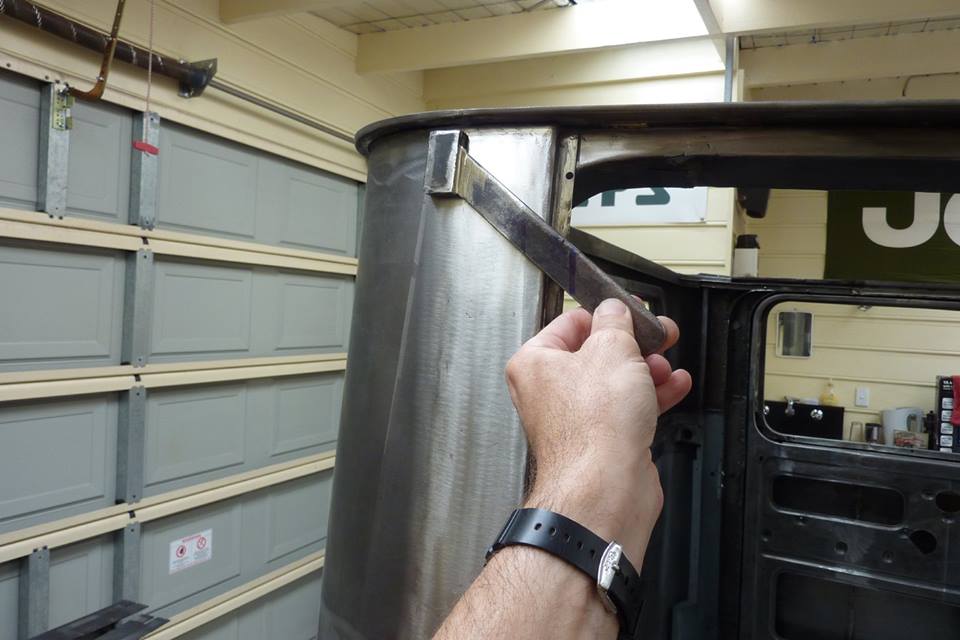
Other dollies or spoons were at the wrong angle to get in between the pillar and body work on the inside, so quickly made up this to get into the exact position that I needed. Was made the right thickness at the end to fit between the pillar and outer panel so I could hammer against it to planish the weld seam.

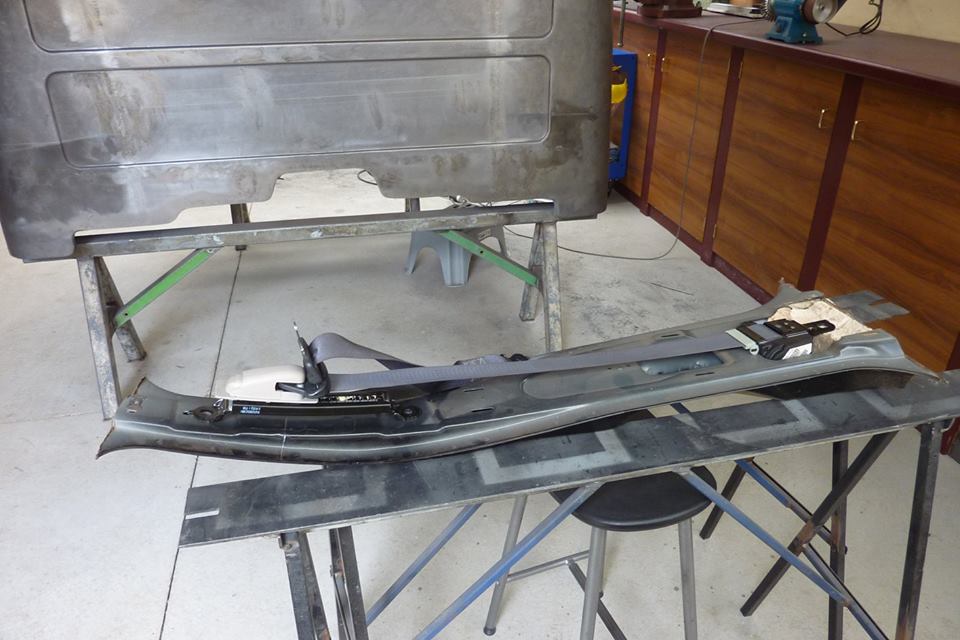
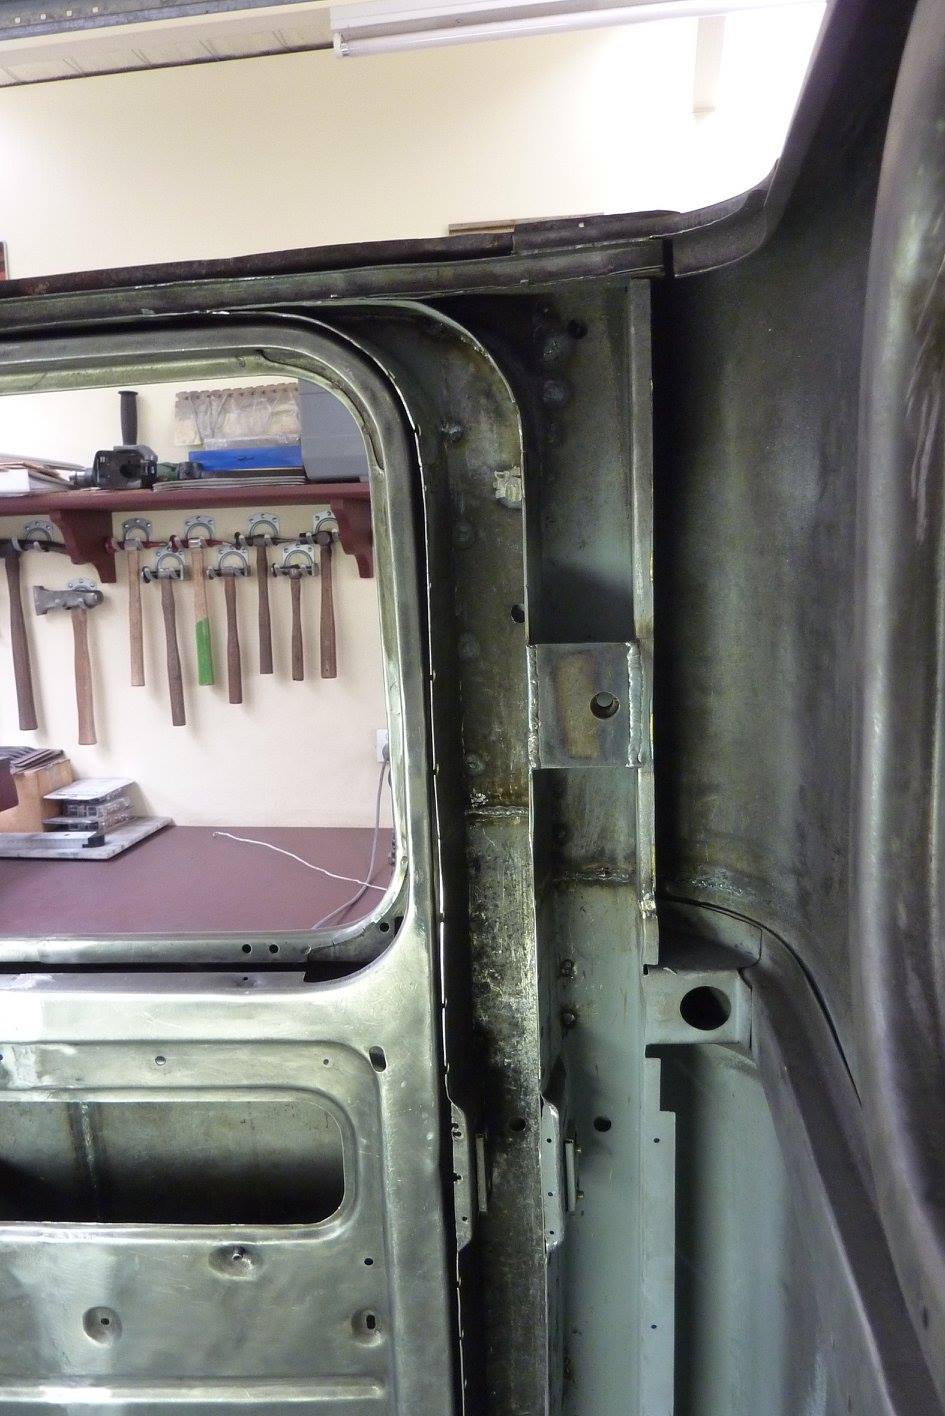
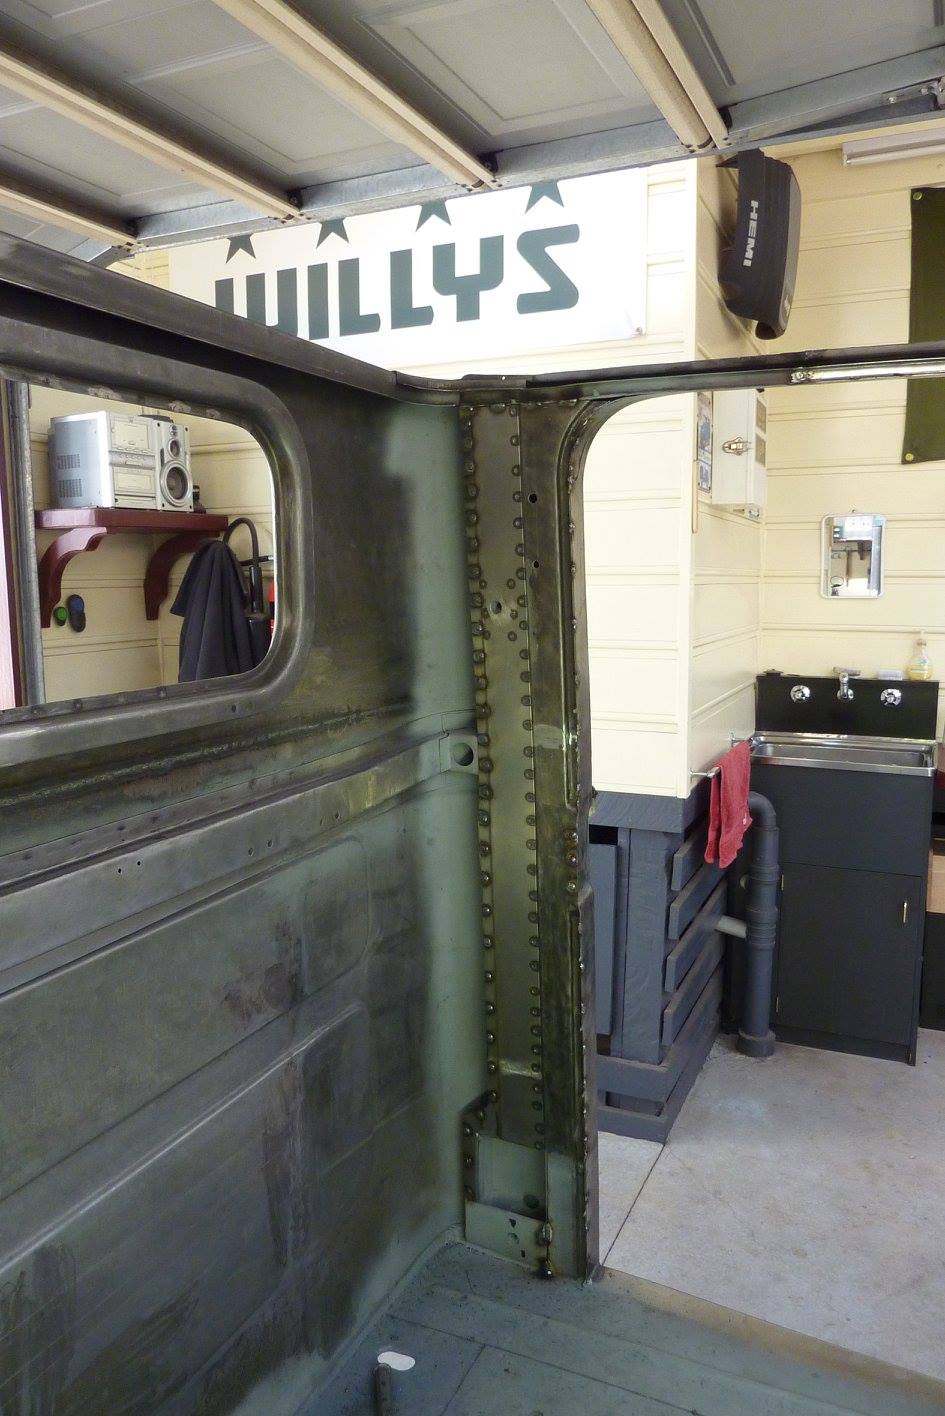
The two B pillars have been fully spot welded to each other to form one strong pillar. Will reduce flexing and give a solid mount for the seat belts too. Both will still need to have a panel made to cover them and have the adjustable upper seat belt mount integrated. Bottom seat belt mount has already been made for the inertia reel to be mounted flush into it, same as the donor. Time to fit the upper seat belt mounts. I had already cut the bottom mount out from the donor B pillar when I built the Willys one. Can see how the inertia reel sits recessed into the pillar. This also tells me the height the top mount needs to be from the floor as I am using the donor floor, seat mounts and seat in the same position.
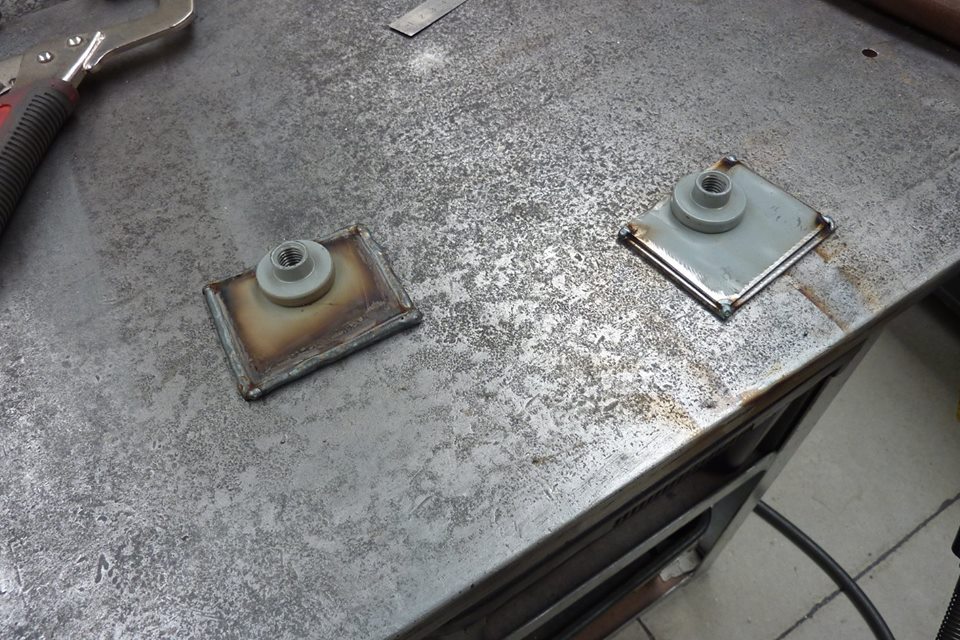
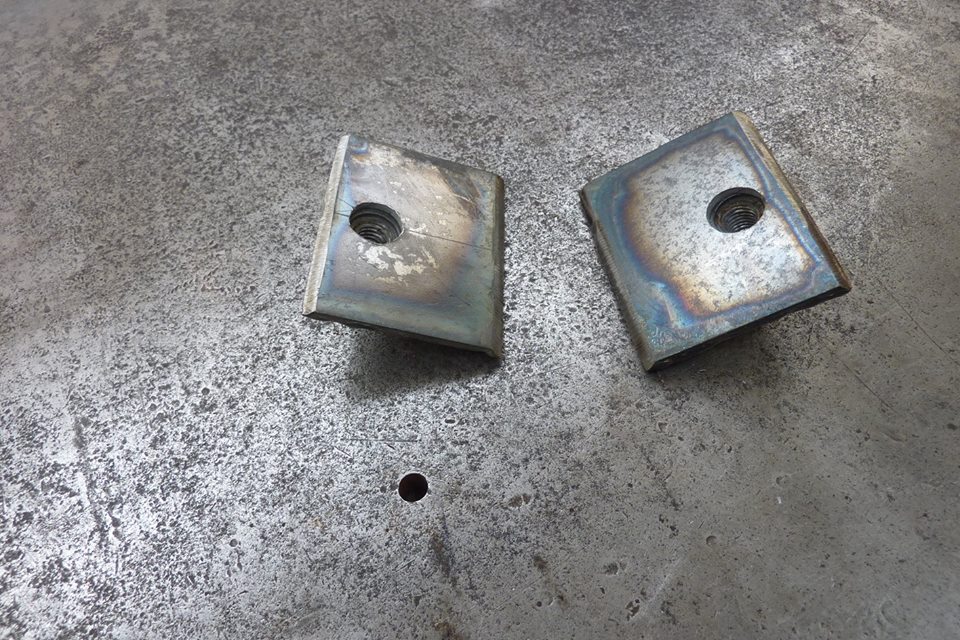
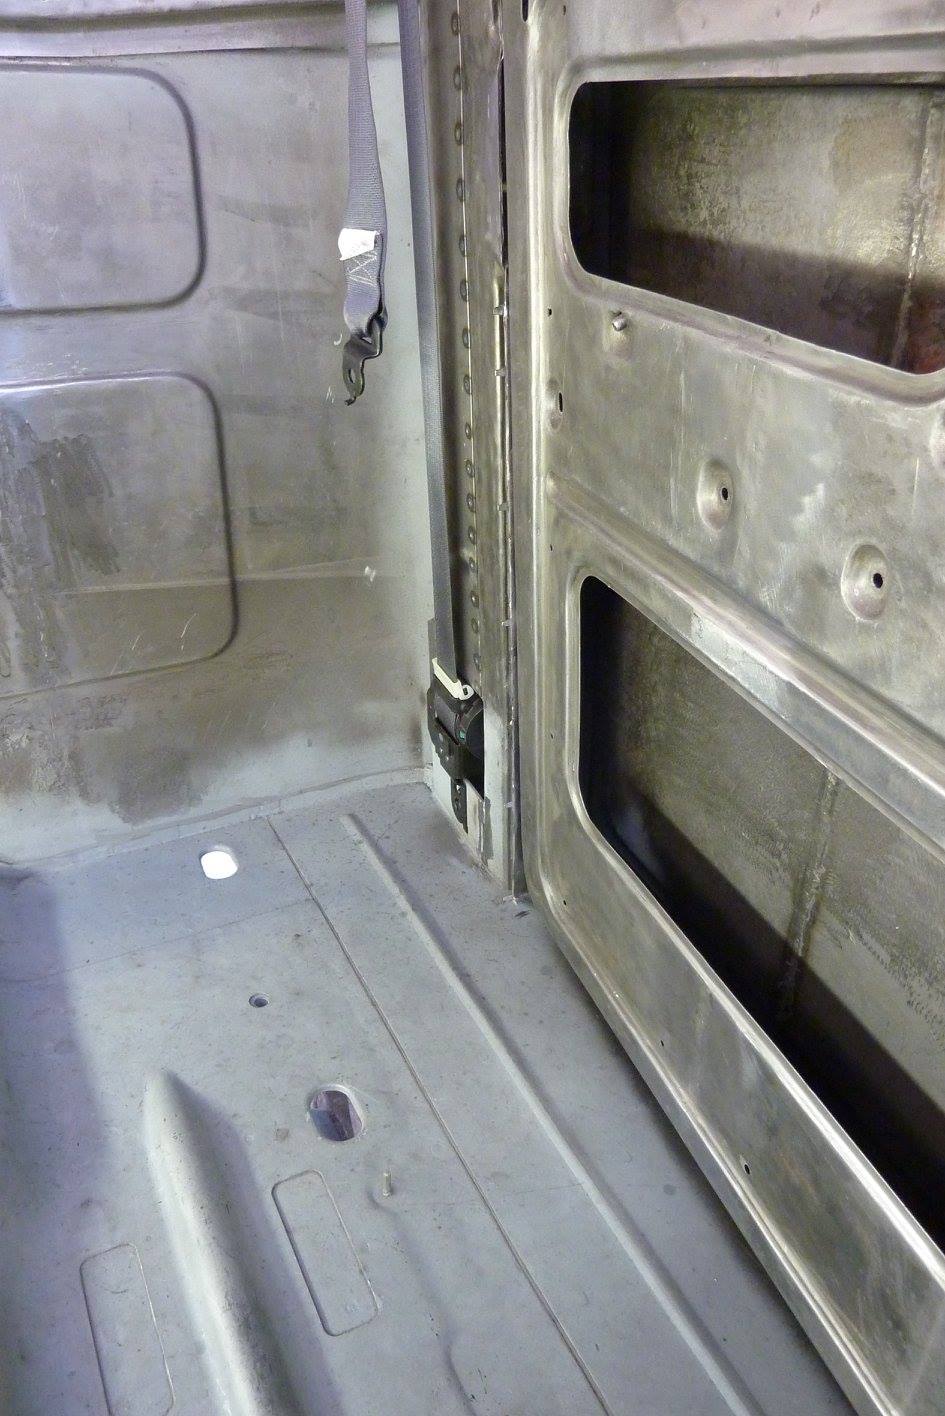
Cut the mounts from the donor and will weld them to some thicker plate. Regulations here require a minimum of 75x50x3mm, (3"x2"x1/8"), backer behind the panel for the seat belt mounts. I have made mine a bit bigger to suit where I am welding it in. Bevelled the front face to get full weld penetration into the B pillar.
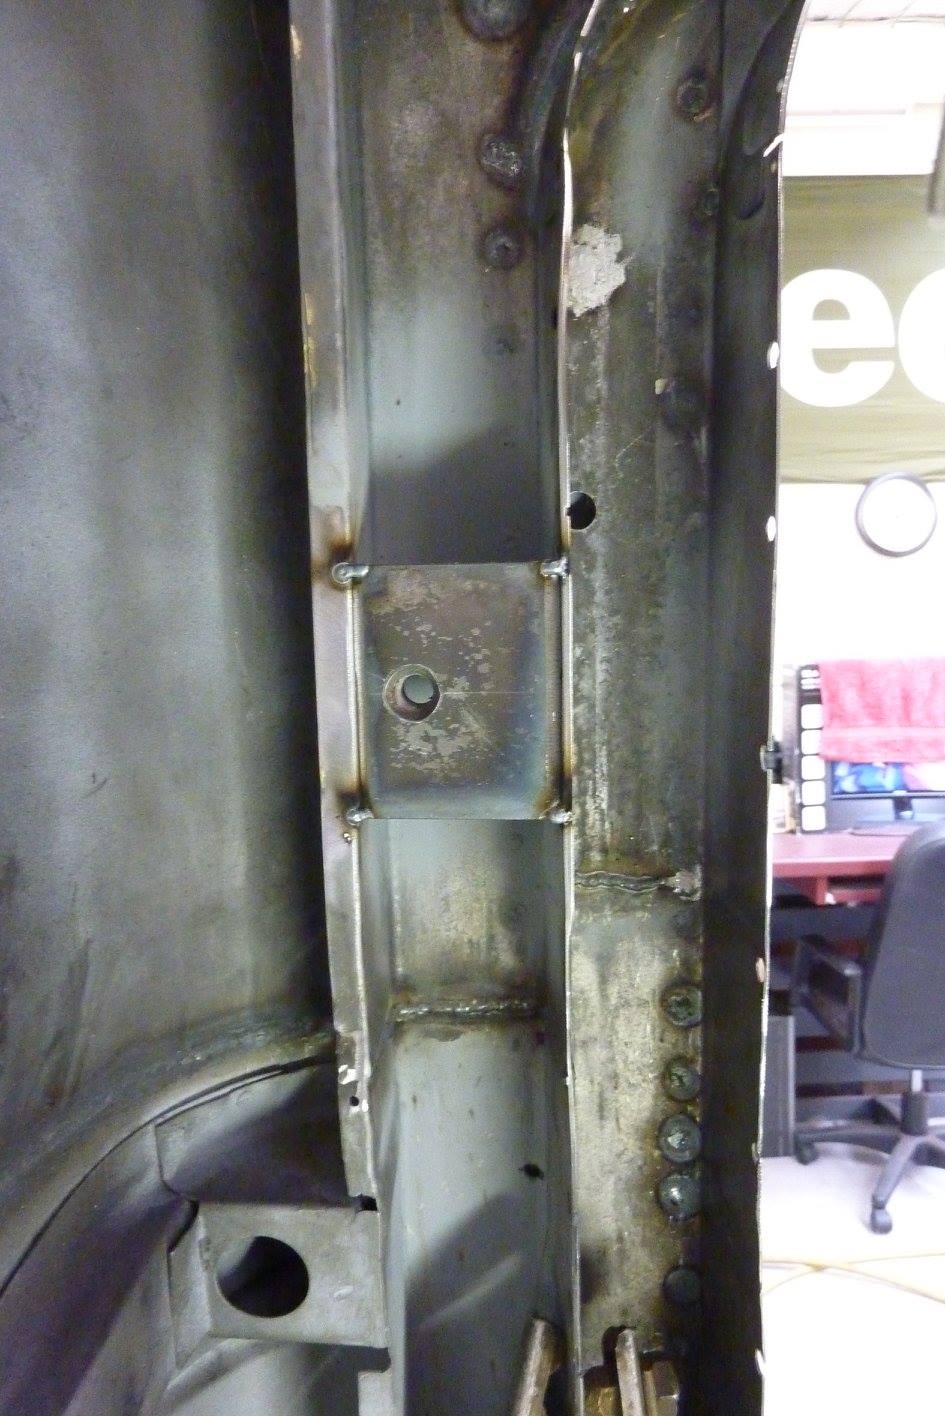
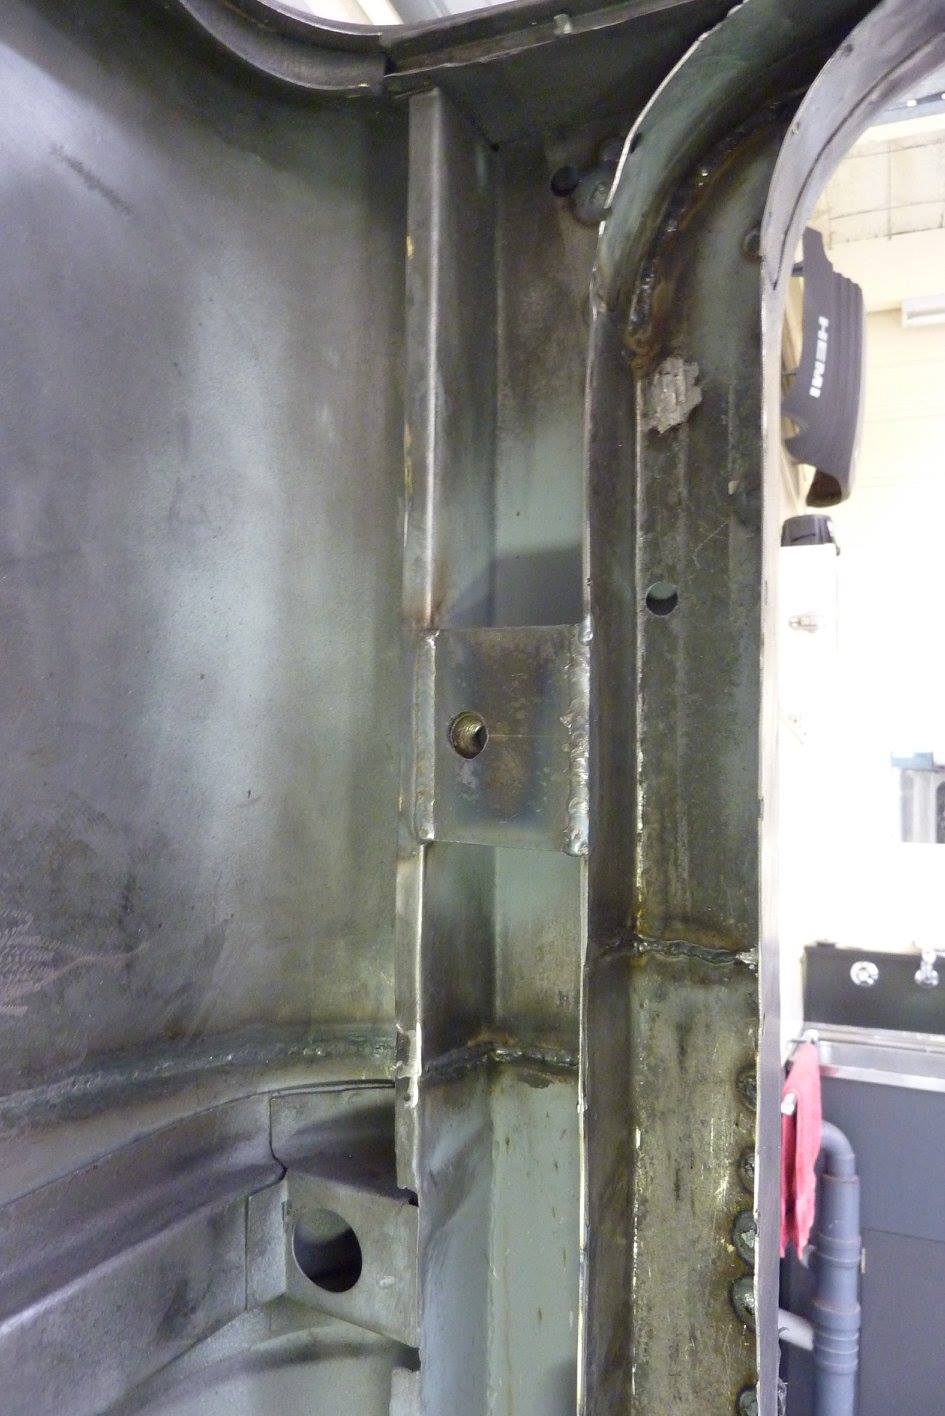
Tacked in exactly inline with the bottom mount. Fully welded in and filled the bevel with weld and still left the front face flush. Other side done. Good to have a record of anything important like this, that will be covered later, so the engineer can see how it was done.
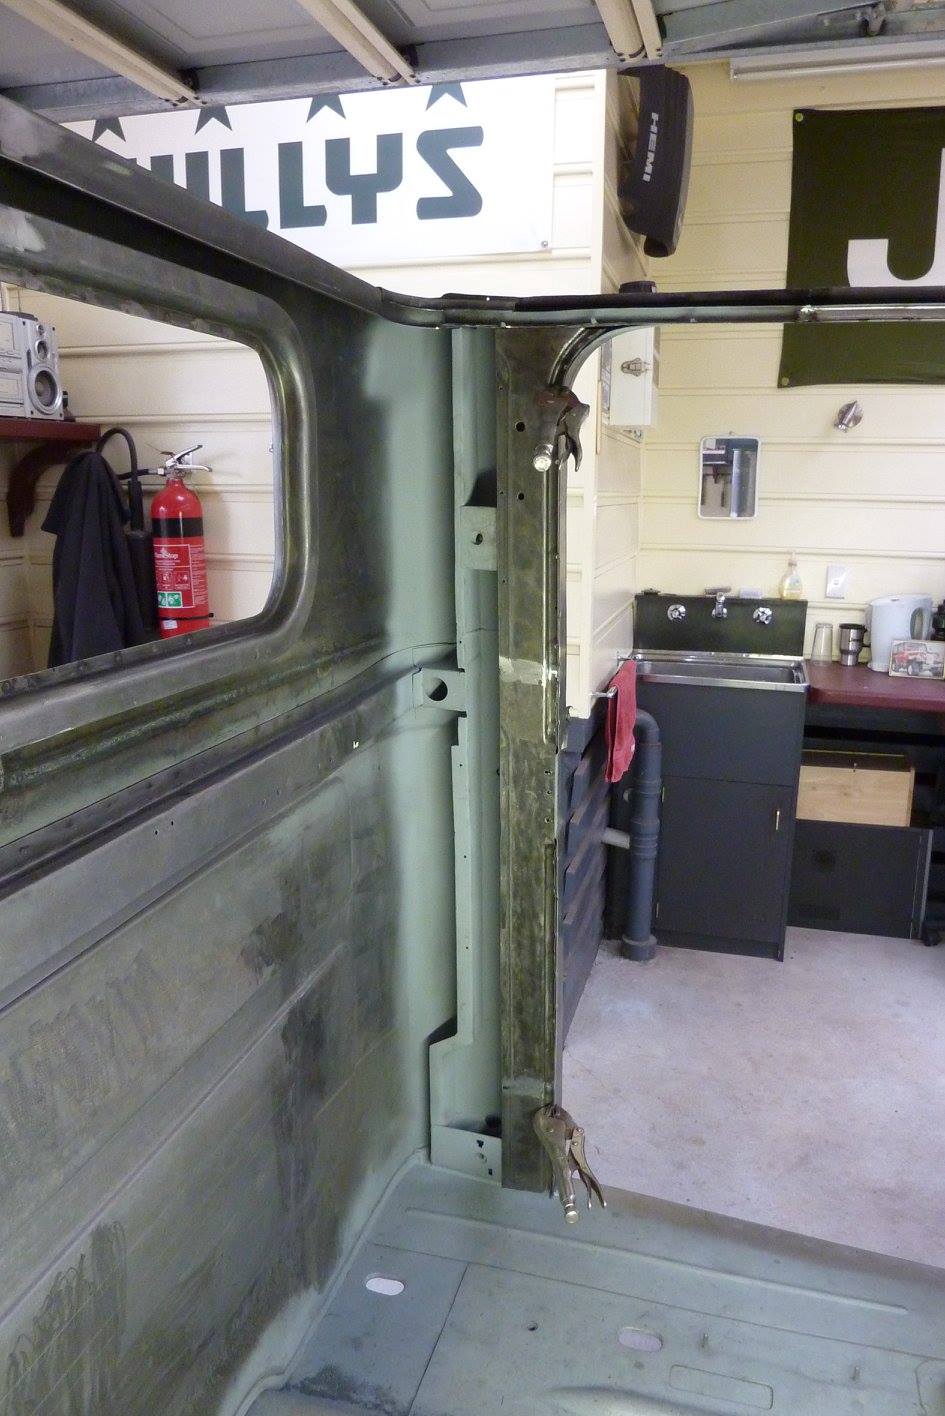
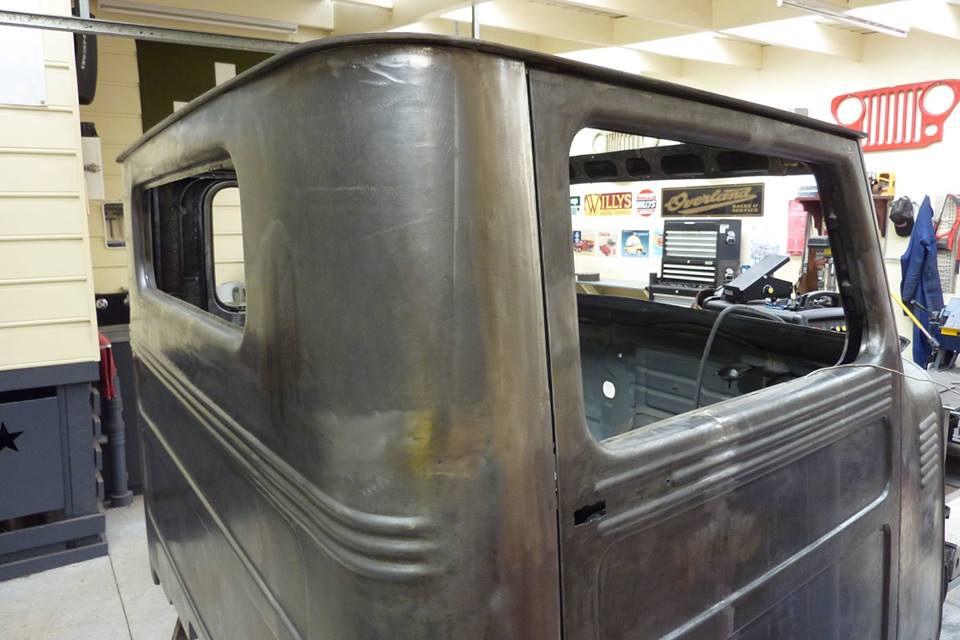
Can see how it will sit once completed. This B pillar passes right through the floor and is part of the body mount that will attach to the chassis. I need to be able to get to the top of the body mount for fitting and removing the body later on, so a recess was always needed anyway. Mocking up the final part of the B pillar. Will use the original Willys one for the door side on the pillar.
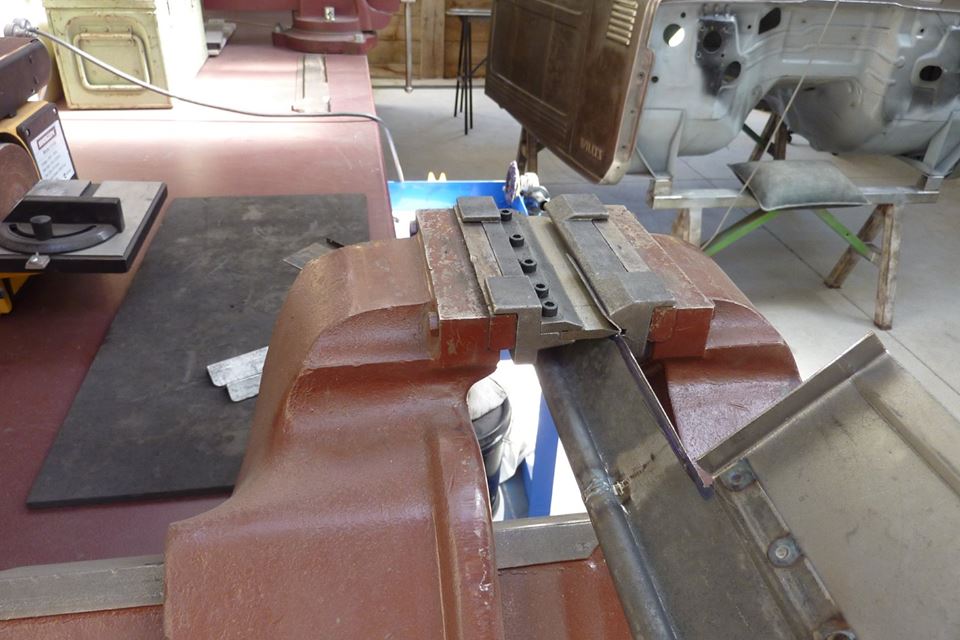
Still use my little vice folder as is handy for little spots like this where my big one wont fit. Widened it to cover the new double width it now is. Got to use my spot welder again to make this a quicker job. You can see also the channel that the tack strip sits in for the windlace in the original part and why I wanted to keep it.
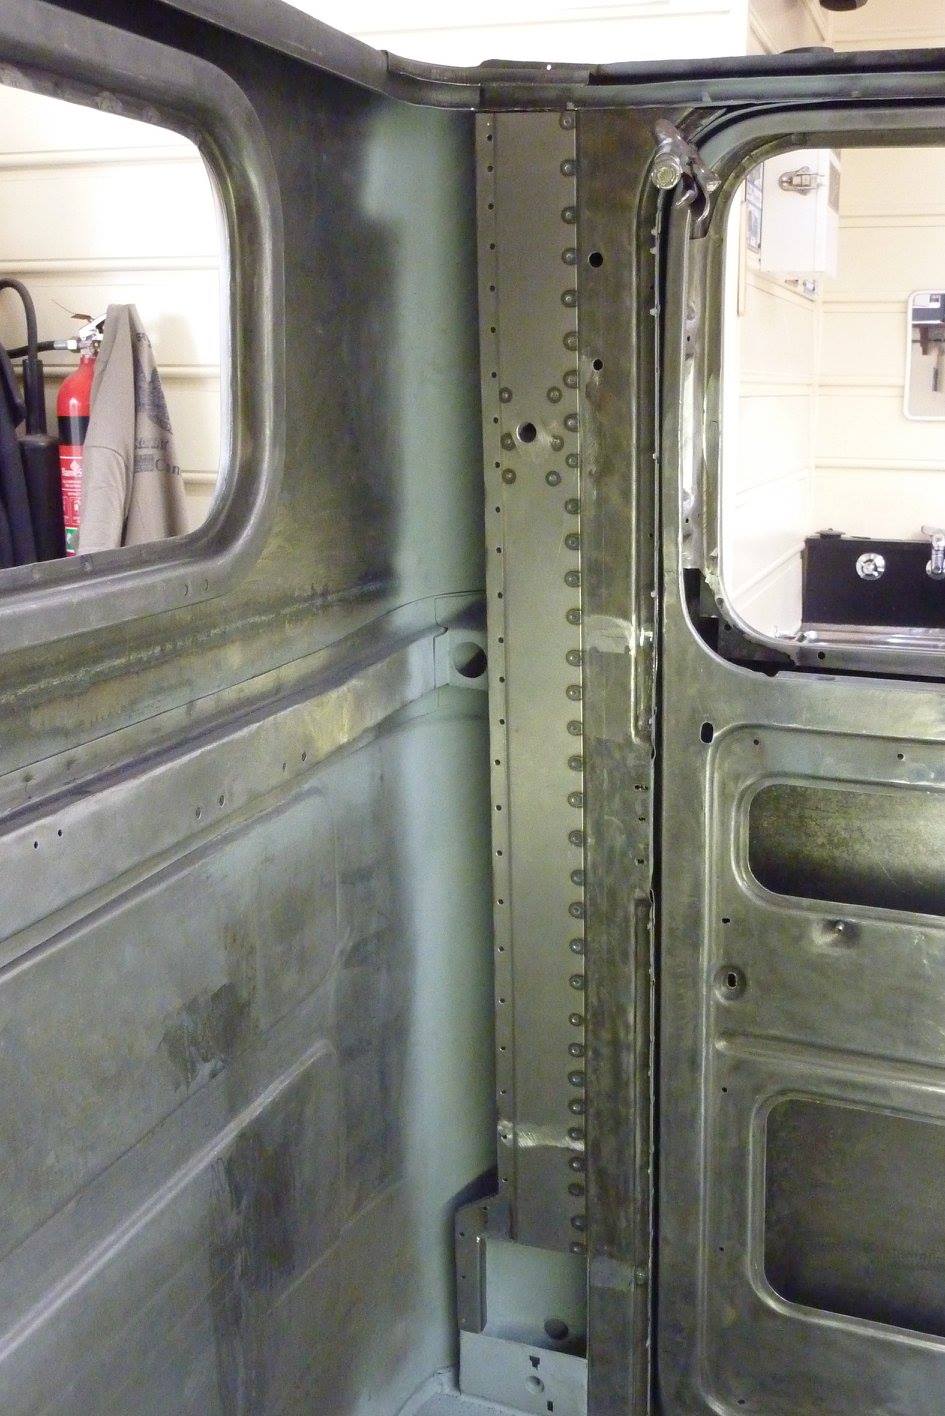
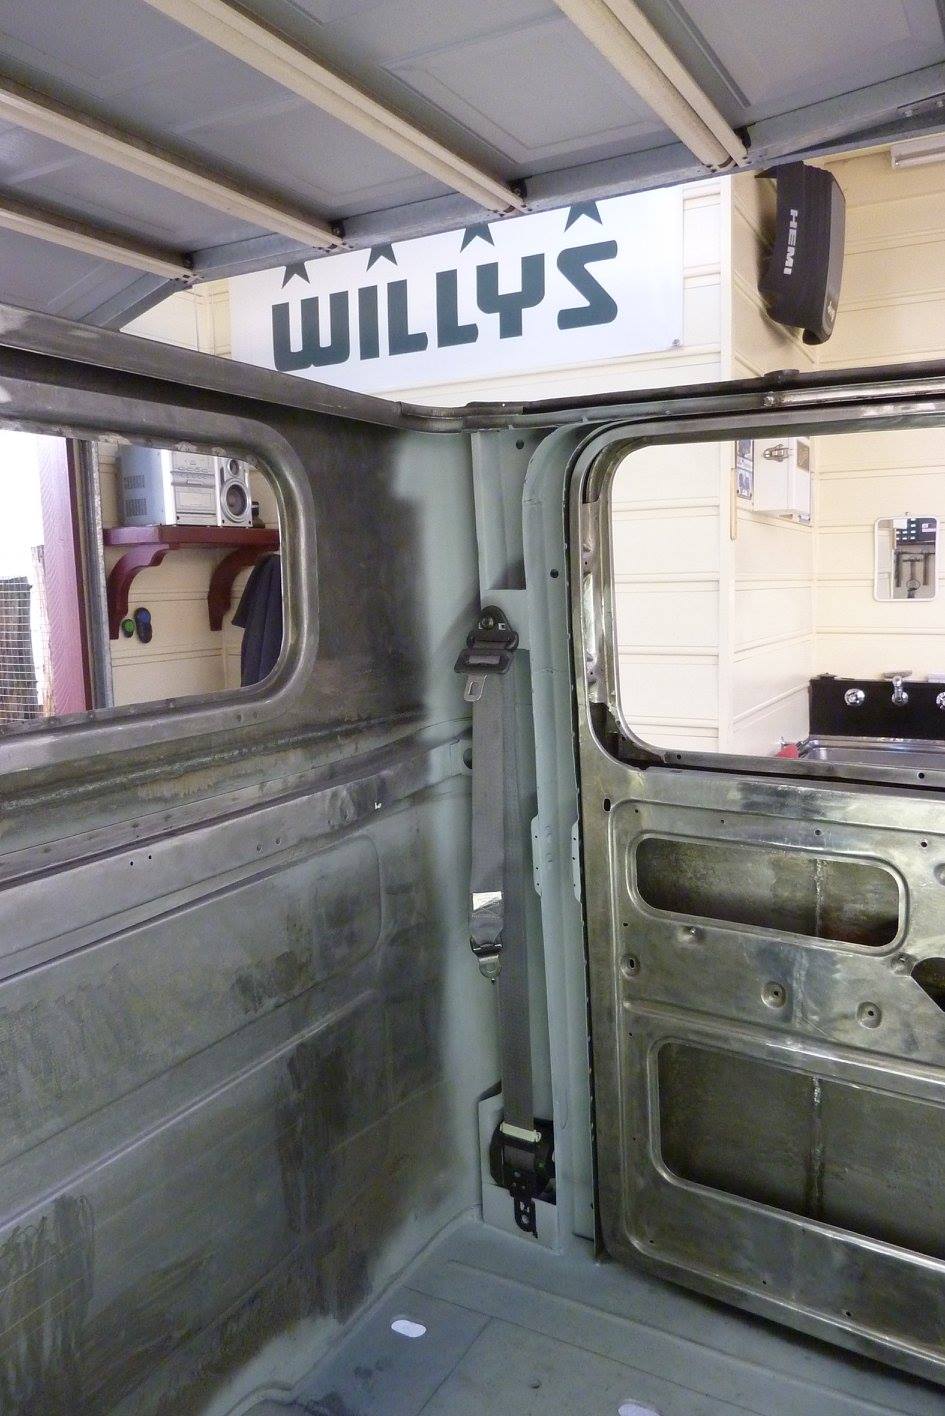
This is how it will sit. All the holes are where I will plug weld it to the flange on the B pillar. The door side I will be filling the holes where I had drilled out the original factory spot welds. Plugs welds done. Might also notice extra ones around the upper seat belt mount. This is where I added extra thickness on the back so it won't crush due to the thickness of the lap joint each side of it. Inertia reel sits nicely out of the way.
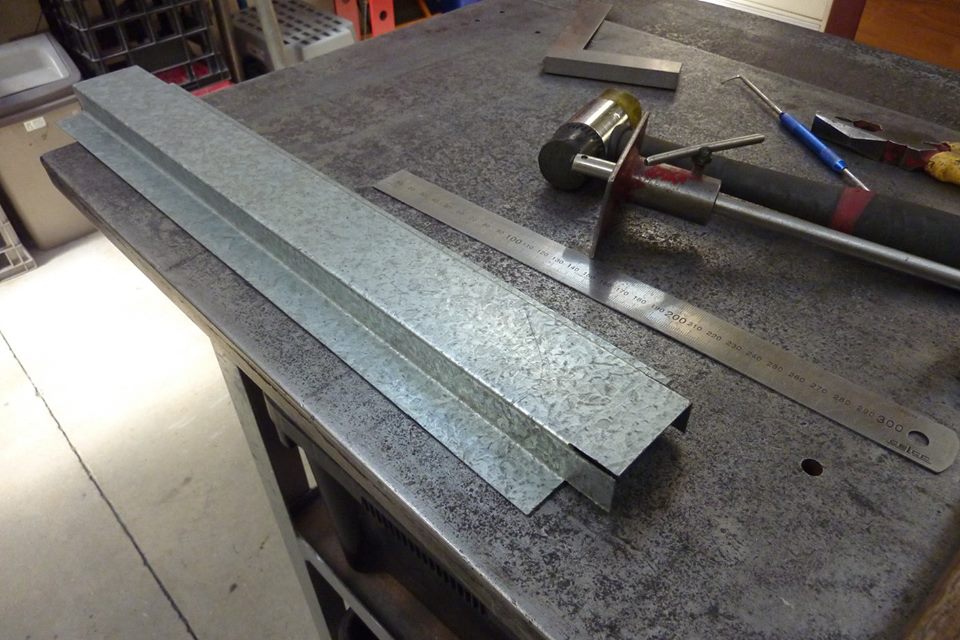
Decided to make new bracing for the rear wall as wanted extra ones for the bigger cab. Folded up some galvanised sheet I had picked up off the street many years ago. For the ends I will fold the vertical tabs outwards just using pliers and turn the centre part down. A bit neater and stronger with the ends done this way. The outer tabs are where I plug welded them to the underside of the main brace.
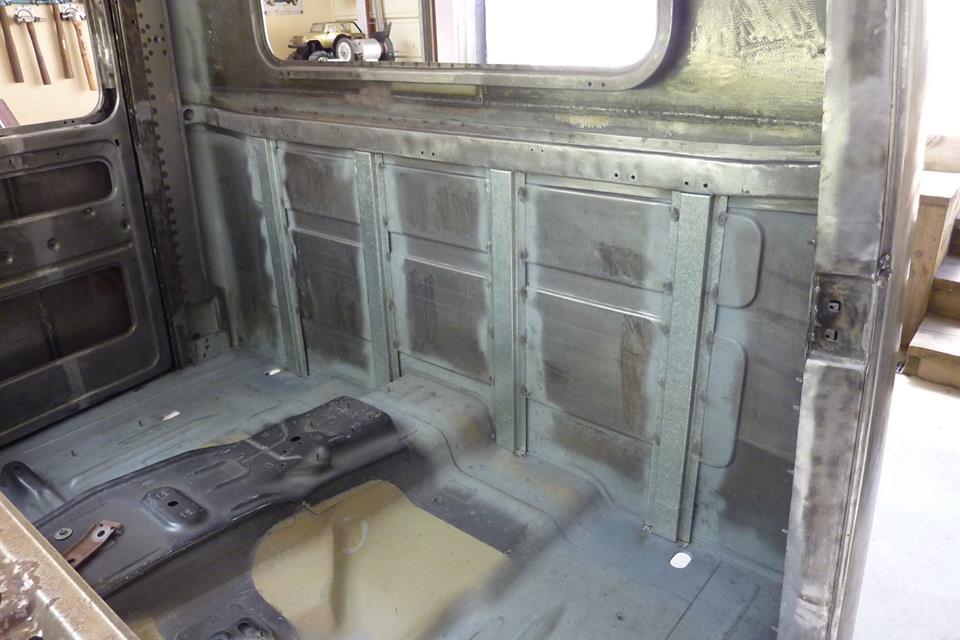
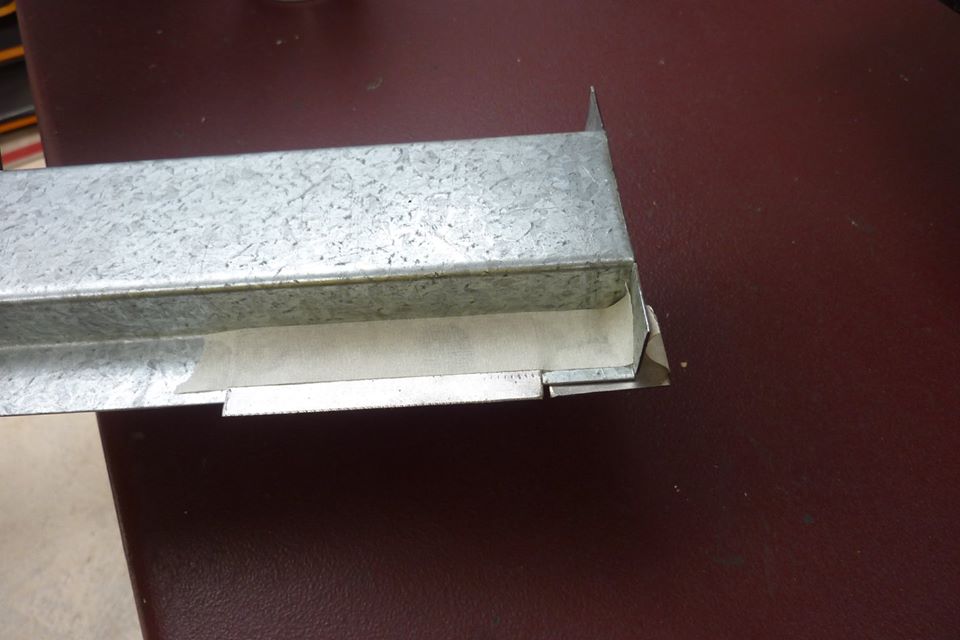
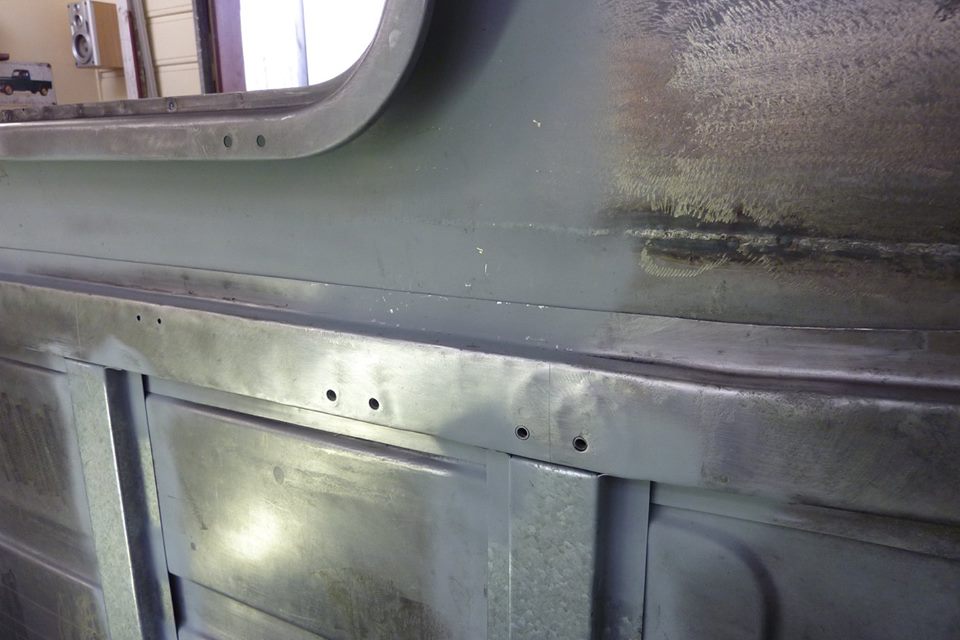
Even though it wasn't done this way factory, I have plug welded the braces to the rear wall for extra stiffness and to stop any vibration. I have 4 across the back now instead of the original three to help even more. The wall was zinc coated before adding the braces on top. For the upper braces I need to clear the flange of the main brace. Just taped one gauge thicker pieces of scrap above and below where the step needs to go.
[Index]