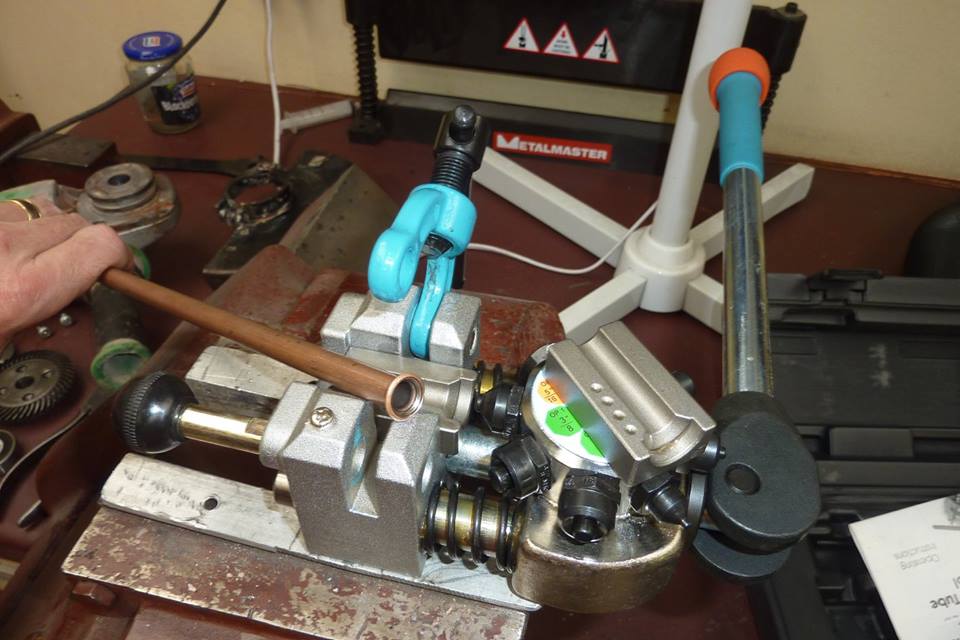
And there is your perfect flare. I make sure the tubing in square to begin with and any burrs removed. Lube it with brake fluid if for a car, but just used some lanolin for this. A bit of time is taken to get the tubing to sit in the wheelbox housing flat so it doesn't pull the wheelbox out of alignment left to right.


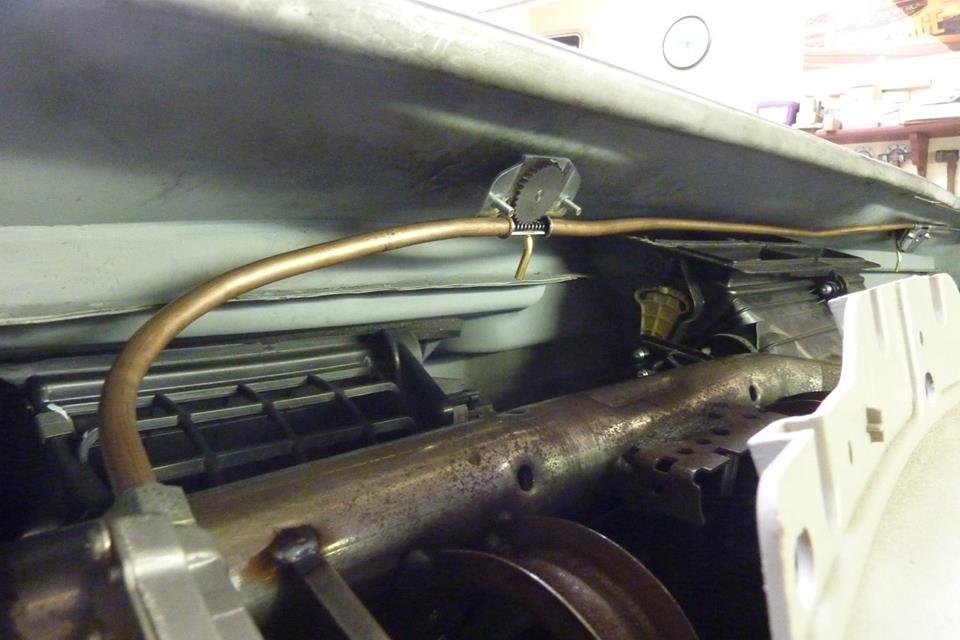
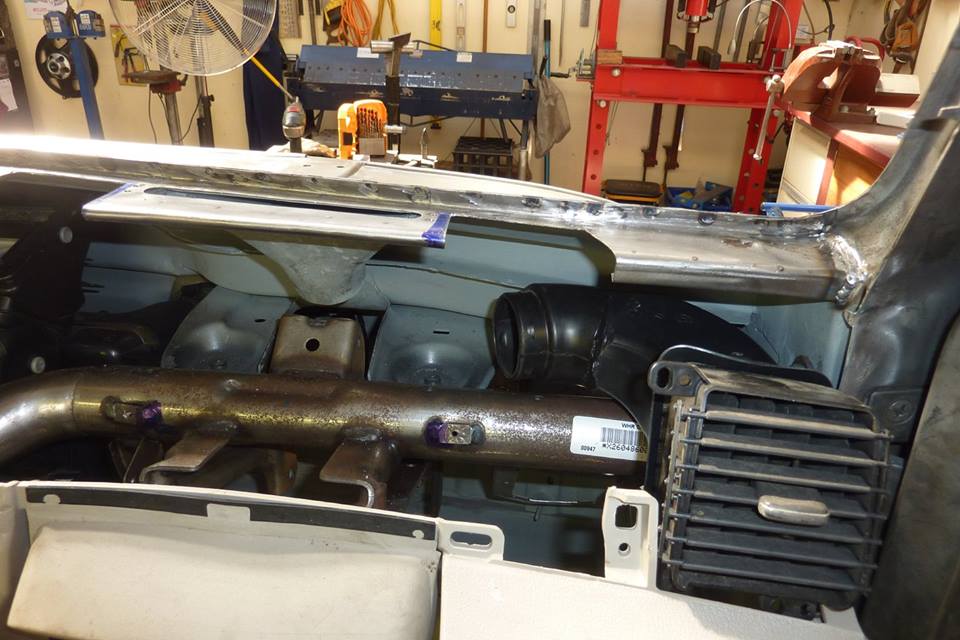
Nice that this side the rack comes into the top of the wheelbox rather than the bottom like the other side. This is so the movement goes in the opposite direction for the folding arms or clapped hands style. I bent the tubing to go behind the front vent outlets on the air-conditioning unit.
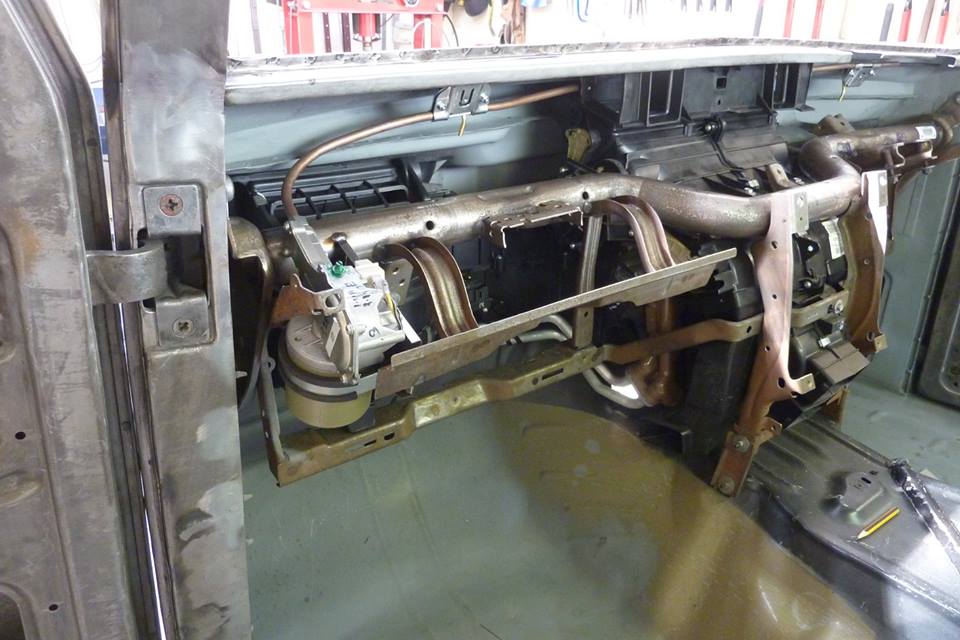
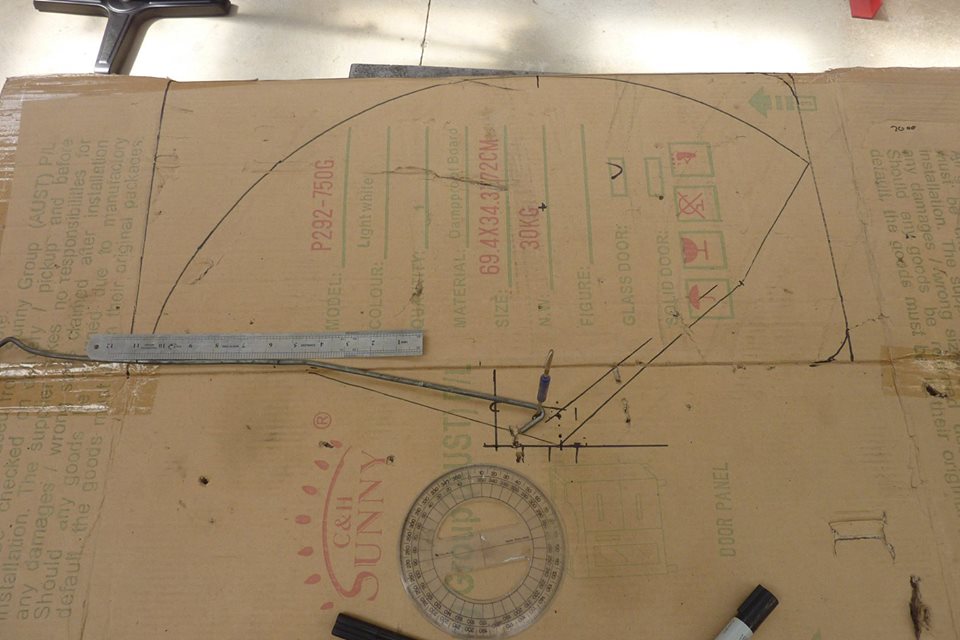
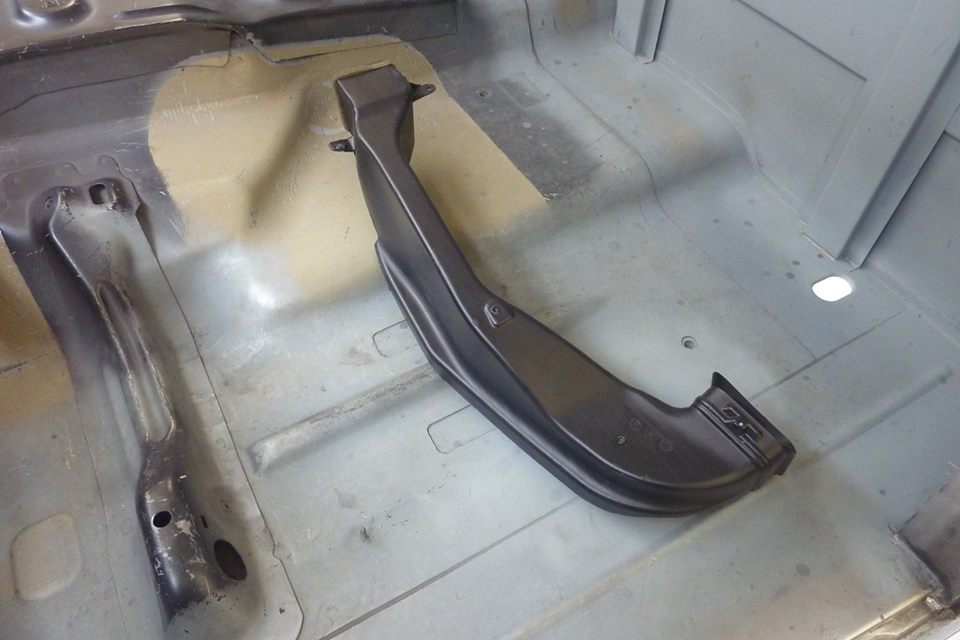
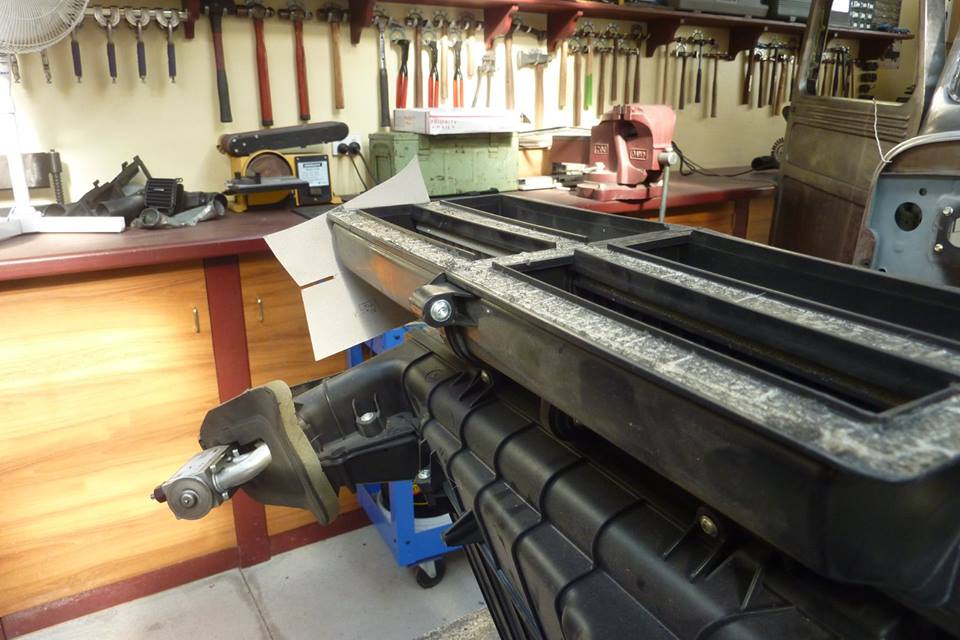
Here is the frame work the motor sits in behind the dash. It will be fully welded in after I remove the motor and take the frame out of the cab. Found the picture of my 'CAD' layout of the possible wiper pivot points and arm lengths versus blade length testing. Drew up one side of the split screen glass area, not including the rubber gasket, to see the influences of each different setup. Can work out degrees of sweep this way too. Then see what best fits the situation and what is available.
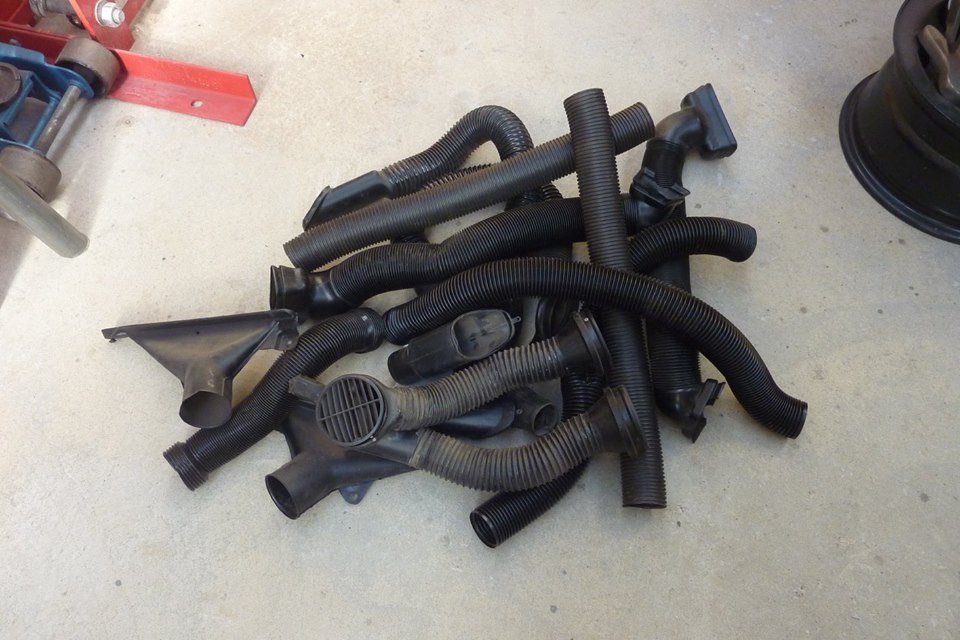
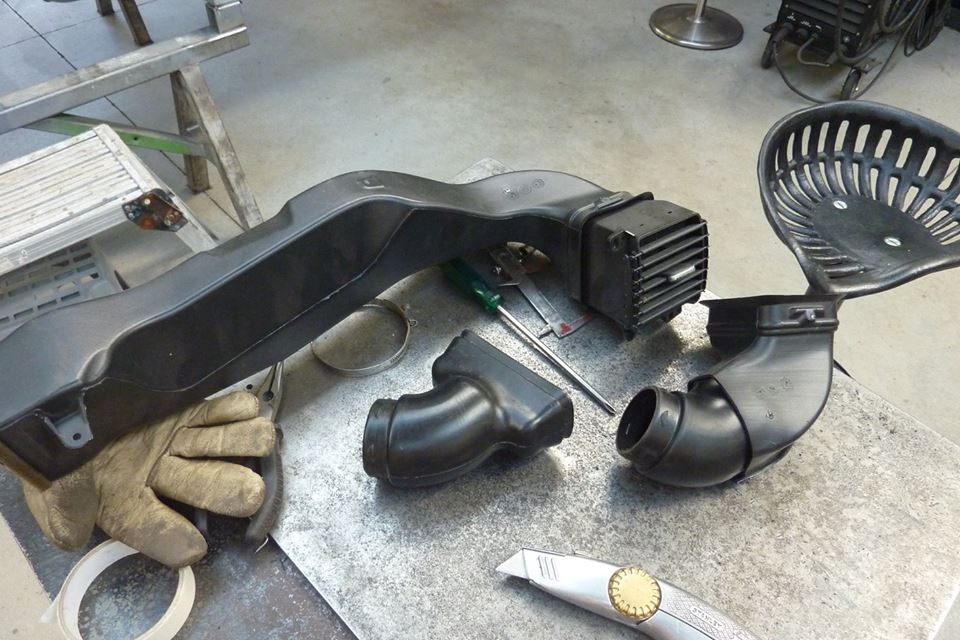
This is the donor Jeep ducting that goes from the centre of the A/C unit to the side of the dash by the door. The ducting does not fit under my sloping cowl however so can't use it as is. Spent an afternoon at the local pick-a-part yard to find suitable tubing and fittings etc for the vents system. Not much available now a days as most cars have it in moulded in under the dash. Most of this was from older Ranger Rovers and Mercedes cars from the 70-80's.
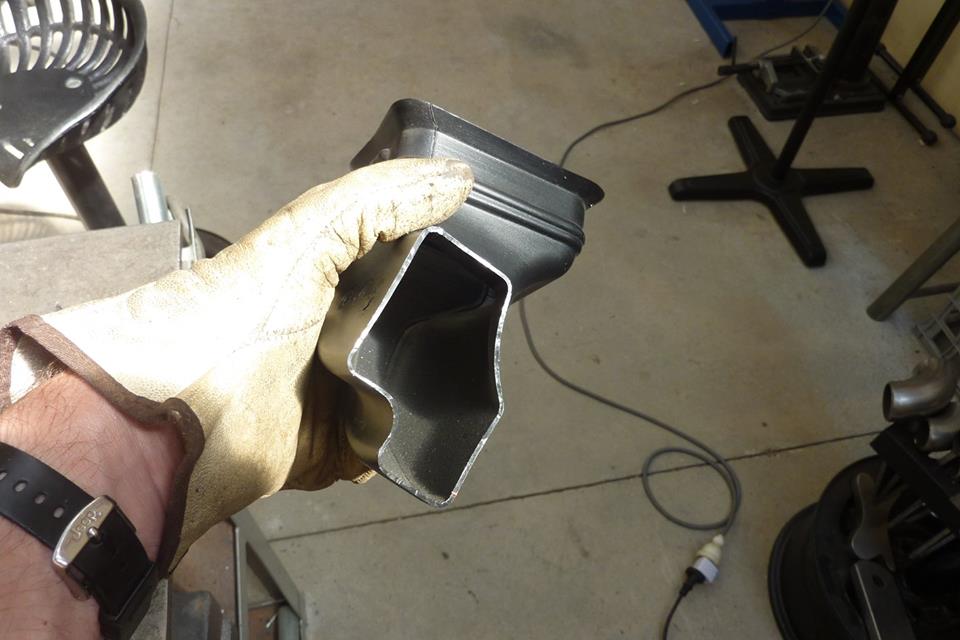
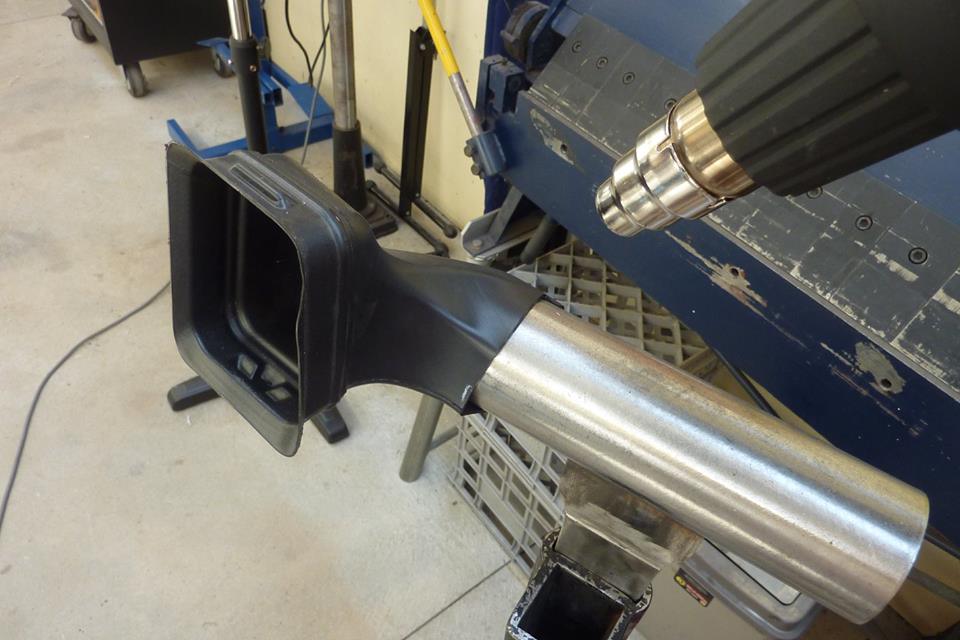
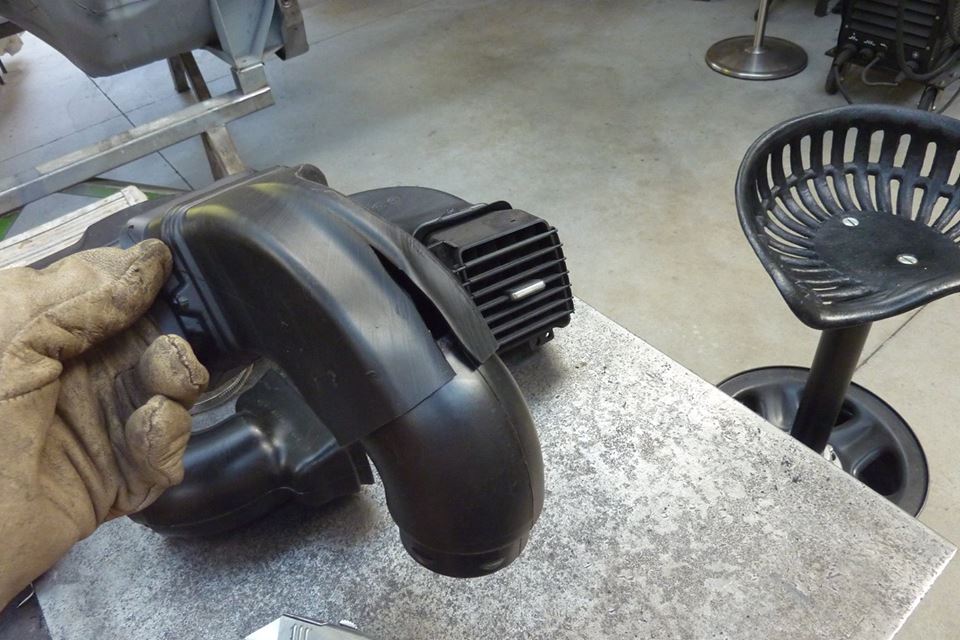
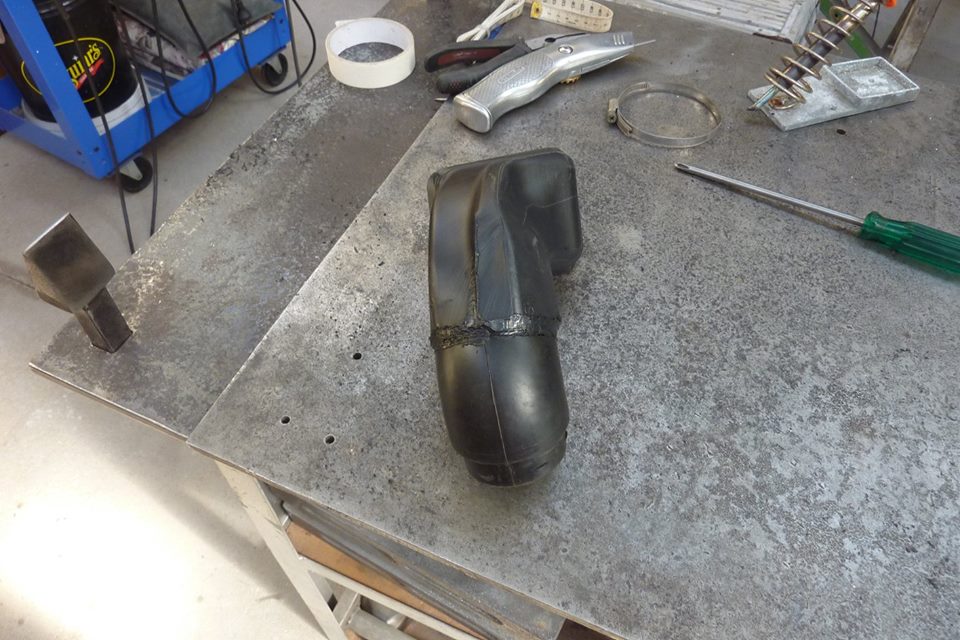
I cut the end off the Jeep ducting that holds the grille part in in place. The shape was going to be hard to join round ducting too. So using a heat gun over one of my T stakes, I reshaped it. Once it got soft I pushed the folds flatter with some flat steel.
Used one of the elbows from a Mercedes and cut most of the square end off so it would fit inside. It was a bit bigger in diameter, so cut a wedge out to reduce its circumference.
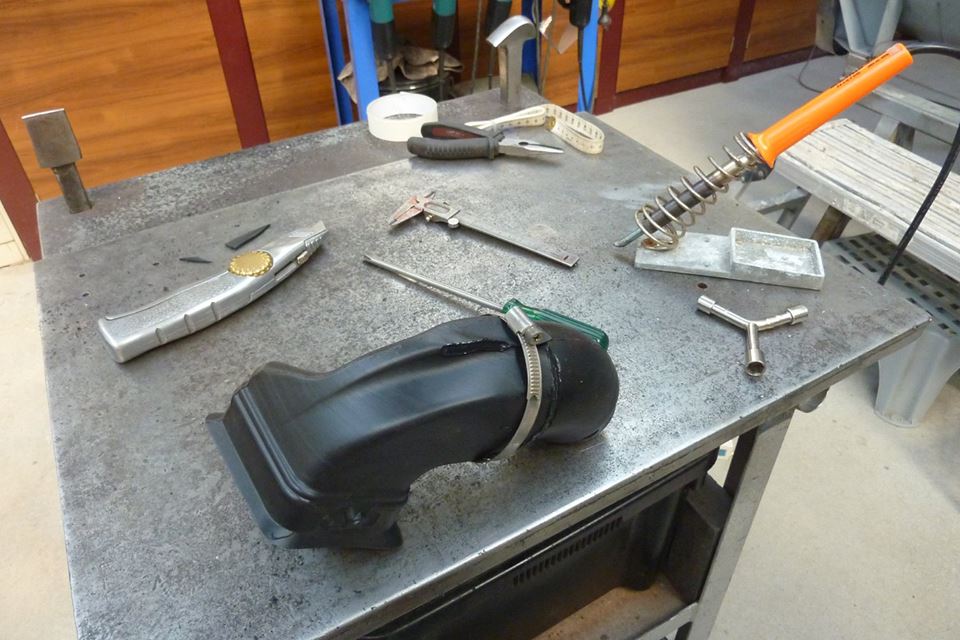
Put a hose clamp around it once it was in the right position. Then using a soldering iron welded the seam back up. Been a while since I had welded some plastic as used to do a bit now and again back in the 80's before YouTube was around to show you how! ;)
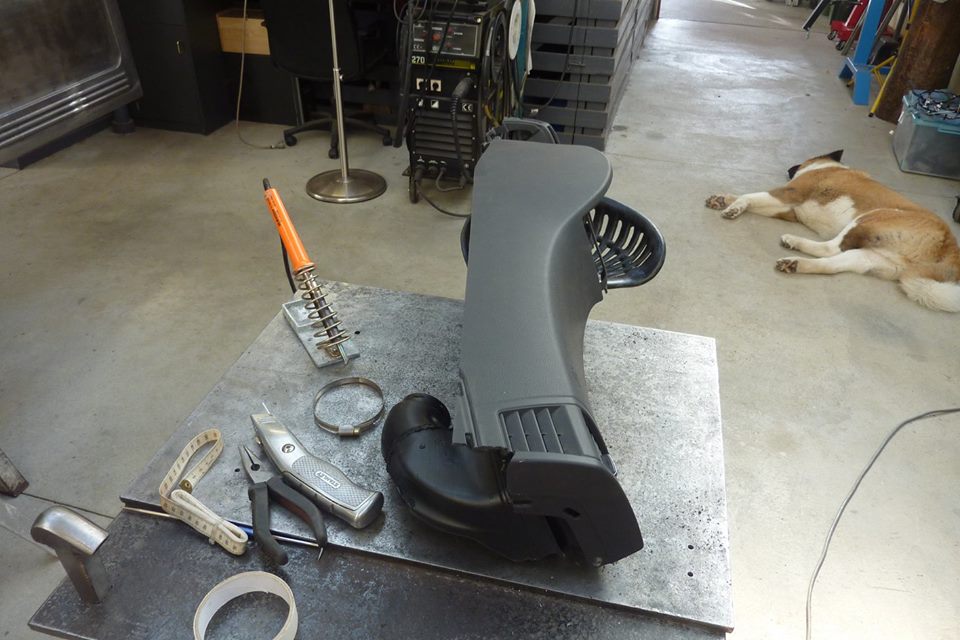
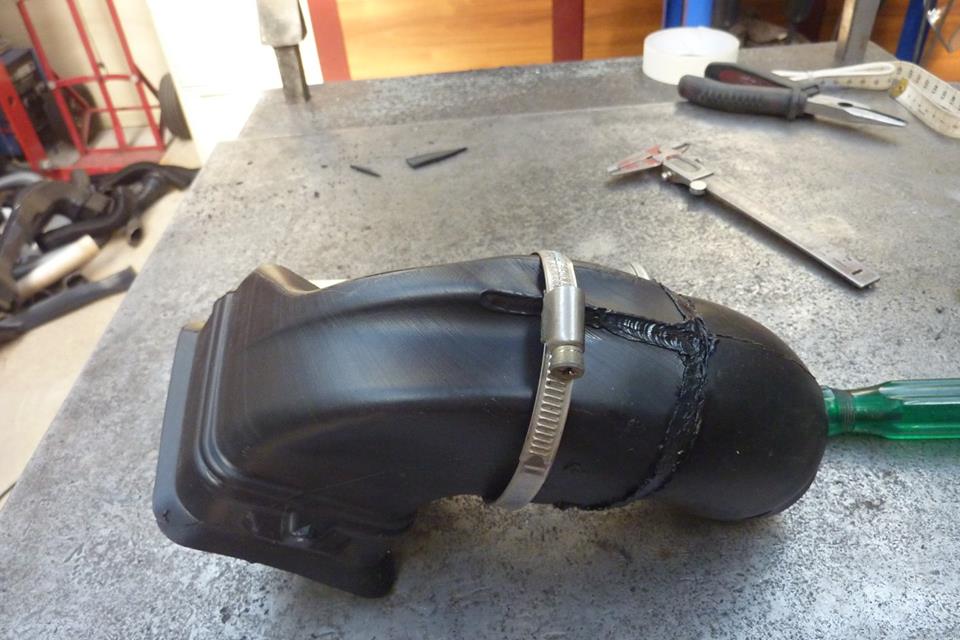
Welded all the way around and even inside to make a good strong connection. I used a 80 watt soldering iron as was thick, but normally only use a 40 watt one. Don't want it too hot as leaves it brittle when it starts smoking a lot. Always have a fan going as the fumes are toxic. This gives you an idea of where it sits when screwed in the end of the dash.
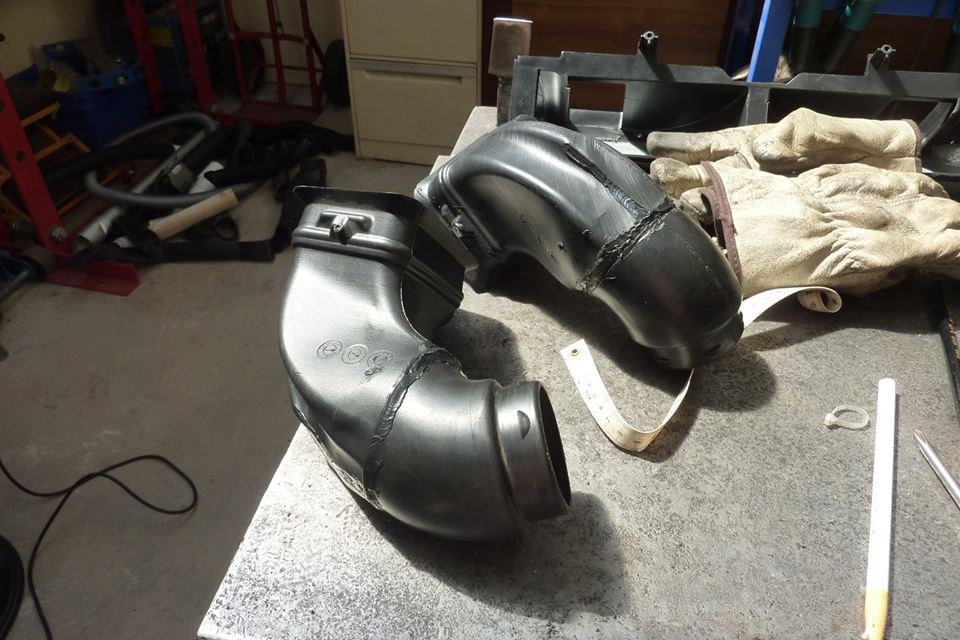
Got both sides done now and will use the original ducting from the Mercedes as well which was a bit over 66mm-2.5". It will hook around in front of the defrost vent and go to the front most outlets at the top of the A/C unit.
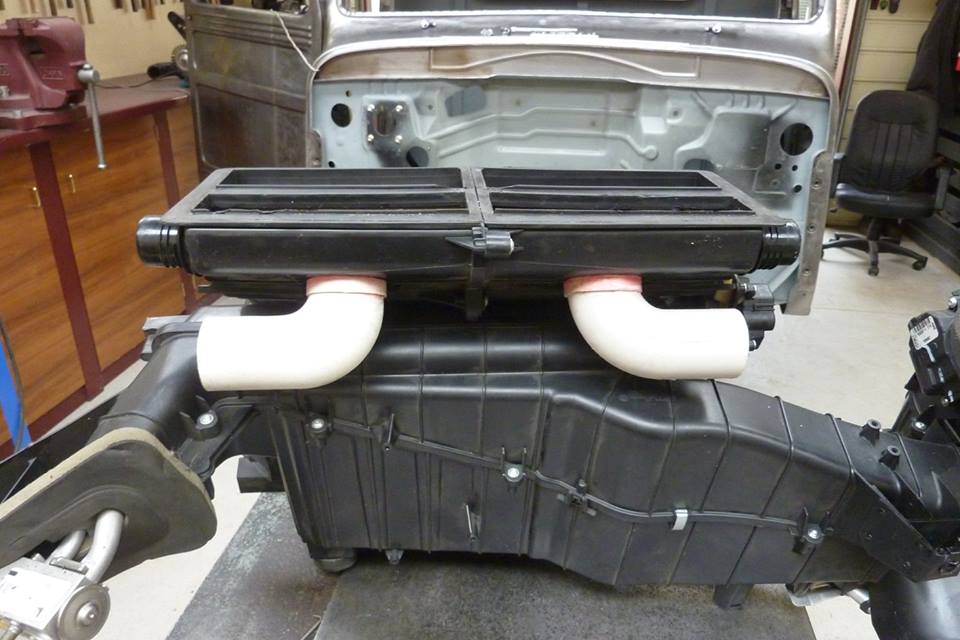
Before I removed the A/C unit from the cab, I made a template to show me how much room I had to the cowl above and to the firewall behind to run the defrost ducting. There was just no room to run it out the top so I fitted these PVC elbows to the underside of the defrost chamber. I glued a collar tightly above and below where it enters in to hold them in place.
[Index]