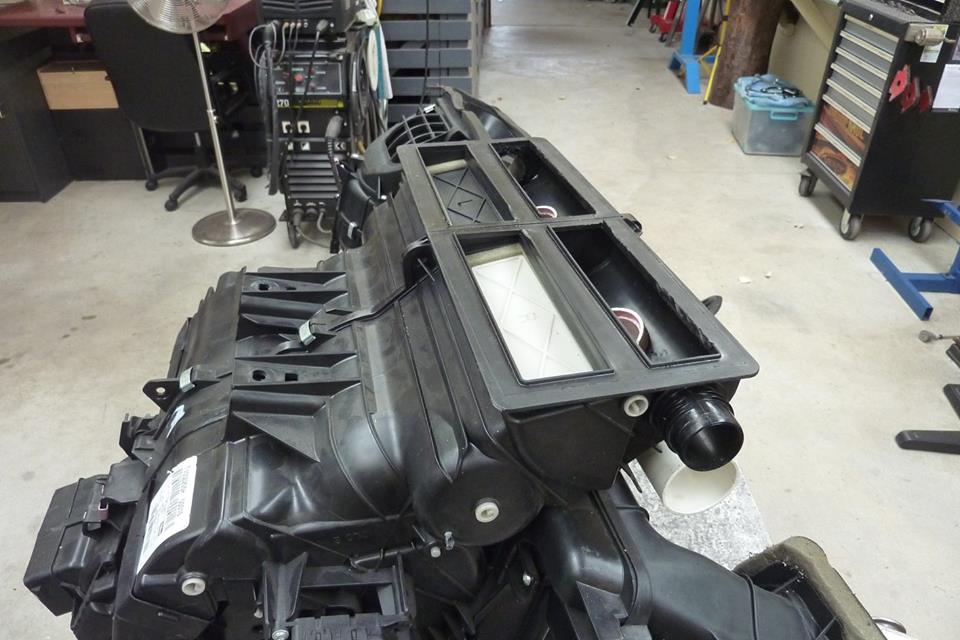
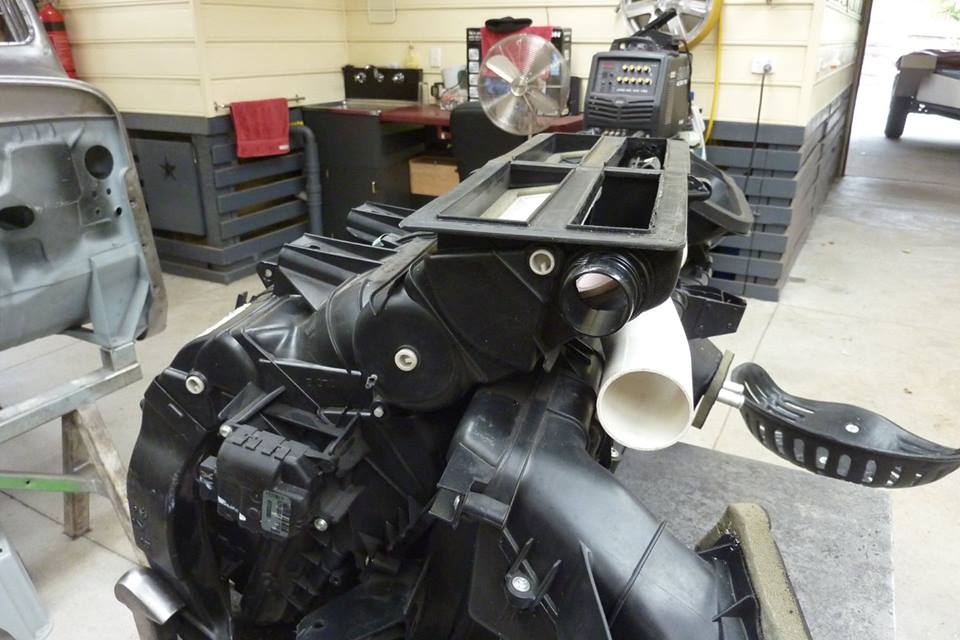
I also added smaller fittings to run to the defrost outlets for the side windows each side. They are already moulded into the ends of the dash so thought why not! The fittings were actually the ends of the flexible hose off of a vacuum cleaner. The hose will just thread straight onto the fittings. As they were made from plastic, I welded the fittings to the unit.
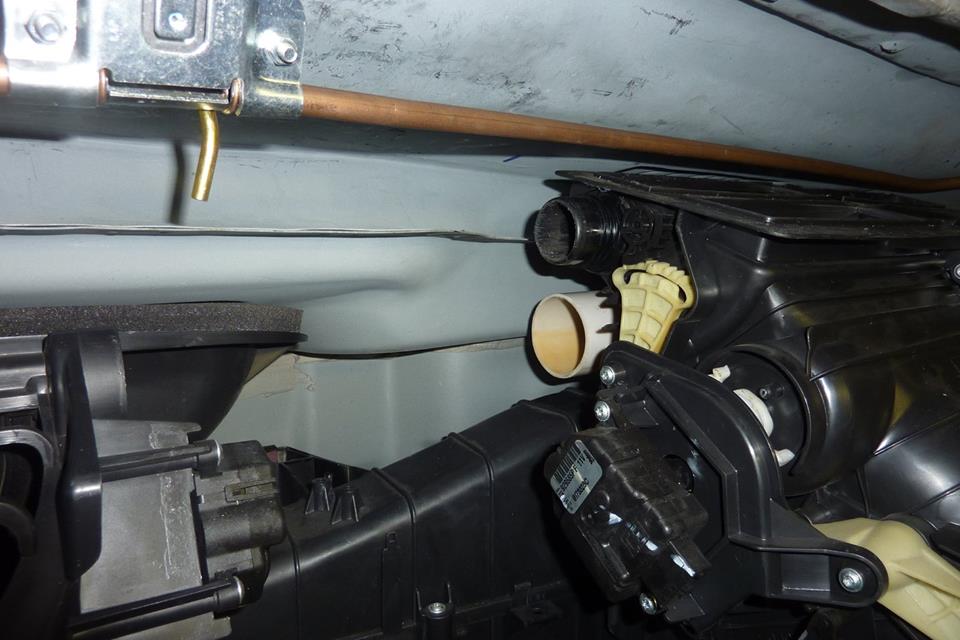
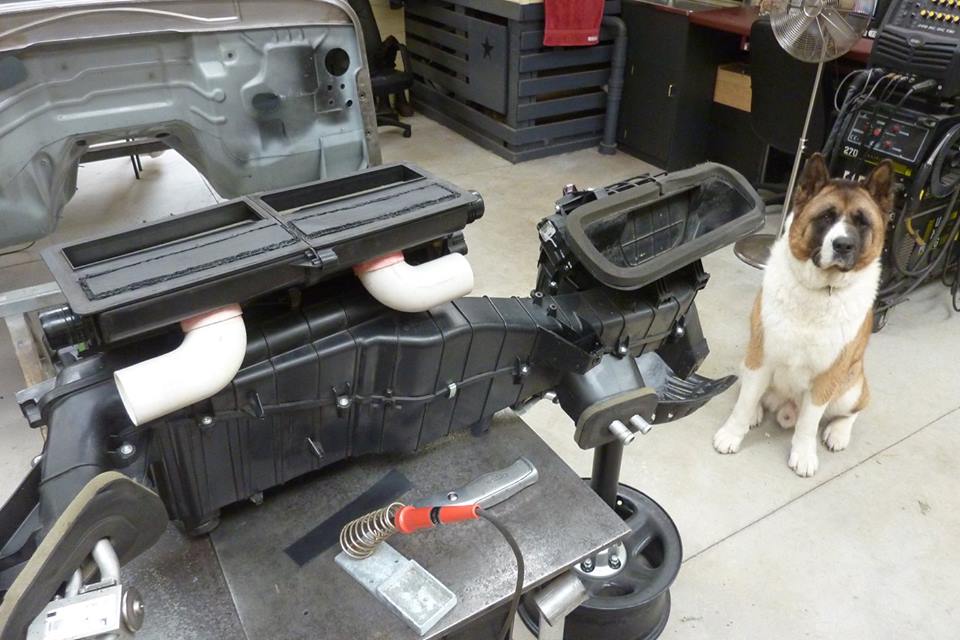
Quick refit to check that it cleared everything and works out well. I cut the sides out of the original donor ducting to weld shut the top outlets. No worries about corrosion with only plastic used.
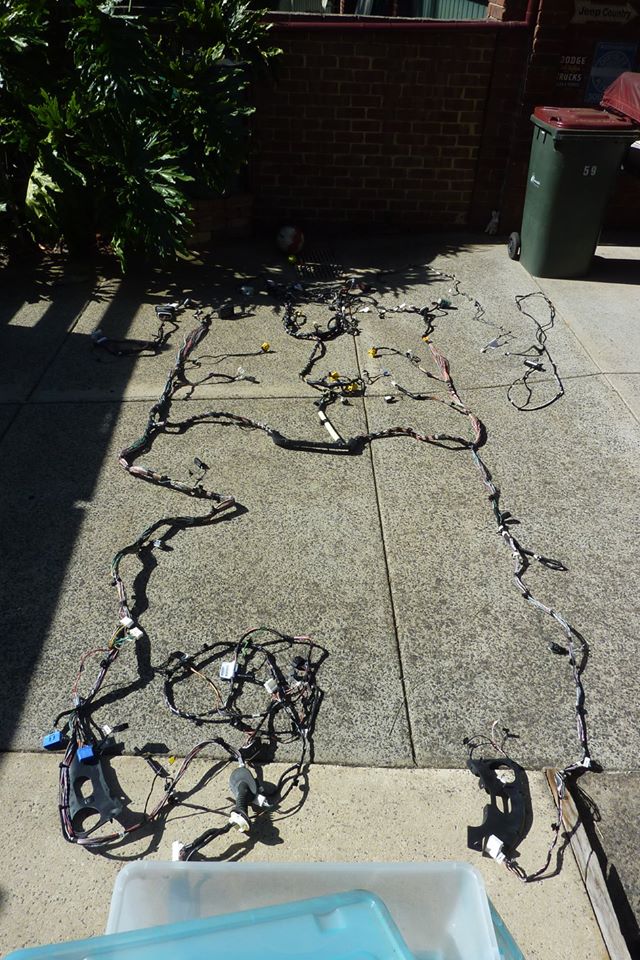
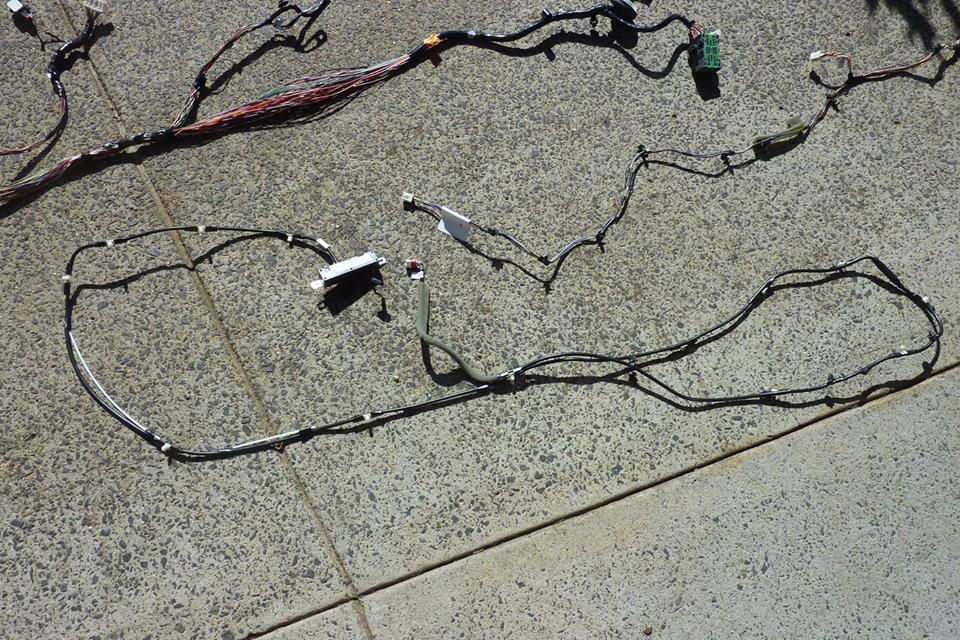
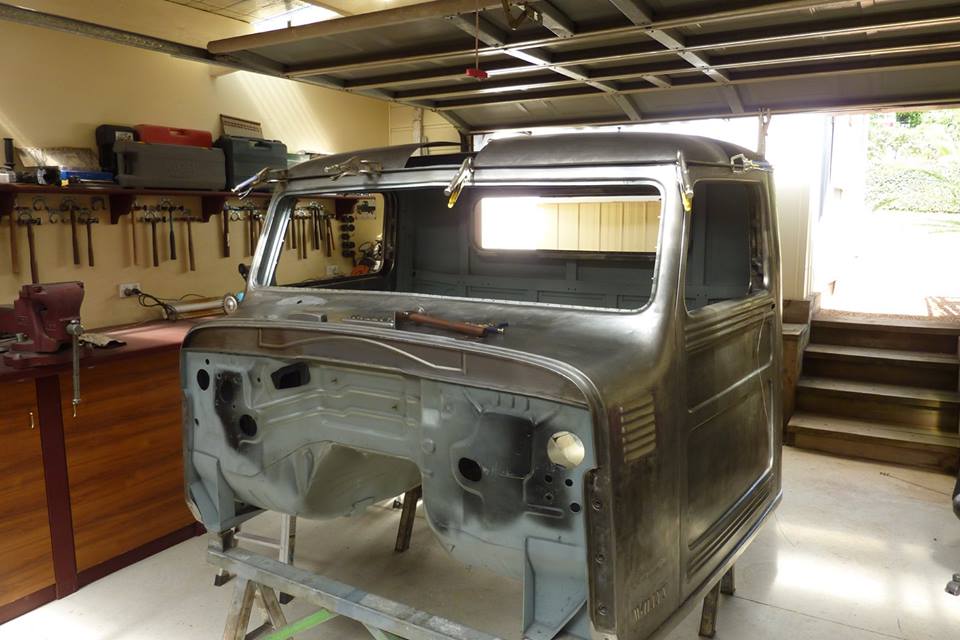
Before the roof goes on, I thought I better layout all the cab wiring to see what needs to run up the A pillars while access is easier. There is a lot there just for the cab! No chassis or engine wiring in this lot. The aerial wiring had an amplifier attached to the end of it and was fitted up inside the donor roof. Connected to one of the cargo side windows that had the aerial imbedded into the glass.
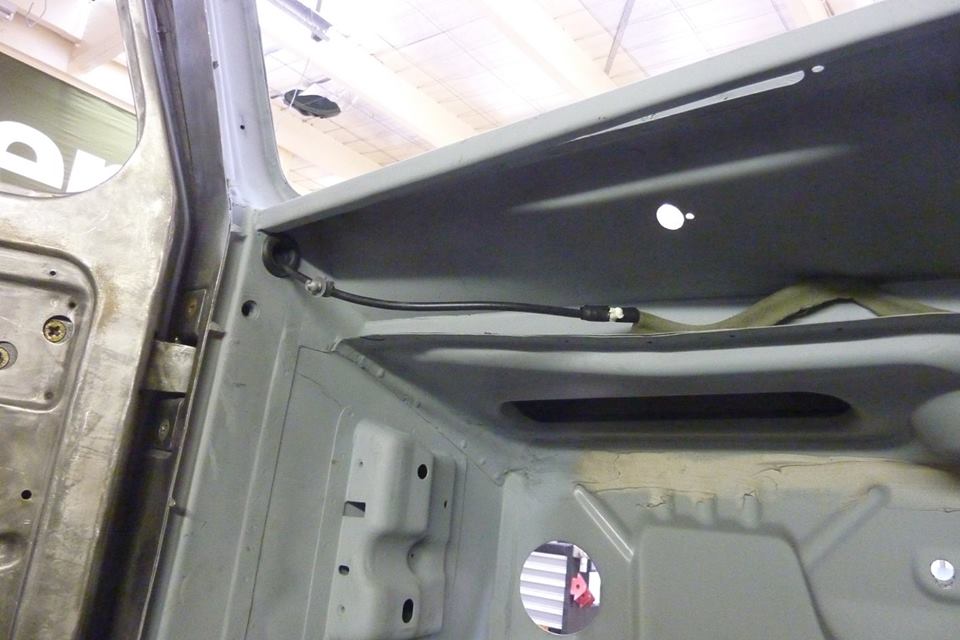
Ran the aerial wire up the A pillar and will decide later what sort of aerial I will connect it too. Easy enough to pull out later if I what to run it some place else. This big loom is just for the mirror believe it or not! Who would have though you need 12 wires for that, but it has a light sensor as part of it and think the rain sensor connects to it as well.
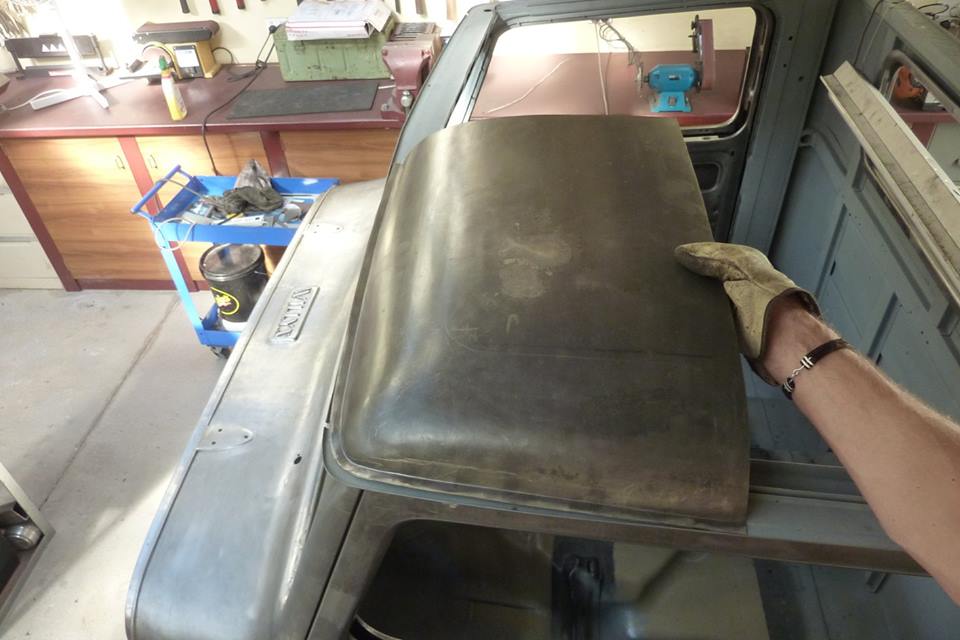
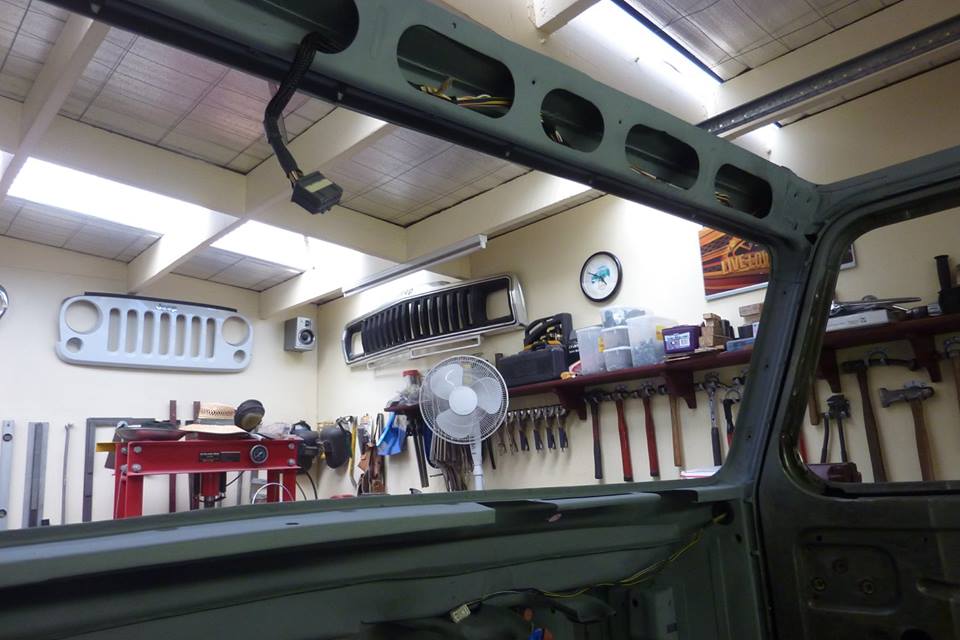
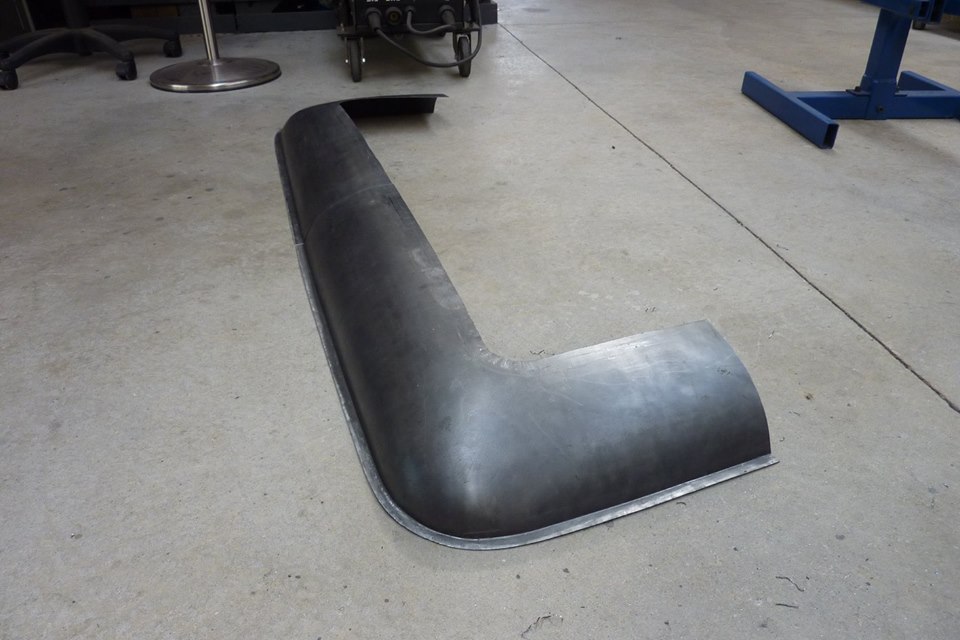
Time to get back into the metal work and finish the last major piece of the whole cab build. If you look closely you can see it does not follow the gutter that it needs too after these panels were pancaked. Along the front edge it bulges out and it doesn't go into the corner either. The side needs some work also. To get rid of the bulge in the front I lightly ran in through the shrinker. To pull the panel into the corner it needed to be stretched. There is a bit of play back and forth so that the overall angle still follows the gutter.
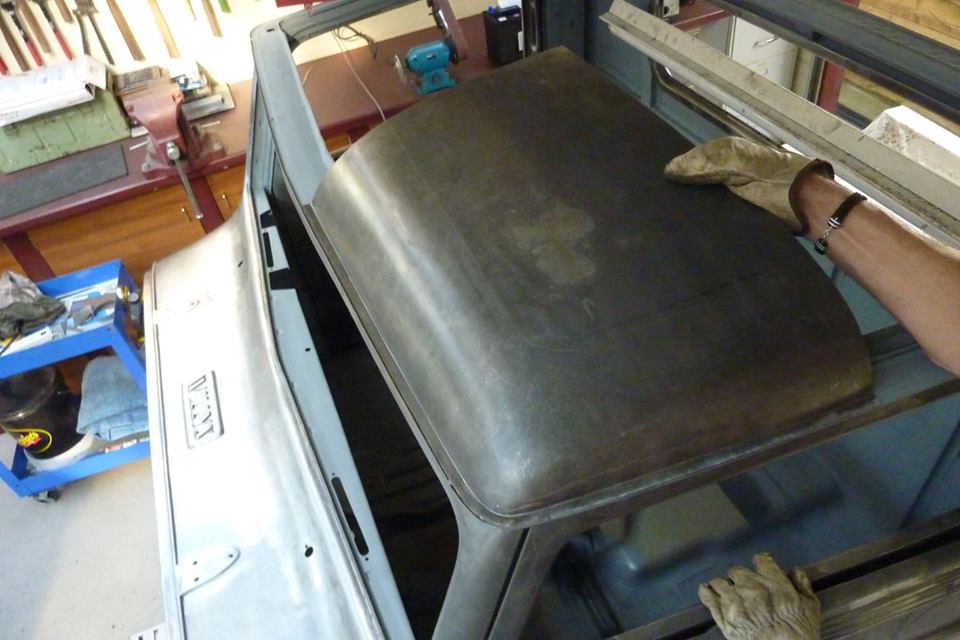
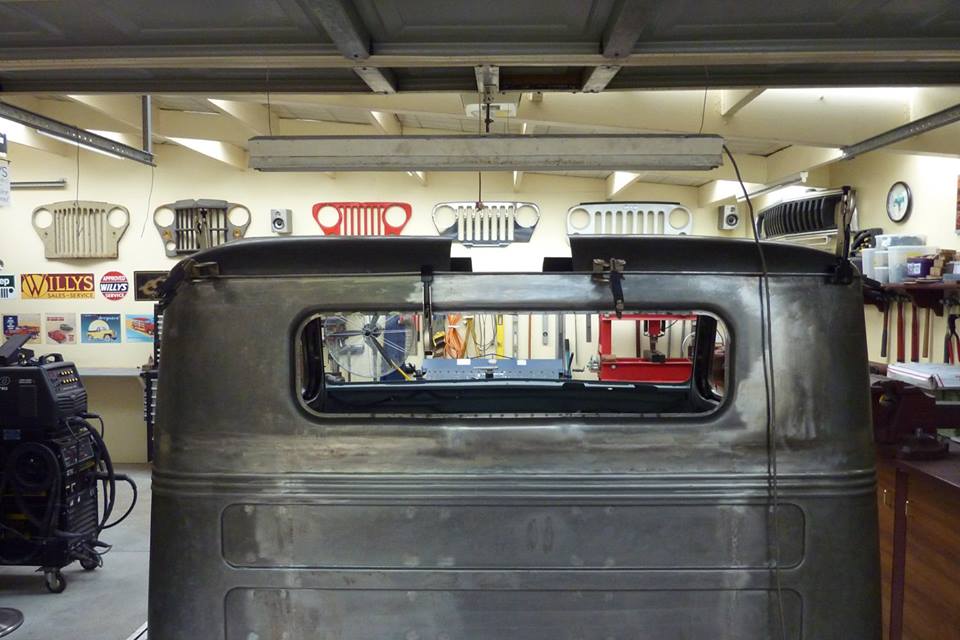
After all four panels followed the gutter line exactly, which I had already spent many hours getting it the same width all the way around and the lip the same height, I can start on the shape of the panels. The rear corner on the right side sits too low. The rear panel on the left side though sits too high. As soon as the roof panel was cut into the fours pieces originally, the rear sprung into the differences left to right. There were a lot of dents in the roof I had to taken out before cutting them apart and obviously some tension must have been left in them.
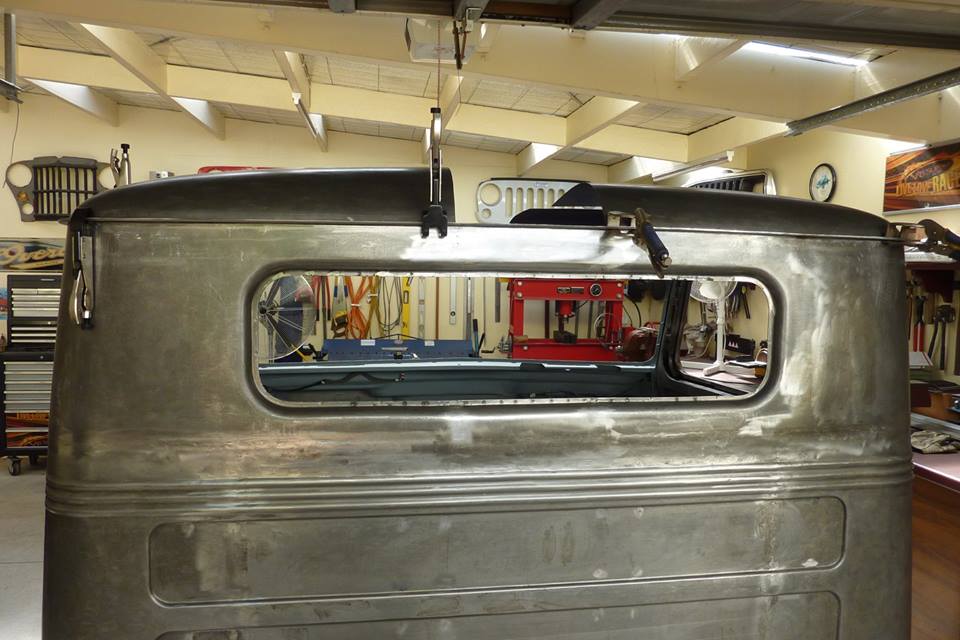
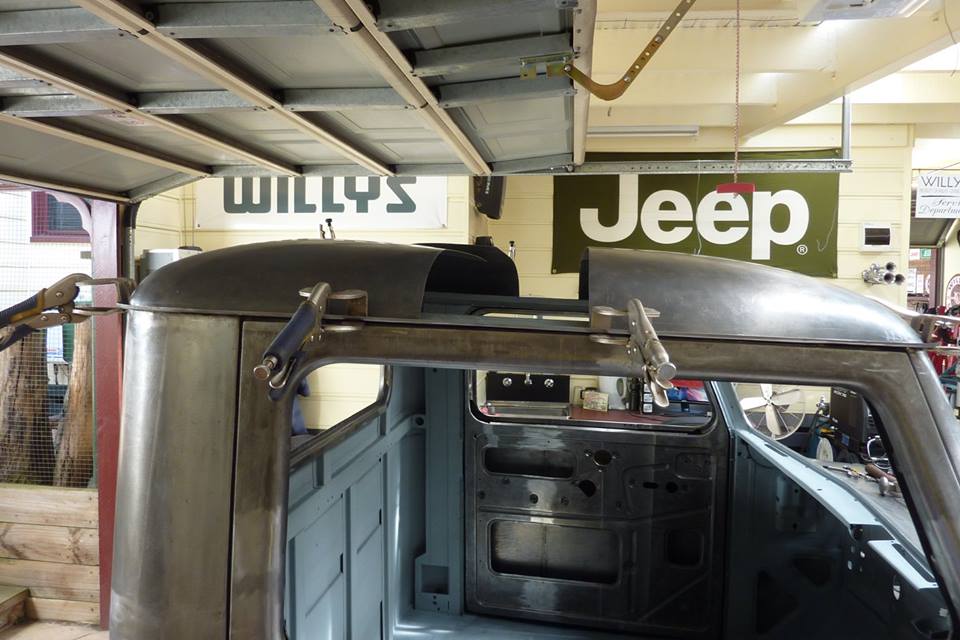
From the rear you can really see the difference left to right. Remember also that from stock after rolling a new flange around the bottom, I had taken 2" of height out of the middle and 1.5" from the corners. The front panels are sitting nicely and is 1" lower than stock right across. Looks even lower with the cab now being 9" wider than stock.
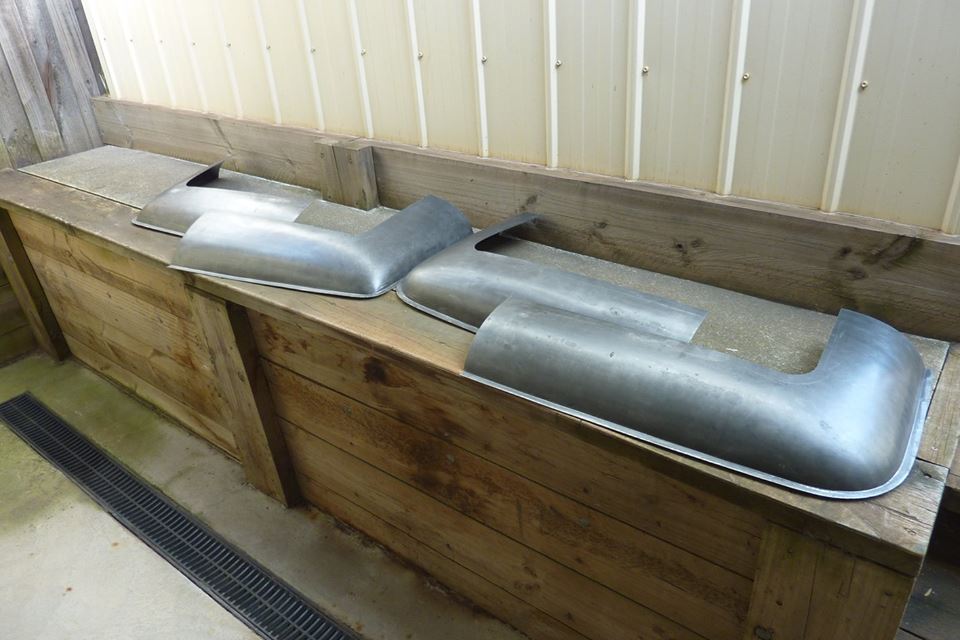
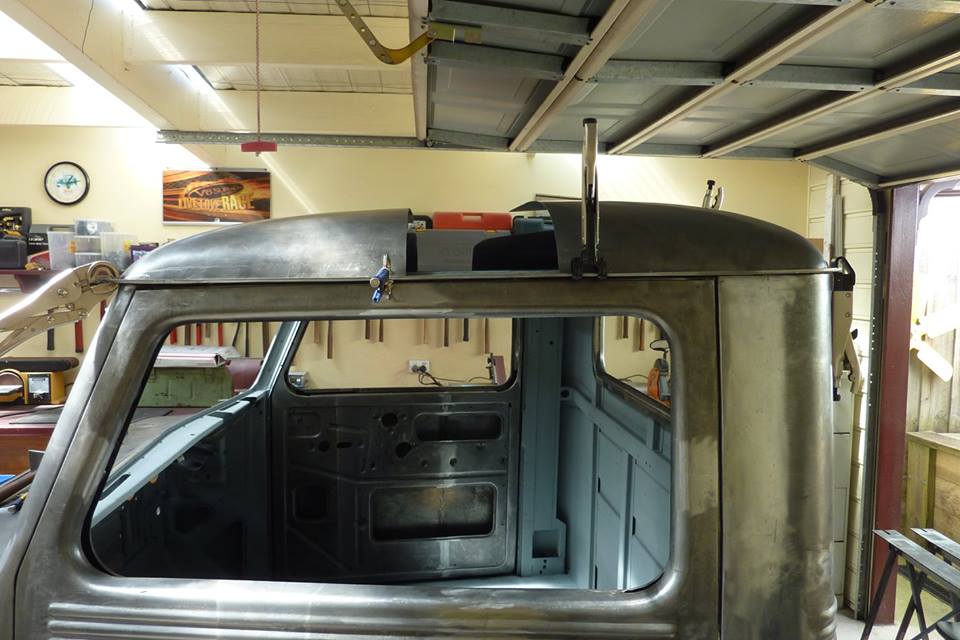
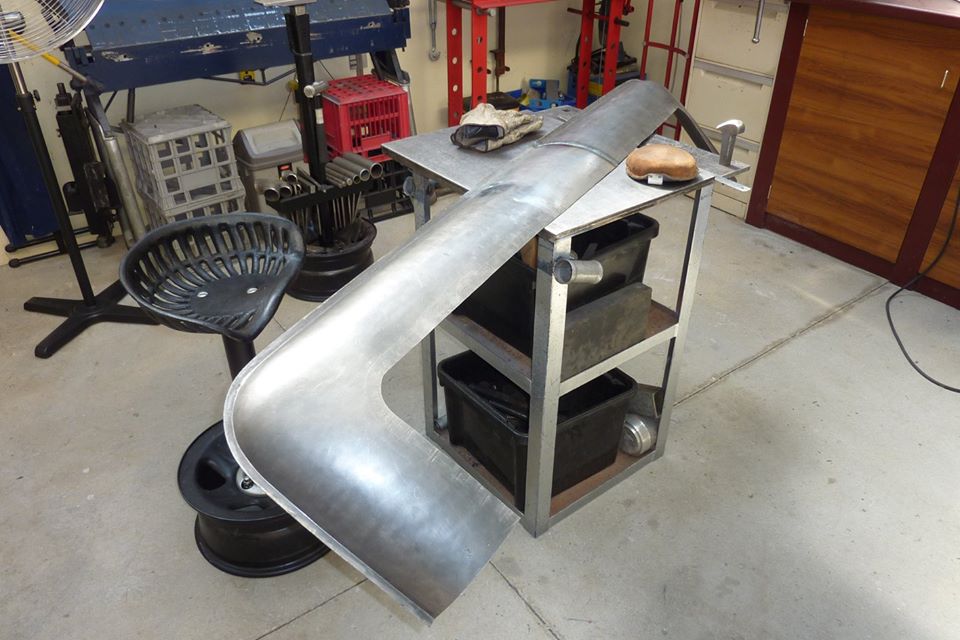
I cut out the centre of each panel as planned to fit the new centre roof infill, leaving a bit under an inch extra for trimming later. This will make it easier to correct the rear panel too. So one needs to come down overall and the other to come up so it flows into the front panels as I laid out nearly a year and a half ago now! Good to see no rust had formed in the mean time sitting in bare metal with just a coat of lanolin oil over them.
To bring the low one up I shrank along the inside edge and then had to stretch the outside corner a bit to get the overall angle back again. The high one I stretched along the inside edge and shrank the outside corner to correct the angle. Sitting much better now.
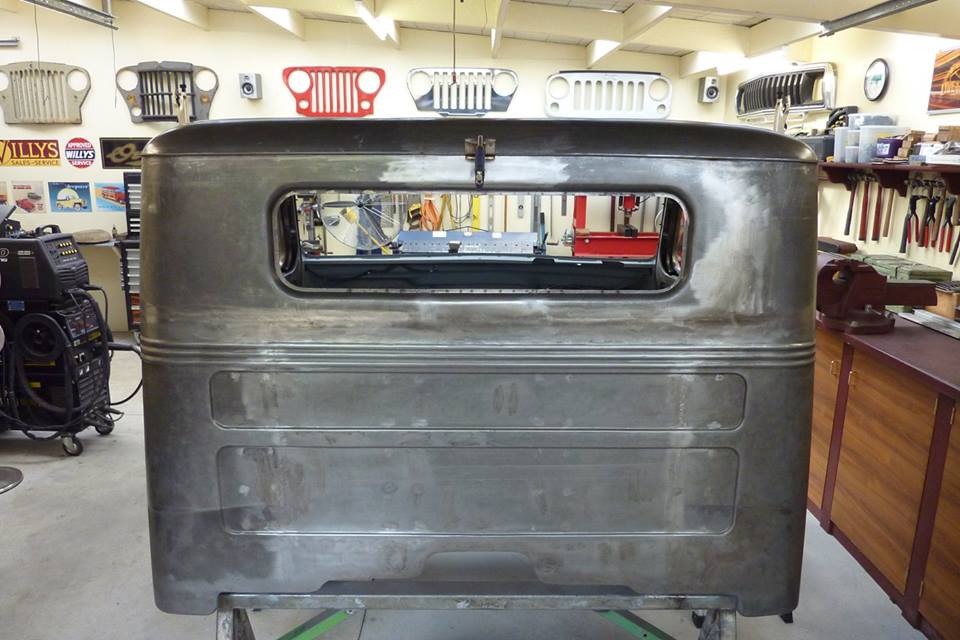
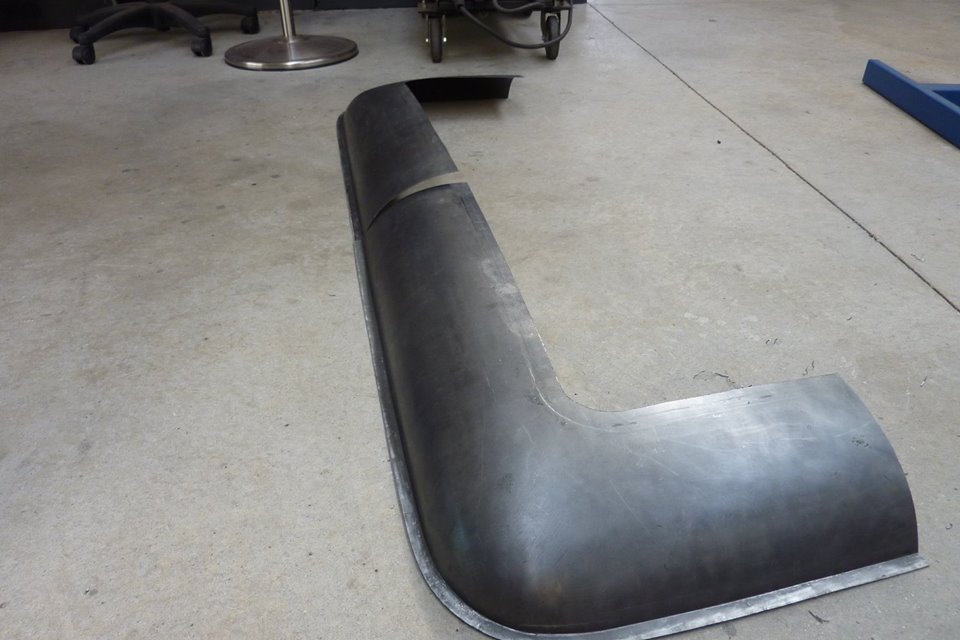
Tig welded the rear section of the roof together. I think it looks acceptable after the pancaking. Remembering that a bit more crown still to come from the roof infill panel.
[Index]