
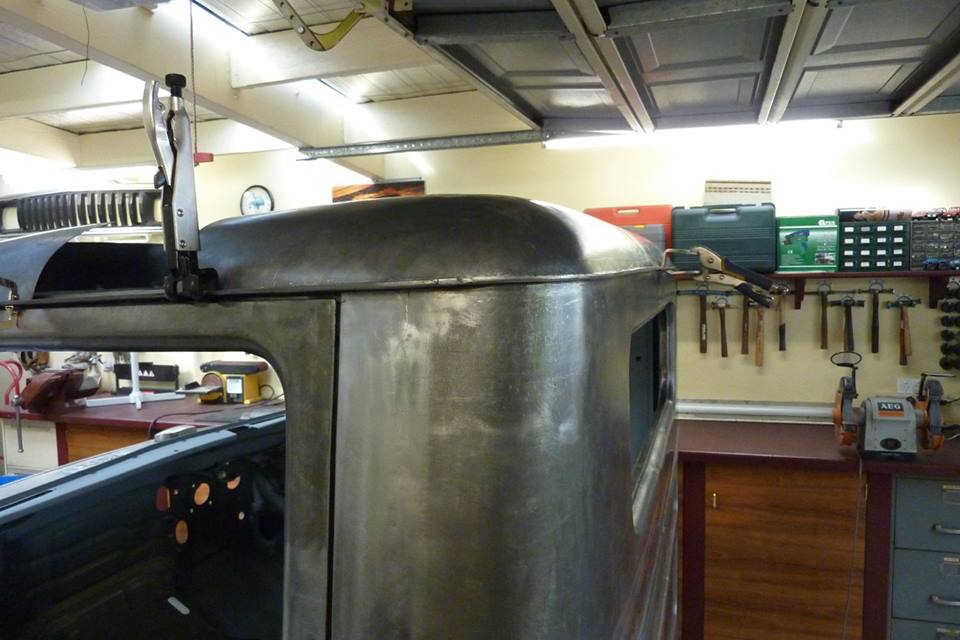
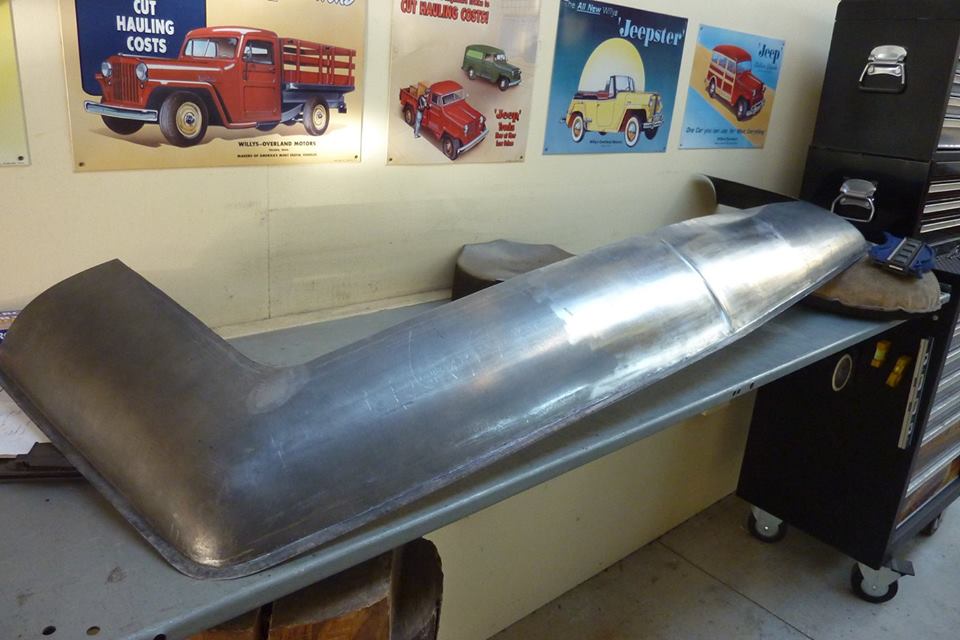
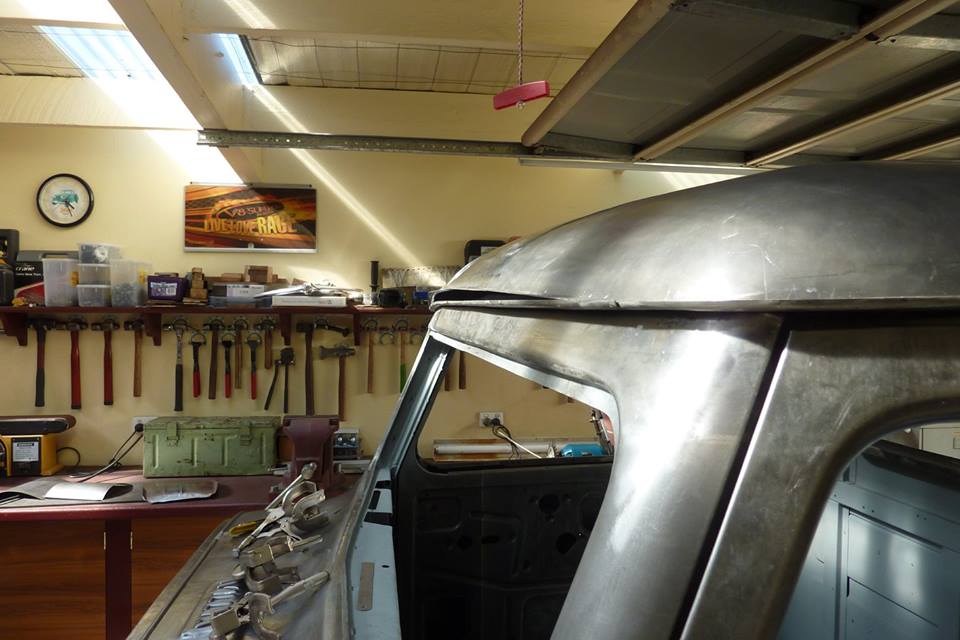
Hard to believe that over stock, the centre of the roof to the floor is now 100mm/4" lower than stock! 2" sectioned out below the window and 2" above the gutter. I wheeled more shape into it as lost a lot of the early vertical part of the roof line when the bottom section was cut off. So I increased the radius so it was steeper near the gutter like stock again.
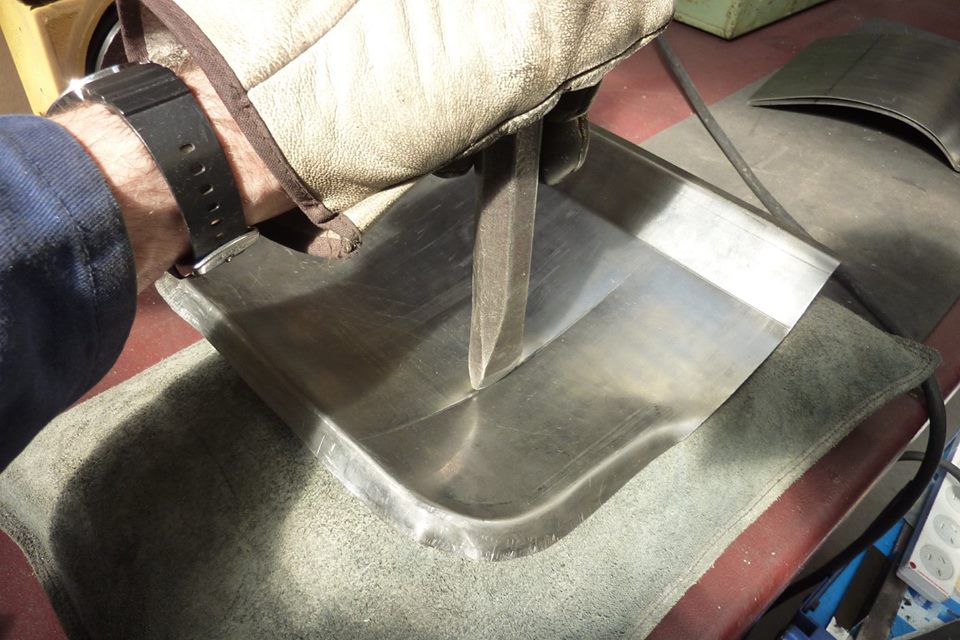
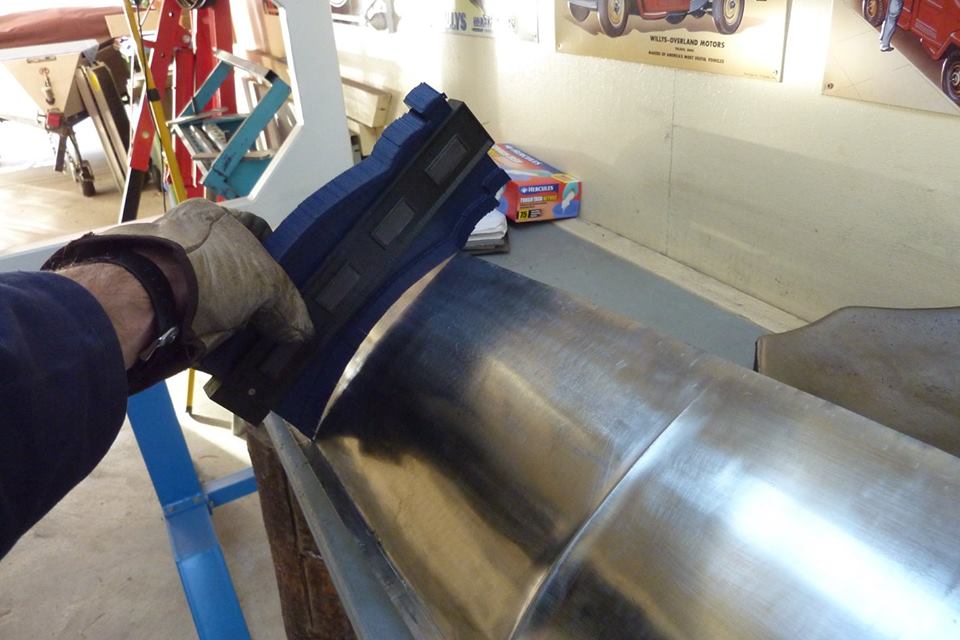
I am trying out different techniques for putting a crease line in some scrap to go on the filler panel at the front of the roof above where the V meets in the middle. Just using a rounded cold chisel

Doesn't look to bad for 2 minutes of work. Next I thought I would try using my bead roller. It is just a hardened washer from a Range Rover trailing arm from memory, over one of my skateboard wheels from my youth.
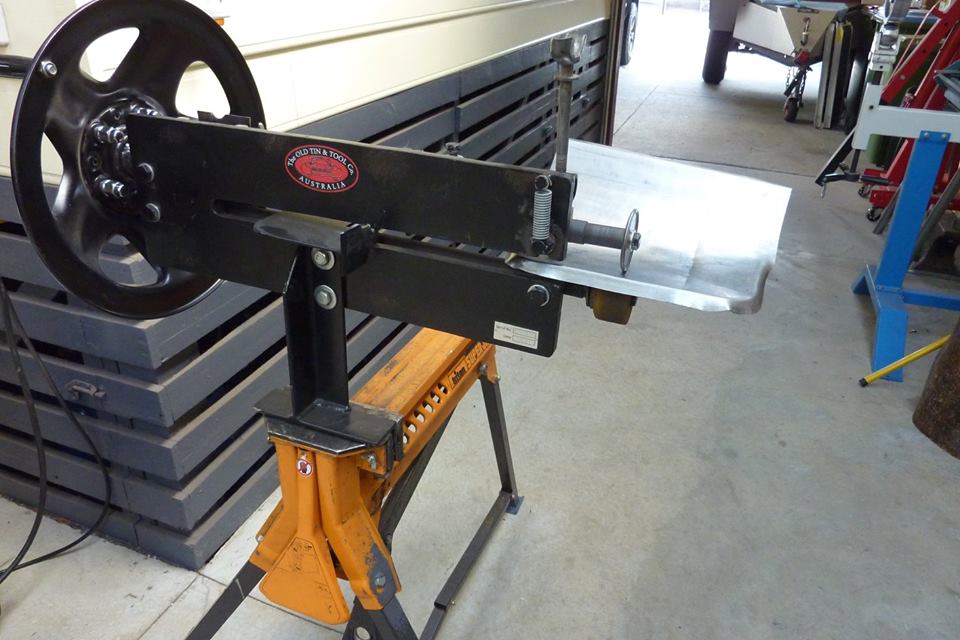
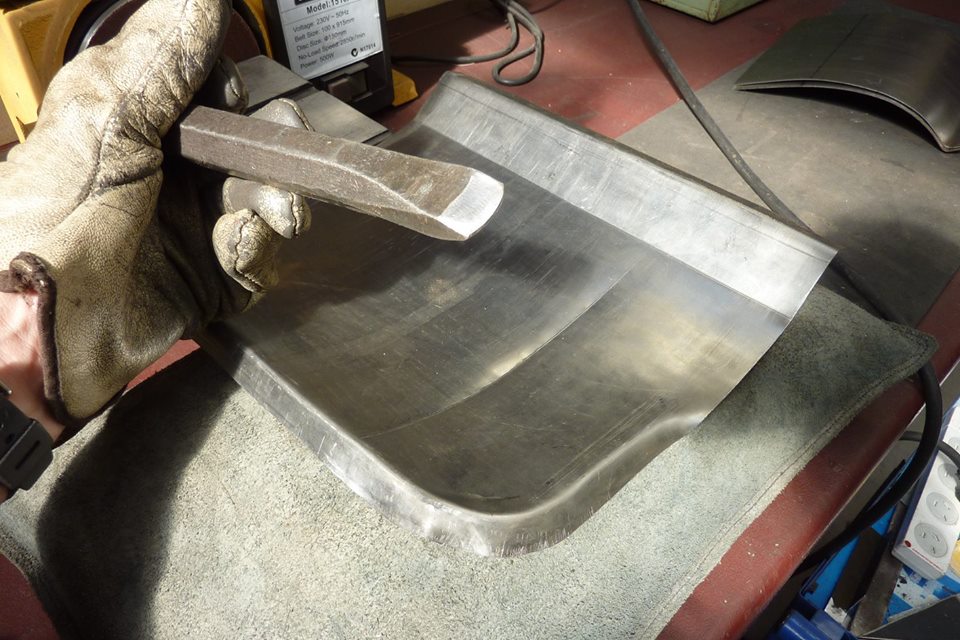
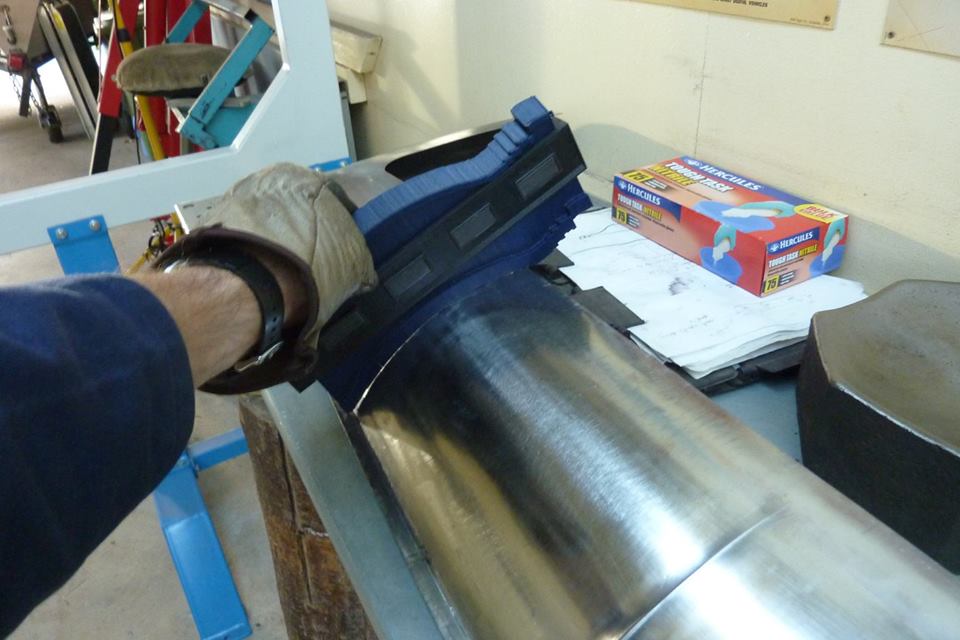
Just ran along the line and then slowly increased the pressure while doing a shorter run each time. The one closest to the camera is the bead rolled one.
Liked it so thought I would do it on the filler panel. Made it bolder to match the crease line that runs up the centre of the bonnet. I made it peak at the top front and then taper off to nothing towards the back and a bit more left at the other end so it follows the V of the gutter. Hope it will look alright but can always smooth it out if I don't like it

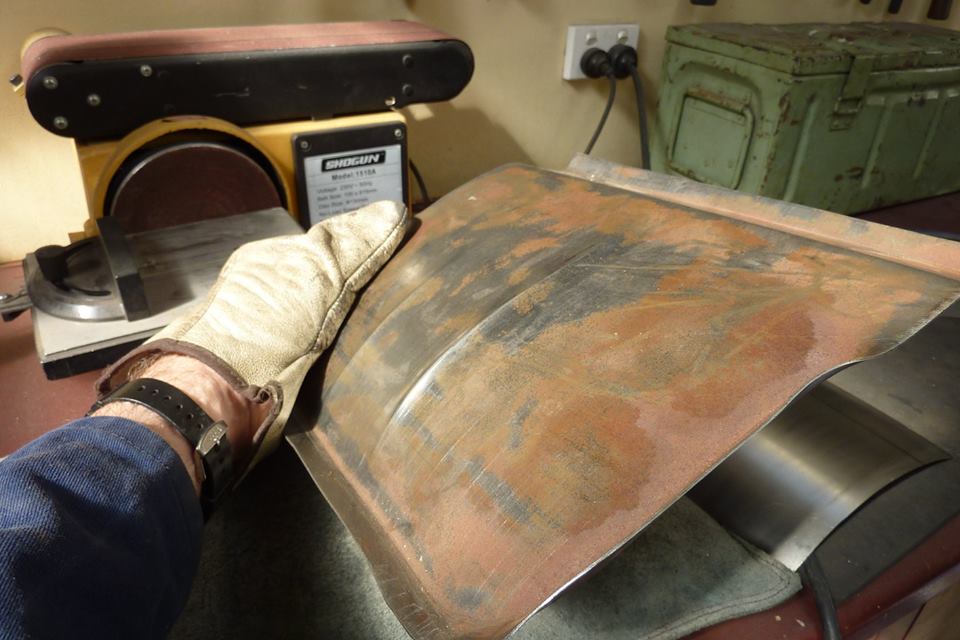
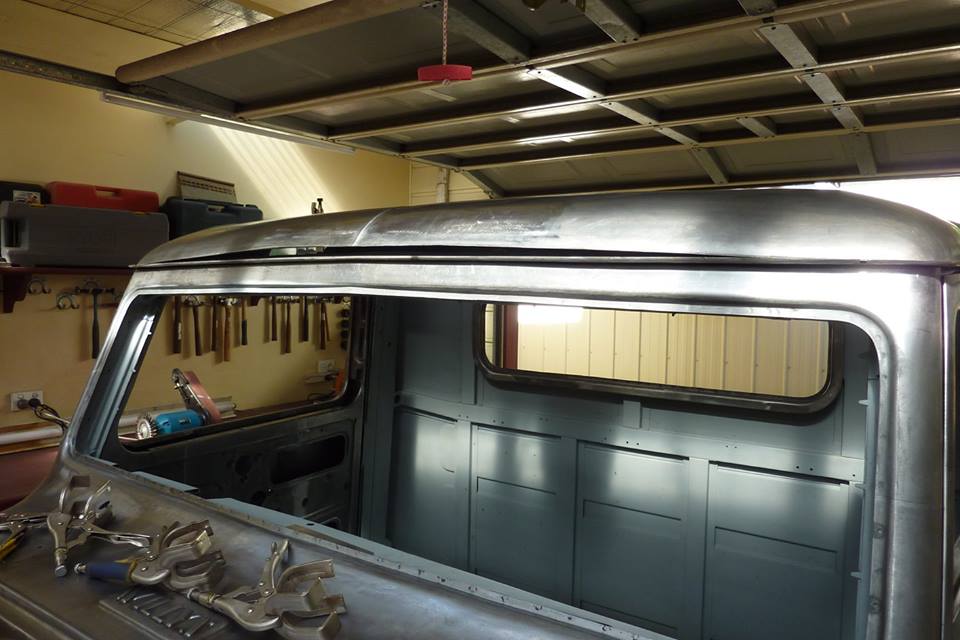
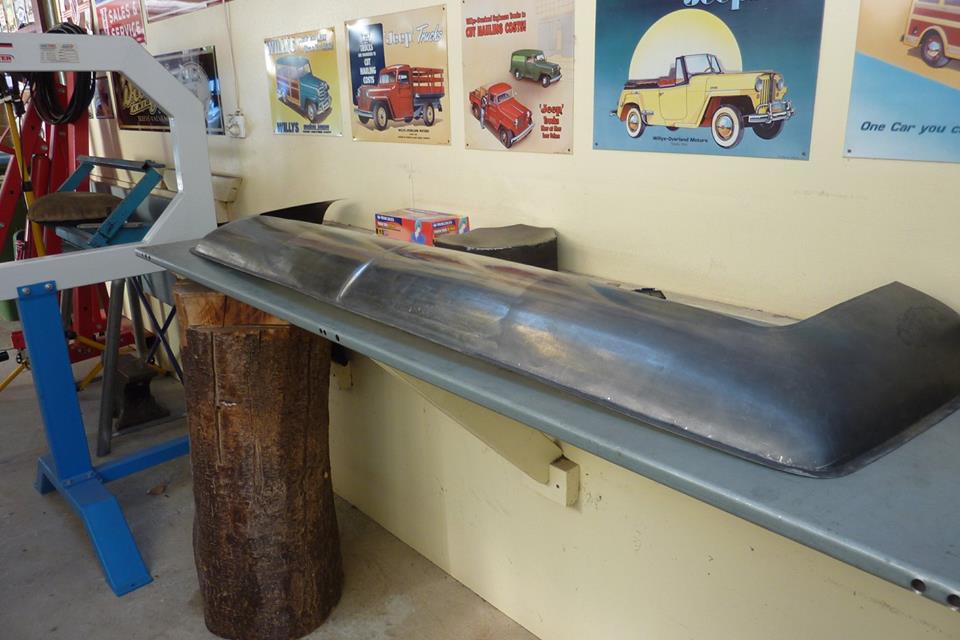
Welded the three pieces that make up the front together and was quite happy with the look. As always, I checked the profile at the same points on each side to make sure it was even.
Well it is nowhere near the same this time! I wheeled it to match the other side using a rubber band on the upper wheel to make it go quicker. Looked good matching many points left to right.
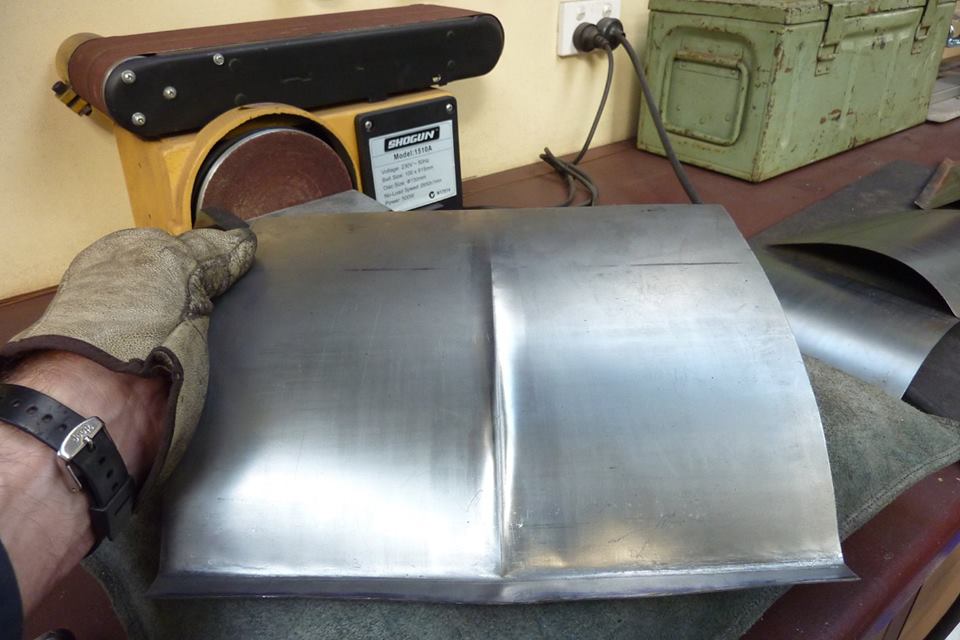
But all was not well when I placed it back on the cab to check fitment. Not sure if it was because I used the rubber band when wheeling as it only bends rather than stretching to change shape?
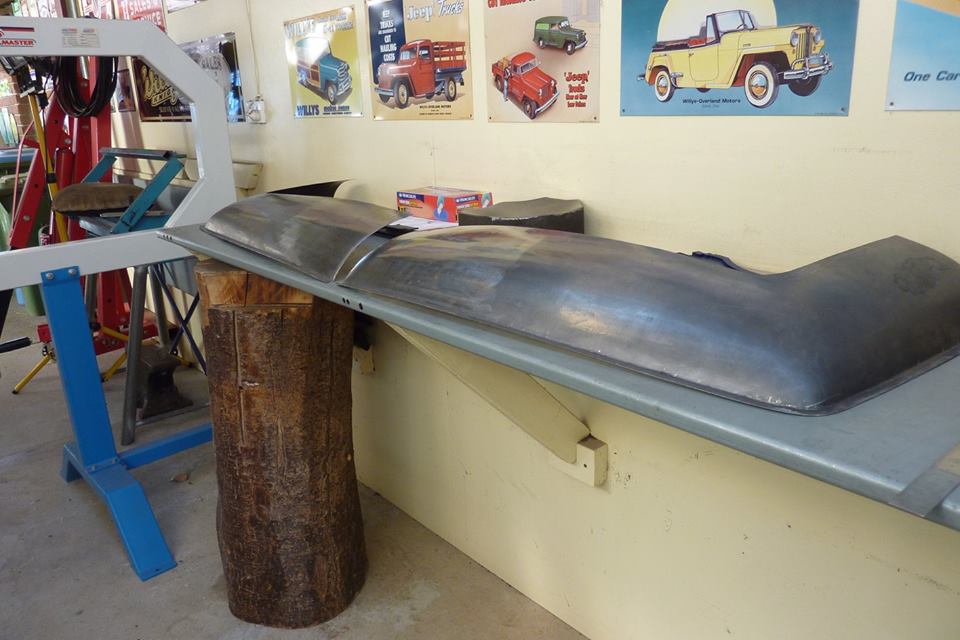
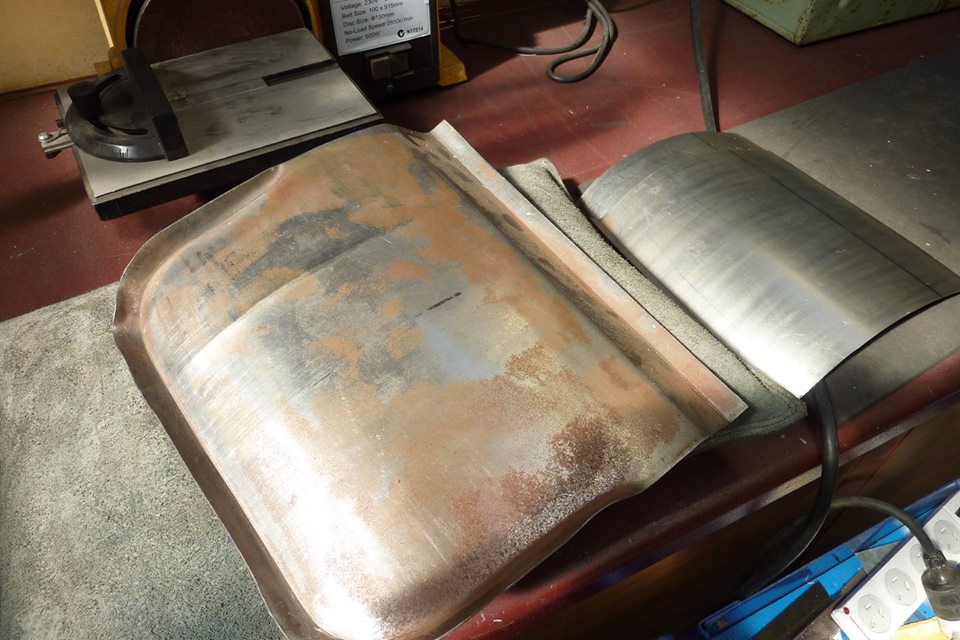
Sits up a lot as should only have a slight rise. Tried wheeling more without the rubber but was having some trouble on my own with it this long and keeping it level when running it through. Cut it right in half down the middle of my nice centre crease. :( Even in half you can see how much curve it has. To my mind it needs to be stretched along the bottom to pull it down.

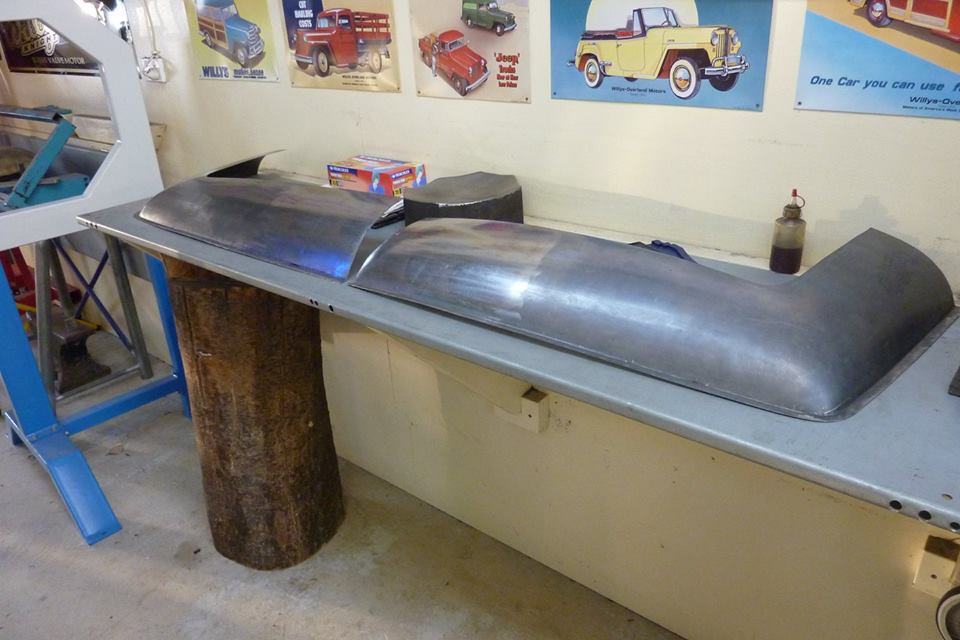
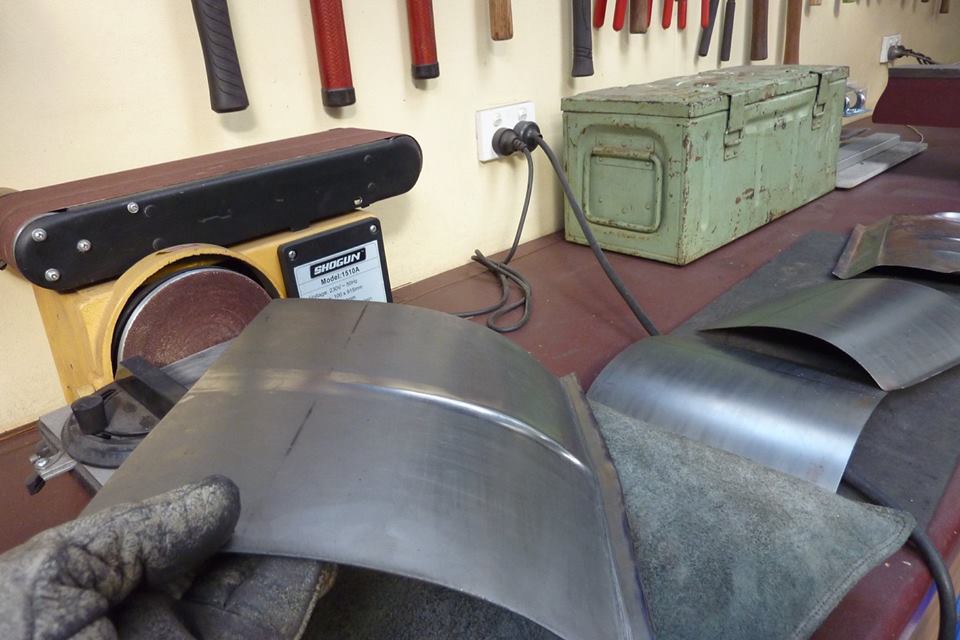
I hadn't been able to wheel right up to the flange as the centre of the lower anvil/wheel is away from it. So tilted the lower so I could get up to the edge to stretch that area to see if that would help. I did some hammering along the edge over the welding bench as well and it is getting the desired result. The left one in the picture is the one worked.
[Index]