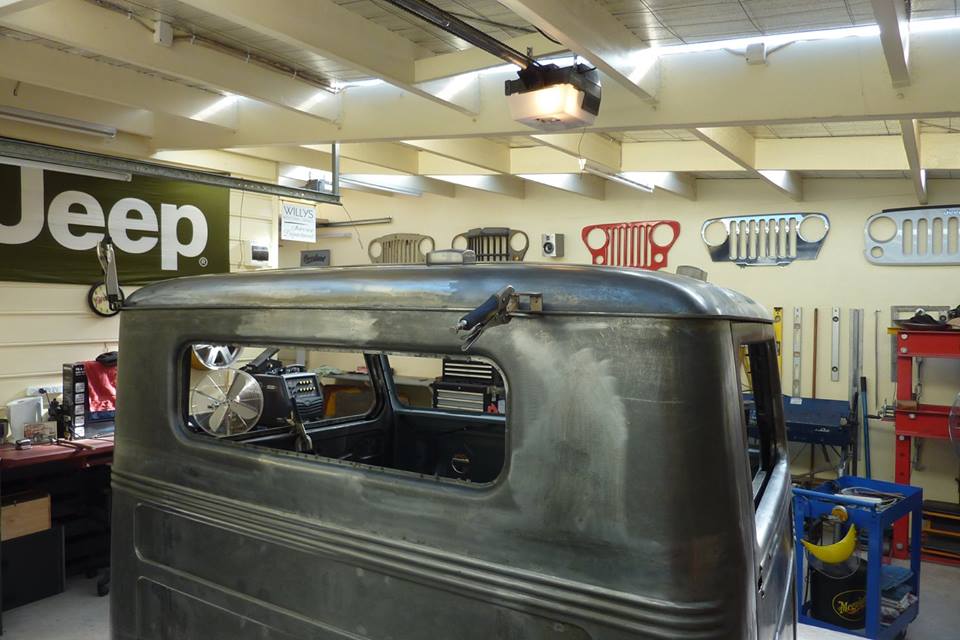
Shaping up to be alright. Think I am ready to scribe around the edge to cut the overlap off ready for a butt join.
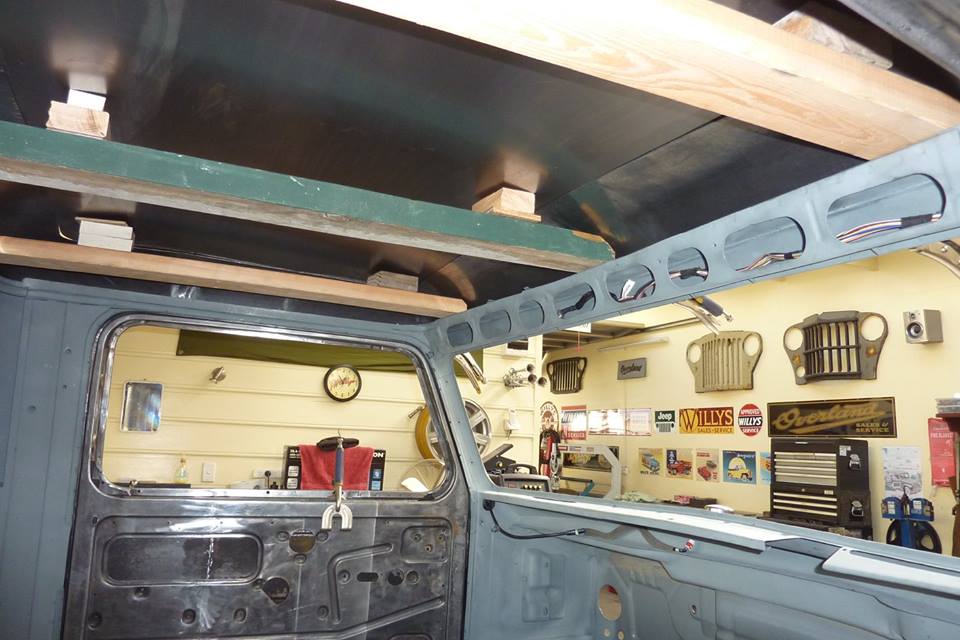
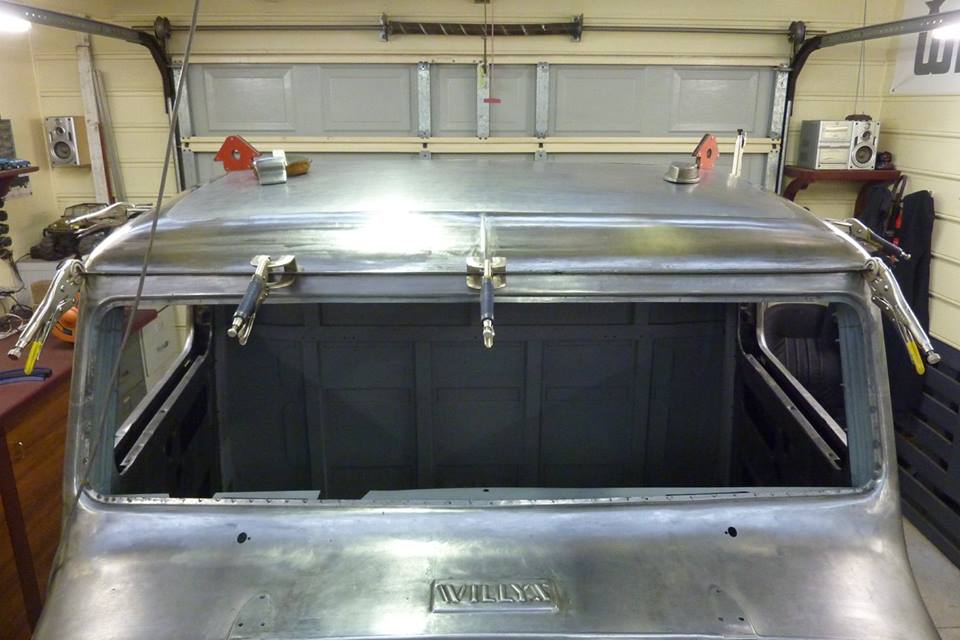
I have come up with this to support the infill panel once the perimeter roof is cut to size so it doesn't just fall through! I measured the difference between the stock and this new roof and it is 38mm-1.5" lower overall. It has taken the baseball cap look out of it.
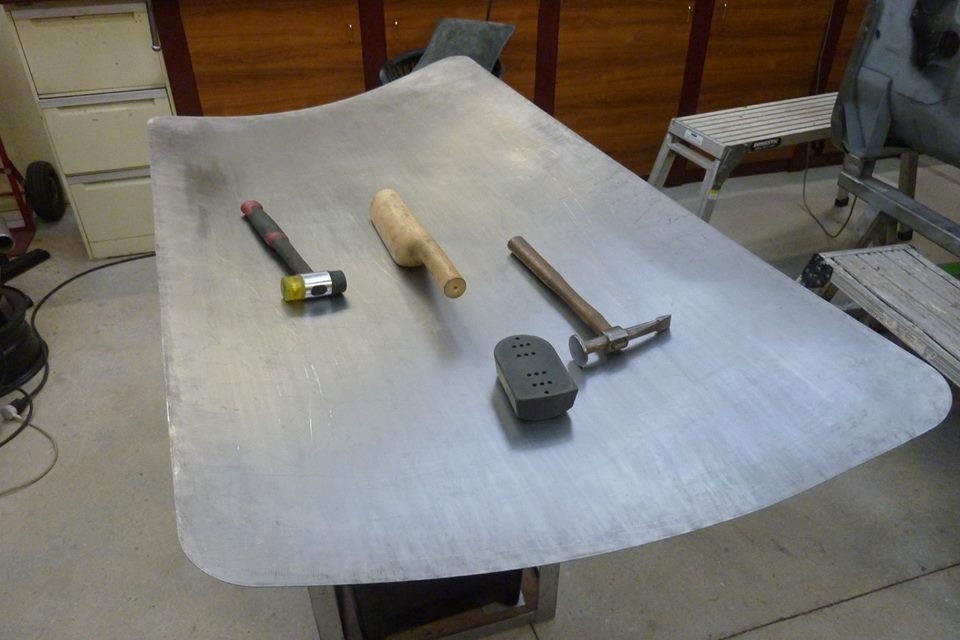
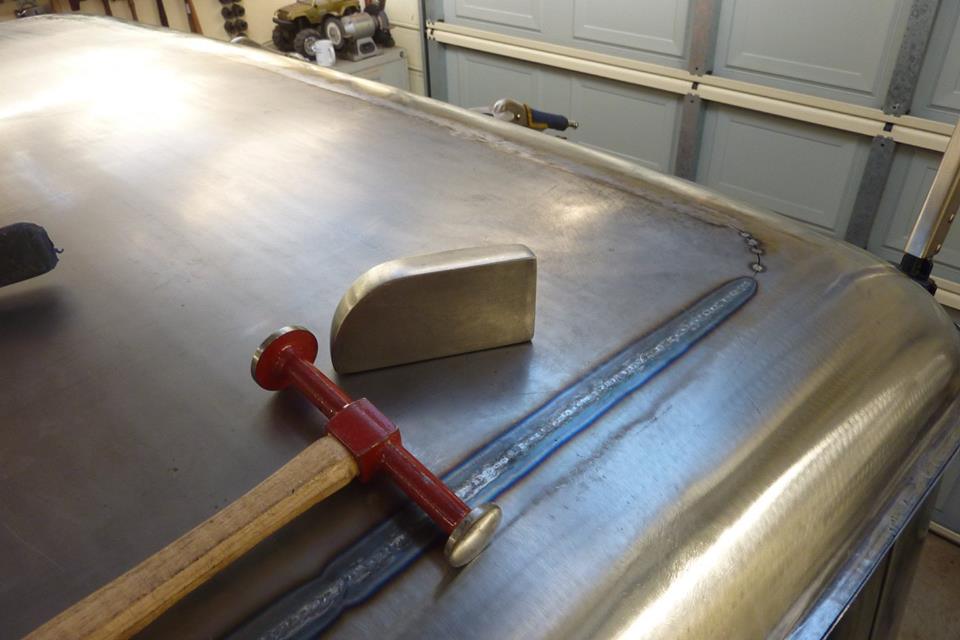
I had some wheeling marks that I had to get rid of. Didn't want to stretch it more as already had too much crown at one end. It would have been at my end when wheeling as Peter noticed I was not holding the sheet high enough so it caused more crown and the tracking marks to occur. All part of the learning process. To remove the marks I pressed the sheet out flat and hammered down with the wooden mallet or nylon hammer. Also used the flat faced hammer over the rubber block when it was up the other way. So long as one side has give it will reduce stretching while hammering. To let more crown out on the high side I slightly stretched, using hammer on dolly, along the edge where it was higher. A crown is always framed along the edge by a less stretched or a shrunken edge. If a panel is wheeled the same right to the very edge, it would actually not crown and just be a bigger thinner sheet.


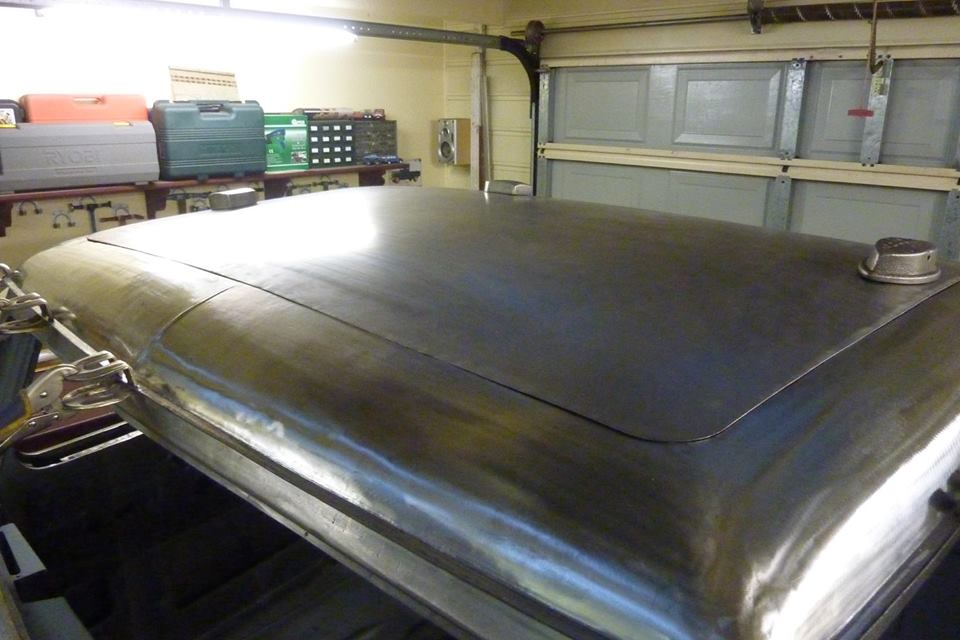
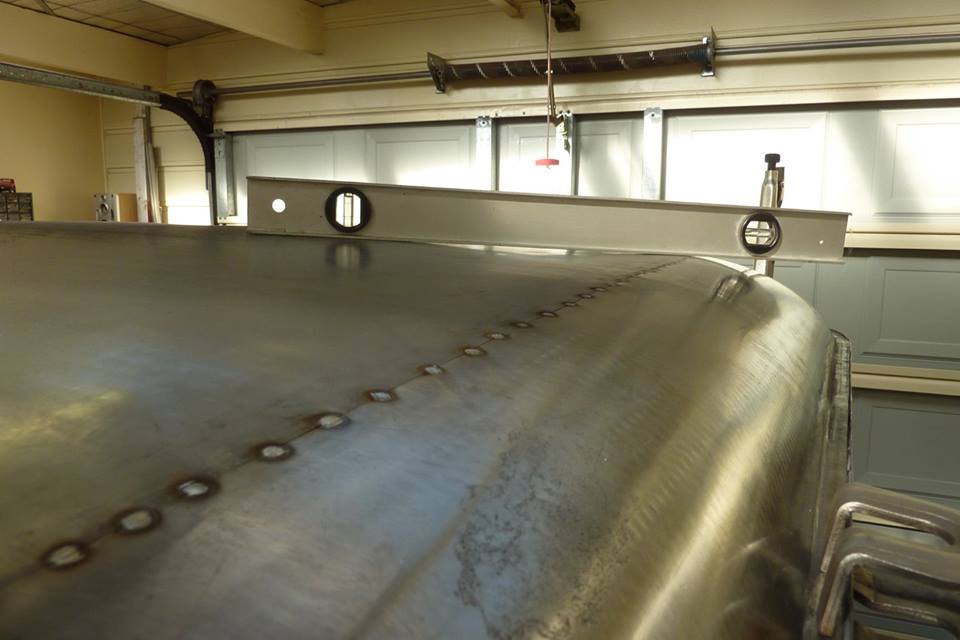
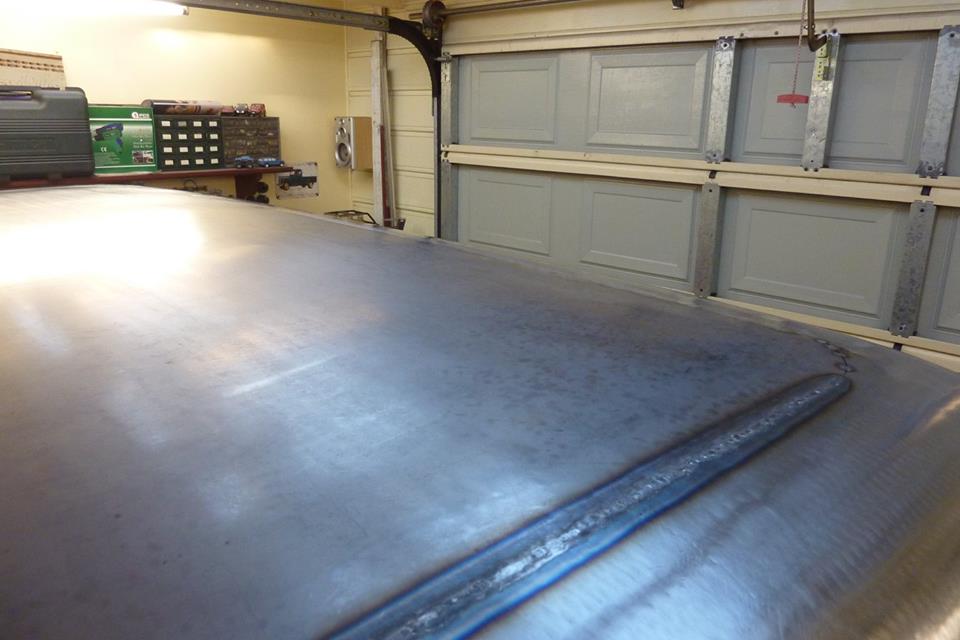
So this is how it is sitting having scribed around the edge of the sheet and then cut out the perimeter. It is now sitting on the supports with the blocks on it which worked well as could slide them to change the height until the edges aligned. Where there was no gap I tacked first. This pulls the part where there is a little gap closed with the shrinkage. I used a 1mm cutoff wheel to shave down the tacks top and bottom until a razor blade thickness was still proud so it could be hammered flat to remove any shrinkage.
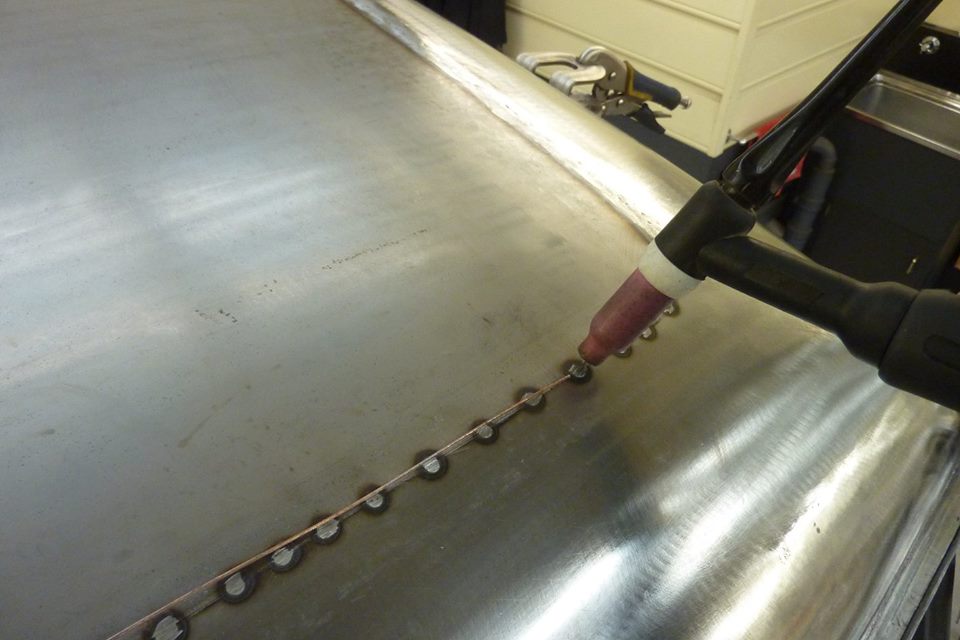
This a quick run down of my setup on the tig. The metal is 0.9mm and so the tungsten, with 2% lanthanated, is the same thickness along with the 0.9mm mig wire used as a filler. The torch angle to wire is kept around 90* to each other. I just drag the wire along in front of the weld pool and it just gets drawn in, in a little trail. I only want a little as more just means more grinding. Sometimes I even use the lay wire technique with 0.6mm wire where I place the wire over the join and it just melts into it as you travel along. I just start at one end and go as far as I can without stopping. Re-position myself and keep going.

Where the panel sits high after welding I planish the weld down with a flipper or flat face hammer with a dolly directly underneath to stretch it. More force is applied hitting down than pushing up with the dolly. Where it is low I push up harder with the dolly than hammering down to lift the panel while stretching. The panel will move either way depending in which direction more force is being applied. I also sometimes find it easier to hit up from underneath using a hammer with a higher crown directly on the weld with a dolly on edge above it. This lets you know by the sound that you are hitting in the right spot when you can't see the hammer.
I had this low spot in one corner even before tacking. This was only going to get worse after welding the seam. After stretching the weld back out again I hit directly up with a high crown hammer making these nice lumps!
Started to smooth out the lumps using hammer on dolly to even it out. Switched to using the flipper while pushing up from underneath with a matching crown dolly to smooth it out even more.
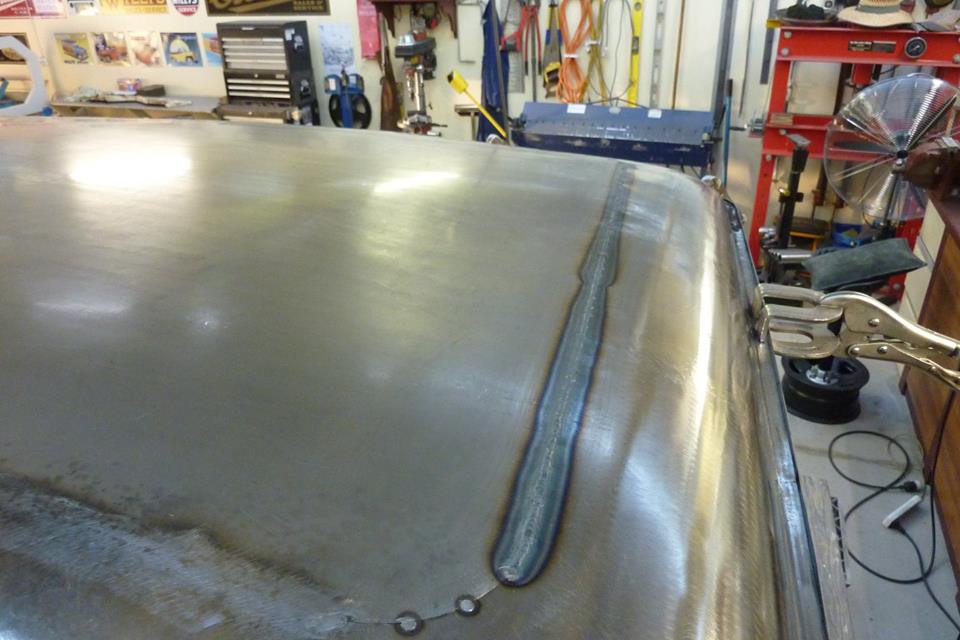
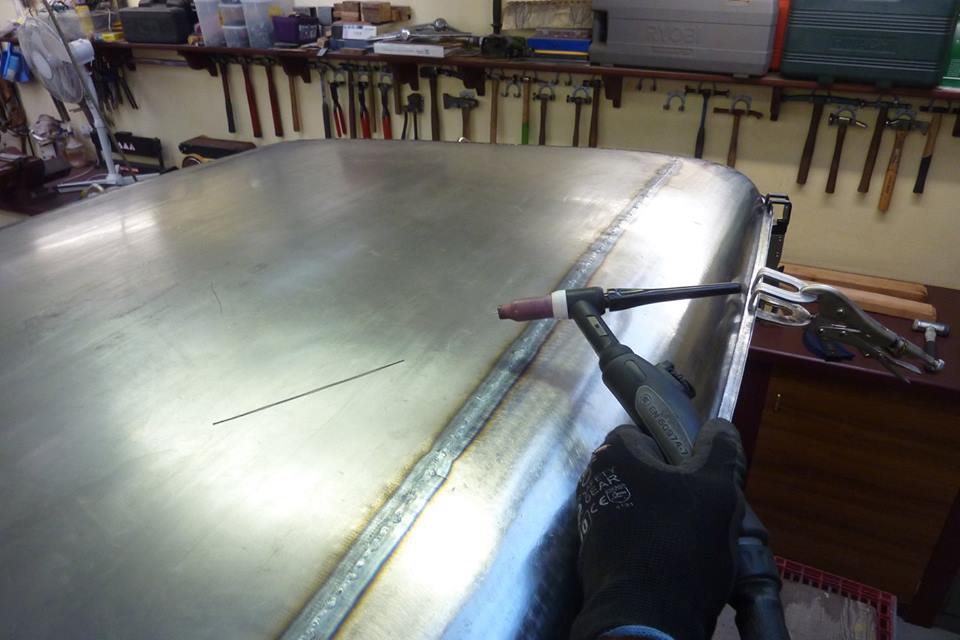
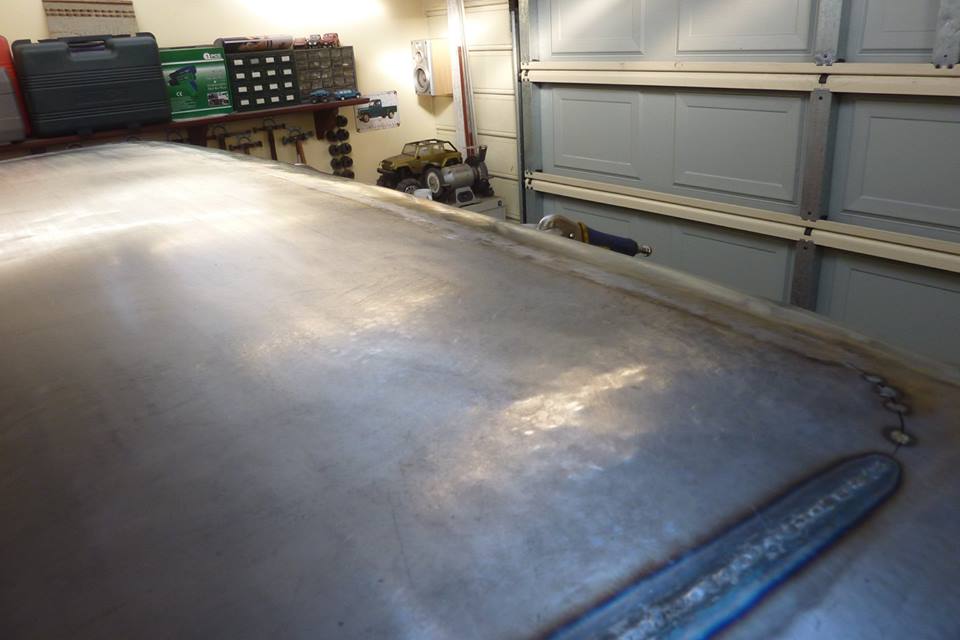
Another side welded. Can see the waves caused by the weld shrinking. The waves disappeared again even though only the weld was hammered. See it like pulling a drawstring bag closed while welding and then it flattening out when you stretch it back again.


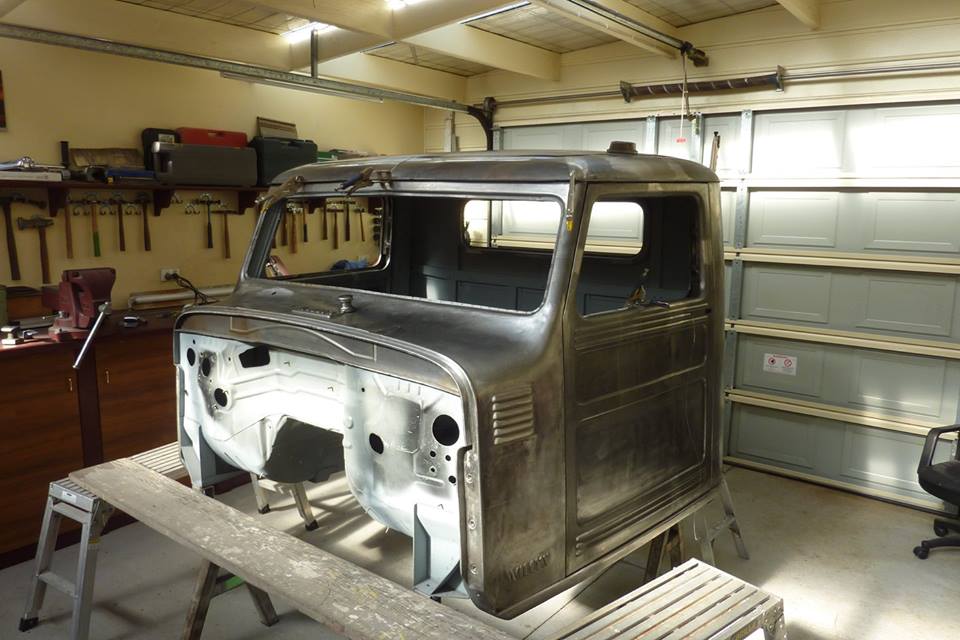
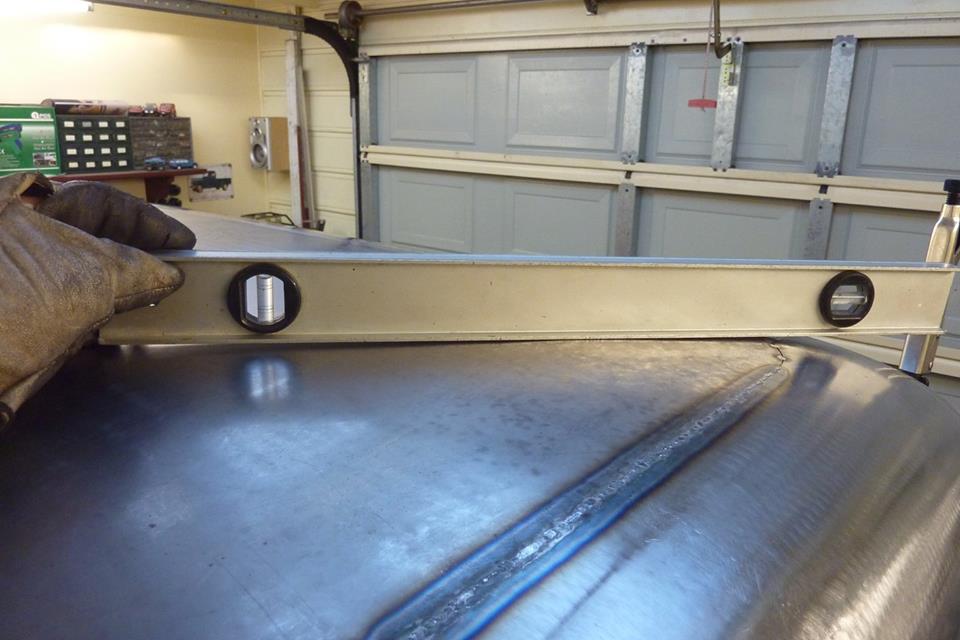
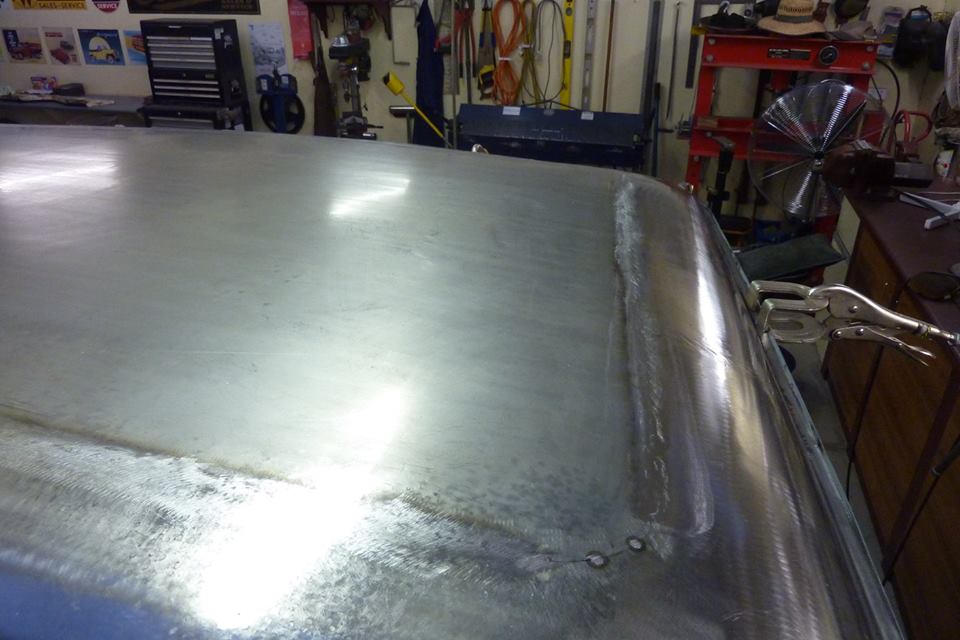
It was suggested to me to do the straights first and leave the corners until last to make it easier to control the distortion. After each side was done I stretched and planished the side until it was back to the way it was before welding. I have done the corners now and all went well. So would use this technique again. I still have a lot of work ahead of me making the crown even as was not quite there before welding it in either. Just struggled on my own to get it right when it was flopping around. Hoping now it is complete it will be easier to get right. No oil canning at all so at least that is in my favour.
[Index]